Shortwave listening and everything radio including reviews, broadcasting, ham radio, field operation, DXing, maker kits, travel, emergency gear, events, and more
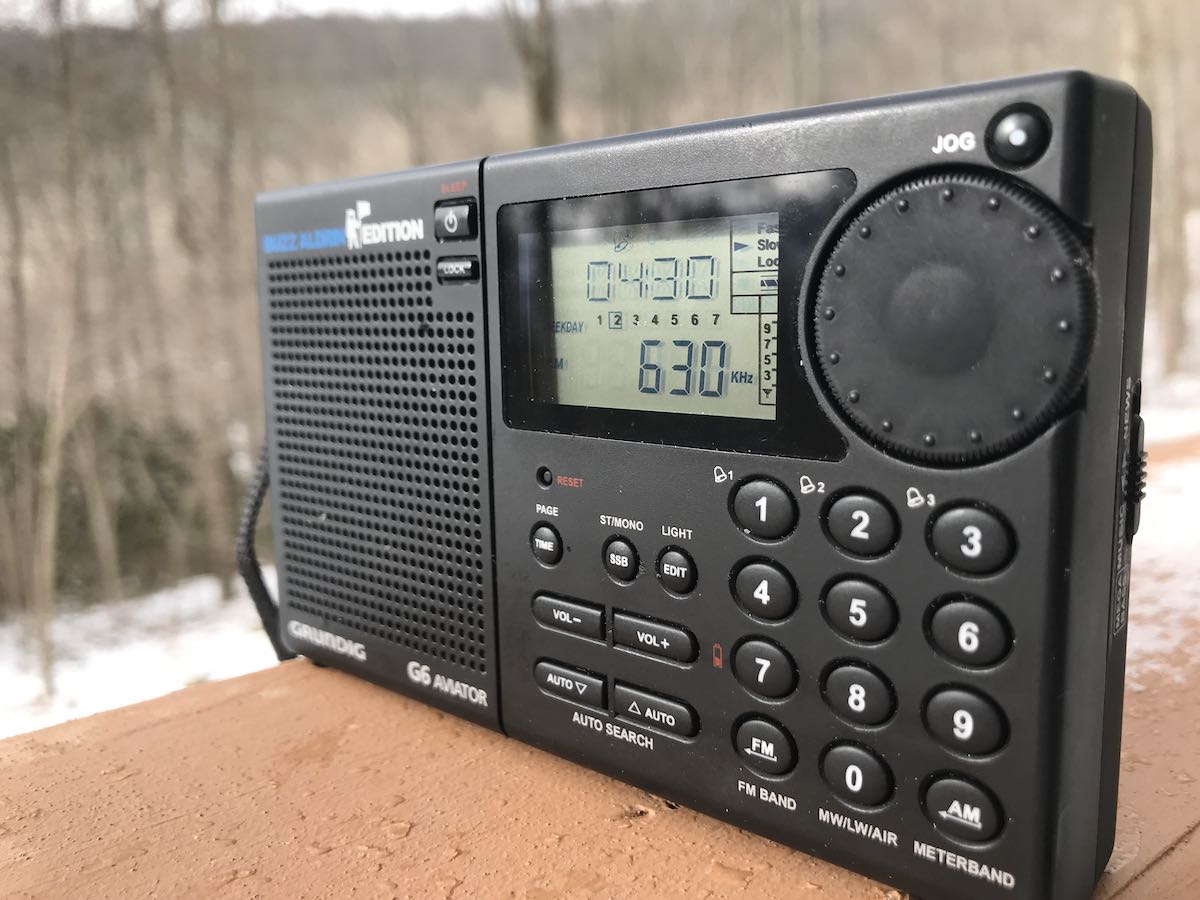
This has been a busy week, but Wednesday evening I took a few minutes to finally remove the sticky residue on my Grundig G6.
In case you’re not familiar, back in the day (roughly 2009 to 2013) Eton/Grundig covered a number of their radios models with a rubberized coating that unfortunately breaks down over time and becomes tacky or sticky to the touch. The Grundig G6 was one of those radios.
If you’ve been an SWLing Post reader for long, you’ve also no doubt read our numerous posts about cleaning off this mess. There are a number of solutions, but it seems the most positive long-term results by employing a de-greasing product called Purple Power (click here to read archived posts). Indeed, it’s the solution Eton Corporation recommends and the one I used to clean my Eton E1 XM.
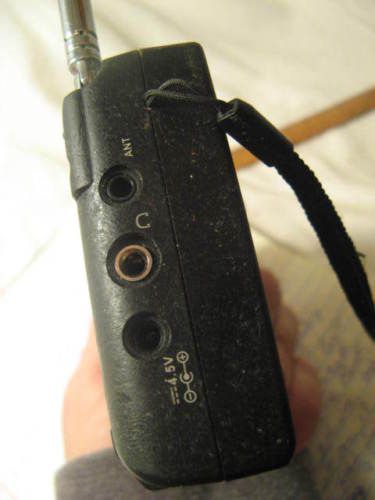
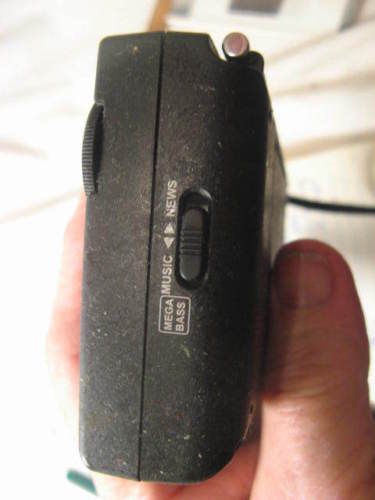
Pre-cleaning, the G6 was incredibly sticky. It’s hard to see in the photos, but it was so sticky, it was challenging to remove it from its OEM pouch where it had been stored.
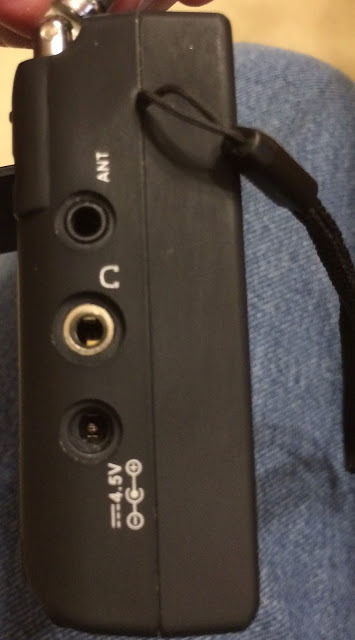
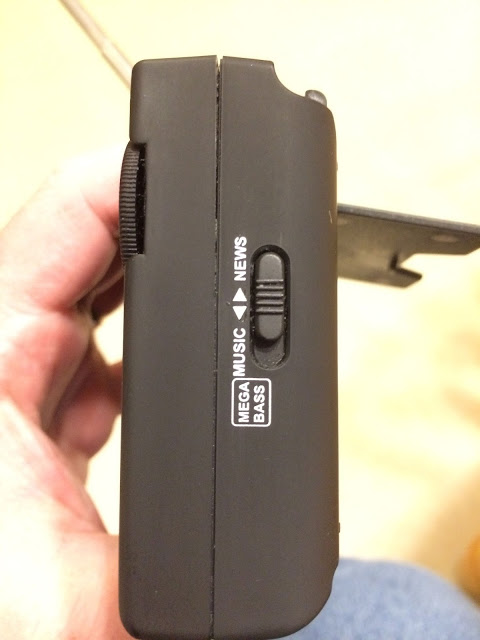
The Purple Power solution is effective, though. It requires only a few minutes to clean off the residue, then another few minutes to do a final polishing (I use a simple window cleaning solution).
The results are so impressive.
When I pulled the G6 from its pouch before cleaning, the back stand fell off. I believe it actually stuck to the inside of the pouch.
It’s so great to enjoy the G6 once again. It is a gem of a compact portable. One thing that surprised me? I forgot how fluidly the tuning works with no muting between frequency changes and how quickly (immediately) it switches into SSB mode. In the day an age of DSP portables, we’ve forgotten that these legacy receivers are actually better at both of these tasks.
Next up is my Grundig G3 which is quite sticky. I need to pull it from its storage bin.
Have you rescued a sticky radio recently? Please comment!
I’ve mentioned here in the past that I am an astronomy hobbyist first, and an SWL hobbyist second (call SWL my cloudy nights hobby).
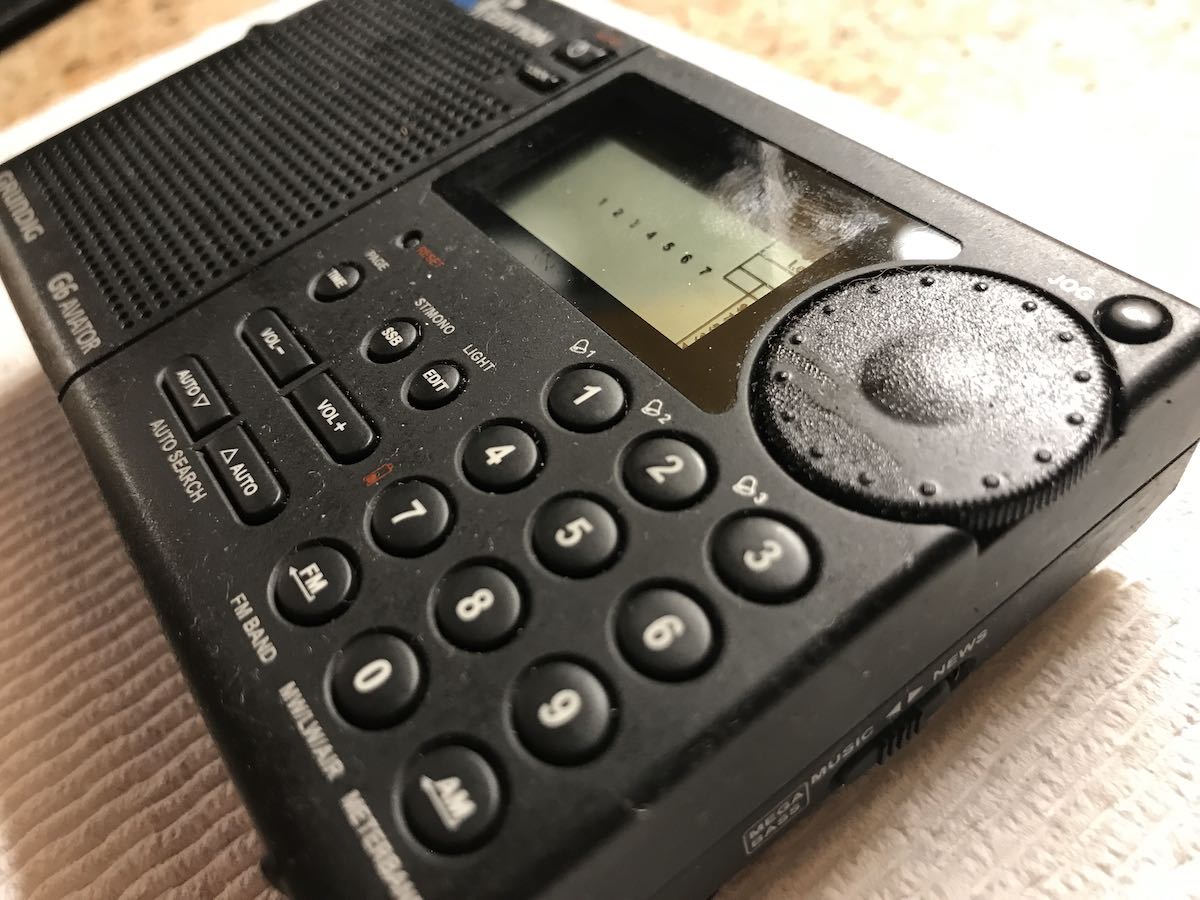
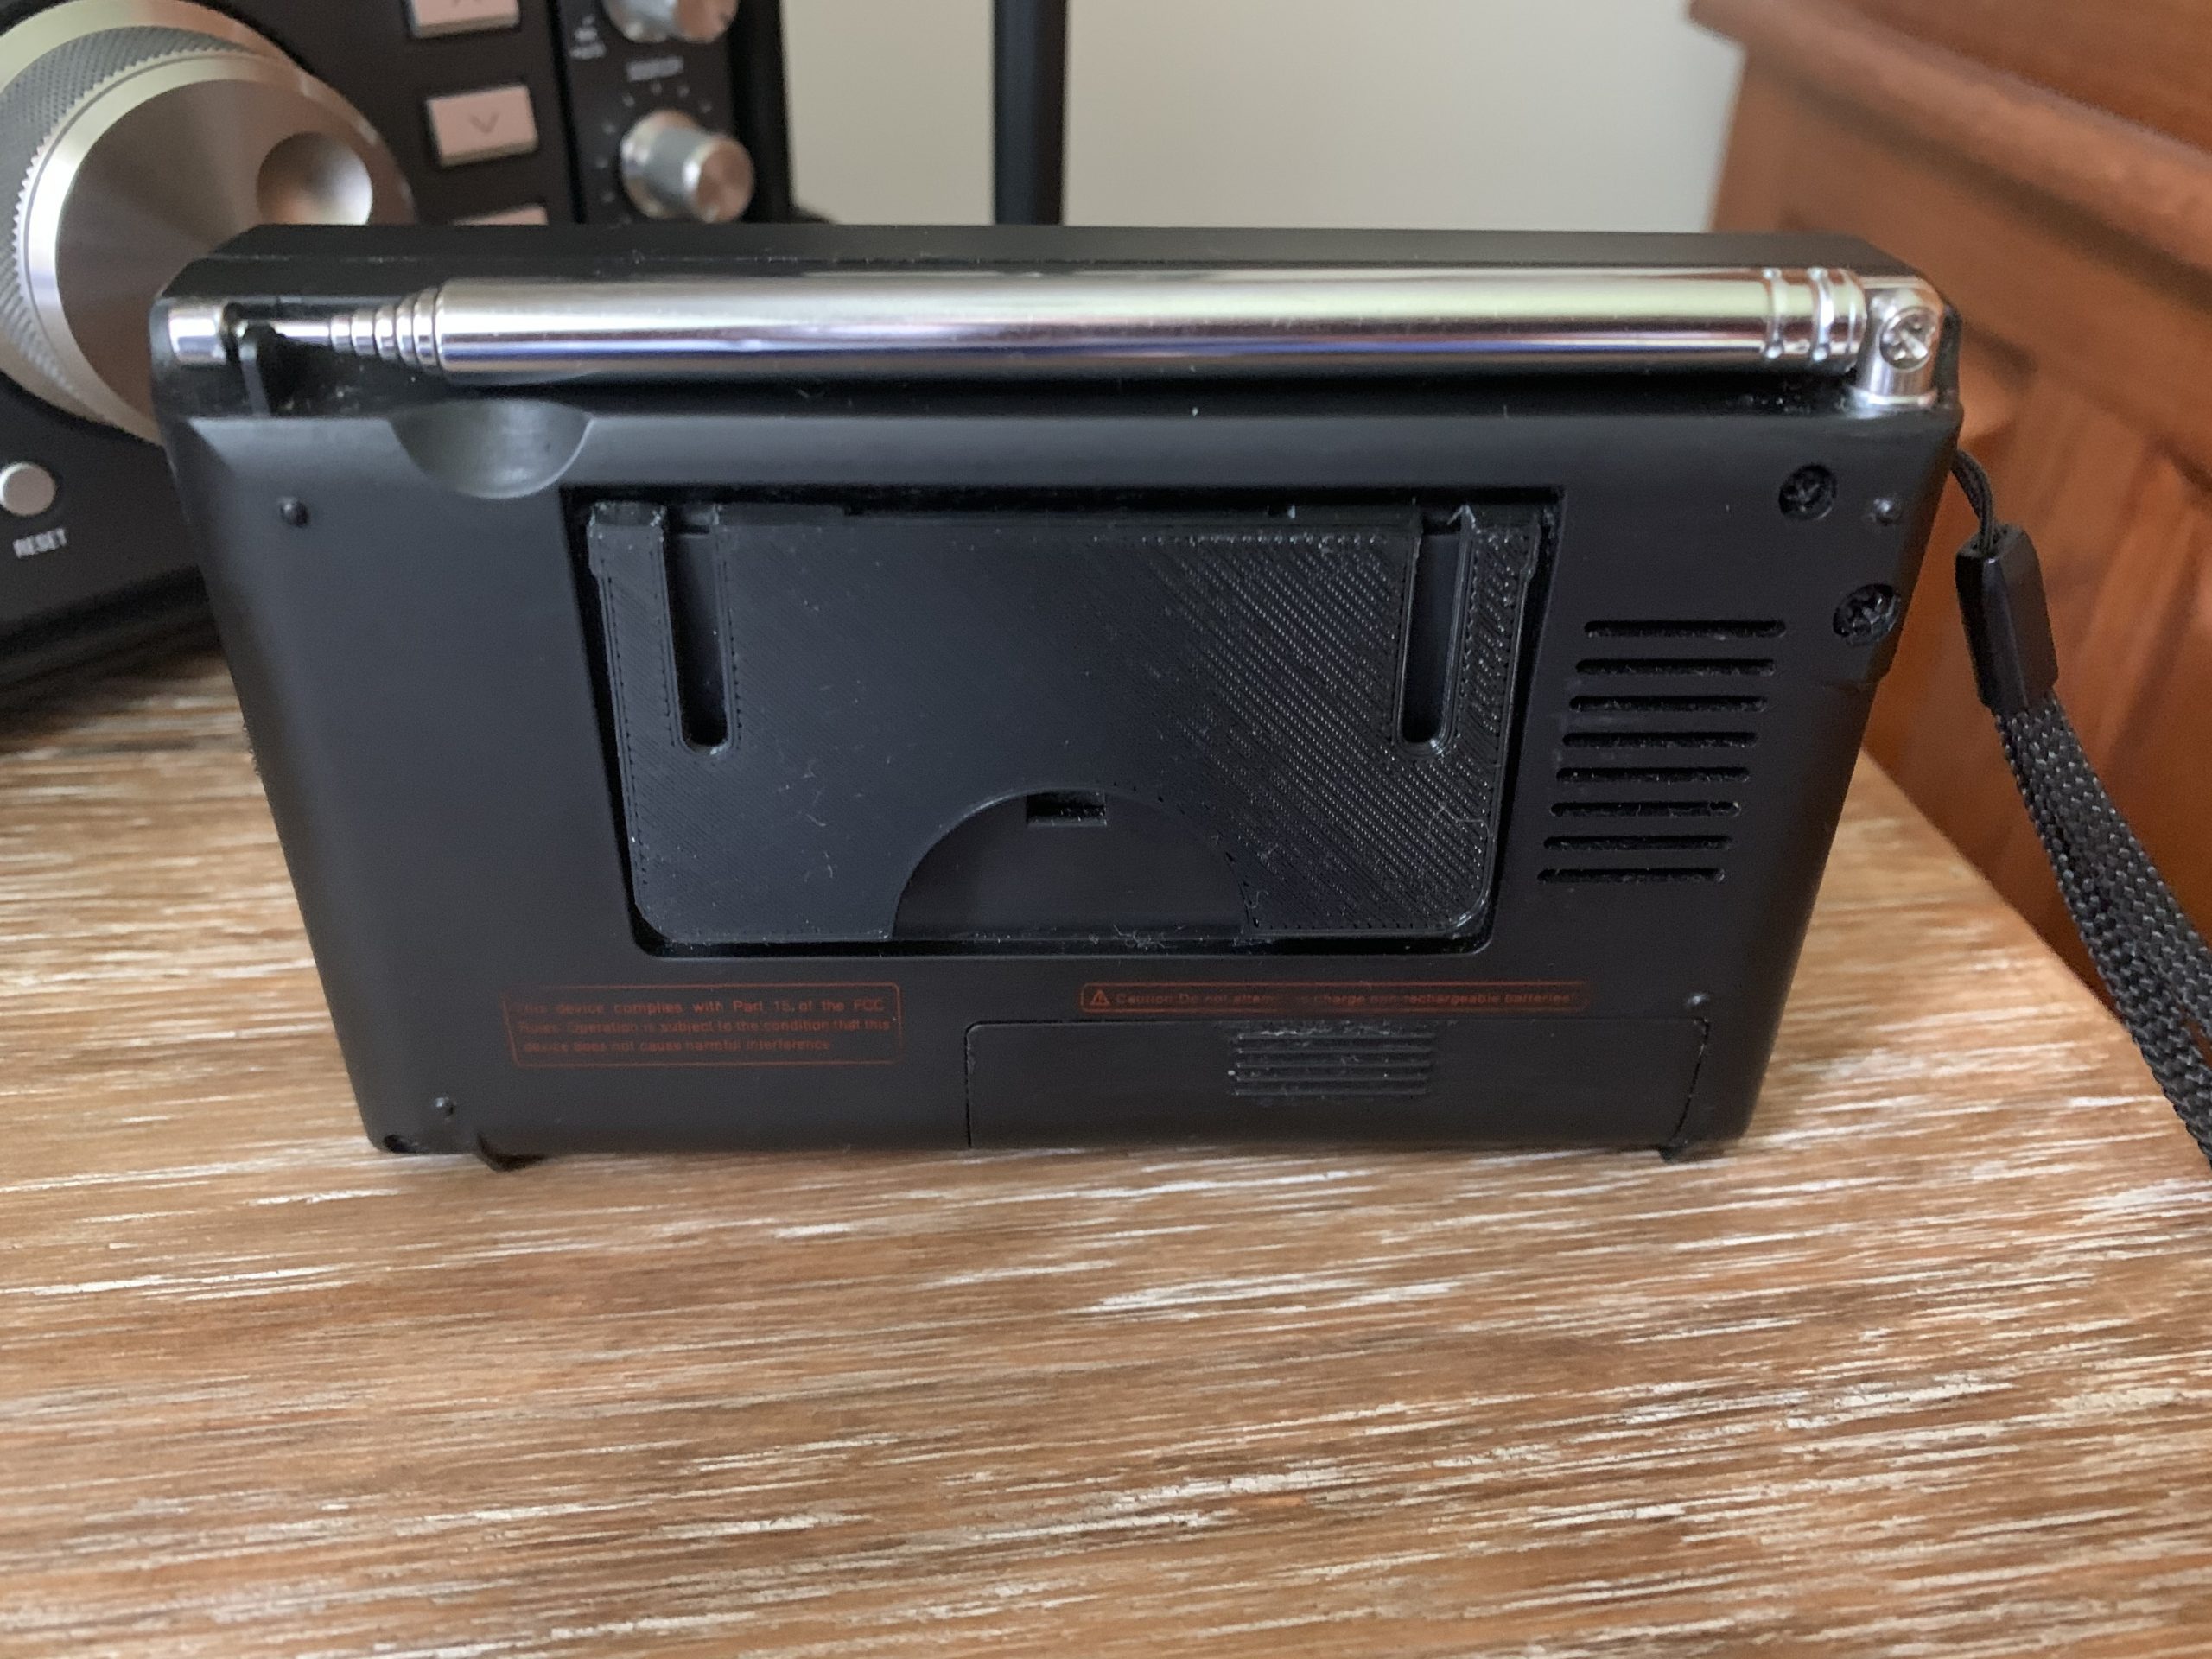
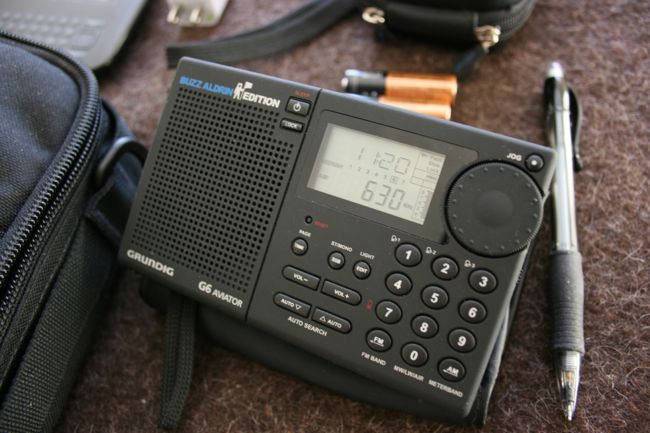
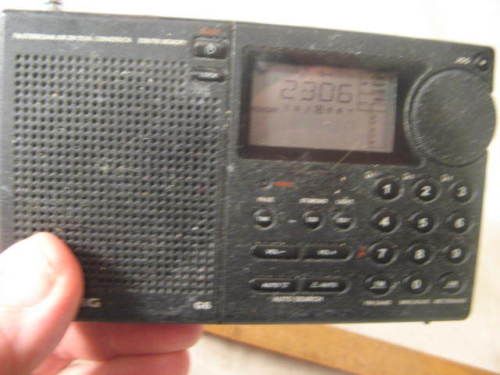
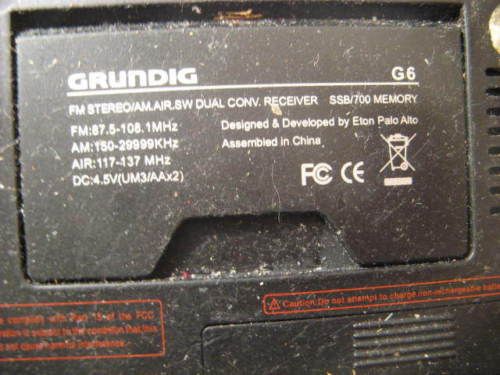
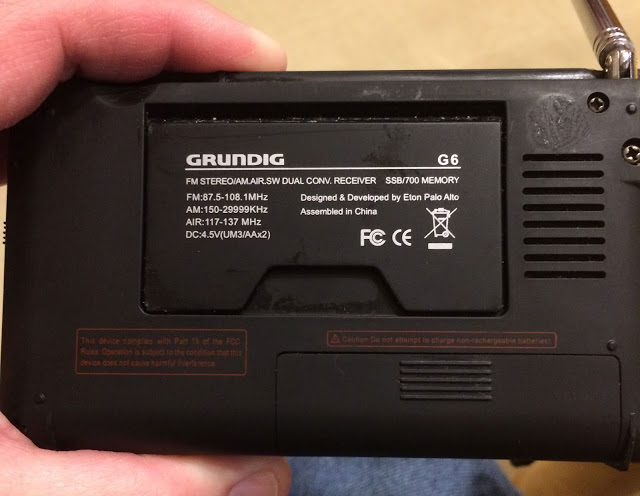
A couple of years ago my Grundig G6 suffered from the troublesome “sticky” body that afflicts all of the Grundig/Eton radios of that era. I used the recommended cleaning agent as has been posted here (Purple Power) to remove the sticky residue. It worked great – but I discovered one must be very careful using this cleaner. Why? Excess cleaner seeped into the crevices where the radio stand mounts, was not fully removed/dried, and the cleaner “ate” the nubs off that hold the radio stand in place. The result: a broken radio stand! Right Photo: you’ll see glue residue smeared on the broken stand – where I tried to make & glue new nubs and failed miserably.
Through my astronomy hobby, I discovered someone (Joel) who 3D prints some astronomical accessories. After ordering & receiving three quality products, we established a friendly rapport. I asked him if he knew of anyone who 3D printed and commercially sold radio stands.
He replied “No” – and frankly he wasn’t quite sure what I was referring to – but he essentially conveyed “if you supply me a photo and dimensions, I will gladly print one that you can try”. Great news!
After supplying him a photo and supplying dimensions, Joel printed off a stand plus a spare and shipped it to me. Unfortunately, it did not fit … the side nubs were simply too small.
I wrote-off the encounter as having been worth the nominal cost & effort. But Joel was not ready to write this off! He asked for more details re: why it didn’t fit (we designed the stand about .25mm too thin – a small tolerance but significant in that the stand simply would not fit – the nubs were too small at the thickness that was printed). We consulted, both made recommendations, then Joel promptly 3D printed another stand (v.2) and mailed it to me.
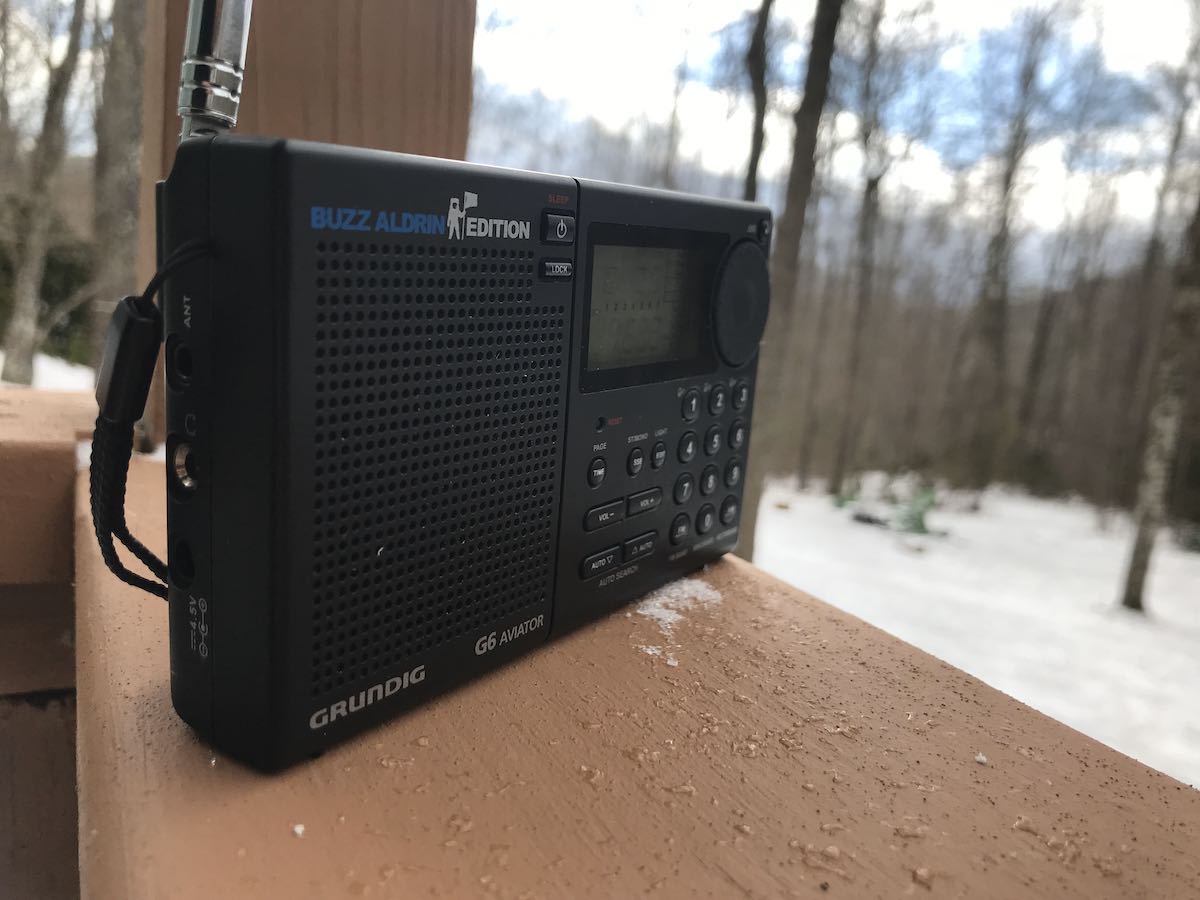
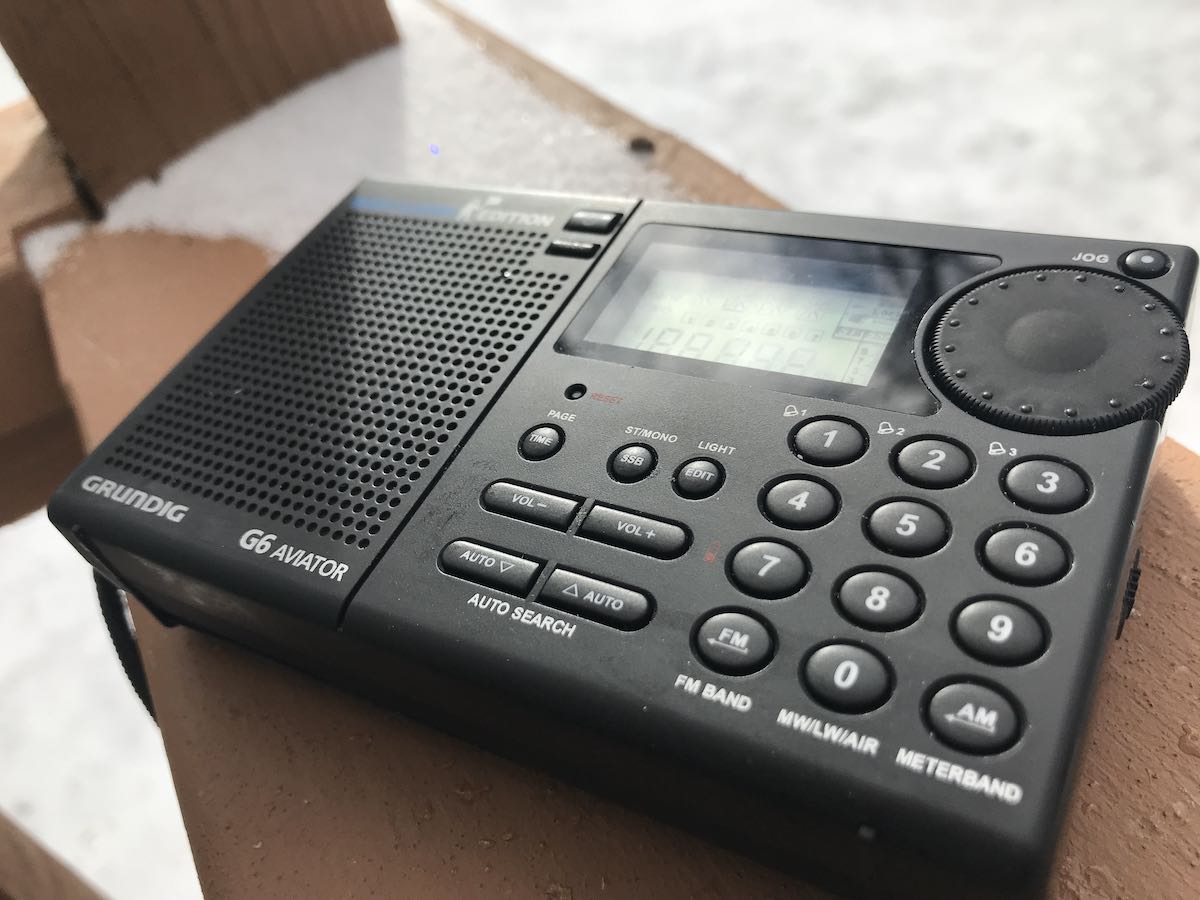
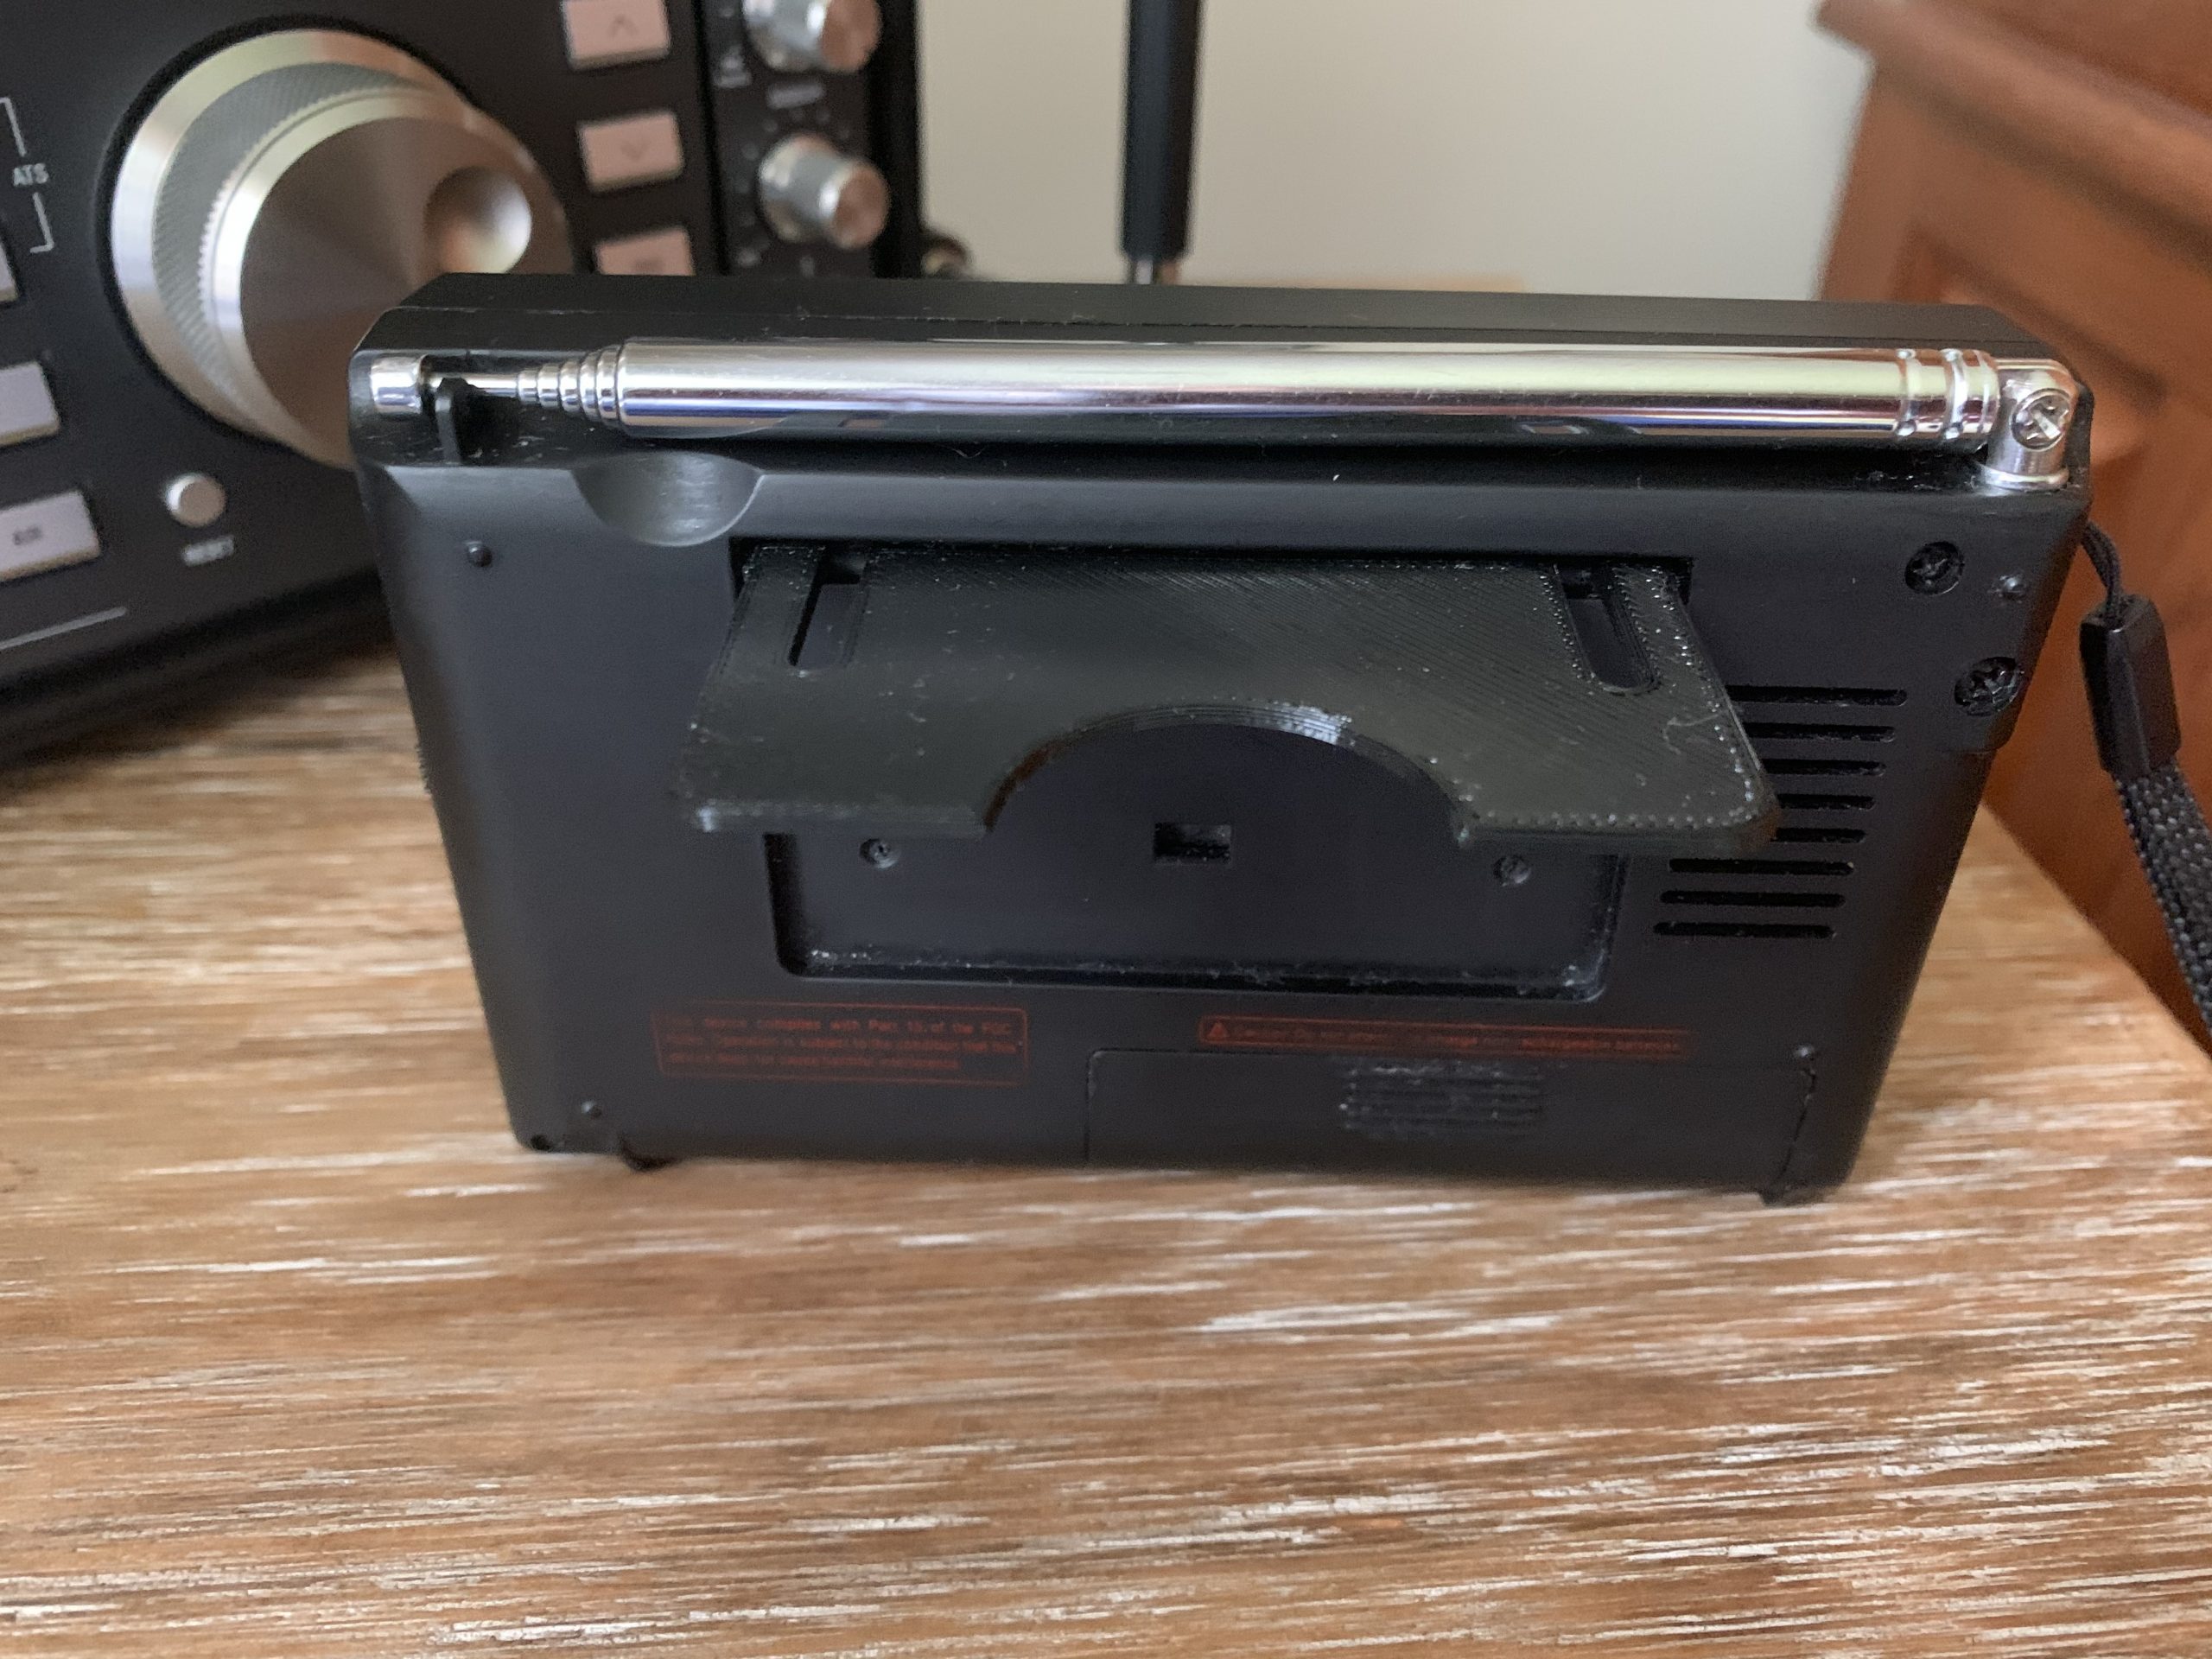
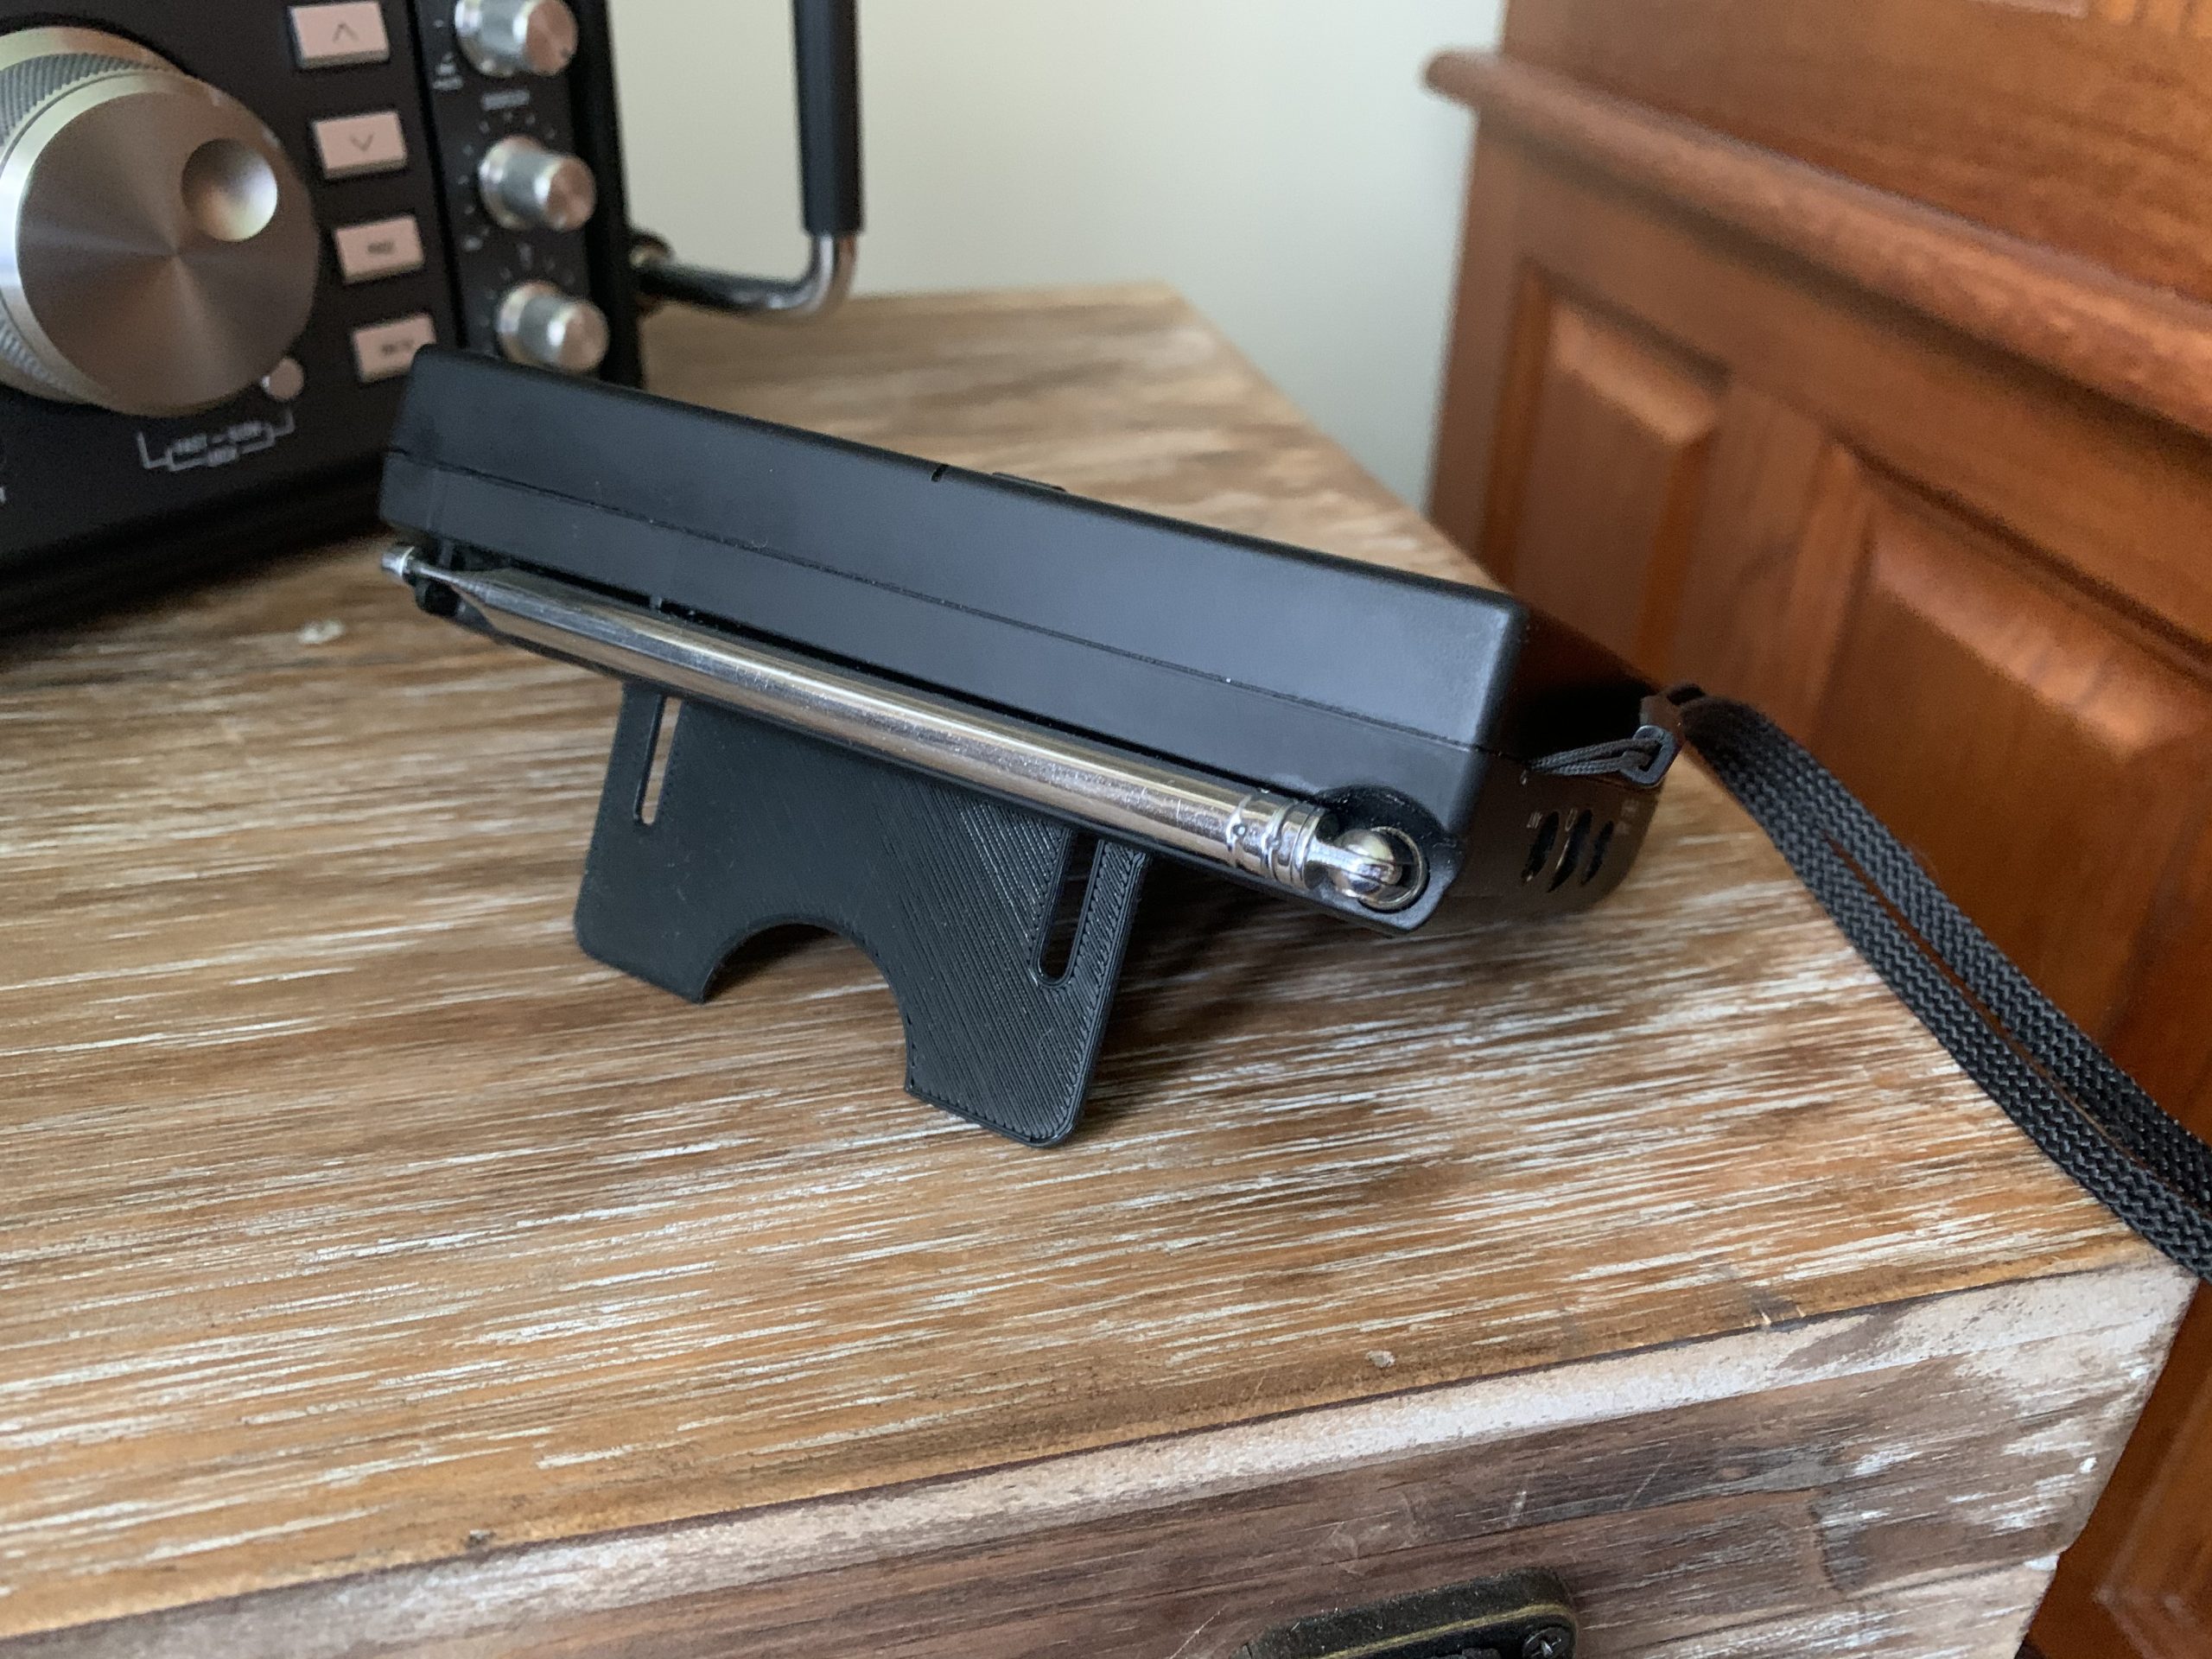
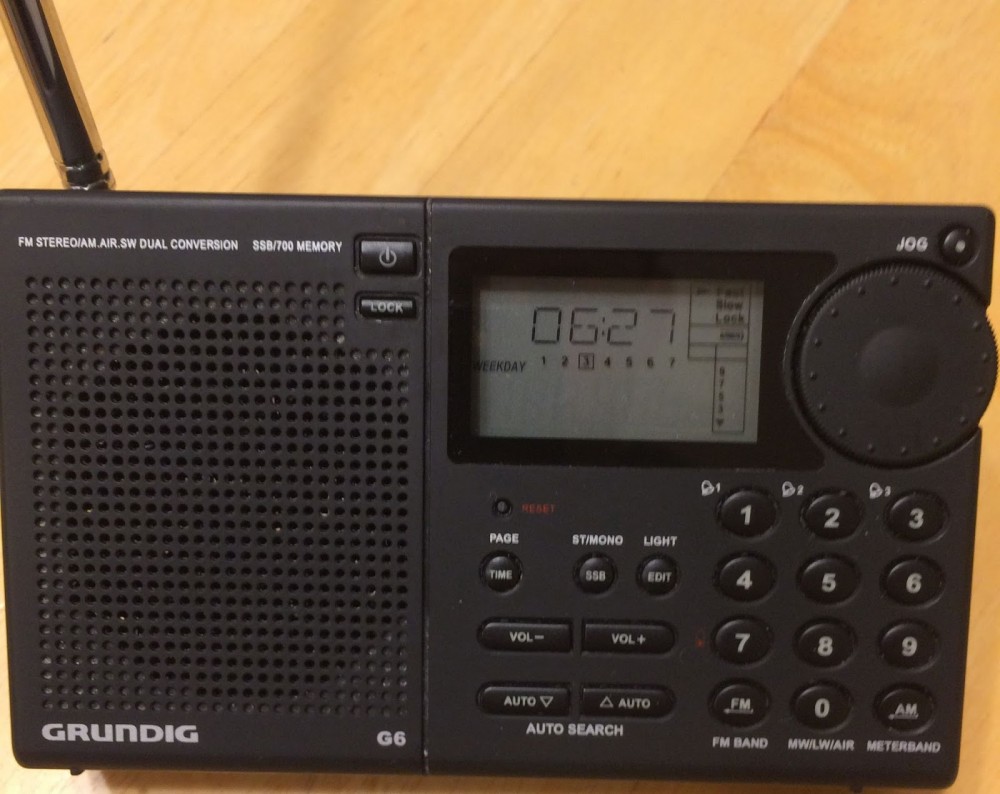
The end result: it fits perfectly – works perfectly. I now have a replacement G6 stand and I feel my little Grundig Aviator Buzz Aldrin Edition (note the astronomy connection) was now, once again, whole!
For those who’ve replaced radio stands before, the biggest obstacle is *not* breaking it when you try to insert it into the back of the radio. A tried and true trick is to freeze the replacement stand, so it contracts very slightly (by the mm), and then insert it into the body of the radio. The great thing about this stand: it is designed with a cut-out on each side. This cut-out allows the stand to ever-so-slightly flex (better – and probably more safely – than the freezing trick). This design allowed me to safely and rather effortlessly insert the stand without fear of breaking it. And the stand’s thickness is quite capable of supporting the weight of the radio (note: the plastic of the 3D printed stand is not quite as hard as the OEM stand but it is still more than capable of supporting the radio’s weight).
I’m sharing this because Joel has added the G6 stand to his little BuckeyeStargazer Web Store , for $10 – what a great deal for us suffering G6 folks with broken stands.
At this time, the Buckeye Stargazer only offers the G6 stand. But, who knows? Before I came along, he didn’t offer any stand. You might be able to cajole Joel into prototyping another stand? For that – you’d have to contact him directly to see if he were receptive to more experimentation.
So, thanks again to the Buckeye Stargazer! It’s always nice to tie my two hobbies together: astronomy & shortwave radio.
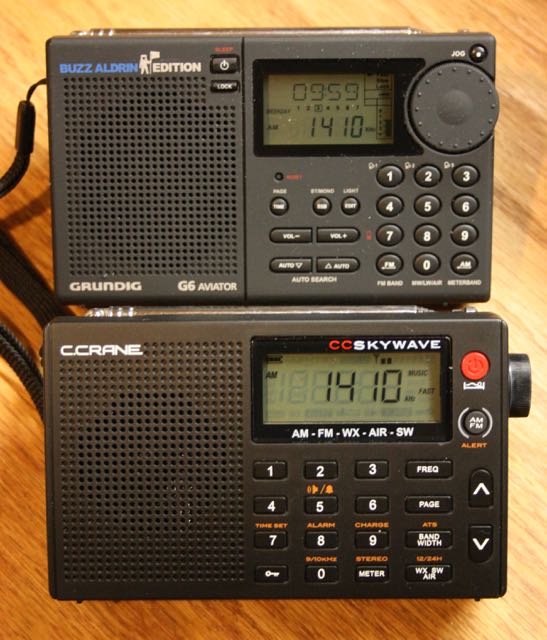
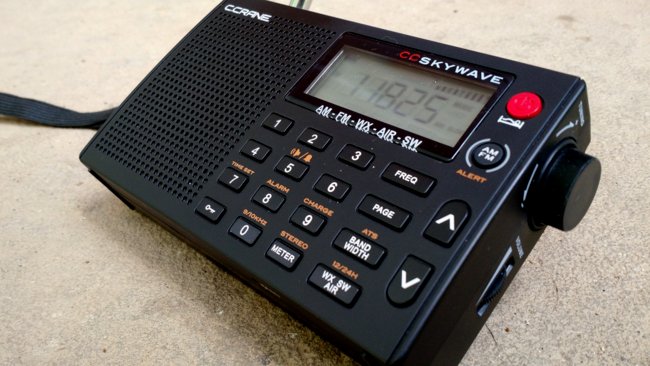
The Grundig G6 (top) and C.Crane CC Skywave (bottom)
Many thanks to SWLing Post reader, Neil Bernstein, who writes:
I travel quite a bit for my job and I want your opinion and your readers’ opinions on whether it is more important to have the NOAA weather radio stations or shortwave radio (with or without SSB), in a compact travel emergency radio.
At this point I’m trying to decide between the CCrane Skywave and the Grundig G6 Aviator.
Any input would really be appreciated.
Ah, the travel radio! One of my favorite topics, Neil.
I’ve used both the Grundig G6 and CC Skywave during domestic and international travel. In my opinion, both are great receivers, especially considering the compact size of each. Here are a few things to note about each radio…
(And Post readers, you’re most welcome to comment with your own additions and views.)
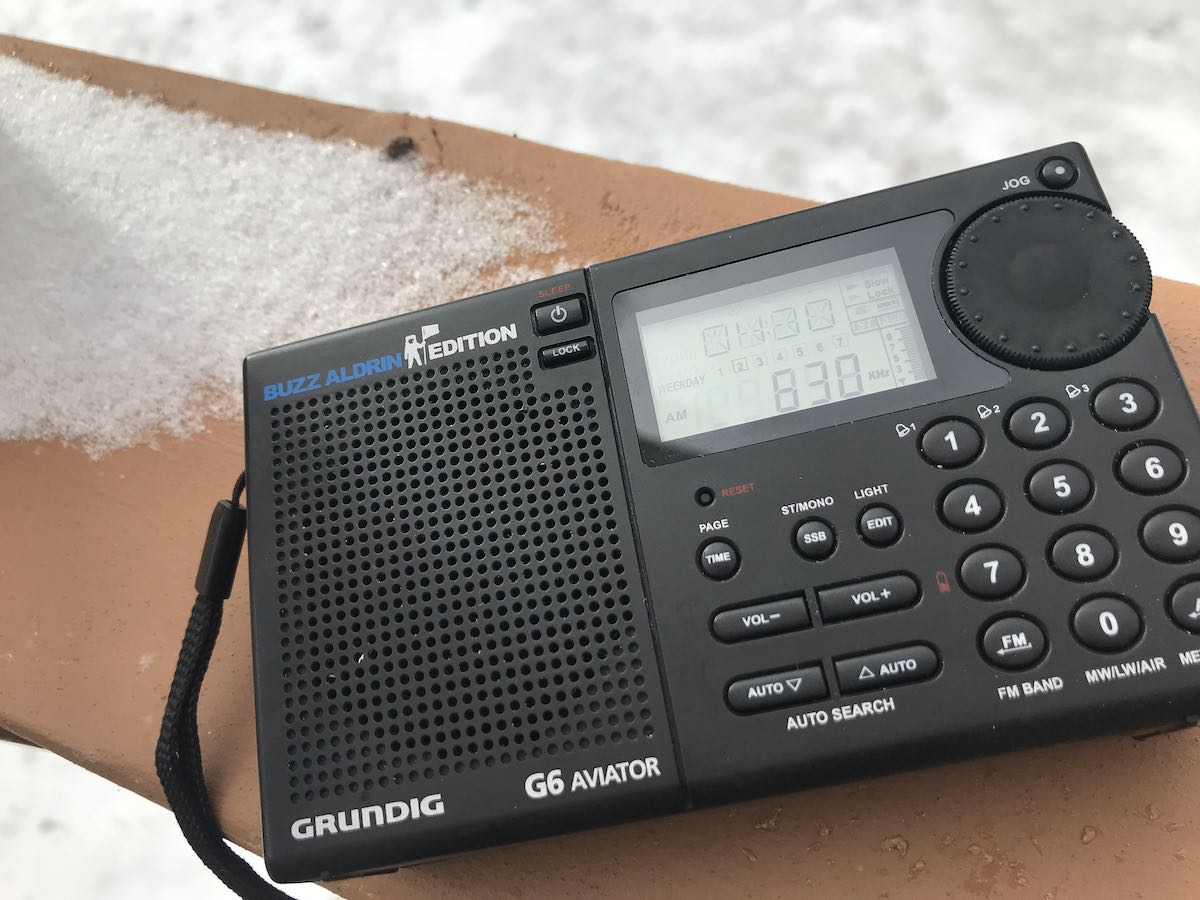
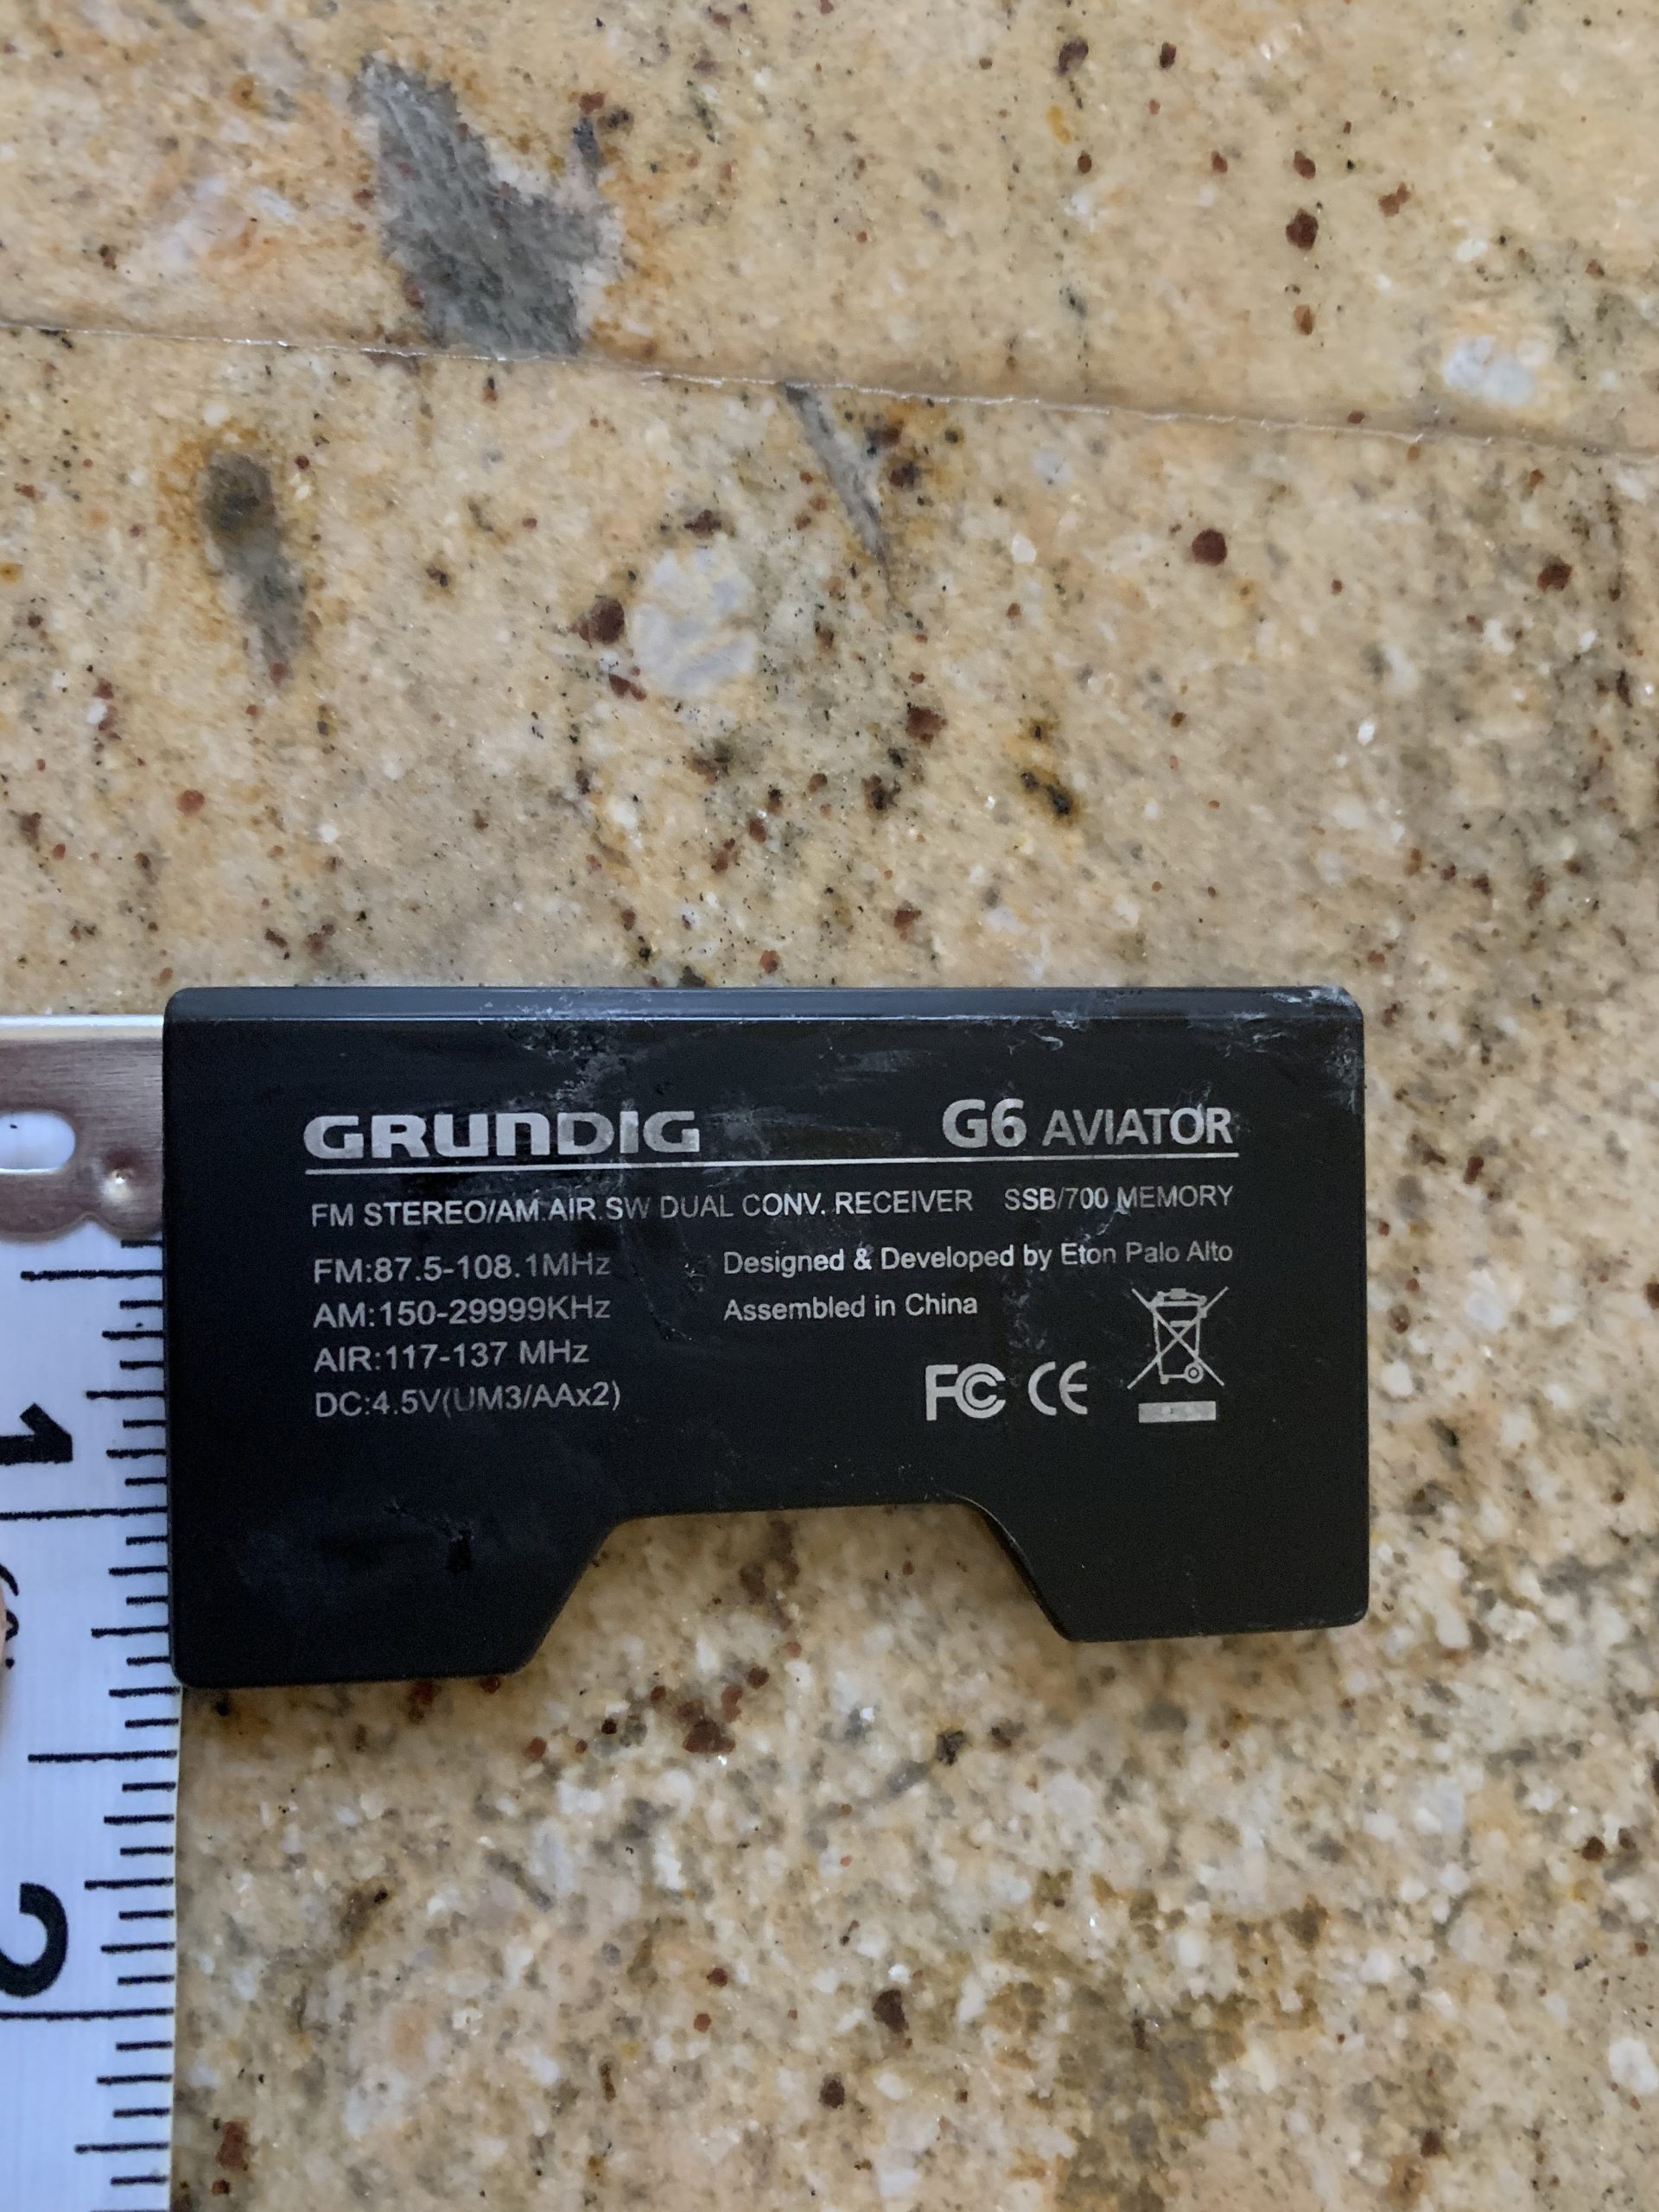
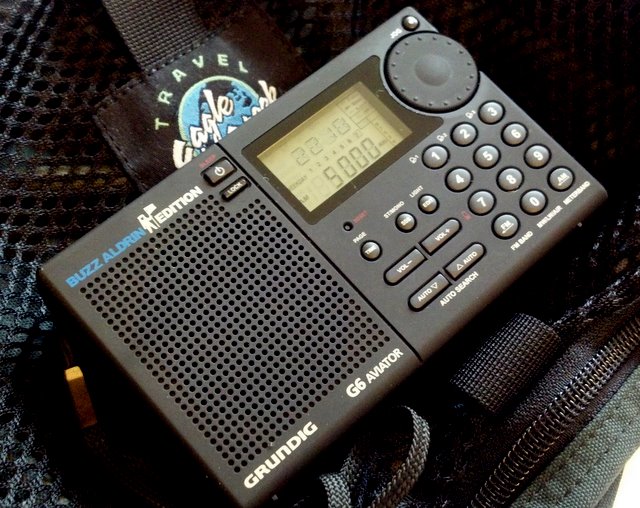
The Grundig G6
A great little unit, albeit no longer in production; you can buy a used unit on eBay or similar sites. A quick eBay search reveals that prices vary between about $75-150 US. Note: Personally, I believe anything over $80 shipped is probably asking too much for a used G6.
Like other Grundig portables of the era, the G6’s rubberized coating will eventually become sticky/tacky. But fortunately, we’ve posted a few proven remedies.
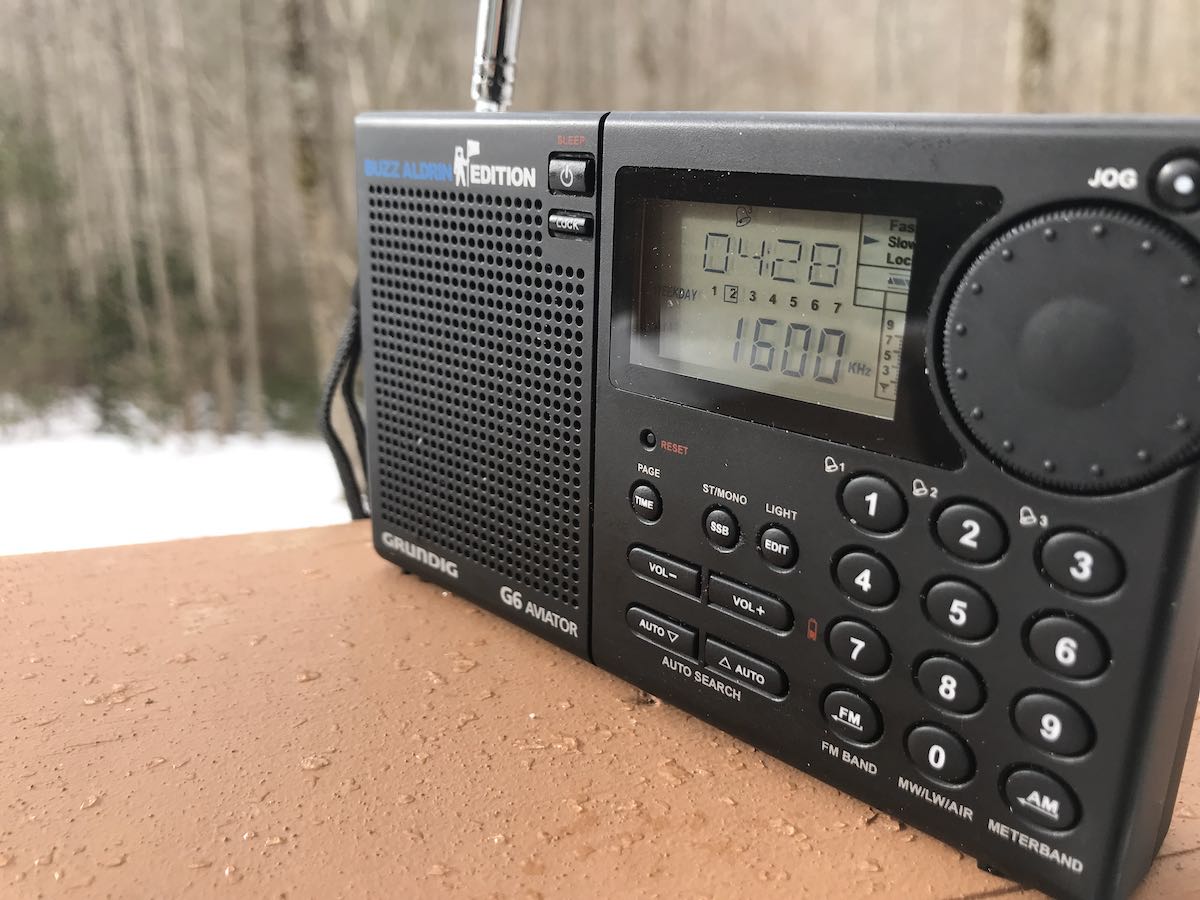
Re emergency use: this one offers SSB, but lacks NOAA weather bands
This unit offers weather frequencies, useful in emergencies, but lacks SSB mode
Since the CC Skywave hit the market, it’s been my go-to portable for travel at least 80% of the time. Of course, I still pack the Grundig G6 occasionally, and even my Sony ICF-SW100.
Personally I prefer the Skywave because, frankly, it’s just better tailored to one-bag travel. I like listening to the airport tower and other comms while traveling. Since most of my travel is in North America, I appreciate the weather radio frequencies as well.
I suppose if all of my travels were outside North America, I might lean slightly toward the Grundig G6 just so I could have the added benefit of SSB reception. In truth, however, I rarely listen to SSB while traveling. SSB may possibly be useful during civil/communication emergencies. If SSB reception and portability is important to you, another radio worth considering would be the CountyComm GP5-SSB–though, like the G6, it also lacks weather frequencies.
My opinion?
Grab a CC Skywave. It’s a great performer, very compact, and–unlike the Grundig G6–is currently in production. I’d only buy a new CC Skywave, however, since some of the early models were prone to overloading. The current production run incorporates an update which remedies this.
Post readers: Please comment with your thoughts and suggestions! What radio do you pack for travels, and why?
Many thanks to SWLing Post reader, Danny Garris (KJ4FH), for the following guest post which originally appeared on his blog, Up In This Brain:
How I cleaned the sticky coating off of my Grundig G6 radio with guidance from KJ4FH
A few weeks ago, I reached out to Danny Garris, KJ4FH, for help on getting the sticky coating off of my Eton E5 radio. I noticed on eBay that he was selling Eton radios with the gunk cleaned off and I was wondering how he did it.
Where does the sticky gunk come from? Well, for some reason the “geniuses” up at Eton/Grundig put a rubberized, chemical coating on a series of radios they released. They looked great new but over time, them coating seems to get adhesive-like properties, almost like it is melting off. It apparently has something to do with humidity and over time it makes everything stick to the radios – dust, dirt, you name it. It’s terribly annoying and just plain nasty. Shame on Eton/Grundig for doing this because a whole generation of good radios are impacted.
This leads me back to Danny and the instructions I have posted below in my Dropbox with his permission.
I used rubbing alcohol at first on my Eton E5 based on some back and forth emails I had with Danny and it did remove a ton of the gunk but I also ended up with places in the finish where the paint was removed, as he warned. Still, my concern was getting rid of the gunk more than appearances since my Eton E5 is a radio I use almost daily that I have no intention of selling. In fact, I am keeping an eye on eBay for a spare unit to purchase just in case because the E5(also Grundig G5) is an amazing radio.
Not long after getting his full instructions with oven cleaner as a new ingredient to try, I noticed a Grundig G6 for sale on eBay for just $19.99 as a buy it now price. I briefly had a G6 years ago and I have always missed it but good units are typically somewhat expensive and rare. This G6 was advertised as working perfectly but completely sticky. The seller posted pictures showing it was one of the stickiest and nastiest radios I had ever seen. But, armed with Danny’s method for cleaning the radios, I grabbed it, knowing I probably would not get another chance at a G6 for such a cheap price.
Below are before and after pictures. The before pictures are from the eBay auction and the radio did in fact arrive that nasty but it does work perfectly! In fact, it is a fantastic performer for the size. I love the tuning knob and the tuning method alone makes it much easier and more fun to use than my Tecsun radios and my recently purchased Eton Traveller III. The G6 is a worthy companion for my Eton E5 and I am very pleased with this purchase.
The after pictures are from the hour of work I did cleaning the radio last night. So far I have cleaned the radio with oven cleaner only. I took about 45 minutes using the Q-tip method and then about 15 minutes “polishing” with a clean white cloth dipped in oven cleaner as I went. I still have some additional detail cleaning to do but the results so far are like night and day.
I owe Danny a big thank you as you can see in the images below and, keep in mind, I still have a bit more work to do so this radio is going to look even better shortly!
Here is the front as shown in the auction. Gross! According to the description, the seller bought it at an estate sale.
What a difference some over cleaner makes! I need to blow out the speaker with compressed air to get the Q-tip remnants out and do some minor detail work but the front is almost in new condition now.
As shown in the auction listing, yuk!
I may do a little work with rubbing alcohol or WD-40 to get the shine back on this side but wow – what a difference!
I wonder if this radio was laying in the grass or something. It was nasty to even pick up and touch!
After oven cleaner, it’s like new again. I need to do a little more detail work but that’s it!
This picture in the auction made me wonder if I was biting off a bit more than I could chew!
I still have a bit of work to do on the back but WOW! What a difference!
What a difference, indeed! Thanks for sharing your experience and results, Danny!
I love my little Grundig G6 and, for some reason, the coating has yet to become properly sticky. I know it’s only a matter of time, though, so I’ll keep this procedure in mind.
A great portable radio is your passport to the world while traveling, even in remote areas.
I receive a lot of emails from SWLing.com readers, quite often from those who about to embark upon international travel–sometimes to remote locations–and who are looking for a durable travel shortave radio. These travelers are looking for a basic travel radio which, while it might not need to survive being submerged underwater or dropped from a cliff, will hold up in the semi-protected environment of a suitcase or backpack experiencing some rough baggage handling.
I travel a great deal myself, and always carry a shortwave radio with me (actually, I usually take more than one). Here are some considerations I use to determine which radios go in my bag or pack, and thus make good travel companions:
Rugged enough to withstand typical suitcase/backpack travel conditions
Lightweight and relatively compact size
Supplied protective travel case
Efficient operation on AA cells, the most common batteries found in the world
Useful travel features, like auto-tuning, alarm/clock functions, sleep timer
Relatively inexpensive–if you lose your radio or it gets stolen, you don’t want it to ruin your trip
To be clear, none of the radios on the list that follows are marketed as “ultra-tough radios”–indeed, I know of no capable SW portable that is–but these do represent the most durable I’ve personally tested and used in my travels.
This Sony shortwave radio is a classic, with solid, time-tested performance, and features to please both the beginner and the seasoned radio enthusiast. It is full-featured, with excellent SSB and exceptional sync detection. I grab the ‘7600GR when I plan to do a little DXing on vacation. It has everything I need.
The Sony ICF-SW7600GR is still made in Japan and the case is metal. It feels like a very high-quality portable when holding it in your hands. The lock button is a sliding switch on the top part of the radio face–easy to turn on and off intentionally, difficult to do so unintentionally. Additionally, it comes with a decent padded case. The ‘7600GR operates on 4 AA cells. The only travel feature the ‘7600GR lacks is an alarm, and that’s okay by me; for the features and durability, I’ll keep the Sony and use my cell phone or watch for an alarm. The instruction manual is comprehensive and easy to read. Read the full review here.
Actually designed with the traveler in mind, the Grundig G8 will make for an excellent companion on your next venture. I’m quite impressed with this radio: shortwave reception is good, and FM reception exceptional. The AM broadcast band does suffer from some images (a type of signal interference in which aural “ghosts” of other broadcasts layer over the one you’re trying to hear), though still quite respectable. The G8’s audio is a little tinny out of the built-in speaker, though quite good for a radio this compact. The customary price for the G8 is $49.95, but occasionally retailers place them on sale for nearly half this price. I especially like the fact that there is a front cover on the G8 which protects many of the controls. The body is somewhat rubberized and the zip case that comes with the radio is padded and perfectly designed for suitcase/backpack travel. The G8 is also smaller than a paperback book.
The G8 does not have SSB capability like the Sony does, but it is a good product for casual broadcast listener. The G8 also has a great alarm clock function and a world time selector switch on the front: simply dial up your time zone as you cross the planet. The G8 uses 3 AA cells.
The County Comm Marathon ETFR Emergency Task Force Radio is a very small ultra-portable radio. The ETFR is similar to the earlier County Comm GP-4L, but was produced initially for the Canadian military, thus it features enhanced cold-weather operation. It is very durable–indeed, military-grade durability at least with regards to impact. To my knowledge, it is not waterproof, but it will certainly withstand your airline’s roughest luggage treatment.
The ETFR is no incredible performer, but the price is low and it is quite capable of catching the major international broadcasters–indeed its sensitivity is better than I had anticipated. The tuning is actually analog, though the display is digital, thus you can expect a little receiver drift if you keep this radio on a broadcast for very long. The ETFR operates efficiently on 2 AA cells providing up to 150 hours at 40% volume or 70 hours of illumination from the built-in LED light. The ETFR also has a built-in clock and alarm feature.
In my humble opinion, all frequent travelers should keep a County Comm ETFR in their go-to vehicle and/or travel bag.
Also (I have to admit) this radio looks very cool in the carry case that Universal sells. Together, these make a great bon voyage gift for any traveler.
My Tecsun PL-380 and the small Eagle Creek pack that also holds my Zoom H1 recorder, earphones, audio cables, external antenna, spare batteries and Kindle.
UPDATE 23 May 2012: Yes, I’ve also added the incredible PL-380 to the travel list as well. Read the full post here. Thanks for the comment, Alan!
Spread the radio love
Please support this website by adding us to your whitelist in your ad blocker. Ads are what helps us bring you premium content! Thank you!


 Full-featured portable – The Sony ICF-SW7600GR
 The County Comm Marathon ETFR Emergency Task Force Radio is a very small ultra-portable radio. The ETFR is similar to the earlier County Comm GP-4L, but was produced initially for the Canadian military, thus it features enhanced cold-weather operation. It is very durable–indeed, military-grade durability at least with regards to impact. To my knowledge, it is not waterproof, but it will certainly withstand your airline’s roughest luggage treatment.