
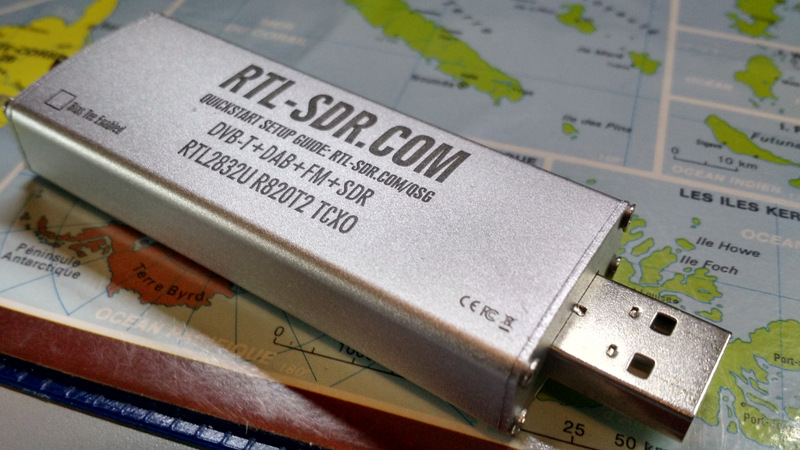
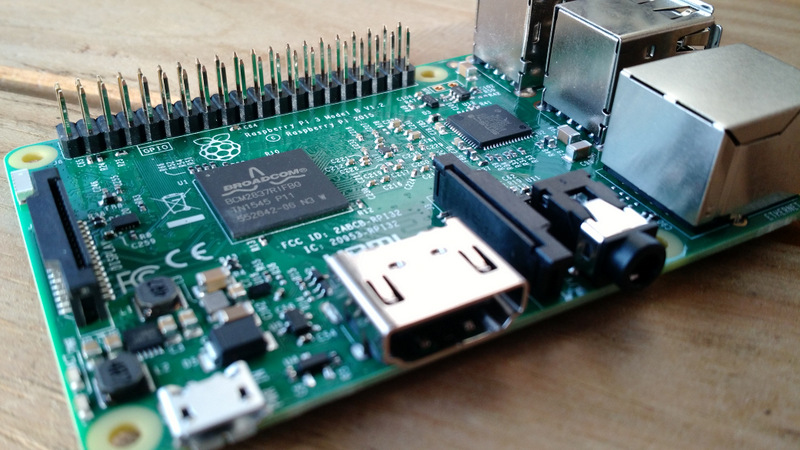
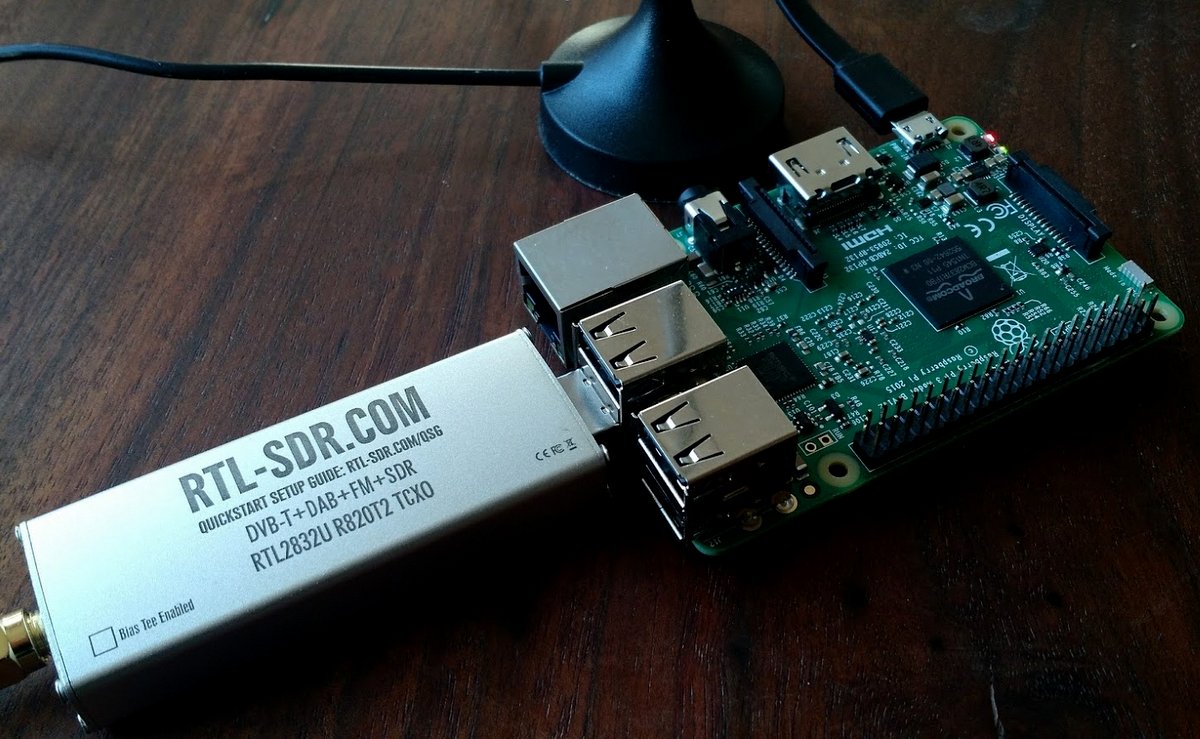
 It’s been nearly a year since I acquired both the RTL-SDR (above) and Rasperry Pi 3 (below)r.
Remember when I made a plea for Pi 3 projects just last year––?
Although many of you suggested some great projects, I never actually got around to doing any of them. Now, don’t get me wrong––I wanted to, of course, but simply got involved with reviews, NPOTA, two months of travel…and, well, life.
Then, last week at the Winter SWL Fest, a common theme emerged in both presentations and discussions: the numerous applications of the super-cheap, and thus super-ubiquitous, RTL-SDR dongle. In their engaging presentations, both Dan Srebnick and Mark Fahey––SWLing Post contributors and good friends––focused on the power of the RTL-SDR, expounding upon some simple, inexpensive applications in their forums. It was inspiring. Also, buddy Eddie Muro showed me just how easily an ADS-B receiver could be set up using an Android phone.
Back to the Pi. Though I was already aware the Pi 3 and RTL-SDR could be united to make an ADS-B receiver, watching Mark Fahey talk about how simply one could feed the FlightAware network with ADS-B data finally hooked me. Why not, indeed? Here was fun to be had!
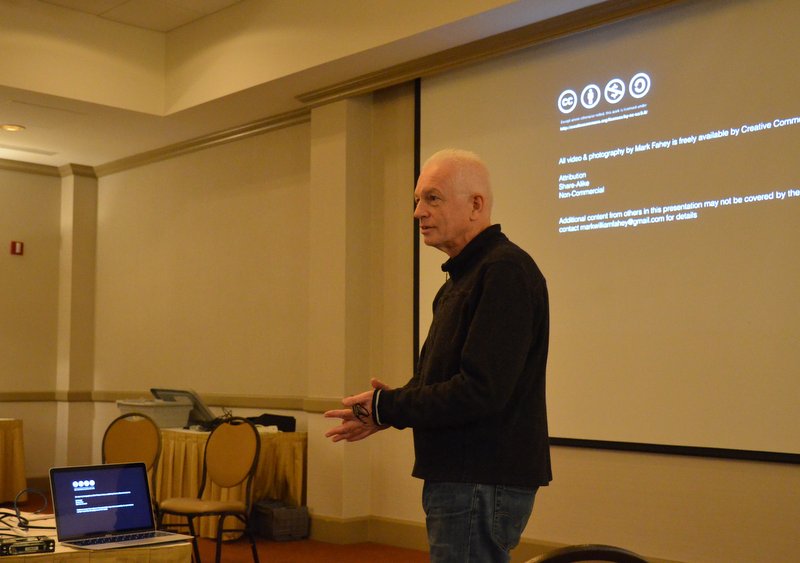
Mark preparing to woo his captive audience at the Winter SWL Fest!
I couldn’t get the idea out of my head, so Tuesday, the day following my return, I set the afternoon aside. I rolled up my sleeves, and with my long-neglected Pi 3 and RTL-SDR, got ready to cook up a flight sensor.
I figured I was probably missing a component or two, and fully expected the process to be complicated, but decided I wouldn’t let this deter me. And guess what? I was wrong on both counts!
FlightAware ADS-B feeder recipe
Ingredients:
- A computer to install the PiAware image on a MicroSD card
- A Raspberry Pi (I use the Pi 3 which is available bare-bones and in starter packages like this one)
- An RTL-SDR receiver, of which there are a couple of popular options:
- The RTL-SDR V3 (I like this package, which ships with antennas)
- The FlightAware SDR dongle with filter (no included antenna)
- A MicroSD card (mine was 8GB, more than enough for this application), and
- An antenna. This one is often used for ADS-B, though I found the smaller telescopic whip that shipped with my RTL-SDR dongle works well.
If you only plan to use this SDR and antenna as an ADS-B feeder, you might go for the FlightAware Dongle and 1090 MHz antenna combo.
Directions:
Note: I used this excellent PiAware ADS-B feeder tutorial to build my system–it’s detailed and doesn’t make the lofty assumption that you actually understand formatting cards, building disk images, and/or editing config text files.
Directions below are a highly distilled version of that tutorial. If you’re new to all of this, as I was, follow these directions instead of the above tutorial. Be aware that the directions assume you’re using the Pi 3 and a Windows PC to burn the image file.
- Download PiAware image, 7-zip, SD card formatter, and the Win32 Disk Imager. Decompress all compressed files, install and note the folder locations.
- Register your username at FlightAware–presuming you don’t already have an account, of course.
- Use SD Card Formatter to format your MicroSD card. Just make sure you’re formatting the correct drive, else you could easily wipe the wrong disk/card!
- Use Win32 Disk imager to write the PiAware image to your MicroSD card.
- If using WiFi, open Windows Explorer. Locate text document called piaware-config on the MicroSD card, open it with a text editor, and locate the WiFi ssid and password locations. Per the config comments, edit them to match your WiFi system. Note that any special characters in both the name and password will require the use of quotation marks (again, noted in the config file comments). Save the file in the same location on the disc image.
- Remove the microSD card containing the PiAware image; insert it into the Pi 3.
- Connect the RTL-SDR or FlightAware dongle to the Raspberry Pi. Attach an appropriate antenna to the RTL-SDR. Note: You’ll get the best results if you place the antenna outdoors with line of sight to the skies.
- Plug the Raspberry Pi 3 into a power source…and cross your fingers!
- Grab a cup of coffee, walk the dog, or listen to this 12 minute version of the BBC countdown; it could take at least this long for FlightAware to start receiving data from your ADS-B feeder.
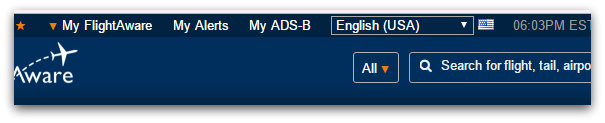
- When you see this My ADS-B button in the header of FlightAware (see below), you’ll know you’re in business. Congratulations! You can now watch the skies.
Feeding FlightAware
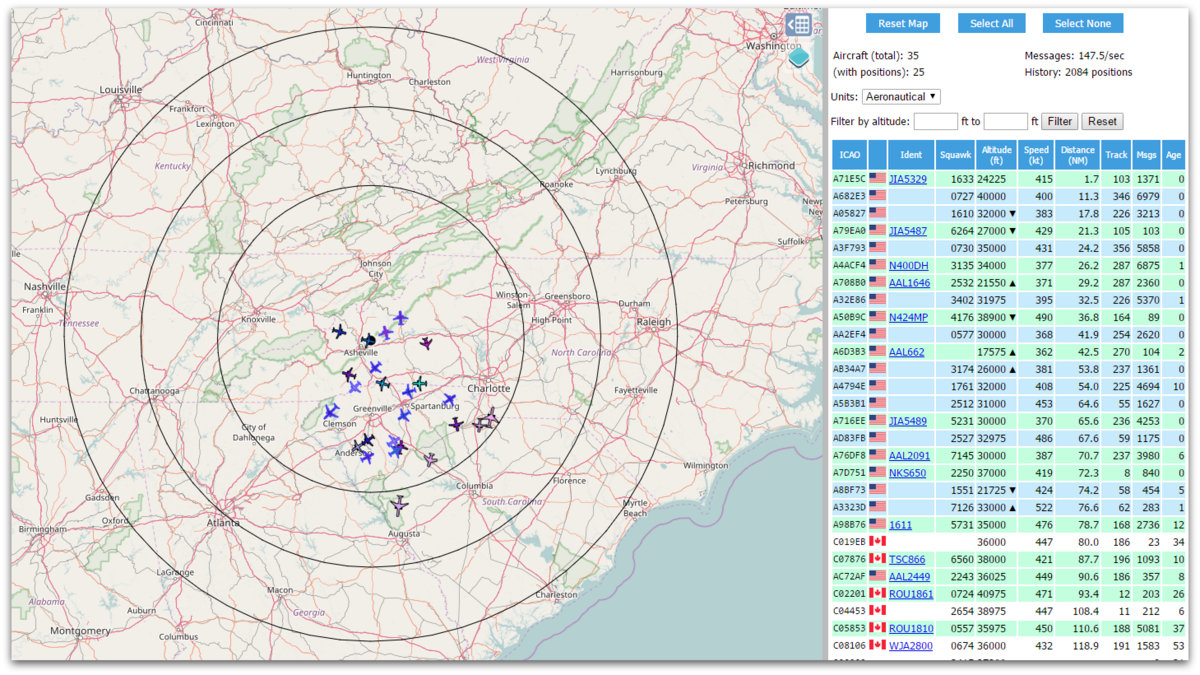
After my ADS-B receiver had been in operation for a while, I was very impressed with the data FlightAware was able to pull from my ADS-B feed. I was equally impressed with the number of distant aircraft I could receive with such a modest antenna––a number of them up to 135 miles from my location. Once I find a suitable outdoor location for the mag mount antenna, currently indoors, I expect the reception distance will increase significantly.

You can also connect to the live feed from your ADS-B receiver through your local network. Here’s a screenshot of my live data:
Future plans
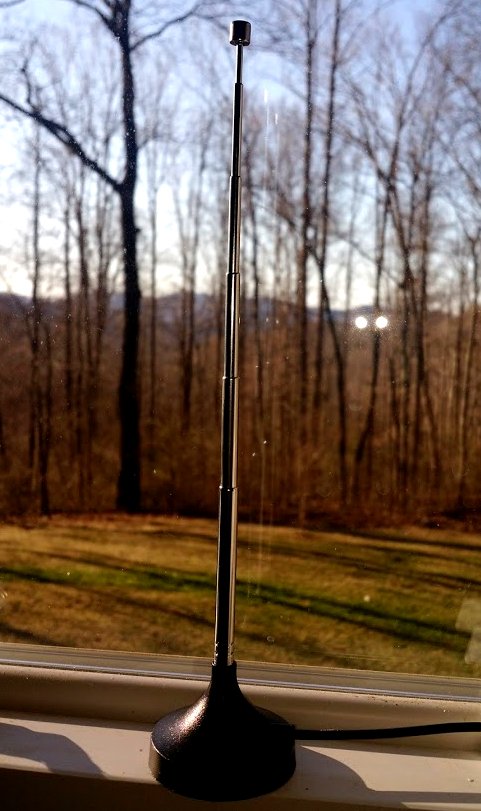 At the moment, my ADS-B receiver is located indoors, in a south-facing window.
It works, but clearly isn’t ideal. Since the Pi 3 connects to my network via WiFi, I intend to install the full ADS-B receiver system into a small weatherproof case and mount it outside. My Pi 3 has no case, so I purchased an inexpensive one yesterday. I should be able to feed it power with an outdoor outlet…but I’m very tempted to experiment with making it solar powered. To find out if this is a logical move, I need to observe and measure the power requirements first, and will be doing that in the next few weeks.
Meantime, I’m thoroughly enjoying watching the (amazingly busy) traffic in the skies…and the kid in me relishes it!
Thanks, Mark, for the great idea!
Have any SWLing Post readers attempted to build a solar-powered or outdoor ADS-B receiver? Please comment!