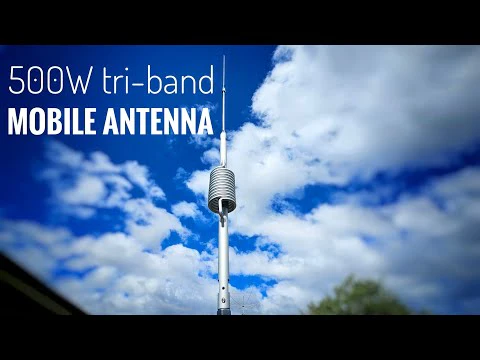
The Radioddity CBL-561 is an antenna designed to work with the Radioddity QT80 10M radio (of course it can work with other radios as well), covering a range of 25 to 30 MHz. It is an extremely solid antenna, with an extensible section easily adjustable for different bands and frequencies. Frankly, I was quite impressed with how well designed the antenna is, and I suspect it could withstand just about any knocks or elements while mounted to a car or other metallic platform suitable for antennas.
There are various mounting methods available as typical for mobile antennas, but given the size, weight, and rigidity of the antenna, either a solid clamping-type mount, or one of the triangular/delta type mounts like the Radioddity M916 with its broader base area, would be my recommendation.
The antenna has a PL-259 connector, which requires your mount to have a S0-239 female connection, or adapted to a different size mount/coax connection. Again, I would recommend keeping connections as straight forward as possible, as adapters can add line loss, but more importantly, weaken the connection chain.
From the Manufacturer:
Compatible with:
10 Meter Radio
Radioddity QT40, Radioddity QT60, Radioddity QT80, and all other brand’s 10 meter radios.
CB Radio
Radioddity CS-47, Radioddity CB-27 Pro, Radioddity CB-500, Radioddity CB-900 Pro, and all other brand’s CB radios.
Specifications:
Frequency Band: 25-30MHz
SWR: ~1.3:1
Maximum Power: 500W (PEP)
Connector: PL-259
Whip Length: Adjustable
Material: Aluminum Alloy
Works with
1. Radioddity M916 Antenna Base (recommended)
2. Radioddity RA-M5 Antenna Base
What’s in the box?
1 x The bottom section of the antenna (fixed length of 44.5 cm/17.5 in)
1 x The middle section of the antenna (fixed length of 32 cm/12.6 in)
1 x The top section of the antenna (variable active length between 26.8 cm/10.6 in and 72 cm/28.3 in)
1 x 2mm Allen-key
———————————
Adjusting the antenna
Adjusting the antenna is very simple. The provided Allen key is all that is needed. The top section of the antenna is adjustable between ~10.5″ and ~28″, based on the frequencies you wish to cover. If you plan on using the antenna for different bands, you might want to mark the antenna with some paint after determining the best height for each band, so as to quickly make the adjustments.
The chart below gives suggested starting points for various frequencies. As each mounting situation is different, you will want to start with these numbers and then make adjustments as needed. For those who may not have done this type of adjustment before, I recommend making very small changes until you get a feel for how much difference an adjustment makes, otherwise you may end up “chasing your tail” as the saying goes.
You will want some form of an SWR meter to check the antenna match. If your radio has one built-in, that may be sufficient for getting it close. If you have access to a stand-alone meter, your readings will likely be more precise. I used an MFJ-269c for my readings, but any basic SWR meter capable of covering the ranges you need will be sufficient.
Another useful suggestion is to try different placements to see where you get the best readings. If mounting to an automobile trunk lid, for example, you might be surprised to realize you often only have two connection points to the trunk and the rest of the car body, namely the trunk lid hinges (as most trunks have rubber insulation around the seam to prevent water leakage).
If you do a search on the Internet for antenna grounding on automobiles, you can find out some interesting ways to increase the effectiveness of any antenna mounted to an automobile which can make use of a much greater surface area. Some solutions are quite clever!!
Conclusion
This is a great time to be working the upper amateur bands, and by extension, the CB band. This antenna should serve you well for those tasks, and should last a good long time! I doubt you could find a more solidly built antenna.
(For my review of the Radioddity QT80 10-meter radio click here.)
73, Robert K4PKM


For many years I used comparable constructions at my shortwave mobile station between 40m and 10 m. A mag mount like this construction can easily be used for antennas in the 1.5 – 1.8 m range. The rigid, lower part of such antennas should be as short as possible to reduce torque.
I see two things that I would change:
First, a current choke directly at the antenna feed point is important, see https://www.dl4no.de/thema/mobilbe0.htm: The feed point is “warm” as it has no direct connection to the roof of the car, only a capacity. Without the current choke you can easily couple noise from the inside of the car into the cable at the antenna feed point. You cannot move the current choke into the car as the cable from the current choke to the antenna feed point would create a radial, easily catching noise from the inside.
Second, especially if you work at lower frequencies, the capacity to the roof of the car is too small. The SIrio PL145 in the page I mention above have a grounded aluminium foil between the magnet and the rubber mat that creates about 200 pF to the roof of the car. That is enough for 20m and up. For 40m you need something like a Diamond MAT-50.