Tag Archives: uBITX v 6.0

The uBITX V6, winter weather and power outages

Yesterday, a weather front moved through the area that dropped temperatures from an unseasonably high of 50F to 25F in the space of a couple of hours.  Fronts like this always equate to high winds here at our altitude. This time, it packed a little snow as well.

Last night, around 22:00 local, our power went out due to a fallen tree further down the road.

Here at SWLing Post HQ, we don’t panic about power outages. As I’ve mentioned before, our refrigerator, freezer and some of our home lighting is solar-powered and off-grid–we also rely on passive solar heating and a good wood stove to keep us warm and cozy.

Without fail, I always use power outages as an excuse to play radio on battery power.

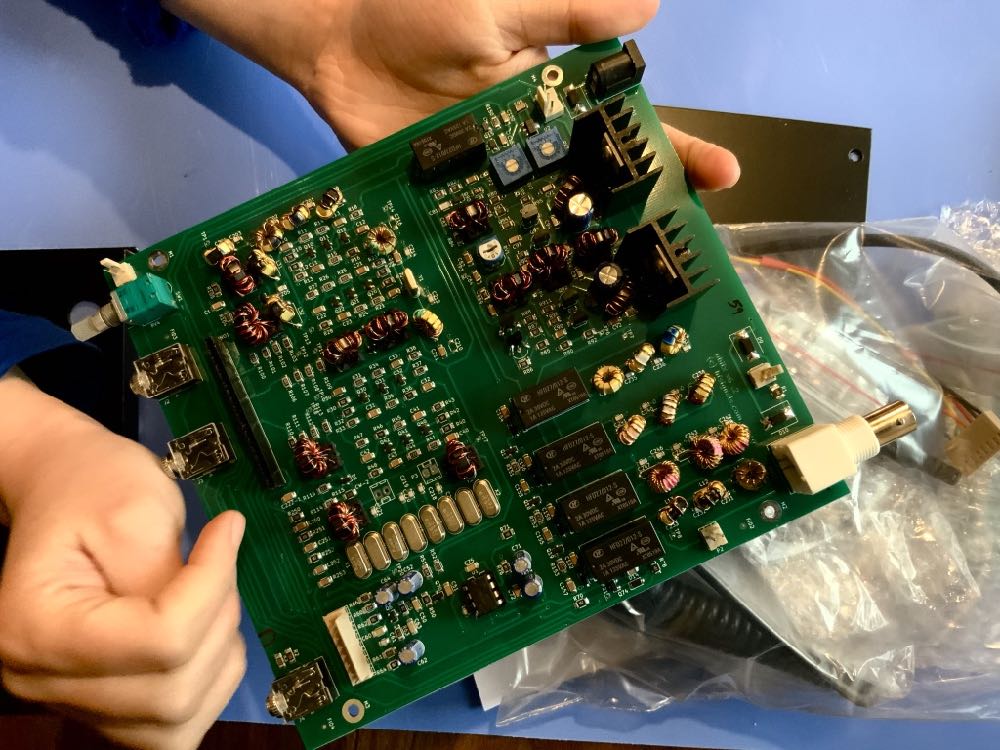
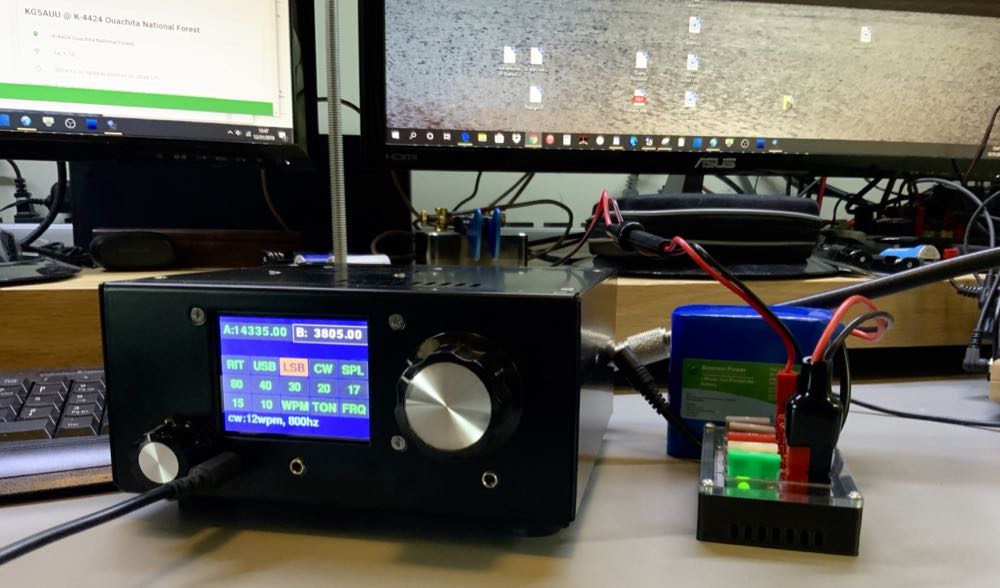
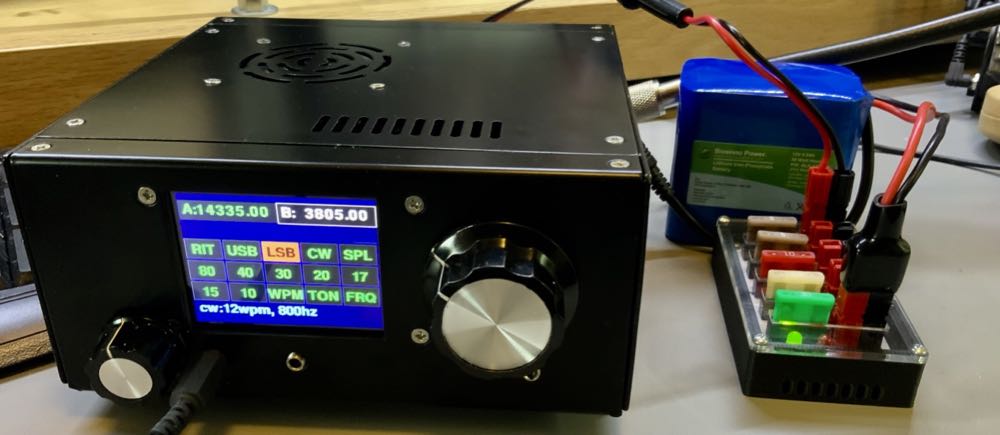
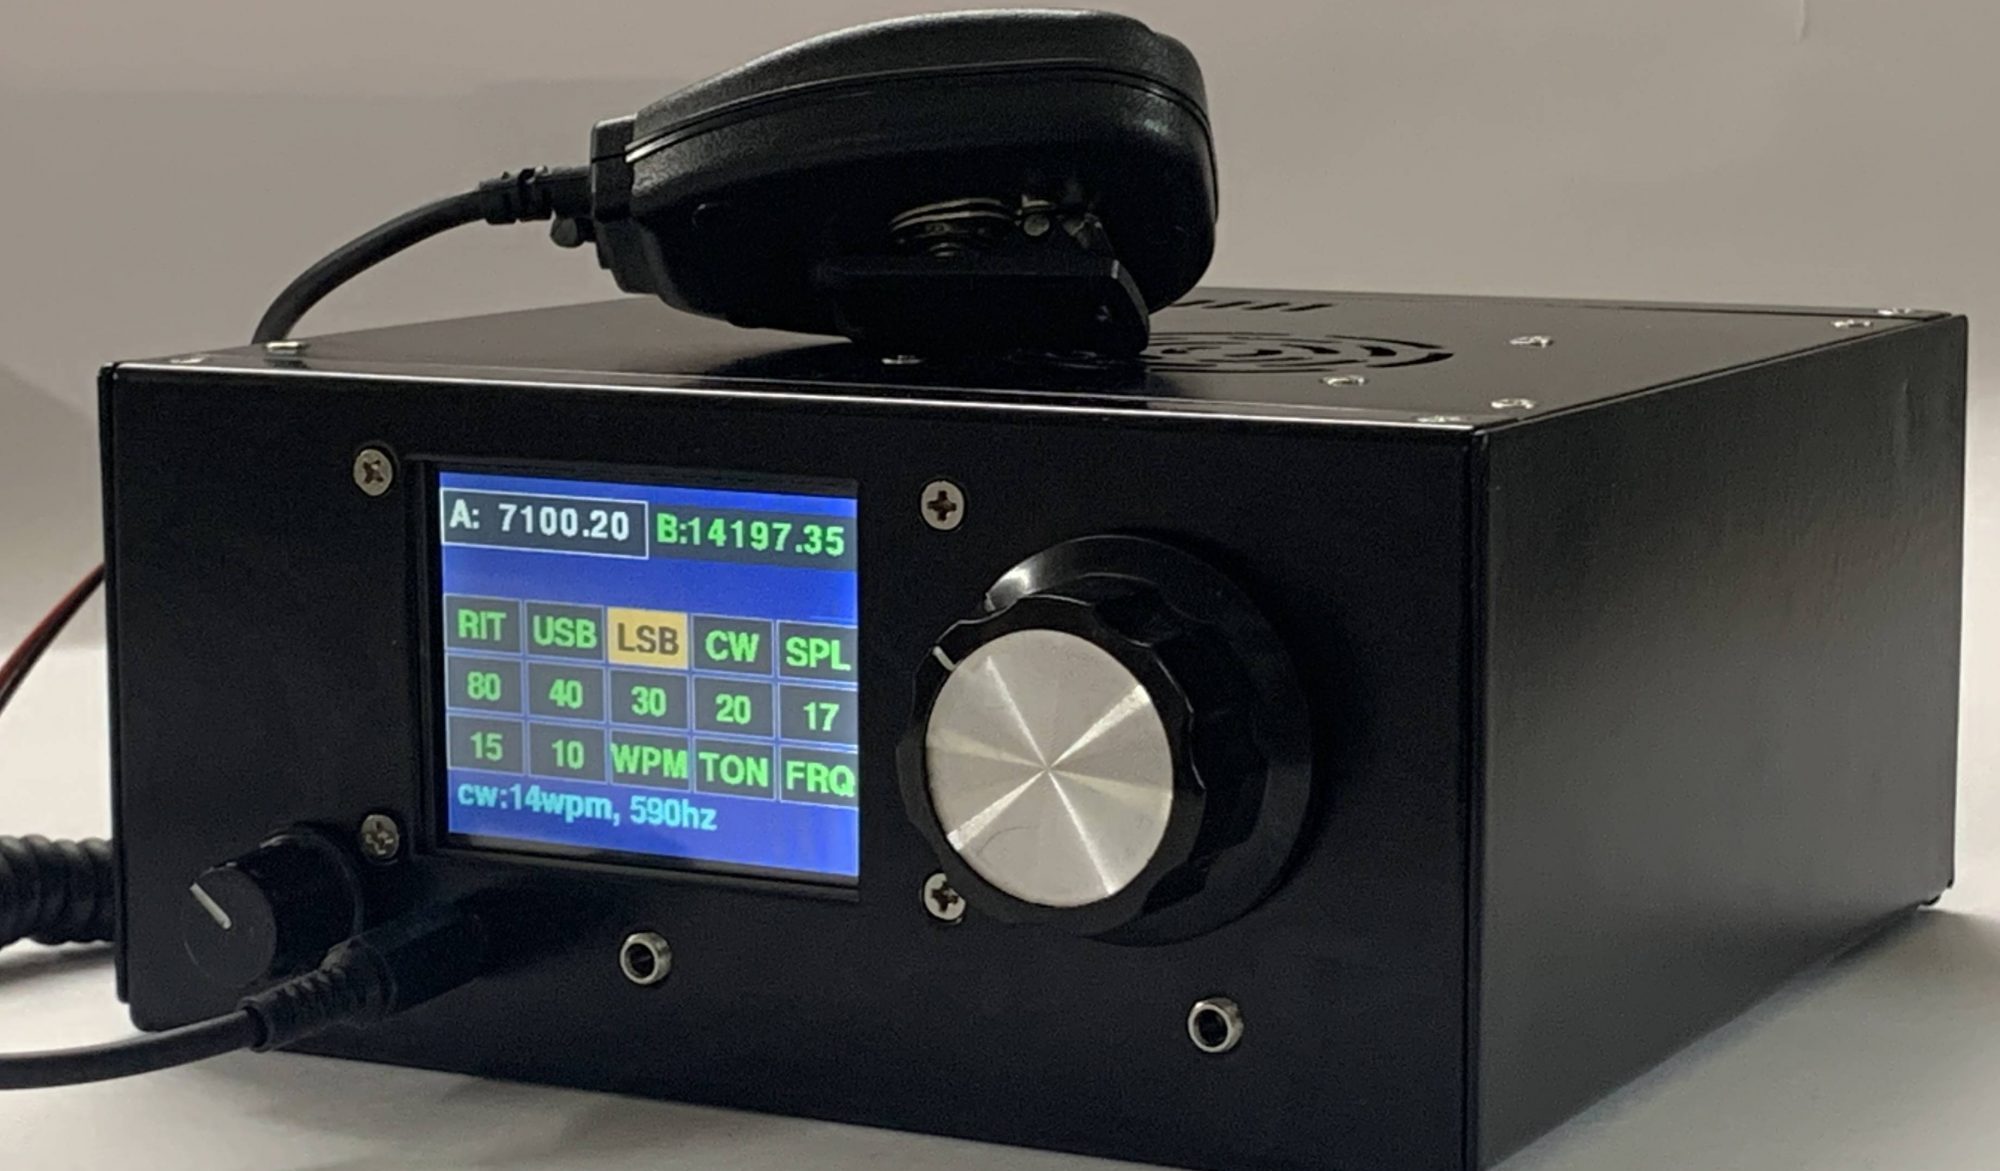
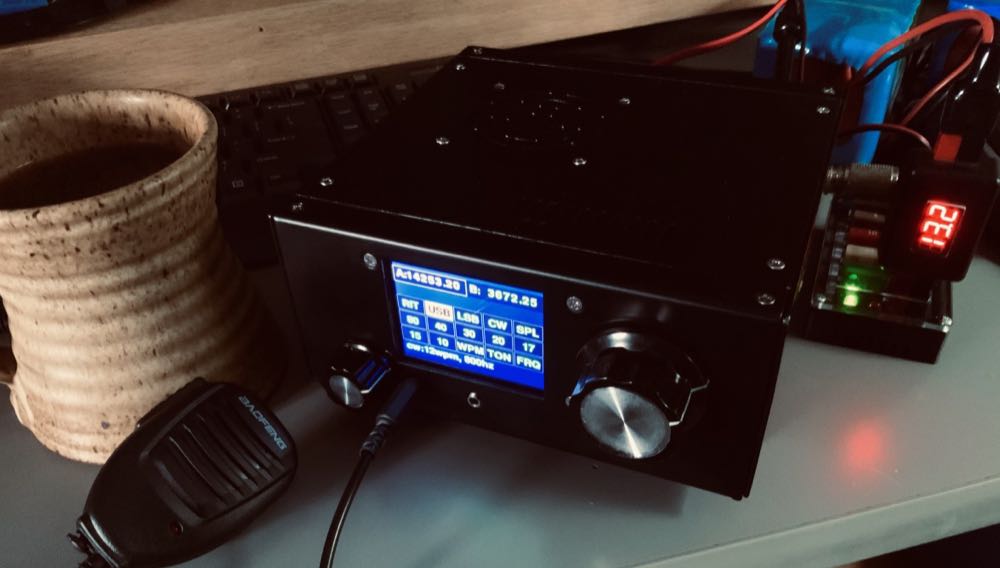
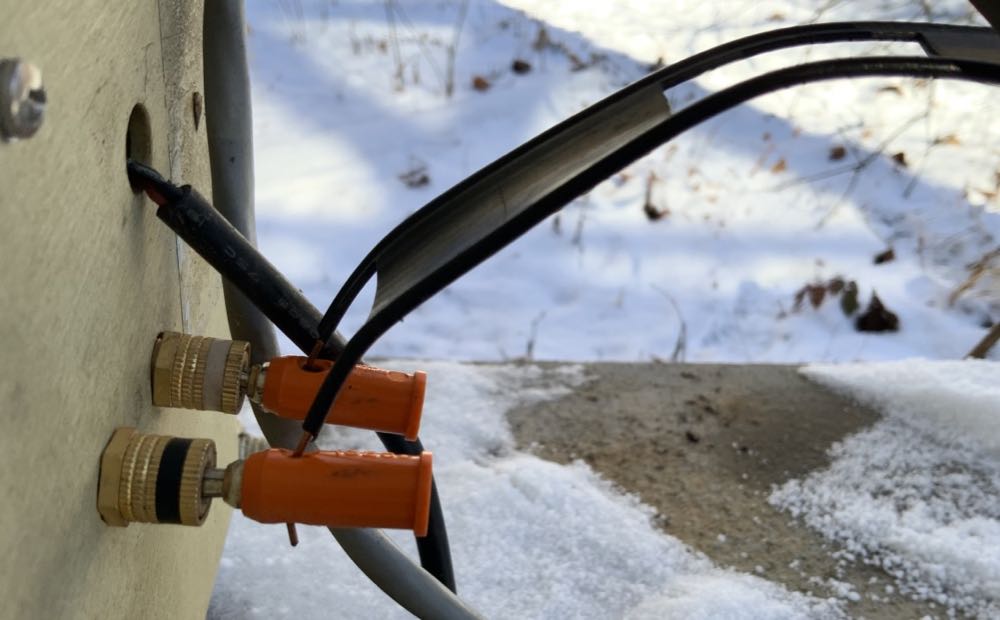
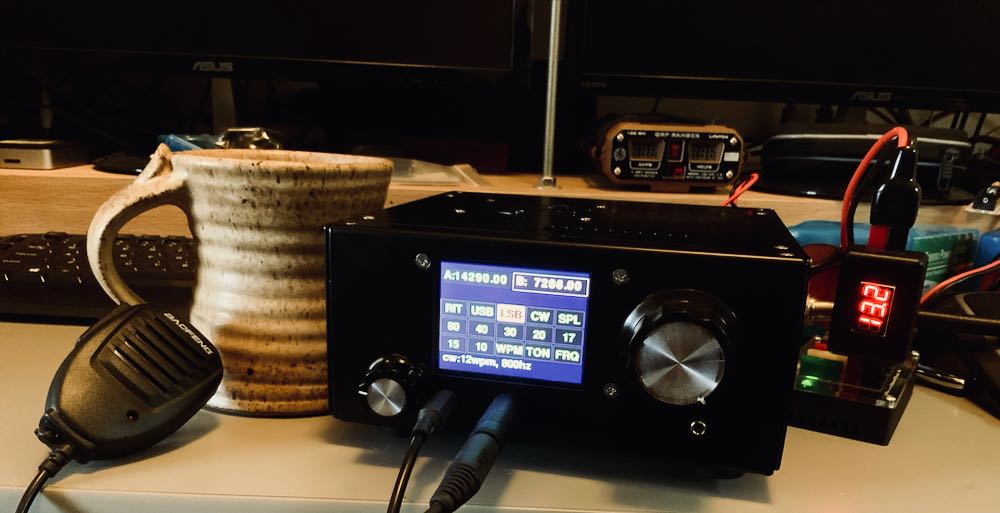
This morning, the uBITX V6 transceiver was already hooked up to a LiFePo battery on my desktop, so I simply turned it on and started tuning around the 40 meter band, where I had recently logged a few POTA contacts. Problem was, the band was absolutely dead, save a couple weak stations. After thinking about it a few seconds (keep in mind this was pre-coffee) I put on my boots and coat, walked outside and confirmed my suspicions: the antenna feedline had become detached from my external ATU box.

The winds were strong enough last night, that the ladder line pulled itself out of the banana connector jacks on the side of the ATU box. This happens quite often during periods of high winds and is a bit annoying. Of course, I could secure the feedline in such a way that it would easily survive high winds without disconnecting, but frankly this is an intentional design choice. You see, when a black bear walks into my feedline, it easily disconnects before the bear gets tangled, up, frustrated and yanks my antenna out of the tree!

Trust me on this: bears and antennas don’t mix. I speak from experience.

After re-connecting the antenna, I fired up my portable alcohol stove (the one you might have seen in this post), boiled water, and made a fresh cup of coffee to take back to the shack.

I turned on the uBITX once again and found that the 40 meter band was chock-full of strong signals.

It’s time to go chase a few more parks today and plot my next POTA activation.

Frankly, I’m in no hurry for the power to be restored.  It’s a wonderful excuse to play radio.

Readers: Anyone else enjoy radio time when the grid goes down? Please comment!


Do you enjoy the SWLing Post?

Please consider supporting us via Patreon or our Coffee Fund!

Your support makes articles like this one possible. Thank you!

Spread the radio love

Assembling the uBITX V6 QRP transceiver

Last Friday, after returning from holiday travel, I found a belated Christmas gift on my doorstep: the new uBITX V6 QRP transceiver.

In the spirit of full disclosure, this package wasn’t delivered by Santa, rather by DHL in record time from India. As I mentioned in a previous post, I simply couldn’t resist purchasing such an affordable general coverage transceiver.

To be clear, the uBITX V6 isn’t really a kit. The boards are all fully populated by a women’s cooperative in India. You can purchase the uBITX V6 for $149 without a chassis and for $199 with a custom metal chassis. I purchased the latter.

Assembly may take thirty to forty minutes following HF Signals’ online guide. I employed my twelve year old daughters who pretty much assembled the entire radio–I only helped seat the display to the main board.

There is no firmware or software to upload. Simply assemble the radio, solder a power cord to the supplied coaxial plug (hint: positive tip polarity), connect an antenna, connect a power supply, and turn it on.

You’re on the air!

So far, I’ve only scanned the bands and listened to QSOs and broadcasters (no AM mode, so I’ve been zero-beating stations in SSB). Today, I hope to chase a few parks via the Parks On The Air program.

I still need to calibrate the radio yet (although it does zero beat WWV perfectly).

If you purchase the uBITX V6, don’t expect a benchmark transceiver. This uBITX V6 feels more like a work-in-progress and I assume the pre-loaded firmware is simply a first iteration.

Since the radio is open source, I expect hams will soon hack this rig to go above and beyond its basic (understatement alert–!) feature set.

If you’re a CW operator, you might hold off on purchasing until someone has properly implemented the mode. I made some test CW CQs into a dummy load just to check out the keyer and I honestly don’t think I could manage a proper QSO at this point. Sending is sluggish and…well…awkward.

Note that I will be writing a full review of the uBITX V6 for a future issue of Radcom (the RSGB’s monthly publication). Check back here for uBITX V6 notes along the way.

Also check out the excellent blog of our friend, John Harper (AE5X), who has also recently put the uBITX V6 on the air!

Anyone else order a uBITX V6? Please comment!


Do you enjoy the SWLing Post?

Please consider supporting us via Patreon or our Coffee Fund!

Your support makes articles like this one possible. Thank you!

Spread the radio love

Just ordered the new $149/$199 uBITX v 6.0 QRP transceiver

Many thanks to SWLing Post contributor, Pete (WB9FLW), who notes that Ashhar Farhan (VU2ESE) has recently announced the availability of the uBITX v 6.0–as Pete notes, “just in time for the Holidays!

Pete shared the following message from Farhan:

Here is what [the uBITx v 6.0] looks like :

And of course, you can buy it on hfsignals.com. The shipping will happen from Tuesday onwards. We have a limited supply of the first 200 boards. The rest is for after Christmas.

The most important thing about this revision is that the Radio circuitry is almost unchanged. We have incorporated the connectors on the PCBs. So, this kit needs none of the confusing soldering. You snap in the TFT Raduino onto the main board, plug the power and antenna from the back, snap on headphones, plug in the mic (supplied with the kit) and off you go!

It is offered in two kits now : The basic kit (150 USD) is without the box (like old times) but with a microphone and two acrylic templates for the front and back panels.

The Full kit (199 USD) has the box with speaker, mounting hardware etc. Both are described on the website.

Now, about the TFT display:

For those who are using the 16×2 display and you would like to upgrade, you will have to do three things:

Add a heatsink to the 7805 of the raduino

Buy [here] and hook it up as per [this article].

Grab the new Arduino sketch from https://github.com/afarhan/ubitxv6

Background:

I have been hacking away at adding a TFT display for the Arduino for sometime. Finally, I managed to do this with a really inexpensive 2.8 inch TFT display that uses a controller called the ILI9341. The display update is slow but, clever guy that I am, the display very usable. it uses the same pins that earlier connected to the 16×2 LCD display. This display is available everywhere for a few dollars.

Many thanks, Pete, for sharing this announcement. The price was simply too attractive to me, so I just purchased the full kit for $199 US. (Thanks for being the good enabler you are, Pete!)

Update – 30 May 2020: Many thanks to Armin Sander who notes that the uBITX V6 full kit price has increased to $209 US.

I’ll post an update when I receive the transceiver and assemble it. I do hope this is a workable little radio–it would be pretty amazing for newcomers to the hobby to be able to get on the HF bands for a mere $200 US. I also love the fact that this is all based on open-source, hackable technologies.

Spread the radio love