 Many thanks to SWLing Post reader, Danny Garris (KJ4FH), for the following guest post which originally appeared on his blog, Up In This Brain:
How I cleaned the sticky coating off of my Grundig G6 radio with guidance from KJ4FH
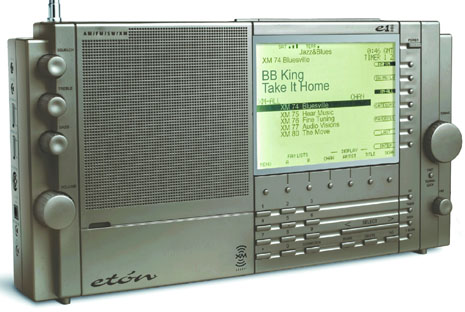
A few weeks ago, I reached out to Danny Garris, KJ4FH, for help on getting the sticky coating off of my Eton E5 radio. I noticed on eBay that he was selling Eton radios with the gunk cleaned off and I was wondering how he did it.
Where does the sticky gunk come from? Well, for some reason the “geniuses” up at Eton/Grundig put a rubberized, chemical coating on a series of radios they released. They looked great new but over time, them coating seems to get adhesive-like properties, almost like it is melting off. It apparently has something to do with humidity and over time it makes everything stick to the radios – dust, dirt, you name it. It’s terribly annoying and just plain nasty. Shame on Eton/Grundig for doing this because a whole generation of good radios are impacted.
This leads me back to Danny and the instructions I have posted below in my Dropbox with his permission.
Click here for Danny’s instructions: 100%Perfected Way To BEST Clean The Sticky Coating Off The Eton E1XM / E1 / E10 /E100 Series Radios
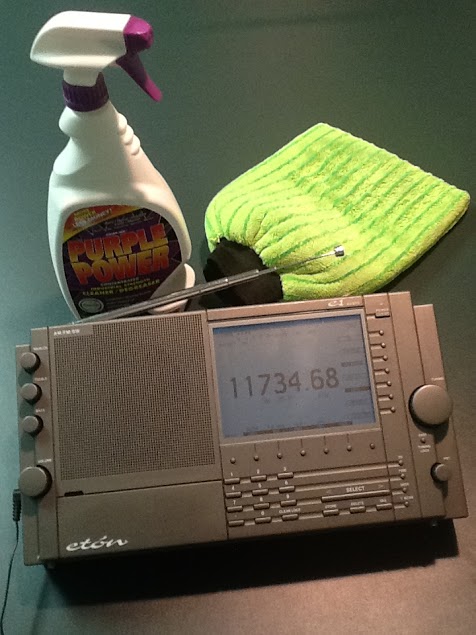
I used rubbing alcohol at first on my Eton E5 based on some back and forth emails I had with Danny and it did remove a ton of the gunk but I also ended up with places in the finish where the paint was removed, as he warned. Still, my concern was getting rid of the gunk more than appearances since my Eton E5 is a radio I use almost daily that I have no intention of selling. In fact, I am keeping an eye on eBay for a spare unit to purchase just in case because the E5(also Grundig G5) is an amazing radio.
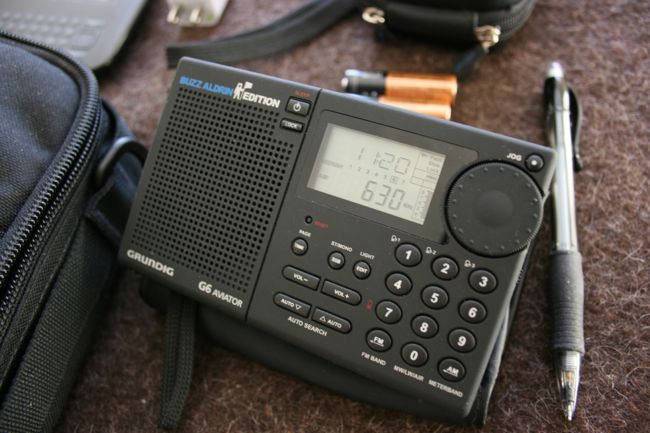
Not long after getting his full instructions with oven cleaner as a new ingredient to try, I noticed a Grundig G6 for sale on eBay for just $19.99 as a buy it now price. I briefly had a G6 years ago and I have always missed it but good units are typically somewhat expensive and rare. This G6 was advertised as working perfectly but completely sticky. The seller posted pictures showing it was one of the stickiest and nastiest radios I had ever seen. But, armed with Danny’s method for cleaning the radios, I grabbed it, knowing I probably would not get another chance at a G6 for such a cheap price.
Below are before and after pictures. The before pictures are from the eBay auction and the radio did in fact arrive that nasty but it does work perfectly! In fact, it is a fantastic performer for the size. I love the tuning knob and the tuning method alone makes it much easier and more fun to use than my Tecsun radios and my recently purchased Eton Traveller III. The G6 is a worthy companion for my Eton E5 and I am very pleased with this purchase.
The after pictures are from the hour of work I did cleaning the radio last night. So far I have cleaned the radio with oven cleaner only. I took about 45 minutes using the Q-tip method and then about 15 minutes “polishing” with a clean white cloth dipped in oven cleaner as I went. I still have some additional detail cleaning to do but the results so far are like night and day.
I owe Danny a big thank you as you can see in the images below and, keep in mind, I still have a bit more work to do so this radio is going to look even better shortly!
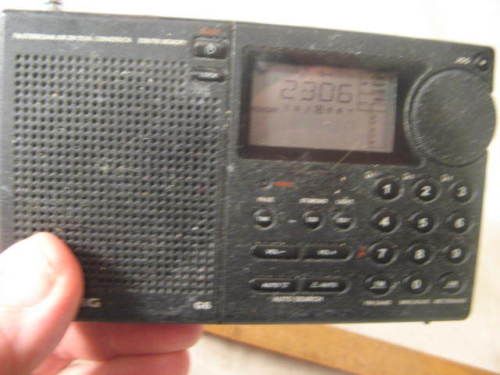
Here is the front as shown in the auction. Gross! According to the description, the seller bought it at an estate sale.
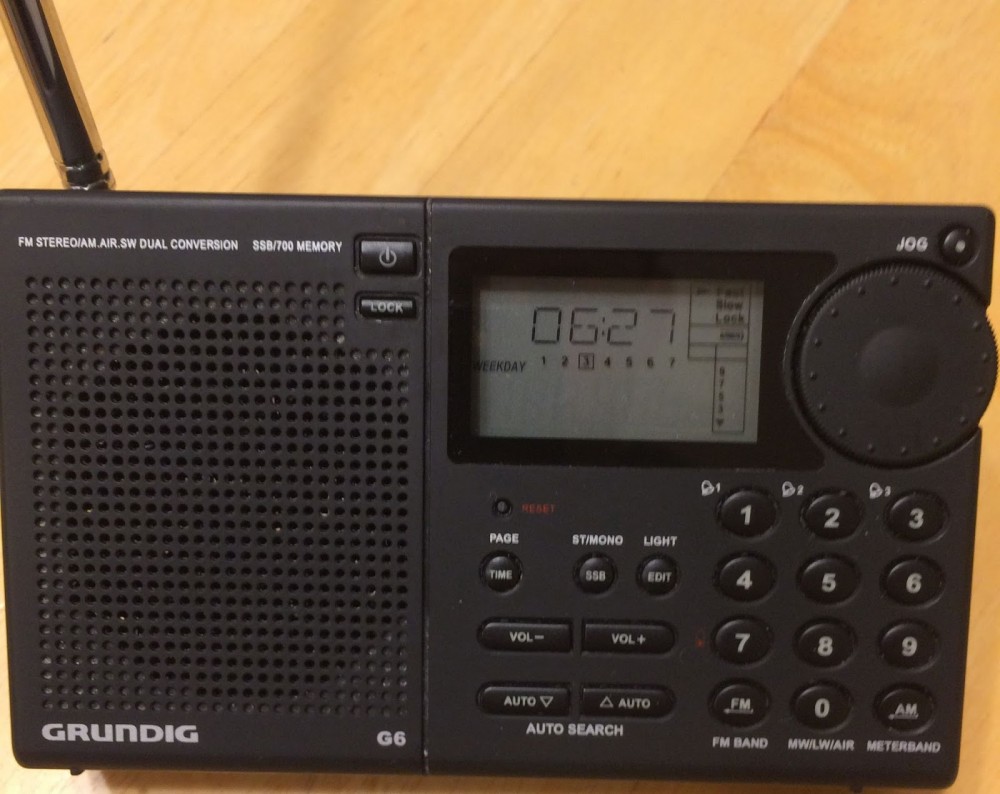
What a difference some over cleaner makes! I need to blow out the speaker with compressed air to get the Q-tip remnants out and do some minor detail work but the front is almost in new condition now.
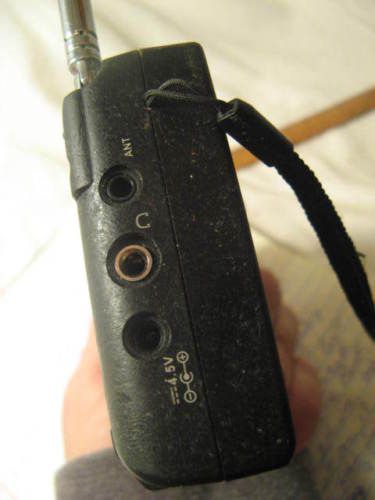
As shown in the auction listing, yuk!
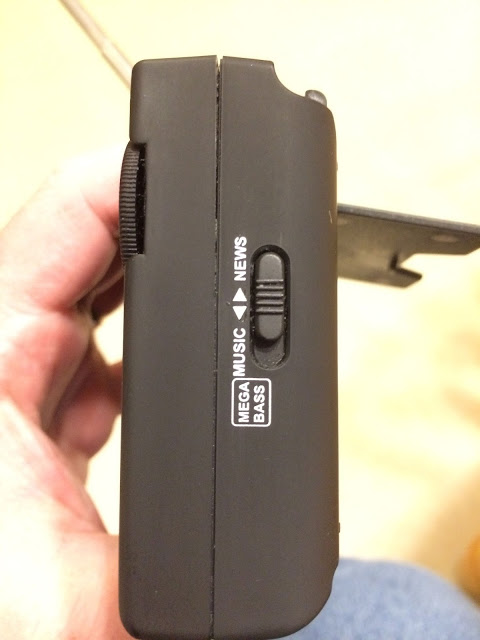
I may do a little work with rubbing alcohol or WD-40 to get the shine back on this side but wow – what a difference!
I wonder if this radio was laying in the grass or something. It was nasty to even pick up and touch!
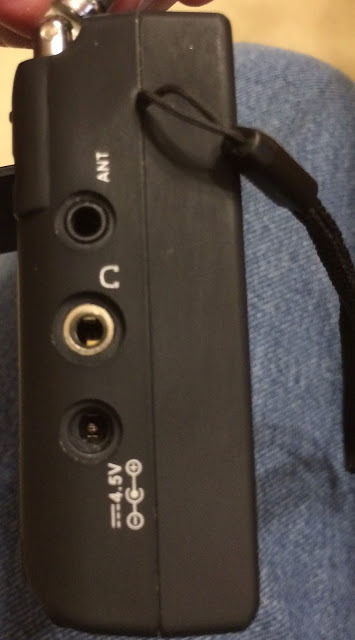
After oven cleaner, it’s like new again. I need to do a little more detail work but that’s it!
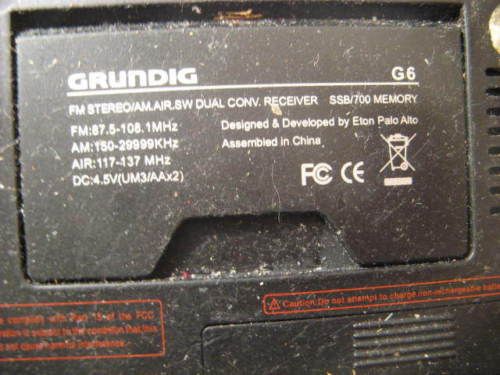
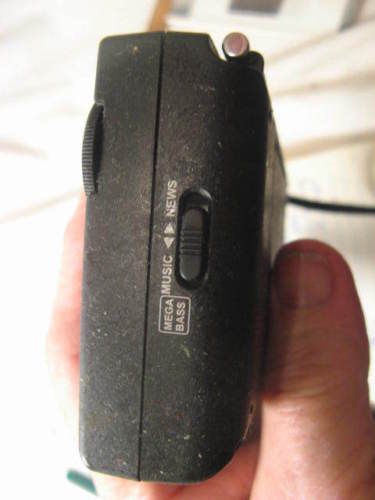
This picture in the auction made me wonder if I was biting off a bit more than I could chew!
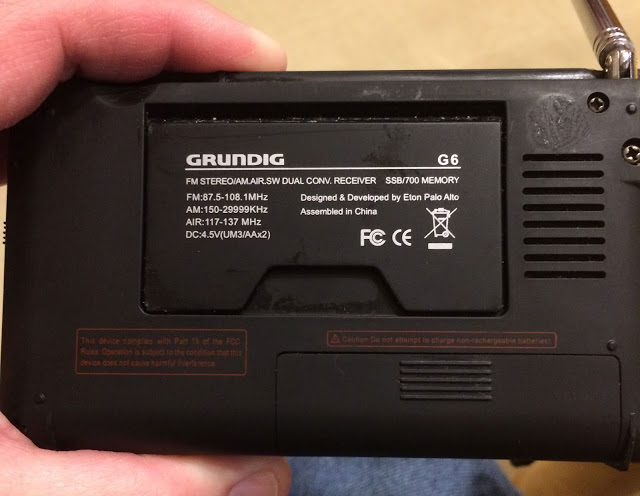
I still have a bit of work to do on the back but WOW! What a difference!
What a difference, indeed! Thanks for sharing your experience and results, Danny!
I love my little Grundig G6 and, for some reason, the coating has yet to become properly sticky. I know it’s only a matter of time, though, so I’ll keep this procedure in mind.
This has actually been a fairly popular topic on the SWLing Post, no doubt because so many SWLs have radios with tacky coatings. Click here to read previous posts with cleaning techniques.
If you’re interested in the now discontinued Grundig G6, check eBay for listings. Perhaps you too can find a “sticky” radio special!