Tag Archives: How to clean sticky radios

Sticky radios? John shares yet another solution.

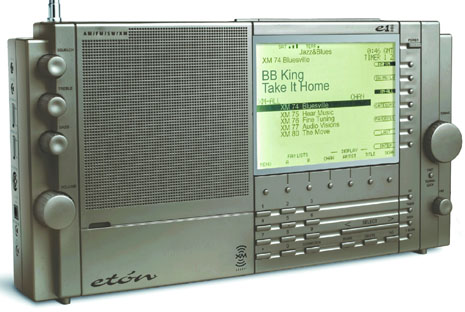
Eton-e1

Many thanks to SWLing Post contributor, John Figliozzi, who writes:

Sean at Universal Radio in Reynoldsburg, OH put me on to another terrific product that does the job fabulously and quite easily. It’s called MaxPro Ink/Adhesive Remover and is a citrus-based cleaner/solvent that won’t harm the radio’s plastic casing. You can get it on eBay for around $11 with free shipping:

Click here to view on eBay.

It took me a total of less than 3 hours to clean both my E1s. I used a lot of paper towels, working a section of the radio at a time, spraying the solvent onto the towels and then rubbing the surface free of the degraded and sticky rubberized coating. After removing the coating, I simply wiped down the radio with a wet paper towel to remove any residual solvent. They are now clean and smooth and look like new with all the white print intact. And my hands didn’t suffer any from contact with the solvent.

A reminder if you do this: It’s important to seek out citrus-based solvents and avoid petroleum based solvents. It was so easy with this product that I wished I had done this a long time ago and wasn’t so nervous about taking it on.

John Figliozzi
Halfmoon, NY

Thank you, John! I just noticed that a few of my rubber-coated receivers are starting to get tacky. I like the idea that this adhesive remover is gentle on the chassis. Click here to search eBay for MaxPro Ink/Adhesive Remover.

We’ve posted a number of solutions for sticky radios. Click here to view past posts.

Spread the radio love

How Danny removed the sticky residue from his Grundig G6

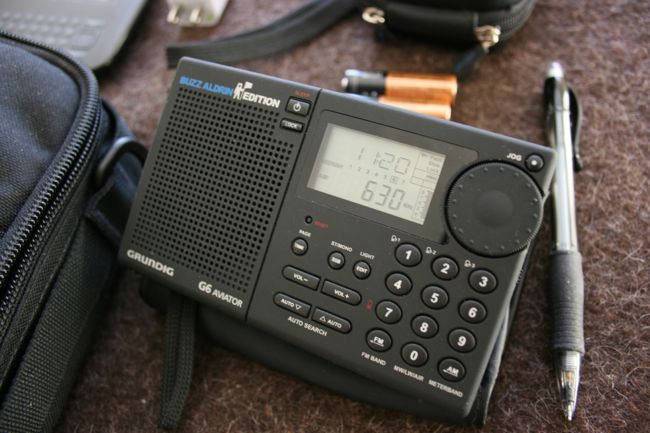
SWL Travel Gear - Grundig G6Many thanks to SWLing Post reader, Danny Garris (KJ4FH), for the following guest post which originally appeared on his blog, Up In This Brain:


How I cleaned the sticky coating off of my Grundig G6 radio with guidance from KJ4FH

A few weeks ago, I reached out to Danny Garris, KJ4FH, for help on getting the sticky coating off of my Eton E5 radio. I noticed on eBay that he was selling Eton radios with the gunk cleaned off and I was wondering how he did it.

Where does the sticky gunk come from? Well, for some reason the “geniuses” up at Eton/Grundig put a rubberized, chemical coating on a series of radios they released. They looked great new but over time, them coating seems to get adhesive-like properties, almost like it is melting off. It apparently has something to do with humidity and over time it makes everything stick to the radios – dust, dirt, you name it. It’s terribly annoying and just plain nasty. Shame on Eton/Grundig for doing this because a whole generation of good radios are impacted.

This leads me back to Danny and the instructions I have posted below in my Dropbox with his permission.

Click here for Danny’s instructions: 100%Perfected Way To BEST Clean The Sticky Coating Off The Eton E1XM / E1 / E10 /E100 Series Radios

I used rubbing alcohol at first on my Eton E5 based on some back and forth emails I had with Danny and it did remove a ton of the gunk but I also ended up with places in the finish where the paint was removed, as he warned. Still, my concern was getting rid of the gunk more than appearances since my Eton E5 is a radio I use almost daily that I have no intention of selling. In fact, I am keeping an eye on eBay for a spare unit to purchase just in case because the E5(also Grundig G5) is an amazing radio.

Not long after getting his full instructions with oven cleaner as a new ingredient to try, I noticed a Grundig G6 for sale on eBay for just $19.99 as a buy it now price. I briefly had a G6 years ago and I have always missed it but good units are typically somewhat expensive and rare. This G6 was advertised as working perfectly but completely sticky. The seller posted pictures showing it was one of the stickiest and nastiest radios I had ever seen. But, armed with Danny’s method for cleaning the radios, I grabbed it, knowing I probably would not get another chance at a G6 for such a cheap price.

Below are before and after pictures. The before pictures are from the eBay auction and the radio did in fact arrive that nasty but it does work perfectly! In fact, it is a fantastic performer for the size. I love the tuning knob and the tuning method alone makes it much easier and more fun to use than my Tecsun radios and my recently purchased Eton Traveller III. The G6 is a worthy companion for my Eton E5 and I am very pleased with this purchase.

The after pictures are from the hour of work I did cleaning the radio last night. So far I have cleaned the radio with oven cleaner only. I took about 45 minutes using the Q-tip method and then about 15 minutes “polishing” with a clean white cloth dipped in oven cleaner as I went. I still have some additional detail cleaning to do but the results so far are like night and day.

I owe Danny a big thank you as you can see in the images below and, keep in mind, I still have a bit more work to do so this radio is going to look even better shortly!
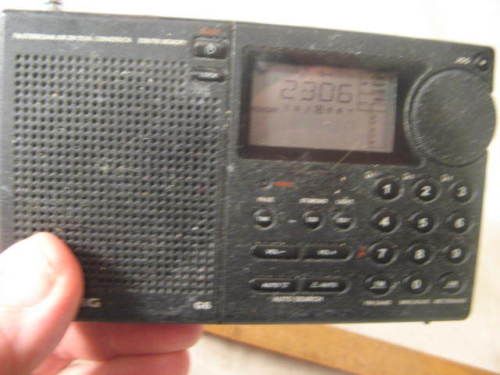
front_before

Here is the front as shown in the auction. Gross! According to the description, the seller bought it at an estate sale.
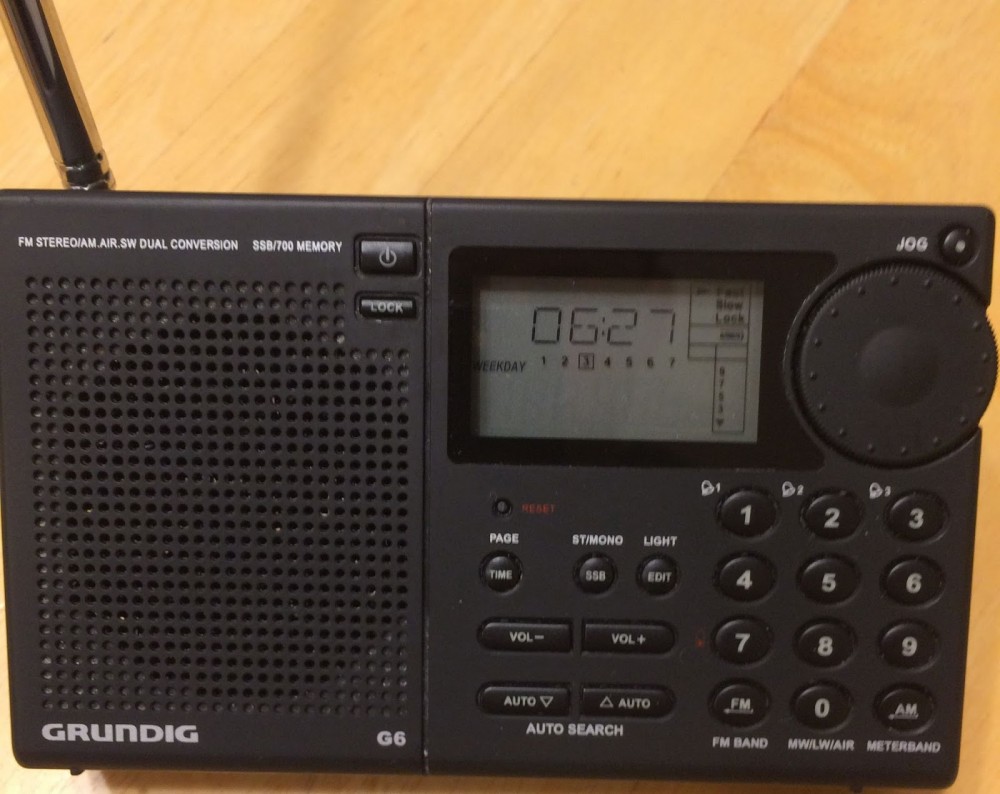
front_after

What a difference some over cleaner makes! I need to blow out the speaker with compressed air to get the Q-tip remnants out and do some minor detail work but the front is almost in new condition now.
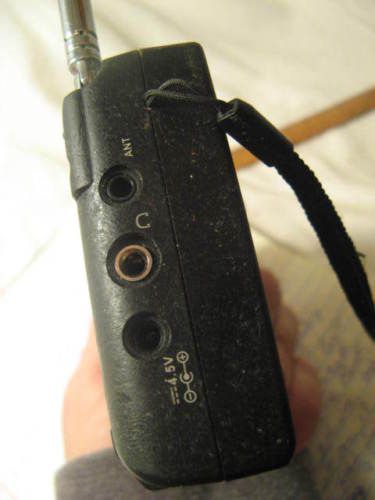
As shown in the auction listing, yuk!
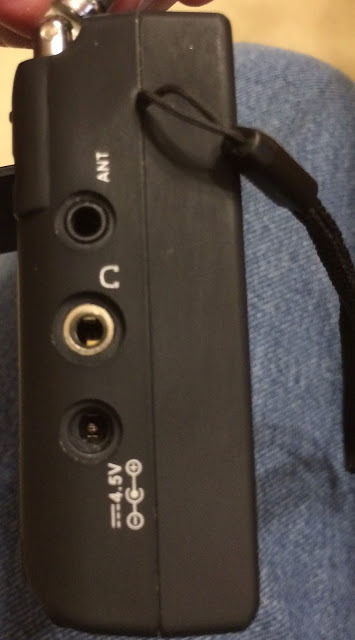
As shown in the auction listing, yuk!

I may do a little work with rubbing alcohol or WD-40 to get the shine back on this side but wow - what a difference!

I may do a little work with rubbing alcohol or WD-40 to get the shine back on this side but wow – what a difference!
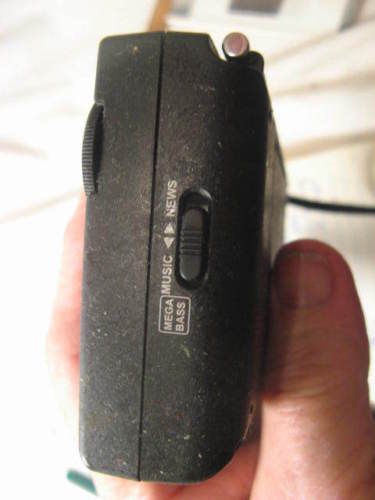
I wonder if this radio was laying in the grass or something. It was nasty to even pick up and touch!
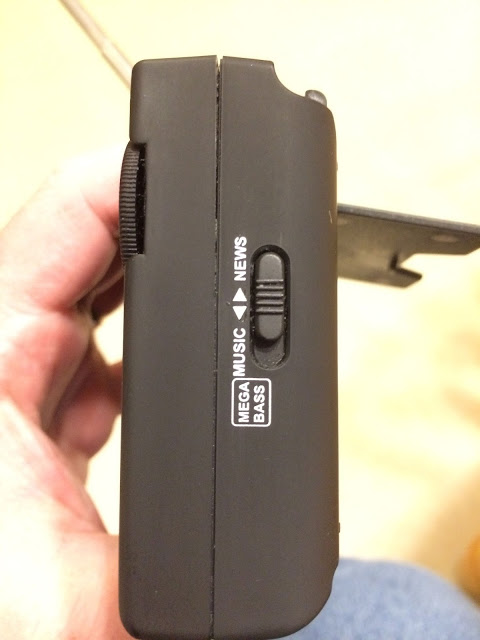
I wonder if this radio was laying in the grass or something. It was nasty to even pick up and touch!

After oven cleaner, it's like new again. I need to do a little more detail work but that's it!

After oven cleaner, it’s like new again. I need to do a little more detail work but that’s it!
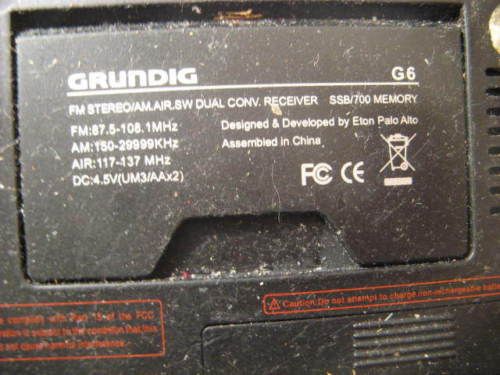
This picture in the auction made me wonder if I was biting off a bit more than I could chew!
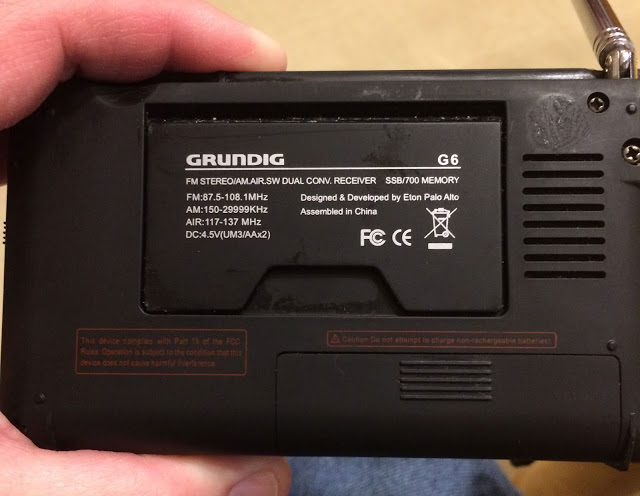
This picture in the auction made me wonder if I was biting off a bit more than I could chew!

I still have a bit of work to do on the back but WOW! What a difference!

I still have a bit of work to do on the back but WOW! What a difference!


What a difference, indeed! Thanks for sharing your experience and results, Danny!

I love my little Grundig G6 and, for some reason, the coating has yet to become properly sticky.  I know it’s only a matter of time, though, so I’ll keep this procedure in mind.

This has actually been a fairly popular topic on the SWLing Post, no doubt because so many SWLs have radios with tacky coatings. Click here to read previous posts with cleaning techniques.

If you’re interested in the now discontinued Grundig G6, check eBay for listings. Perhaps you too can find a “sticky” radio special!

Spread the radio love

Purple Power: Another solution for sticky radios

Many thanks to Mike Nikolich (N9OVQ), who writes with another solution for sticky radios:

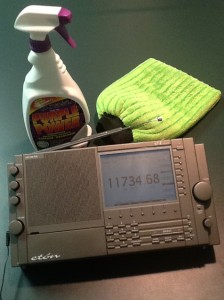
Eton-E1-Purple-Power-2013-10-16

After the display on my Eton E-1 receiver died, the good folks at Universal Radio swapped my broken but lightly used radio for a factory reconditioned unit. Fred Osterman warned me that the plastic case was sticky and somewhat gross and he wasn’t kidding, but I was still grateful that he had a replacement radio.

After searching around the Internet (including your blog) and trying various cleaners and solutions that didn’t remove the dirt and grime from the radio (such as rubbing alcohol, Gunk and dishwasher detergent), I went to my local O’Reilly Auto Parts store and asked if they had a recommendation. Their solution was a product called Purple Power ($4.49) and a microfiber shammy mitt ($4.50). In less time than it took me to watch an episode of “Dr. Phil,” my Eton cleaned up beautifully, with no damage to the unit — it looks and feels brand new. The plastic retained that nice tacky feel without all of the stickiness that attracts gunk like dust, hair and other crud.

Purple Power is made by Aiken Chemical. You’ll want to have a clean bucket of water to remove the gunk that Purple Power removes from the plastic — it really was disgusting but I won’t hesitate to give the radio a Purple Power bath the next time it starts getting gross. And, no, I’m not affiliated with Purple Power, Eton or anyone else, including the microfiber shammy!

Click this link to find Purple Power retailers.

Spread the radio love

Mike’s solution for sticky radios

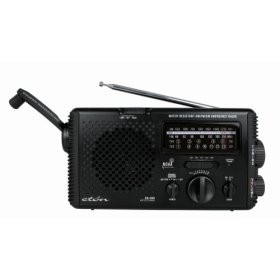
Many shortwave radios, such as those manufactured by Grundig/Eton, have been produced with a rubberized coating that makes the radio easier to hold in the hand. I like this coating because it gives me a sure grip on the radio.

However, over time (say, two to three years) the coating can break down and begin to produce a sticky residue. All of a sudden your “grippy” coating feels more like tacky paint–even leaving a bit of residue on anything it touches.

Many models have this coating: The Grudig G5 and G3, The Eton E1, E1-XM, FR350, FR400, FR500 and FR600, to name a few.

Michael Kitchen (KD5PXH) recently wrote with his solution for sticky radios:

After experementing with cotton balls/pads, and using window cleaner and other liquid agents, I managed to decently remove the gummy coating from an Eton FR-400.

Best to use 91% Isopropyl Alcohol, and a clean but disposable (dry) wash cloth or something similar.

The stronger percentage alcohol makes for easier breaking down of the sticky, and the wash cloth to remove, without damaging the surface or removing lettering. The trick is to always use clean spot on wash cloth, keep from just smearing the stickyness around. The wash cloth will lift and absorb sticky, so keep using a clean spot on cloth. The cloth needs only be damp with alcohol, not dripping wet. Use dry spot on cloth to wipe clean the surface.

There may be a hazy white patina, but much of this can be wiped away.

It takes a little bit of effort, but the results are worth while.

Thank, Mike!

Spread the radio love