Many thanks to SWLing Post contributor, Jerry Rappel, who writes:
Being both retired, my wife and I frequently visit various estate sales and garage sales. I’m mainly looking for ham radio items, vintage radios, Beatles items, and pre 1925 – 78 records. I have been rather lucky in finding a couple vintage phonographs, vacuum tubes, and other items that I try to fit into my over stuffed ham radio room.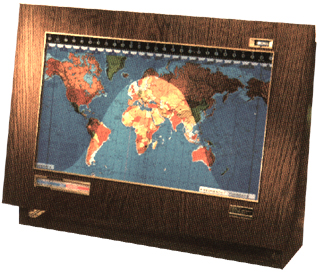
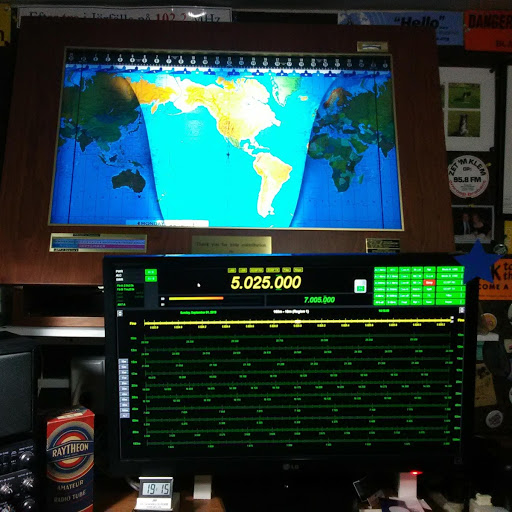
This day at an estate sale I did a breathtaking double take on a Geochron Special boardroom model world wall clock sitting on a table in a special wood desktop display stand (these stands alone are around $200.00 according to their website). And it had a small engraved presentation placard on the bottom front panel. (Thanks to XXXXX and Associates for your contribution).
The clock was marked $150.00. I took some pictures and checked it out on line when I returned home, sure enough this was the clock I had sent for additional information on in a ham radio magazine many years ago, discovering to my surprise it was over $1,200. Off my list immediately. WOW!! The very next day I was at the sale again as it was 20% off the second day!! I plugged it in to make sure all was well with it, and immediately took it to the table to purchase it, all 38.4 pounds of it.
Before the internet, the Geochron World Clock was the only way to see the Sunrise and Sunset on Earth in real-time, in sync with the Earth’s 23.4 degree axial tilt against the Sun. President Reagan presented as a gift to Mikhail Gorbachev as an example of American Engineering, and these photogenic world clocks have appeared in motion pictures like the The Hunt for Red October.
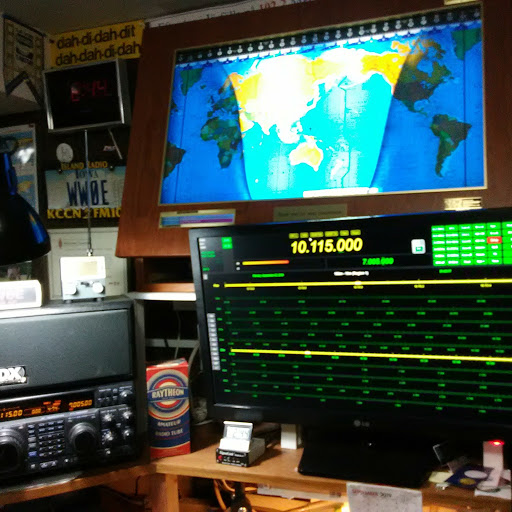
So back home again, I designed a solidly built shelf for it above my computer monitor, with special supports. 34 x 22 x 7 inches it just fits. This is a great help for my ham radio and SWL propagation.
I’m still in amazement at this unique find and what I paid for it. No one at the sale really knew what it was, including the people giving the estate sale! Yes I lucked out big time, being in the right place at the right time. Estate sales are great!!
There is a new version of this clock out now: The Geochron Digital 4k UHD gives viewers beautiful displays of the Earth with the sunrise-sunset rendered in real-time through a small computer that plugs directly in to your TV via HDMI.
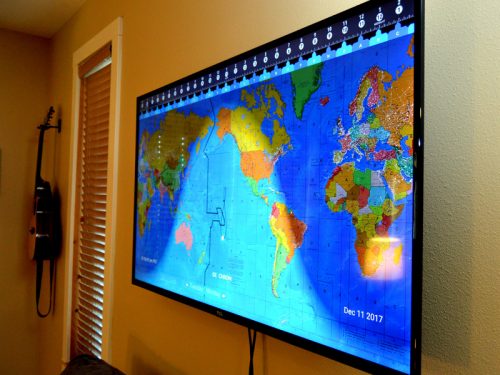
A Geochron Digital 4k UHD (Source: Geochron)
The size of your display is only limited by the size of your TV, as you take in the terrestrial movement of the Earth’s orbit in sync with the Sun.
Click here to check out Geochron products on eBay.
Yes indeed, Jerry, you certainly snagged that Geochron for a brilliant price! Those mechanical clocks are truly a masterpiece of engineering and design.
I love the versatility of the 4K Digital Geochron clocks and had considered reviewing one for a magazine shortly after they were introduced.
Readers: If you love the idea of a greyline/sunlight map in the radio shack, but can’t afford a proper Geochron clock, consider building a simple Raspberry Pi version! I’m about to re-purpose a Raspberry Pi 3B to be a dedicated map based on these instructions. All in–if you use an existing monitor/TV–the project will only set you back $35 or so. In my case, even the Raspberry Pi is an extra unit sitting here in the shack waiting for the project! I’m also considering Ham Clock as it has more options for customization. When I finally have a bit of time to do the project, I’ll publish it on the SWLing Post!
Thanks again, Jerry!