Earlier this year I published what I called an “initial” review of the CommRadio CTX-10 QRP transceiver, promising an eventual final review. The reason for this is that I sensed there were important CTX-10 updates on the horizon, and I wanted to re-evaluate the rig once the upgrades had been implemented through firmware.
This final review builds upon the initial review––think of it as the second installment, or “Part 2″––so if you’re considering the purchase of a CTX-10 and haven’t read the previous post about it, please do read the initial review first.
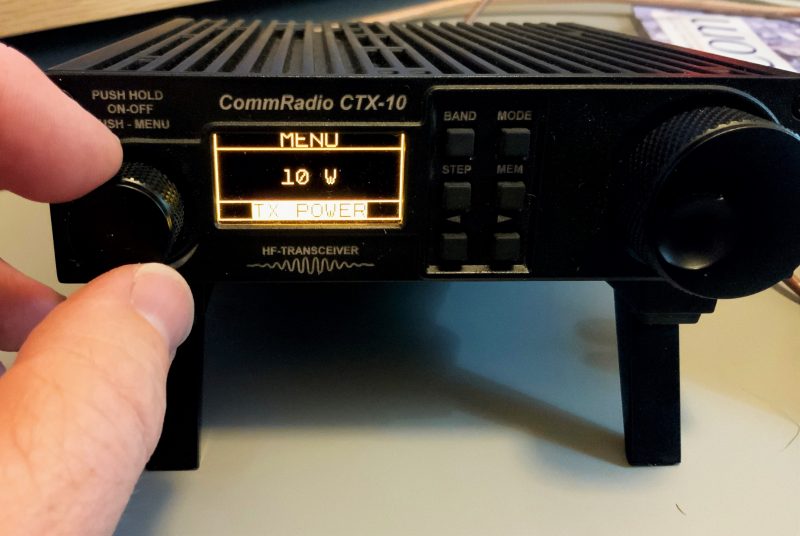
Upgrades
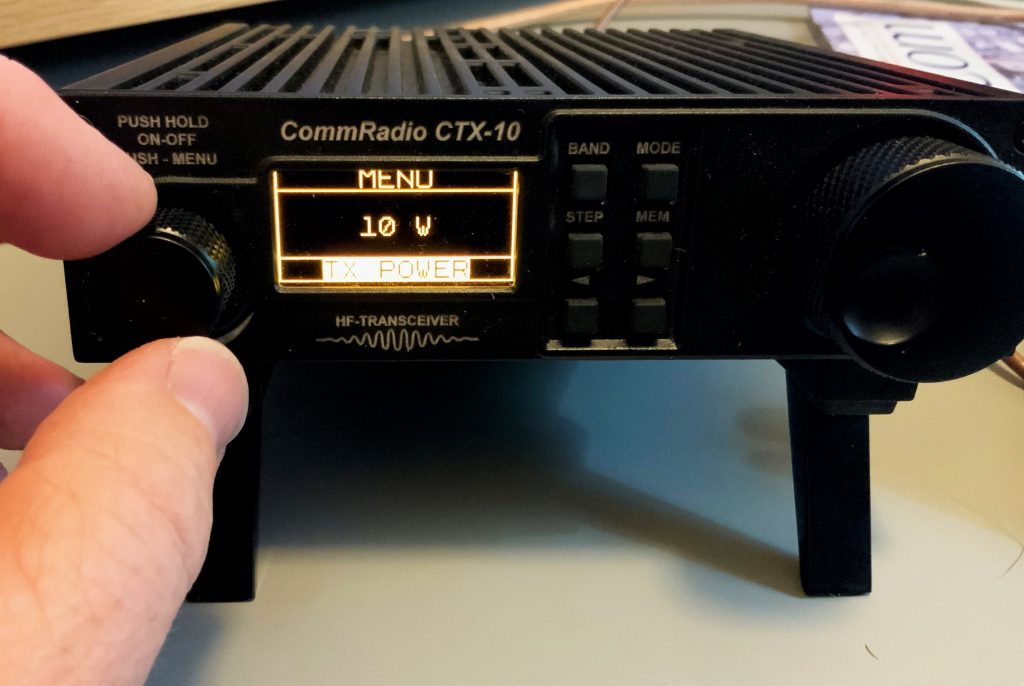
As anticipated, via simple at-home firmware updates, since my initial review the CTX-10 has now been upgraded and tweaked a number of times. [Click here to view all of the documented firmware updates and notes at CommRadio.]
I’ve been very pleased with the attention CommRadio has paid to their customer feedback on some of the most important requests.
Instead of reiterating what I wrote in the initial review, I’ll jump straight into the upgrades.
Operating split
At time of posting my initial review, the CTX-10 didn’t have A/B VFOs. This was my primary gripe about the CTX-10, because without A/B VFOs, there was no way to operate split, which meant that you could not work DX stations that use split to manage large pileups. This is actually a really important feature for a QRP radio because during split operation, a pileup is pulled apart across a few kHz of bandwidth, thus giving a 10-watt signal a better chance of being heard through a collection of legal-limit signals.
On June 10, 2019, CommRadio released a firmware package that added A/B VFOs and the ability to operate split to the CTX-10.
Even though there are only a limited number of buttons on the front panel, it’s incredibly simple to enter into split mode:
- Chose the frequency and mode;
- Hold the STEP button for one second or more, then release. You’ll then see a split display indicating the TX and RX frequencies.
- Use the left arrow key [<] to toggle between them.
I do like the clear TX and RX lines, which leave no doubt in the user’s mind what the frequency used for transmitting and receiving is. On some radios, this can be a bit confusing.
Split operation is simple and effective, thus I consider this issue fully resolved.
ATU flexibility
In my initial review, I noted that the CTX-10 ATU needed near-resonant antennas for the ATU to make a strong 1:1 match. Indeed, a number of times I actually used a near-resonant antenna in the field––the EFT Trail-Friendly, for example––and the ATU couldn’t get below a 3:1 match. For what it’s worth, CommRadio states that the CTX-10 can easily handle 3:1.
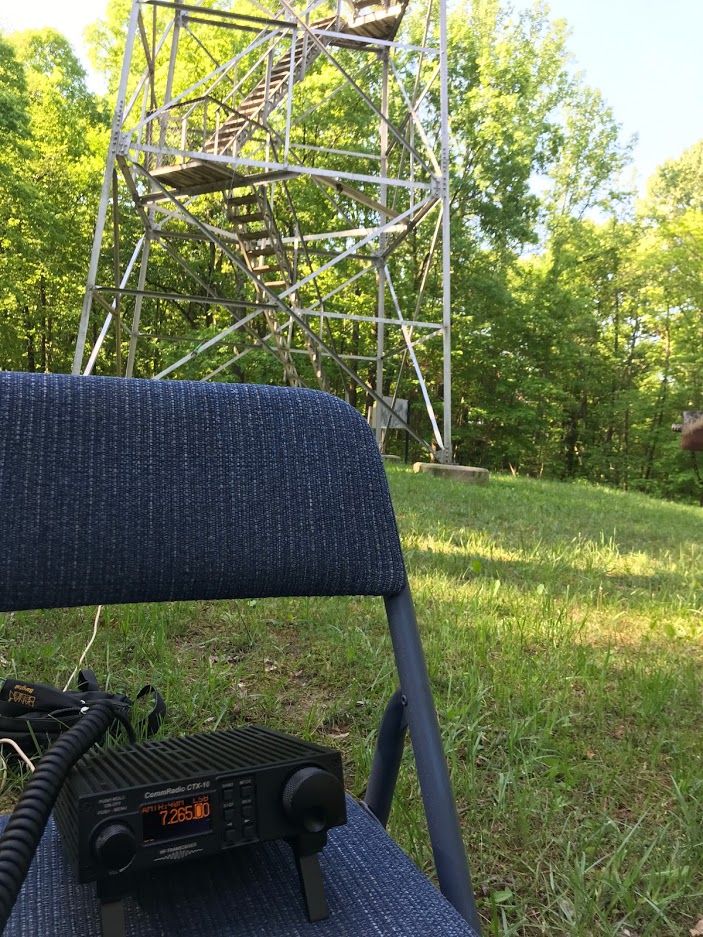
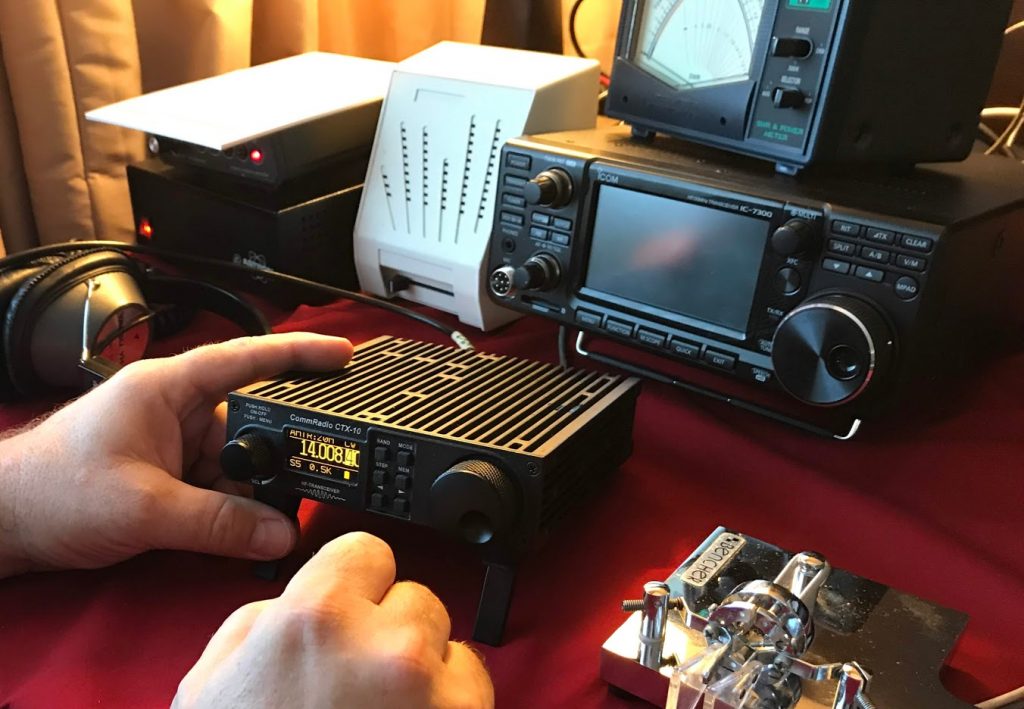
Making a Parks On The Air activation at Tar Hollow in Ohio.
CommRadio has made modifications to the ATU function, improving the performance of the antenna-tuner algorithm, which had a significant impact on 80 and 60 meters. I’ve also had better luck with a number of field antennas I’ve tried on 40 and 20 meters. Is it as good as the Elecraft KX-series ATUs? No.
Having a built-in ATU on the CTX-10 is certainly a valuable feature in the field. When I need to match a challenging antenna with the CTX-10, I bring my Emtech ZM-2 manual tuner along for the ride.
SSB operation?
There still is no way to adjust the microphone gain control nor microphone compression on the CTX-10. Much like a military or commercial radio, the CTX-10 is optimized for just one style of mic: in its case, the modular MFJ-290MY or Yaesu MH-31A8J handheld mic.
The CTX-10 microphone input has a limiting pre-amplifier with built-in compressor and ambient noise gate–in short, the CTX-10 handles all microphone settings automatically.
Through firmware updates, a number of positive adjustments have been made to the microphone settings:
- the microphone-decay timer has been tweaked so that audio clipping is less of a concern
- audio clarity and gain have been improved
- audio power has been improved resulting in .5 to .75 watts of additional peak power
- microphone audio leveling has been improved
- VOX attack and decay timing has been improved
These are all welcome adjustments.
I would note here, though, that if you plan to use a mic other than the MFJ-290MY or Yaesu MH-31A8J handheld mics, you will have a limited means of adjusting the mic parameters unless you have an external mic EQ. A number of readers, for example, have asked about using their Heil boom headset with the AD-1-YM cable adapter on the CTX-10. Boom headsets are a wonderful tool for field operation because they free your hands to log contacts. As for using boom headsets on the CTX-10, since I don’t have the appropriate adapter, I can’t speak to this. But since you can’t control mic gain, it might take time to learn how to position the boom mic and adjust your voice level for optimum performance.
CW operation
As mentioned in our initial review, the CTX-10 does not support QSK/full break-in operation. Rather, the CTX-10 uses a traditional relay for switching between transmit and receive. During CW operations, you’ll hear a relay click when switching from TX to RX and back again.
The CW hang time delay on the CTX-10 is not currently adjustable. For high-speed CW ops that prefer a faster relay recovery, I suspect this could be an annoyance.

There have been recent CTX-10 firmware upgrades that have helped solve issues found with CW keyer timing in early units. I found the timing issues were mainly present while sending high-speed CW (25 WPM+). My buddy Vlado (N3CZ) put the CTX-10 through some high speed tests, and was pleased with the results overall.
I will reiterate here that the CTX-10 lacks other controls many CW operators appreciate. Currently, the CTX-10 lacks a sidetone control; as a result, you cannot change the sidetone volume/tone, nor can you turn it off. I continue to hope that CommRadio will fix this quirk via a future firmware upgrade.
The CTX-10’s built-in CW keyer does not currently support iambic keying. Meaning, when both levers of a dual paddle are closed simultaneously (squeezed), it will not send a series of alternating dots and dashes. I imagine this could be addressed in a future firmware update.
Additionally, without re-wiring your paddle, you can’t change which side of your paddle sends ‘dits’ and which sends ‘dahs.’ A minor con, for sure–still, most modern QRP transceivers allow you this flexibility.
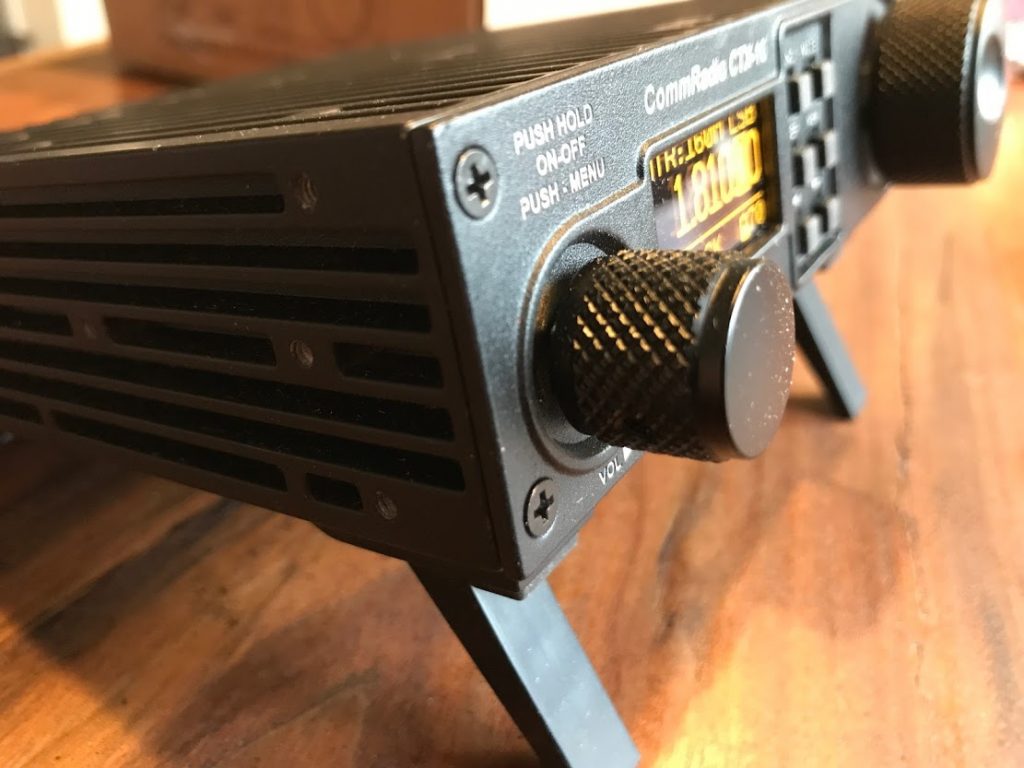
Revisiting the basic feature set
Let’s be clear: as I stated at length in my initial review, the CommRadio CTX-10 was designed around simple operation, like one might expect from a military or commercial channelized radio. I know ham radio operators and preparedness enthusiasts who prefer this approach to gear design, and they will appreciate this CTX-10 design philosophy.
Still, the CTX-10 lacks many of the features and adjustments you’d typically find on a QRP transceiver in its price class. Instead, the CTX-10 was designed to handle many of these adjustments automatically.
The CTX-10 still has no separate RF gain control. The CTX-10’s RF gain is directly tied to the three AGC settings (slow, medium, and fast). While I believe it does a fine job of adjusting RF gain, I do ride an RF gain control a lot during noisy summer conditions, and miss this feature.
The CTX-10 still has no passband (PBT) control, notch filter, or noise blanker––all features I’d normally expect in a QRP radio at this price level.
There are no CW (os SSB) memory keyers. I wouldn’t expect these, as I believe only the Elecraft KX2 and KX3 sport this feature in this price class of QRP radios.
Also, the ARRL lab reports of the CTX-10 are found in the July 2019 issue of QST (Bob Allison, WB1GCM) noted:
Though adequately sensitive, its third-order IMD and blocking gain compression dynamic ranges, as measured in our laboratory, are more suited to casual operation with antennas of modest gain.
Even with the AGC disabled, one or more strong, adjacent signals will result in the reduction of speaker volume, and I was unable to measure the reciprocal mixing dynamic range (RMDR).
The dynamic range was reported as 58 dB, which is a very low number. Blocking was 65 dB.
Update, 25 Nov 2020: Rob Sherwood recently tested and added the CTX-10 to his receiver test data table.
 Out of his comprehensive table which includes vintage radios, the CTX-10 scored the lowest of all of them sorted by third-order dynamic range narrow spaced. It is literally at the bottom of his list: at time of posting, number 146 out of 146 tested radios. Rob concluded that an out-of-passband signal that is approximately S9 will start blocking the radio. Click here for his full notes (PDF).
The CTX-10 doesn’t really have the tool set or receiver performance to cope well with contests or DX conditions.
Please note: as with most firmware-based radios, some missing features could potentially be added in future firmware upgrades. If one of these items is keeping you from purchasing the CTX-10, please contact CommRadio and inquire.
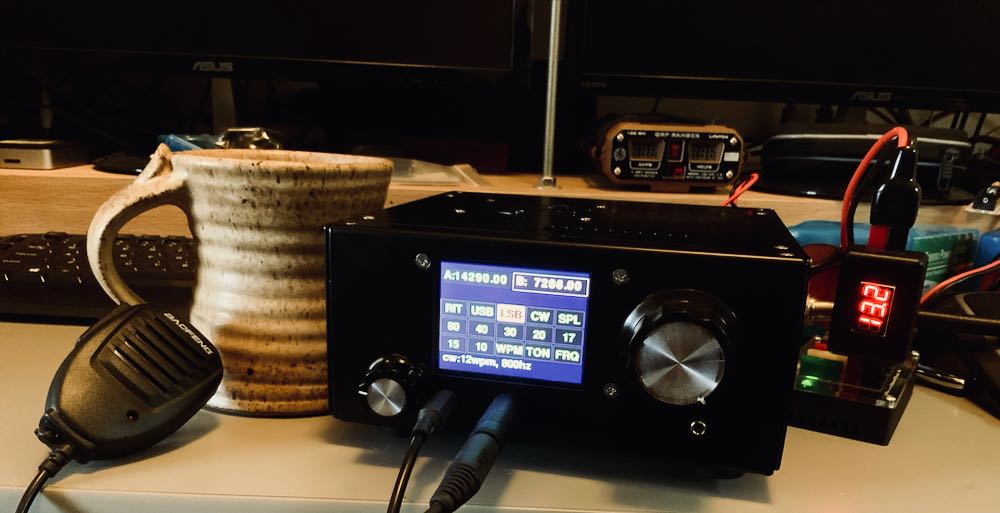
Is the CTX-10 for you?
The CTX-10 on air at the W4DXCC conference
With the most recent upgrades, CommRadio has solved the major issues that kept me from recommending it in my initial review. I still feel there are more capable portable transceivers for the $1,000 US price.
The addition of split operation was especially key for me, as I do operate split. The more nuanced adjustments to the CW keyer, an extra feature to prevent the radio from accidentally turning on while in transit, and the adjustments to the mic algorithm, all make this radio more pleasant to operate at home or (especially) in the field.
As I mentioned in the initial review, the CTX-10 owner is one who operates casually and values a very simple, straightforward radio. Those who want a sturdy, no-frills, set-it-and-forget-it rig. If that’s you, take a closer look at the CTX-10: it may just suit your needs if you’re not planning on using it on Field Day or during RF-dense contest environments.
If, however, you’re looking for a full-featured QRP radio with many of the features and nuanced adjustments you’d expect in the shack, check out the Yaesu FT-818, Elecraft KX2, Elecraft KX3, lab599 TX-500, or the Icom IC-705. All of these rigs are excellent.
The two major advantages of the CTX-10 over competitors are:
- the ability to charge the internal batteries from almost any voltage source, and
- a higher TX duty cycle (without needing to add external heat sinks).
I believe the CTX-10 will have appeal for radio enthusiasts who value these characteristics:
- All-in-one-box portability with no extra wired accessory components
- Best-in-class internal battery life
- Best-in-class intelligent battery charging
- Digital modes like FT-8 and the ability to operate them in the field from internal batteries for extended periods of time
- Very few manual adjustments
- Broadcast listening, as the CTX-10 is also a broadcast receiver
- Best-in-class hardware
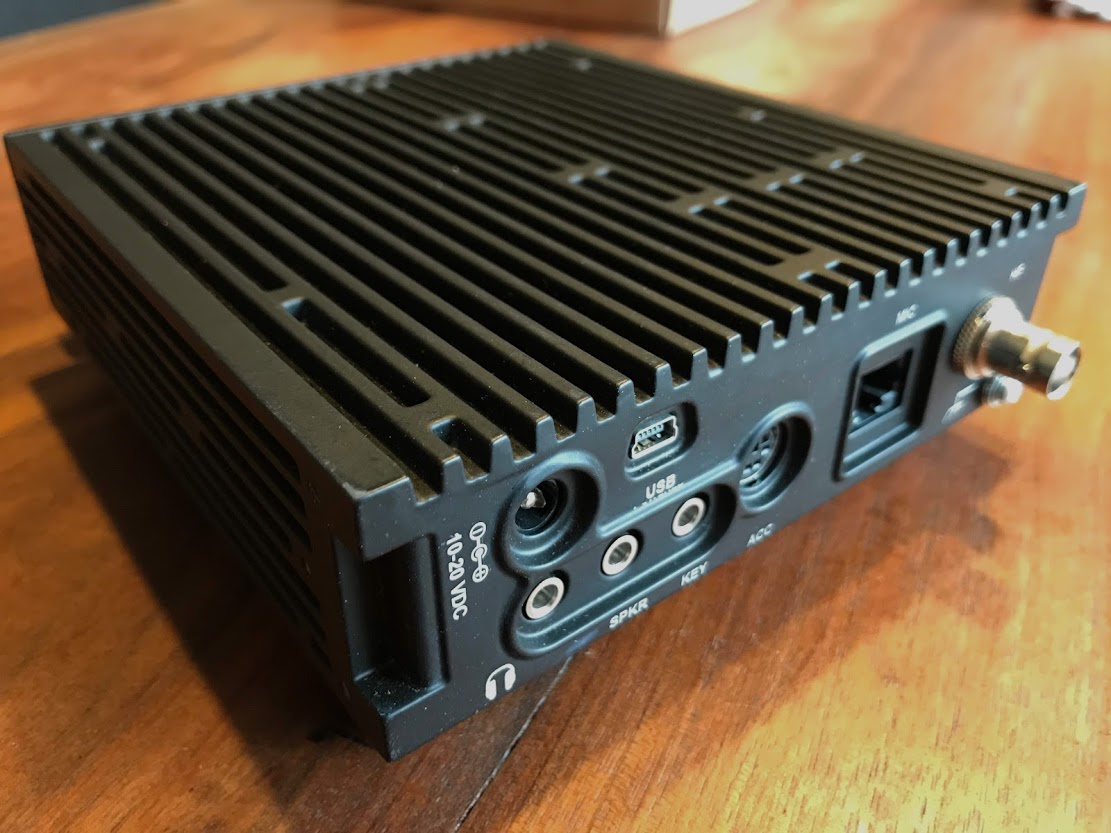
The CTX-10’s overall construction and components are, as I’ve said, near mil-spec. While the CTX-10 isn’t weatherized or waterproof––no more than any of its current competitors (save the TX-500)––the construction is top-shelf, for sure. It should run for decades without need of repair.
Although I can’t recommend to the CTX-10 for serious radio operators, it is built like a tank, and has a simple feature set for field operation. It’s also designed and manufactured right here in the USA. All the better.
Click here to check out the CTX-10 at CommRadio.
Click here to check price and availability at Universal Radio.
Do you enjoy the SWLing Post?
Please consider supporting us via Patreon or our Coffee Fund!
Your support makes articles like this one possible. Thank you!


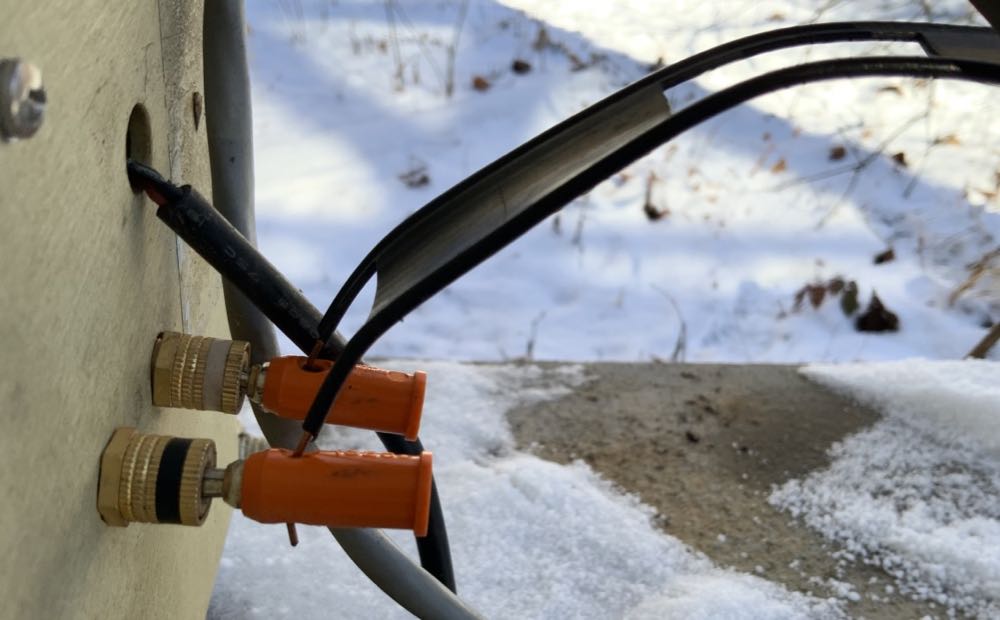
 Yesterday, a weather front moved through the area that dropped temperatures from an unseasonably high of 50F to 25F in the space of a couple of hours. Fronts like this always equate to high winds here at our altitude. This time, it packed a little snow as well.