Many thanks to SWLing Post contributor, Edward Ganshirt, who writes:
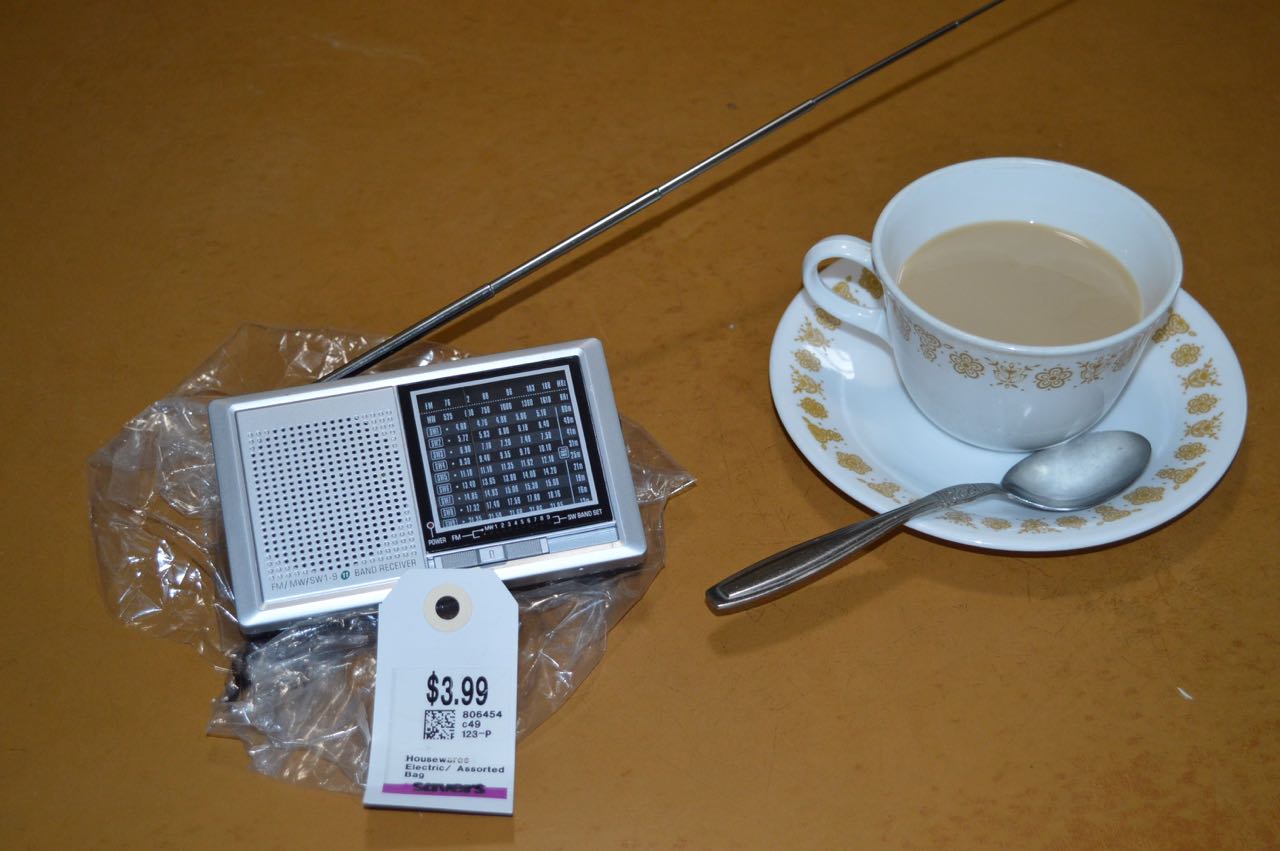
I spotted this “keychain” radio [pictured above] at a Savers thrift shop. Savers is a chain of thrift stores in the Northeast that is an outlet for Goodwill and possibly others. What caught my eye is (in addition to price) an 11 band radio: AM, FM and 4.75 to 21.85 Mhz in 9 short-wave bands. It has no brand markings (or FCC id) and of course made in China. I purchased it for less than a latte at Starbucks and brought it home.
It uses 2 AA penlight batteries and has a 14″ telescoping antenna. Turning it on demonstrates its low performance.
It has ample sensitivity on FM but difficult to tune clearly. AM band is better. Shortwave is a different story.
At night I get several shortwave stations, difficult to tune in. Connecting an external antenna demonstrated its weakness. I picked up the entire AM band and every other station below 30 MHz no matter what setting the tuning knob was set to, with varying signal strength , depending what short-wave band setting selected. I live less than 4 miles from a powerhouse radio station on 680 KHz that bleeds through the IF filter. Deconstructing the radio reveals its design shortcomings
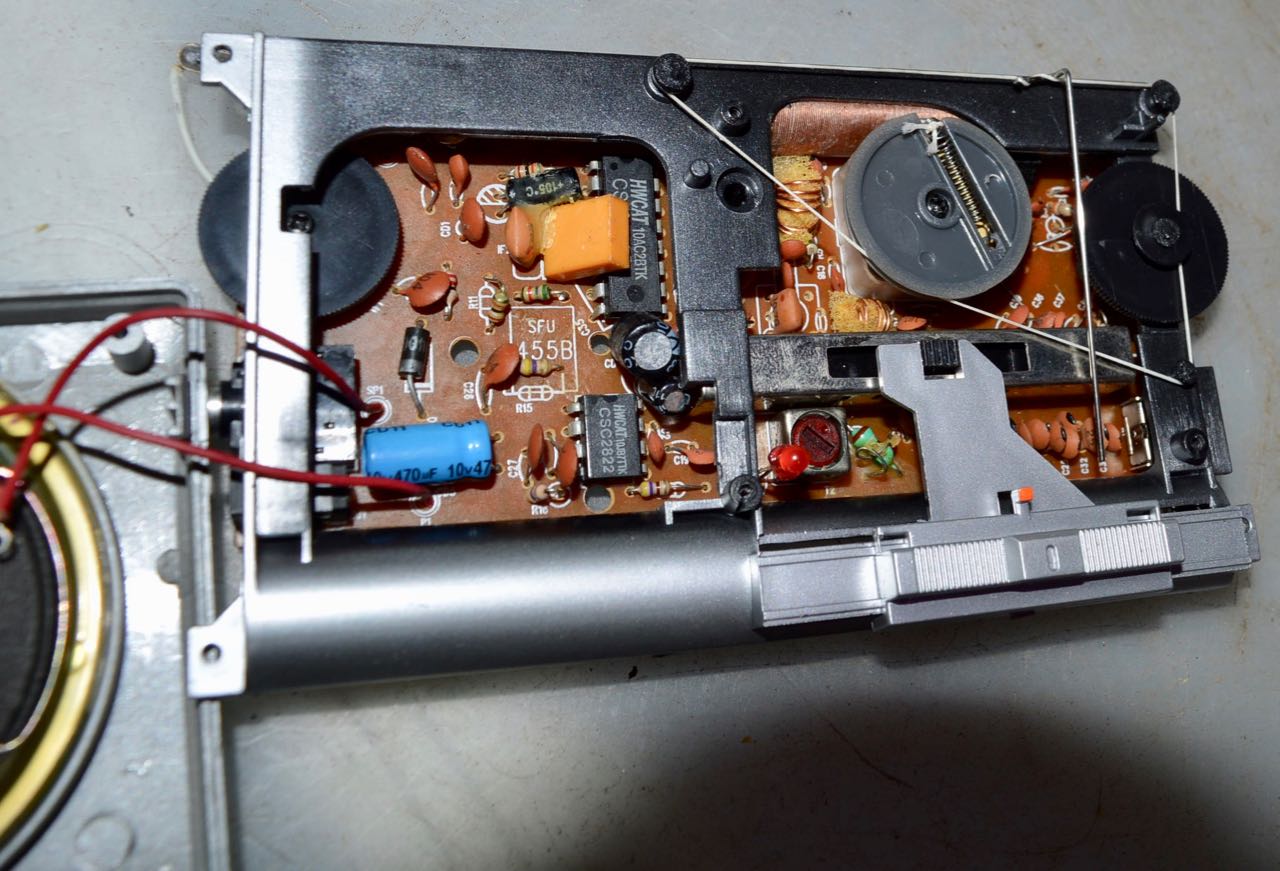
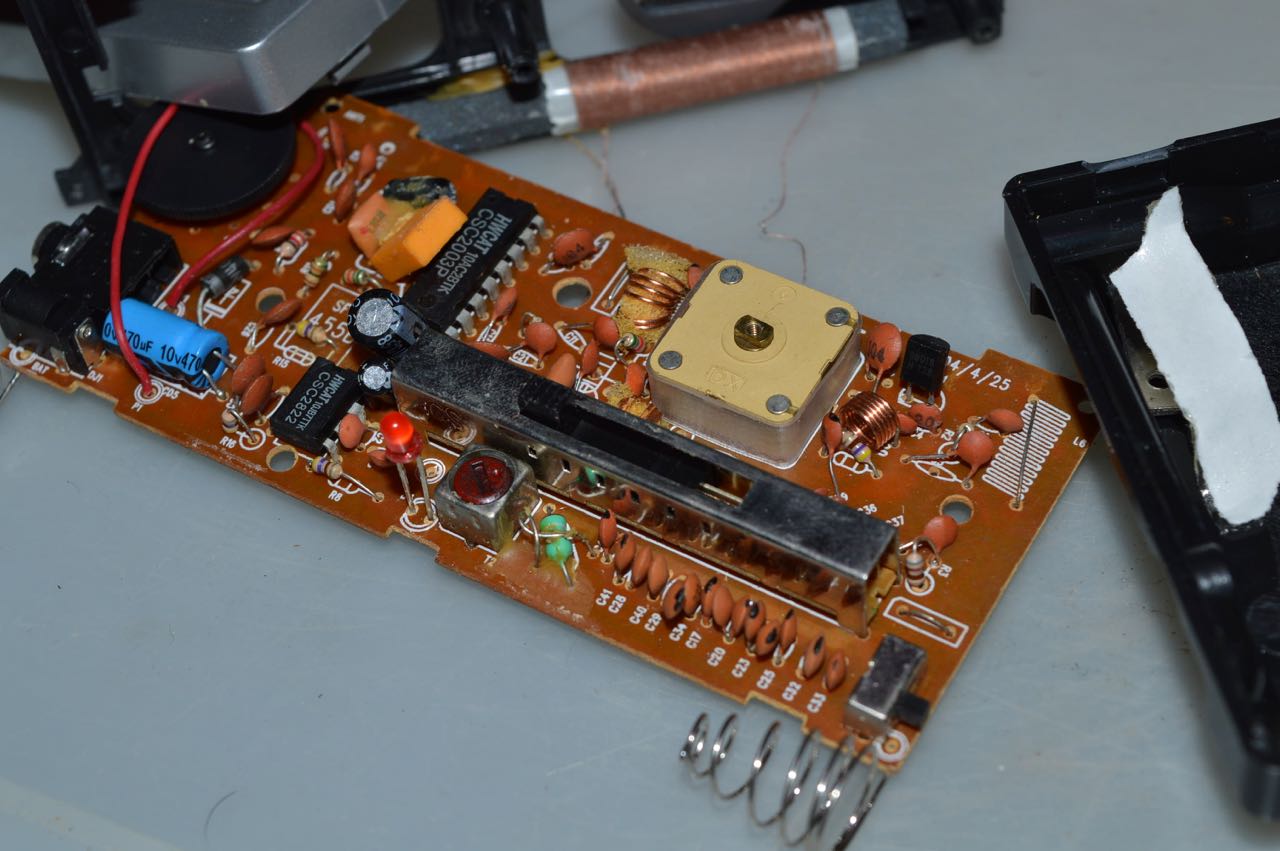
It contains 2 chips: A CSC2822 stereo audio 8 pin dip and a 16 pin CSC2003P “jungle” chip. Comparing app notes to the receiver reveals short cuts in the design. Just absolute minimalist component count–only one 455KHz IF filter.
Fortunately, it has a ferrite loopstick antenna. (That explains why it works on AM. There is less IF bleed-through on AM).
Using a signal generator, on shortwave reveals non existent image rejection, beat notes on harmonics of the local oscillator (yes it is a superheterodyne).
This is a radio to take to the beach. If the tide grabs it and washes it into the ocean or a sea gull snatches it, you would not be disappointed.
In my opinion it was a bit steeply priced. You don’t win them all but I will still go to Savers in the future for other buys as they present themselves.
Thank you for your report, Edward. I think what is highlighted here are the shortcomings of inexpensive–truly “cheap”–radios. They have only the most basic components, regardless if they resemble a quality radio aesthetically. Edward listed the hallmarks of a cheap analog receivers: overloading, stiff inaccurate tuning controls, mediocre sensitivity/selectivity, poor audio, and poor shielding.
Thanks for pulling this one apart and taking a look inside, Edward.
Taking it to the beach, Ed? Let us know if it floats or–better yet–if a seagull decides to grab it–! Who knows, they may tune through the FM and find one of their favorite 1980s songs:
(Sorry, couldn’t help the reference–it is Friday after all.)