Tag Archives: Repair Photos

Pavel fixes a stereo lock in the Eton E1

Many thanks to SWLing Post contributor, Pavel Kraus, who shares the following guest post:


Eton E1 – fault in stereo reception

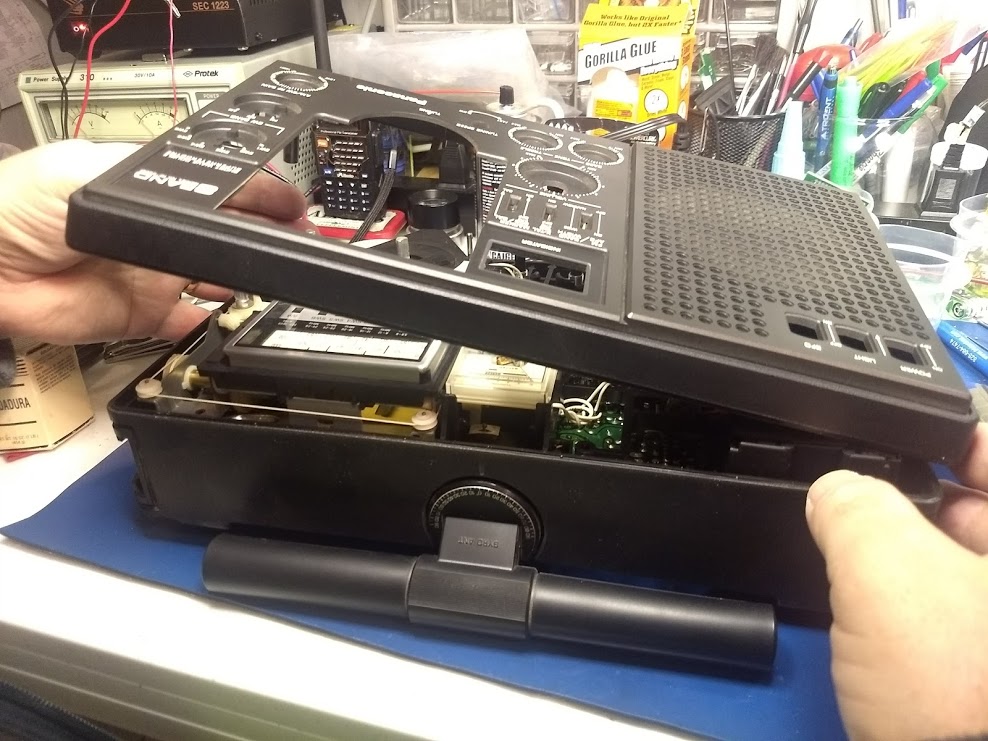
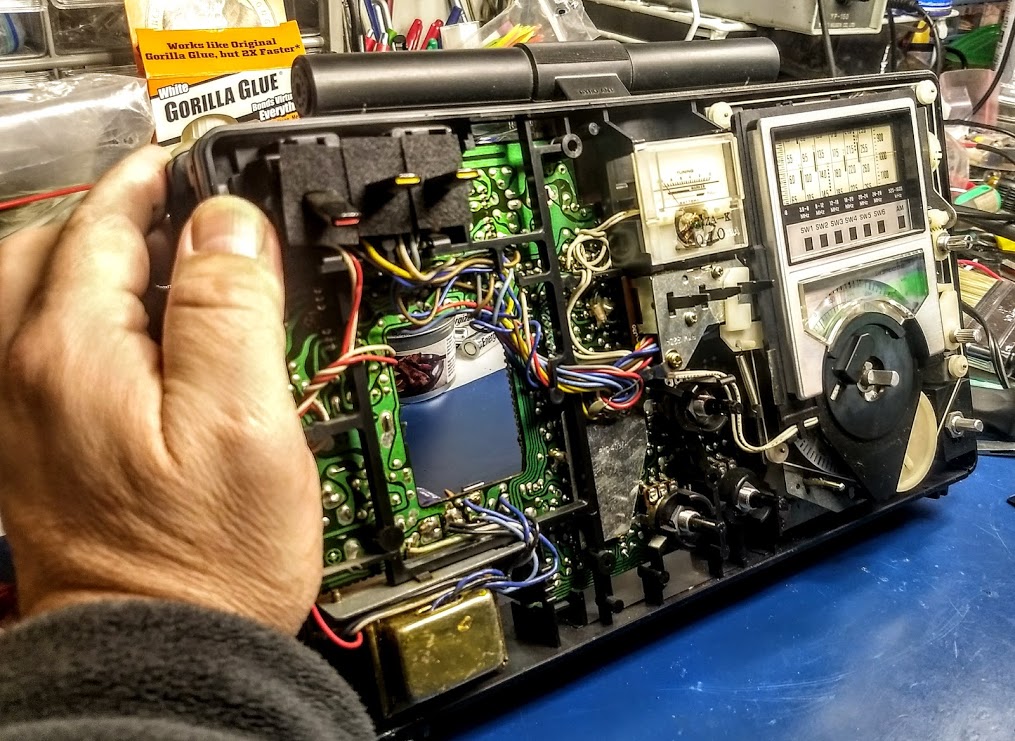
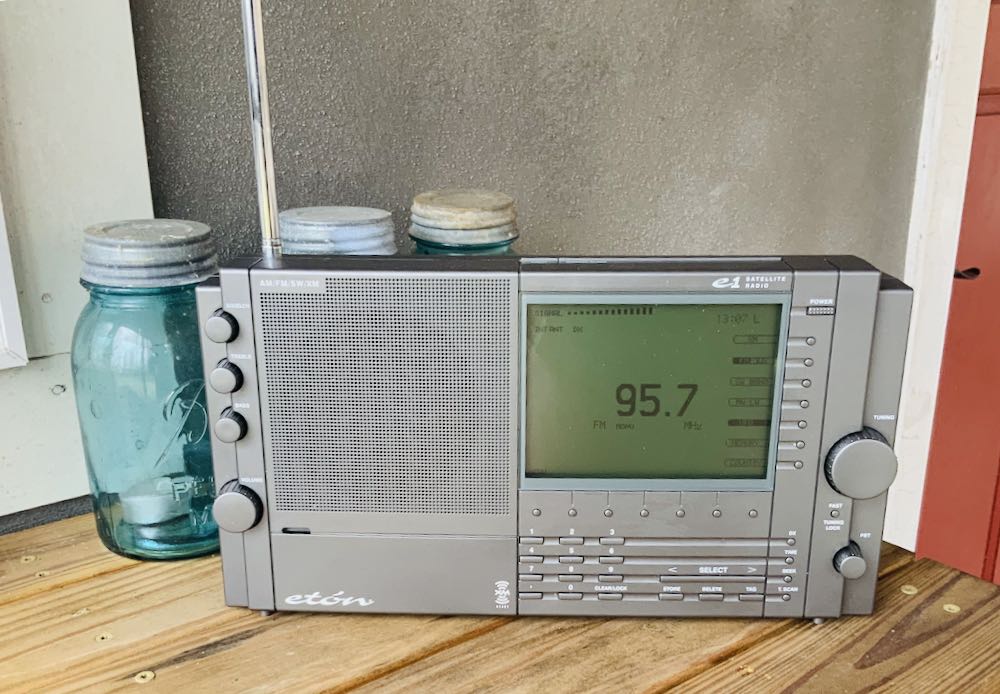
I recently became the owner of an Eton E1 receiver, which I obtained on eBay from the USA.

The receiver is great, everything worked, error-free display. The only problem was that even FM and strong local stations did not play stereo even though stereo reception was set in the menu. The stereo text on the display flashed several times when the stations were not tuned in precisely, but after the stereo tuned, the text went out. I know that stereo reception is not the most important thing for this receiver, but it bothered me that there was a defect at all.

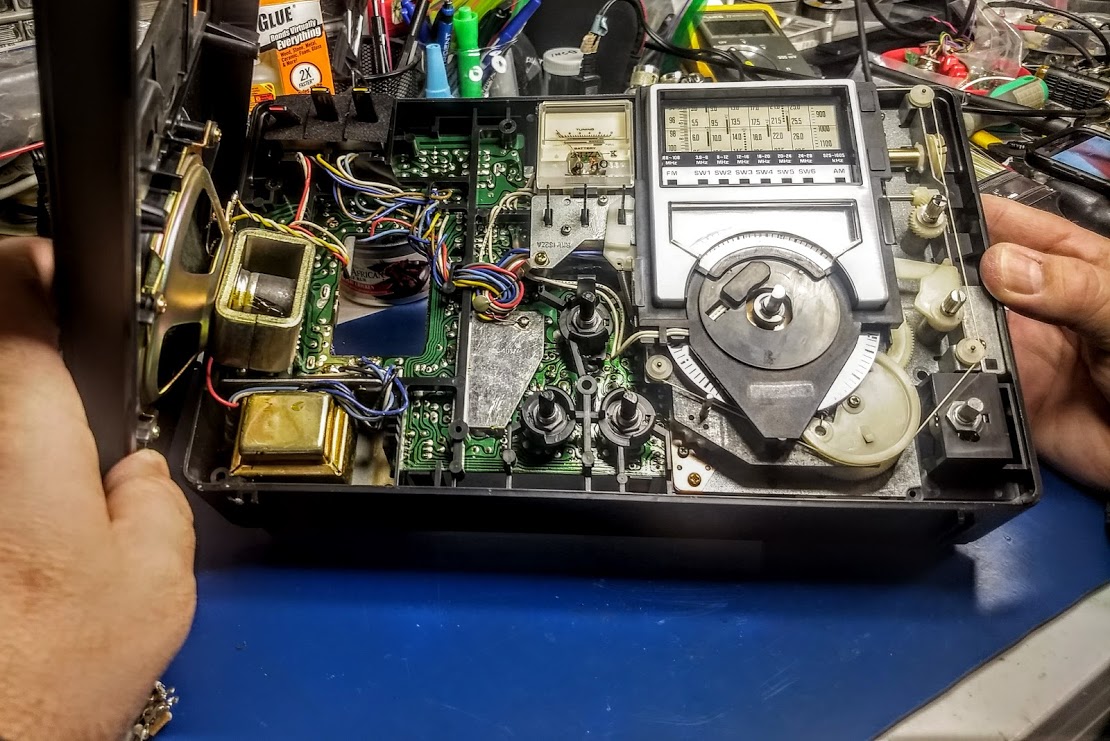
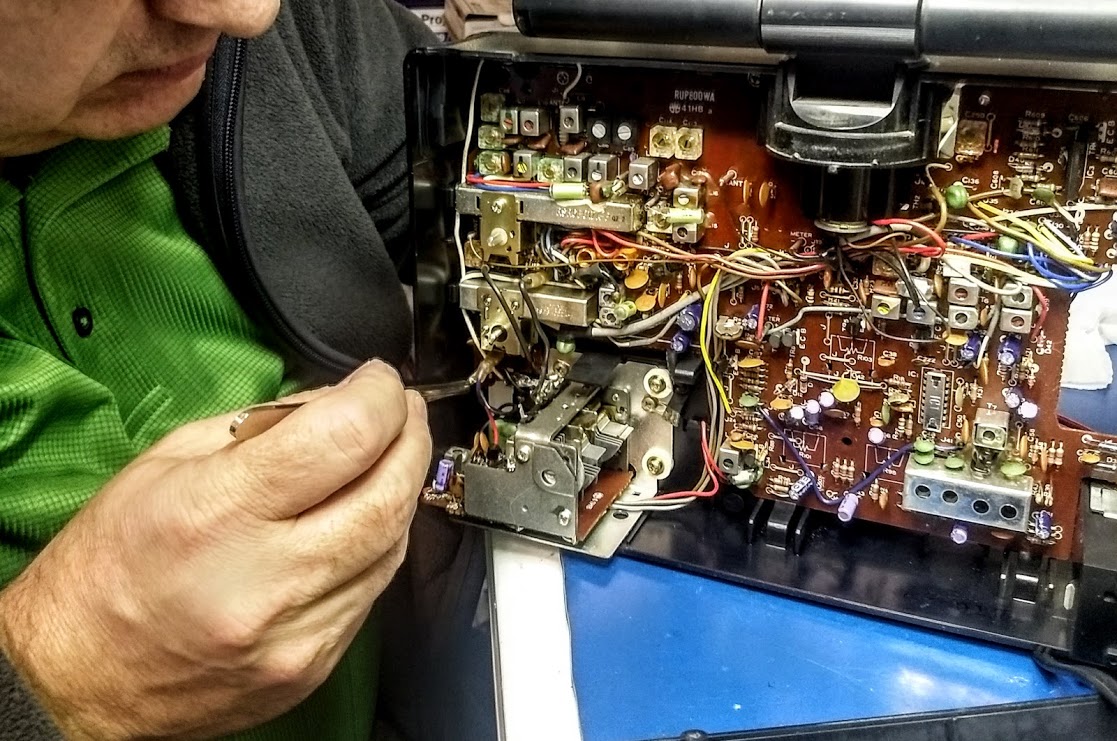
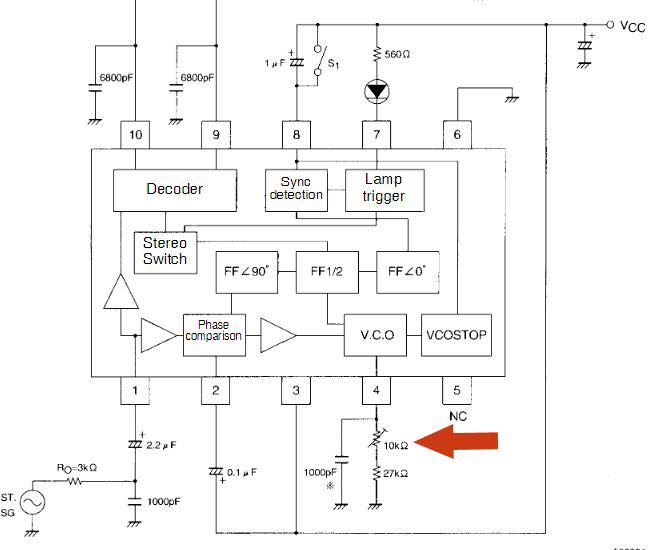
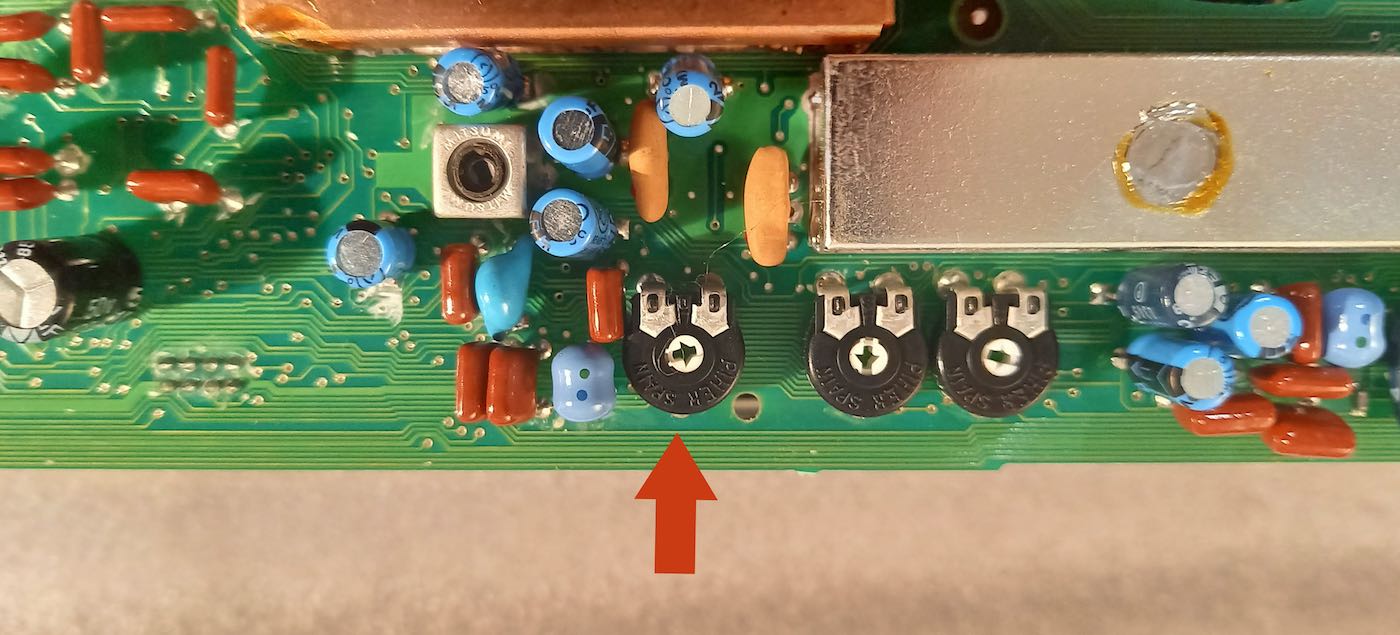
The Sanyo 3335 stereo decoder is used in this radio. The stereo reception switching threshold can be set with a 10kohm potentiometer which is connected to terminal 4 of the integrated circuit:

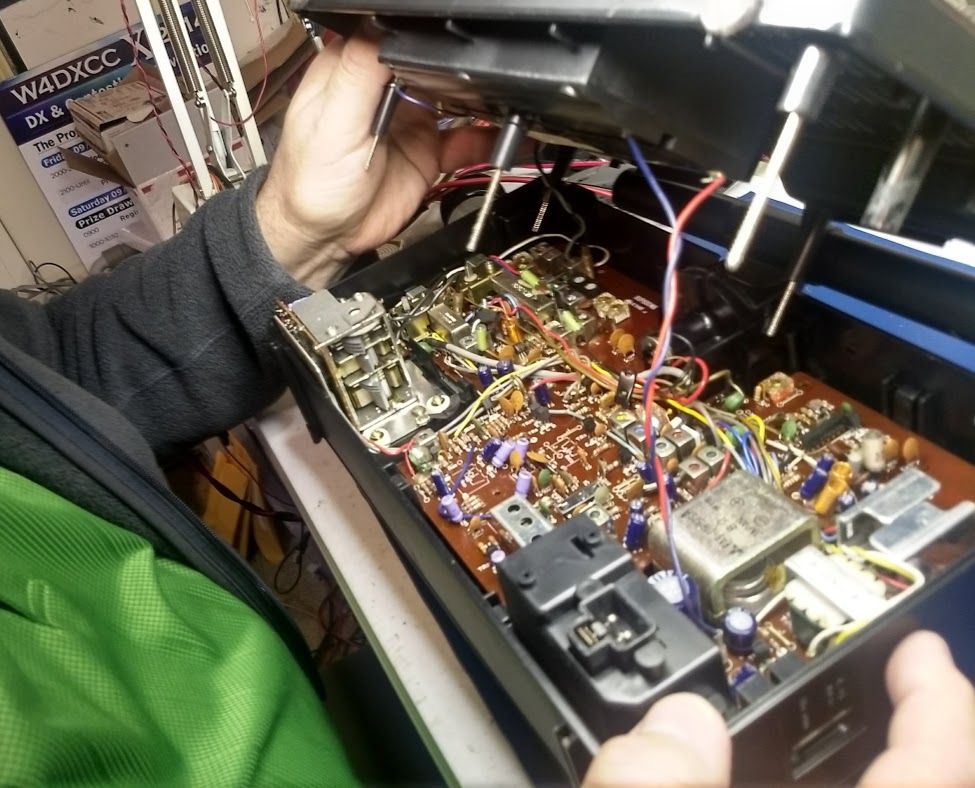
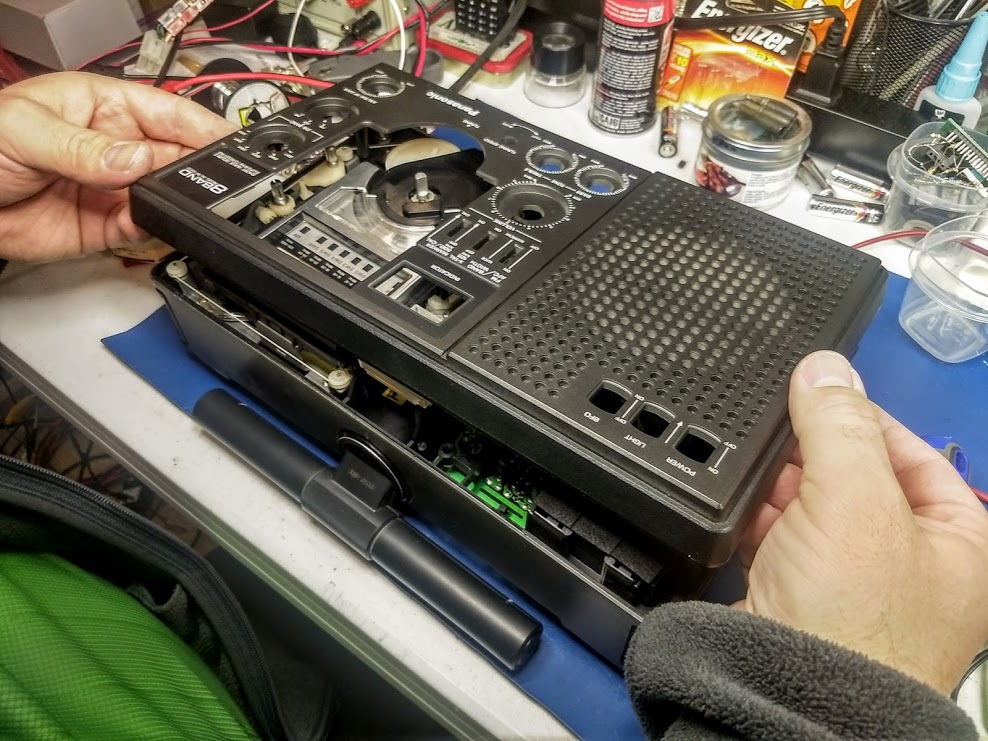
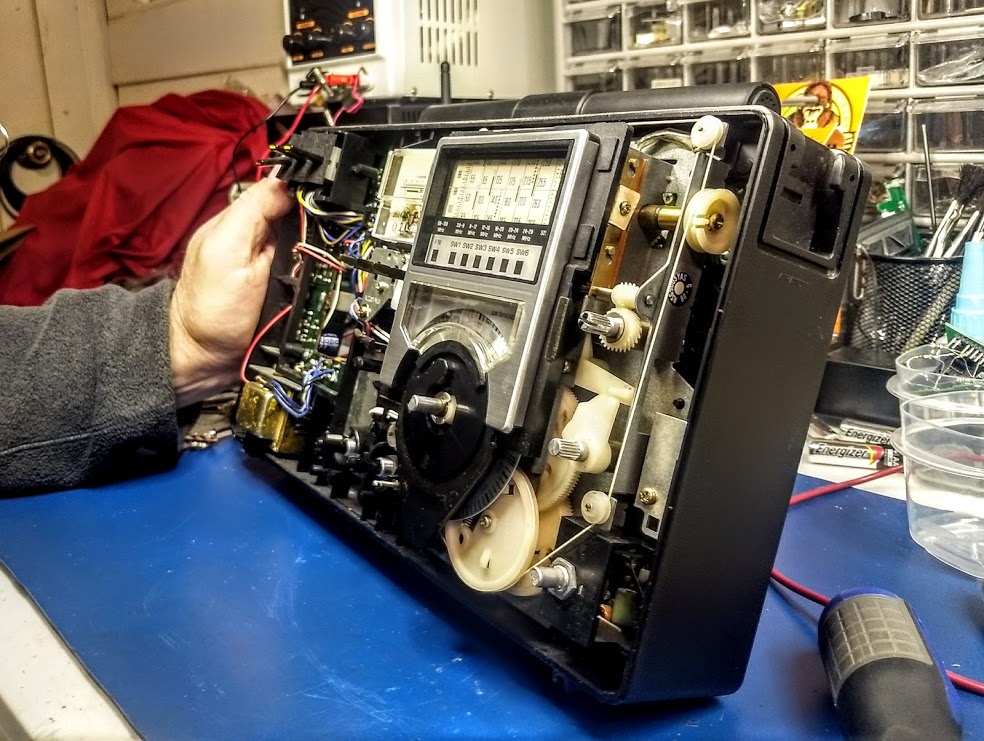
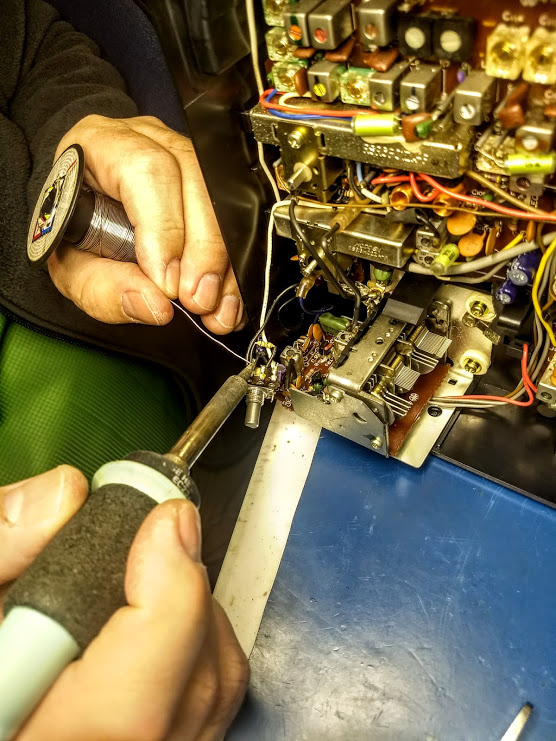
I disassembled the radio by loosening the screws on the back of the radio. The receiver is divided into two parts. I removed the XM module and disconnected the part of the radio with the display from the flat wires on the second printed circuit board of the radio

I then removed the screws on the circuit board located at the back of the radio.

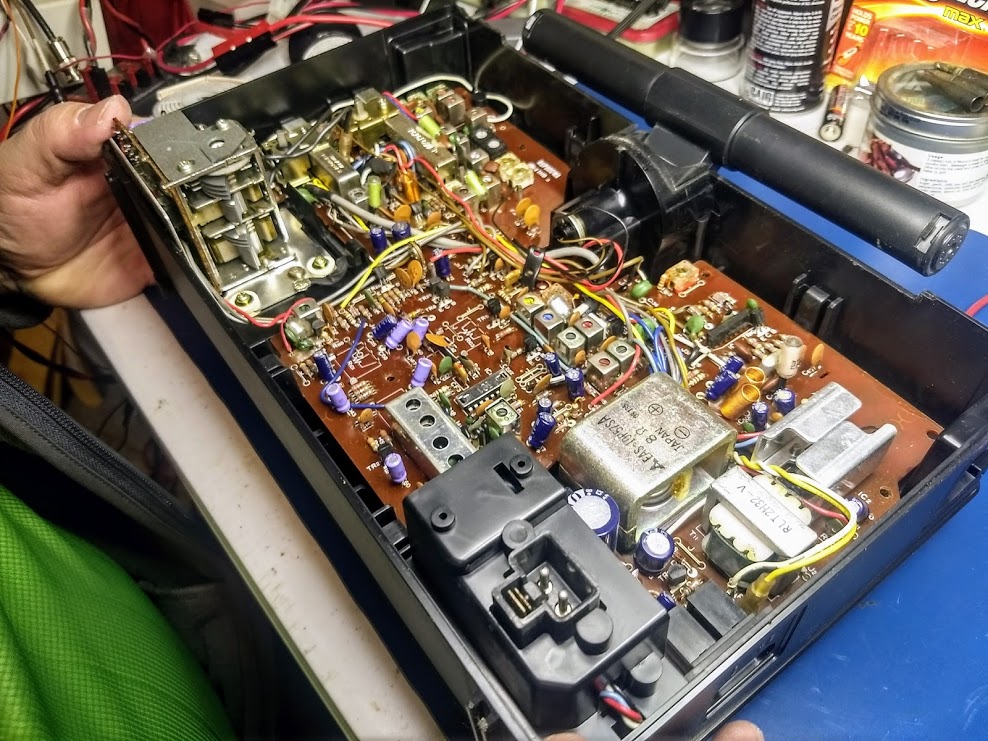
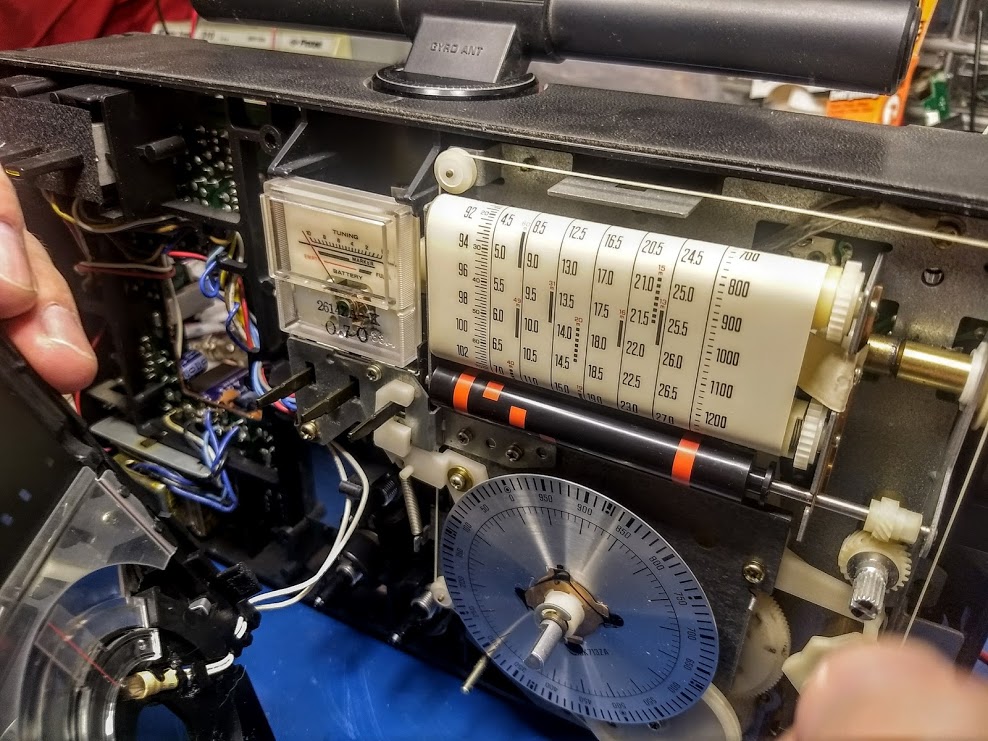
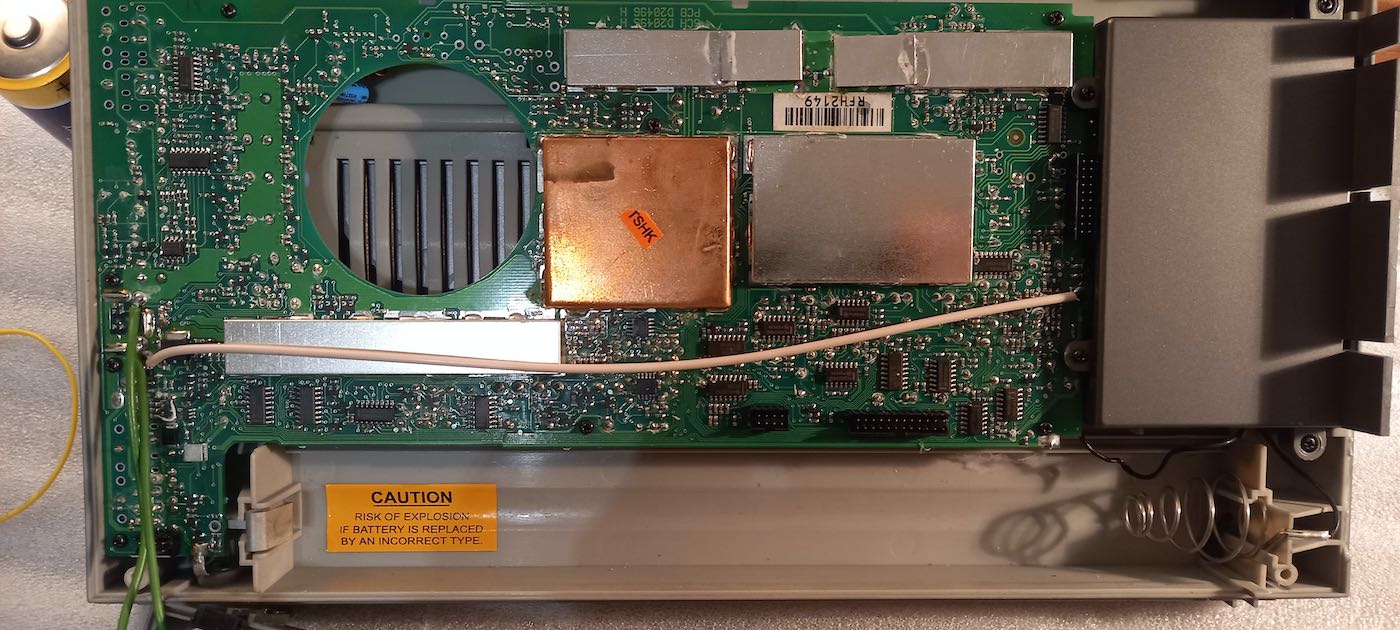
I removed the printed circuit board and found a matching resistor trimmer on the other side of the circuit.

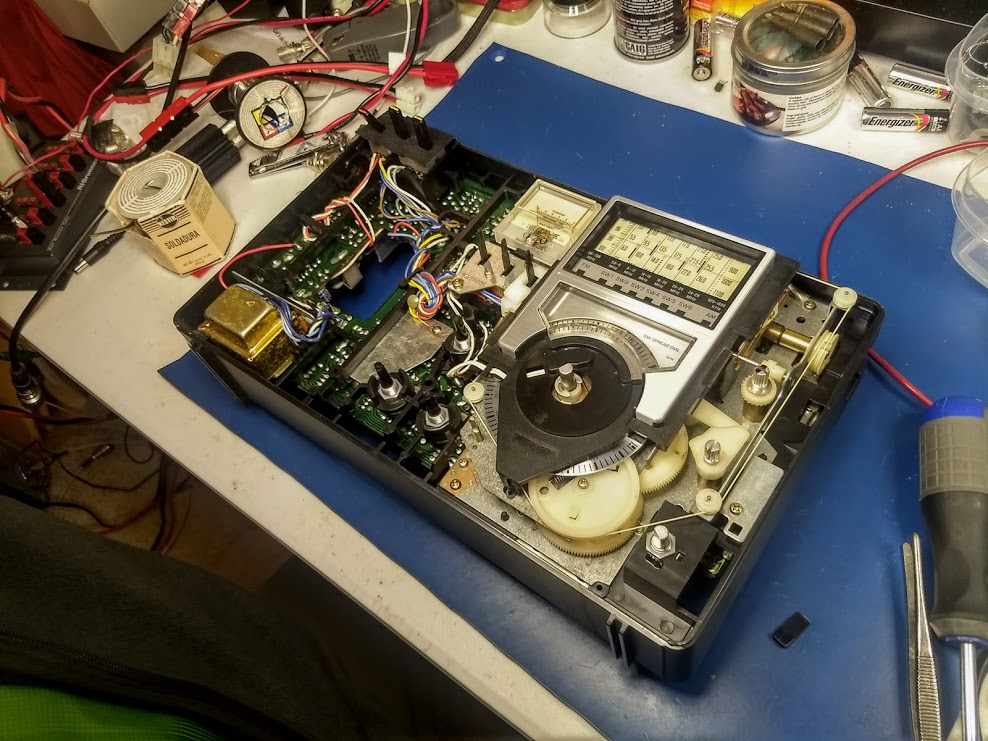
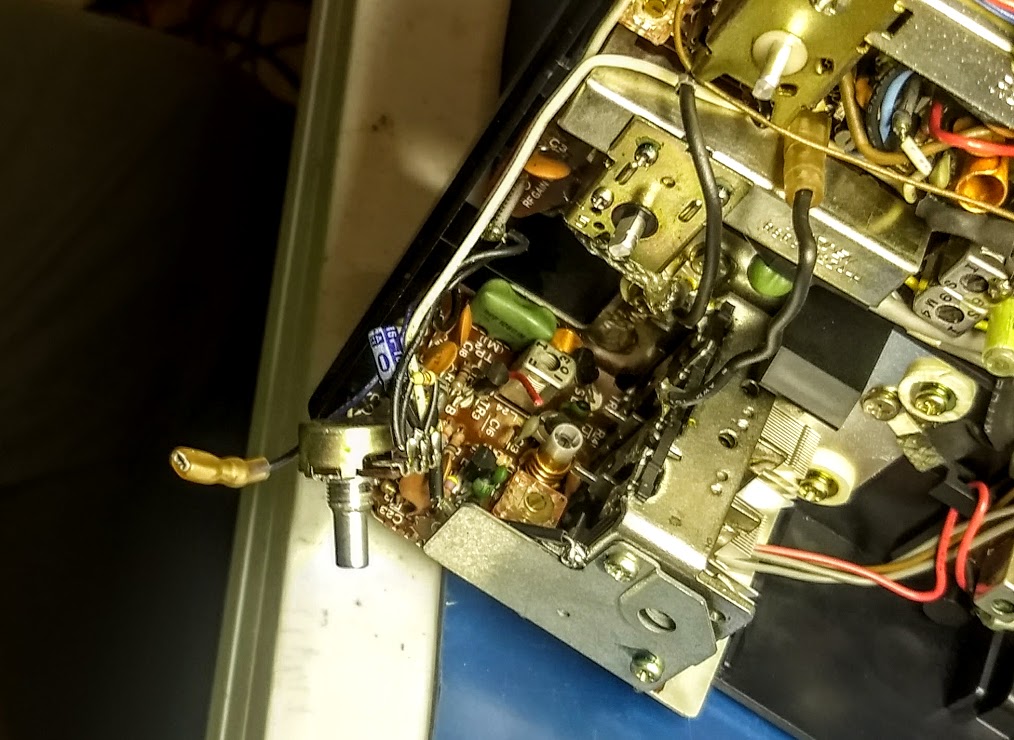
Then I connected these two points with a wire (when running on batteries) so that I could turn on the receiver:

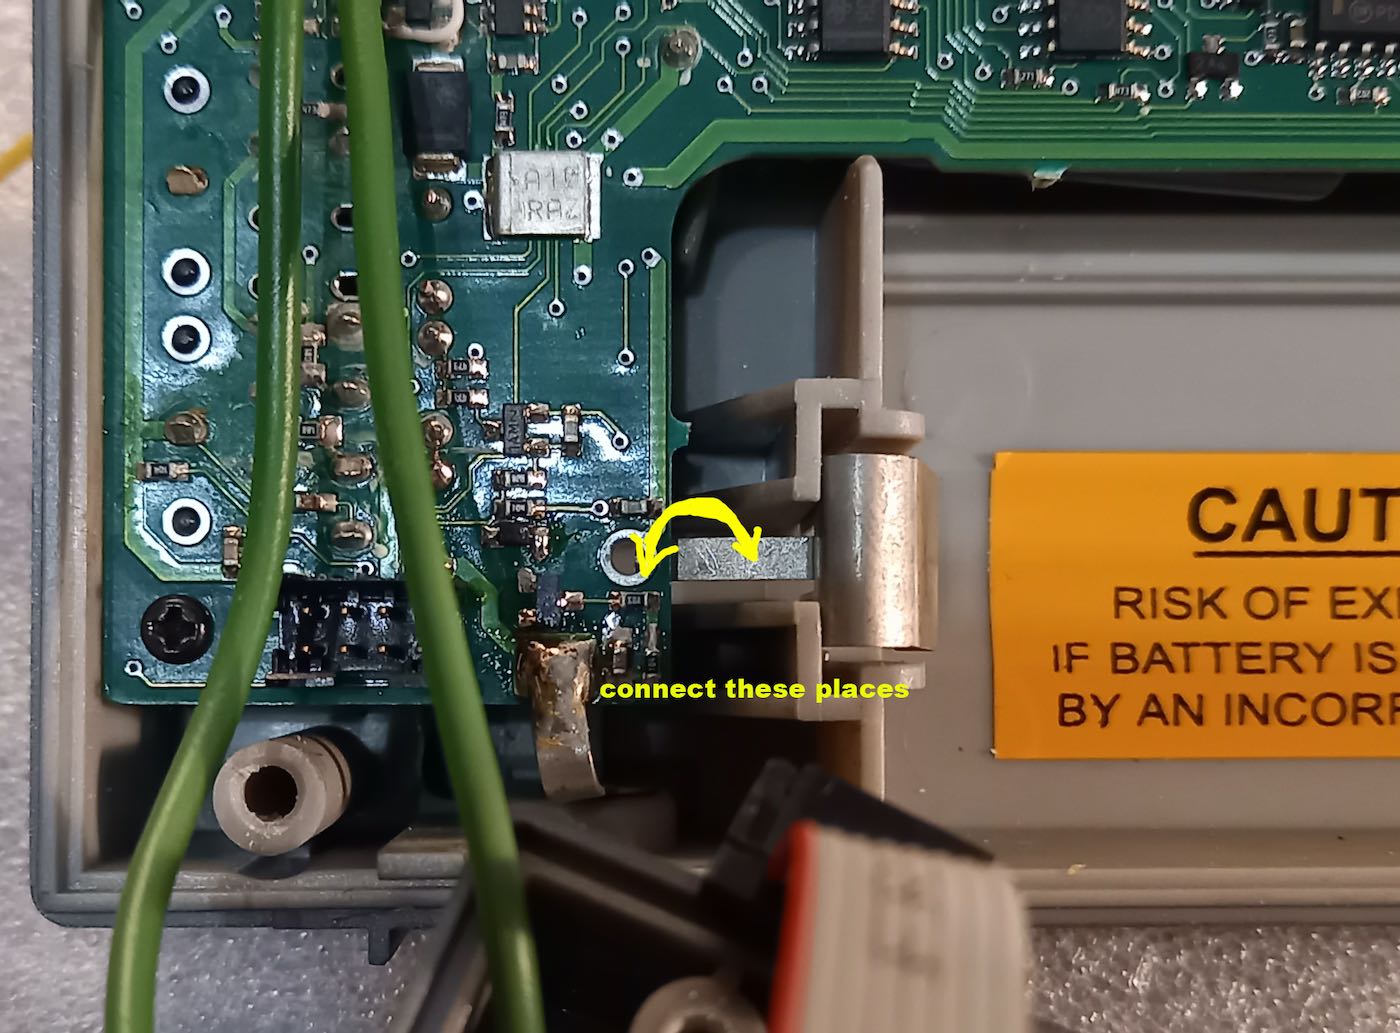
After tuning in to a strong local transmitter, I carefully turned the trimmer until the stereo sign lit up and listening to the headphones made sure the sound matched the stereo. I repeated this at several local stations.

The receiver now plays stereo perfectly and the settings do not affect other parameters of the receiver. After assembling the radio, I was able to enjoy quality stereo reception.

Spread the radio love

Vlado restores Mike’s vintage Sony CRF-160

Sony CRF-160 Dial

Many thanks to SWLing Post contributor, Michael Schuster, who shares the following guest post:


Vlado works his magic on my Sony CRF-160

by Michael Schuster

Back in the 1970’s my grandfather gifted this solid-state portable to me as it was more than he needed. It was the first “real” radio I can remember owning, and it initiated my habit of scanning the dials into the wee hours of the morning. I began my serious SWLing using this set as it had excellent sensitivity, dual conversion design, big booming audio, and generous bandspread tuning for each major SW broadcast band.

One of the best-known SWL programs at the time was Happy Station on Radio Nederland, and I have distinct memories of listening in our back yard one summer afternoon when the show came up on the African Service over the Madagascar relay. My family was astonished at the program coming from so far away and even more so when Tom Meijer happened to read my letter over the air during the mailbag segment!

Fast forward many years (and two moves) later, it sat on a shelf until, trying it out again, I was dismayed to find both slide rule tuning dials, and the rotary drum band selector, to be frozen in place. And so there it sat until….

In a few online forums I kept hearing about a magician named Vlado at Ham Radio Repair. He specializes in restoring old sets, and has the courage and curiosity to tackle just about anything. Thinking this might be my last chance to bring this fossil back to life, and armed with a scanned copy of the service manual downloaded from the Radio Museum web site (the Internet is a marvelous thing) I began a several months’ long email exchange with Vlado entitled “Would you be willing to work on…”

He is chronically swamped with sets to work on, and has little room to store pending jobs, but was more than willing to have a look. Several months, and one pandemic later, we touched base again and I arranged to ship this monster off to him. Vlado is especially interested in the stories behind old hardware, so I shared its history with him as it adds that extra “human factor”.

The radio is in great shape as he noted, but needed a total rework of the tuning dials and drum selector. He also replaced all of the electrolytic capacitors (most were leaking as pictured), replaced some tiny light bulbs with LED’s, and realigned all of the circuits for maximum performance.

Unpacking and trying out the restored set was a true blast and somewhat miraculous. It performs just as I remember and now sits on the shelf, this time in use rather than in storage, booming its audio across my basement work room.

Now this set will probably outlive me as it did my grandfather; hopefully it will end up in the hands of an appreciative recipient for the next generation of radio enthusiasts.


Thank you for sharing this repair story, Mike. I visited Vlado’s home a few weeks ago and saw the box labeled “Sony CRF-160” in-line to be repaired. As Vlado worked on it, he sent me a couple of photos, too, because I believe it was the first time he had ever worked on this particular Sony model. It is certainly a gorgeous radio–wow! And I do love your philosophy as it’s the one I adopt too: keep vintage radios alive and working beyond our generation. 

Vlado is truly the most capable ham radio repair guy technician/engineer you’ll ever meet. He’s also as honest as the day is long. If you have a vintage or late-model solid-state radio that needs repair or restoration, contact him.

Click here to check out Vlado’s website HamRadio.repair.

Spread the radio love

Doctor Vlado repairs the Panasonic RF-2200 (Part 1)

Panasonic RF-2200 at Hamvention

Last year, at Hamvention, I picked up a Panasonic RF-2200 for $70. It came with the original box, manual and was in superb cosmetic condition.

The seller told me that over the years he exclusively used the radio to listen to a local FM station.

At that price, I didn’t hesitate to make the purchase even if this would have simply been a non-functioning parts radio for my other RF-2200.

After I brought the radio home, I unpacked it and gave it a quick test.

FM worked brilliantly. Mediumwave and shortwave, however, were essentially deaf. I made the assumption that the ‘2200’s switches and pots likely needed cleaning with DeoxIT. The next day, I was leaving for a two month trip to Canada though, so I packed the RF-2200 back into its box and set it to the side of my shack table.

Fast-forward to yesterday…

While digging around my shack, I re-discovered the boxed RF-2200. Since I was planning to visit my buddy Vlado (the best radio repair guy in the world) yesterday evening, I thought I’d take the RF-2200 and do a proper contact cleaning. Several of the RF-2200’s switches and pots cannot be easily cleaned without removing the chassis.

(Click photos to enlarge.)

Vlado is familiar with the RF-2200 and since it’s not the easiest radio to work on, I asked for his expert hands on the job. Within seconds of handing him the radio, he plugged it in, tested the switches and pots, then removed the back cover (disconnecting the battery compartment leads) and then the front cover (disconnecting the speaker leads).

The magic behind the RF-2200’s classic analog dial:
Vlado offered a word of caution to anyone operating on their RF-2200: as you can see in the photo below, the dial string snakes around the front of the radio and is very close to some key components. You must exercise caution when having a soldering iron tip near the string, or using lubricants nearby.I didn’t realize this, but by the time Vlado started taking apart the RF-2200, he had already determined that even though the contacts needed cleaning, this wasn’t the source of the audio problem for the MW and SW bands.Vlado expertly pulled out the pot for the FM/AM/SW selection–not an easy task–began cleaning it, testing it and re-soldering contacts.

Vlado determined the pot was actually in good shape, thus started testing the rest of the circuit.

After a few minutes of performing tests and getting intermittent performance, he determined that at least one, if not more, of the RF-2200’s caps need to be replaced. Of course, neither one of us was terribly surprised. At this point though, it was getting late and I had an early wake up time in the morning, so I left my RF-2200 with Vlado.

Am I worried about this prognosis?  No, not in the slightest…

Doctor Vlado is on the job!

Vlado will have the RF-2200 back on the air in no time, working as well as it did when it was new. He’s actually performed a similar RF-2200 repair for an SWLing Post reader and I’m willing to bet this repair job is relatively simple compared to most he encounters (including the Icom IC-7200 he recently repaired after it was hit by lightening!).

I’ll try to post a “Part 2” update with photos of the RF-2200 repair.  Follow the tag: Panasonic RF-2200 Repair

Spread the radio love