Category Archives: Accessories

CC Buds Solo: Two years into the mission . . .

By Jock Elliott, KB2GOM

Okay, okay, I can almost predict what you will be thinking: it’s not the most expensive piece of gear in your listening kit. But for me, headphones or earbuds that pipe the audio from my SW receiver or scanner directly into my ears is one of my most valued pieces of equipment.

Why? First, because I have a hearing deficit that headphones or earbuds help to overcome. Second, to preserve domestic tranquility, so my wife doesn’t have to endure the squeaks, squawks, and static crashes that are often part of the listening experience. (We Armchair Adventurers have to keep our priorities straight.) And third, to help me concentrate on teasing out faint signals.

So I am a fan of headphones and earbuds, but I have had a difficult relationship with them because the wires break. That’s right; until recently, all of the headphones or earbuds that I employed eventually failed because the wire/cable connecting the headphones or earbuds to the radio failed, either losing any signal entirely or becoming intermittent.

Two years ago, the folks at CCrane teased me with a marketing email that offered CC Buds Solo In-Ear Single Earbud with a cable that was Kevlar reinforced for “maximum durability.” Intrigued, I purchased the “buy two, get one free” deal because I knew, just knew, Kevlar-reinforced or not, the cable would eventually fail.

Well, guess what? The cable did not fail, not even a little bit, despite my treating it badly. (Once, while walking, the cable caught on a doorknob, yanking the earbud out of my ear and a small digital recorder out of my pocket. And that’s not the only time I have inadvertently done my best to render it inoperable.) Two years into the mission, I am still using the original CCrane solo earbud that I first unpacked. The second one is deployed upstairs for my horizontal DXing exploits in the middle of the night, and the third I gave to a friend. CCrane says the audio is “tuned for superior voice quality,” which works just fine for my purposes.

So the upshot, if you hadn’t guessed, is that I can heartily recommend the CCrane Solo Earbud. If you consult the original post, found here — https://swling.com/blog/2023/12/checking-out-ccranes-solo-earbud/ — you can discover some additional details and some of the reasons why I find listening with one earbud to be an advantage.

‘Solar Generators’: Dan Sets the Record Straight on Battery Banks

Many thanks to SWLing Post contributor Dan Van Hoy, who writes:

I finally made a video that I’ve wanted to do for a long time covering the false claims on Amazon and elsewhere that portable power stations are “solar generators.” That was after I heard a radio ad by one prepper-type company bragging about the features of their “solar generator.”

Probably most of the SWLing Post crew is aware of this problem but may want someplace to send their family and friends with more details:

Click here to view on YouTube.

Bob’s Radio Corner: Illuminating Radios

An operating 50C5 pentode is a thing of beauty.

The Book Lamp; or Shedding Some Light on a Radio

Illuminated by Bob Colegrove

There was a time in this writer’s memory when radios were well lit – well, at least the ones with glass tubes.  Tubes emitted a warm glow which made the radio come alive, generated some heat on a cold winter night, and created an aura of mystery revealing signals from faraway places.  Besides glass tubes, a #44 or #47 incandescent bulb was likely inserted just out of sight beside the dial.  This illuminated the dial information, which, however, required some mathematical interpretation.

Today’s radios are dark.  Inside them, circuit boards and ICs look like an unanimated scene from Tron.  Most often, the only illumination is from the LED or LCD display, and that is often weak, or lasts just a few seconds.  Unlike the old dials, displays do convey some useful information; but they have shortcomings which can be summarized into three general categories:

  1. Some displays are very dimly lit.
  2. Some displays don’t have continuous illumination.
  3. Some displays have continuous illumination, but their use consumes power.

I have radios in each of these categories.  A desk lamp, if available, can’t always be placed in the right position relative to the radio.

Having a natural bent to fabricate things, I began to conjure a solution.  This would require three components:

  1. An independent source of light,
  2. a bracket to hold the light in place, and
  3. a stand to counterweight the light and bracket.

I quickly began to see mechanical problems attendant to fabrication, plus the realization that construction would demand some effort on my part.  My project quickly transformed into a search for a product on the Internet which would satisfy the requirements without me expending any work.

I found a book lamp has the advantage of illuminating the entire radio keyboard, not just the display.

There is a wide selection of book lamps.  My search focused on LEDs with rechargeable lithium batteries.  That didn’t narrow things down very much.  There are a lot of them.  My choice without a whole lot of research was a Vekkia 3000-K Warm LED Rechargeable Book Light [SWLing Post affiliate link].  It has not disappointed.

  • It’s the right size for most portable radios, ~7-in long flexible gooseneck, 2.01-oz weight.  The clamp opens about 1.8 inches.  It folds up into a compact bundle and it would be no problem to pack for a trip.
  • There are six 3000-K LEDs having three brightness levels.  Some of the other models have multiple color temperature settings.  3000 K is relatively warm, easy on the eyes during long use.
  • The vendor claims up to 80 hours of operation at the lowest light level.  I have been operating mine at the middle level.  Full charge is claimed to take 1.5 hours.  A short USB-C cord is supplied.
  • The clamp and battery assembly are heavy enough to serve as a stand and can support the lamp without clamping.
  • The clamp will fit on the end of the radio kick stand.  This might be the preferred way to operate the radio if it is being handheld.
  • Most importantly, the lamp was operated separately near the radio and the antenna and did not produce any noise.  This would not be the case during charging with a USB wall wart.

The photo below shows how the problems listed above have been resolved with a book lamp.  The arrangement is complemented with a 7-inch Kindle Fire tablet displaying a current shortwave broadcast listing – a nice package at home or away.

Tecsun PL-990 with its switch-settable continuous light turned off

There is a certain charm operating the radio with only a book lamp for illumination – certainly not like vacuum tubes, but charm, nonetheless.  Improving the radio listening experience is an on-going process.

What’s in the Box? Bob Colegrove Investigates the Forgotten Extras of Your Radio

What’s in the Box?

Itemized by Bob Colegrove

Not one to throw anything away, I tend to save ‘the box it came in’ for many new purchases.  The other day I decided to organize all my radio boxes.  Besides the radios themselves, they usually contain a selection of “goodies,” which can include, cases, power adapters, USB cables, batteries, earbuds, antennas, manuals, and so forth.

I generally do not use much that is included in the box.  Over time, however, some of the paraphernalia has gotten scattered around, and my recent effort was intended to corral and sort the accessories.  My experience is itemized below.

Cases

The cases are invariably the largest accessories in the box.  These are sometimes firm, faux-leather enclosures with a zipper around the edges.  I prefer the soft, pliable pouches which seem to function more easily and take up less space.

The Sony ICF-2010 and -2001D did not include cases.  To give the radio some protection during travel and storage, I fabricated a ‘sock’ out of an old bath towel and some hot glue.  The so-covered radio was then inserted into a travel bag along with earphones and anything else I needed.  This worked very well over the years; so well that I extended the concept for some of my smaller radios, which came with cases.

Homemade socks for a PL-880 and ICF-2010 could even be color-coordinated with the rest of your gear.

Power Adapters and Batteries

The following is not intended as the definitive treatise on power adapters and batteries.  Enough guidance has been provided by others.  The takeaway here is that, if you ever refer to the radio’s manual, this is the occasion to do so.  Ensure you know how your radio was designed and the proper way to power it.

In my collection of portable radios there are several combinations of power adapters and batteries.

  • Some radios came with power adapters and others didn’t.
  • Some radios came with batteries and others didn’t.
  • Some just came with USB charging cords.
  • Some were intended for both chargeable and nonchargeable batteries.  Others were intended only for alkaline, nonchargeable batteries, in which case the power adapter disconnects the battery from the circuit and is only used to power the radio.

An adapter might be used to power the radio, recharge batteries, or both.  It’s hard to believe in these days of switching power adapters that an adapter could ever be used to listen to AM radio, but that was the case with the Sony ICF-2010/2001D and Grundig Satellit 800.  These radios came with a more costly transformer adapter which produced very little discernable noise.  Manufactured in pre-rechargeable alkaline days; however, the adapter did not provide a battery charge function.  Over the years, I have mostly used these radios in-house.  They tend to be D-battery-hungry, and so they are usually powered via the adapters.

When Sony got around to producing the ICF-SW7600GR, they took a different approach.  They simply figured it was a small, portable radio, and would mainly be used with batteries.  So, there is a power port for an optional 6-volt adapter, but no included adapter.

The OEM batteries aren’t always the best, so I have an extra supply of rechargeable NiMH and lithium batteries which I cycle through my radios, and the originals are simply included in the rotation.  The NiMH batteries that came with the Tecsun PL-600, -660, and -680 only had 1000 ma capacity and tended to self-discharge quickly after a year or two of use.  However, they got you started.

I have always wondered about using NiMH batteries in radios intended only for alkaline batteries – mainly older ones.  There is a 20-percent reduction in voltage.  How does this affect the performance of the radio?  I suppose this can only be answered on a case-by-case basis.  As an example, I have used NiMH batteries in the Sony ICF-SW7600GR from the very beginning with no apparent degradation.  However, on the XHDATA D-219 and D-220, the difference is quite noticeable.  For some radios, the battery type is switchable, and one must be careful not to connect a power adapter to recharge alkaline batteries.
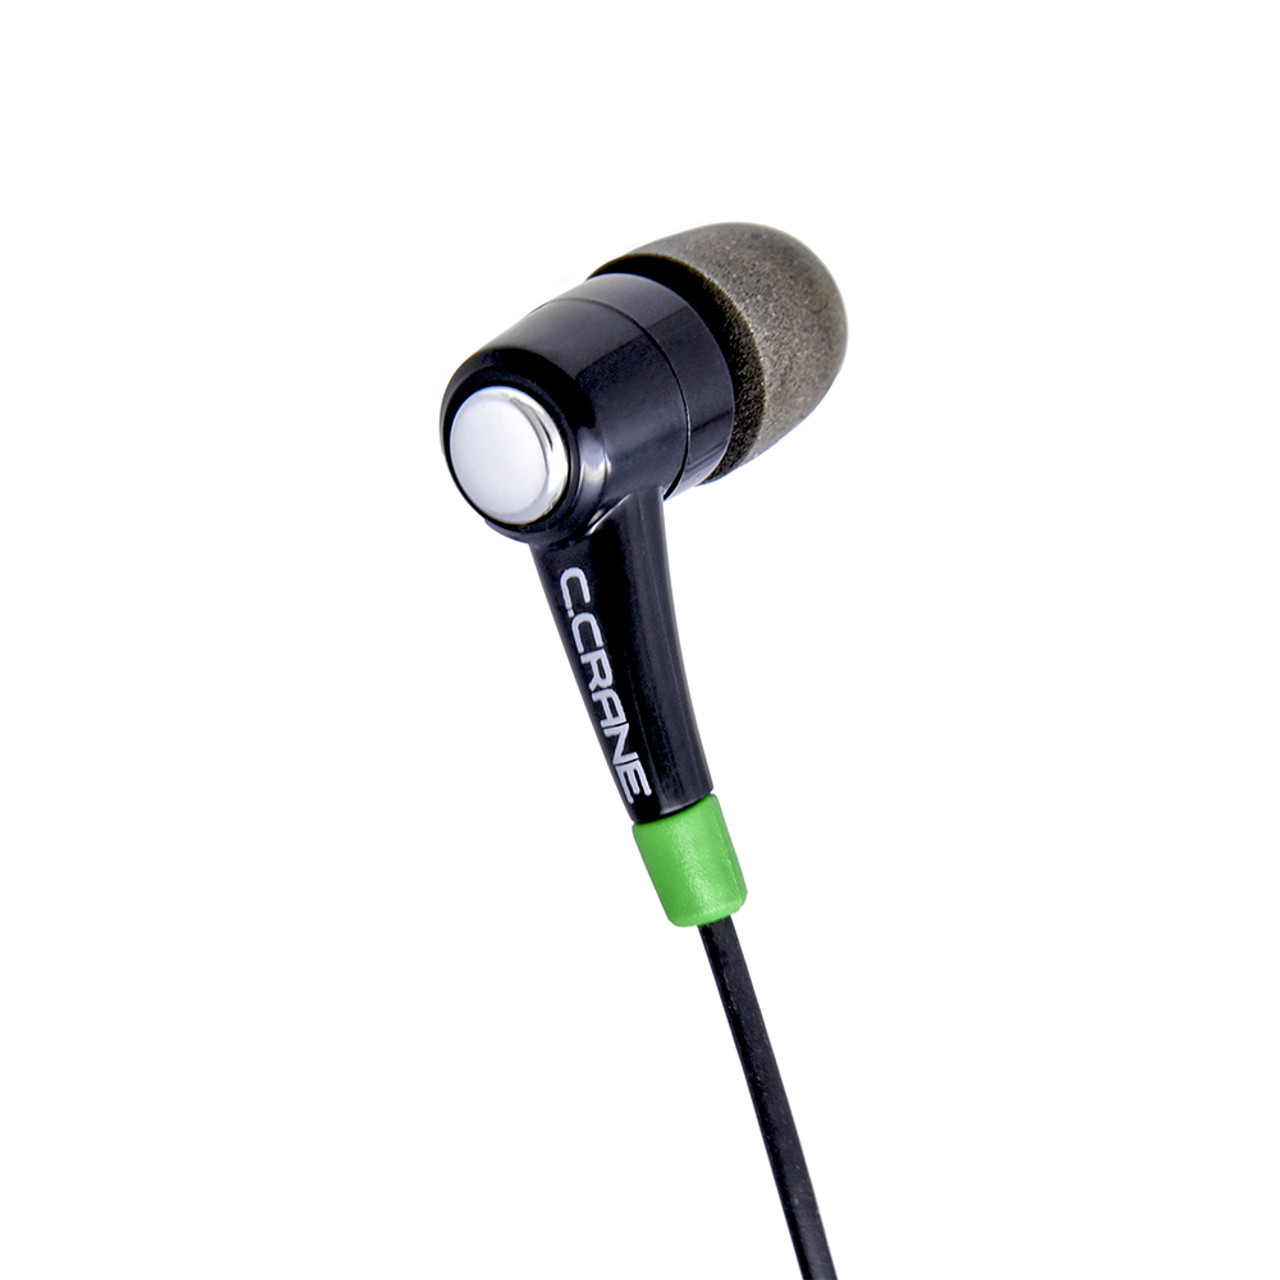
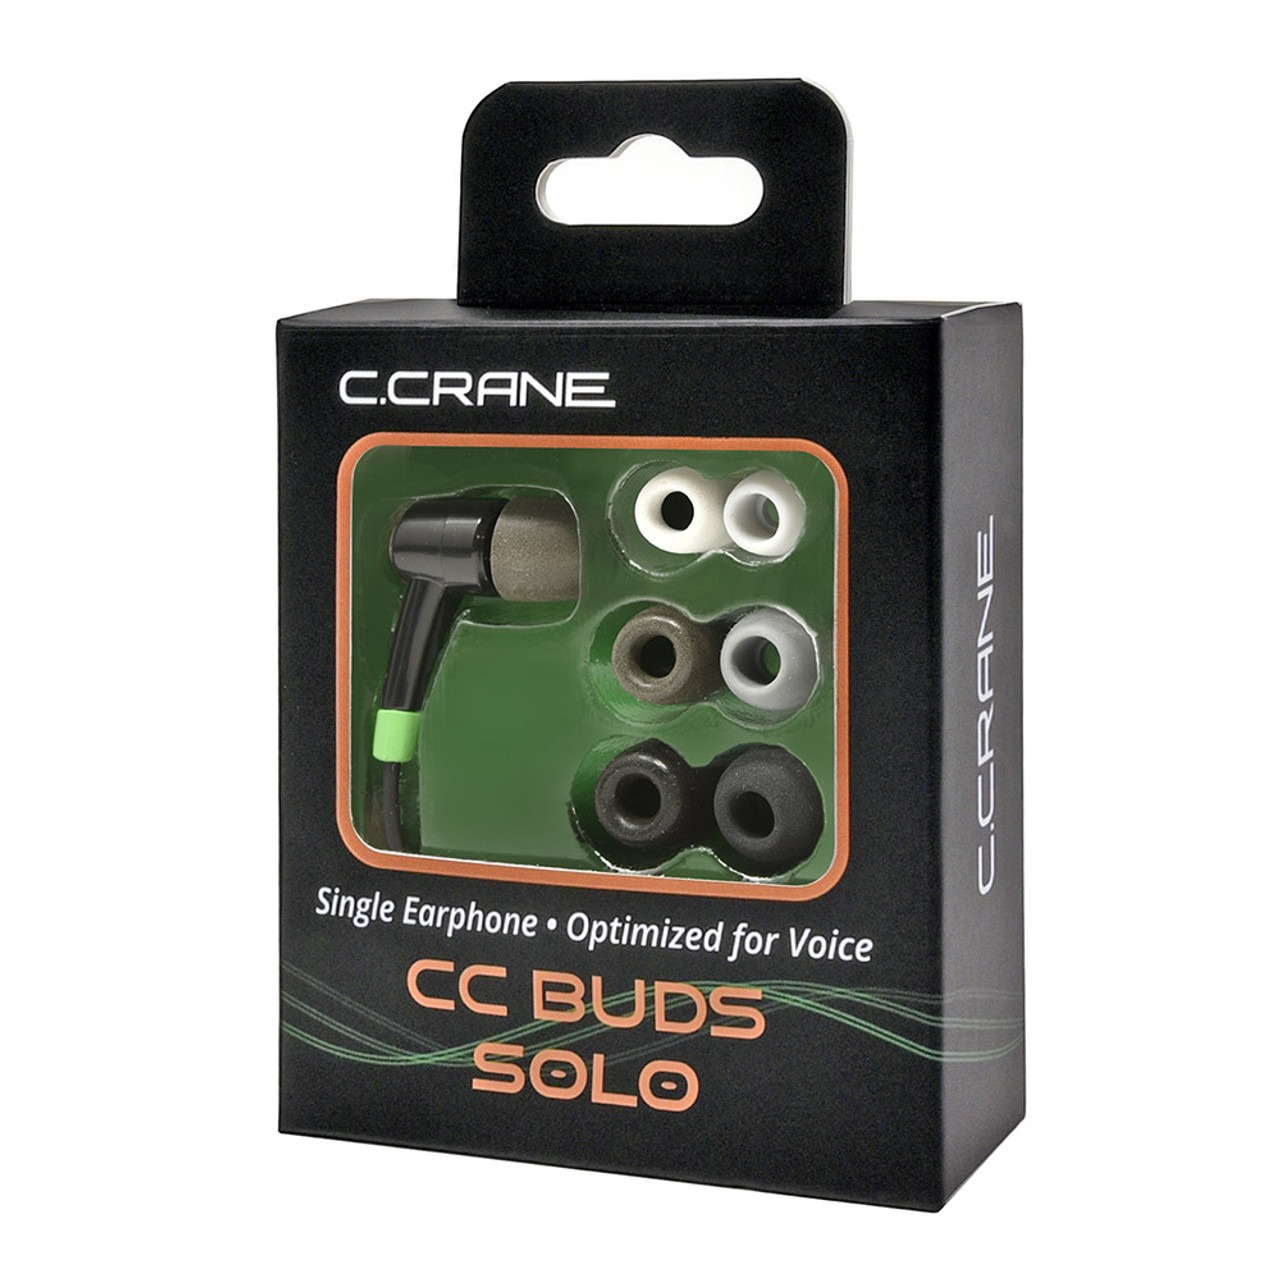
Earbuds

If you’re serious about radio, you have a good set of earbuds or headphones.  I would venture to say the supplied earbuds for each of my radios are still in the box in their original wrapping.  I don’t get along well with earbuds.  They are hard to install in what apparently are my constricted ear canals and are always falling out.  Several years ago I purchased a set of quality over-the-ear headphones.  Not the most convenient for travel perhaps, but great for reproducing sound and mitigating outside noise.  Grundig went so far as to include a set of over-the-ear headphones with the Satellit 800.

Antennas

Most new portables come with 20- to 25-ft long wire external antennas having 3.5-mm plugs for connection to the external antenna jack.  Sometimes a plastic ‘clothespin’ is attached to the remote end of the wire for mounting.  For convenience, some of these wires are contained in a tape-measure-style spool.  These antennas are quite useful for the non-tinker and traveler, as they provide a means to extend the range, particularly on shortwave.

The C. Crane wire terminal antenna adapter, included with the Skywave SSB 2, is a boon to anyone without a soldering iron or otherwise not inclined to use one.  Other manufacturers take note.  A #2 Phillips screwdriver, and knife to strip the wire insulation are all you need for extensive antenna experimentation.

Source:  C. Crane Skywave SSB 2 Instruction Manual, p. 30.

Sony packed not one, but two 3.5-mm external antenna plugs with each ICF-2010/2001D.  The concept was the same as the C. Crane wire terminal antenna adapter.  These had wire pigtails ending in screw terminals for an antenna and ground wire of your choice.

External antenna adapter (1 of 2) packed with the Sony ICF-2010 and -2001D

A caution here.  The RF amplifier for LW, MW, and SW on the 2010 is an unprotected FET (Q303), which is notorious for failing due to electrostatic discharge from an external antenna.  Early on, your author was twice bitten by this snake.  There may be other radios that suffer from this vulnerability.

Straps

The strap is arguably the least useful accessory included with any portable radio.  The Sony ICF-2010/2001D came with a very attractive blue over-the-shoulder web strap, which has become something of an “item” among collectors.  Mine have been bound up in their original wrapping and stored away for 40-plus years, and might yield the cost of a new portable radio should I ever decide to auction them on the Internet.  I have never used them on either of my 2010s simply because I can envision the priceless radio dangling pendulously at the end of the strap waiting to meet disaster through contact with an immovable door jam.

The same goes for smaller radios which almost always include an obligatory wrist strap.  Perhaps these should not be classified as accessories, as they are permanently attached to the radio.  I avoid using them for the same reason as sited for the 2010s.  Besides, they just get in the way.  These straps are usually anchored inside the case, but I can’t bear to cut them off; so, I have just lived with them.  In the few cases where I have opened the case, I have omitted reinstalling them.  Instead of having a strap, how about a collapsible “lunchbox” handle?  I can even envision one of these being developed into a dual-purpose handle/antenna.

Manuals

Don’t forget the manual.  We’ve gotten away from manuals.  People don’t use them, and they are a manufacturing expense.  Besides, you can find your answer on the Internet.

As a retired technical writer, however, I have a strong respect for a well-crafted technical manual.  Besides actually using them, I unconsciously evaluate them.  Unfortunately, most are written as an afterthought – an attempt to forestall customer enquiries.  “Read the manual.”  The problem is compounded by radios intended for a worldwide market, wherein the manuals are authored by writers who labor under the handicap of having English, French, Spanish, German, etc. as a second language.

There are also situations where the printing is too small or the fanfolds too inconvenient.  My standard practice is to download an electronic copy of each manual, print it out in 8 ½” × 11” format, and put it in a comb or 3-ring binder.  This is easier on aging eyes, and more suitable for adding my own notes.

…and so forth

Besides the common accessories described above, some unique items have been included over the years.  For example, Tecsun has packaged very nice 20-inch by 30-inch charts with some models.  One side contains a world map showing amateur call areas.  The other side is an enlargement of the radio with each button or control function described.

Going back a few years, Sony included a slick publication called the Wave Handbook with some of their radios.  These had convenient station vs. time charts for world band radio.  The charts were like those published in frequency vs. time format in Passport to Worldband Radio.  The booklets were published in several editions over the years, but obviously, these were time sensitive and became outdated rather quickly.  Still, they could pique the interest of folks new to SWLing.

Packaging

Finally, there is the box the radio came in and any accompanying wrapping.  The packrat DNA in me usually demands that I keep all this.  It can speed up the sale or otherwise increase the value of the radio, if you ever decide to sell it.

Which radio accessories do you use?

Would you like an option to buy the radio without any accessories?

Raddy RF919

RF919 Bonus Antenna

I received a message yesterday from Raddy Marketing that they are offering a bonus antenna for the RF919 radio which will be shipped with future orders.

Here is the note they sent:

“All previous RF919 orders from our website or Amazon are eligible to request the new antenna. Customers can contact our customer service at [email protected] and provide their order number to receive it.”

I do not have any details about the new antenna, but wanted to post the info so folks who have purchased the radio as indicated above can receive the offer from Raddy.

Robert K4PKM

Kostas presents the NR-1 Noise Blanker!

Many thanks to SWLing Post contributor, Kostas (SV3ORA), for sharing the following post which originally appeared on his website:

Update (19 Dec 2024): ELISYS  now sells Kostas’ NR-1 noise blanker and ships worldwide. Check it out by clicking here.


The NR-1, a revolutionary noise blanker that works directly on the antenna!

I designed my own noise blanker because:

    • I was tired of that HF noise that could not be beaten otherwise.
    • I wanted to remove it before it gets into my transceiver.
    • I could not install a separate “noise” antenna/coaxial for diversity.
    • I wanted to remove noise interference from any direction.

NR-1 is a revolutionary Noise Blanker which is the result of two-years of development and extensive testing by Kostas sv3ora.

NR-1 works directly at the antenna. This has significant advantages over the classic noise blankers which work at the intermediate stages of the receivers. It does not require a second “noise” antenna for its operation.

Furthermore, it is not based on cutting-off of amplifiers, unlike common noise blankers
do.

Because of these, the NR-1 is superior, compared tocommon internal Noise blankers of radios:

    • NR-1 removes noise before it even reaches the receiver. Thus, the front-end RF
      stages of the receiver are unaffected by noise, unlike a common noise blanker
      which removes the noise after it has first passed through the internal circuits
      of the receiver.
    • NR-1 removes high-level, high-repetition-rate noises that common noise blankers
      usually cannot cope with.
    • NR-1 is not affected by strong near-by signals. Instead, common noise blankers
      perform poorly when there are strong near-by signals and they distort the signal of the station we want to listen.
    • NR-1 can be used by many radios. Because it is an external device, it can be
      connected to various radios/receivers without the need to modify them.
    • NR-1 has a built-in 8-band preselector and helps eliminate intermodulation (birdies)
      caused by strong local medium and shortwave stations, on RF direct sampling
      radios (eg IC-7300). The preselector is relatively wideband and does not affect
      the sensitivity or the waterfall spectrum in the amateur radio bands.
    • NR-1 has built-in variable gain preamplifier and variable attenuator. Preamplification is
      particularly useful in the high frequency bands, where some radios have limited
      sensitivity. Variable attenuation helps to reduce band noise for more
      comfortable listening to mid/high strength stations.

Comparison of the NR-1 with other noise removal systems (eg. QRM eliminator, X-phase etc):

    • NR-1 does not require a second (noise) antenna/coaxial-line to operate. Unlike QRM
      eliminators, NR-1 does not require an additional “noise” antenna and
      therefore no second coaxial cable out of the shack. The main transmit and
      receive antenna you are already using is sufficient.
    • NR-1 is easy to set up. In contrast, QRM eliminators require systematic testing of
      various noise antennas in different locations to perform satisfactorily.
    • NR-1 removes noise from every direction simultaneously. In contrast, QRM
      eliminators, depending on the noise antenna setup and their configuration,
      remove noise from one direction only each time. If the noise originates or
      “travels” through cables and reaches the antenna from different
      directions, QRM eliminators do not perform well.
    • NR-1 removes more than one noise source simultaneously because its principle of
      operation is not related to the phase of the noise.
    • NR-1 does not require constant adjustment. Once set for one band, it usually does not need to be reset. In contrast, QRM eliminators require resetting every few tens of KHz or so.

Kostas has documented all the details of the NR-1 for his own future reference in his page.

He has also created some YOUTUBE videos as demonstrations of the operation and the effectiveness of this antenna noise blanker.

Replacement power supplies for WJ-8711A/HF-1000A series receivers

Photo by Paolo Viappiani

Many thanks to SWLing Post contributor, Dean Bianco, who writes:

Inspired by Chuck Yarbrough ‘s YouTube video, I ordered one of the newly-manufactured replacement power supplies for the WJ-8711A/HF-1000A series from WJ Systems, a new company run by noted WJ master technician Stephen Pappin. For those of us who own one (or more) of the dozen or so variants of these now-classic early DSP receivers, these new PS’s can provide an extension of their useful lifespans. These units are direct substitutions for the flawed Condor switching supplies, the Achilles heel of an otherwise fine general coverage radio. Nearly all of the original Condors have lived past their useful, in-spec lifespans and have become (or soon to become) malfunctioning ticking time bombs that will summarily go off the rails (pun intended) and spike all kinds of nasty voltages that will destroy your pricey beauty forever. While admittedly there are other inevitable EOL issues endemic to the 87xx series, e.g., expired time-keeping battery RAM and aging encoders making it harder to find spare parts, a well-cared for receiver can enjoy a much-welcomed rejuvenation and keep the grim reaper of radios at bay for a while!

The official website for WJ Systems is: www.wj-systems.com

Chuck Yarbrough’s YouTube videos demonstrating the installation and testing of the new power supply:

Part 1 of 2:

Part 2 of 2

Thanks!

Dean

Thank you for sharing this, Dean!  This is a brilliant upgrade for an iconic receiver!