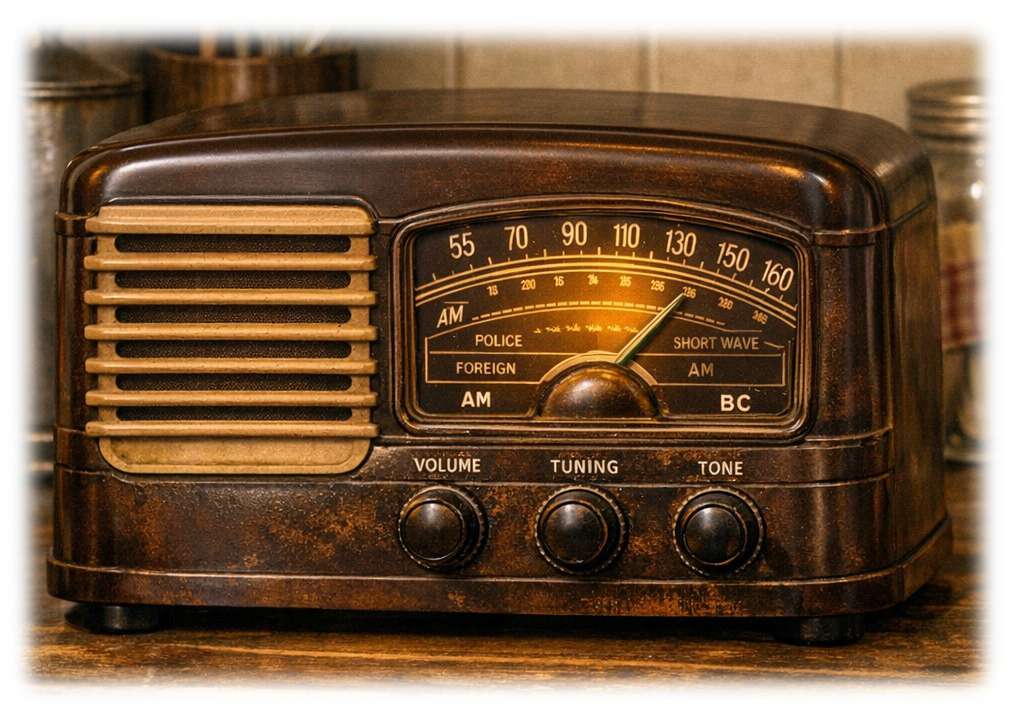
Copilot Radio, Model Unknown
The dial certainly has some problems, but the rich, Bakelite, art deco cabinet is superb.
By Bob Colegrove
One of the great attractions of the radio hobby is that it has so many different areas on which to specialize. As examples, one can focus on a particular band, collect or restore radios, DX or just listen. With so much to choose from, one can impulsively skip from one area to another. I have tuned the shortwave bands for many years, but I also like the AM medium wave band. If there is a purpose to this post, it is simply to bring some occasional attention to AM listening and DXing. There is nothing new in what follows.
What’s in a Name?
To start with, this subject is somewhat confusing by calling it what we do. There are at least three common terms for the electromagnetic spectrum between 530 kHz and 1700 kHz: 1) AM, 2) broadcast band, and 3) medium wave. This poses an identity dilemma; that is, none of these names are exclusive. AM defines a form of modulation, amplitude modulation, which is used in other portions of the spectrum. The same may be said of broadcast band. There are several international broadcast bands within the shortwave spectrum. That leaves us with medium wave. But that term lacks precision. What exactly are the boundaries of medium wave? Shortwave bands have relatively precise names related to their wavelength, 80 meters, 31 meters, etc. Should we call medium wave the 176-thru-943-meter band, instead? Let’s just stick with any of the old familiar terms.
In the Beginning
I’m sure many readers share the experience related here. Even before shortwave there was medium wave. Our initial encounter may have been with the monolithic, multi-band console radio in the parlor. However, the house was likely home to one or more less pretentious table radios, which were limited to the medium wave broadcast band. It all began with curiosity about what lurked in the relative space between the few local stations that played so clearly along the dial. We likely found less listenable stations poking through in the inter-station space. These were stations like our own in neighboring communities. Then, at night, a strange thing happened. Like stars in the sky, more stations appeared, some hundreds of miles away. At the same time, some of the stations we heard during the day disappeared, maybe even a local station or two.
Well, one thing led to another, and soon we were keeping track of stations that we heard. We took note of where they were located and their position on the dial using a new term called kilocycles. The fastidious among us kept daily logs with dates, times, and reception conditions. So, our DXing career began.
I came along a full generation after the advent of AM radio broadcasting. In my early years, it was still the mainstay of public information and entertainment. Television stations were beginning to pop up across the country one by one, and FM radio’s popularity was still a decade away. Like any imposing distraction, there was curiosity in what was being heard and, in the case of radio, where it was coming from.
Our house was home to perhaps three or four AM radios. At the age of seven, I was gifted of a 4-tube Sears Silvertone – mine to keep in my own room. But the radio that really got me going came along several years later and belonged to my father. This was a General Electric Model P755A, five-transistor portable. Shaped somewhat like a lunchbox, including the handle, it was the quintessential portable radio that the world had been waiting for. It ran for many hours off a single, but pricey 9-volt carbon-zinc battery. There was purposely no provision to run it from AC power. Also, it used an internal ferrite core antenna. There was no jack or terminal for an external antenna. Besides the tuning knob and volume control, it had a jack for a single earplug. It was truly portable in all respects. For all its simplicity, it did its job very well, and I borrowed it whenever the occasion presented itself.
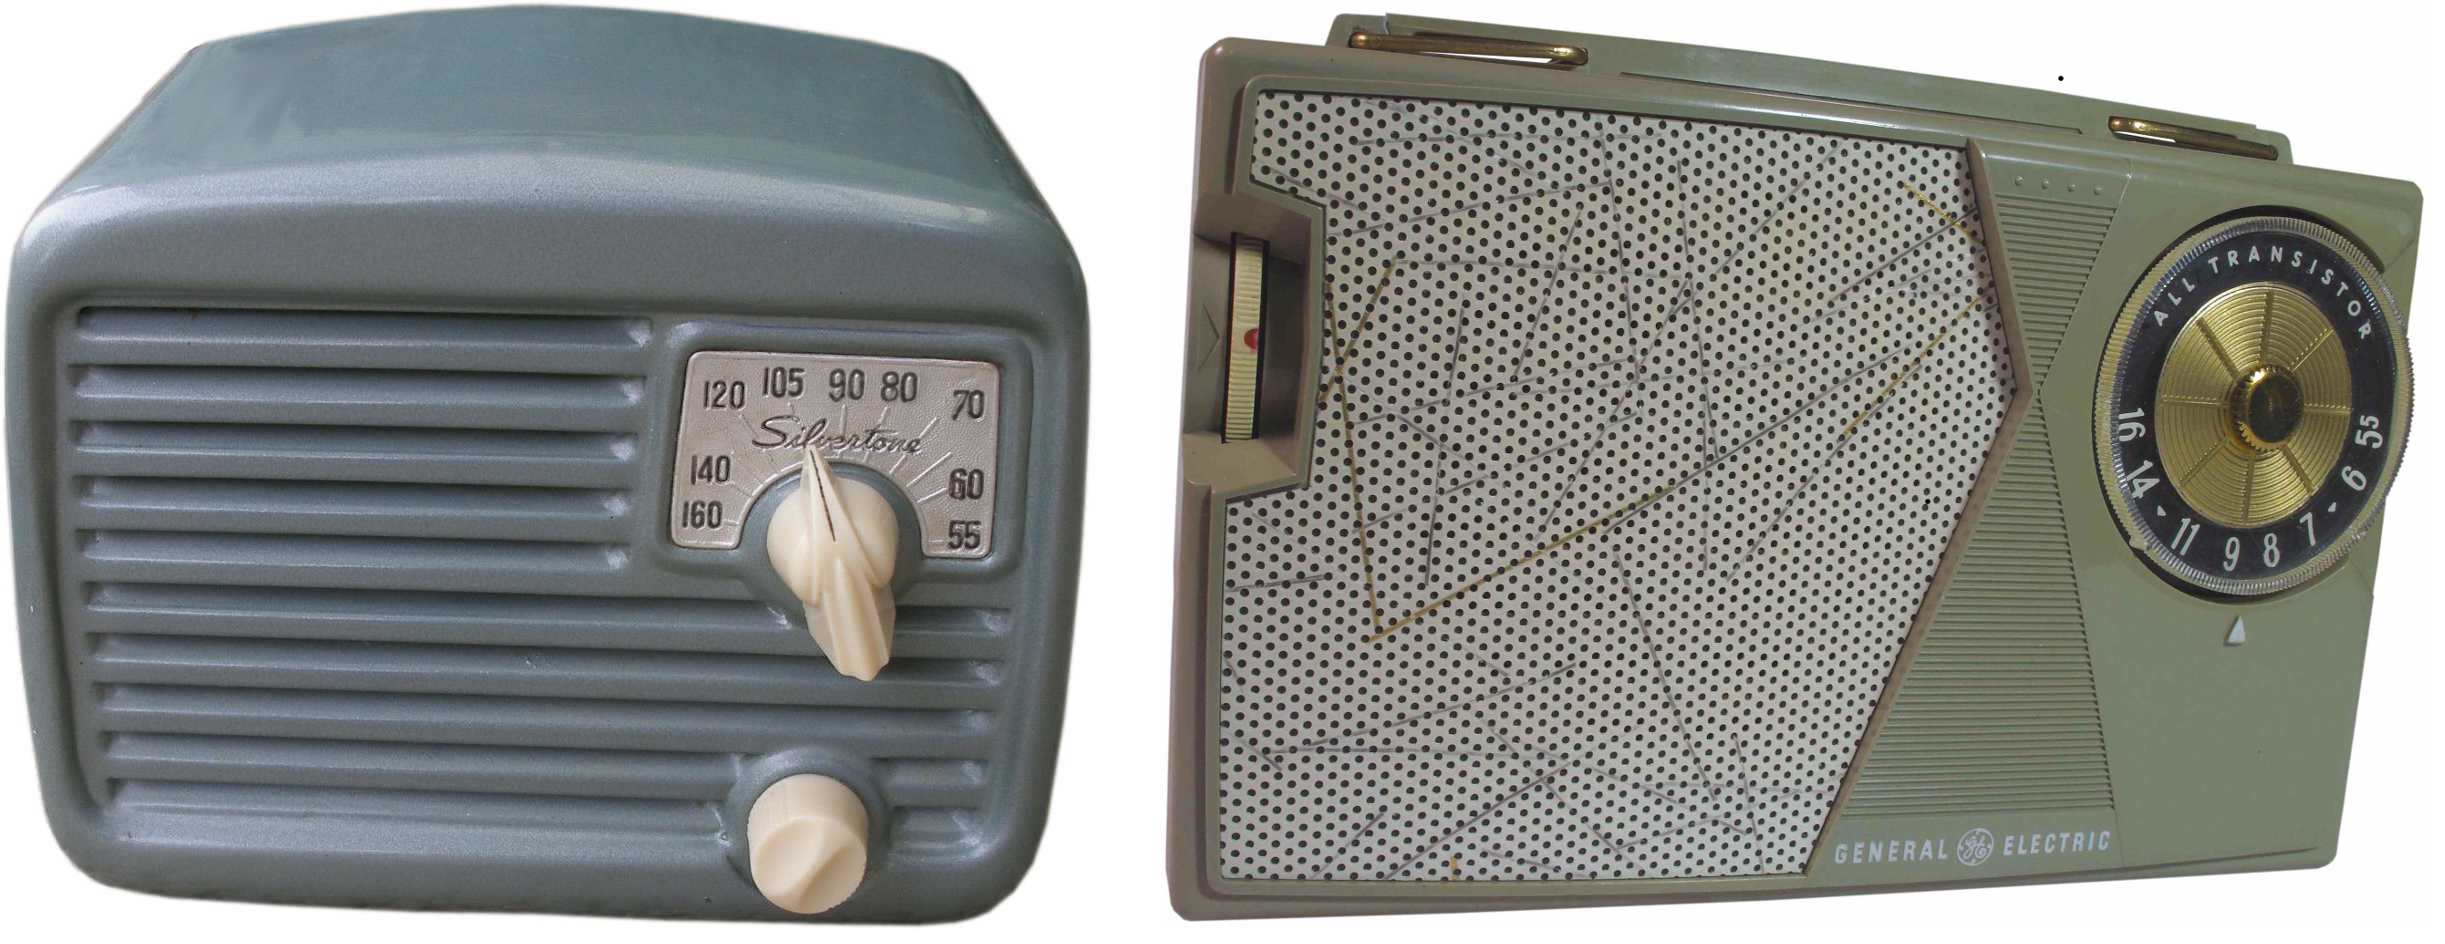
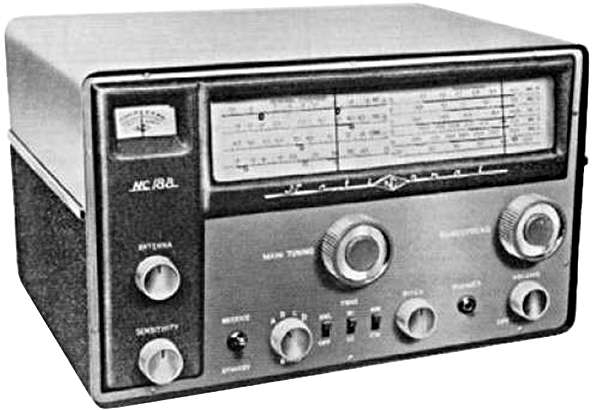
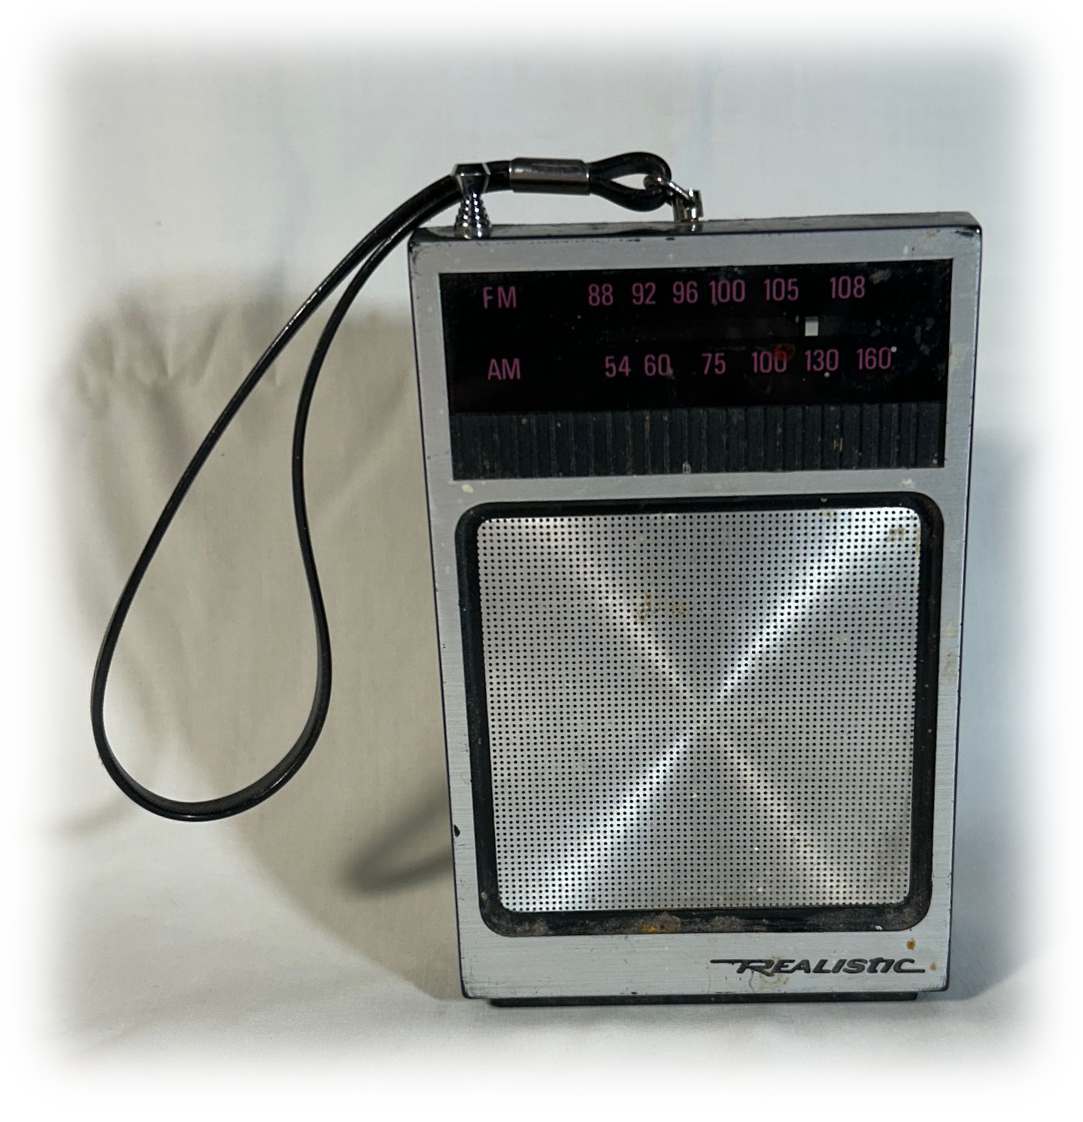
Left: Silvertone Model 132.818-1, Sears, Roebuck & Co (1949, $11.95)
Right: General Electric Model P755A Transistor Portable (1957, $19.95)
As an only child, I was the sole recipient of any goodies that came along, and it wasn’t too long before I had my own comparable Westinghouse portable. But the GE was really the one that got things started.
A Plethora of Stations
I have recently wondered whether shortwave use has contracted about as far as it can go. This is not the case with AM, at least not yet. The graph below shows the total number of AM radio stations in the US throughout history, 100 years. The total has remained relatively stable since 1960, albeit with a slight downward trend from the peak around 1990. Stations occasionally come and go. Some rebrand with a different format or fresh call letters. Note that the steepest rate of decline, 217 stations, occurred over the past five years, amounting to 4.7%. Whether this rate of attrition will continue is a matter of speculation.
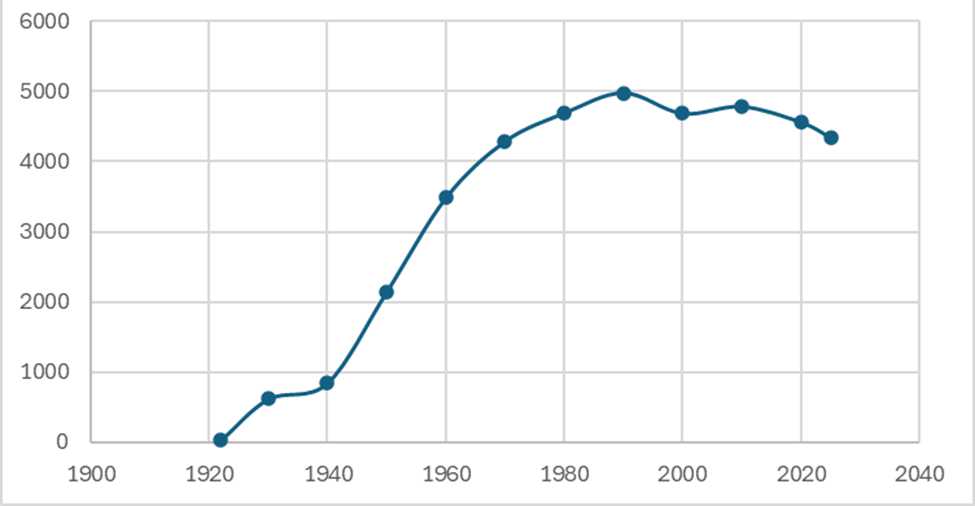
Graph compiled from https://en.wikipedia.org/wiki/Radio_in_the_United_States
Medium wave DXing is a lot different than shortwave. The density of stations will vary depending on what part of the world you live in. Here on the East Coast of North America, the AM band is saturated with signals. That is, with a suitable antenna, one can at least detect a station on each of the 118 available channels – certainly at night and possibly even during the day. On the other hand, some years ago, I had an opportunity to visit Honolulu, Hawaii. With little time to listen, I only heard a few of the islands’ stations but imagined what possibilities nighttime Dxing held.
Despite the density of stations on the East Coast, there will still be limits on the number of stations logged. My experience is that initially the log grows quickly, then tapers off steadily as you go along. Your time is eventually spent locked in on a local or regional frequency, waiting for something you’ve heard to fade out and something you haven’t heard to fade in. In a previous posting, I worked the lower end of the band rigorously for some time, coming up with a fair number of catches.
Ten-kHz channel separation is the convention in Region 2, the Americas. There have been some occasional anomalies. Several years ago, there was a handful of so-called “split-channel” nonconformists, who placed their carriers midway between channels and presented an opportunity to log some hard-to-hear countries. It was also possible to pull in a few very high-power European and North African stations. This took advantage of the 9 kHz vs. 10 kHz channel spacings between Region 1 (east) and Region 2 (west).
Seasonal changes are also important. Winter is the best. Propagation is generally better and more consistent. Atmospheric noise is minimal. Local stations limited to daylight operation have shorter hours. The gray hours around sunup and sundown can produce unusual DX conditions.
Programming
Programming has changed since the 1950s. As the go-to medium for public information and entertainment, content was original and competitive. Mornings were often filled with local DJs playing occasional songs and generally keeping listeners apprised of news and weather. Traffic helicopters were still in the future. The genre of soap operas was born and consisted of 15-minute, serialized dramas one after the other during the middle of the day. Faithful audiences followed these melodramas for many years. DJs took over the airwaves again in mid-afternoon and continued through dinner time. Prime time lasted throughout the evening hours with regular drama, comedy and variety shows which were networked throughout the country. Continue reading