Many thanks to SWLing Post contributor, Jeremy Clark (VE3PKC), who writes:
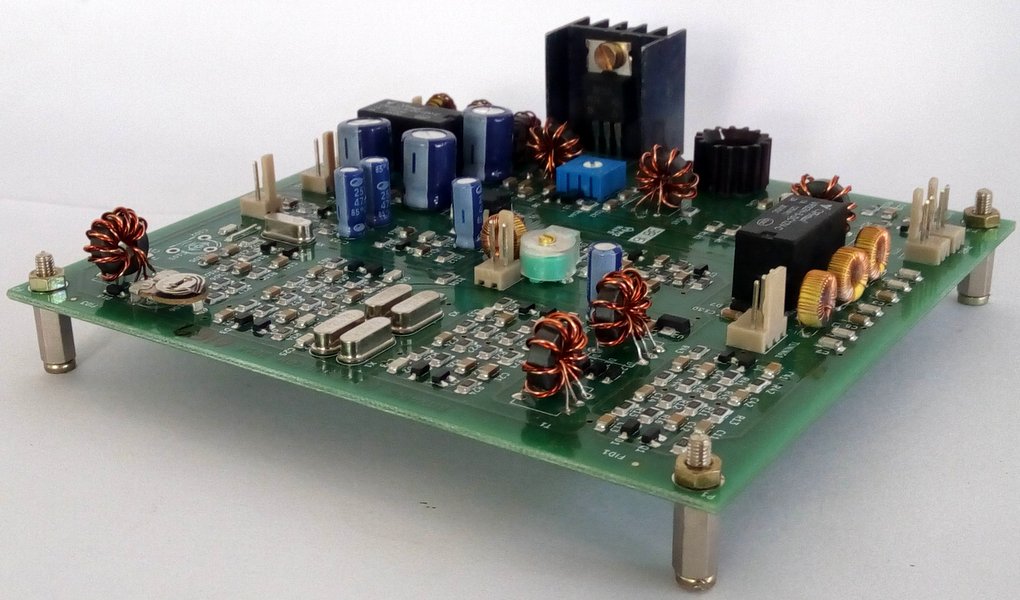
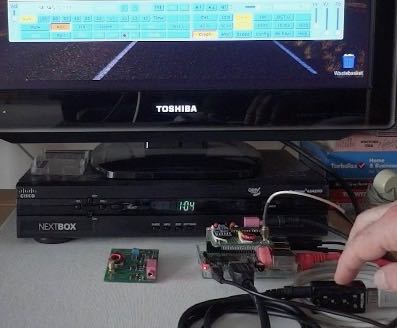
I have developed an SDR receiver that may be of interest to your readers. It can be used directly with the Raspberry Pi2B/3B. It comes in several versions DIP/SMD.
I have two eBooks which are basically design manuals for the DIP and SMD version of my SDR receiver. Each eBook has an Internet linked parts list, so that the reader can get their own parts to keep costs down. The DIP eBook is $7.90 CAD and the SMD book is $14.90 CAD.
Click here to view Jeremy’s website.
Thank you, Jeremy–this looks like a fascinating construction project!
Readers: just to be clear, Jeremy is selling eBooks detailing construction–not kits. He did mention if you’re interested in obtaining the PCB, he can sell this as well.