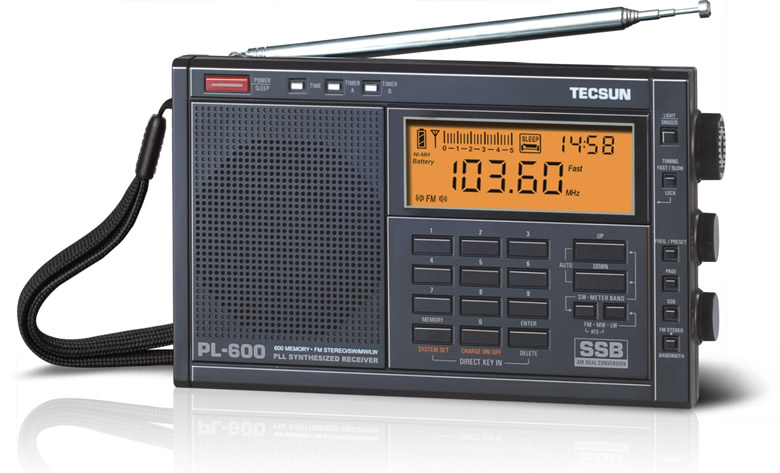
SWLing Post reader, Michael Taniwha (NZ1MT), has kindly documented how he repaired his Tecsun PL-600 after it went silent on the shortwave bands. If this has happens to you, don’t toss your PL-600, use Mike’s excellent guide below for an inexpensive repair.
(Click on images to enlarge)
TECSUN PL-600 – Electrostatic Discharge Repair
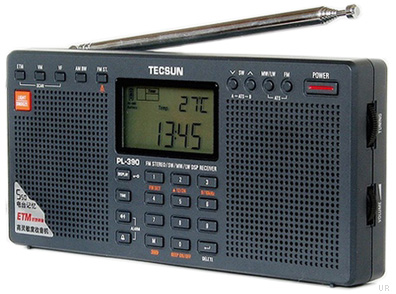
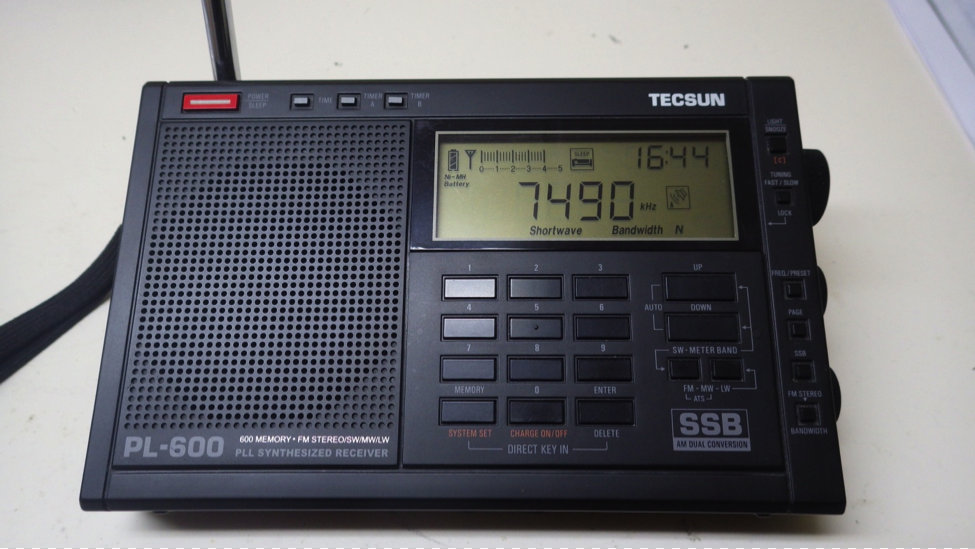
My TECSUN PL-600 had been a trusty bedside radio companion for the last two years. The radio is also my alarm clock and I use the timers to wake me up each morning to my local AM station WHYN or Radio Australia on SW.
On November 29, 2013 I turned the TECSUN PL-600 on and attempted to tune into some SW stations and was surprised to find the radio stone deaf on all the SW bands….similar to the Steely Dan song FM (No Static At All) except in this case it was SW (No Static At All). Immediately my first thought was that the radio had probably suffered an Electrostatic Discharge (ESD) when I had touched the external antenna while moving it around earlier in the day. I reset the radio and tested all the bands, AM and FM bands seemed to be working OK, yet SW remained dead.
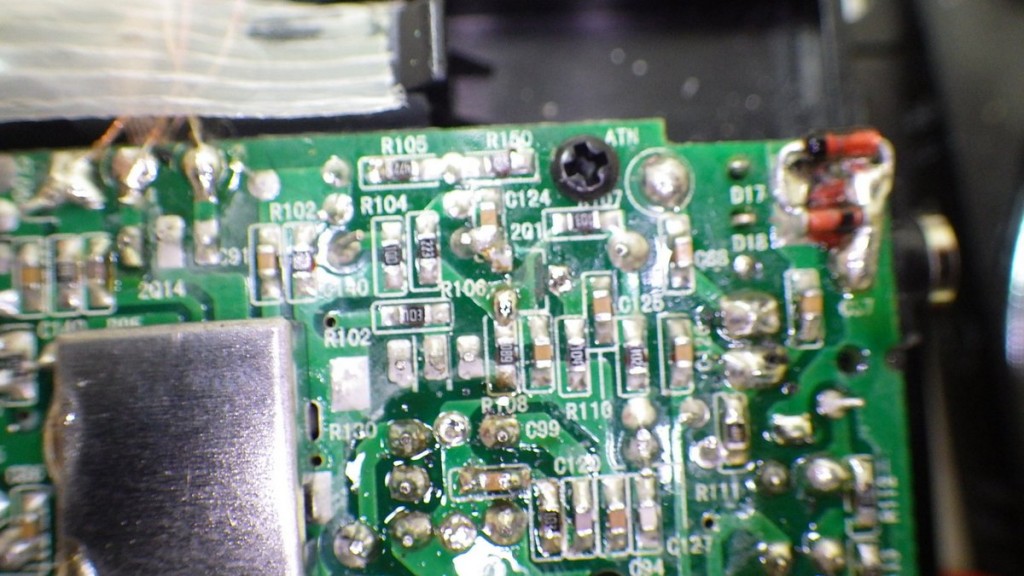
My next step was to open up the radio and look for the obvious.
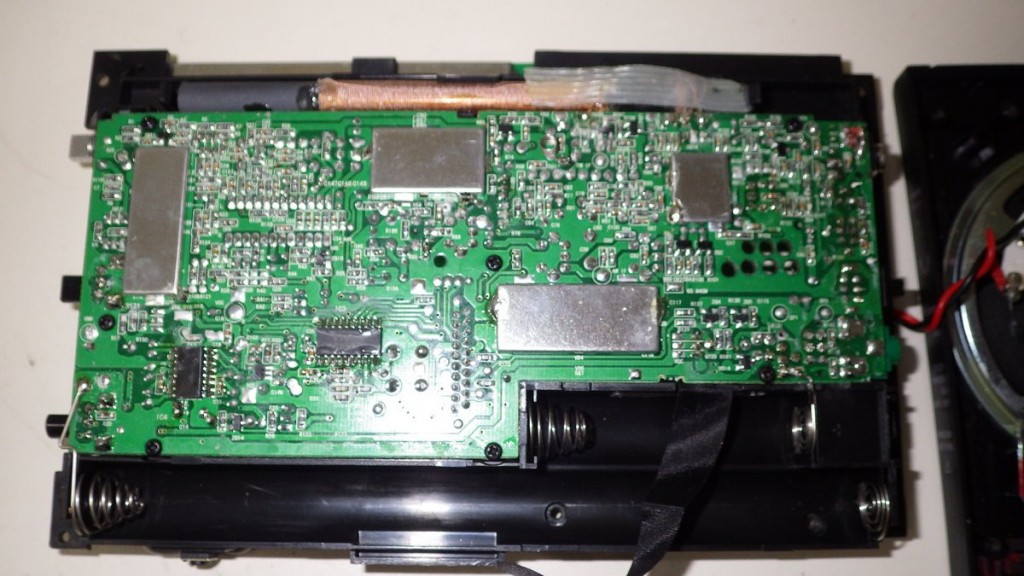
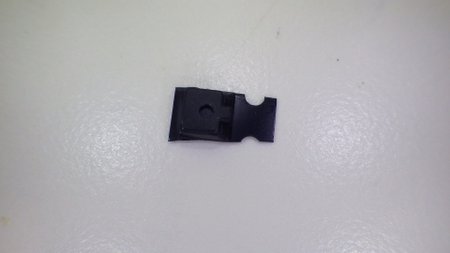
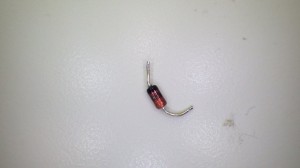
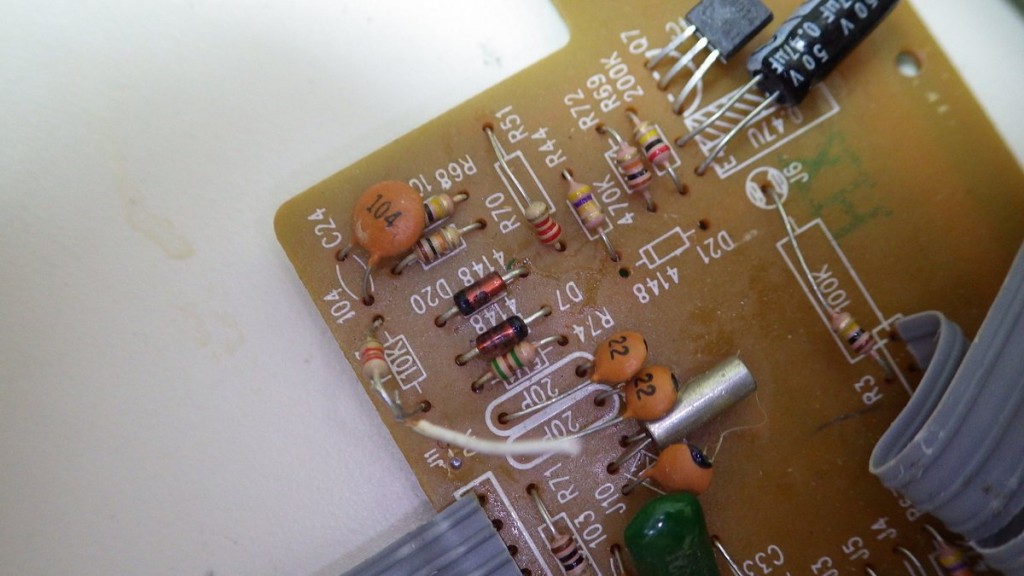
Upon opening the radio I was surprised to see two back-to-back IN4148 diodes (D17 & D18) fitted across the external antenna input to ground and that the diode D17 was cracked in half. The back-to-back diodes offer a very high resistance at the micro-volt RF level, but will conduct once the forward voltage (Vf) raises above 1.0V. So for the cost of a few pennies we have a relatively cheap and dirty ESD protection circuit.
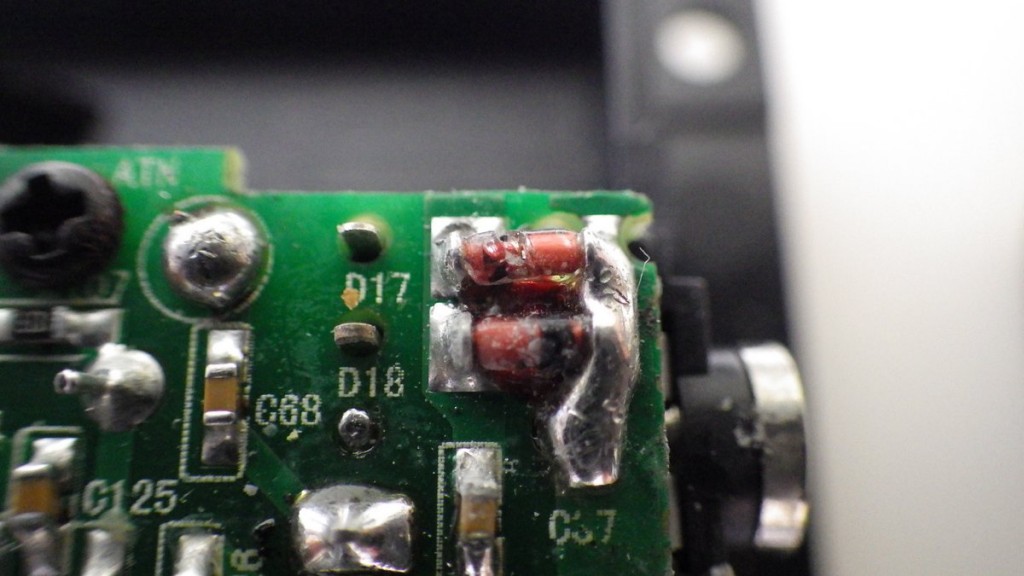
My first thought on the cause of the cracked diode was a manufacturing defect when the diode was soldered in at the factory (in fact I later discovered it was likely broken during assembly of the rear cover at the factory – read on). My next thought was just my luck that the broken diode was probably in the polarity direction that I needed the ESD protection.
The next step was to locate a schematic diagram and start circuit tracing to find the likely blown front-end RF pre-amplifier FET/MOSFET that had been damaged. As luck would have it a schematic of sorts is posted in the TECSUN PL-660/PL-600 Yahoo Groups. See the following Link.
http://groups.yahoo.com/neo/groups/TecsunPL660TecsunPL600/files/PL%20600%20Schematics/
The only issue is the text is mostly in Chinese! However, the parts on the radio PC board are clearly labeled as are the parts on the schematic.
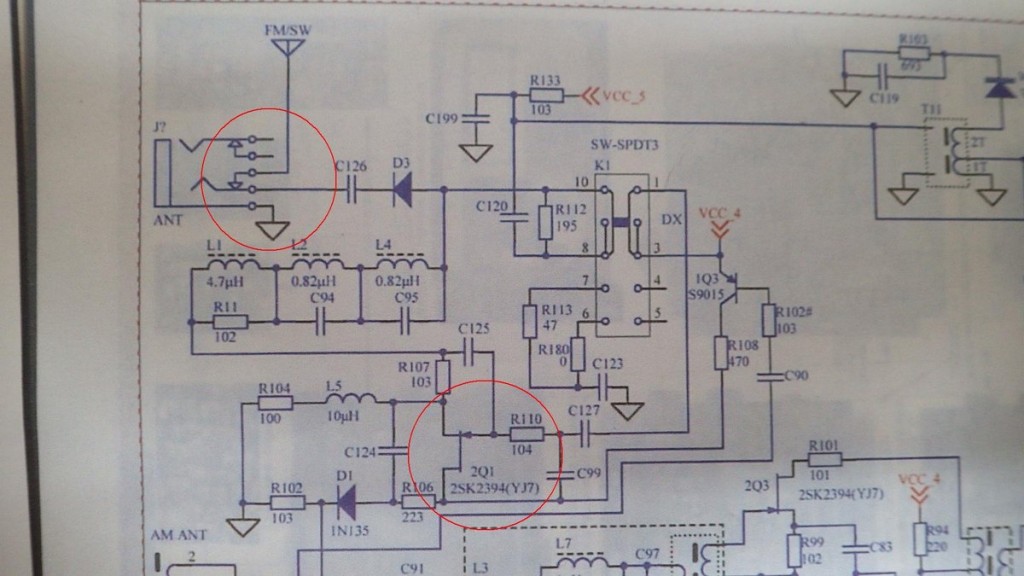
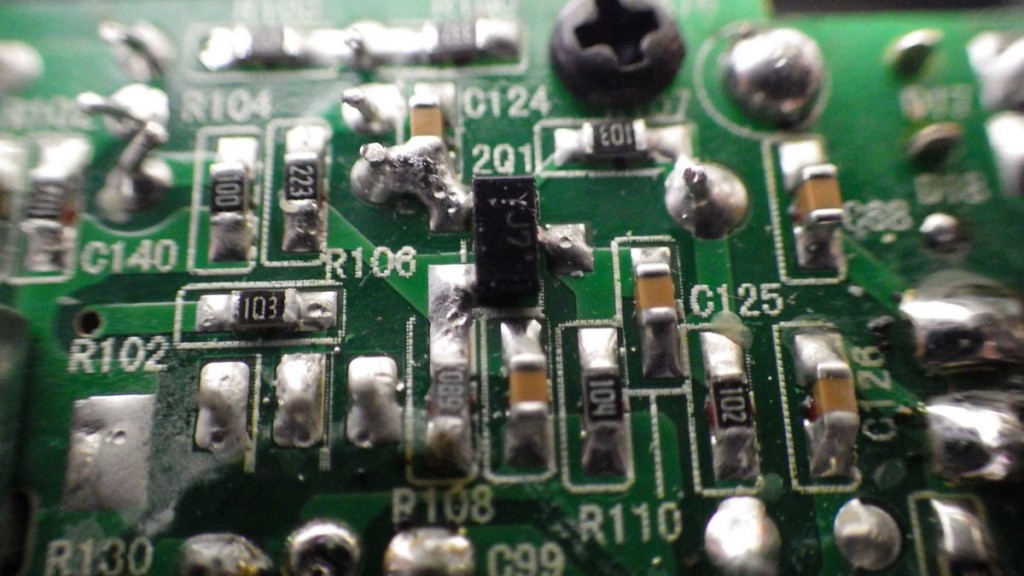
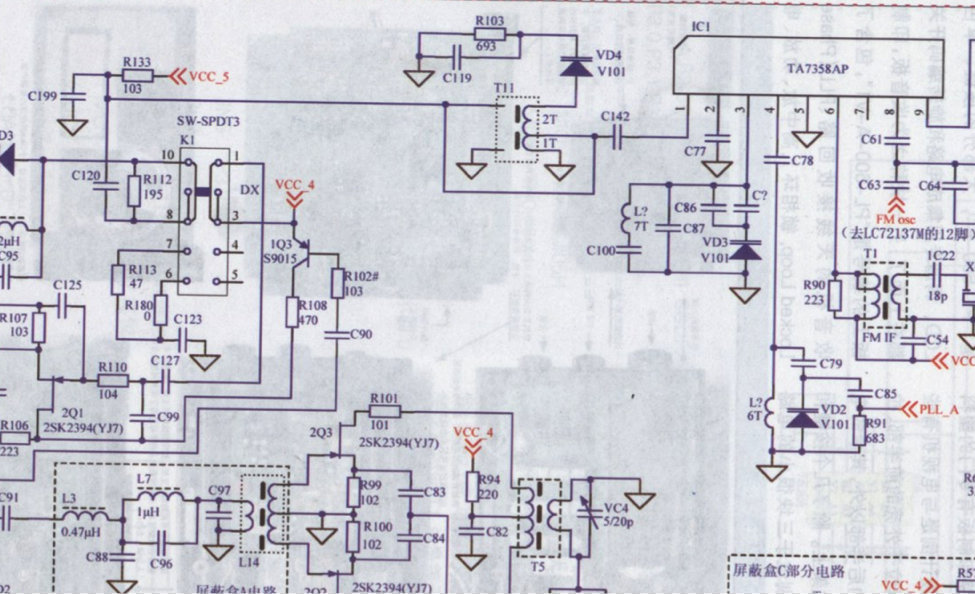
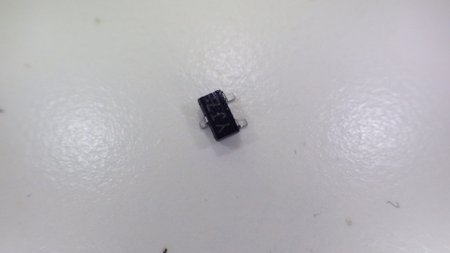
What I quickly notice is that the schematic shows no ESD protection on the front end (upper highlighted circle), but in fact the radio has additional parts D17and D18 (the back-to-back diodes), and C57 on the PC board coming from the external antenna jack. Whenever the external antenna jack is used the jack disconnects the radios telescopic antenna which is connected to C68 to the antenna jack switch circuit. After this antenna switch the schematic from C126 onwards is correct. Following the schematic we see that both the telescopic antenna and the external antenna go through the DX/NORM/LOCAL antenna switch to the IQ3 (AGC?) transistor and then to the RF pre-amp 2Q1 FET (lower highlighted circle). My educated guess was that the 2Q1 FET type 2SK2394 was damaged by the ESD. Yes the 2Q1 it is a very small SMD type FET.
My reasoning for the 2Q1 having failed is that FM reception was not affected as the antenna circuit goes directly to the TA75358AP FM decoder chip IC1.
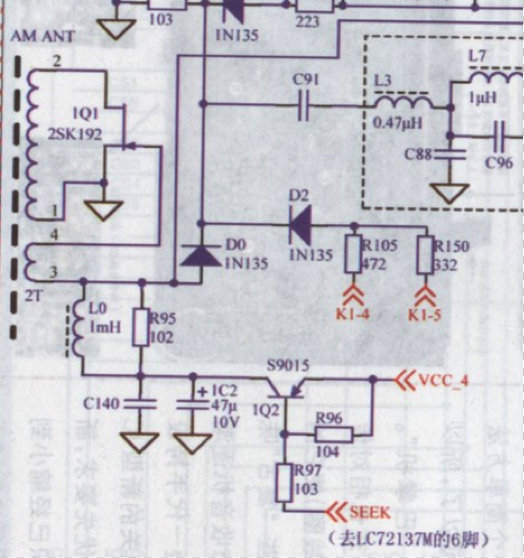
Similarly, AM reception was not affected as the AM signal is primarily from the ferret bar AM ANT coil that uses the 1Q1 FET for RF pre-amplification.
At this stage I contacted Kaito Electronics Inc. the official US based distributor of TECSUN radios and inquired if they provide component level repairs or provide replacement SMD components. The answer was no to both questions.
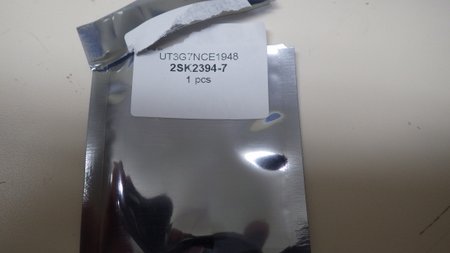
I then started hunting around online to locate a replacement 2SK2394 FET which is a Sanyo manufactured FET and finally found one for sale on eBay from hkutsource (Hong Kong UT Source) for $2 + $4 shipping. See following eBay link.
http://www.ebay.com/itm/2SK2394-7-Manu-SANYO-Encapsulation-SOT-23-High-Speed-High-Current-Switching-/130835554230?ssPageName=ADME:L:OU:US:1120
This FET is listed as a 2SK2394-7 but all the specifications line up against the specifications for a 2SK2394. I ordered it on December 6th and it arrived 10 days later enclosed in an ESD bag and packaged in a sturdy little box.
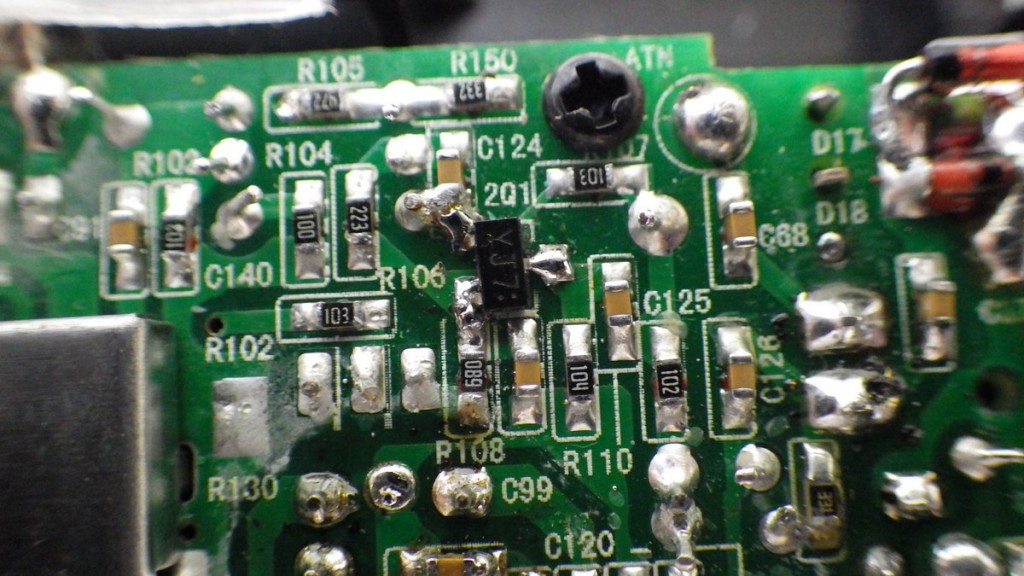
Now the fun starts. To replace the 2Q1 SMD FET I used my needle nosed 40W soldering iron, vacuum pump solder remover and wore my ESD strap to stay grounded. First step was to remove the existing 2Q1 FET.
Next step was to install the replacement 2Q1, if you haven’t worked with SMD devices before let’s just say it is like working with a live insect, they are small and seem to move around on their own accord.
After much tooth pick (my hi-tech SMD tool) maneuvering I finally had it installed. OK I admit it is a little skewed. Have you noticed I have also installed a replacement D17 diode at the top right of the picture?
The moment of truth! At this stage I did a quick radio check and fired up the PL-600 on the SW band and tuned into CHU, the Canadian Time Station on 3330 kHz, and picked up a time pip signal. In addition I was tuning into other SW stations and had plenty of static as well.
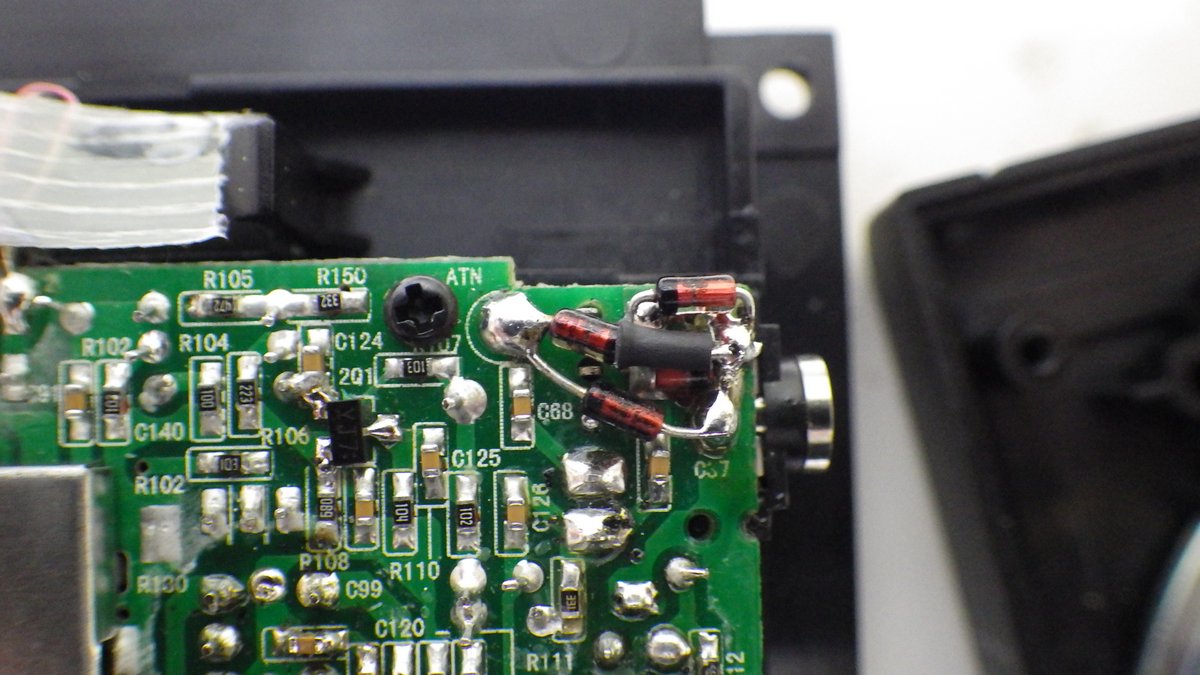
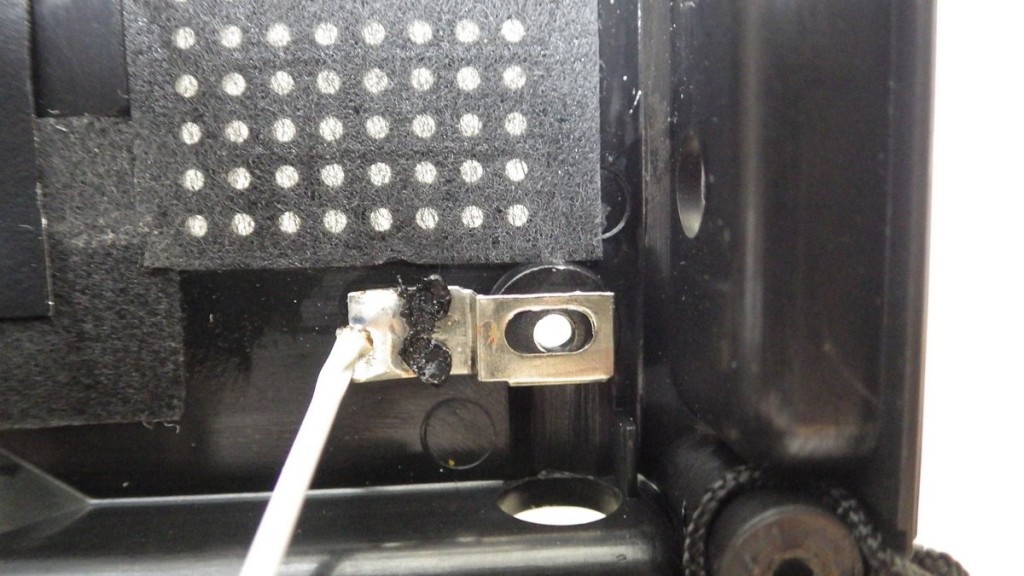
I now decided to install additional ESD protection on the telescopic antenna input as well using two IN4148 back-to-back diodes. After a quick hunt around in my junk box I located an old PC board with a few IN4148 diodes attached. Quickly removed and tested them using my multimeter diode checker.
I then installed the additional ESD diodes as shown below (the ATN label on the PC board is where the antenna wire from the telescopic antenna on the back over is attached).

Finally it was time to reassemble the radio. This is when I started having real problems as the rear cover just would not reattach. When I looked closely I could see that the plastic support screw hole on the rear cover for the telescopic antenna sits partially against the PC board where the D17 diode is located. Now that explains why that diode was cracked when I first opened up the radio at the beginning of this repair. It appears the two ESD diodes were probably a design afterthought and the rear case wasn’t adjusted to accommodate their location on the PC board.
To get around this issue I removed the replacement D17 and relocated it to the lower part of the PC board below C57. Once I had moved D17 I could now reassemble the radio and again tested the radio. My TECSUN PL-600 is now back to its trusty role beside my bed and picking up SW stations.
In summary if you have a TECSUN PL-600 or PL-660 that is deaf on the SW band it is likely to be an ESD damaged 2Q1 RF pre-amplifier 2SK2394 FET. For $6 and some time and effort you can replace the FET and have your radio back up and running like new.
Michael Taniwha – NZ1MT
Email: To send Michael an email, simply insert his callsign @YMAIL.COM
December 17, 2013
Many thanks, Mike, for the excellent documentation and detailed photos!
Note that you can also download Mike’s guide as a PDF on the Tecsun PL-660/600 Yahoo Group (membership required).

 (Source: Southgate ARC)