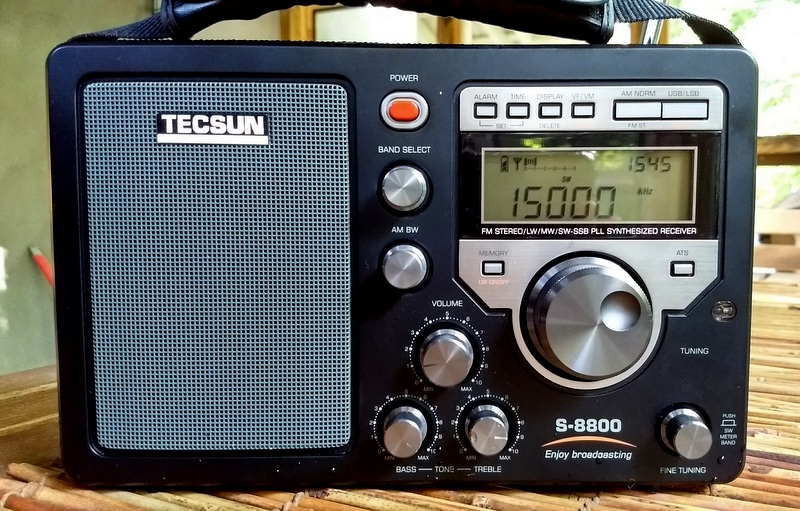
Many thanks to SWLing Post contributor, PA, who notes that Lennart Benschop has posted a review comparing the Tecsun PL-680 and Tecsun S-8800.

Many thanks to SWLing Post contributor, PA, who notes that Lennart Benschop has posted a review comparing the Tecsun PL-680 and Tecsun S-8800.
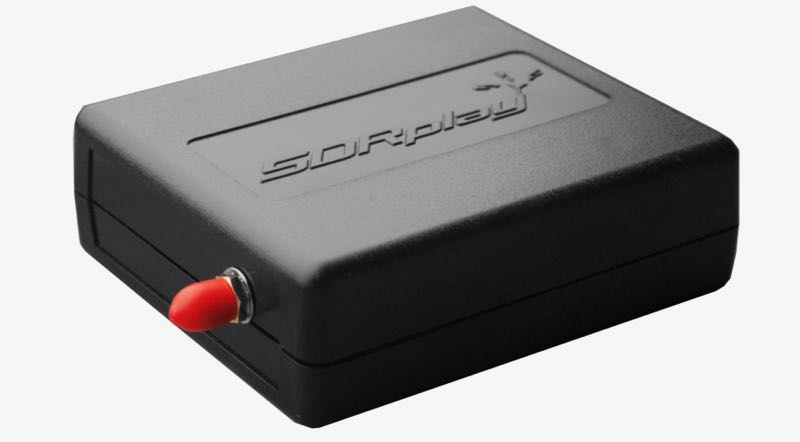
Many thanks to SWLing Post contributor, Dave Zantow (N9EWO), who writes:
Our greatly “Updated” SDRplay RSP1A review is now available (with new number two 2019 manufactured test sample). As usual with our web pages be sure and have pop up blocker on full (allow no pop ups) and browser security settings at default or above.
Thanks for sharing this, Dave!

Many thanks to SWLing Post contributor, Dave Zantow (N9EWO), who writes:
A greatly updated and expanded review on the AOR AR-DV1 has now been posted by me. Made a few typo corrections and some minor text changes from the first draft a few days ago, so I hope I have all of those fixed now ?
http://n9ewo.angelfire.com/ardv1.html
Also just updated (again) the Sangean DAR-101 MP3 recorder review. Some minor text changes plus added 4 internal photos (bottom of it’s page). I have never seen any internal photos anywhere on the internet of the DAR-101. Now there is.
http://n9ewo.angelfire.com/dar101.html
Again for reading any of my web pages, be sure and have your Pop Up stopper on FULL (do not allow ANY pop ups) and your security settings on your browser set at least to default. Otherwise Angelfire can be rather nasty with junk. If all else fails turn off your Java Script.
Many thanks for sharing, Dave!
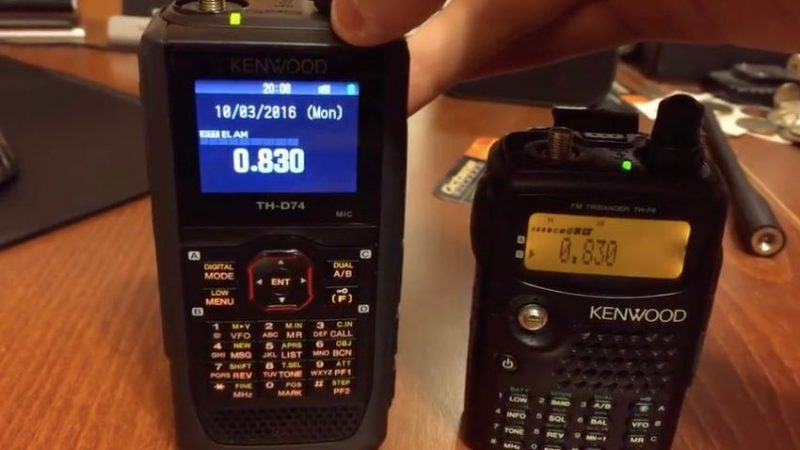
Many thanks to SWLing Post contributor, TC, who shares the following response to Ivan’s post about the Kenwood TH-D74 on mediumwave:
A couple of years ago, I published a side-by-side comparison of the TH-F6A and the TH-D74 on YouTube comparing reception of a local AM broadcast station. The F6A was far more sensitive on the AM broadcast band than the TH-D74.
You can see the video here:
Click here to view on YouTube.
I didn’t take the internal orientation of the bars into account, but the D74 is less sensitive in pretty much any orientation compared to the older F6A.
I contacted Kenwood about the difference, and they stated something to the effect of while the TH-D74 does receive MW, it wasn’t necessarily designed for it, and thus the reception there suffers compared to the F6A.
However, the tradeoff here seems to be better shortwave reception in the TH-D74 compared to the F6A. Hook the D74 up to a large wire antenna and you can easily pull in stuff on the shortwave broadcast and ham bands, and the IF filters help quite a bit as well.
Thanks for sharing, TC! I own a few wideband handheld transceivers so I keep a short SMA “pigtail” in my EDC pack that I can use to enhance HF performance. I simply clip a 15′ wire onto the pigtail’s exposed conductor to enhance HF performance. Also, as Ivan points out, inductively pairing any of these tiny radios with a mag loop antenna will also augment performance on mediumwave.
Thanks again for sharing!
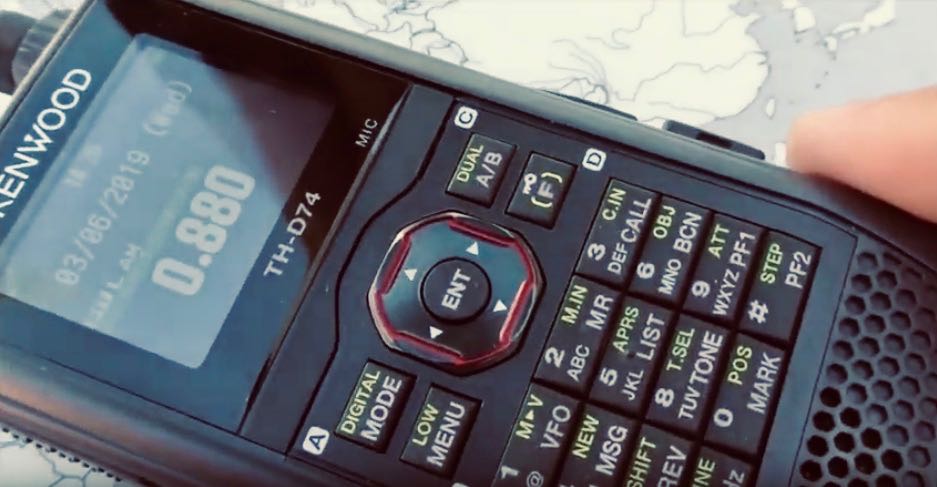
Many thanks to SWLing Post contributor, Ivan (NO2CW), who writes:
One category of receivers not much talked about are the wideband handhelds. I first owned one of those in 1992 when I paid a ton of money for an AOR-1000. Not only did it cost me a lot but I also ordered it from the UK so it was not subject to the “cellular blocked” rule. Don’t ask me why, it never made any difference in the end.
As a busy shortwave listener at the time I was eager to check out reception as the radio also featured Shorwave coverage and even a BFO (Beat Frequency Oscillator) knob! To sum it up it was a great receiver above 30 mHz but Shortwave and Mediumwave was barely there, with a 15 kHz wide filter and low sensitivity.
Well today I have in my hands a Kenwood TH-D74A – a top of the line handheld triband amateur radio transceiver with Medium Wave and Short Wave coverage. The radio is expensive due to the presence of GPS, D Star and APRS, but those are a features for the radio amateur. What about performance on the low frequencies?
Here is my video of the test which revealed surprising results:
Click here to view on YouTube.
So next time you consider purchasing a new receiver,as you dive into the choice of portables, SDRs, tabletops and classics from eBay you may consider adding this category as well – handhelds with wide band coverage.
Thank you, Ivan! You’ve inspired me to check out mediumwave performance on a few wideband handy talkies I own: the Yaesu VX-3R, Yaesu FT2DR and the Kenwood TH-F6A. To my knowledge, all three have internal ferrite bars (tiny ones) but I’ve never actually compared their performance with each other. That could be a lot of fun. I also own an AN200 MW loop antenna so this could be an excellent test to see how it pairs with each radio. I’m especially curious about the wee VX-3R!
Thanks again, Ivan. We always enjoy your videos and posts.
It’s been a busy winter season here at SWLing Post HQ. Many of you might have noticed a slow response time if you’ve tried to contact me. I’m in the midst of a rather involved investment property renovation that’s consumed nearly all of my spare time.
Still, I’m keeping up with the Post and even managing a little one-on-one radio time in the early mornings/late evenings. Indeed, I’ve actually tried to turn my renovation project into an opportunity to play a little radio. The property is unoccupied and very rural, so there’s quite literally no RFI there. Woot!

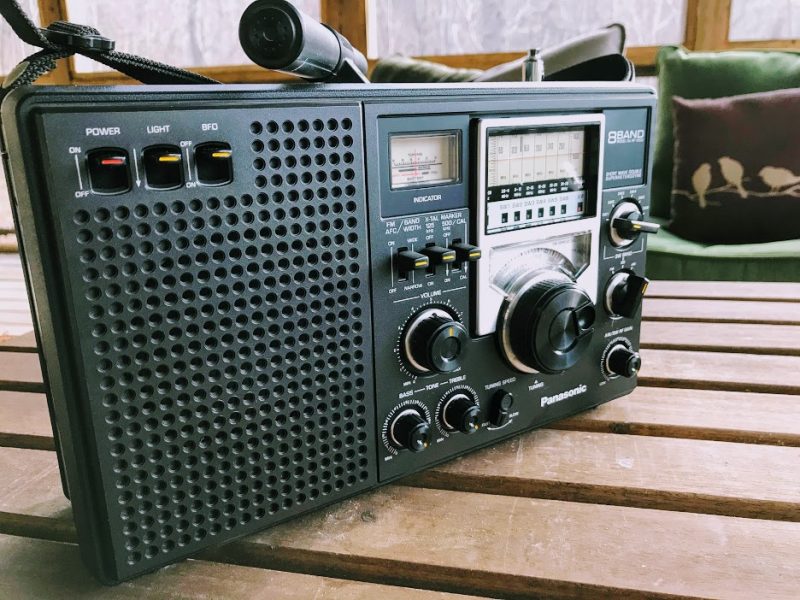
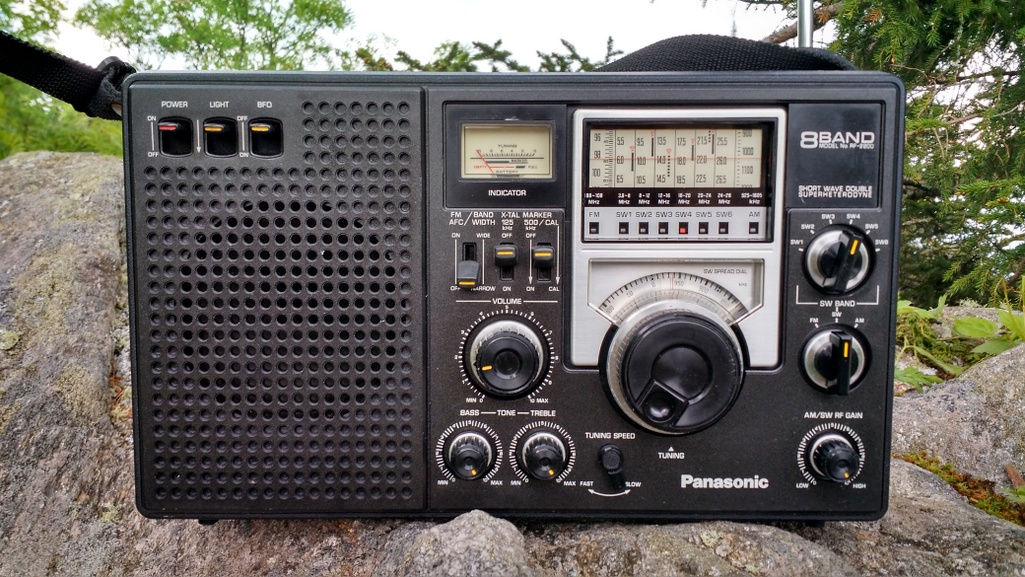
Since I’ve been spending time evaluating the new CCRadio3 (click here to read my preview), I’ve also had the CCRadio EP Pro, Sony ICF-5500W and the legendary Panasonic RF-2200 nearby for comparison purposes.
All of these radios have their strong points, but the Panny RF-2200 is still the rig I reach for the most. That’s why I listed it as one of my daily drivers.
It also helps that my RF-2200 feels like a brand new unit after Vlado re-capped and cleaned it.
Band-scanning with the RF-2200 is such a tactile experience. The ‘2200 tuning knob is quality and almost feels like a weighted encoder you’d find on a proper tabletop receiver. The RF-2200 even has fast/slow tuning gears and you can calibrate the dial so easily. Though tuning on the shortwaves feels a little vague, I find mediumwave is incredibly accurate.
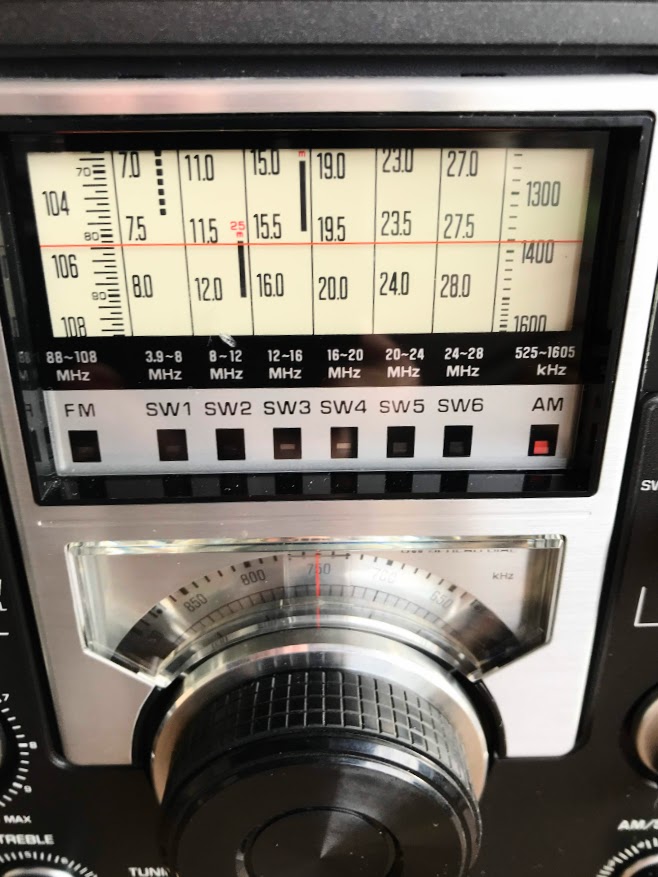
Speaking of the dial and logging scale, I think it’s one of the most attractive from the 1970s:
Since I’ve been doing most of my listening around sunrise and sunset, it’s been a lot of fun to fit in a little mediumwave DXing as well. I see why the RF-2200 was one of The Professor‘s favorites.
If you ever find a good deal on a Panasonic RF-2200, don’t hesitate, just grab it! Occasionally you’ll find one on eBay, but also check your local hamfests and swap meets! That’s where I’ve had the most luck.
If you ever find a ‘2200 for less that $100-125 that’s in decent cosmetic shape, with the original antenna, clean battery contacts, and is in good mechanical shape (meaning the tuning mechanism and dial work as they should), buy it! If there’s an electrical problem, Vlado can fix that. In fact, if your RF-2200 still has the original capacitors, you’d probably want to re-cap it anyway to keep leaky caps from eventually harming the board or internals. Plus, a properly re-capped ‘2200 will play like a new one!
My takeaway? The RF-2200 is a keeper! I suppose that’s why I even have a spare!
Do you have or would you like an RF-2200? Please comment!
Please consider supporting us via Patreon or our Coffee Fund!
Your support makes articles like this one possible. Thank you!

Many thanks to SWLing Post contributor, Stan Horzepa (WA1LOU), who shares the following post originally published on his blog:

I bought a first-production-run C.Crane CCRadio3 AM/FM/WX/2-Meter receiver after reading K4SWL’s preview on his blog, The SWLing Post.
I already own the highly-regarded C.Crane CCRadio 2E Enhanced, which I reviewed here five years ago, so I decided to compare the two on the AM, FM and weather bands. Before comparing the two radios, I recalibrated the antennas of both radios, then with the radios sitting side-by-side, I tuned each radio through each band channel-by-channel
My findings follow.
On the AM band, the 3 captured signals faster than the 2E.
Occasionally, signals were stronger on the 3 than on the 2E and vice versa, but most of the time, the signal strength was the same on both radios. So I conclude that the sensitivity of the two radios are the same.
I tried the 3’s new Bluetooth function before reading the manual. I just pressed the Bluetooth button to access the Bluetooth mode and my iPhone and MacBook Pro found the 3 without pressing the radio’s Pair button, as instructed by the manual.
In conclusion, the differences I found between the 3 and the 2E were (1) the 3’s ability to capture AM signals was noticeably faster than the 2E and (2) the addition of the Bluetooth function in the 3.
I did not notice any other performance enhancements. I was hoping that the 3 might be more sensitive than the 2E (not that the 2E is not sensitive — it certainly is!), but I’d say that the 3 and 2E Enhanced are about equal sensitivity-wise, as well as selectivity-wise.
Believe it or not moments… During the comparison, I was very surprised that on two occasions (on 820 and 1500 kHz), each radio simultaneously received different stations while tuned to the same frequency!
Click here to check out Stan’s blog.
Thank you for sharing your thoughts after comparing the two receivers, Stan! I think this supports the idea that if one owns the CCRadio2E and doesn’t need Bluetooth functionality, there’s no real reason to upgrade to the CCRadio3. With that said, and as I think you found Stan, the Bluetooth functionality in the CCRadio3 is excellent. It must be one of the best Bluetooth receivers I’ve tested and as you point out, it’s also very easy to engage and use.
Thanks again!