
The following post was copied from my ham radio blog, QRPer.com. I thought that SWLing Post readers would enjoy this article about Harold Johnson (W4ZCB) as well:

Harold’s 30′ JA7HJ tower (Click to enlarge)
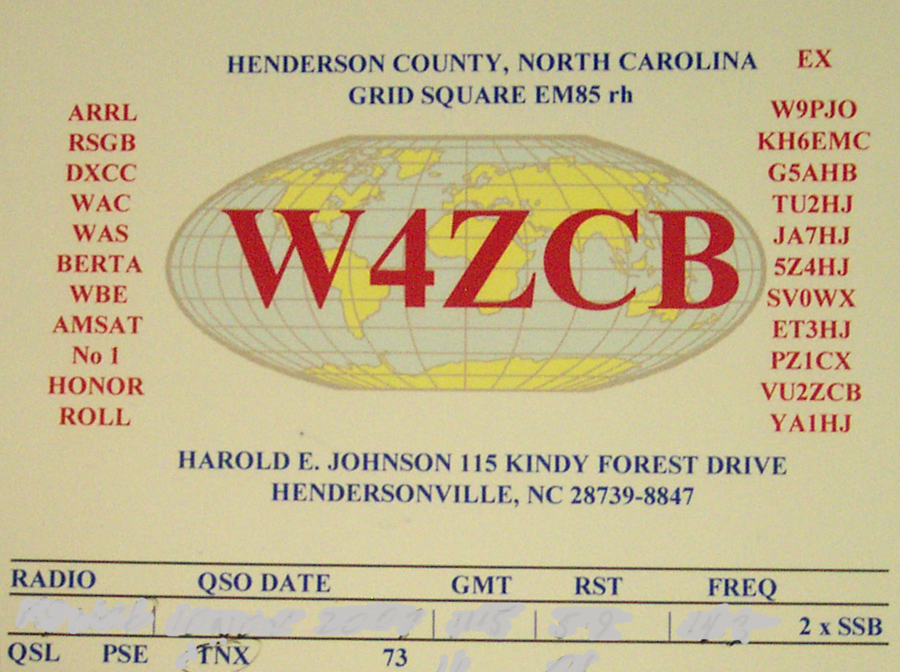
I meet some very interesting people in radio circles. My friend Harold Johnson (W4ZCB) is undoubtedly one of them.
Last year at my local ham radio/DXer club meeting, members were asked to bring photos of shacks and rigs, and describe our evolution as ham radio operators. In the series of photos that arrived at the following meeting, one in particular stood out: Harold Johnson’s radio tower in post-war Japan.
Johnson’s tower stood almost thirty feet tall and supported a 20 meter Yagi which you can see in the above photo. Johnson, who at the time operated under the callsign JA7HJ, also had a little ham shack built. The shack materials–including the tower, Johnson recalls–cost him “three bottles of Scotch for the army quartermaster…I paid the Japanese builder $15 or $20 for the complete enchilada.” This tower was built entirely of wood: the vertical members were 2′ x 4’s, the slats were 1′ x 3’s.
Of course, the tower didn’t have a mechanical rotor; instead, Johnson climbed inside the tower, lifted the wooden boom, rotated it manually, and placed it back on the uprights.
When asked how he powered his station, Johnson pointed to the wheeled generator in front of the radio shack in the photo. “The generator was called a B6B–it produced 24, 120, 240, and 480 volts, and was rated 10 kW.” When I asked how he managed to procure the generator, he replied that he “borrowed it from the flight line, which was about 300 feet away.”

Johnson’s Nashville, TN shack, circa 1955/56. (Click to enlarge)
I always enjoy hearing personal histories in radio and I didn’t doubt for a moment that Harold Johnson’s would be intriguing, so I asked if he’d tell us how his interest in radio began. So, here’s Johnson’s story in his own words:
As a preteen, (and poor as a church mouse during our previous
Depression), I would visit my aunt and uncle in the summer, likely due to the fact that they were farmers and had food to eat. They owned an old Philco radio that had shortwave bands and I was intrigued with the phone amateurs on the 80 and 20 meter bands. Often, I could hear both sides of the conversation, after I found out that they were on various different frequencies, being crystal controlled back then! My…How times have changed.In high school, I found another afficianado, and can recall melting “Woods metal” in boiling water and floating a piece of Galena on it until it returned to a solid and [thus] made my own crystal set. WWII had started by then, and I would listen to the ground-to-air communications between ships in Lake Michigan and pilots taking off and landing on them. Great DX, perhaps 10 miles away.
In 1943, I had graduated from high school and joined the US Army Air Corps. Went through training and was still in training (…to be a pilot until they counted airplanes and pilots and decided they had enough of each […so instead] turned me into a B-29 gunner). The war was over whilst [I was] still in training and I “retired” in November 1945. Went home and found my high school sweetheart, married, went back to school to finish my education and started the Johnson family. Still married, and
to the same girl. What a sweetheart to have put up with me all these years. [No kidding, Harold!]Went back in the US Air Force in 1949, this time became a pilot, and just in time to go to Korea for a year. However, during training, had to learn the Morse and if you learned to 13 WPM, you had a free hour and didn’t have to attend class. That overcame my obstacle to amateur radio, and I took the exams in 1950 and became W9PJO. Our rules at that time were that you had to hold a “class B” ticket for a year before you could take the “class A” exams. That year I spent in Korea and Japan and managed to obtain my first foreign call, JA7HJ.
Returning home to wife and by that time two children, I took the class A exams and became W4ZCB. I decided that I enjoyed flying, (at least most of the time), and decided to make it a career. The ensuing years, I was always on and in the air, and usually spent the winters in Alaska and the summers in the Canal Zone, anything to practice how to be miserable. Lebanon in 1958, Vietnam in 1968 and by 1969 decided that I should start doing something else before my luck ran out.
During my last 4 years of service I flew an Army four star around the world four times. Fortunately he was Ted Conway, W4EII, and we mutually enjoyed operating under a couple dozen different call signs from a lot of exotic (and several not so exotic) places. Had G5AHB back when the 5 was reserved for foreign nationals. We were good friends after we both retired (on the same day; I always liked to say that he couldn’t stand to serve without me) until his death in 1990.
I started a small company manufacturing electronic test equipment for public utilities; spent the next 20 years doing that (and enjoying a much more stable life with family and radio.) Managed to work all the countries (entities these days) there are, win a few contests from a contest station I built and operated for 10 years. (80, 40, and 20 in the front room, 15 in one bedroom and since 160 and 10 were seldom open at the same time, they shared the other bedroom. To change bands, you just changed chairs. Five big towers and Yagis, a VERY high maintenance hobby in the lightning prone state of Florida. (Let’s not mention hurricanes!)
Retired again to the beautiful mountains of North Carolina in 1986. A much more modest station these days, but active on all the HF bands. I really enjoy building homebrew radios and maintaining daily schedules with friends worldwide. Can be found daily on 21.203 with G3XJP and often joined by other builders of the magnificent PicaStar transceiver designed by him. Sixty-three years a ham, still enjoying it. It’s guided my careers and interests. What a wonderful hobby!
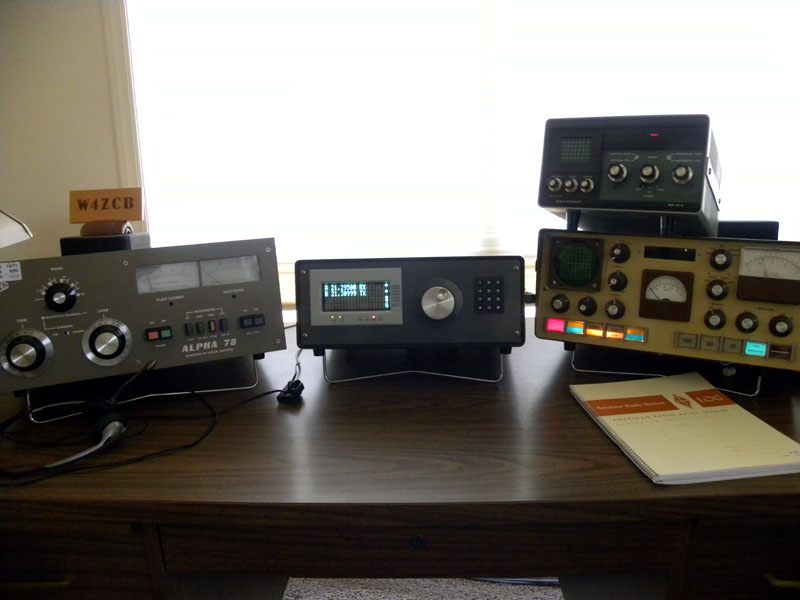
W4ZCB’s shack today is based around his home brew SDR transceiver, the PicaStar. (Click to enlarge)
Over the past few years, I’ve gotten to know Harold Johnson; I must say, he has to be one of the very few hams I know who knows the inner workings of tube/valve radios as well as he does the highest tech radios on the market, a rare talent indeed. If you’re trying to learn a bit more about the BC-348 series of radios and trying to diagnose a problem with it, Johnson’s your guy. If you’re trying to build an SDR from scratch, he’s also your guy. And clearly, if you want to hear a fascinating account of a life influenced by radio, this is most definitely your guy.
Thanks, Harold, for letting me share your story!
Check out Harold Johnson’s website by clicking here.

 Though not available for the shortwave bands, Google Play reviews are mostly positive for the new software defined radio application that will run on your Android phone or tablet:
 I recorded this AIR broadcast on Thursday January 10th–around 21:30 UTC–on 9.445 MHz. This particular broadcast features news, commentary and the wonderful music I’ve come to expect from All India Radio.
  Yesterday, when I attempted to start my WinRadio Excalibur software, I received an error message from Windows 7. No matter if I restarted my PC, re-installed the control software or the USB driver, I simply could not get the Excalibur software to launch.