Tag Archives: Charlie Liberto (W4MEC)

1940: When Sears Roebuck sold a wide array of radio gear

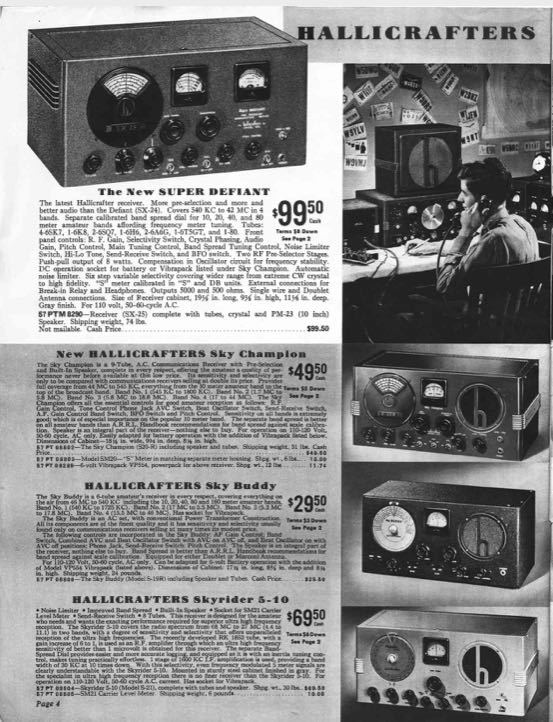
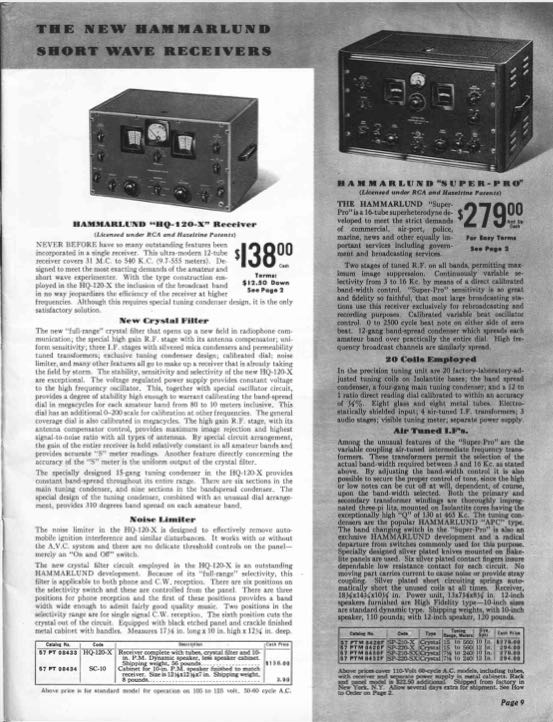
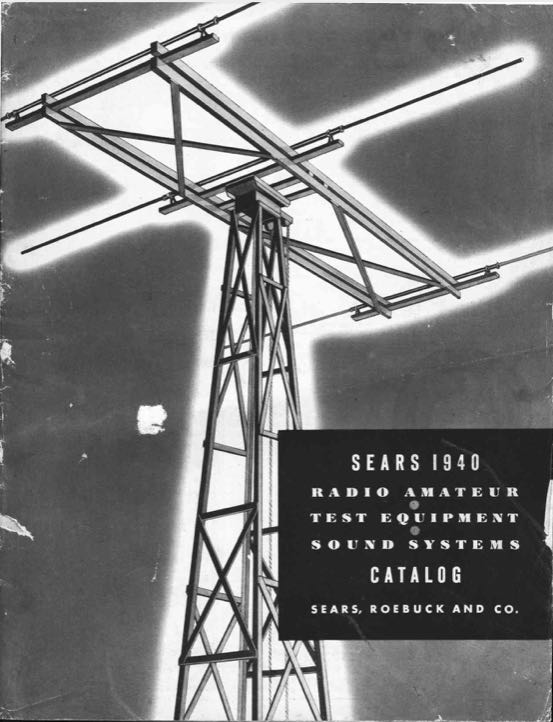
Many thanks to SWLing Post contributor, Charlie (W4MEC), who shares a PDF of the 1940 Sears Roebuck Co. catalog section featuring a wide array of radio gear and test equipment.

This file is hosted on the Pro Audio Design forum and can be downloaded as a PDF (15.8 MB) by clicking here.

It’s a real nostalgia trip reading through the fine Hallicrafters, Hammarlund and National HRO descriptions. Thanks so much for sharing this, Charlie!

Spread the radio love

Finding a repair service for boat anchors and other vintage valve/tube radio gear

Vintage tube radios will likely survive an EMP, but how do you power them without mains electricity?

Here’s a common question I receive from SWLing Post readers:

“Where can I have my vintage valve/tube radio repaired? Can you recommend a good repair service?”

The answer isn’t always a simple one, especially for those living in rural or remote parts of the world.

Go local

The short answer is: try to find a local repair service.

Unlike modern solid state radios, “boat anchors” (metal chassis vintage radios) are heavy and very pricey to ship.

Some repair services and retailers won’t even consider shipping vintage metal chassis radios because of the likelihood of damage or a tube or other component loosening during transit resulting in a DOA (Dead On Arrival) situation. They insist on in-store or local pickup/delivery.
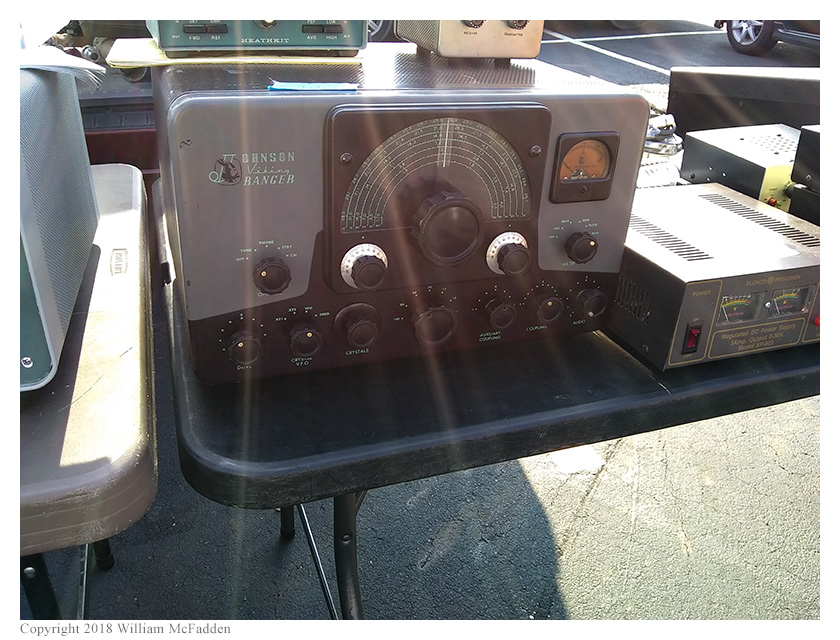
Johnson Viking Ranger transmitter


Last year at the Dayton Hamvention I was speaking with an acquaintance who restores and repairs vintage tube radios–he specializes in WWII and Cold War era boat anchors (Collins, Signal Corps, Hallicrafters, National HRO, etc.). Although he makes a tidy profit from doing repairs, it’s most certainly a labor of love and not the most profitable use of his time.  He told me that he recently stopped accepting any repairs other than those delivered and picked up locally.

He told me he took great care in packing equipment after repairs had been made–he’d secure all components so that they couldn’t budge during shipment and would either double box or use industrial strength cartons. Being so diligent, his return shipments almost always arrived unscathed, but customers would complain about the shipping costs. He could, of course, skimp on packaging, but then risk his repair work being undermined by rough handling. He was never willing to compromise on shipping and I certainly don’t blame him.

So again, due to the complexities of shipping heavy gear, I always recommend trying to find someone local to do your “boat anchor” repair work first.

Where can you find a local repair shop? If you belong to or know of a local ham radio club, stop by a meeting and ask around. If there’s a vintage radio repair technician in town, someone in the club can likely connect you.

Shipping boat anchors
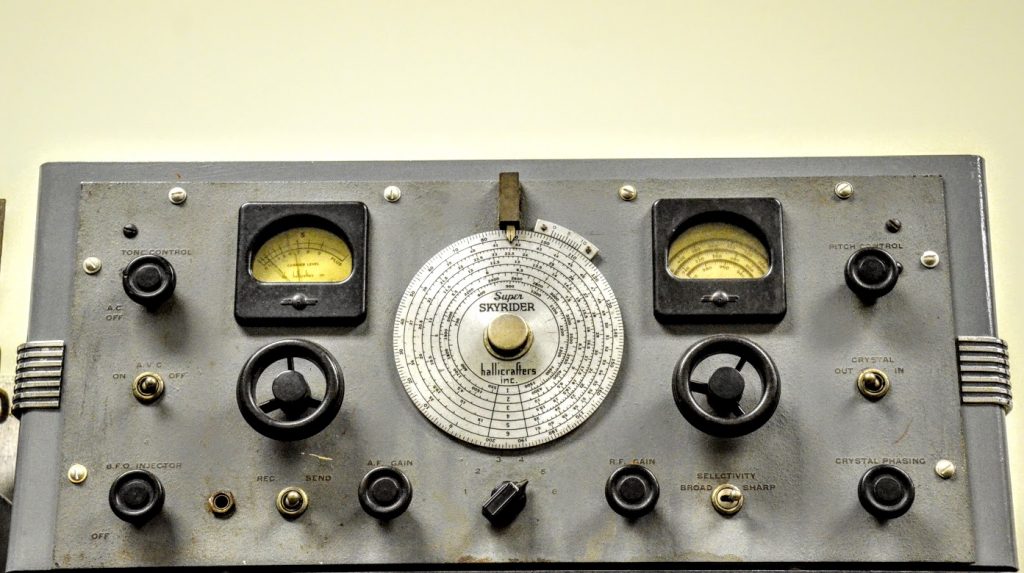
With that said, there are some excellent repair technicians out there who will take work via parcel shipments, but be prepared to pay upwards of $50-150 each way each way (depending, of course on the radio size and weight).

Lighter tube radios are easier and cheaper to ship, but should still be packed carefully. Bakelite radios, for example, are lightweight but incredibly fragile.

In short: if you ship your vintage radio, pack meticulously and confirm that your repair person will do the same.

And where do you find repair services? I point readers to radio repair service reviews on eHam.net. You might also search the QRZ.com forums or even post a question.
Let’s be clear: some radios are worth the shipping costs!

I am fortunate in that I do have a local friend and mentor Charlie (W4MEC) who repairs tube gear. Better yet, Charlie is willing to teach me how to do repairs and alignments myself. This, I would argue, is the best of both worlds!

A Note of Caution: When it comes to repairing tube/valve gear, I believe you should always learn the ropes with an experienced technician. Unlike battery-powered solid state devices, tube gear is mostly high voltage. If you don’t know what you’re doing inside the chassis of a tube radio, you could be severely shocked or even electrocuted. No radio is worth that price.

Who do you recommend?

If you have any advice about repairing boat anchors and other vintage electronics, please comment! Also, if you can recommend a repair service, please share details.

Spread the radio love

“Crystals Go To War”: A 1943 film about the production of Signal Corps radio crystals

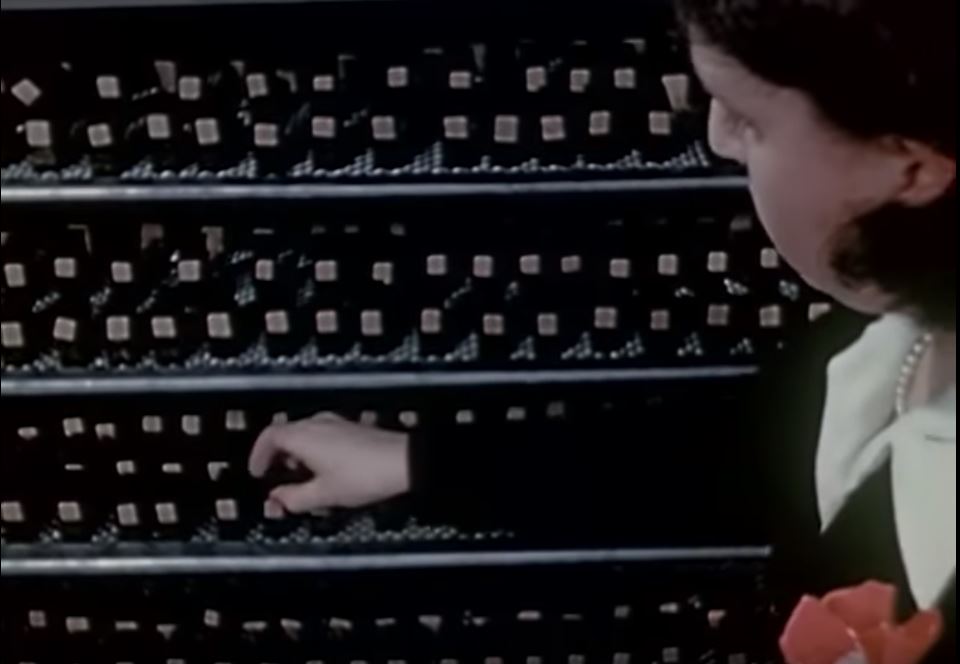
Many thanks to SWLing Post contributor, Charlie (W4MEC), who shares this fascinating film which documents the production and calibration of crystals in 1943. I had no idea of the amount of labor and attention to detail this process required–an absolutely fascinating process:

UPDATE (08/09/2022): the YouTube account associated with this film has been deleted by the owner.

Click here to view this same film now hosted by the Antique Wireless Association.

Spread the radio love

Contribute equipment to restore an authentic WWII B-17F heavy

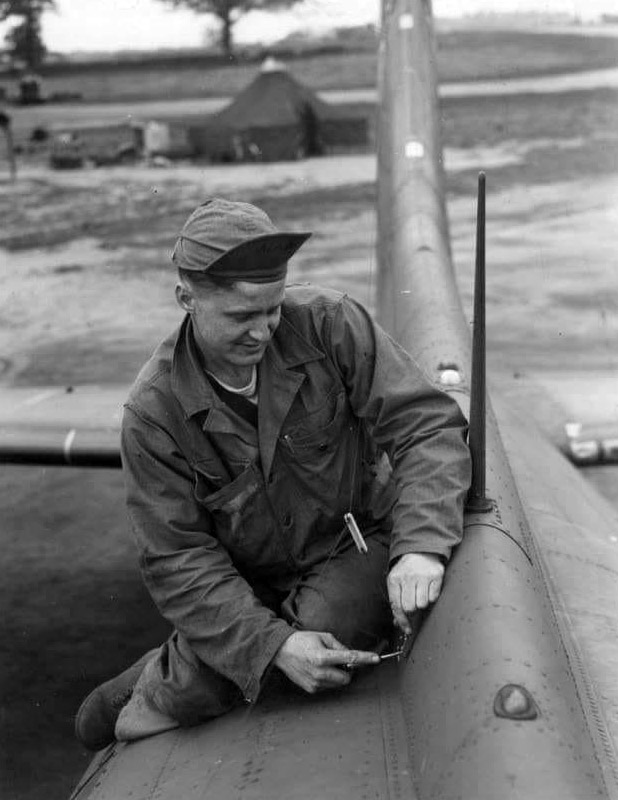
SSGT Roland Downs adjusts the radio mast on Heaven’s Above (42-97328, 388BG) [Photo source: Hangar Thirteen]

Many thanks to SWLing Post contributor, Charlie Liberto (W4MEC), who shares the following:

Perhaps you could post somewhere a general call for anything WW II related that went into a B17F.

This website: http://hangarthirteen.org/ under the ‘Parts Drive‘ menu, lists the many things that will be sought after for the next few years. There might be those who monitor your site that have some of this just stored away, not knowing what to do with it or what will happen to it.

Ray is basically taking what was remaining, inspected, and approved as air worthy from this ditched plane, and building the aircraft to hook all the pieces together.

WOW! What an amazing project, Charlie!

I must say, Lucky Thirteen is in good hands.

Hangar Thirteen has chosen the best vintage radio restoration expert for the job! I’ve known Charlie for many years and not only is he an expert at restoring vintage gear, but he’s passionate about WWII era Signal Corps equipment. He brought my BC-348Q to life and patiently showed me how to align it. He also restored my Minerva Tropic Master and helped me fix the 3rd band selection on my beloved Scott Marine SLRM.

Charlie, I’ll certainly keep an eye out for the these components when I visit hamfests and will contribute anything I find or might have tucked away.

Post readers: If you happen to have any items needed in their list, please consider contributing it to the project and help this B-17F eventually have a fully-functional radio position. Of course, Hangar Thirteen is also in need of other aircraft parts–click here to check out that list.

I’ve copied and pasted (below) the list of needed radio components at time of posting. Please check out the Hangar Thirteen website for the most up-to-date list:

BC-347 Amplifier
BC-366 Jack Box x8-10
PE-86 Dynamotor

FT-161 Beacon Mount

BG-81 Bag

BC-433 Radio Compass
BC-434 Compass Control Box x2
BK-22 Relay
I-81 Pilot’s Compass Indicator

BC-442 Relay
BC-451 Transmitter Control Box
BC-456 Modulator (with DM-33 Dynamotor)
FT-220 Receiver Rack Mount
FT-221 Receiver Shock Mount
FT-222 Receiver Control Box Mount
FT-225 Modulator Mount
FT-226 Transmitter Rack Mount
FT-227 Transmitter Shock Mount
FT-228 Transmitter Control Box Mount
FT-229 Relay Mount

BC-306 Antenna Tuning Unit
BC-461 Trailing Antenna Control
F-10 Trailing Antenna
FT-107 Dynamotor Mount
FT-115 Liaison Transmitter Mount
FT-151 Liaison Transmitter Mount
FT-142 Antenna Tuning Unit Mount
FT-154 Liaison Receiver Mount
J-37 Tuning Key
PE-73 Liaison Dynamotor
RL-42 Antenna Reel
TU-5 Tuning Unit (1500-3000)
TU-6 Tuning Unit (3000-4500)
TU-9 Tuning Unit (7700-10000)
TU-22 Tuning Unit (350-650)
TU-26 Tuning Unit (200-500)

BC-778 Transmitter
BG-155 Bag
M-278 Balloon x2
M-308 Signal Lamp
M-315 Generator Canisters x2
M-357 Kite
M-390 Parachute
W-147 Wire

Please contact Hangar Thirteen if you can help.

Spread the radio love

Vintage Radio: How to read a logging scale

Many thanks to SWLing Post contributor, Charlie Liberto (W4MEC) for the following guest post:


Vintage receiver frequency counter…sort of

by Charlie Liberto (W4MEC)

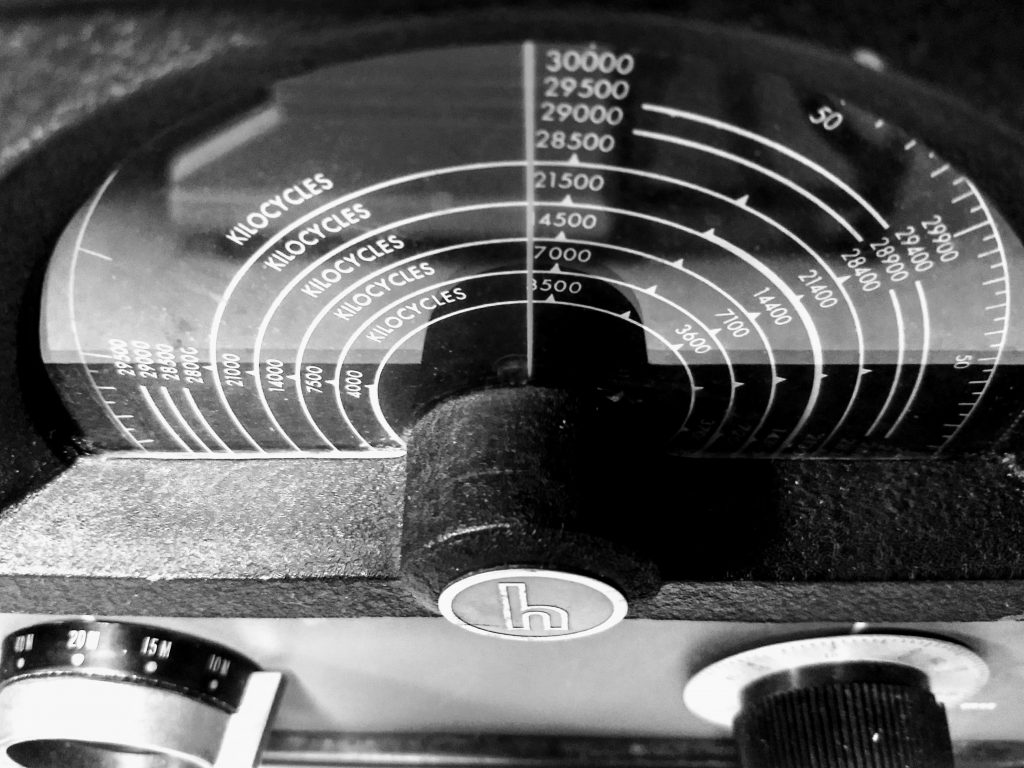
You probably know what a log book is, and maybe a logarithm, but do you know what a ‘Logging Scale’ was meant for? If you are a modern SWL’er, and have a receiver built in the last 40 years or so, you probably don’t have that mysterious 0 to 100 range on your dial, as shown at the top of the picture of the Hallicrafters S20-R main dial, and you may not have a dial at all, peering without question at a digital display of your received frequency.

The Logging Scale on older and vintage receivers had two functions: to let you find a station you might be looking for, when you knew the frequency it would be on, and to determine the frequency of a station, but you had to have known references. How to do that on those old scales that may have had 50 kHz or even 500 kHz hash marks between whole Megahertz numbers, or in that era, KC or MC numbers? The process is fairly straight forward, but did require you to know the operating frequency of at least 2 stations on the band of interest, and the closer they were to the mystery frequency, the better.

Let’s say you are looking for WLMN that is supposed to begin its operation day on 6025 kHz. and your receiver has a mark every 250 kHz between 5 and 7 MHz, that’s pretty iffy as to setting the dial. Now, you know that station WABC is on 5500 kHz, and station GXYZ is on 6525 kHz, so, tuning in WABC you note what number the pointer on the dial is over on the logging scale, maybe it is 40. Then you tune to GXYZ and you find it on 70 on the logging scale. The known difference in frequency between WABC at 5500 kHz and GXYZ at 6525 is 1025 kHz, and the logging scale number difference is 40 to 70 or 30 divisions. Take the 1025 kHz separating your two known stations, divided by the 30 logging scale divisions and you get 34.167 kHz per division. Some more math, the station you are looking for, WLMN is on 6025 kHz, which is 525 kHz away from WABC at 5500 kHz., divide 525 kHz by the logging scale frequency versus division number of 34.167 kHz which equals approximately 16. Take that 16, add it to WABC logging scale number of 40, and you should expect to hear WLMN on logging scale 56 on the dial.

Of course you can flip this process around. If you heard WLMN, but did not know it’s frequency, the same procedure worked backwards to interpolate the logging scale 56 into kHz, added to the WABC frequency/log number, or subtracted from GXYZ numbers, and you would figure out WLMN was on 6025 kHz.

What did this process do? It ‘calibrated’ your receiver dial to known checkpoints by using known frequencies of stations, such that you had a better idea of where you were frequency wise, but it did have it’s limitations. Older receiver dials usually had the lower frequencies divisions of a band close together, and as you tuned to higher frequencies on the same band, hash marks for frequencies got farther apart, while the logging scale stayed linear. This was because builders used the simpler straight line capacitance variable capacitor for tuning, instead of the straightline wavelength or straight line frequency style which would have made the dial more linear. If you used two stations on the low end to set a logging scale reference, chances are it will be quite a bit off in the frequency versus logging scale number on the high end of the dial. So, if you could find two stations that bracketed the one you were examining, that would assure the most accuracy.

After all that, you are probably saying thank God and a lot of engineers for a digital readout.


Thank you, Charlie, for an excellent tutorial and example of using dial logging. I’ve had a number of vintage radios over the years with logging scales and it took some digging to discover how they worked. While digital radios make the process as easy as pie, vintage radios are worth the extra effort! 

Spread the radio love