Tag Archives: Bioenno

Bioenno Power Thanksgiving Sale

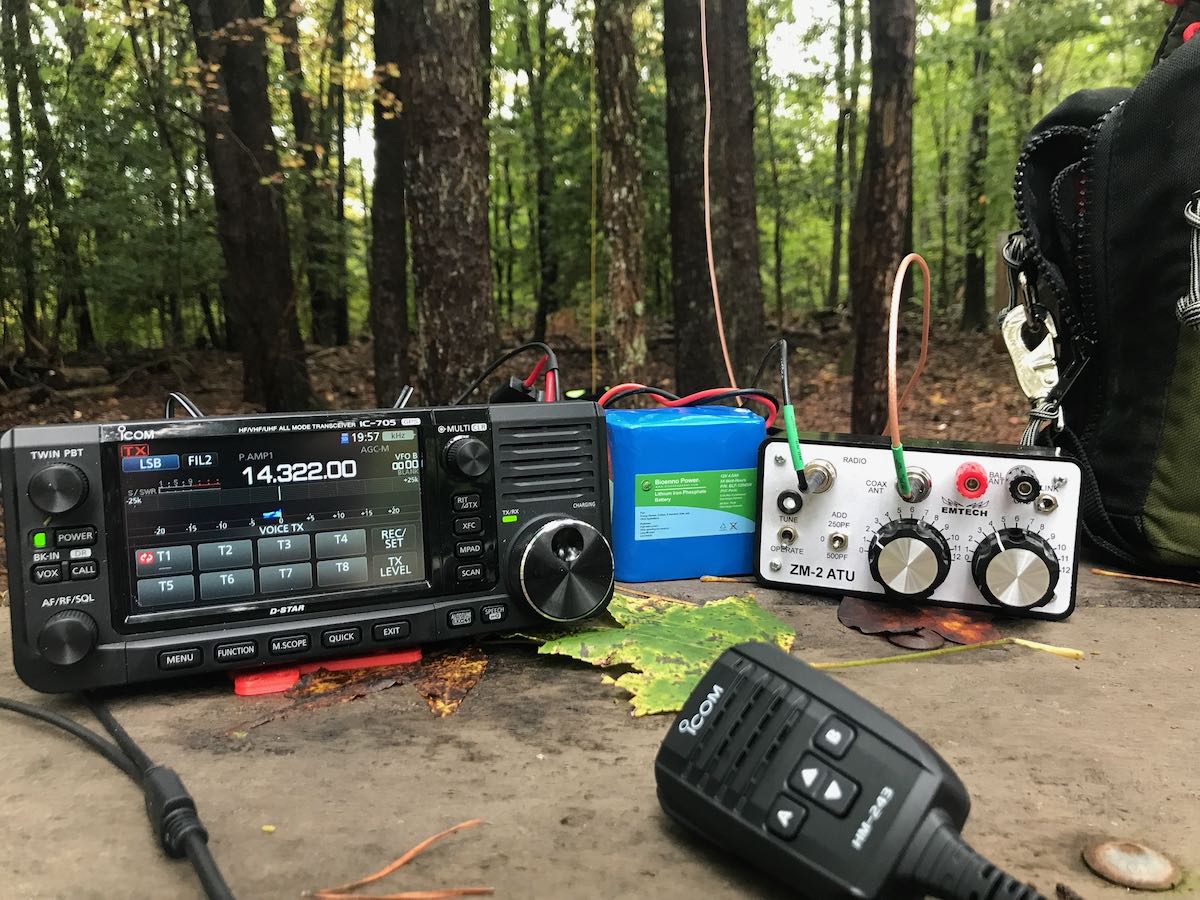
I find the 4.5 aH 12V Bioenno LiFePo battery to be the perfect portable power source for my 12V radio gear.

Just a heads up that Bioenno Power is having a 2020 Thanksgiving sale and offering a 10% discount with the coupon code “THANKS”.

I’m a huge fan of Bioenno’s batteries and just pulled the trigger on yet another LiFePo battery. This time, a compact 3 aH battery. This will be more than enough battery to play QRP for hours without recharging.

Side note: I’m also working on a project for my parents converting their living room lamp into a DC LED lamp with battery backup. Their power outages seem to be so frequent as of late, I know they’ll appreciate a lamp that will work regardless if the power grid is up or not. I’ve already purchased a 12V LED Edison-style bulb and now will pair it with a 4.5 aH Bioenno battery.

Click here to check out Bioenno’s website.

Spread the radio love

Assembling a new compact field radio kit in the Red Oxx Booty Boss

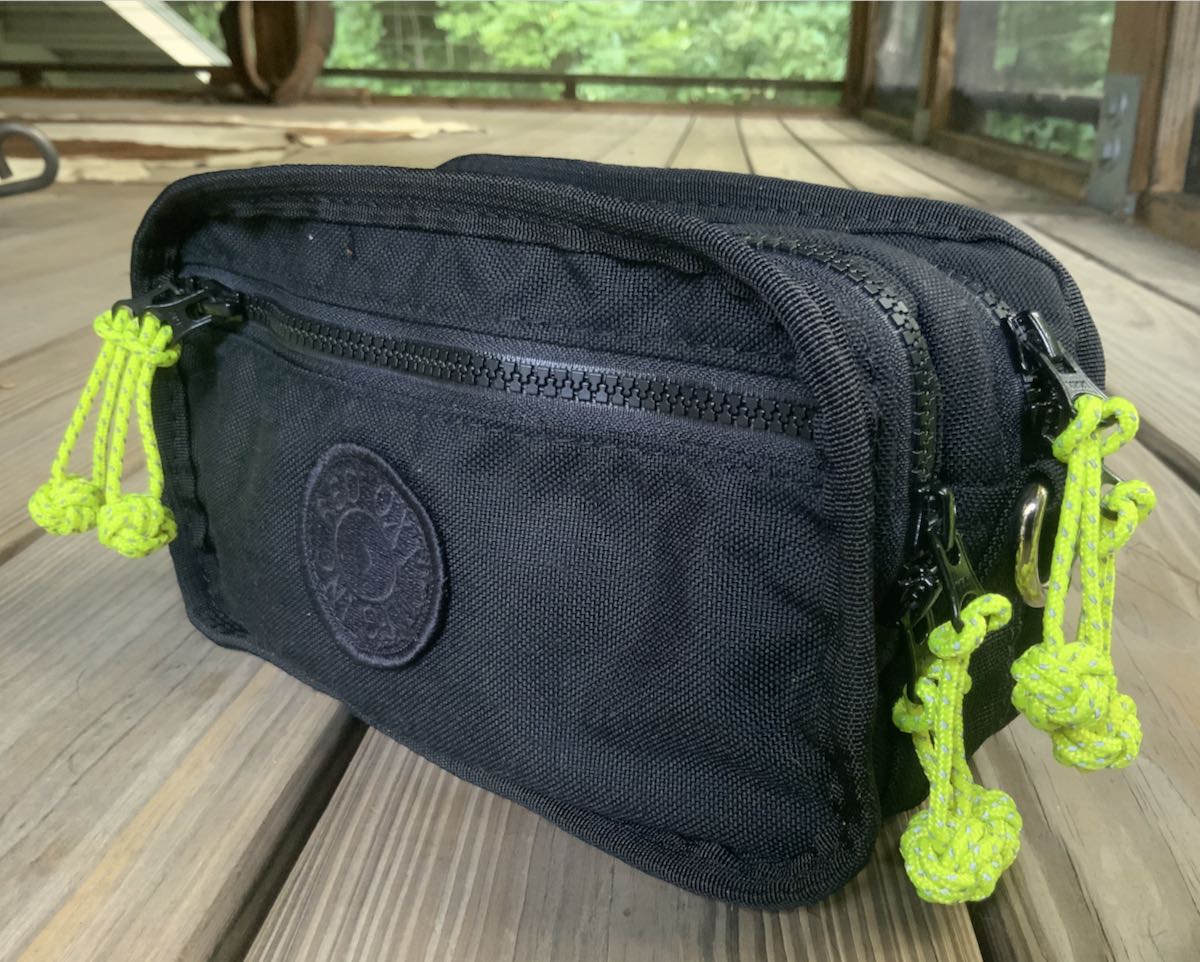
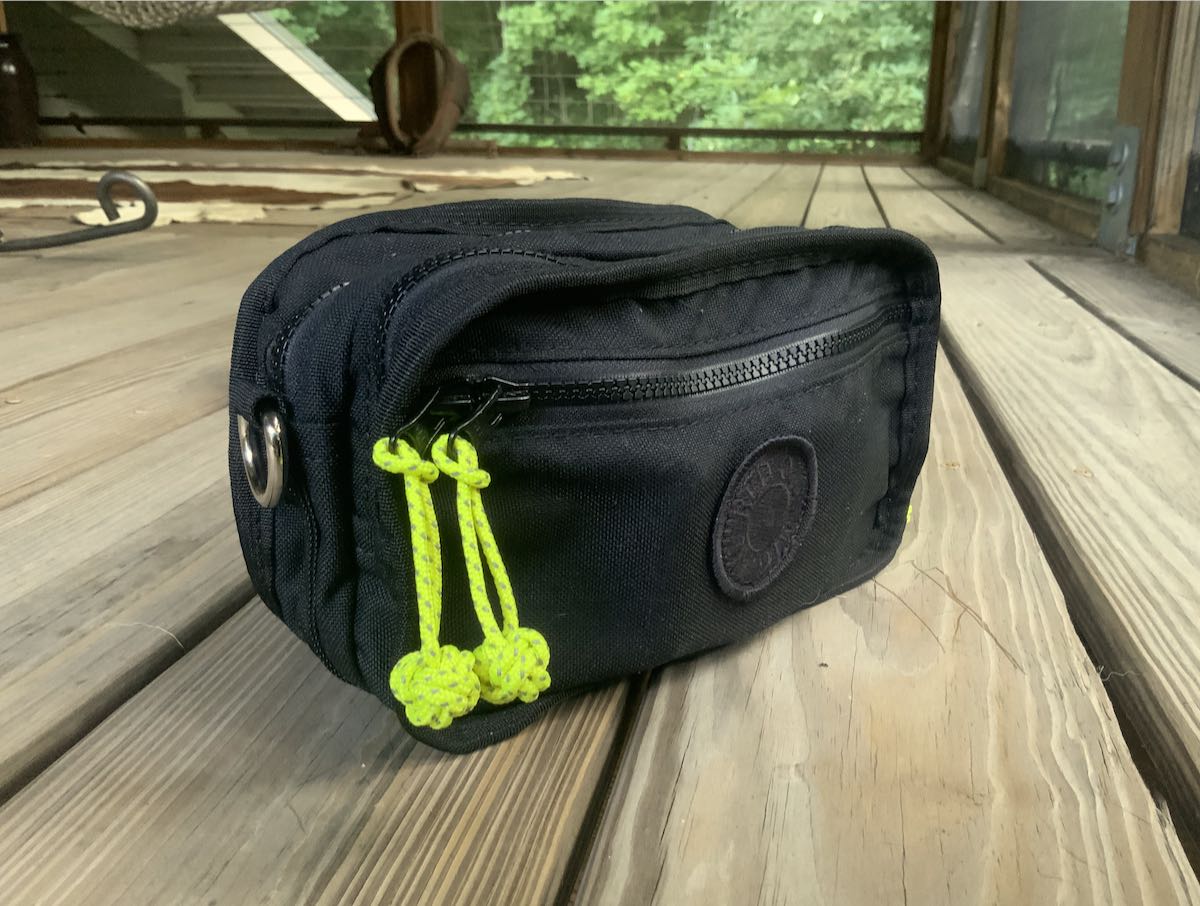
The Red Oxx Booty boss sporting my add-on reflective yellow monkey fist zipper pulls

If you’ve been reading the SWLing Post for long, you’ll have already sorted out that I’m both a radio geek and a pack geek.
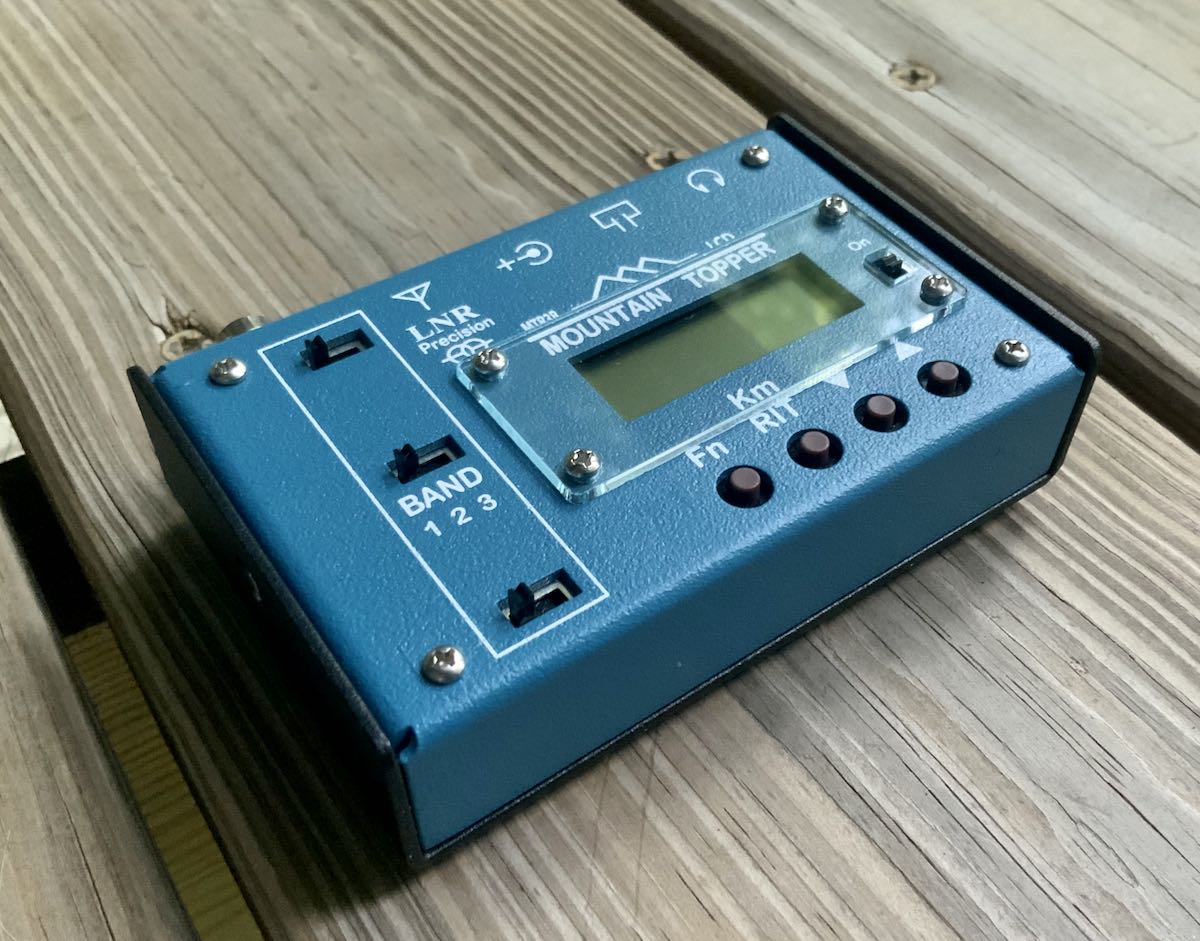
The LnR Precision MTR-3B transceiver

I recently purchased an LnR Precision MTR-3B QRP transceiver. I added it to my collection because the rig is so incredibly compact, it gives me the opportunity to keep a full HF radio kit in my EDC bag or packed away for one bag travels.

Now I’m building a full field kit for the MTR-3B in a Red Oxx Booty Boss pack I recently purchased specifically for this radio.

If you’re wondering why I’d build yet another field kit for the MTR-3B instead of simply using field supplies I already have, allow me to explain…

Field radio kit Golden Rule: Never borrow from one kit to feed another
I never violate this rule.  (Well, not anymore, at least.)

I don’t care if I’m building a kit around a portable shortwave receiver, an SDR, or a ham radio transceiver–my radio kits are completely self-contained and organized.

I’m actually plotting a whole series of posts about building portable radio kits and packs because I enjoy the process so much, but for now, I’ll keep my explanation short:

Because I have an active family life and can’t often prepare in advance for field radio time, my kits must be at-the-ready all the time. If we decide (as we are this morning) that we’re heading to a national park for a little hiking and a picnic, I know that when I grab my KX2 field kit, for example, I’ll have everything I need to do a Parks On The Air or Summits On The Air activation. I know my kit contains an antenna, all antenna accessories and hanging supplies, feed line, a fully-charged battery, microphone and/or CW (Morse Code) key/paddles, earphones/speaker, and a transceiver. It’ll also have the little bits we often forget like a pen, notepad, extra connectors/adapters, and even a few first aid supplies.

If you borrow from one radio kit to feed another, you’ll regret it later. I promise.

Case in point
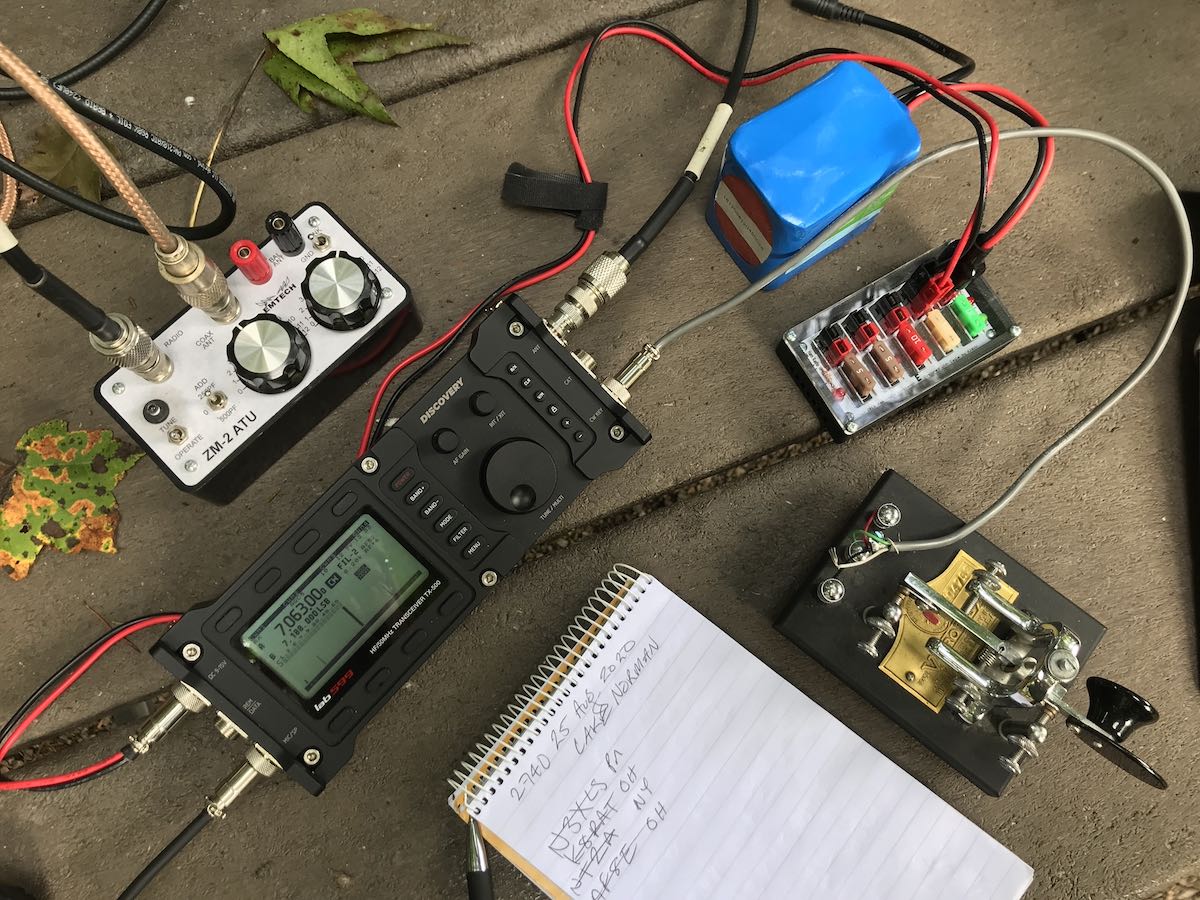
The lab599 Discovery TX500

Here at SWLing Post HQ, I review lots of radios and have a special affinity for field radios. Many times, I either obtain a radio as a loaner from the manufacturer (like the lab599 TX-500), or I purchase a radio with the intention of selling it after the review (as I will with the Xiegu G90). In either case, I don’t want to build a specific field kit for that radio because it’s really only visiting SWLing Post HQ.
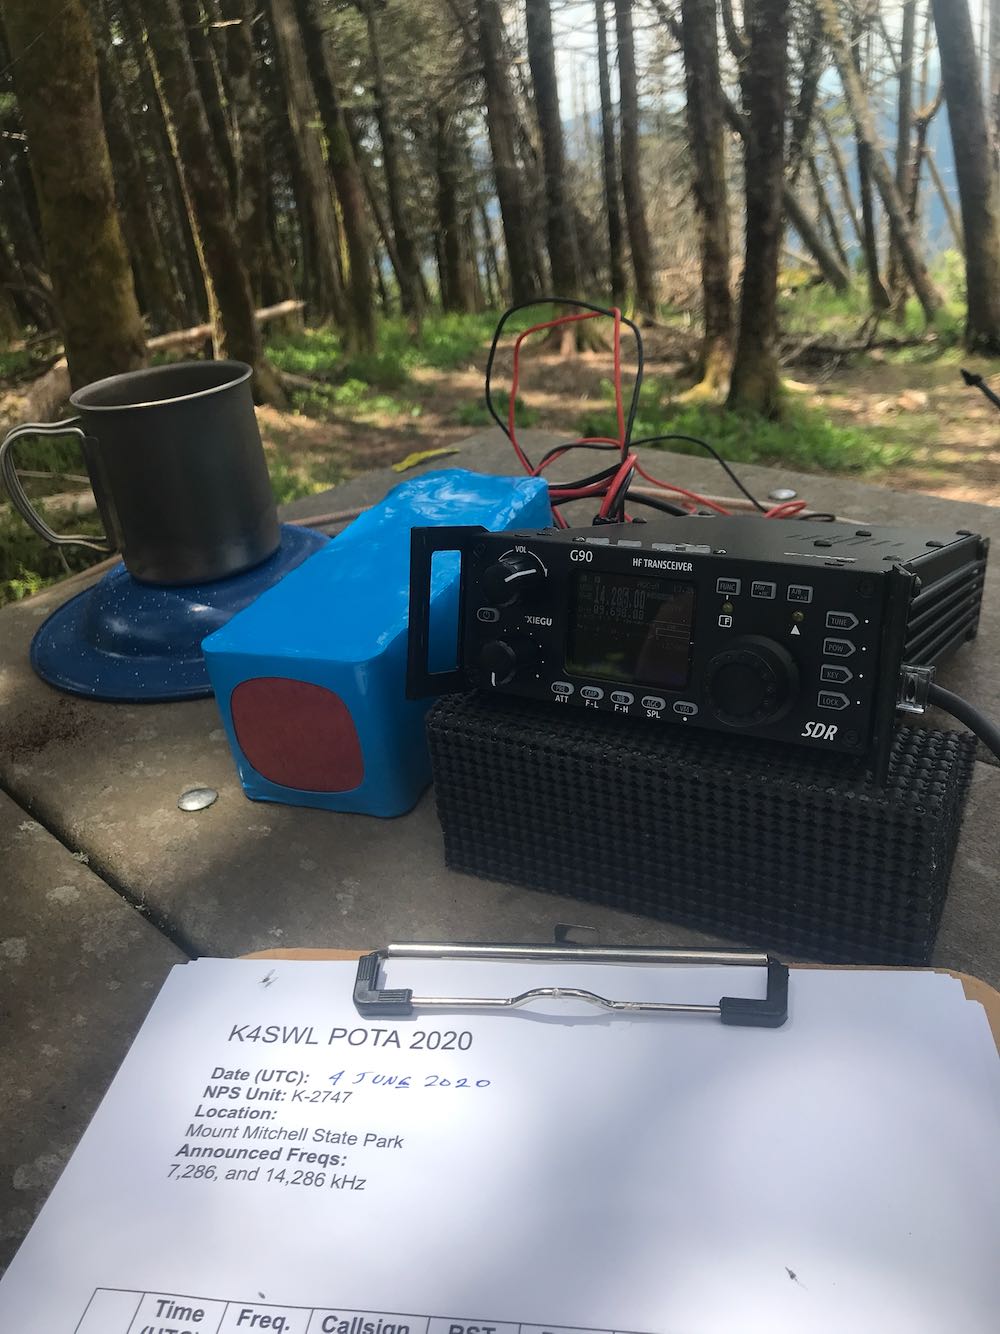
The Xiegu G90

When I first took the Xiegu G90 to the field, I felt confident I could simply throw together a quick field kit in one of my smaller backpacks. As I prepared for an impromptu POTA park activation, I discovered that I needed a coax feed line for the kit and the quick solution was to grab the one from my Elecraft KX2 field kit. Even though I knew that would be violating my Golden Rule–a rule I had adhered to for five years and counting–I did it because I was very pressed for time.  That activation went off without a hitch–a total success.

Fast-forward two days later and I had another opportunity to do a park activation, but this time I wanted to use my Elecraft KX2 because I knew I would need to hike into the site and I’d also have to both log and hold the transceiver on my clipboard while sitting on my folding stool. The KX2 is ideal for this as it’s compact and has top-mounted controls.
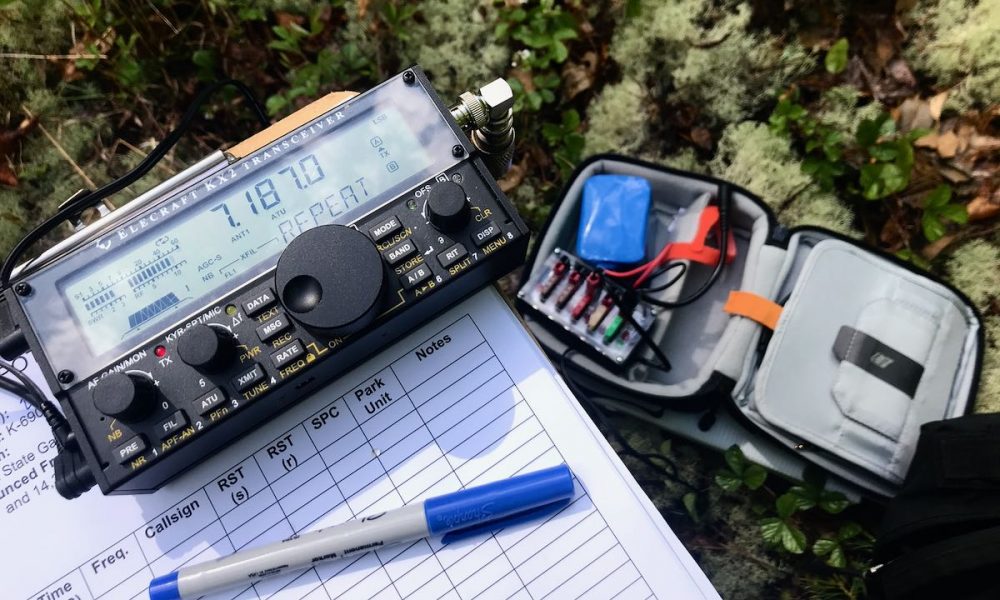
I hiked into DuPont forest, found an ideal site to play radio, starting deploying the antenna and quickly realized I forgot to put the feed line back in the KX2 kit. Doh! Without even a short piece of coax, I had no way to connect my KX2 to the antenna.

Fortunately, I happened to have a spare coax line back in the car and I also keep two extra BNC adapters in the KX2 kit. Still, I kicked myself as I hiked all the way back to the car. Had I only followed the Golden Rule that had served me so well!

In the end, it could have been worse. I still got to do my activation and hadn’t wasted a 2.5 hour round trip to the park.

You’d better believe the first thing I did when I got back home was to put the coax back in my KX2 field kit and my radio world order had been restored again.

Back to the pack!
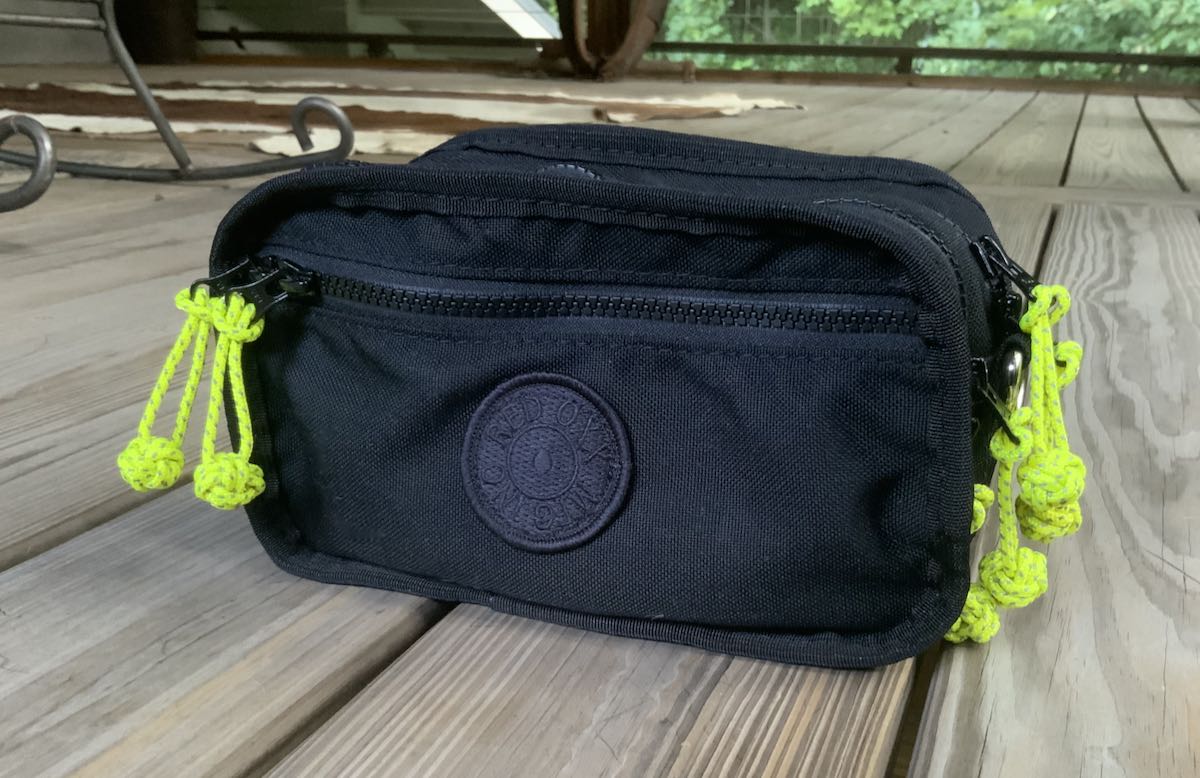
I picked the Red Oxx Booty Boss for the MTR-3B because 1.) it’s an ideal size for a super-compact field kit, 2.) it can be carried a number of ways (on back, sling, and over shoulder), 3.) with straps detached, it’s compact & easily fits in my EDC pack and 4.) I love Red Oxx gear and love supporting the company. When you buy a Red Oxx bag, you know it’ll outlast you…not the other way around.
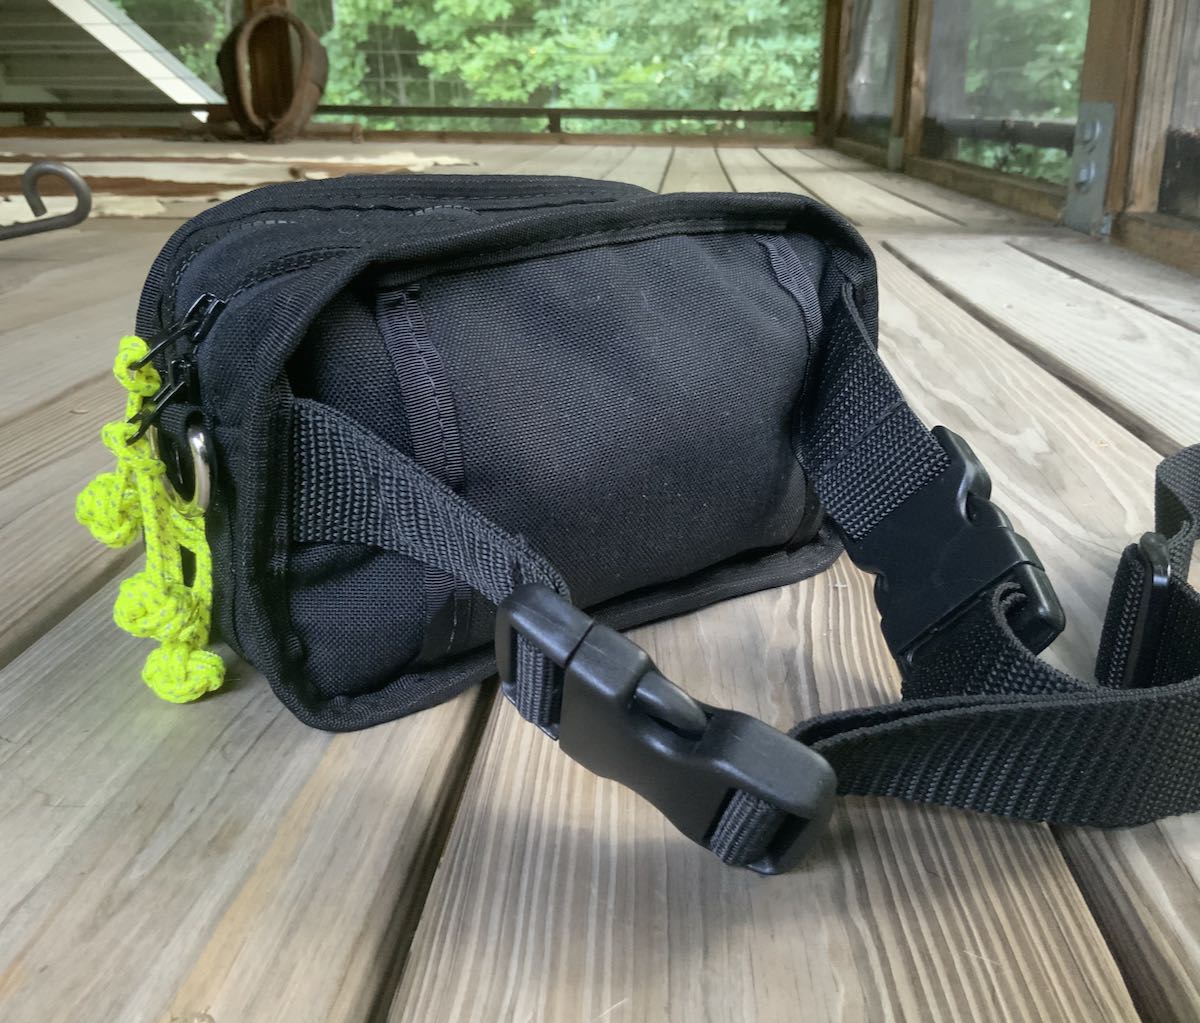
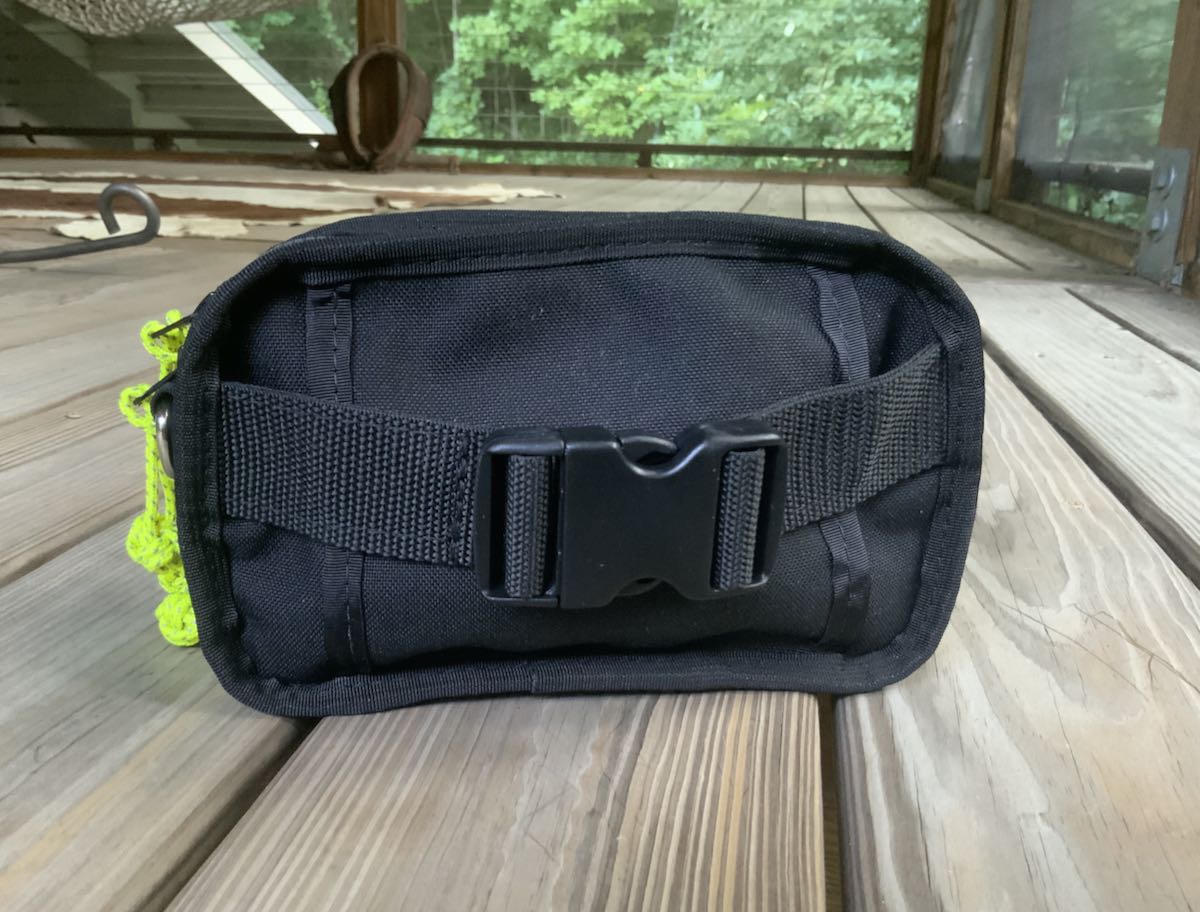
I also ordered reflective monkey fist zipper pulls to replace the stock zipper pulls so that the pack would be easy to spot, for example, on a forest floor at twilight.
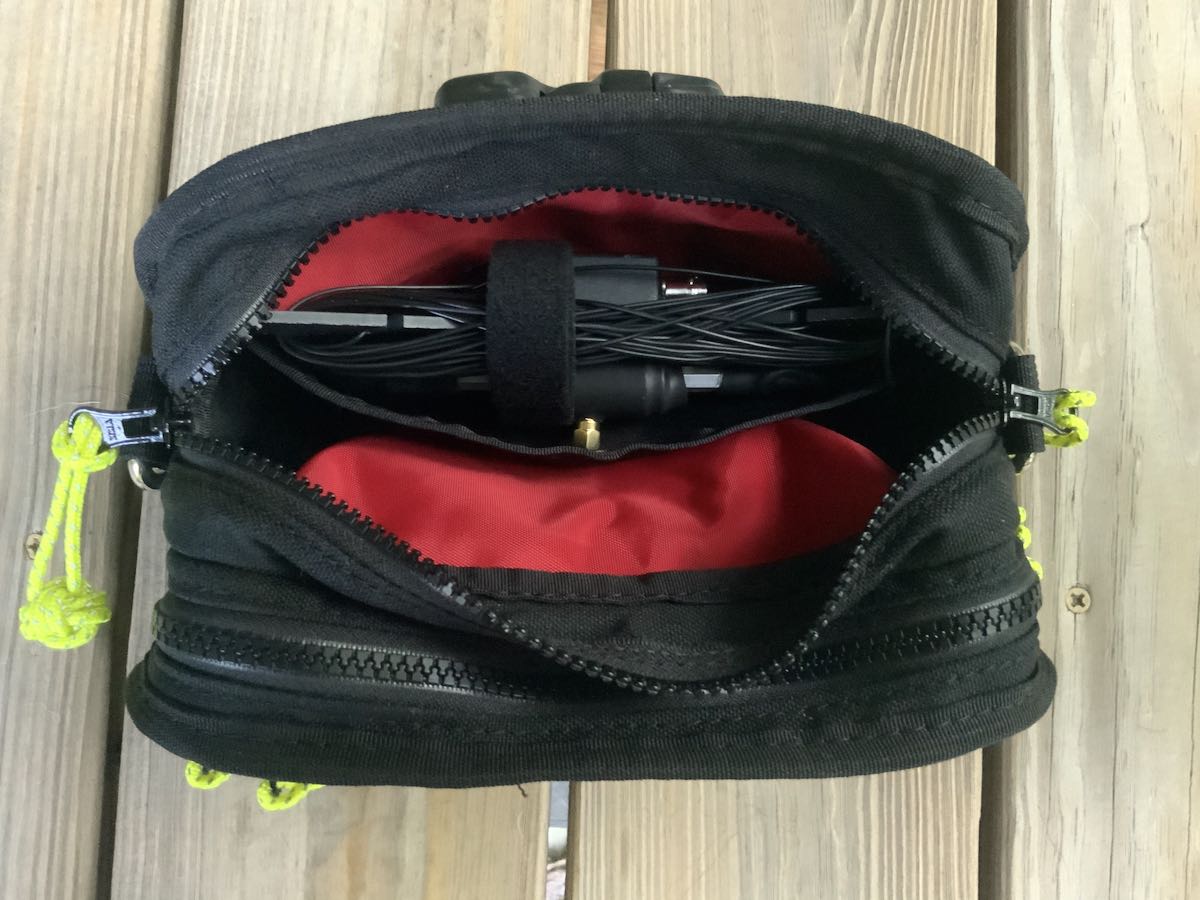
Here’s what I’m putting in the Booty Boss:

Here’s the amazing thing: without realizing it, everything in this kit save my earphones was designed and manufactured in the USA. The Booty Boss was made in Montana, the MTR-3B in North Carolina, the Vibroplex antenna in Tennessee, the ABR cable in Texas, the Bioenno battery pack in California. My 20 year old Sennheiser earphones were made in Germany.

I think that’s pretty darn cool and certainly bucks the trend!
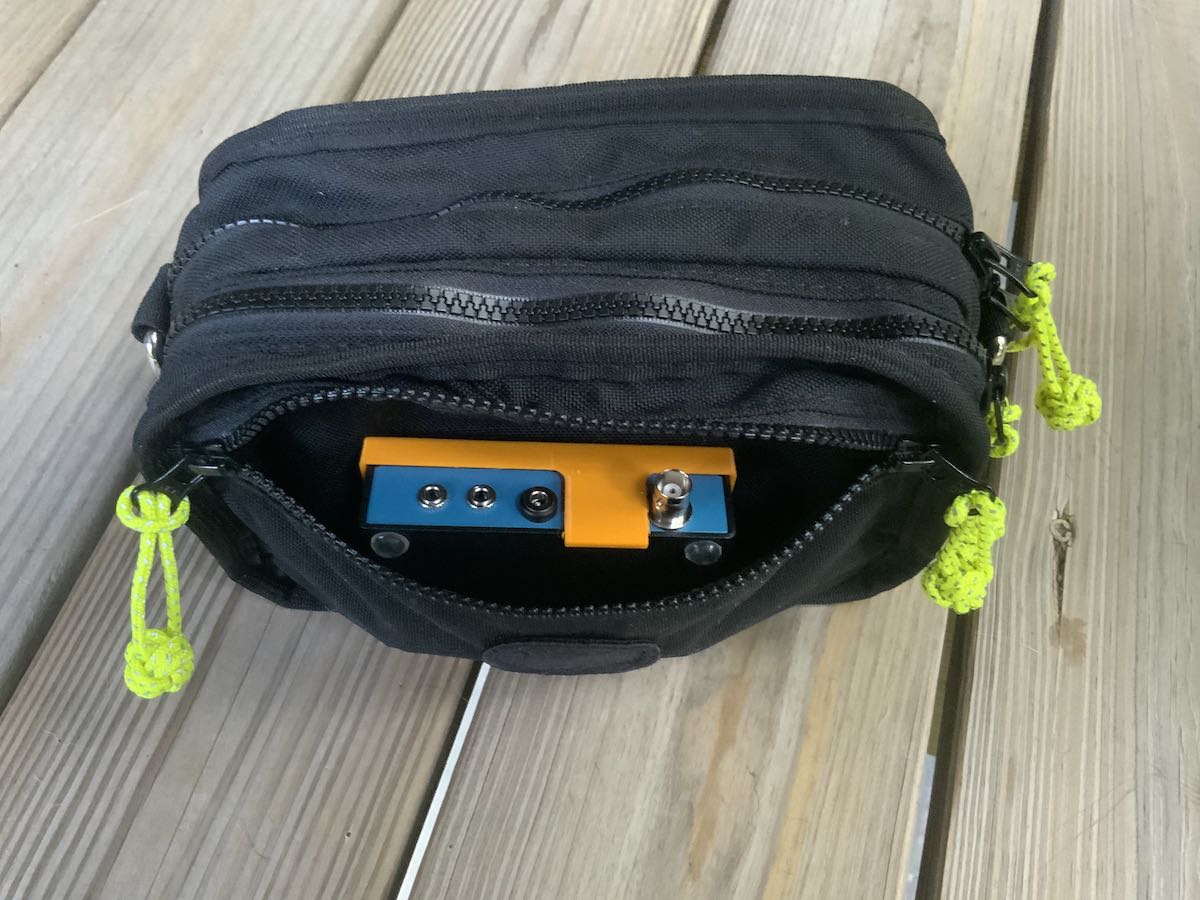
Within a week, my battery and cable should arrive and the MTR-3B field kit will be ready for adventure.

I can’t wait!


Do you enjoy the SWLing Post?

Please consider supporting us via Patreon or our Coffee Fund!

Your support makes articles like this one possible. Thank you!

Spread the radio love

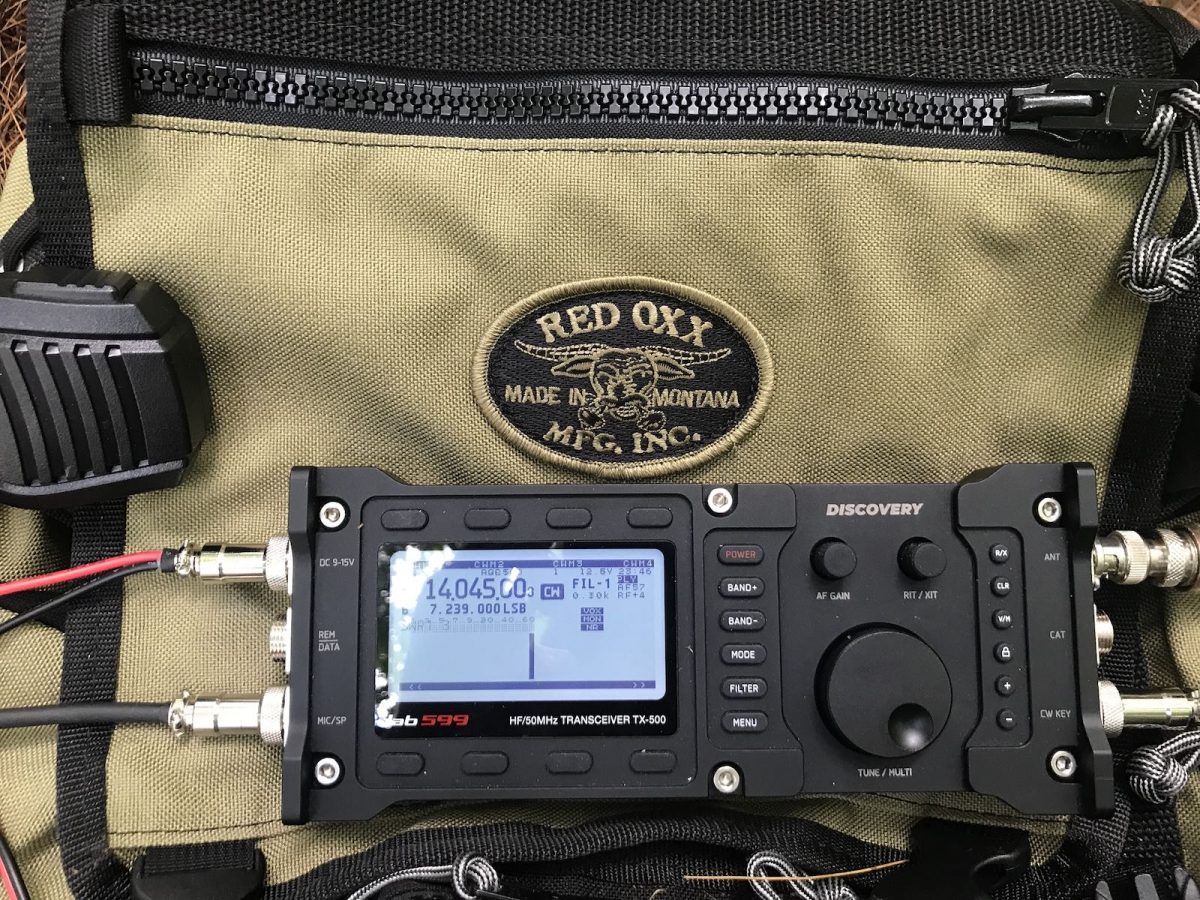
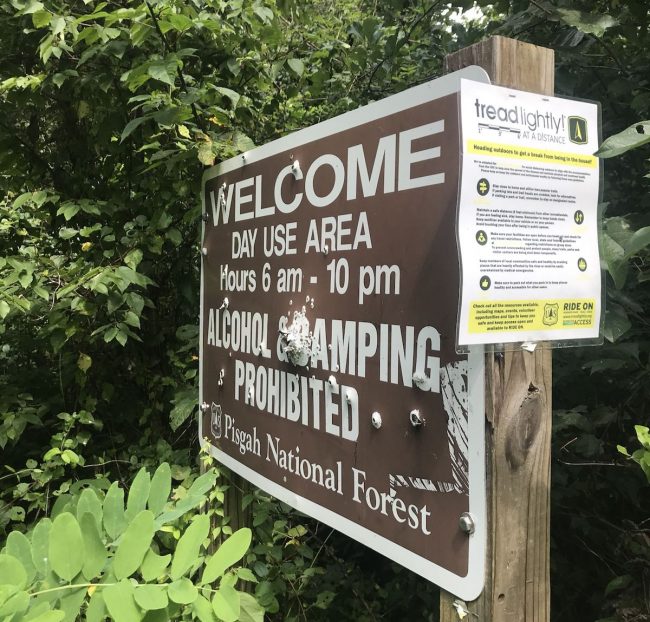
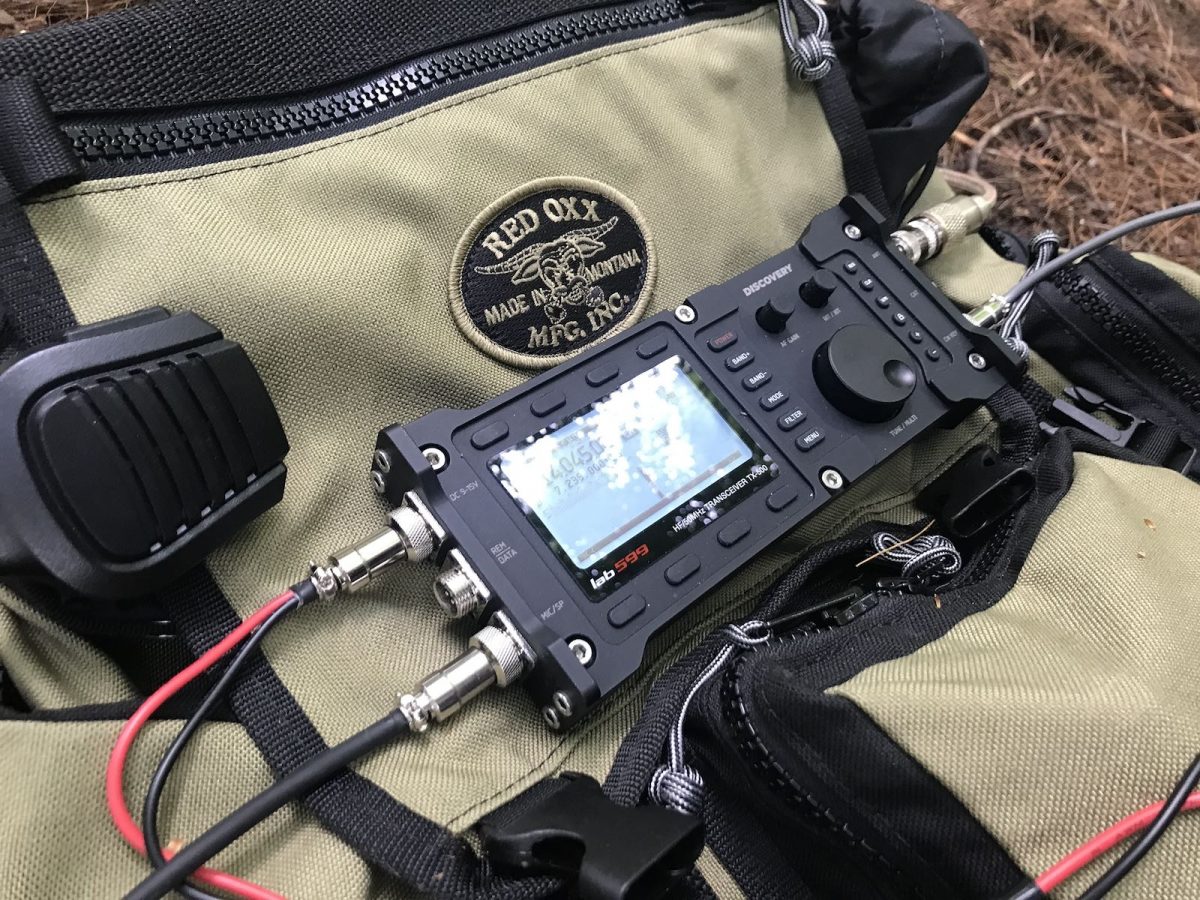
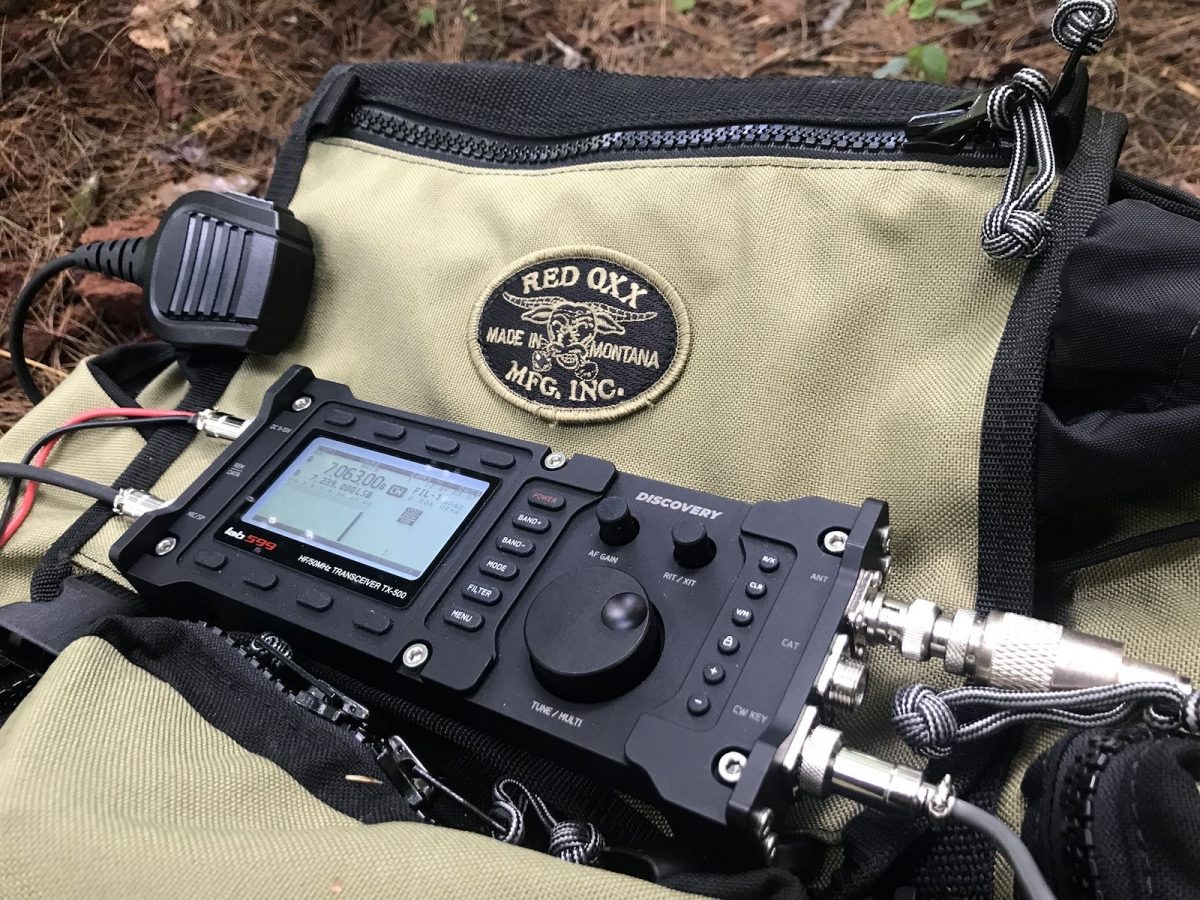
lab599 Discovery TX-500: Hiking into Pisgah National Forest for a little field radio fun

Yesterday, I hit the field again with the lab599 TX-500 Discovery. This time, I wanted to give the radio a proper shake-out by hiking to my location with the entire station in my pack.

This TX-500 transceiver is on loan, so I haven’t built a custom field kit for it like I have with my other radios. To be on the safe side, I packed the rig and all of its accessories in my Red Oxx C-Ruck pack.

The C-Ruck is loaded with three antennas, two LiFePo batteries, DC distribution panels, extra adapters/connectors, and essentially everything I need to handle pretty much any field situation. I take it on every field activation when I can afford the space in my car/truck because it’s so complete and stocked, it’s like a mini shack in a bag complete with tools I might need in the field.

This radio bag was total overkill for a quick day hike into Pisgah National Forest and I did remove a few heavy items like a larger battery, my Wolf River Coils TIA vertical, and other extra accessories. But at the end of the day, my four-legged hiking partner (Hazel) and I both agreed that I would kick myself if I arrived on-site and realized I was short, say, one PL-259 to BNC connector.

Turns out, the C-Ruck was just what the doctor ordered. The TX-500 is so compact, it fit in the C-Ruck’s top flap pocket that holds my logging notepad. I used that top flap to strap down my folding three legged stool for the hike.

The best part was the C-Ruck made for a perfect field table! The front pocket of the pack (which contains supplies like a first aid kit, emergency tarp/sleeping back, protein bars, etc.) propped the TX-500 in place.

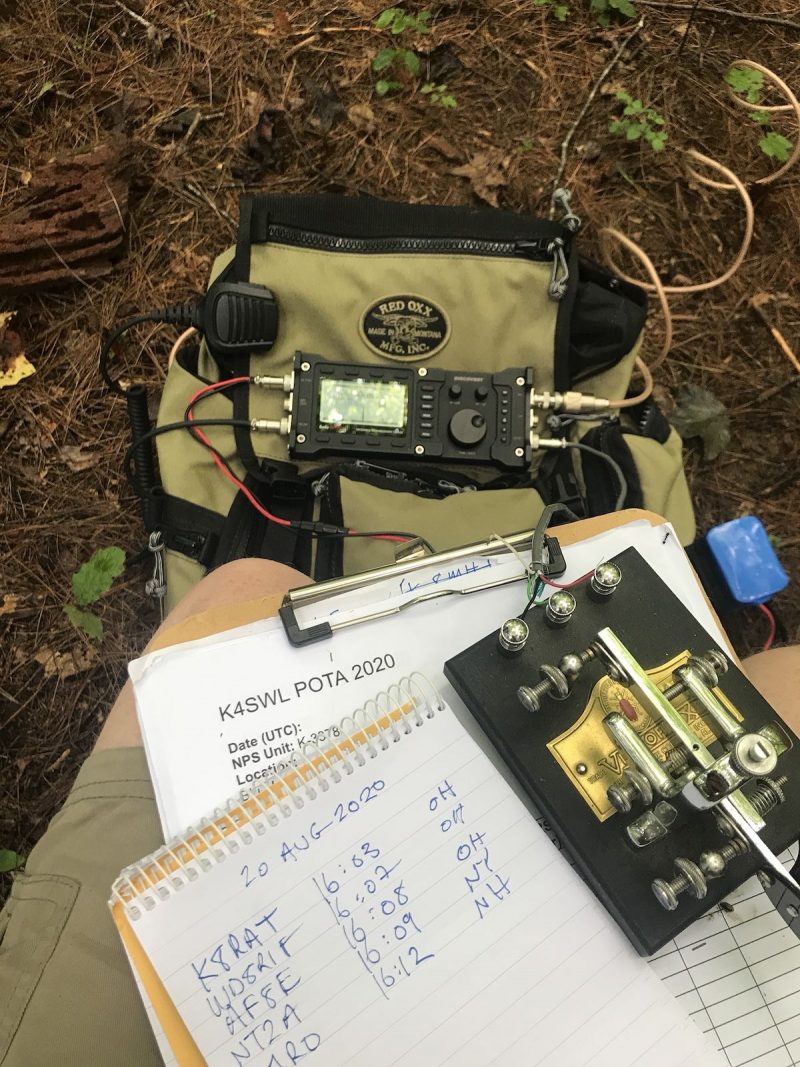
After finding a nice spot off-trail, I set up my EFT Trail-Friendly end fed antenna in short order, plugged it into the TX-500, plugged in my 6 aH Bioenno LiFePo battery, the TX-500 Speaker/Mic (which conveniently clipped o the C-Ruck top flap), and finally my homebrew CW key cable.

Since I had no mobile Internet service at this site–no surprise–I started the activation in CW which gave me the best opportunity to be auto-spotted by the Reverse Beacon Network (RBN) and for CW hunters to find me on the announced frequency via the POTA site.

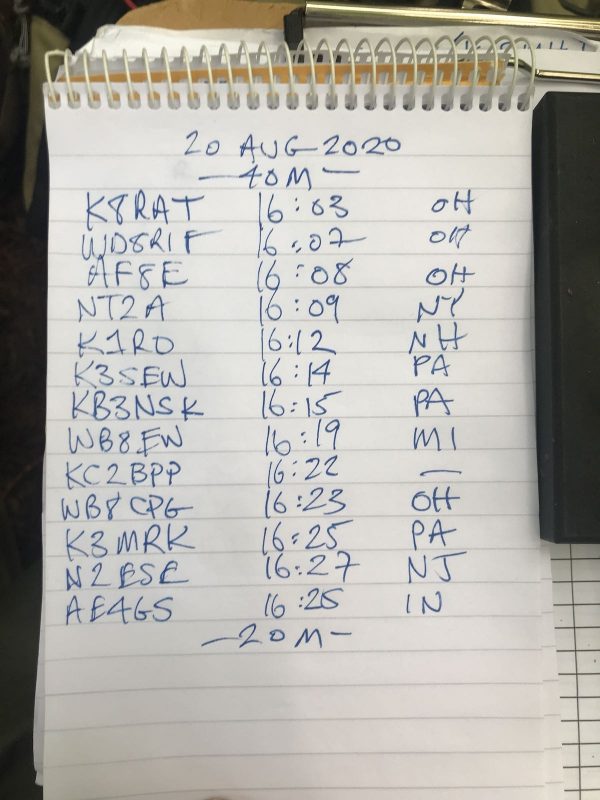
I started calling CQ and was instantly rewarded with a string of contacts on 40 meters.

After working that small pile of hunters, I moved up to the 20 meter band, started calling CQ, and made this short video:

Shortly after making this video, I heard thunder nearby and had to pack up. I’d hoped to work a few stations on 20M in CW, then switch over to SSB and work more. I’m willing to tempt fate when it’s just rain, but I don’t play with lightening.

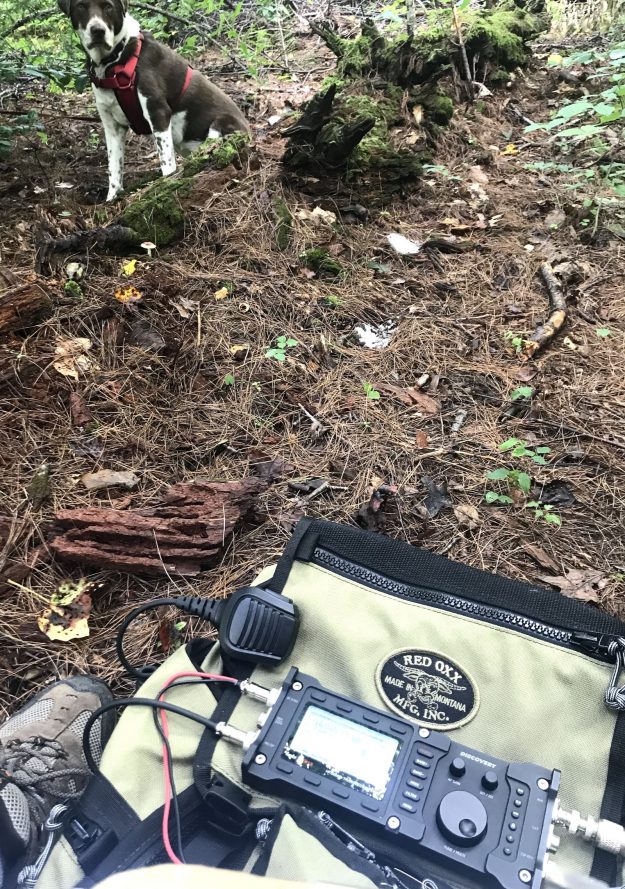
All in all, It was a very pleasant–although short–activation. Hazel and I really enjoyed the hike. Frankly both of us love any excuse to hit the trails or parks.

Hazel was more interested in squirrels than DX.

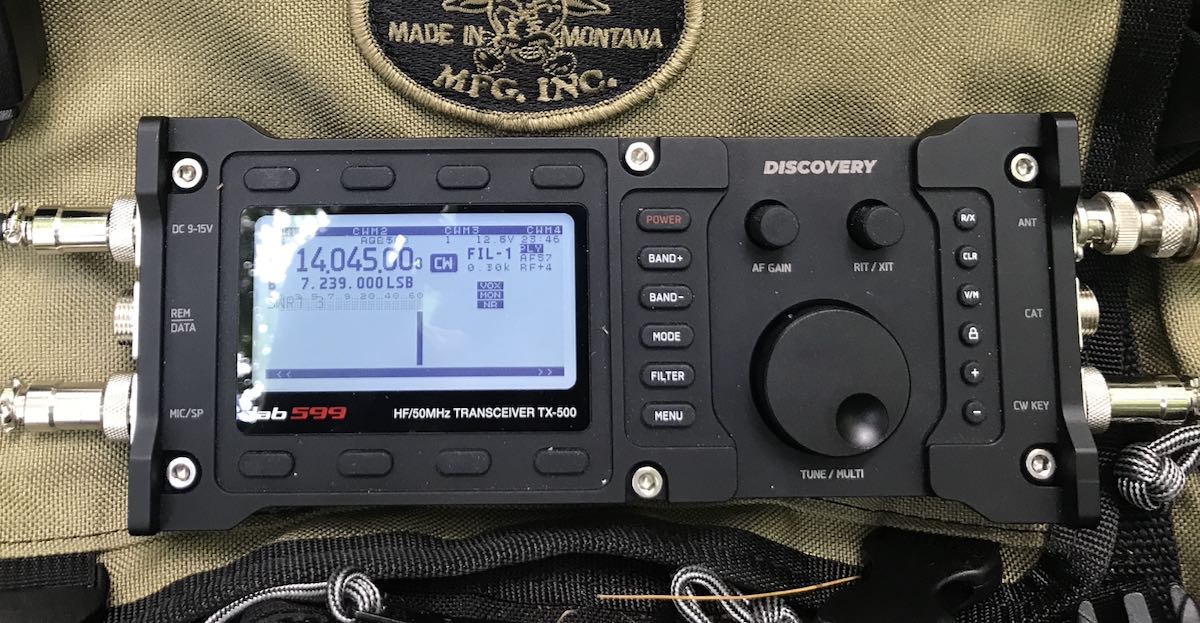
I’m finding that the TX-500 is a very sturdy and capable field radio with fantastic ergonomics.

This morning, I pulled out the scales and found that the radio, speaker/mic, and power cable all weigh in at 1 pound 9 ounces. That’s a lightweight kit by any standard.

Easy on batteries

Also, the TX-500 only seems to need about 110-120 milliamps of current drain in receive. That’s an impressive number for sure–right there with the benchmark Elecraft KX2. I’m pretty sure I could operate for hours with only my 6 aH LiFePo battery pack.

More to come

I still have the TX-500 for a week and hope to continue taking it to the field. I had planned to go out again today, but the weather forecast is dismal. Instead, I’ll chase some parks here in the shack!


Do you enjoy the SWLing Post?

Please consider supporting us via Patreon or our Coffee Fund!

Your support makes articles like this one possible. Thank you!
Spread the radio love

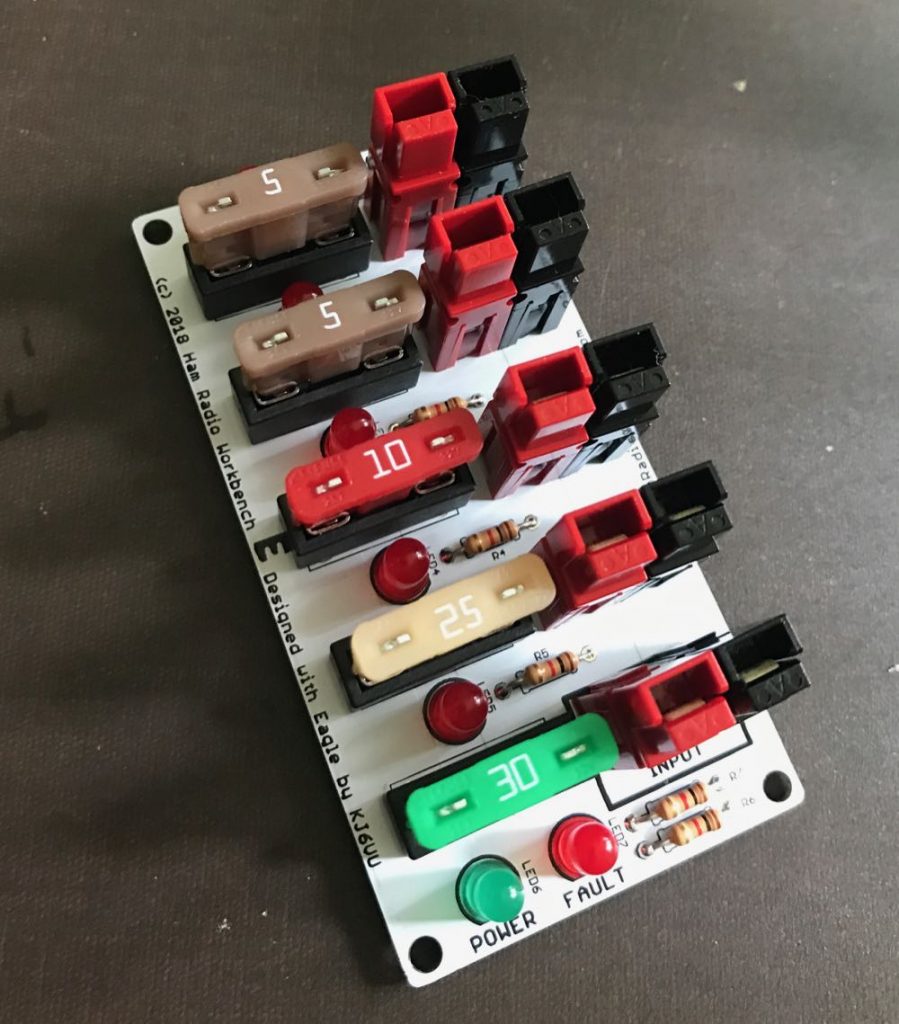
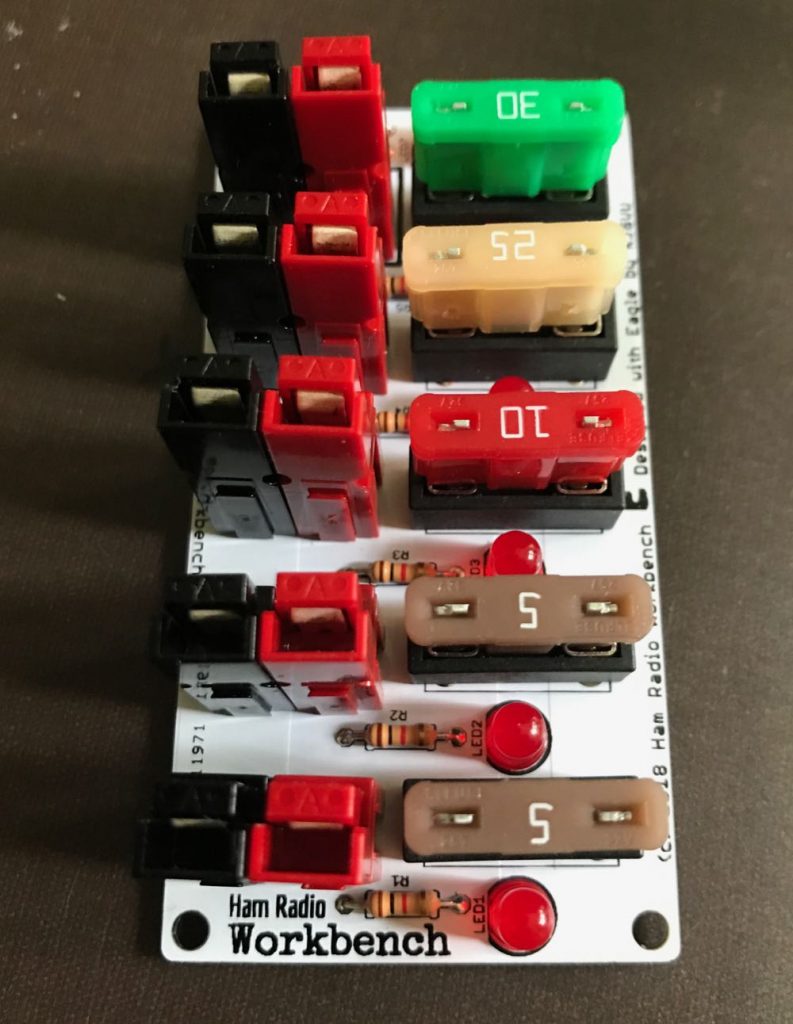
The Ham Radio Workbench 12 VDC Power Distribution Strip Kit

I had a number of important plans and goals yesterday which I conveniently set aside to build kits instead. Have you ever had one of those days?

Building kits is a little like therapy for me. I find it relaxing, fun, and it gives me an opportunity to tune out everything else in the world while that soldering iron is hot.

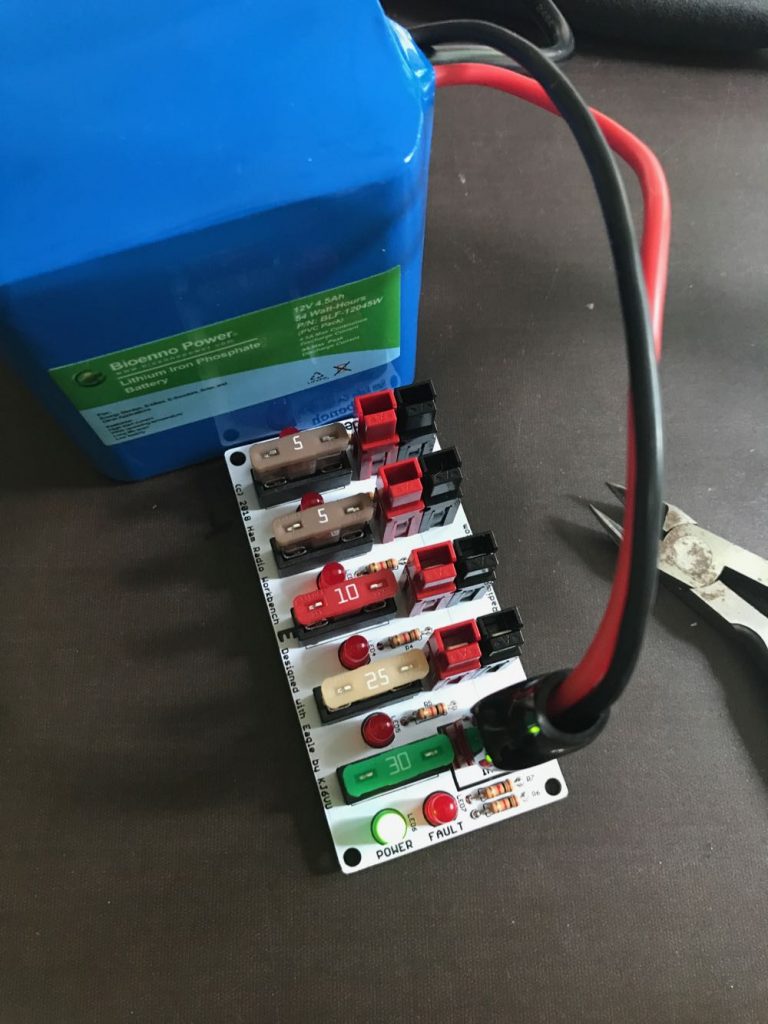
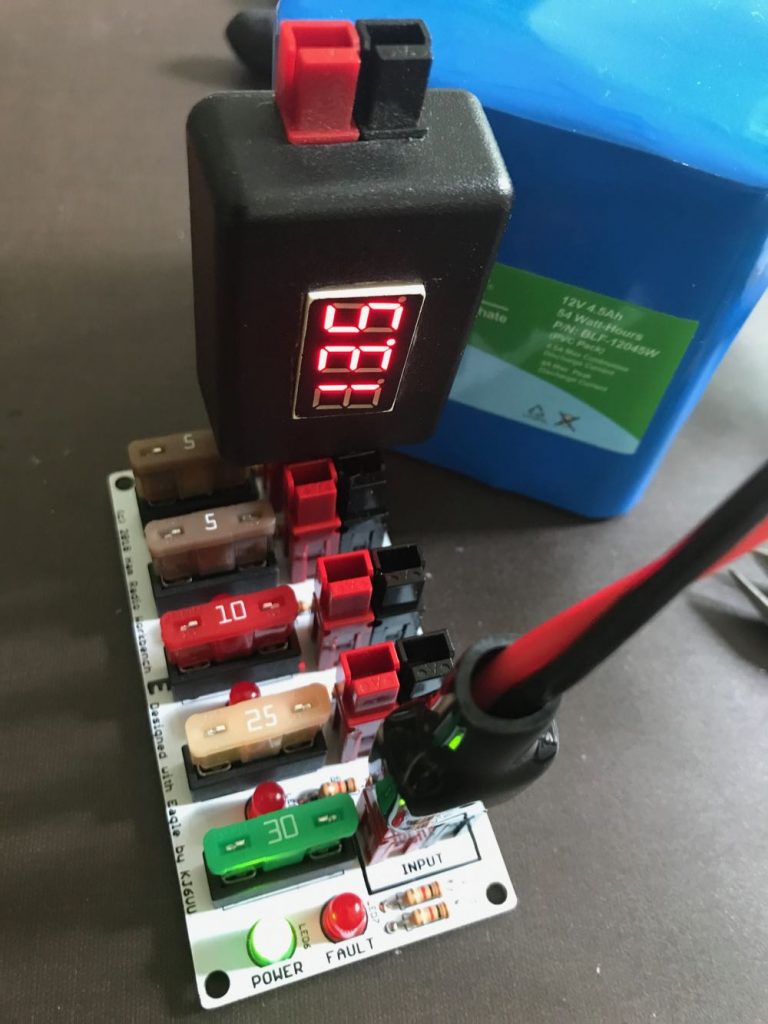
The first kit I built was one I purchased this year at Hamvention: the Ham Radio Workbench 12 VDC Power Distribution Strip.

I’ve been on a search for two types of fused Anderson Powerpole distribution panels: a portable one for the field with at least 4 ports, and a large one for the shack with 12-16 ports and at least two USB 5VDC ports.

Sadly, there is no large one on the market that I would like right now. I checked every vendor at Hamvention and the Huntsville Hamfest this year and while there are large panels available, none of them have USB ports. That and the price for a 12-16 position DC distribution panel can easily exceed $120.

As for the small panels for field use, many of them are a bit too bulky and pricey. The inexpensive ones lack individually fused ports.

My buddy Dave (K4SV) knew I was on the hunt, so at Hamvention he directed me to the Ham Radio Workbench podcast table. There, I found the ideal portable solution in kit form.  And the price?  A whopping $25.

Take my money!

Yesterday, I built the kit in near record time. It went together so fast, I forgot to take progress photos.

What I love about this DC distribution kit is it actually has more features than other products on the market:

  • There’s a green LED to indicate power has been applied to the panel and a red LED to indicate any faults
  • Each position is individually fused with standard blade fuses
  • Each position also has a red LED to indicate if the fuse has blown

I also love the size and configuration.

The kit does not come with an enclosure or base of any sort, so I had planned to simply attach it to a dielectric plate to prevent the bottom of the board from shorting on a conductive surface.

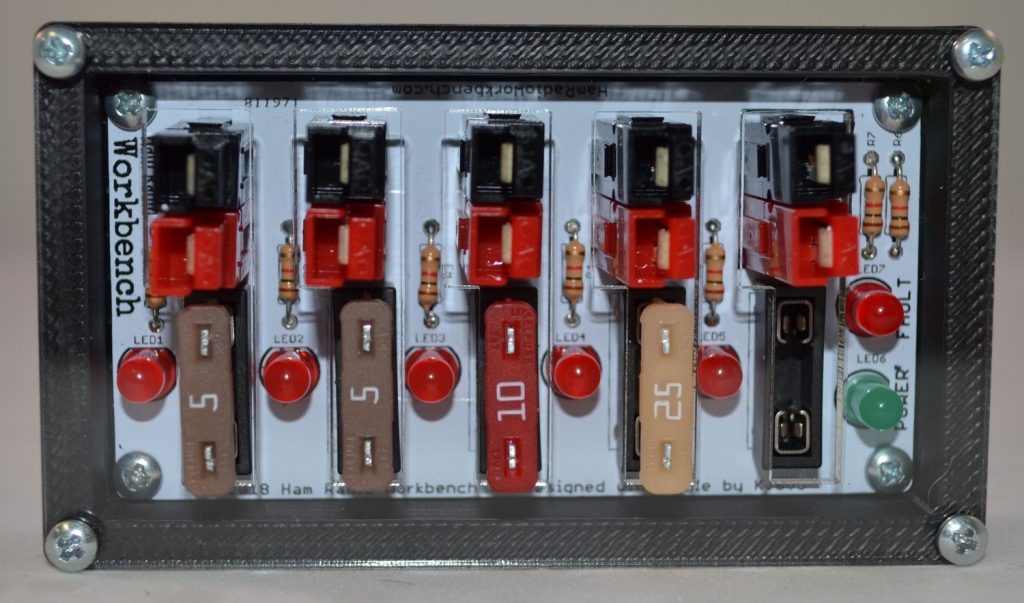
This morning, however, I discovered a 3D-printed enclosure from Rocket City 3D:

This enclosure protects the entire panel on all sides so I’ll be able to throw it in my backpack and not worry about the connectors snagging on other items. The price is a reasonable $12 shipped. Done!

This little DC panel pairs well with the 4.5 aH Bioenno Lithium Iron Phosphate battery I purchased on sale at the Huntsville Hamfest. Together, they’ll power the portable SDR system I’m putting together. More on that in a future post! Stay tuned!

Click here to check out this kit at HamRadio Workbech. It’s currently out-of-stock, but you might contact HRW and see if a future run is in the works. Click here to check out the custom enclosure from Rocket City 3D.

UPDATE: I understand Ham Radio Workbench may eventually print the circuit boards for this project. In the meantime, another affordable option I’ve used is this pre-built panel from Electro Sales on eBay: https://ebay.us/UyJPkh


Do you enjoy the SWLing Post?

Please consider supporting us via Patreon or our Coffee Fund!

Your support makes articles like this one possible. Thank you!

Spread the radio love