Tag Archives: Yaesu

Guest Post: Mark’s review of the Yaesu FT-891 as shortwave broadcast receiver

Many thanks to SWLing Post contributor, Mark Hirst, who shares the following guest post:


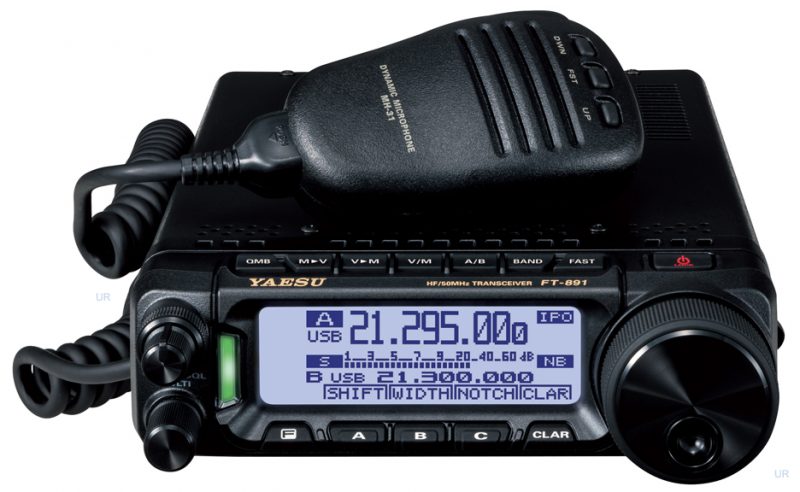
Using the Yaesu FT-891 for SWLing

by Mark Hirst

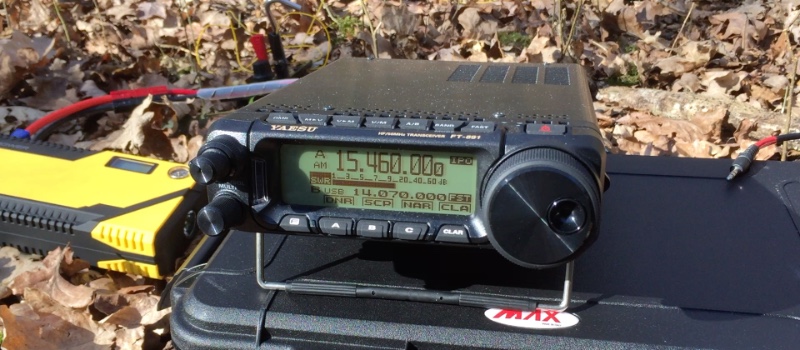
Woodland Operation in North Hampshire

Introduction

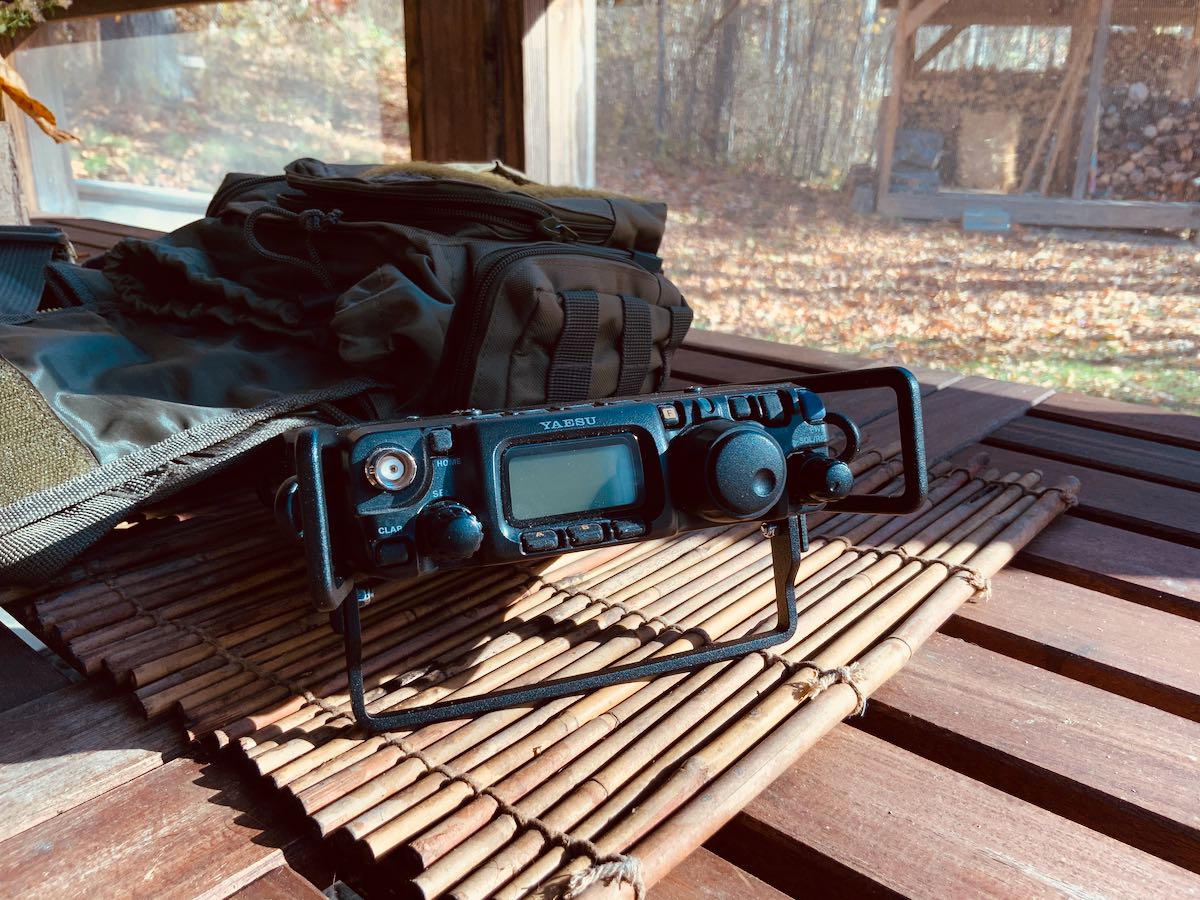
While I have a small collection of portable shortwave radios for outdoor listening, I’ve been looking to fill a gap in my amateur radio lineup for a while. Outdoor operation has become important in recent years as solar cycle conditions deteriorated along with rising levels of QRM in urban neighbourhoods. The ICOM IC–7200 with Wellbrook loop stays at home fighting a losing battle with PLA noise, while the very portable FT–817ND does occasional data modes contacts and outdoor listening. Somewhere in the middle, the FT–891 promised to provide a modern and more powerful data modes station, a radio to take on holidays, needing external batteries, but portable enough for walks into the country side. Earlier this year, I bought one new from my local ham radio store, and what follows are my findings and observations so far on shortwave listening.

Audio Characteristics

I’ve accumulated hundreds of recordings of VOA Radiogram and Shortwave Radiogram since 2013, so a recent woodland expedition with the FT–891 was an opportunity to compare a recording made with it against those of other radios I’ve used.

The most striking difference is the lack of frequencies in the lower part of the audio spectrum along with a distinct cut off at around 5kHz.

This is easily visualised in the following comparison between the FT–891 and the Tecsun PL–680. Note the conspicuous pillar associated with MFSK32 from these Shortwave Radiogram broadcasts, and interfering RTTY on the FT–891 recording:

Audio Frequency Analysis

While this audio profile may not be to everyone’s taste, the extra sparkle yields voice audio that is clear and distinct. I find those low frequencies make the audio muddy and tiring to listen over long periods, so I’m quite happy with this.

When listening to speech based broadcasts through the top mounted speaker, the audio is also precise and intelligible, and provides more than enough volume.

You can judge for yourself from this 2 minute video I made recently:

Headphones, External Speakers and Recording

You also have the option of connecting an external speaker or headphones to a socket on the side of the radio. Be aware that the audio level is different for headphones, and is controlled by a small switch hidden behind the front panel. I expect people may go for one option such as headphones and then stick with it, rather than continually detaching the front of the radio and moving the delicate switch back and forth.

If you turn the volume right down you will hear a hiss, although its really only noticeable if you face the speaker directly and get close. Listening outdoors with the sounds of nature around you? It’ll be fine. There’s no way to avoid it with headphones of course, with forums suggesting inline resistors or high impedance headphones as solutions.

Audio recordings can of course be taken from the headphone socket, but you will get better results from the data port on the back. I use a UD04YA cable which provides 3.5mm audio in and audio out jacks, plus a USB cable to provide PTT functionality. It’s meant for data modes operation with the FT–817, but I have used it successfully with the FT–891 for PSK contacts using fldigi, eliminating the need for CAT control through a second cable to the radio’s USB port.

Customising for SWL

The advanced manual for the FT–891 helpfully provides a section called ‘Tools for Comfortable and Effective Reception’, so I began configuring the radio using the guidance there.

First up was re-configuring the front panel RF/Squelch knob to only control RF gain (Menu 05–05). I use the same configuration on my FT–817ND to dial back RF gain, allowing the AGC to pick up the slack.

Next was enabling the awkwardly named Insertion Point Optimisation (IPO) which switches out the pre-amplifier. It’s interesting to note that this setting can be associated with a stored memory channel, which became relevant later when I used CAT control to program some favourite frequencies.

The radio has an attenuator, although I’ve not found a need for it so far.

The AGC can be configured as Auto, Fast, Mid, and Slow. Since it is not a ‘set and forget’ setting like the RF control or IPO options, it might be a good candidate for assigning to one of the three user definable buttons below the LCD screen.

Audio can be fine tuned using four menu options (06–01 to 06–04) to control high and low frequency cutoff, but after some experimentation I have turned these options off.

As an aside, I found the LCD backlight, button illumination and TX/Busy lights too bright for indoor use, so dialed them back to their minimum values.

Listening Tools

The radio provides some additional tools as part of its IF DSP. The features of particular interest are Digital Noise Reduction (DNR), Noise Blanker, IF Notch Filter, Digital Notch Filter, and Narrow IF filter. Contour, IF Bandwidth, and IF Shift are not available in AM mode, and you must resort to SSB to get them. More about SSB in a moment.

Out of this wide array of options, I’ve only explored Digital Noise Reduction and the Narrow IF filter so far, as they offer fairly immediate gains without too much configuration.

Narrow filter simply reduces the total IF bandwidth from 9kHz to 6kHz, which gives some immediate relief to higher frequency noise. In tougher conditions at home tackling QRM, the harsher sound it causes has sometimes been counter productive.

At the outset, it’s obvious that the DNR capability of the FT–891 is a powerful feature. Rather than providing a level of processing that varies from a little to a lot, the radio provides 15 different ‘algorithms’ which can be selected for best results. This means you will tweak the DNR setting to address signals on a case by case basis.

Comparing it with the IF noise reduction of my ICOM IC–7200, the ICOM has a scale of diminishing returns as the DSP level is turned up, whereas the FT–891 seems to start strong and it’s more about picking the algorithm that sounds best.

After testing the DNR on AM broadcast stations away from the noise at home, voice audio sounds distant and words can be clipped, which is fine for SSB amateur radio contacts, but makes me think it’s not a feature of first resort when trying to improve broadcast reception. In those circumstances, the narrow filter might be a better option.

The Trials of Single Side Band

On the matter of SSB and using it to combat adjacent or co-channel signals, the radio offers a single SSB option in the mode menu, picking USB or LSB for you automatically based on the current band. When tackling broadcast band interference however, you want the option to go in either direction. The radio also changes the current frequency by 700Hz when SSB is selected, which then has to be corrected with the main dial.

You would begin by switching to SSB mode by pressing and holding the band button. If you’re lucky, the default setting is the one you want.

If it isn’t, activate the settings menu with a long press of the F key, go to the menu option SSB BFO (11–07), select it and use the multi-function knob to change the mode away from Auto to LSB or USB.

As you are doing this, the VFO will change to LSB or USB too. Leave the setting on the option that suits your needs.

If you exit the menu option without saving (pressing F), the mode will remain changed, but the override is not saved. This can be a useful quirk because next time you turn the radio on, it will be back in auto mode.

If you commit the override by pushing the multi-function knob instead, the radio will stay in manual mode until you remember to return to the menu and restore automatic behaviour again.

It’s a needlessly complicated system, as I discovered recently while recording another Shortwave Radiogram broadcast. Even after testing the procedure previously for this article, the radio was determined to stay in LSB no matter what.

Memory Programming

Since the radio has no keyboard for direct frequency input, an early priority for shortwave listening was to program some of the 99 memories available. My plan was to have some favourite broadcast stations, along with WX, Volmet, GMDSS, and some data mode frequencies. To handle ad-hoc stations however, I wanted a way of moving quickly across the main shortwave bands without excessive use of the main tuning dial or multi-function knob.

Taking the official definitions of the broadcast bands between 60m and 16m, and combining those with frequency schedules, I came up with a series of frequencies 150kHz apart across each of those bands, guaranteeing that no broadcast was more than 150kHz away.

The combined list of favourites and the 150kHz stepping stone frequencies resulted in 70 memory channels in total. As I wanted to apply alphanumeric tags to those channels, and didn’t relish the prospect of entering them manually, my next port of call was the CAT control manual to see how those memories could be set programmatically.

While there is commercial software available for the FT–891, I only needed to set up the memory channels, so decided to adapt some PowerShell I’d written for another radio, sending the necessary serial port commands to configure my list.

Now that is done, I can fast travel using the stepping stone memories to the closest point in a band, then use the fast mode of the main tuning dial to move quickly to my final destination.

The following table lists my current stepping stone channels in kHz:

60m 49m 41m 31m 25m 22m 19m 16m
4750 5900 7200 9400 11600 13570 15100 17480
4900 6050 7350 9550 11750 13720 15250 17630
5050 6200 7500 9700 11900 13870 15400 17780
7650 9850 12050 15550 17930
7800 15700

Memory Access

An obvious way to access the memories is to toggle memory channel mode with the V/M button, then cycle through the memories using the multi-function knob. Depending on your memory choices, you will hear relays clicking as the radio jumps back and forth between widely spaced frequencies and bands. You will also need a good memory of your memories, so you know which way to turn the multi-function knob.

An alternative and perhaps faster method is to press the M>V button. This brings up a multi-line listing of memories that can be scrolled through using the multi-function knob. Pressing the M>V button again copies the selected memory to the VFO and leaves you in VFO mode. This avoids the radio flipping across bands and the associated relay activity.

Although it is not documented, if you push the multi-function knob on a selected memory channel in the multi-line listing rather than using the M>V button, the selected memory is activated and the radio is left in memory channel mode displaying the memory tag.

Disabling Transmit

At the time of writing, I haven’t discovered a way of formally disabling transmit, and the minimum transmit power goes no lower than 5W. Since my main interests are around shortwave listening, utility stations and an occasional data mode QSO, I have not fitted the microphone to the radio. In that configuration at least, there is no danger of me manually transmitting into a receive antenna by accident.

Outdoor Power

Reports vary on the power consumption of the FT–891. It certainly isn’t as high as the 2.0A documented in the user guide.

While some sources claim values in the region of 1.0A, my power supply shows around 0.4A at 13.8V when receiving a typical HF broadcast. You will notice where some of that power goes quite quickly, as part of the radio gets warmer.

To save weight, my preferred power supply in the field is usually a lithium battery designed to jump start smaller engined cars. This versatile 12V battery also supplies 5V USB power to phones and tablets, and can even charge laptops.

In Conclusion

Control ergonomics and screen size are factors that can detract from shortwave listening on these kinds of radios, with smaller speakers and menu options for features normally at your fingertips.

Despite this, I’m happy with the audio, and I like the emphasis on mid-range frequencies in its audio spectrum. The digital noise reduction is impressive and can tackle significant QRM environments, but for outdoor listening may not be your first port of call.

Memory presets can make tuning less laborious, while assigning key listening tools to the customisable front panel buttons should reduce the need to access menus. I may consider defining some stations with known co-channel issues to memory with preset LSB and USB variations, to allow rapid responses to interference in future.

In good conditions, I suspect there is little difference between the FT–891 and FT–817ND for general listening. The FT–817ND has produced some of my best recordings of Shortwave Radiogram. The newer radio however brings many advanced tools to bear on more difficult signals, while its band scope and full sized VFO tuning dial enable desktop style shortwave exploration.

The ICOM IC–7200 is constrained by interference at home, biding its time for when the solar cycle swings back. When it’s been out on field days, it has always been a strong performer for broadcast listening. All the important controls are upfront, but is not a trivial thing to transport on foot. While the FT–891 has impressive DNR chops, I think I prefer the ability of the IC–7200 to apply noise reduction in incremental steps. Perhaps the algorithm approach will grow on me in time.

Any amateur radio operator using the FT–891 should have no trouble using it for shortwave listening. It attracts a lot of positive reviews for its ham radio capabilities, and it looks like those features carry across for listening to the world too.


An excellent review, Mark! Thank you for sharing. 

The Yaesu FT-891 must be the most popular HF transceivers Yaesu sells today. So many of its users rave about its performance and audio characteristics. Mark, thank you for sharing your experience with the FT-891 as an SWL!

Click here to check out the affordable IP67 rated case Mark uses to house his FT-891.

Spread the radio love

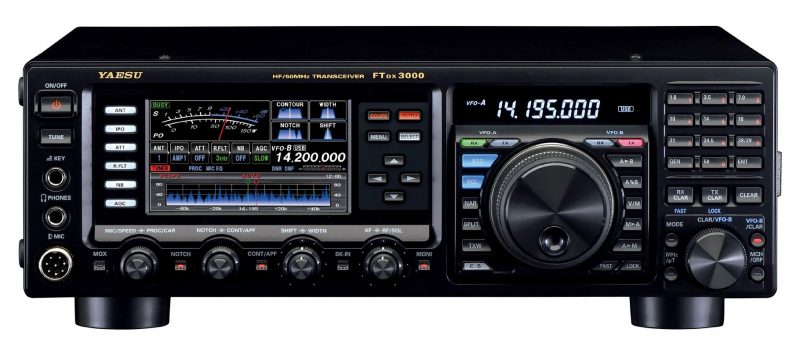
Yaesu FT-DX3000 has been discontinued

Many thanks to SWLing Post contributor, John (VA1JG), who notes:

As per the following exchange on the Yaesu Facebook group, the FTDX3000 is the latest Yaesu HF model to be discontinued:

John Kruk is the national sales manager for Yaesu USA, so this is real news. This was posted on Tuesday.

Many thanks for the tip, John! I’ve noticed a number of retailers have listed it as discontinued. If memory serves, I believe this FT-DX3000 was first introduced at the 2012 Hamvention, so it has had a decent market run. No doubt, the new FT-DX10 will be Yaesu’s focus in this price bracket.

Spread the radio love

Rob Sherwood tests the new Yaesu FTDX10

Many thanks to Rob Sherwood (NC0B) who shares his recent assessment of the new Yaesu FTDX10.

In short: the FTDX10 is now number 3 (at time of posting) on Rob’s receiver test data table— a table sorted by third-order dynamic range narrow spaced. Most impressive!

Click here to download Rob’s full HF test results and his review notes as a PDF.

FYI: I plan to review the FTDX10 this year.

Spread the radio love

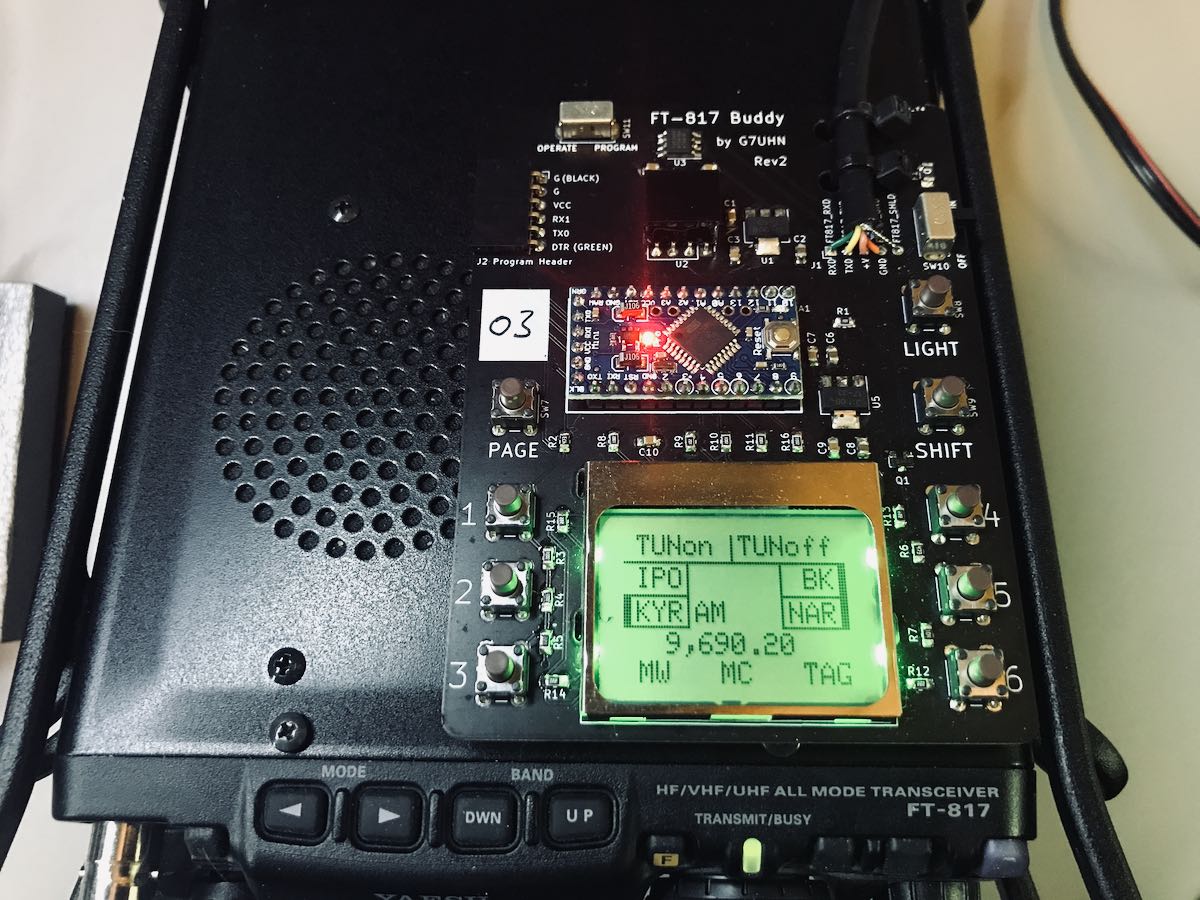
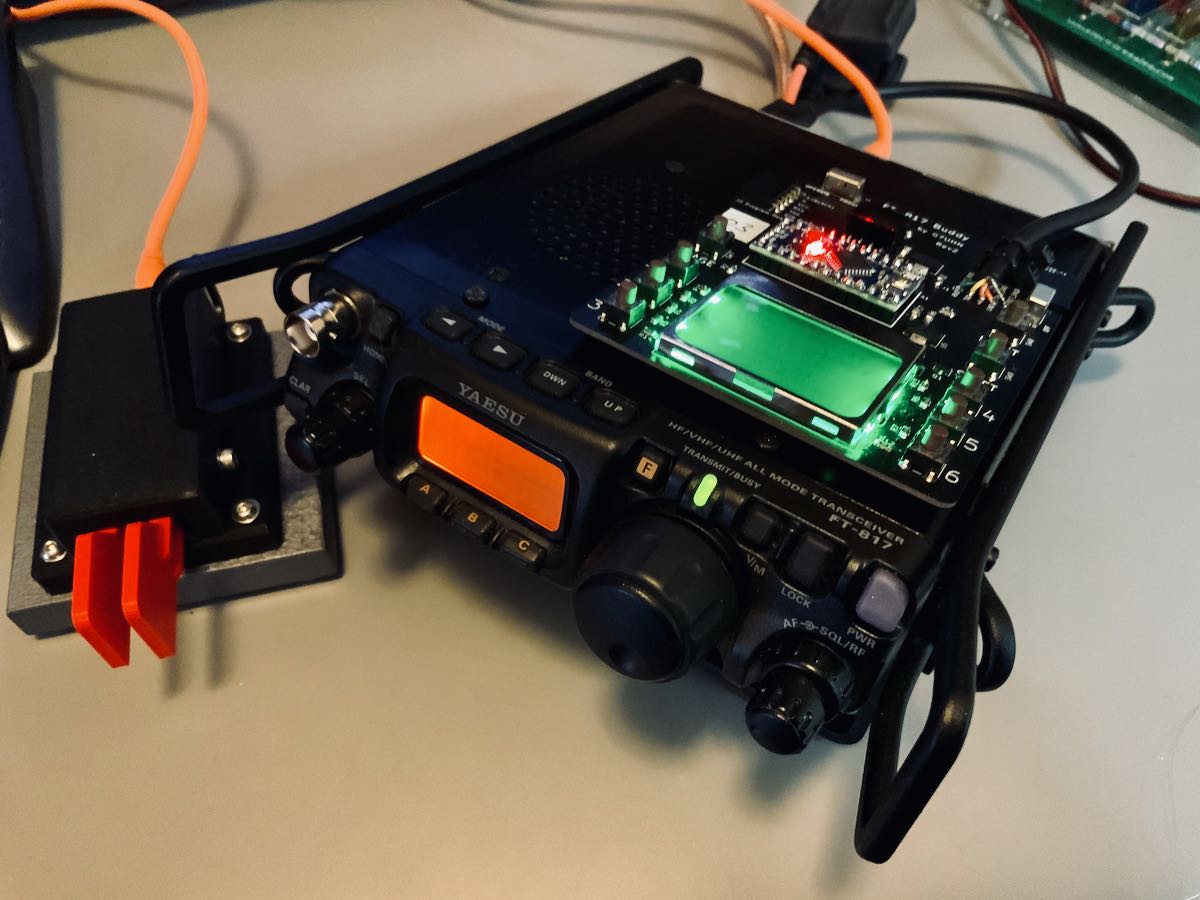
Upgrading my Yaesu FT-817 transceiver with the G7UHN rev2 Buddy board

Last August, SWLing Post contributor, Andy (G7UHN), shared his homebrew project with us: a genius companion control display for the venerable Yaesu FT-817 general coverage QRP transceiver.

Andy’s article caused me (yes, I blame him) to wax nostalgic about the popular FT-817 transceiver. You see, I owned one of the first production models of the FT-817 in 2001 when I lived in the UK.

At the time, there was nothing like it on the market: a very portable and efficient HF, VHF, UHF, multi-mode general coverage QRP transceiver…all for $670 US.

In 2001? Yeah, Yaesu knocked it out of the ballpark!

In fact, they knocked it out of the ballpark so hard, the radio is still in production two decades later and in demand under the model FT-818.

I sold my FT-817 in 2008 to raise funds for the purchase of an Elecraft KX1, if memory serves. My reasoning? The one thing I disliked about my FT-817 was its tiny front-facing display. When combined with the embedded menus and lack of controls, it could get frustrating at home and in the field.

I mentioned in a previous post that I purchased a used FT-817ND from my buddy, Don, in October, 2020. I do blame Andy for this purchase. Indeed, I hereby declare him an FT-817 enabler!

FT-817 Buddy board

When I told Andy about my ‘817ND purchase, he asked if I’d like to help him test the FT-817 Buddy board versions. How could I refuse?

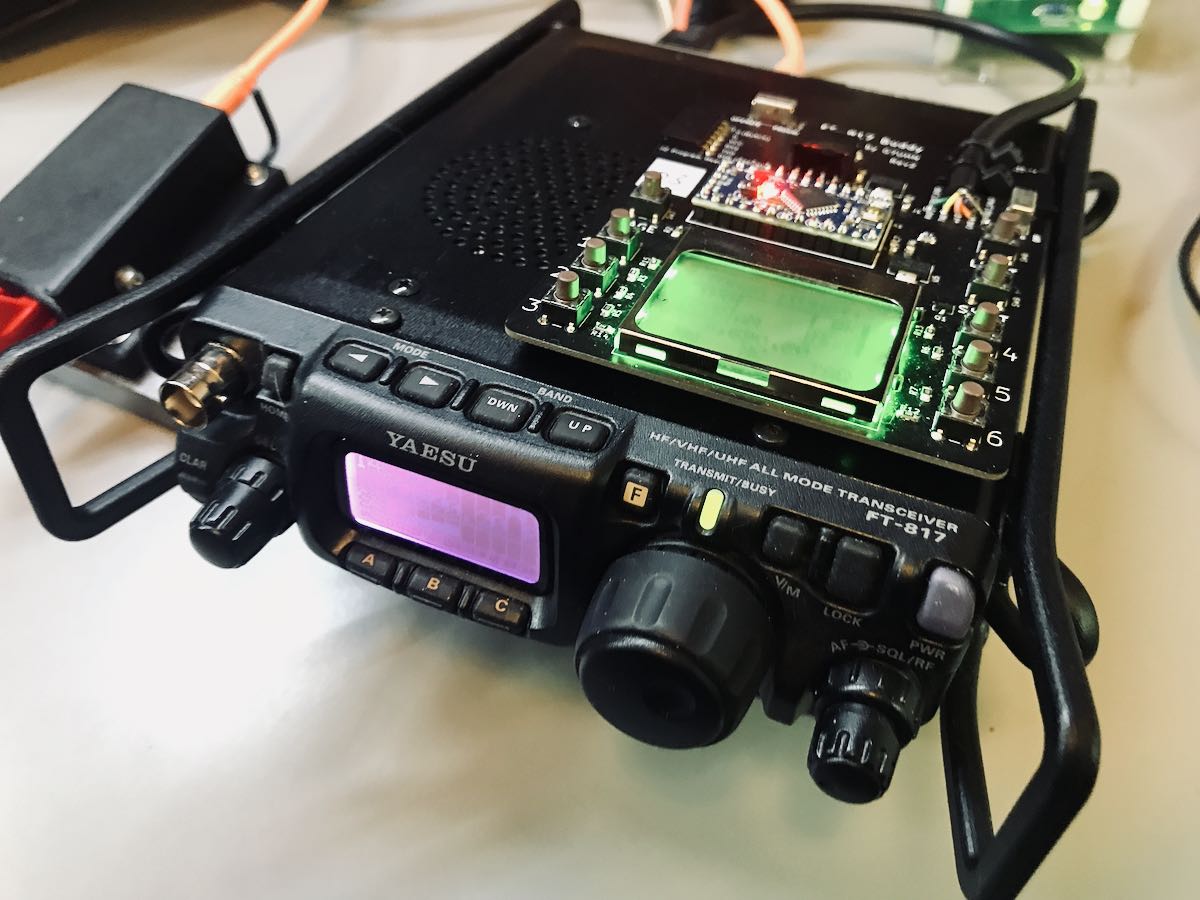
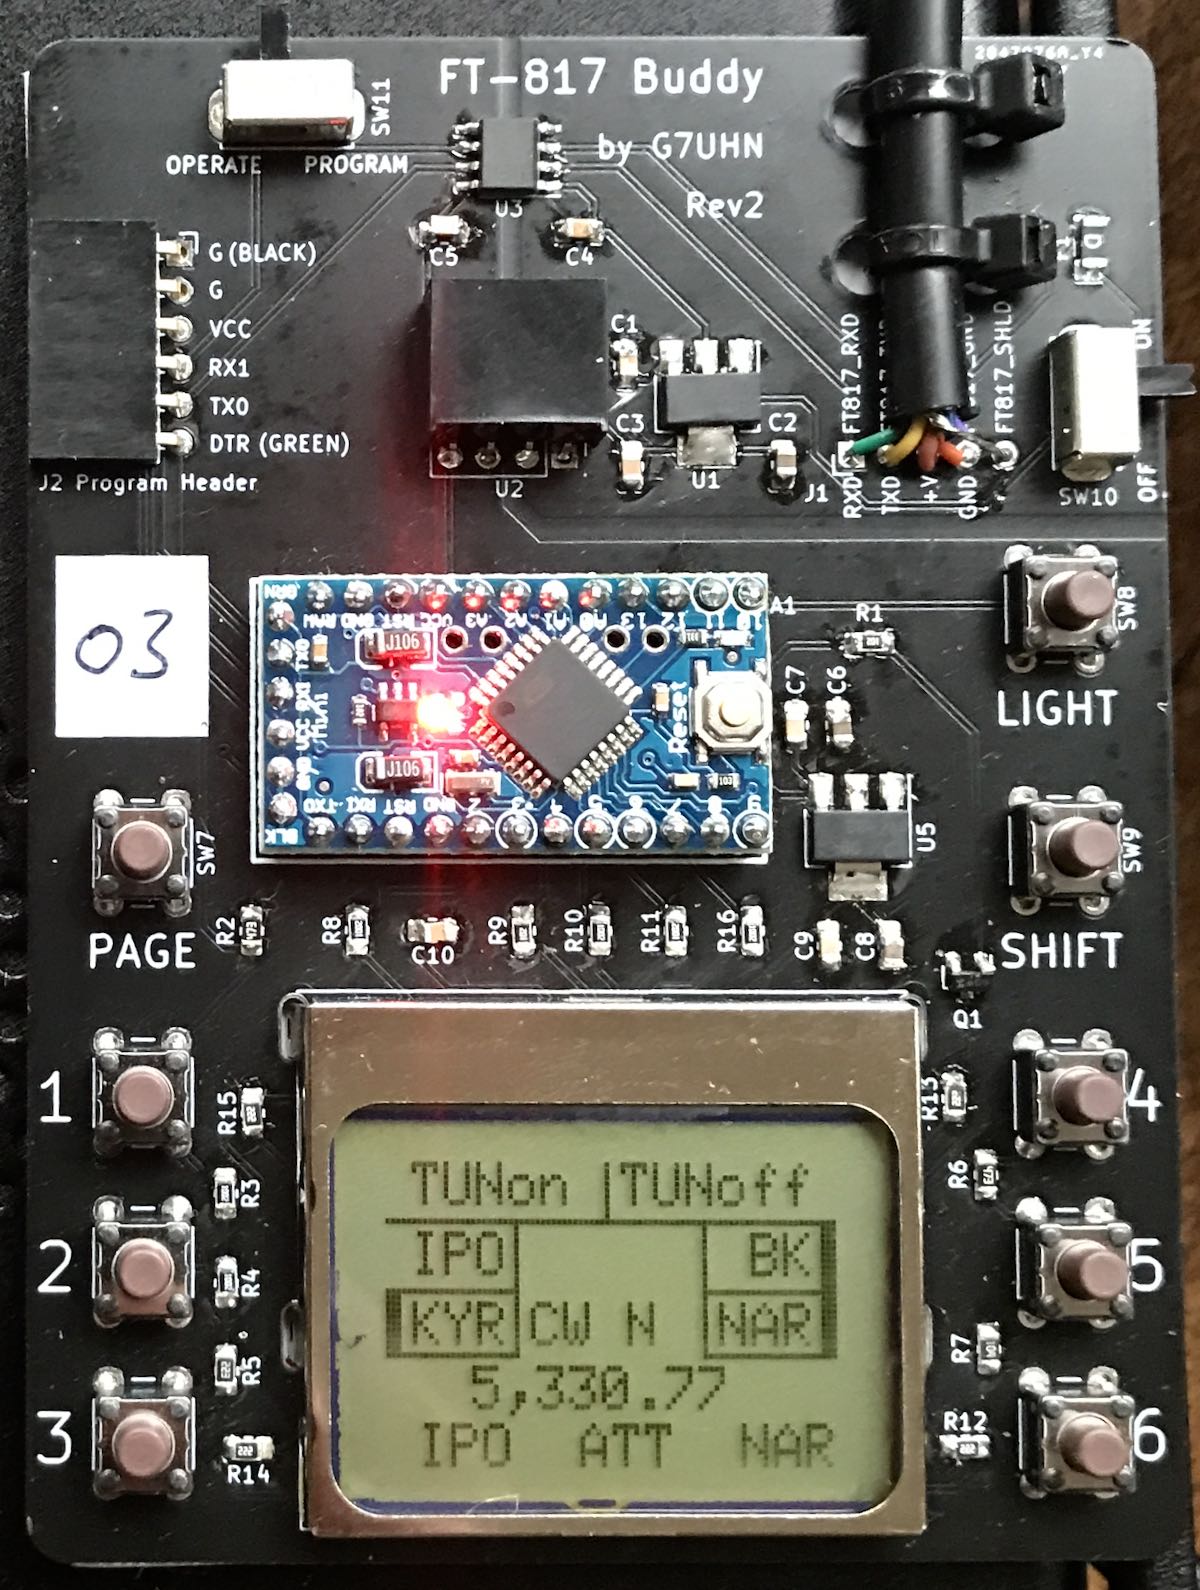
Andy sent me a prototype of his Version 2 Buddy board which arrived in late November. I had to source out a few bits (an Arduino board, Nokia display, and multi-conductor CAT cable). Andy kindly pre-populated all of the SMD components so I only needed to solder the Arduino board and configure/solder the cable. I did take a lot of care preparing and soldering the cable, making sure there was no unintentional short between the voltage and ground conductors.

Overall, I found the construction and programming pretty straight-forward. It helped that Andy did a remote session with me during the programming process (thanks, OM!). Andy is doing an amazing job with the documentation.

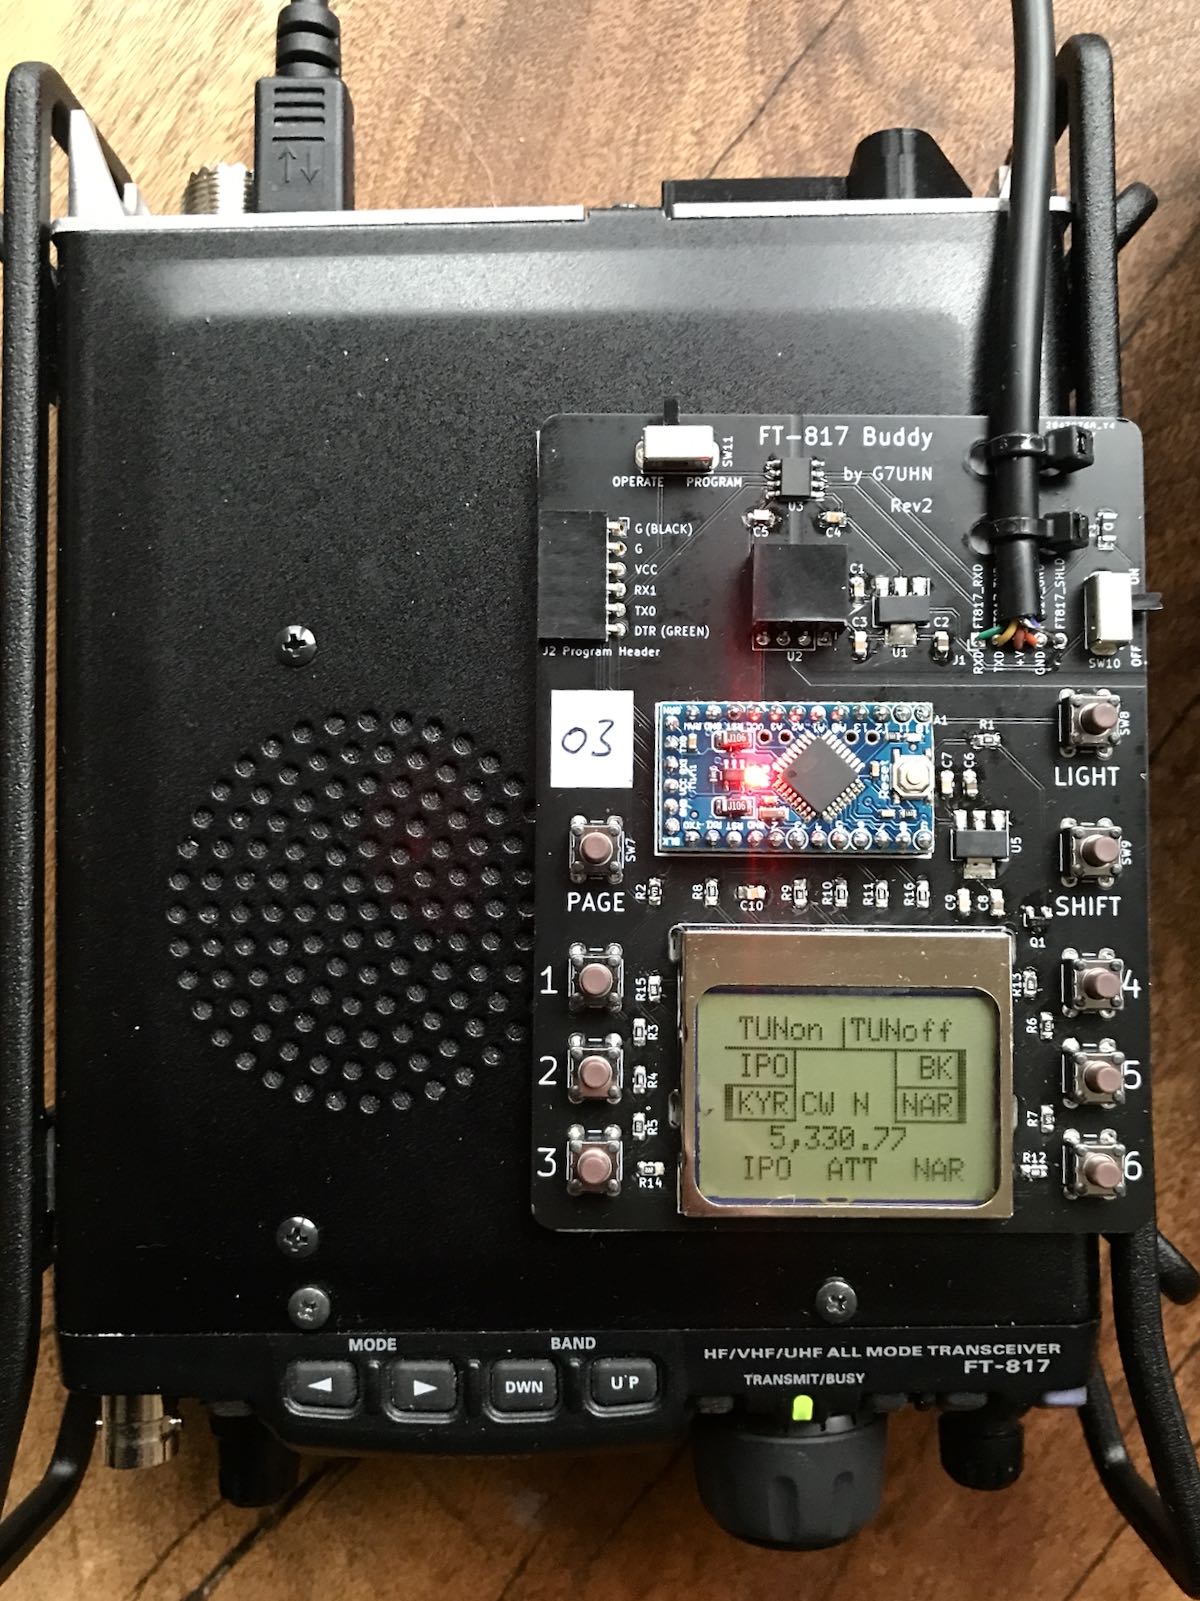
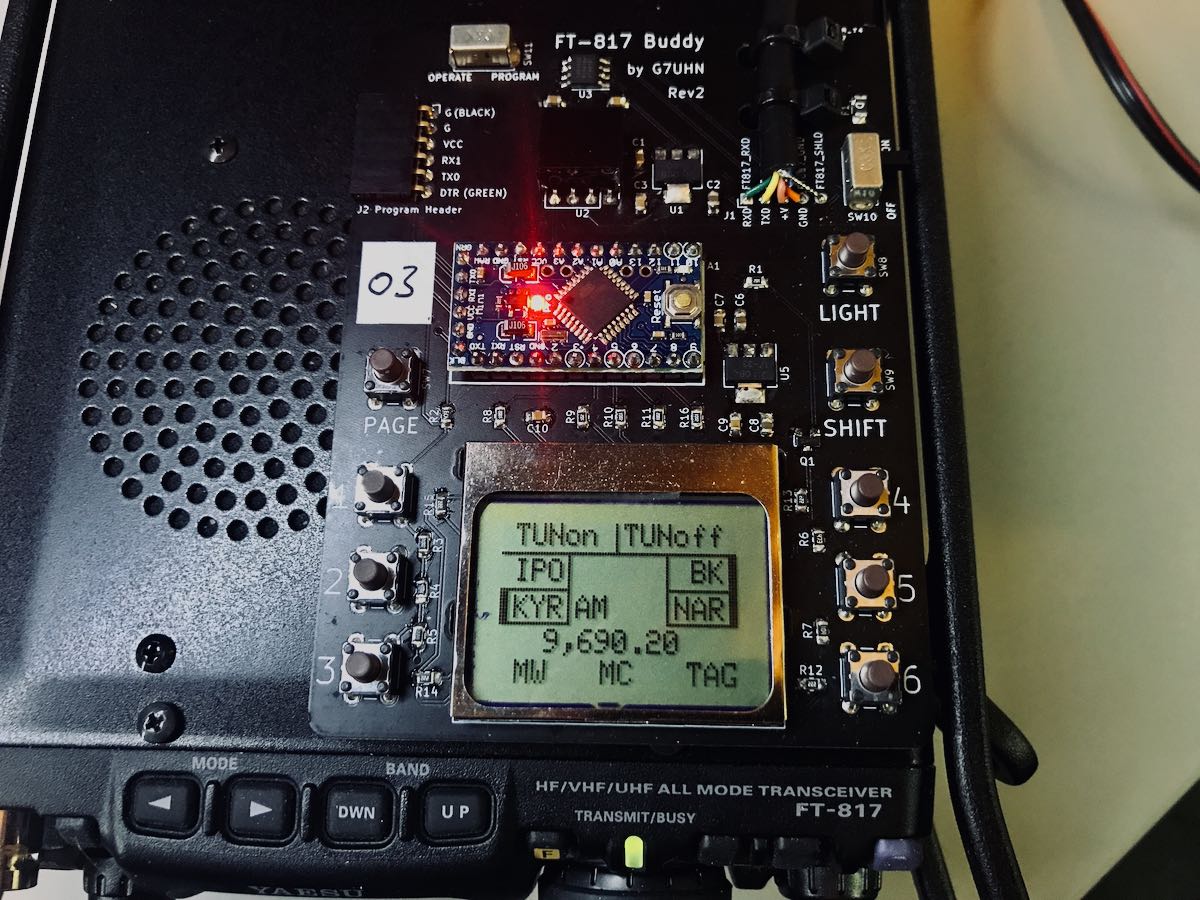
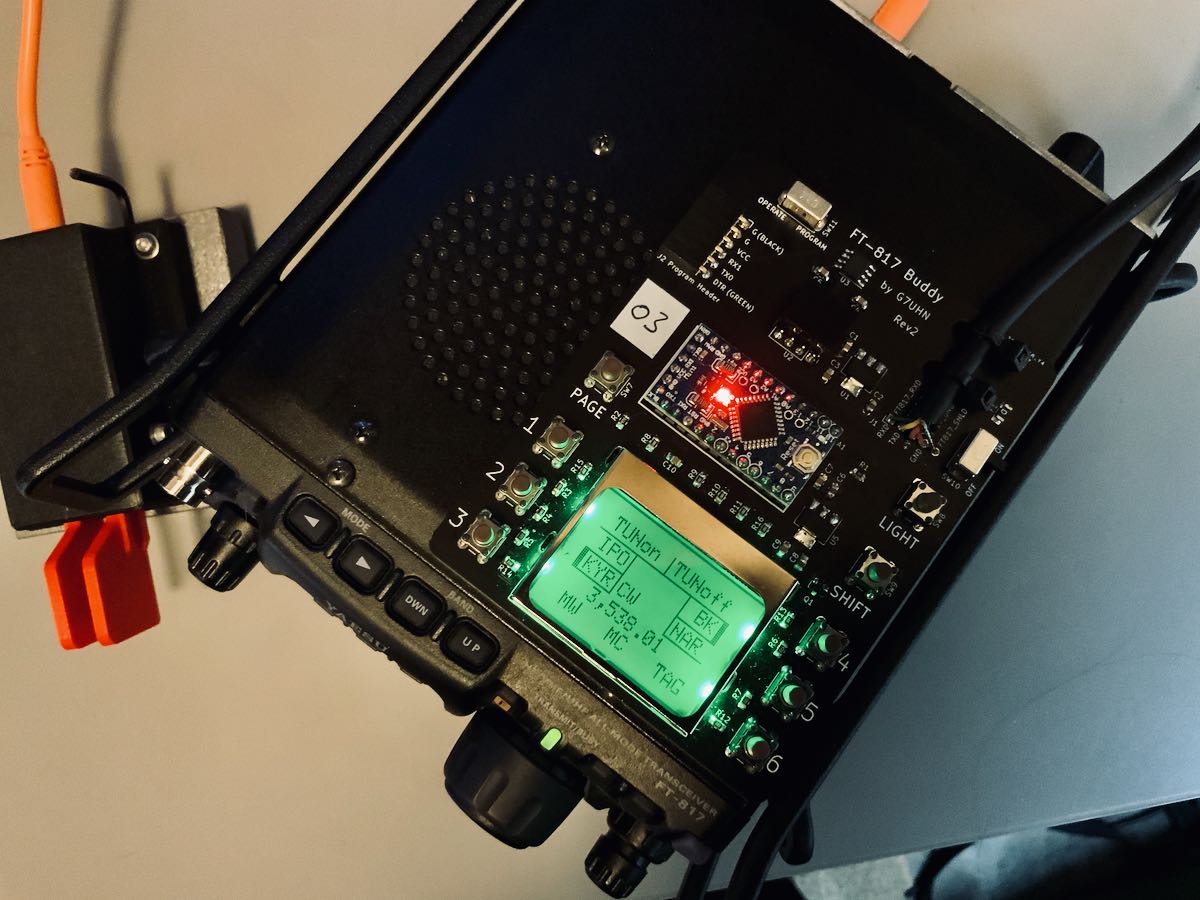
I do love how the board makes it easier to read the frequency and have direct access to important functions without digging through embedded menus. While there’s nothing stopping you from changing the program to suit you, Andy’s done a brilliant job with this since he’s an experienced FT-817 user.

The Nokia display is very well backlit, high contrast, and easy very to read.

“Resistance is futile”

I mentioned on Twitter that, with the backlight on, the FT-817 Buddy makes my ‘817ND look like it was recently assimilated by The Borg.

Don’t tell any Star Trek captains, but I’m good with that.

Andy has a rev3 board in the works and it sports something that will be a game-changer for me in the field: K1EL’s keyer chip!

For more information about the FT-817 Buddy, check out Andy’s website. At time of posting, it’s not available yet, but as Andy says, “it’s nearly there!”

Of course, we’ll keep you updated here as well. Many thanks to Andy for taking this project to the next level. No doubt a lot of FT-817 users will benefit from this brilliant project!

Spread the radio love

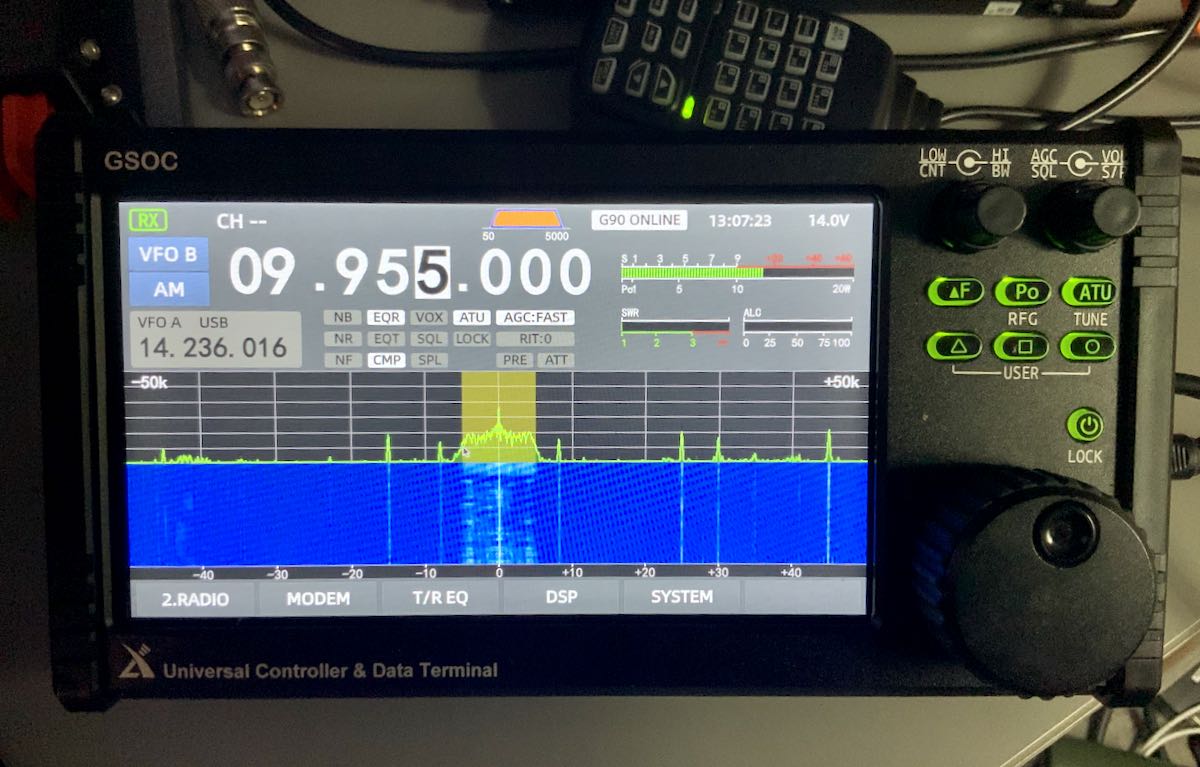
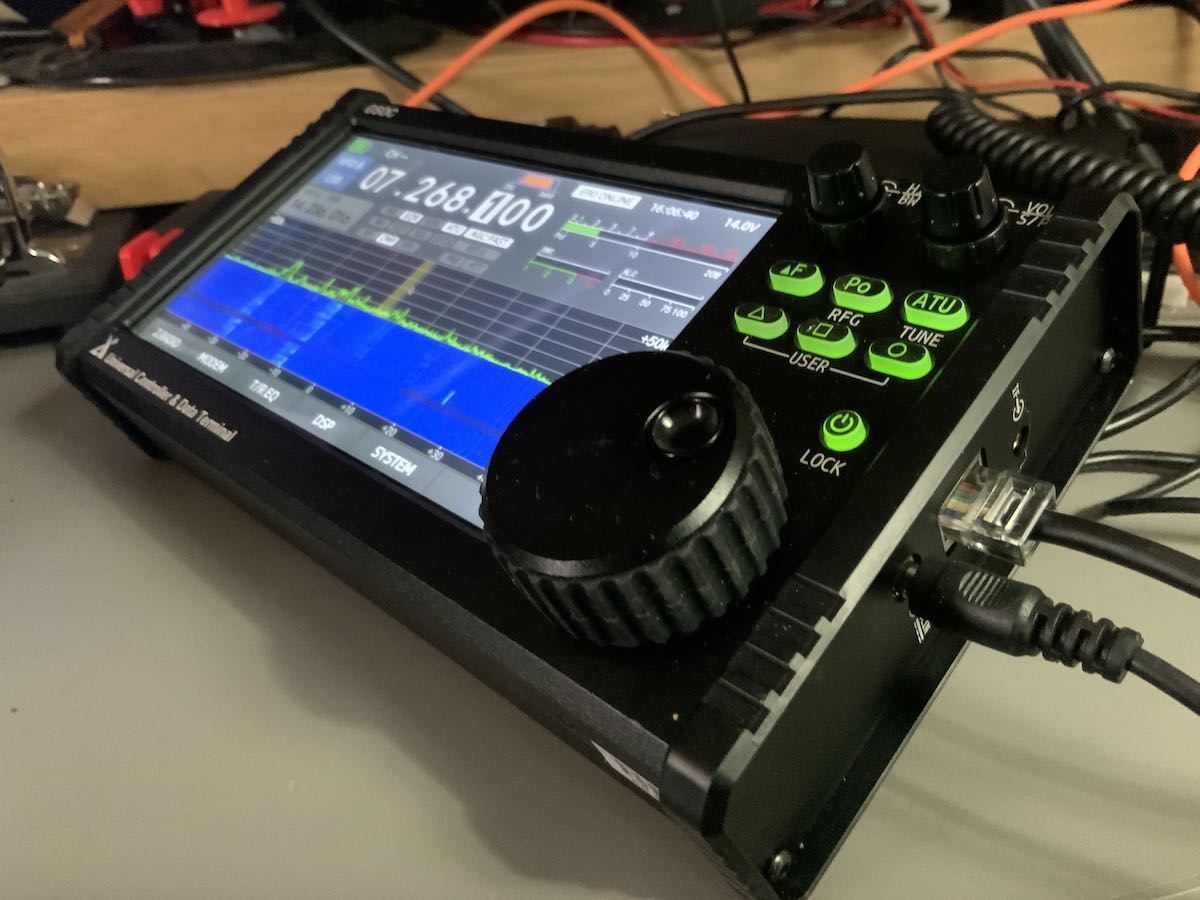
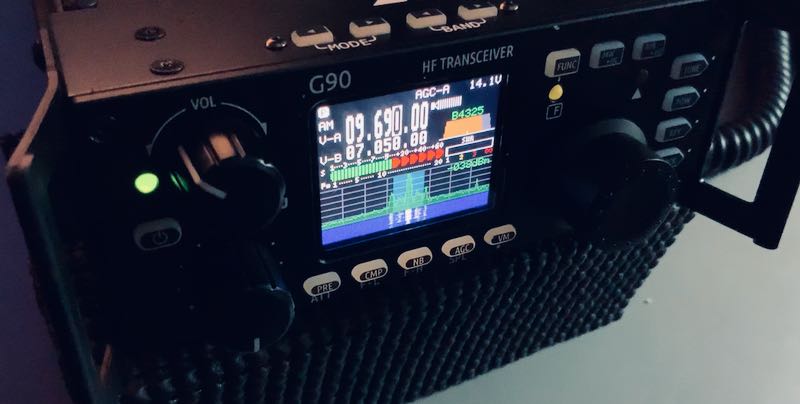
Using the new Xiegu GSOC and G90 transceiver combo for shortwave broadcast listening–?

Listening to Radio Prague via WRMI with the Xiegu GSOC

Many thanks to SWLing Post contributor, Tim R, who writes:

Dear Thomas,

First of all thank you so much for the all of the energy you put into the SWLing Post. When crazy things are happening in the world it’s a very welcome sanctuary! Sending you some coffee money.

I plan to become a ham radio operator next year. Bought the book last week and once I finish a large project for work, I’m on it. Of course, the Tech license will only give me limited exposure to HF, but I’m already plotting an HF radio purchase because I can’t WAIT do do some SWLing with it. Up to this point, I’ve only owned portable radios and never really have used external antennas other than some cheap wire.

My question…

I’ve been considering grabbing a Xiegu G90 because it seems to be a nice comprehensive beginner’s HF rig and is very affordable. I read your review and understand your caveat that there’s no way to completely disengage the transmit so that it can’t be accidently hit if connected to an RX only antenna. I’m not worried about that because I’m going to hang a G5RV wire antenna and use it both for TX and RX. No problem if RF is accidently sent through it.

Of course, there’s a lot of buzz in the Xiegu community about the new GSOC controller. I had not planned to exceed $600 for my radio purchase, but I love the idea of the controller. But when I add $550 for the controller and $450 for the radio, all the sudden I’m at $1,000.

After some deep soul-searching (and let’s be frank here, a blessing from my wife and CFO) I’ve decided to raise my budget to $1,000.

All of this to ask, if you had $1,000, would you buy the G90 and GSOC controller, or would you get something else keeping in mind I want to use this as much for shortwave listening as for future ham radio work?

Any advice would be appreciated.

-Tim

Thanks for your question, Tim! And thanks for giving me a complete picture of your budget/radio requirements and the antenna you plan to use.

I’ll try to answer your question here, but understand this is more what I would do if I were in your shoes. This is a pretty simple question, but not simple to answer because there are so many options on the market.

Xiegu GSOC and G90 combo option

Keeping in mind, I feel like the GSOC is a work in progress at the moment and not fully developed–check out my initial review. Once the next firmware update is available it could certainly solve a number of small issues I found with the unit. It works, but it’s not a refined product yet.

It’s ironic, actually. When I received your message this morning, Tim, I was SWLing with the GSOC and G90–listening to Radio Prague on WRMI. In the end, though, the GSOC is primarily an enhanced interface for the G90. While it does add some extra functionality (and should, over time, add much more) it doesn’t really change the performance characteristics of the G90. I’d check out my G90 review for more info about performance.

Would I purchase the G90/GSOC combo if I were in your shoes? Again, it’s early days, so I don’t feel comfortable making a recommendation call yet. The G90 is, without question, a great value at $450 (often even less) investment. I like it primarily as a field radio, though, and once you add the GSOC to the mix, it’s a little less portable because it’s two units with quite a few interconnect cables. Of course, you can swap the GSOC unit for the G90 control head at any time, but that involves attaching and re-attaching the control head each time (there’s no accessible serial port on the back of the G90, for example)

If you’re a huge fan of the G90, the GSOC should eventually be a worthy addition. At present, for your use as a new ham and for SWLing, I’d perhaps consider other options too.

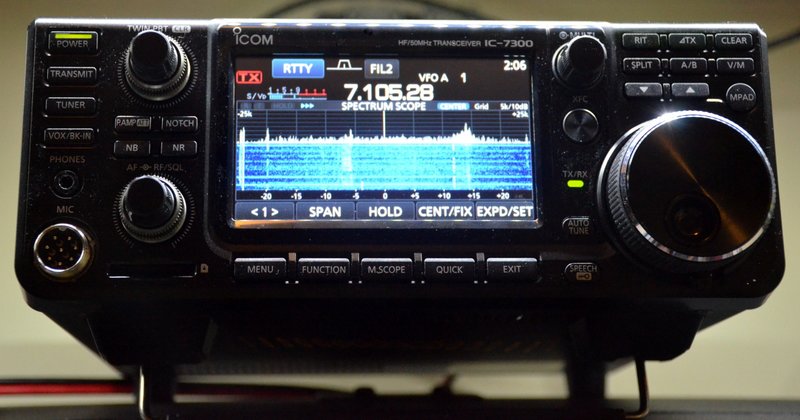
The Icom IC-7300

The Icom IC-7300 SDR transceiver

Since you’ve raised your budget to $1,000, I’d consider adding the Icom IC-7300 to your list. At present, via Universal Radio you can buy a new IC-7300 for a net price of $1039.95 after rebates. Sometimes, the price will go even lower although during the C-19 pandemic, I think that’s less likely to happen since supplies are lower than normal for many items.

The IC-7300 has better performance specs than the G90 and can output a full 100 watts if you like. The display is touch sensitive rather than capacitive like the GSOC. The display is also much smaller than that of the GSOC. The IC-7300 has a lower noise floor than the G90.

I think the IC-7300 is a great radio for SWLing, but the audio for broadcasts is sort of “flat.” You might check out this post where we did some audio comparisons. It does have native broadcast recording to an SD card, which I love. The GSOC should be adding this soon, too.

I would include the new Icom IC-705 as a recommendation here, too, but it’s $300 over your budget.

A PC-connected SDR and separate transceiver


This might be the option I’d take if I were in your shoes.

Get the 20 watt Xiegu G90 ($450) as planned or consider a radio like the 100 watt  Yaesu FT-891 ($640), Both of these radios are general coverage and would serve you well for SWLing and ham radio activities. I’d personally invest the bit extra and get the FT-891 since it would also give you 100 watts output and even has advanced features like memory keying.

We actually mentioned both radios in a similar post this year.

If you buy the pricier Yaesu FT-891, you’d still have $360 to invest in your shack!

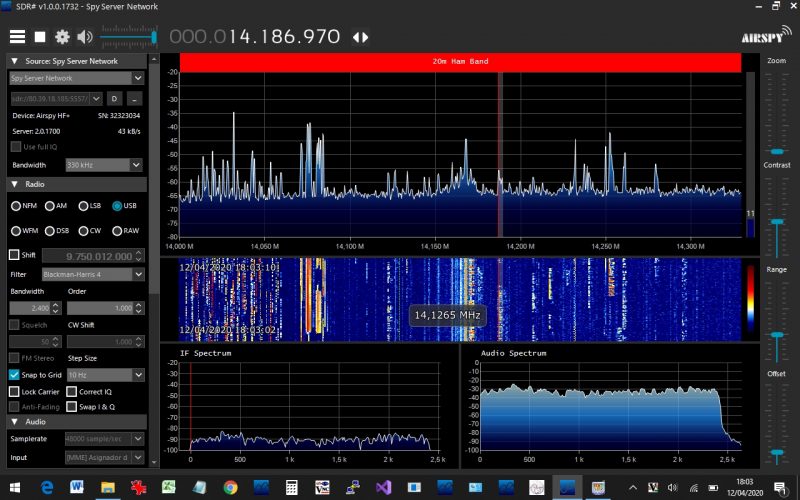
I’d then buy an Airspy HF+ Discovery ($170–my review here) or SDRplay RSPdx ($200–my review here) and get all of the benefits of a PC-connected SDR.

These SDRs would take your SWLing to the next level. They have uncompromised performance for the price.

Both companies continuously improve their products/applications based on customer feedback. Indeed, check out some of our recent posts about SDR# free upgrades. Mind blowing stuff–!!!

You could even use the SDR as a panadapter for your transceiver which would give you the ability to have a full-screen spectrum display on an external monitor at home.

More options?

Of course, these answers only scratch the surface. I haven’t even included used, late model gear in these recommendations.

I’d like to give you a firm recommendation about the GSOC and G90 combo, but I’m waiting to see how this next firmware upgrade goes–early days still.

Post readers: Please comment if you have even more options/suggestions for Tim. What works for you within a $1,000 budget.

Spread the radio love

Shortwave listening with the Yaesu FT-817, FT-817ND, or FT-818–?

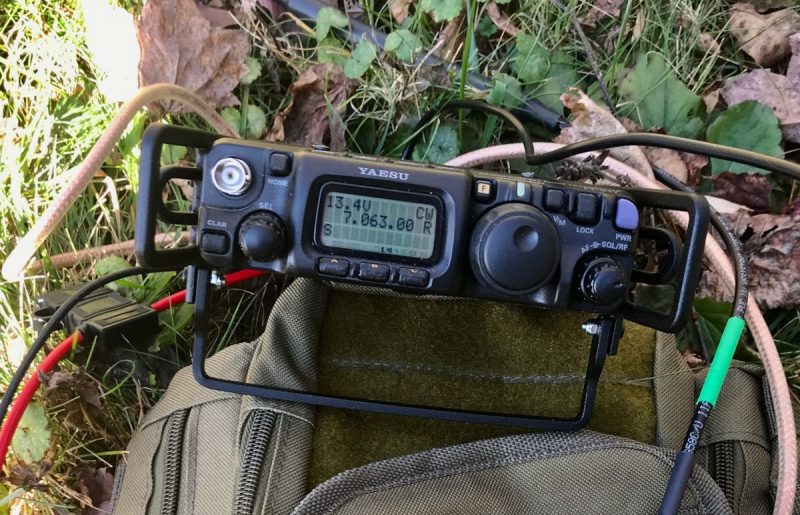
I recently re-acquired a Yaesu FT-817ND general coverage QRP transceiver. I wrote a post with some info about this radio and how it came into my possession over at QRPer.com, if you’re interested.

My question here: Have any folks in the SWLing Post community ever used the FT-817 or FT-818 series transceivers for serious shortwave broadcast listening?

I originally owned a first production run FT-817 back in 2000 when I lived in the UK. I did quite a bit of SWLing with it then, but I never compared it with other radios. I do recall feeling it was a very capable general coverage transceiver, though, and remember logging a number of broadcasters (although I can’t seem to find those logs these days). Of course, propagation was quite a bit better back then, too!

Please comment if you use or have used the FT-817/818 for shortwave listening!

Spread the radio love

The new Yaesu FTDX10: Yaesu’s latest hybrid SDR HF transceiver

I’ll admit it: I like what I see here.

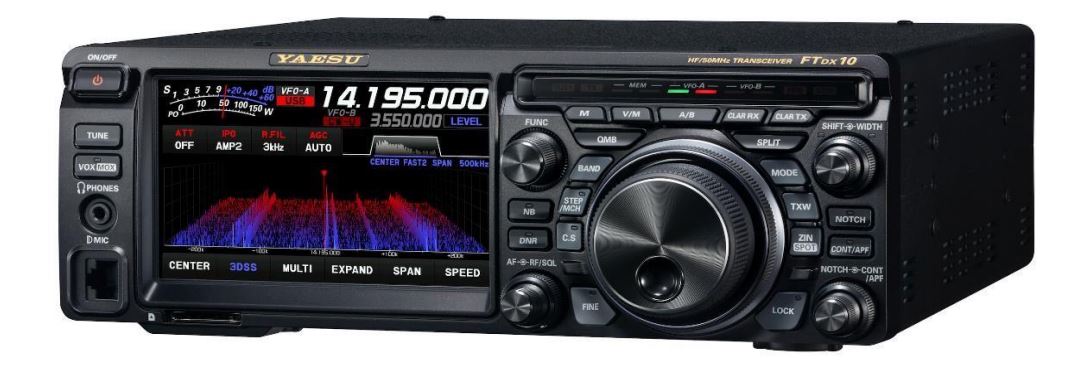
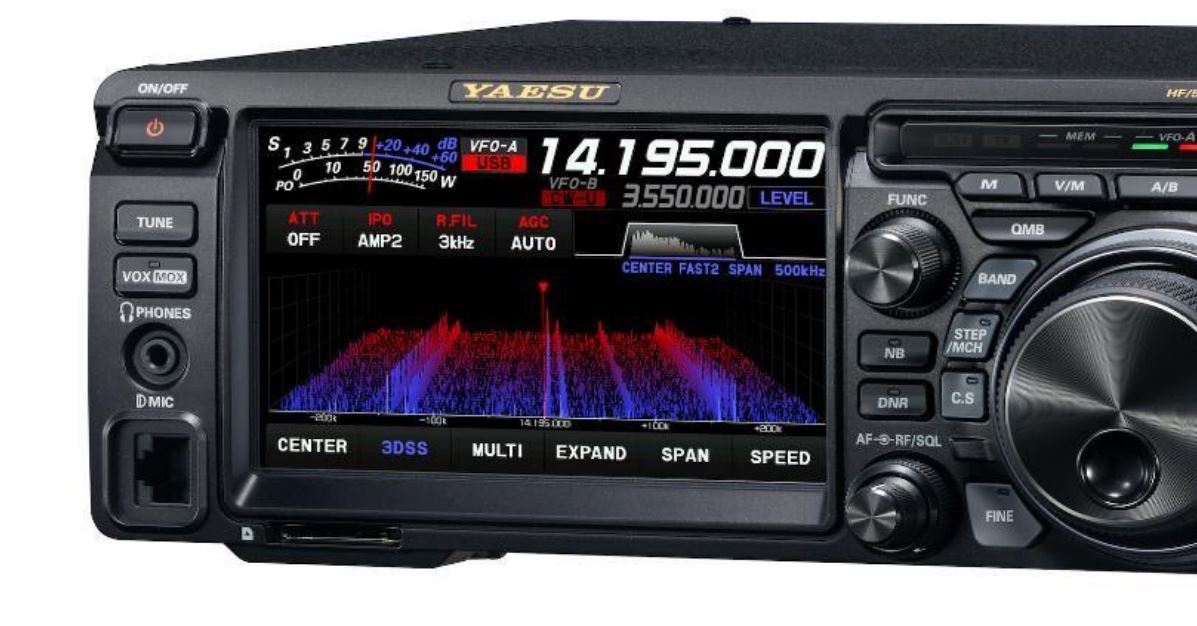
Yaesu has announced their latest compact 160-6 M transceiver: the FTDX10. Based on the specifications, it looks like it borrows heavily from the FTDX101 series, which is a very good thing.

At 5″, the color TFT display is larger than that of the IC-7300 & IC-705. The specifications appear to be benchmark with excellent dynamic range (3rd IMDR quoted at “109 dB or more”).

We’ll post more details as updates become available. Wimo has listed a pre-order price of €1,550.00 w/out shipping or VAT.

Here’s the full press release via WIMO:


We are pleased to introduce the FTDX10, a new long-waiting compact HF/50MHz 100W SDR Transceiver!

Hybrid SDR Configuration
Like the FTDX101 series, the new FTDX10 utilizes the Yaesu Hybrid SDR configuration – Narrow Band SDR and Direct Sampling SDR. The Narrow band SDR receiver emphasizes excellent receiver performance, while the Direct Sampling SDR provides a Digital Processing Real-Time Spectrum Scope.

Narrow Band SDR with 3 types of Roofing Filters and Phenomenal Multi-signal receiving Characteristics
Like the FTDX101 series, the Down Conversion type receiver configuration with the first IF at 9MHz has been adopted. It makes it possible to incorporate excellent narrow bandwidth crystal roofing filters that have the desired sharp “cliff edge” shape factor. Thanks to the Narrow Band SDR with the latest circuit configuration including 500Hz, 3kHz and 12kHz roofing filters and lownoise oscillator, the RMDR (Reciprocal Mixing Dynamic Range) reaches 116dB or more, the close-in BDR (Blocking Dynamic Range) reaches 141dB or more, and 3rd IMDR (third-order Intermodulation Dynamic Range) reaches 109dB or more, in the
14MHz band at 2kHz separation.

250MHz HRDDS (High Resolution Direct Digital Synthesizer) affords Quiet and Clear Reception
The local circuit of the new FTDX10 uses 250MHz HRDDS method same as the FTDX101 series. Thanks to its characteristics that improve the C/N (carrier to noise) ratio and the careful selection of components in the design, the phase noise characteristic of the local signal achieves an excellent value of -145dB or less in 14MHz at 2kHz separation.

3DSS (3-Dimensional Spectrum Stream) on the 5-inch Full-Color TFT Display with Touch-Panel Functionality
The 5-inch Full-Color panel shows the 3DSS display. By touching the frequency display, the numeric keypad is displayed, and the active band and frequency adjustment can be set by direct input. Frequency setting and adjustment can also be performed by turning the MAIN dial or touching the scope display. Similar to the FTDX101 series, the MULTI display, RX operation status display, Center, FIX and Cursor modes are available at WiMo.

Front Panel Designed for Superior Operating Efficiency
MPVD (Multi-Purpose VFO Outer Dial), is a large multi-purpose ring around the outside of the VFO dial that enables control of
Clarifier, C/S (custom selection function) and recall of memory channels.

Remote Operation with optional LAN unit (SCU-LAN10, see WiMo Website)
Remote operation of the transceiver is possible with the optional SCU-LAN10 and SCU-LAN10 Network Remote Control Software. In addition to controlling the transceiver basic operations, the versatile scope displays enable sophisticated operation such as monitoring the band conditions on a large display at a location away from the ham shack by connection to a home LAN network.

The features of the new FTDX10 include:
– 15 separate band pass filters
– Effective QRM rejection with the IF DSP (IF SHIFT/WIDTH, IF NOTCH DNF, DNR, COUNTOUR)
– High-quality and super stable final amplifier utilizing the new push-pull MOSFET RD70HUP2
– Aluminum Heat Sink with 80mm low-noise axial flow cooling fan
– High Speed Automatic Antenna Tuner with a large capacity 100-channel memory – RF & AF Transmit Monitor
– Microphone Amplifier with Three-stage parametric Equalizer (SSB/ AM mode)
– QMB (Quick Memory Bank)
– Band Stack Function
– Optional speaker – SP-30 designed for the new FTDX10
– Optional roofing filter (300Hz) – XF-130CN available

The new FTDX10 will be available in early December 2020 at WiMo.

Radio Features:

– HF/50MHz band 100W Transceiver
– Hybrid SDR configuration utilizing a Narrow Bandwidth SDR, and a Direct Sampling SDR
– Narrow Band SDR enables Phenomenal Multi-signal Receiving characteristics (2kHz RMDR 116dB+, 2kHz BDR 141dB+, 2kHz 3rd IMDR 109dB+) – Down conversion,
9MHz IF Roofing Filters produce Excellent Shape Factor
– 250 MHz HRDDS (High Resolution Direct Digital Synthesizer) Ultra Low-Noise Local-Oscillator System
– 15 Separate Powerful Band Pass Filters (BPF)
– Effective QRM Rejection with IF DSP (IF SHIFT/WIDTH, IF NOTCH/DNF,CONTOUR,DNR, APF)
– High-quality and Super-Stable Final Amplifier utilizing the new push-pull MOSFET RD70HUP2
– 5-inch Full Color Touch Panel and 3DSS (3-Dimensional Spectrum Stream) Display
– MPVD (Multi-Purpose VFO Outer Dial) enables Outstanding Operating Performance
– Quick Memory Bank (QMB)
– Supports CW operation with multiple functions such as: CW zero-in, CW Auto zero-in, CW Reverse, CW decode, CW keying Signal form Shaping by FPGA and others
– RTTY (FSK)/ PSK Encode/Decode Function
– Other practical features such as Optional RF Gain Selection by IPO. Automatic Gain Control, Quick Split Function – SD Card Slot
– Remote Operation via Internet with optional LAN-Unit (SCU-LAN10 see WiMo website)

Supplied Accessories:

Microphone SSM-75E
DC Power Cable w/Fuse
Spare Fuse
6.3mm 3-contact Plug
Operating Manual

Specifications:

Frequency Ranges:

RX

  • 30kHz – 75MHz (Operating)
  • 1.8MHz – 29.699999MHz (Specified performance, Amateur bands only)*
  • *5.1675/5.332/5.348/5.3585/5.373/5.405MHz (US only), 5.351500-5.366500MHz (EU only)/ 5.25000-5.406500 (UK
    only)
  • 50MHz – 53.999999MHz (Specified performance, Amateur bands only)
  • 70MHz – 70.499999MHz (Specifed performance, UK Amateur bands version only)

TX

  • 1.8 – 54MHz (Amateur bands only)

Modulation Type: A1A(CW), A3E(AM), J3E(LSB,USB), F3E(FM),F1B(RTTY),G1B(PSK)
Frequency Stability: ±0.5ppm (32°F to +122°F/0? to +50?, after 1min)
Supply Voltage: DC 13.8V ±15%
Circuit Type: Double-Conversion Superheterodyne
Intermediate Frequencies 1st IF 9.005MHz; 2nd IF 24kHz
RF Power Output: 5W – 100W (CW, LSB, USB, FM, RTTY, PKT); 5W -25W (AM)
Case Size(W x H x D): 10.47 x 3.58 x 10.35(inch) / 266 x 91 x 263 (mm) *Protruding parts not included at WIMo
Weight (Approx.): 13lbs/ 5.9kg

Spread the radio love