Yesterday, I received a package in the mail containing the new Airspy HF+ software defined radio receiver.
It came as a bit of a surprise.
I’ve been busy lately with humanitarian work, the radio spectrum archive, product evaluations and travels–not to mention an active family life. I had completely forgotten that about a month ago, I received a message from Airspy telling me that they had dispatched their latest SDR to me for evaluation.
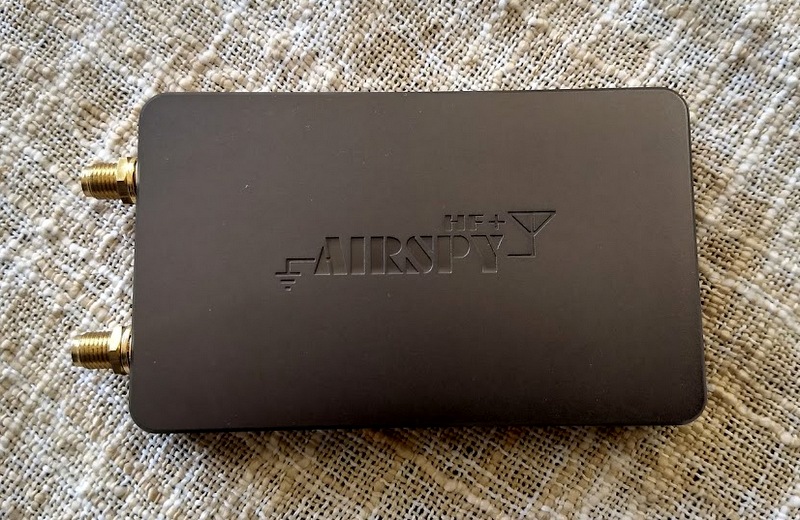
This morning, I unpacked the box to find that the HF+ is a very compact, relatively dense little SDR in a metal alloy case/enclosure. I’m simply floored by the size. The case feels incredibly durable and of excellent quality.
The Airspy HF+ under my business card
In terms of footprint, dimensions are nearly identical to a business card. It’s about as thick as the typical USB memory stick.
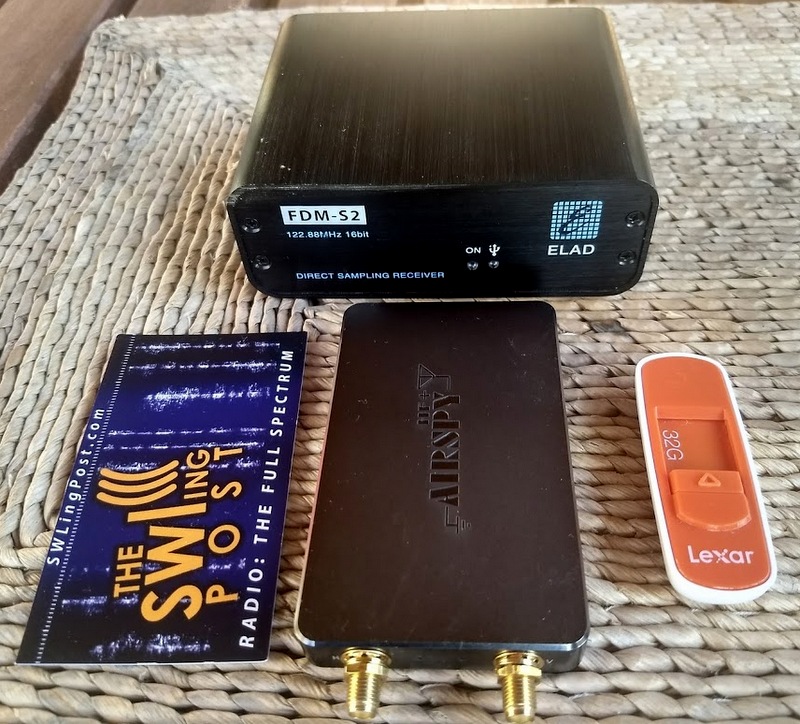
The HF+ is so thin and compact compared with the Elad FDM-S2 (which is quite a compact SDR!)
Other than my RTL-SDR dongle, it’s by far the smallest SDR I’ve ever tested.
Though compact, it sports two SMA antenna inputs: one for HF, one for VHF.
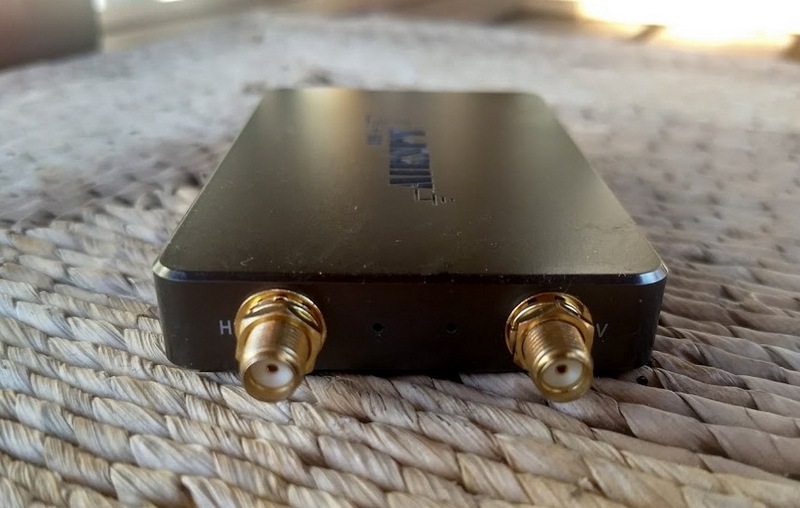
The HF port is labeled as “H” and the VHF port as “V”
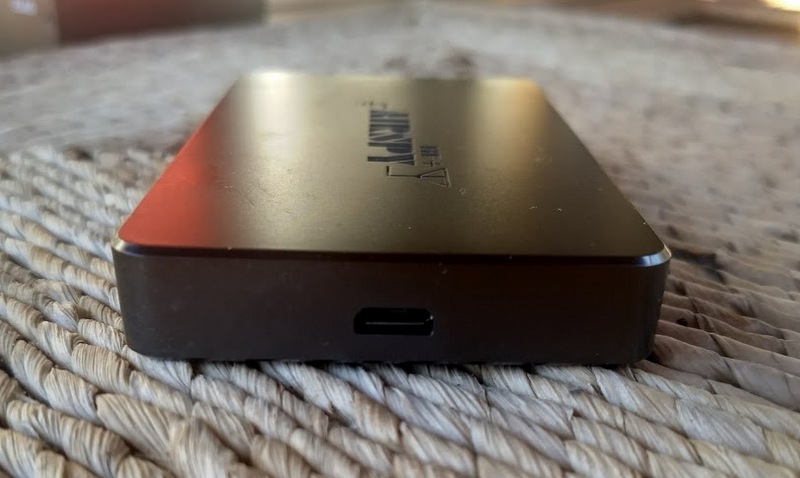
The Airspy HF+ uses a common micro USB for both data and power
The HF+ is the first AirSpy product I’ve ever put on the air.
I read the HF+ product description this morning while downloading SDR Sharp–it claims the HF+ is “plug and play”.
Turns out, that is no exaggeration.
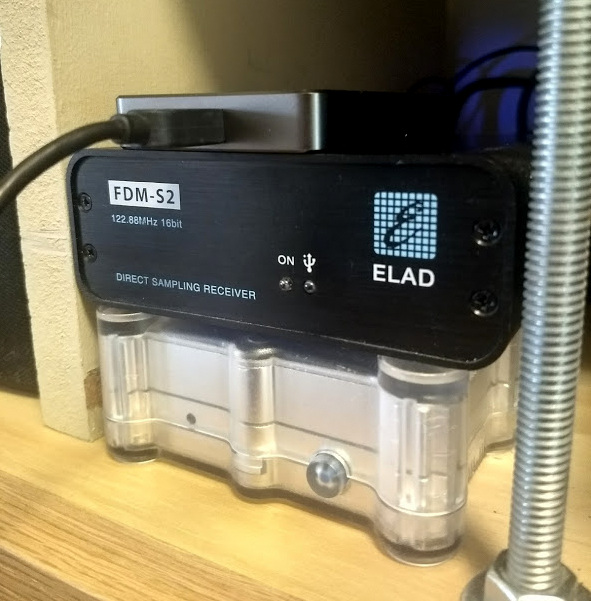
The HF+ on top of the Elad FDM-S2 and WinRadio Excalibur
In fact, the entire SDR Sharp package downloaded in seconds, installed in seconds and the only thing I had to do after opening the SDR Sharp application was select “AirSpy HF+” from the product drop down menu.
I started the application and *boom* signals all over the place!
SDR applications, in general, have become so much easier to install over the years but I believe SDR Sharp may be the quickest install I’ve ever experienced. About as easy and lightweight as the WinRadio Excalibur application. True plug and play!
I’ve had no time to properly evaluate performance–I just put this little SDR on the air.

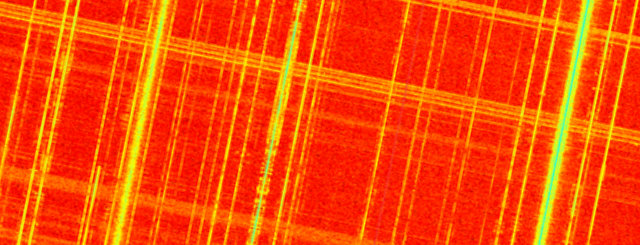
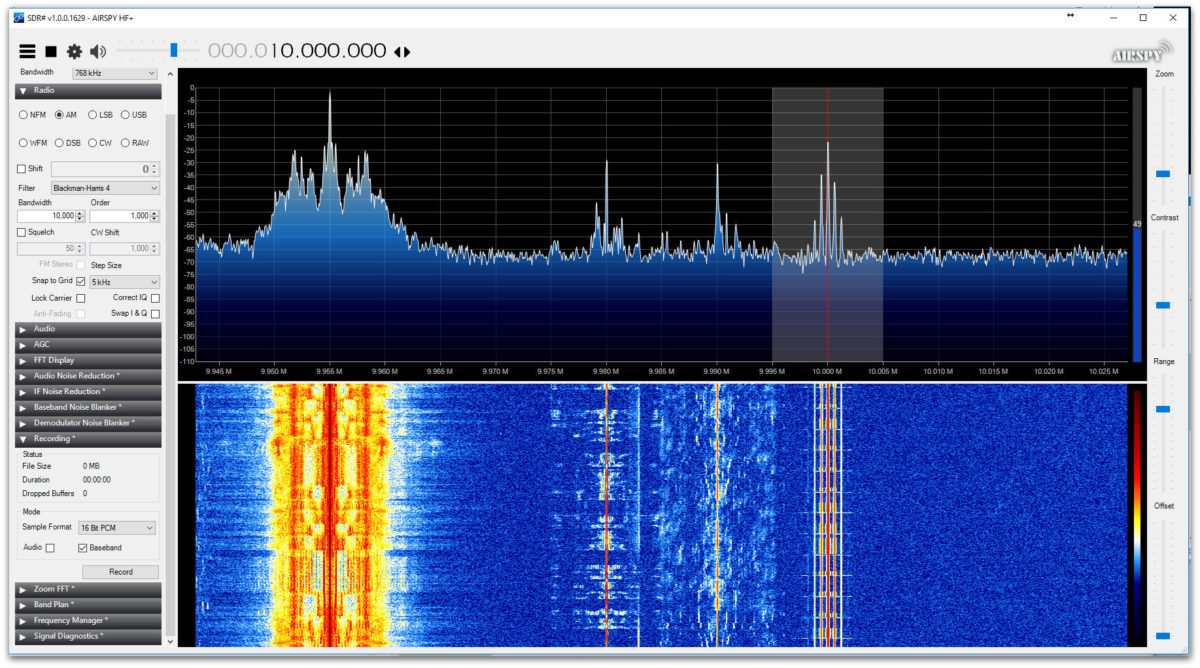
Fortunately, propagation is cooperating this morning–I’m hearing both WWV Fort Collins and WWV Hawaii on 10 MHz. I’m really enjoying playing with the Airspy HF+ and re-familiarizing myself with SDR#. I had forgotten how responsive and intuitive the interface is–great user design.
My first impression? I’m impressed. More to come…
Click here to read about the HF+ on the Airspy website.