This morning, I noticed that the Swiss radio and Morse key manufacturer, Stampfl, is selling some of their products on eBay.
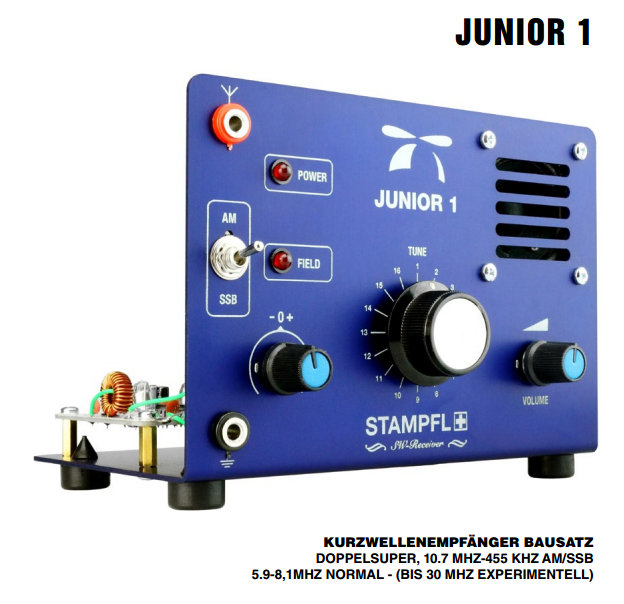
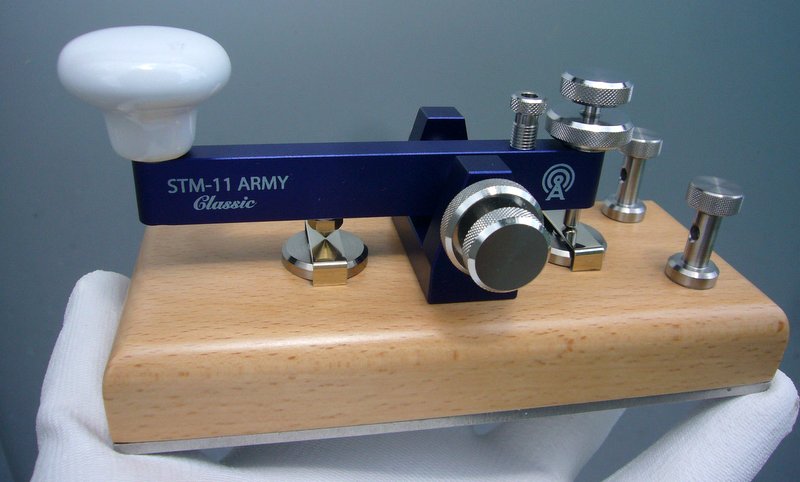
In particular, they’ve listed the Junior 1 shortwave radio receiver kit (above) and the STM-11 Classic Morse Code straight key (below).
Stampfl was founded by Heinz Stampfl (HB9KOC)–I’ve been following his work the past few years, especially fascinated with his SDR designs which are (sadly) only experimental and have never been put into production.
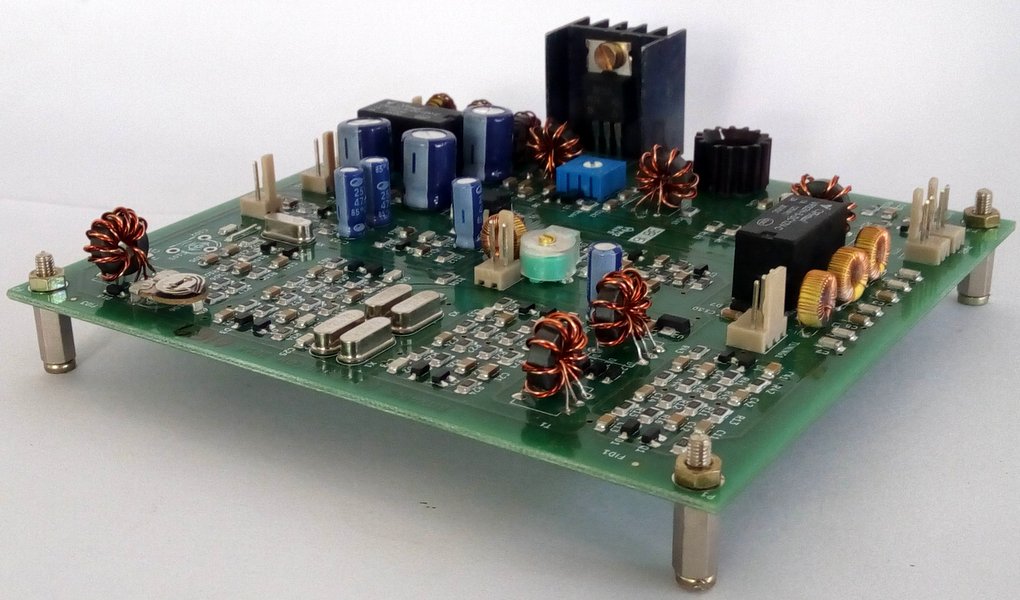
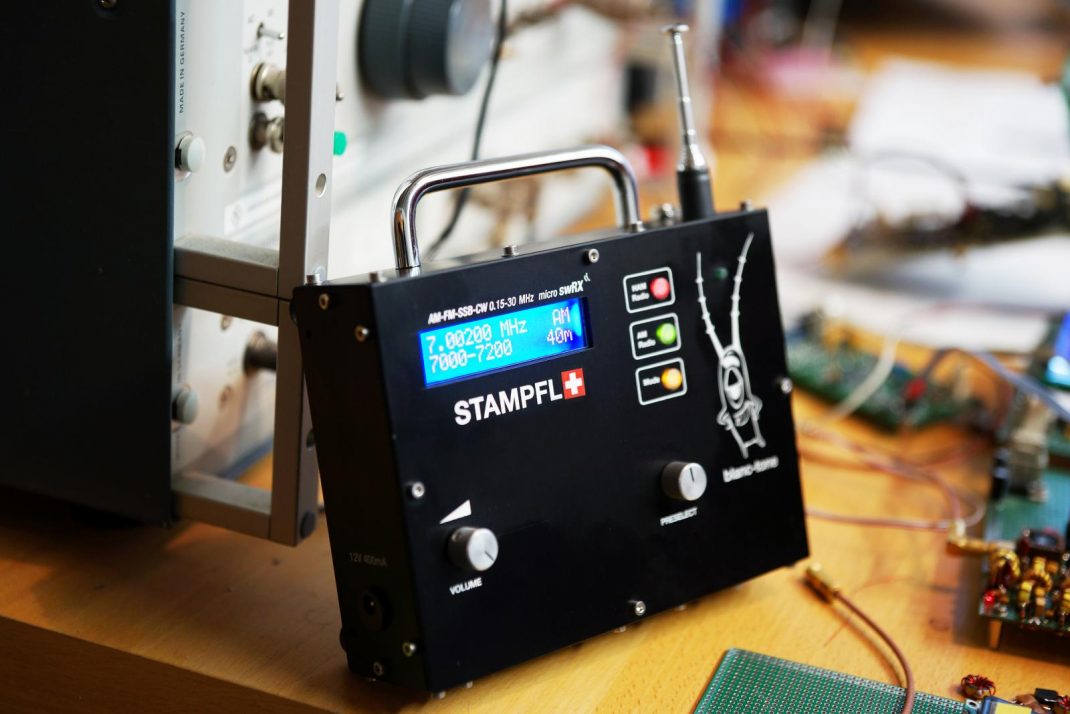
I’m particularly fascinated with the MICRO SWRX:
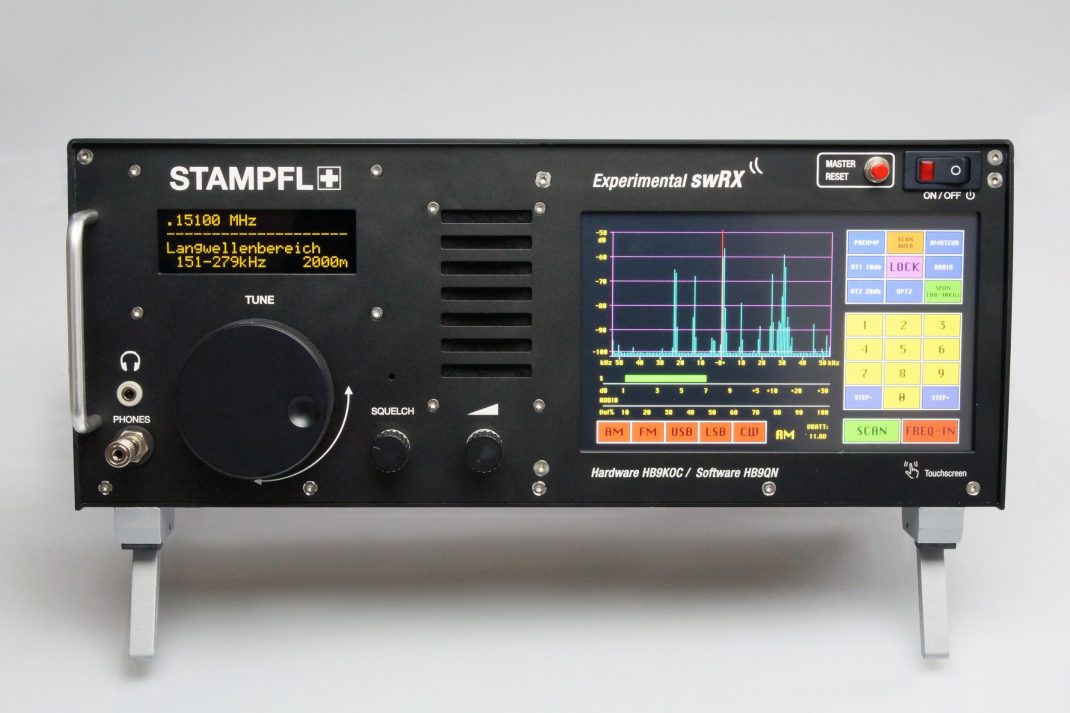
And the EXPERIMENTAL SWRX:
I’ve written Heinz more than once encouraging him to put these on the market. Of course, it’s an easy request coming from a consumer who doesn’t have to front the production costs and inherent overhead!
Heinz, if you’re reading this, why not do a Kickstarter campaign for one of your fine SDR designs?!
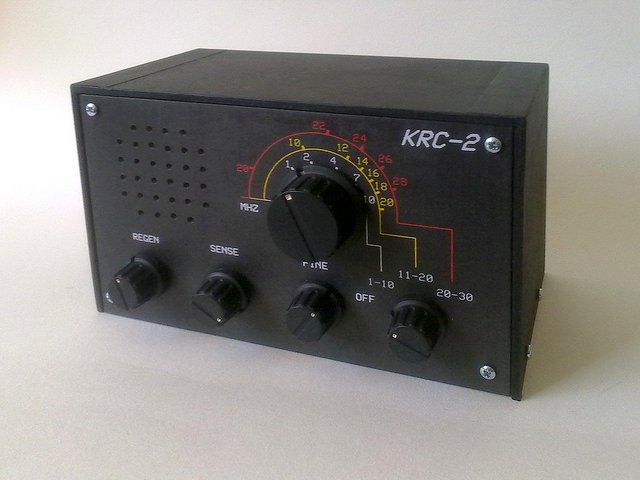
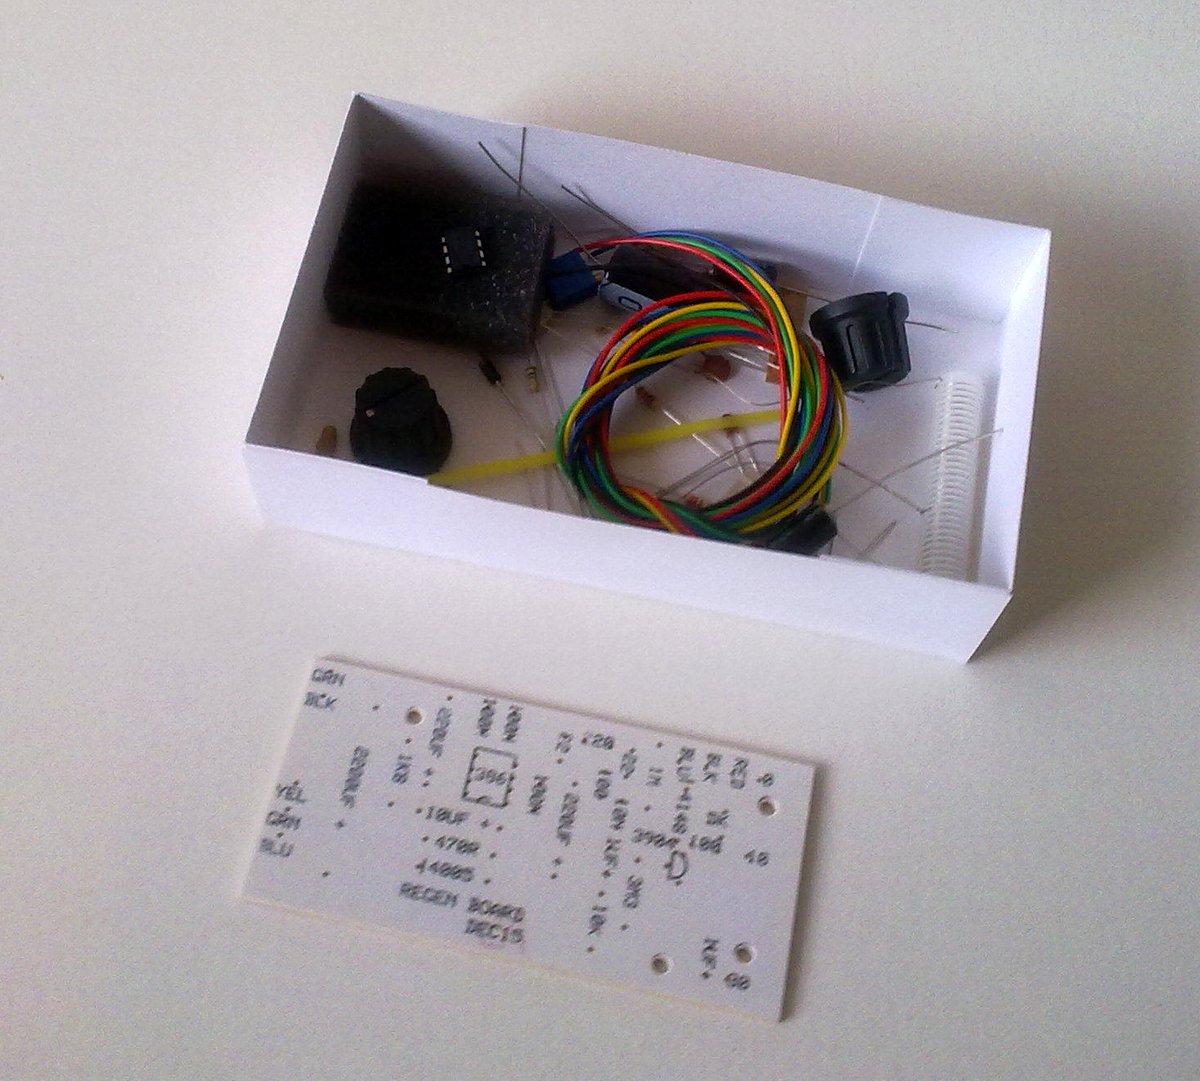
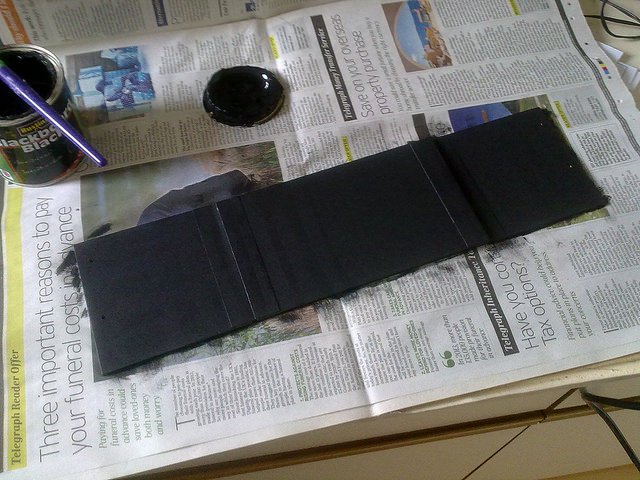
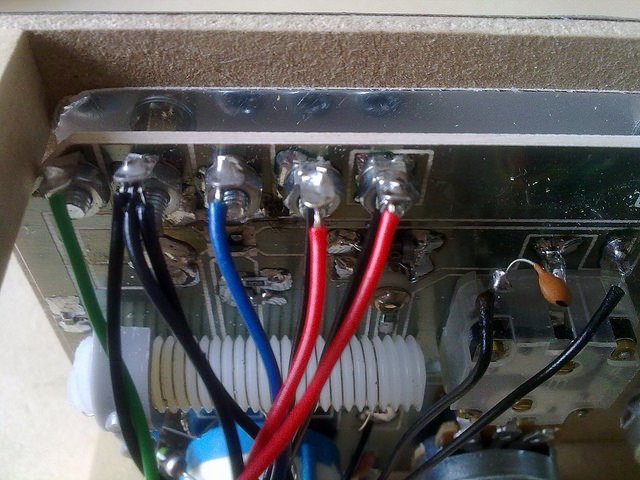
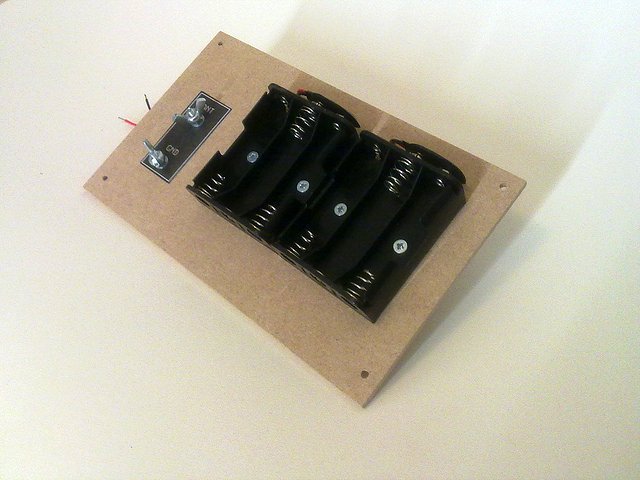
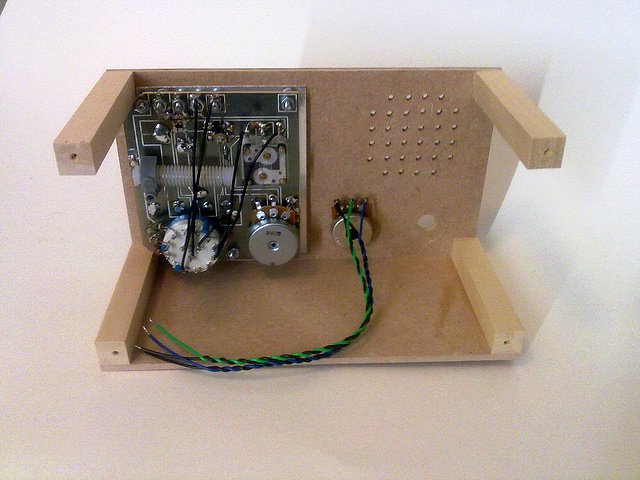
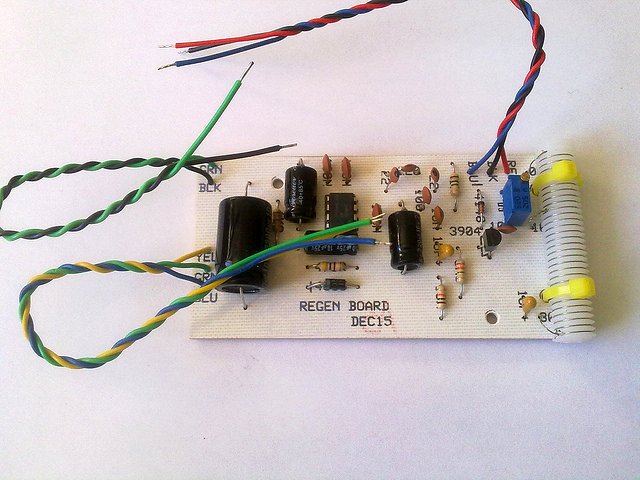
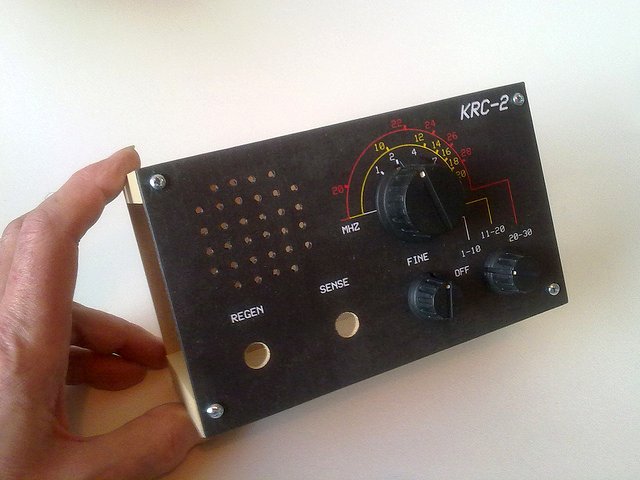
The Junior 1 receiver kit
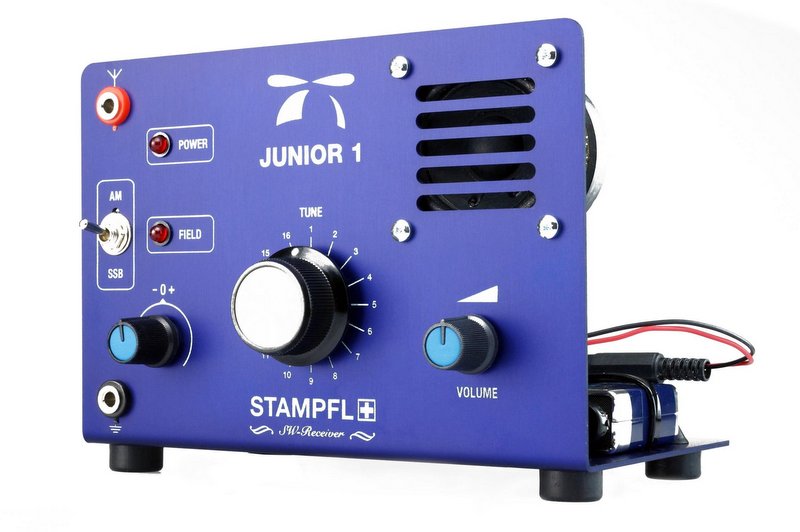
The Stampfl Junior 1 shortwave receiver kit looks like a lot of fun not only to operate, but also to build and I’m sorely tempted to purchase one!
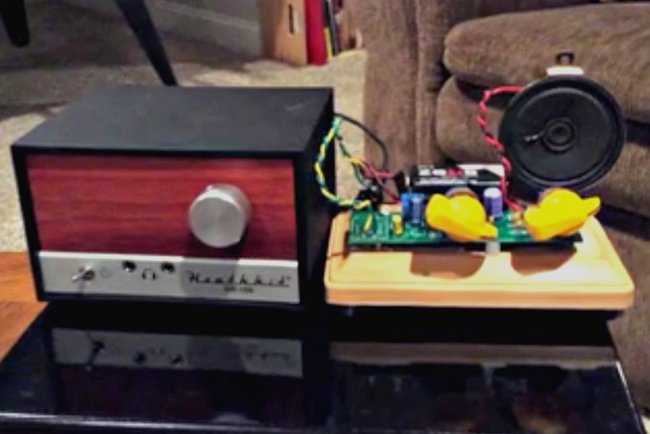
Here’s a video of the Junior 1 in action:
Click here to view on YouTube.
Click here to download the Junior 1 manual.
The Junior 1 is listed as an auction on eBay with a starting bid of $50 with $25 Economy Shipping to the US. The BuyItNow price is $70.
I think $95 US shipped is a fair price for what looks like a fascinating little receiver kit designed by an (obviously) talented engineer.
Post readers: Have any of you built the Junior 1 or purchased any of Stampfl’s Morse Code keys? Please comment!