Tag Archives: Heathkit

Radio Waves: Arecibo Failure Caught on Video, Heathkit Employee Reminisces, Radio at 100 Series, and FCC to Require Email on Applications

Arecibo Observatory’s 305-meter telescope in November 2020 (Credit: University of Central Florida)

Radio Waves:  Stories Making Waves in the World of Radio

Because I keep my ear to the waves, as well as receive many tips from others who do the same, I find myself privy to radio-related stories that might interest SWLing Post readers.  To that end: Welcome to the SWLing Post’s Radio Waves, a collection of links to interesting stories making waves in the world of radio. Enjoy!

Many thanks to SWLing Post contributors Ned Wharton, Pete Eaton, Zack Schindler, and Dave Zantow for the following tips:


NSF releases footage from the moment Arecibo’s cables failed (ARS Technica)

Today, the National Science Foundation released video taken at the moment the Arecibo Radio Observatory’s cables failed, allowing its massive instrument platform to crash into the dish below. In describing the videos, the NSF also talked a bit about the monitoring program that had put the cameras in place, ideas it had been pursuing for stabilizing the structure pre-collapse, and prospects for building something new at the site.

A quick recap of the collapse: the Arecibo dish was designed to reflect incoming radio radiation to collectors that hung from a massive, 900-ton instrument package that was suspended above it. The suspension system was supported by three reinforced concrete towers that held cables that were anchored farther from the dish, looped over the towers, and then continued on to the platform itself. Failure of these cables eventually led to the platform dropping into the dish below it.

[…]The video of that collapse comes from a monitoring system put in place in the wake of the cable failures. Due to the danger of further cable breaks, the NSF had instituted no-go zones around each of the three towers that supported the cables. With no personnel allowed to get close enough to inspect the cables, the staff started monitoring them using daily drone flights, one of which was in progress during the collapse. In addition, a video camera was installed on top of the visitor’s center, which had a clear view of the instrument platform and one of the support towers.

Continue reading full article.

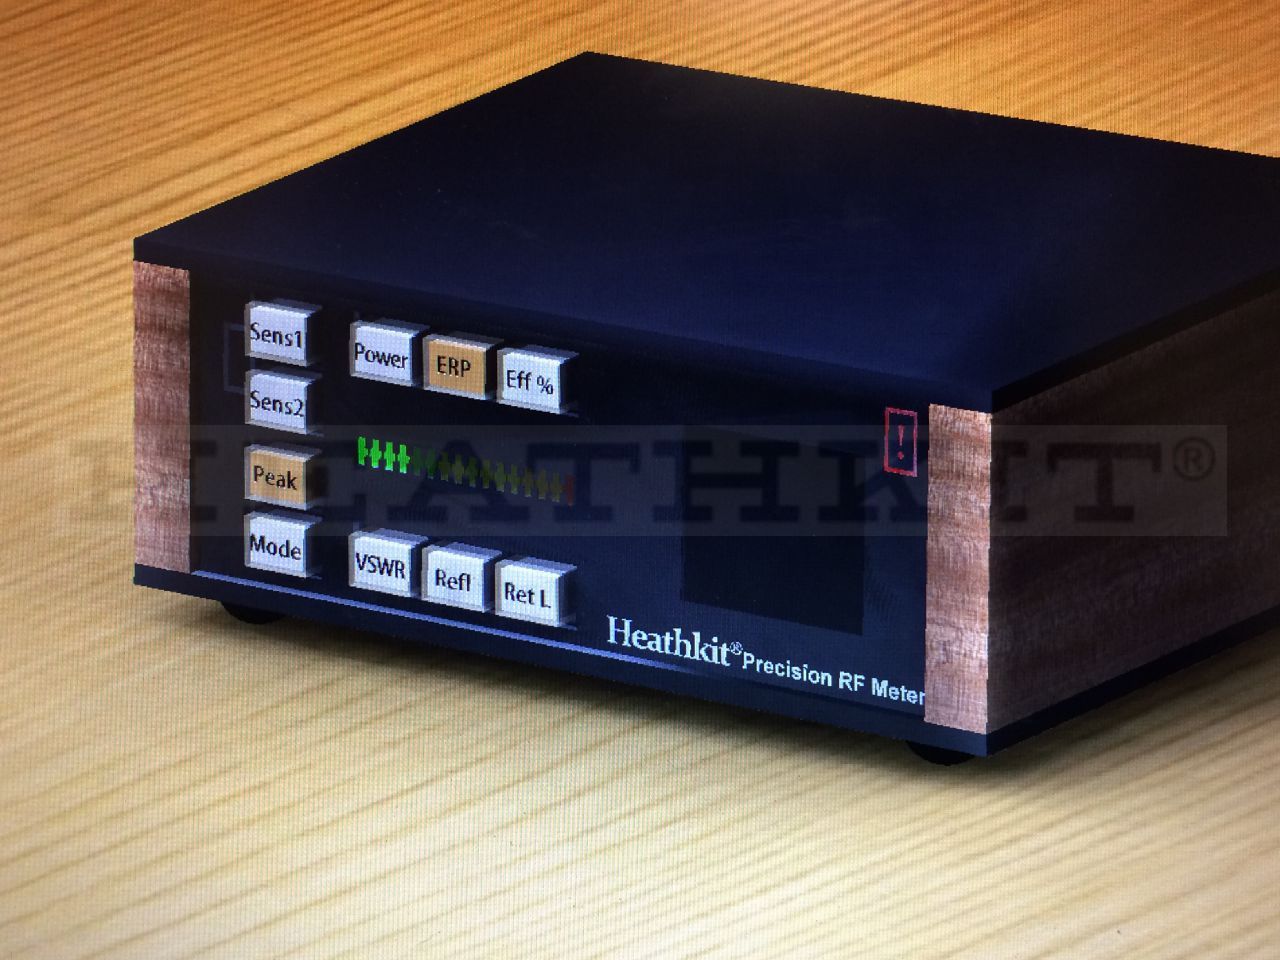
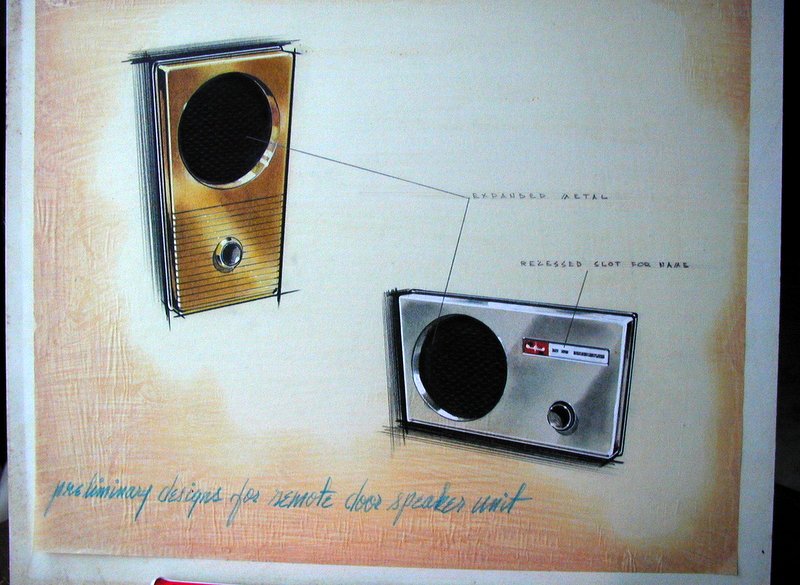
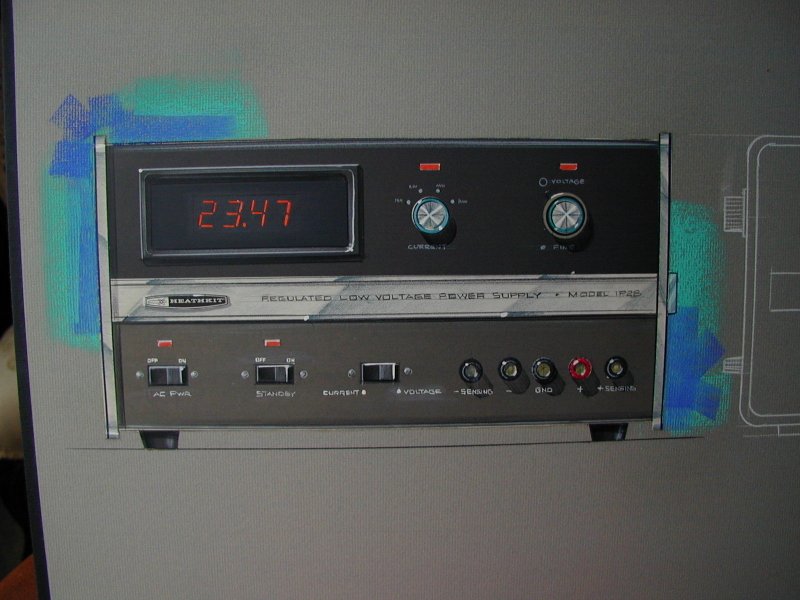
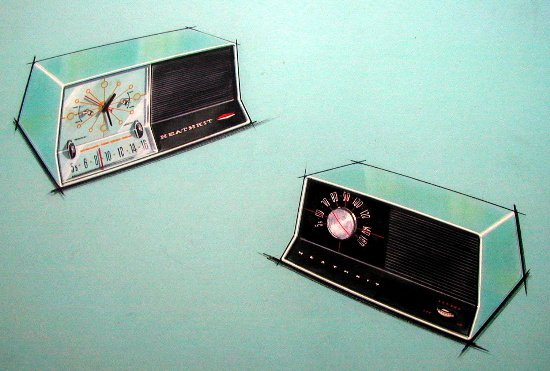
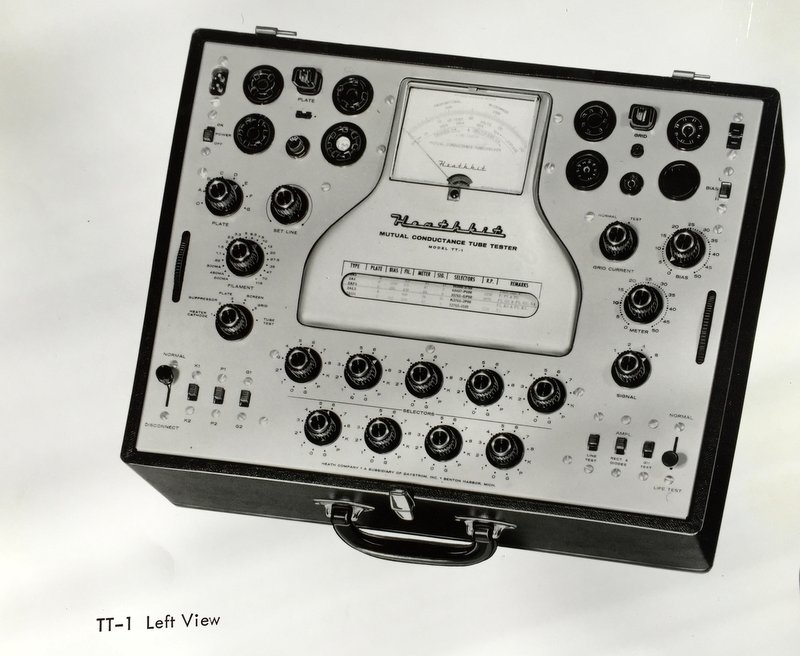
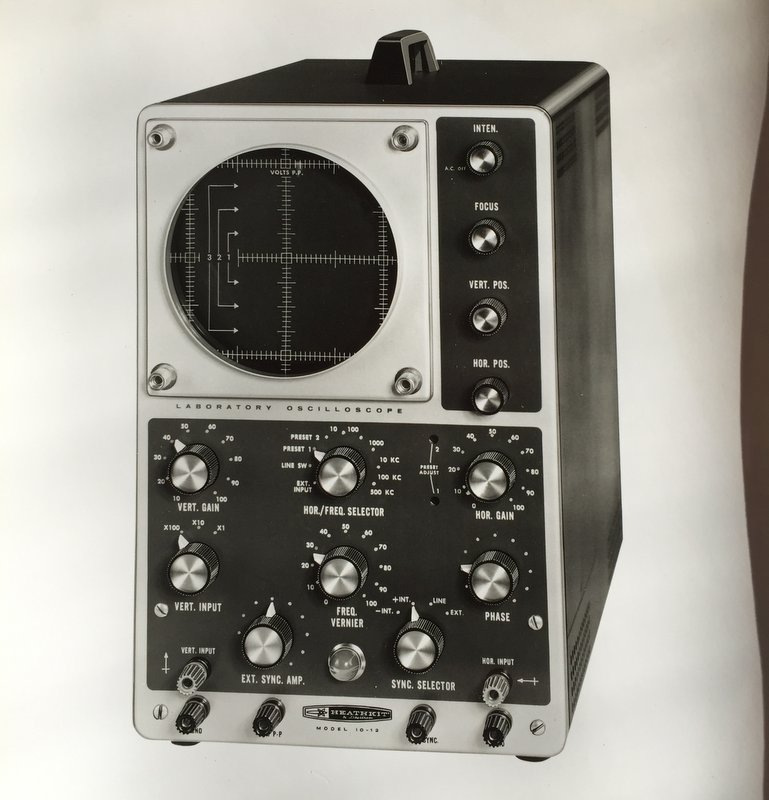
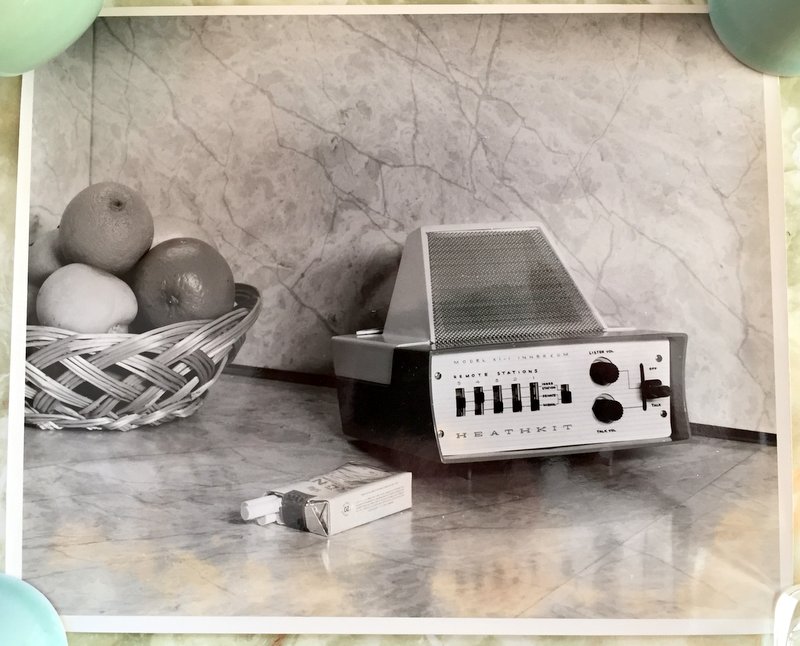
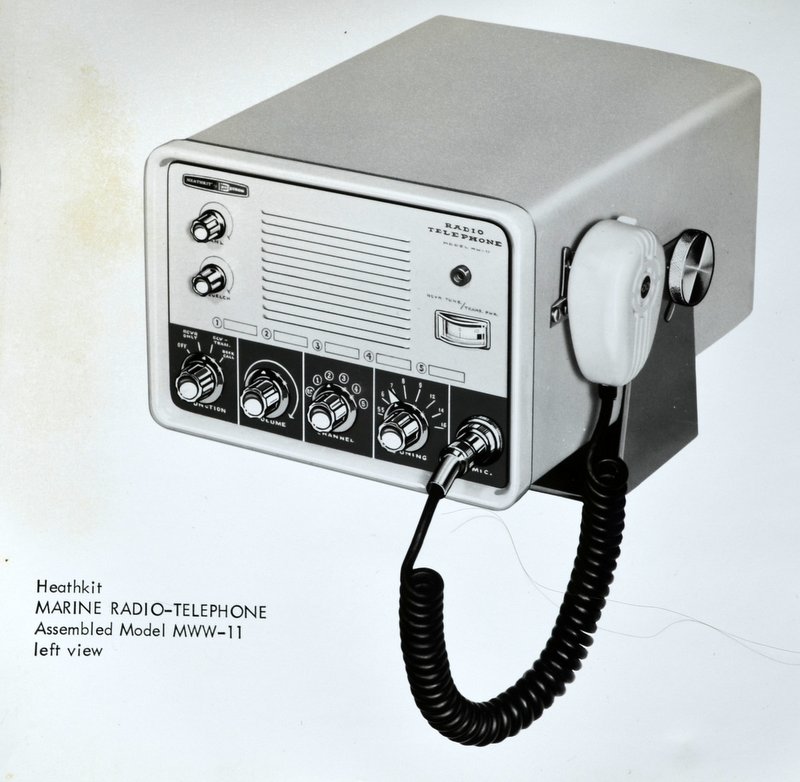
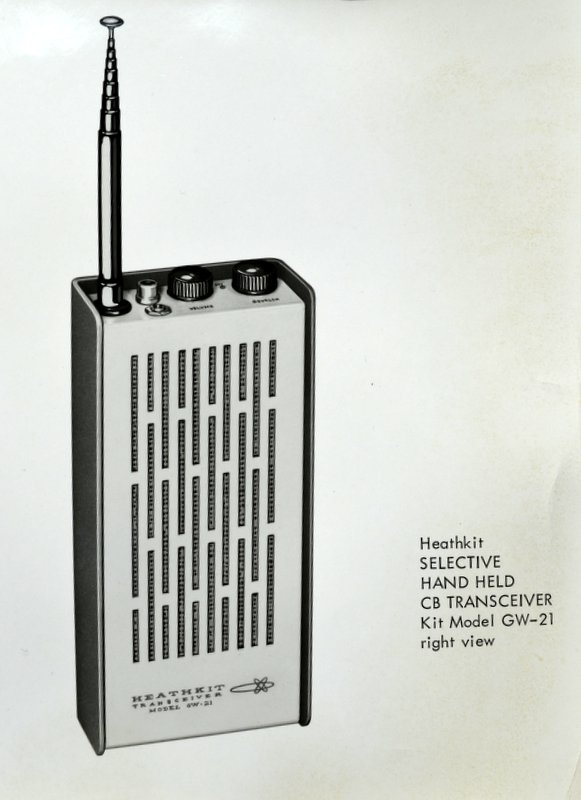
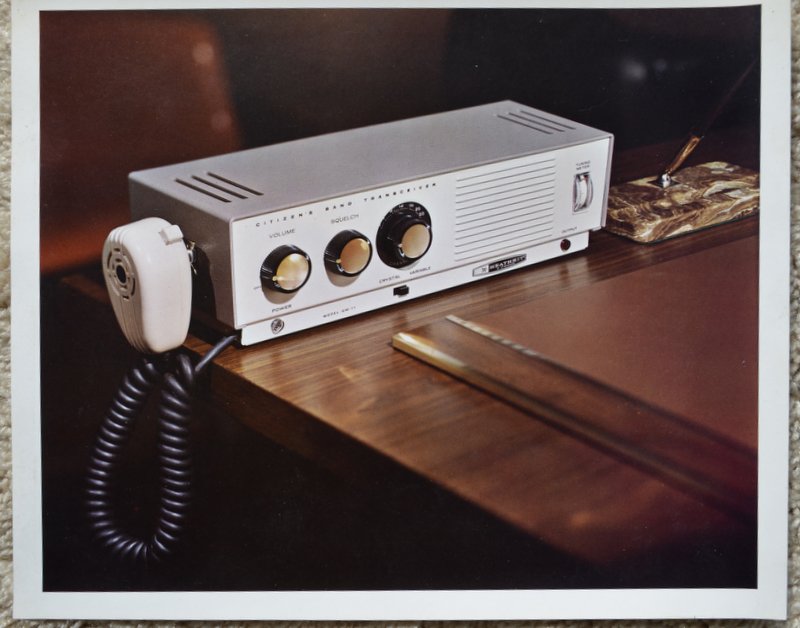
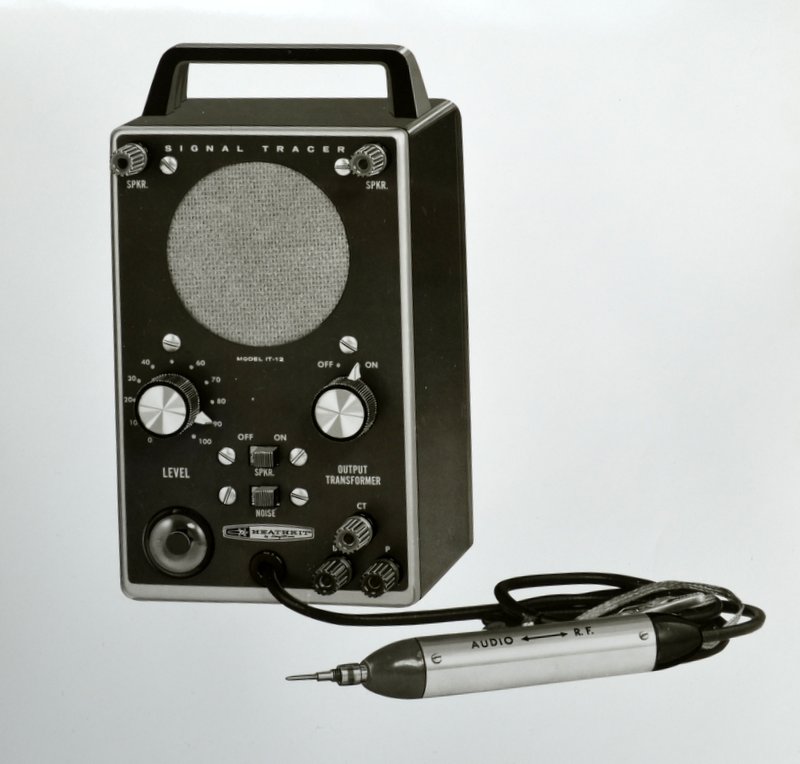
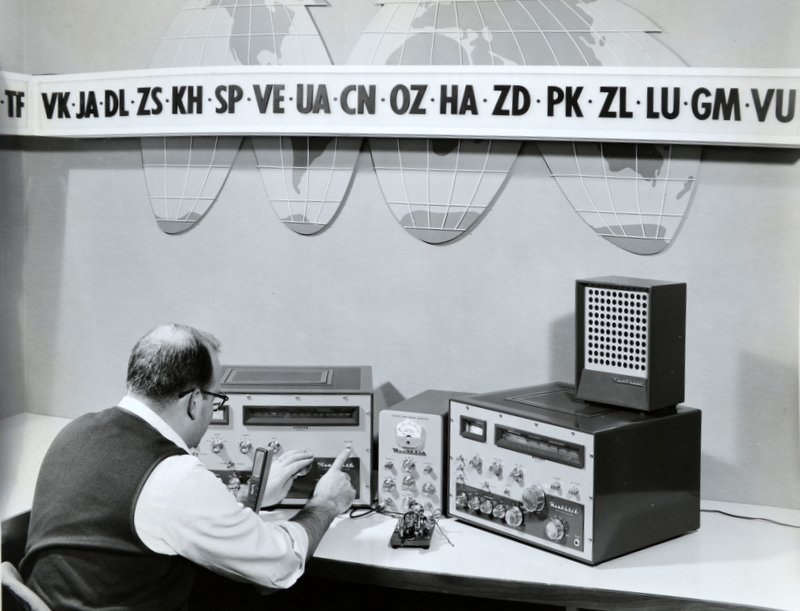
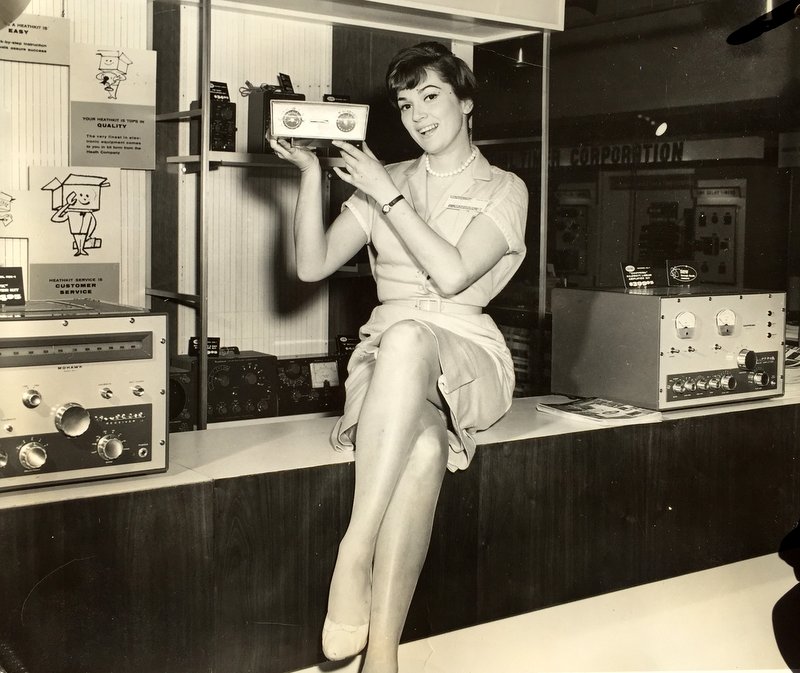
Heathkit: An Employee’s Look Back (Electronic Design)

Lessons of a successful electronic business—an interview with Chas Gilmore, former Heath executive.

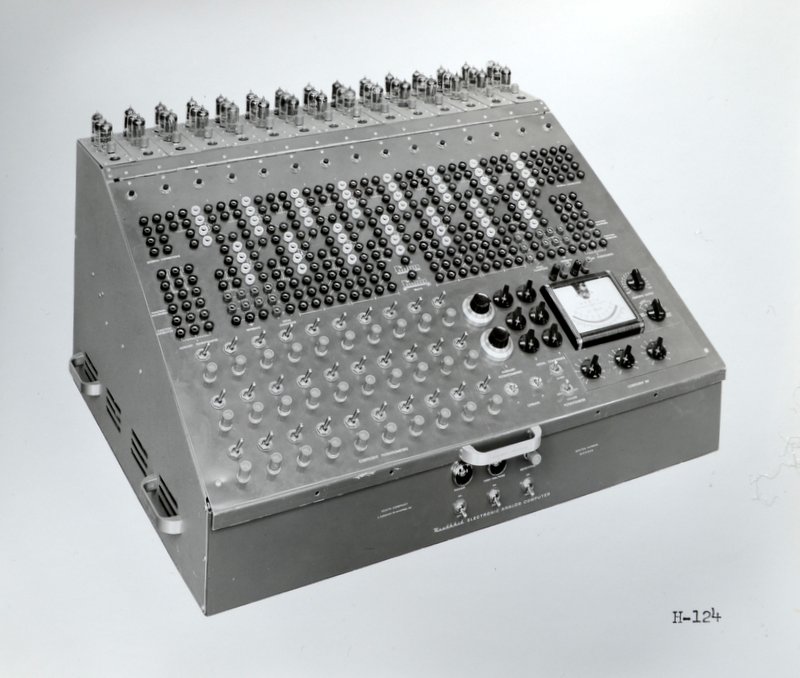
For those of you who do not know or remember, Heath Company was the largest kit company in the world. Heath designed and put practically every type of electronic product into kit form. Its products, called Heathkits, were exceptionally popular and many are still in use today.

Over the years, Electronic Design has published many Heathkit-related articles and blogs. Recently, I had a chance to talk with Chas Gilmore, who was a Heath executive. For those of you who fondly remember Heathkit and miss its products, here’s a look back at this amazing company and the lessons it offers.

Chas, what was your affiliation with Heath?

A recent physics graduate, I joined Heath in 1966 as an engineer in the Scientific Instruments department. This was a new group designing laboratory instruments supporting the Malmstadt/Enke, Electronics for Scientists program. The kit business was making great strides.

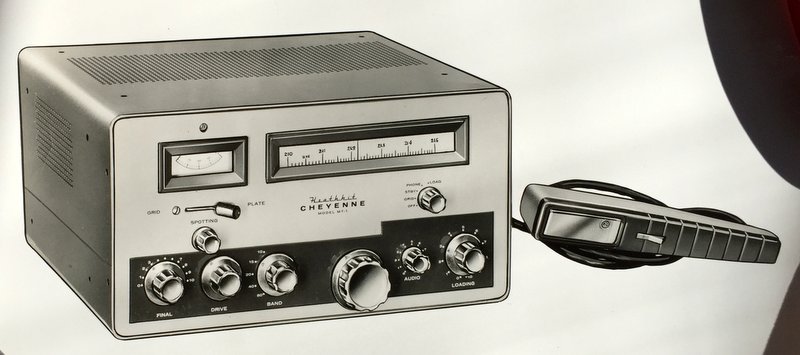
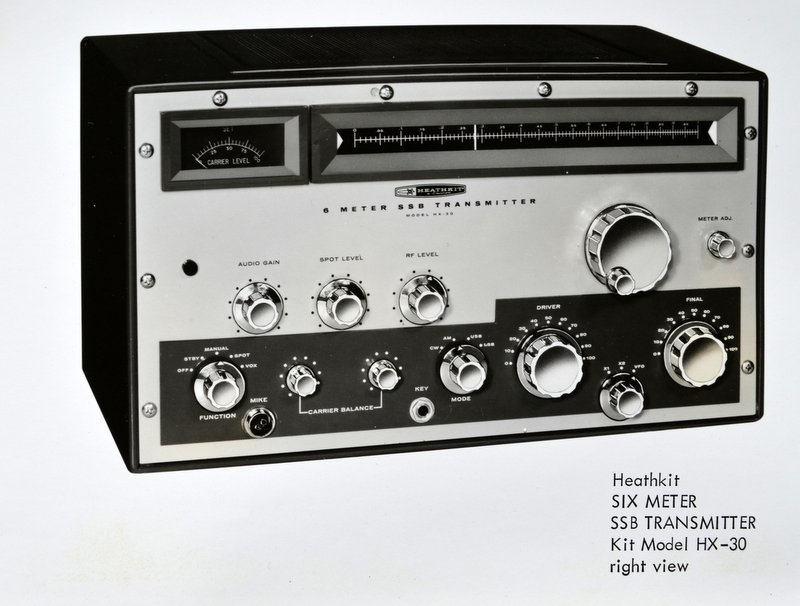
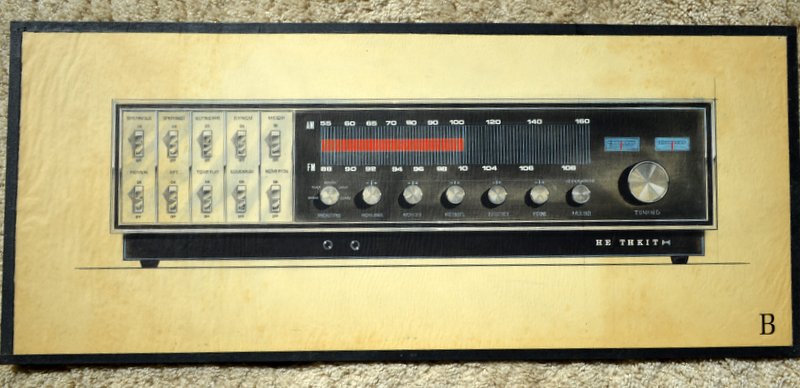
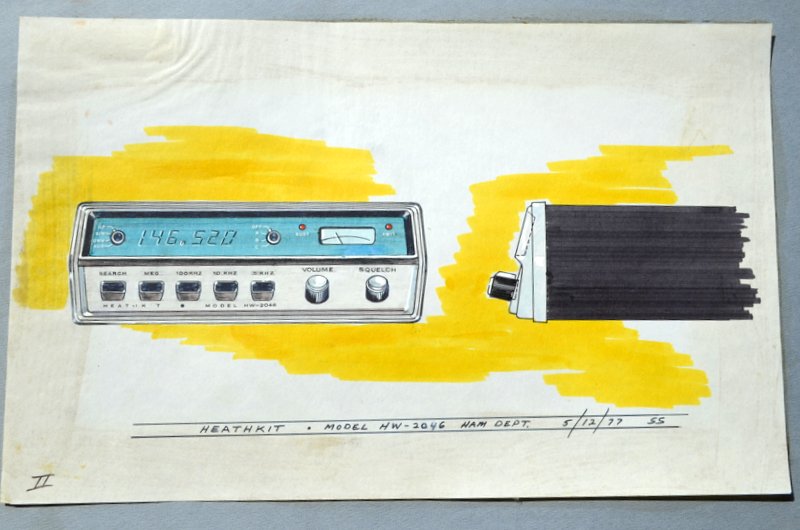
The audio department was about to introduce the AR-15 FM receiver/amplifier. It had rave reviews, putting Heath in the top tier of the Audio/HiFi market. At the same time, the Ham (amateur radio) department was updating the phenomenally successful SB-line of an HF SSB receiver, transmitter, and transceiver, and modernizing the popular $99 single-band SSB transceiver line[]

Radio at 100 & Roots of Radio Series (Radio World)

Zack writes:

Found this interesting series at Radioworld called “Radio at 100”. It is 29 different articles about the history of broadcasting in the USA. A lot of your readers might enjoy these;
https://www.radioworld.com/tag/radio-at-100

Another great series at Radioworld that your readers might be interested in “Roots of Radio”:

https://www.radioworld.com/columns-and-views/roots-of-radio

ARLB038 FCC to Require Email Addresses on Applications (ARRL Bulletin 38 ARLB038)

Amateur radio licensees and candidates will have to provide the FCC with an email address on applications, effective sometime in mid-2021.

If no email address is included, the FCC may dismiss the application as defective.

The FCC is fully transitioning to electronic correspondence and will no longer print or provide wireless licensees with hard-copy authorizations or registrations by mail.

A Report and Order (R&O) on “Completing the Transition to Electronic Filing, Licenses and Authorizations, and Correspondence in the Wireless Radio Services” in WT Docket 19-212 was adopted on September 16. The new rules will go into effect 6 months after publication in the Federal Register, which hasn’t happened yet, but the FCC is already strongly encouraging applicants to provide an email address.

When an email address is provided, licensees will receive an official electronic copy of their licenses when the application is granted.

The Report and Order can be found in PDF format online at, https://www.fcc.gov/document/fcc-adopts-electronic-licensing-report-and-order

Under Section 97.21 of the new rules, a person holding a valid amateur station license “must apply to the FCC for a modification of the license grant as necessary to show the correct mailing and email address, licensee name, club name, license trustee name, or license
custodian name.” For a club or military recreation station license, the application must be presented in document form to a club station call sign administrator who must submit the information to the FCC in an electronic batch file.

Under new Section 97.23, each license will have to show the grantee’s correct name, mailing address, and email address. “The email address must be an address where the grantee can receive electronic correspondence,” the amended rule will state. “Revocation of the station license or suspension of the operator license may result when correspondence from the FCC is returned as undeliverable because the grantee failed to provide the correct email address.”
NNNN
/EX[]


Do you enjoy the SWLing Post?

Please consider supporting us via Patreon or our Coffee Fund!

Your support makes articles like this one possible. Thank you!

Spread the radio love

A new Heathkit: The Precision RF Meter – HM-1002

Heathkit recently sent the following link to their “Insiders” email list:

Dear Heathkit Insider

We have opened advance orders for our newest product, the HM-1002 Heathkit® Precision RF Meter™, for our most loyal customers and fans. This is the first amateur radio accessory and the first test equipment kit Heathkit has produced in over 30 years.

We believe the Heathkit® Precision RF Meter™ is a landmark achievement in RF meters, in both technical features and price/performance. It is most suitable for amateur radio operators and for customers who use RF test equipment.

Its patent-pending design offers features not available in other power/SWR meters: Transmit frequency display, ERP display, efficiency measurement, many forms of peak power monitoring, smart alerting, both SWR and Return Loss, user-selected units (e.g. watts or dBm), autoranging for both power and frequency, QRP and QRO, superior ergonomics, and more. It’s about five times more accurate than our previous power/SWR meters, at an affordable price and exceptional quality. And it’s a Heathkit.®

This early make-to-order offering gives our most loyal customers a first-in-line position when this kit ships, probably at about the end of the summer. To thank you for your loyalty and trust, Heathkit will waive and pay standard-rate shipping on initial pre-sales orders to anywhere in the world we ship. Limit is two units per customer at this time.

If you’re the kind of builder who doesn’t want to be last in line for the best new equipment or the latest Heathkit®, this is for you. Please see our product web page for more information. Be sure to read all the pre-order details, including how to complete your order. We welcome your pre-order.

Sincerely,

the Heathkit Team

Pre-order pricing for the HM-1002 is $575.00 US.

Spread the radio love

Stuart Sizer: Heathkit designer, dad, and “bon vivant”

Heathkit-Drawings-2Two weeks ago, through a radio preservation group, I met the son of Heathkit product designer of the 1950s-70s, Stu Sizer––”stylist, artist, maker of models, bon vivant.” His son described the discovery of a few vintage Heathkit brochures, photos, and illustrations his father kept in his family’s basement shop, many of which had been scanned at some point.

Stu Sizer––”stylist, artist, maker of models, bon vivant”––was tasked with crafting Heathkit’s user-friendly and attractive exterior designs. For many years Sizer was Heathkit’s only product designer, and was therefore often busy. “He was a great dad,” his son told me, “but he spent a lot of time in the basement proof-building kits.”  He adds wryly, “Let that be a lesson to the hams of this world.”

Sizer’s son kindly shared with us the following scans and photos of his dad’s work, many of which are original drawings; the series concludes with some clippings featuring Sizer.

PC241116 PC241108 PC241107 PC241106 PC241099 Heathkit-Drawings-16 Heathkit-Drawings-15 Heathkit-Drawings-13 Heathkit-Drawings-12 Heathkit-Drawings-11 Heathkit-Drawings-10 Heathkit-Drawings-9 Heathkit-Drawings-8 Heathkit-Drawings-7 Heathkit-Drawings-6 Heathkit-Drawings-5 Heathkit-Drawings-4 Heathkit-Drawings-3 Heathkit-Drawings Heathkit-Advertisement

On Stuart Sizer

Heathkit-Stu Walter SizerHeathkit-Stu Walter Sizer-3Heathkit-Stu Walter Sizer-2

Spread the radio love

James adds an LM386 amplifier kit to his Heathkit GR-150

Heathkit Explorer Jr. Completed w. screwdriverMany thanks to SWLing Post contributor, James Surprenant (AB1DQ), who shares this update to his review of the Heathkit Explorer Jr. TRF AM radio receiver kit:


With regard to the Heathkit TRF AM receiver kit, I did indeed build my LM386 amplifier.

I was planning on home-brewing it from scratch as the chip is pretty much all you need and there are various proven schematics for the circuit, but in the end I went with a small kit from Nightfire Electronics for $10 plus $5 shipping that I found on Amazon.com.

It was a bit cheaper to buy it in kit form, of course, and then there was the convenience of having all the parts in one place.

Here is a photo of the kit as advertised on Amazon

kit

And here is my build with the Heathkit…

Heathkit + LM 386

I modified the kit to add a 3.5mm input jack, replacing the RCA jack that came with the kit, to make it easier to plug into the Heathkit radio.

I deliberated whether to install the audio amp into the Heathkit cabinet drilling out a couple of holes for the pot shafts. It all would have fit and I could have easily mounted the 3″ 8 ohm speaker to the back panel of the Heathkit radio. In the end, I decided to keep the radio original and mounted the amplifier board on a small piece of wood I found at a hobby store and decided to leave it all exposed. It works well, all things considered.

(Click here to view video on Facebook.)

It worked well and per my original review on SWLing Post, I feel Heathkit should have included such a little amp in the kit – it makes a big difference.


Many thanks for the update, James! That little LM386 amp kit seems like an affordable addition for any receiver lacking an amplifier or adequate audio amplification.

Spread the radio love

The Heathkit GR-78: Ed’s “basket case” radio

BasketcaseMany thanks to SWLing Post reader, Edward Ganshirt, who writes:

I picked up this Heathkit GR-78 at a estate/moving sale. It was in a pile of “e-waste” (you know, old vcr’s broken TVs, remote controllers, dead cell phones, etc.).

I found a container and sorted through the stuff to retrieve all what looks like Heathkit parts. The radio was disassembled and scattered about. I was able to collect all the critical components and brought the works to the sales table. The person manning the table said that was stuff they were discarding and I could have it for free but the Easter basket was $0.50.

So far I had put little time into it but was able to mechanically assemble it completely. All the fasteners holding the cabinet were missing. The rest appears to be all there but the primary side of the transformer is open and the NiCads are shorted and stone dead. The manual that I found in their recycle bin is complete and appears to gone through 3 owners by 3 sets of handwriting in the notes and comments through out the manual. If anything this looks like a CSI/forensics troubleshooting process getting into the mind of 3 different owners unsuccessful at making it work.

I will keep you posted on the progress.

WA1-LAI

More power to you, Ed! There are few things as difficult as picking up where someone else left off on a kit build. Your project is exponentially more complicated since there were three people involved and parts are scattered.  Please update us with your progress.

Readers: If you have any experience with the GR-78, I’m sure Ed would welcome your input!

Spread the radio love

James reviews the Heathkit Explorer Jr. GR-150 TRF AM radio receiver kit

HeathkitExplorerJr
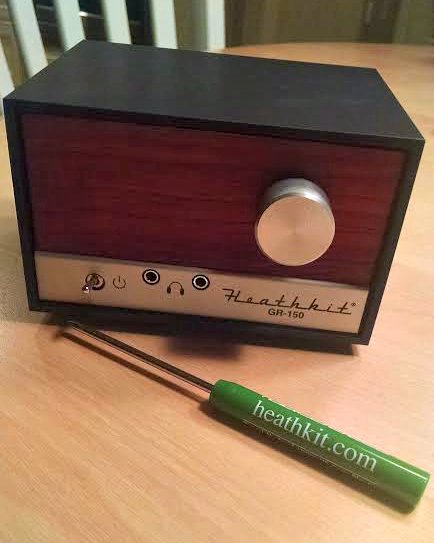
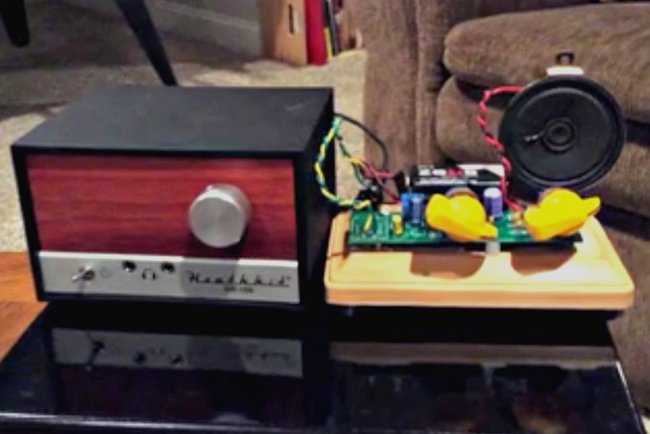
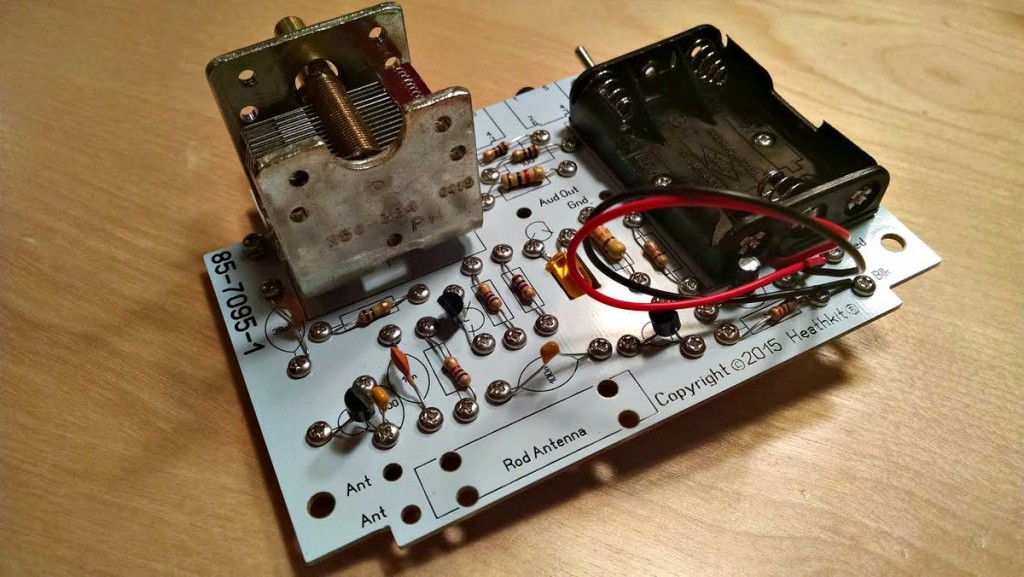
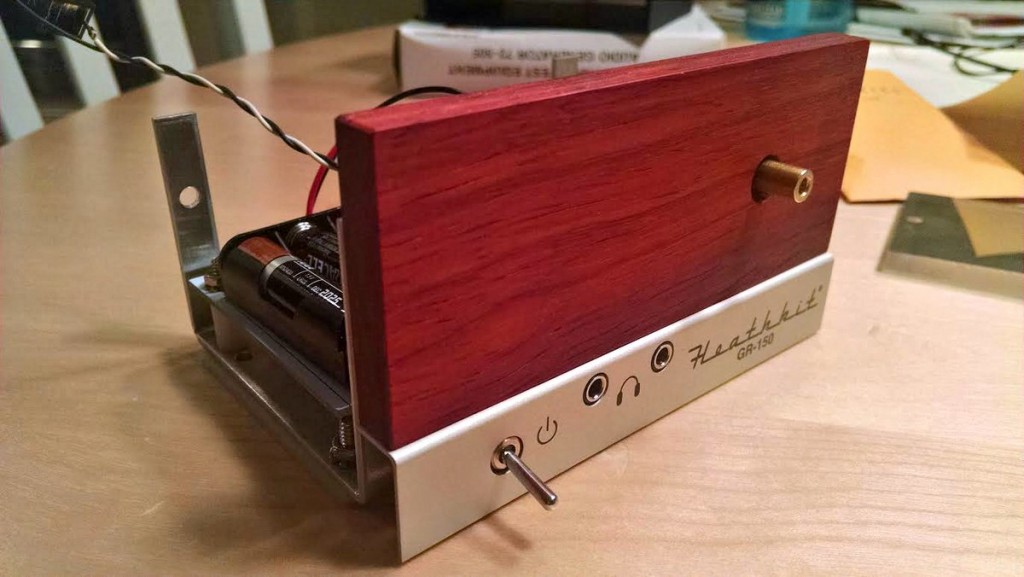
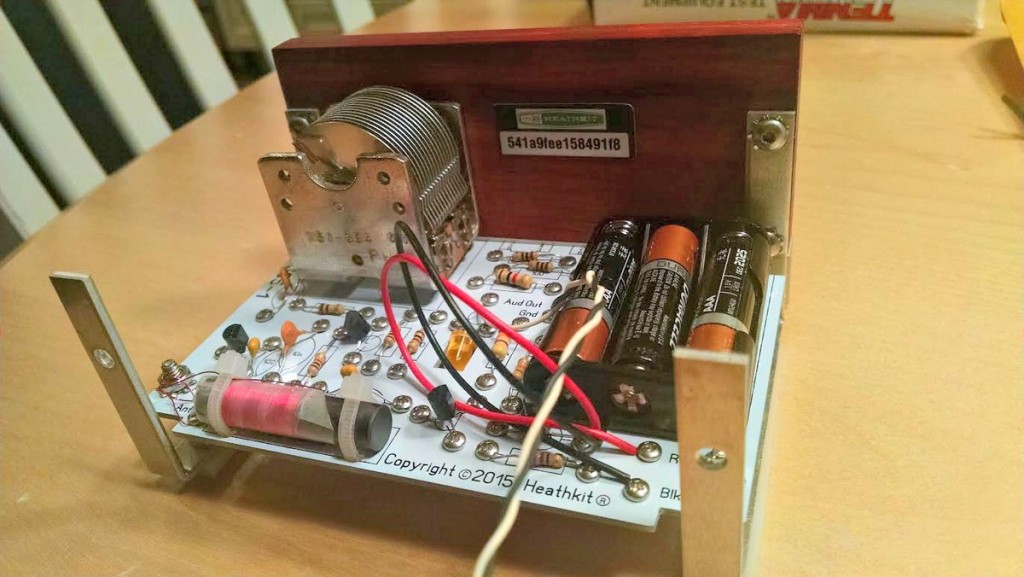
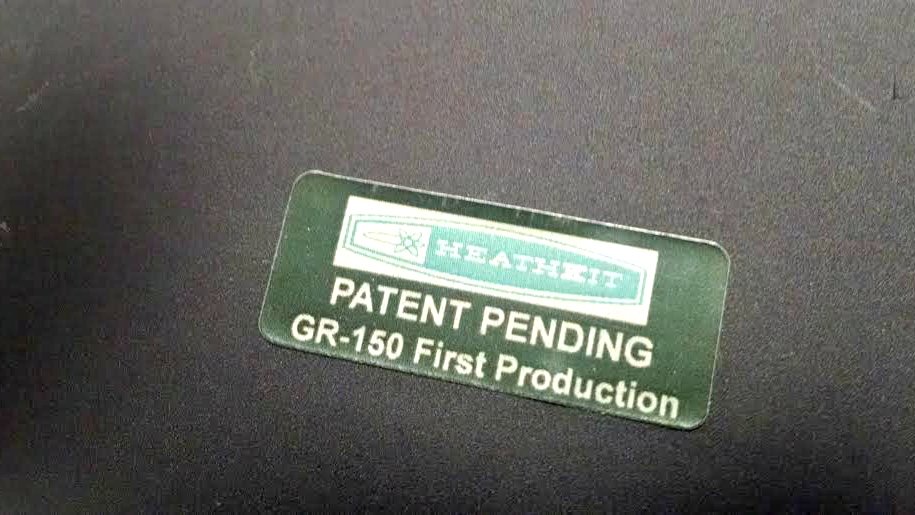
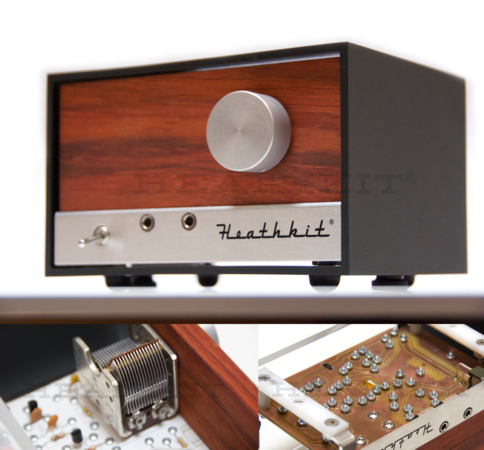
Many thanks to SWLing Post contributor, James Surprenant (AB1DQ), who shares this review and photos of the new Heathkit Explorer Jr. TRF AM radio receiver kit:


 Heathkit Explorer Jr. Review

I received this Heathkit kit for Xmas from dear old Dad.

Heathkit Explorer Jr. Manual

The Explorer Jr. manual is very nicely done, spiral-bound, and very reminiscent of the old Heathkit manuals in terms of lay-out and detail.

Heathkit Explorer Jr. Retro envelope packaging

The packaging of the parts is also reminiscent of the old Heathkits with parts grouped into envelopes by phase, ie. “Active Components,” “Passive Components,” “Small Parts,” “Knobs,” etc.

The first night, I worked through completion of the circuit board attaching all electronic components and stopped at the step for winding the coil. I thought it would make sense to start fresh on that step since winding coils is generally a pain.

Even on the first night, I had a few criticisms:

  • A couple of the envelopes were ripped open when I unpacked the kit. There were nuts, bolts, spacers and an Allen wrench loose in the outer box. That said, no parts were missing.
  • I found two errors in the manual:
    1. The color code for one of the resistors was incorrect in the manual. With my aging eyes, and the miniaturization of components today, I always use an ohm meter to test all resistors before attaching them to the PCB when I build a kit.

      Incorrect color code in manual.

      Incorrect color code in manual.

    2. The circuit contains 10 resistors and all 10 were included in the kit. But one was completely missing from the step-by-step instructions. After I finished attaching all active and passive components, I had one resistor left over and fortunately there was a matching empty space on the circuit board for the same value resistor. I double and triple checked the instruction manual and I can not find where it calls for this resistor to be attached.
  • My biggest criticism so far is the fact that this kit is “solder-less.” All components are attached to the PCB with screws, lock washers and a nut. You insert the leads for each component through the over-size pass-through holes on the PCB, and bend the leads tight against the edge. Then you insert a screw in from the topside, place a lock washer on the bottom side and fasten with a bolt.
Bottom of the PCB board

Bottom of the PCB board

On the upside, the fact I didn’t need to work with a hot solder iron meant I felt comfortable building the kit at the kitchen table. (My XYL would not be pleased if she found burn marks on the table!) So I had a nicer environment to work in than the basement work bench.

Heathkit Explorer Jr. sheered off resistor leads
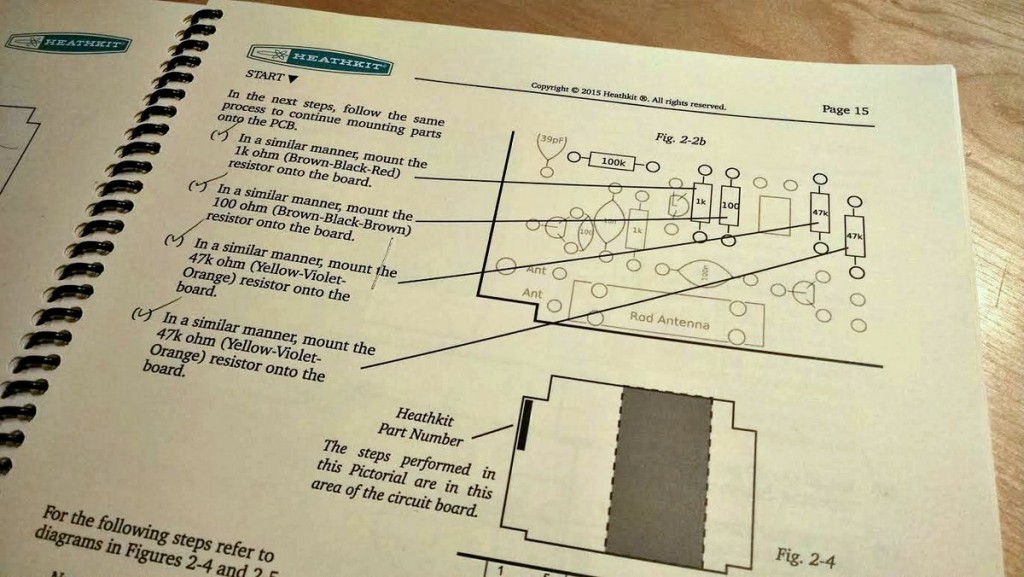
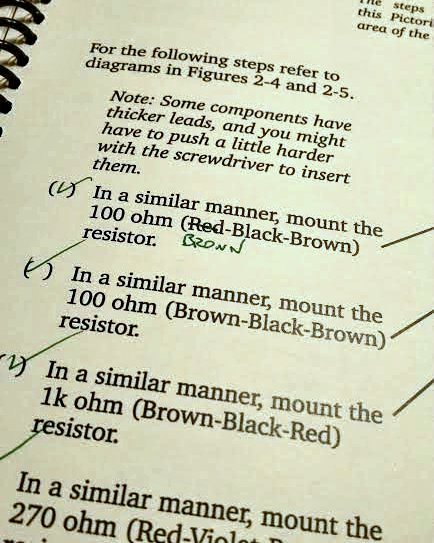
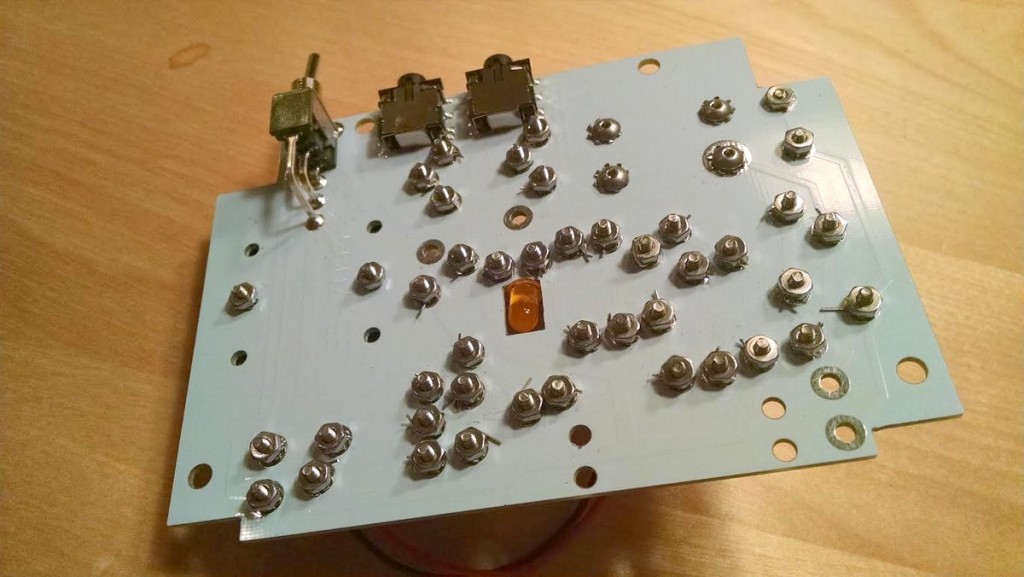
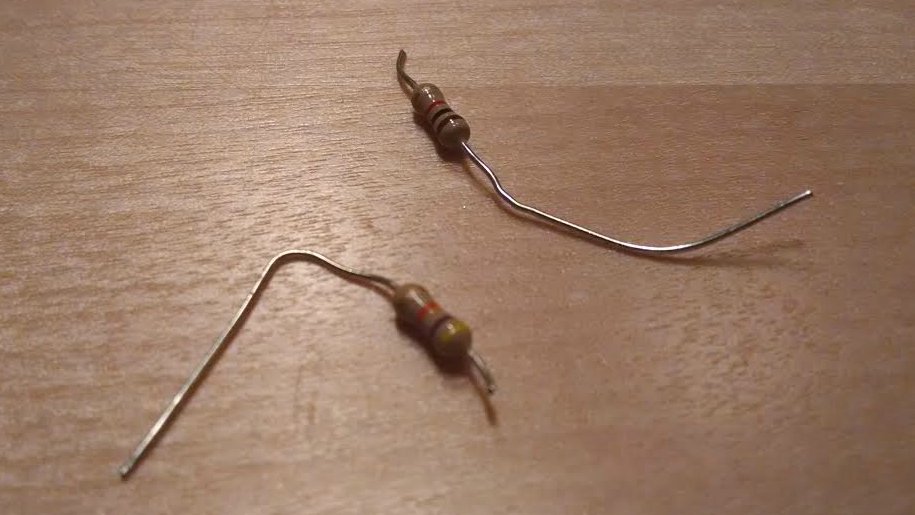
On the downside, I managed to sheer off the leads on TWO resistors when tightening the screws. Fortunately I was able to replace the busted resistors from my on-hand stock.

The other odd thing about this method of attaching components is that Heathkit included a nifty screwdriver in the kit, but leaves it up to the kit builder to provide a small socket wrench or pliers to hold the nut in place while tightening the screw.

Finally, the instructions call for the kit builder to ‘bend the excess leads back and forth’ until they snap off, rather than instructing the kit builder to snip off the excess leads with nippers. That seemed really strange to me.

Heathkit Explorer Jr. Completed coil

I completed my build of the GR-150 Explorer TRF radio this past weekend. I had no difficulty winding the coil, which involved 56 turns of magnet wire around a ferite core and securing it with transparent tape.

Heathkit provided the black ties, which were too large.

Heathkit provided the black ties, which were too large.

The next problem I encountered was attaching the wound coil to the PCB. The kit came with two zip cords to use as fasteners, but the zip cords were much much too large to fit through the holes drilled in the PCB. So this required a trip to the hardware store.

You can clearly see that the holes are too small for the black cable ties.

You can clearly see that the holes are too small for the black cable ties.

Once I had the coil mounted, I encountered the problem again with the bolts and nuts shearing off the leads – this time, it took me about 4 tries to attach the thin fragile coil wires to the PCB. It’s a very fragile process that again had me wishing this was a solder kit.

Heathkit Explorer Jr. Top of PCB front

The rest of the assembly went well. The only other glitch I encountered was in assembling the cabinet, the kit came with six locking star washers for the cabinet, in fact the parts list indicates that six should have been included in the kit. But then the actual assembly called for 10 star washers.

Heathkit Explorer Jr. Top of PCB

Heathkit Explorer Jr. Nearly finished frontHeathkit Explorer Jr. Completed PCB mounted

So, how did the radio perform? About as expected. It is a single stage TRF receiver without a proper audio amplifier. The instructions say you should use earbuds to listen to the radio, but I found that my standard stereo earbuds to be off too low an impedance for while the radio worked, all stations heard were very faint – about as strong as you’d hear from a typical crystal radio kit.

Heathkit Explorer Jr. 1st run sticker

I hooked the radio up to a set of PC speakers which helped – a lot. Once I could hear the audio output, I was very pleased with the radio’s performance. The tuning cap is geared and it takes a good five turns of the tuning knob to cover the entire broadcast band. The radio was fairly sensitive and not too selective – again, as you’d expect.

So, was it worth it? For me, sure… but it depends on what you are looking for.

It’s a bit pricey for what you get, but if you want to support Heathkit as it attempts to rise from the ashes, and if you have the $$$ to ‘donate’ towards the cause, it may be worth it.

Heathkit Explorer Jr. Completed w. screwdriver

Here is my take:

The good

  • Very nice quality materials….the PCB, tuning cap, and cabinet were of a quality you don’t often see in kits.
  • Nostalgia factor–from the packing to the manuals, the kit really does capture some of the Heath nostalgia.
  • Level of detail in the step-by-step instructions.
  • Documentation. The manual ends with a very nice feature on radio theory and theory of the different stages of the TRF and how to read a schematic. It’s clearly written for a youngster as it’s complete with drawings of smiley-faced electrons moving through the components and circuits.
  • The radio does work and is a joy to tune across the dial.

The bad

  • Quality control is lacking. It’s hard to imagine a kit ever leaving Benton Harbor back in the day with such glaring errors in the manual (wrong color code, missing steps), or with the wrong size zip ties, etc.
  • Price. Even though the materials are high-end, the retail price seems a bit high.

The ugly

  • I really wish Heathkit had included either a built in audio amp circuit (there is plenty of room in the cabinet to add a simple IC-based amp), or would have marketed a separate audio amp kit. Having an amplified speaker would add a lot in terms of pleasure from the completed kit. Another kit vendor, Peebles Originals, peeblesoriginals.com, sells a nice little audio amplifier kit for use with their regen radio kits. I’ve built it, and it’s a simple straight forward kit. Heathkit could have done this and it would have made a big difference. (I think I’ll try my Peebles amp with the Explorer!)

Overall, I really enjoyed the build and I like the radio. I’m looking forward to see what the ‘new” Heathkit does next.

I applaud Heathkit for making a go at a come-back and will continue to support their efforts by buying and building their pricey stuff – yeah, I’m that guy.

73 de AB1DQ
James


James, thank you for not only sharing your experience–along with errors and omissions–but providing excellent, detailed photos. I can’t tell you how many times I’ve been confused by kit instructions and turned to Google to help me find photos and notes from other builders. Your details will help others attempting to build the Heathkit GR-150.

I hope you enjoy your new Heathkit! You’ll have to let us know how that Peebles powered speaker works with the G-150!
Spread the radio love

New from Heathkit: the Explorer Jr TRF AM radio receiver kit

HeathkitExplorerJr

The Heathkit Explorer Jr. (Image Source: Heathkit)

Yes, the legendary Heathkit company is back and their first kit is a simple Tuned Radio Frequency (TRF) AM/mediumwave analog receiver: the Explorer Jr.

I knew Heathkit was back in business and under new management, but hadn’t heard any updates as of late. Their president, Andy, just sent a message to the “Heathkit Insiders” group explaining what the team has been up to:

“We’ve designed and developed a wide range of entirely new kit products. We authored the manuals for these kits, complete with the beautiful line art you rely on, preserving and respecting our iconic historic Heathkit style. We developed many new inventions and filed patents on them. We relocated Heathkit, and set up a factory, and a warehouse, and offices, in Santa Cruz, California, near Silicon Valley. We built the back office infrastructure, vendor and supply chain relationships, systems, procedures, operations methods, and well-thought-out corporate structure that a manufacturing company needs to support its customers, to allow us to scale instantly the day we resume major kit sales. All this effort enables us to introduce a fleet of new kits and helps ensure Heathkit can grow, prosper, and continue to bring you great new products for a very long time.”

The Insiders’ message goes into much more detail–I would encourage you to contact Heathkit about joining this group.

The big news in this message was the launch announcement of the Explorer Jr. kit which can be ordered from their website now. The price is $149.95 plus shipping. Heathkit anticipates a 30-day shipping time for the first set of orders.

Here’s a description of the kit from their website:

A Radio Kit Whose Time Has Come.

Again.

When Heath started designing & selling do-it-yourself airplane kits shortly after the Great War, the state-of-the-art in radio was the Tuned Radio Frequency (TRF) design.

A TRF radio was a great deal. If you had a great deal of money. A TRF receiver became a fixture in the homes of families around the world, receiving the news and music AM broadcasts of the day. A family AM radio was a big investment — $100 to $625 in 1929 dollars. (With inflation, that’s $1,400 to $8,700 in today’s dollars.)  Of course, at that price radios also were beautiful. They were made of fine wood, and designed to last. Radios were a visible and attractive furnishing you could be proud to have in your living room or parlor.

Heathkit’s TRF radio is a great deal. And a great deal of radio. This Explorer Jr TM radio is modeled on the original TRF designs, but better. You get to build it yourself. It’s safe and simple enough for beginners to assemble and understand. But it receives AM broadcast stations with performance superior to the vintage radios of 1930.

With the number of Heathkit enthusiasts out there, I suspect this first run of kits won’t last long. The kit trim is available in six colors: Silver, Cranberry, Cucumber Green, Plum Pie, Sapphire Blue, and Tangerine.

Click here to view and order the Explorer Jr on Heathkit’s webstore.

Spread the radio love