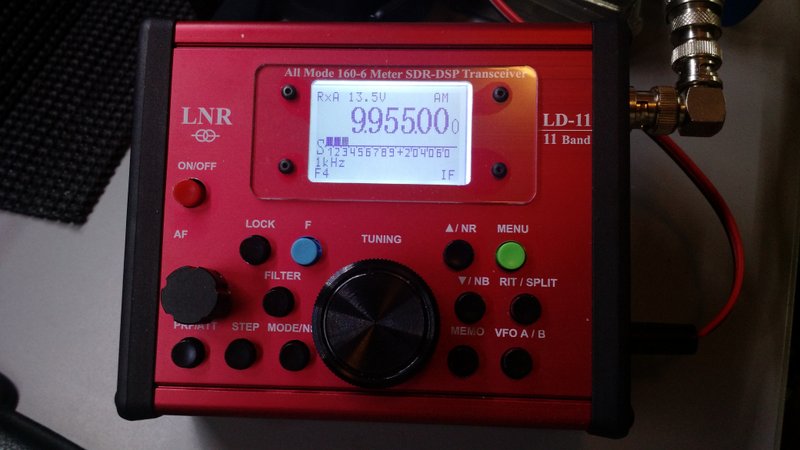
An announcement has been made by Kurt, OE1KBC and reported by concerning a multi-mode radio combining various digital modes. The radio/computer is called simply NEW RADIO and is a joint initiative of the ÖVSV, DARC and IARU R1. As stated in Don’s article:
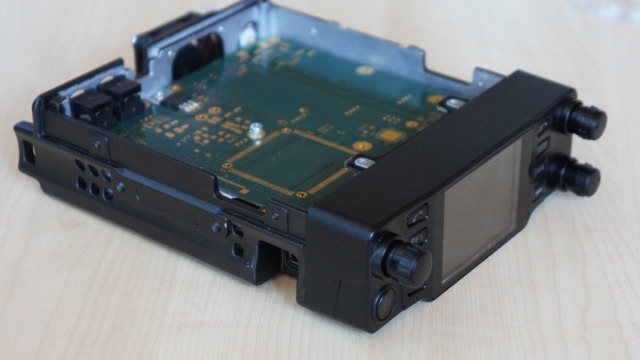
the “NEW RADIO” that will operate on the 2m & 70cm bands and support the most common ham digital modes, including DMR, D-STAR and C4FM (System Fusion), plus analog FM. As reported in the article, the NEW RADIO has been created by hams for the ham radio community will feature a colour touch screen display, 50W of power output, a 1.8 GHz processor, a Linux operating system, plus dual AMBE+ vocoders, allowing for full-duplex, cross-band operation. Also, one of the biggest features of the NEW RADIO is that it will include a built-in LTE wireless modem and SIM card allowing it to be Internet connected while on the go. Apparently, with it being Internet connected, the NEW RADIO will be able to automatically download frequencies, offsets, contacts and other configuration information on the go, allowing for instant updates for users. (The full article may be found here.)
I certainly hope this radio really is “ready for Prime Time” soon as it might very well fill a big need by allowing use of multiple systems without the need to carry around a radio for each digital mode. I suspect many hams have hesitated to jump on the digital bandwagon simply because of not knowing which standard would have dominance. Nobody wants to relieve the VHS/Beta experience! (Yes, I am dating myself here!)
If anyone gets a look at this radio at Dayton I hope you will share with us your impressions!
Robert Gulley, AK3Q, is the author of this post and a regular contributor to the SWLing Post. Robert also blogs at All Things Radio.