Shortwave listening and everything radio including reviews, broadcasting, ham radio, field operation, DXing, maker kits, travel, emergency gear, events, and more
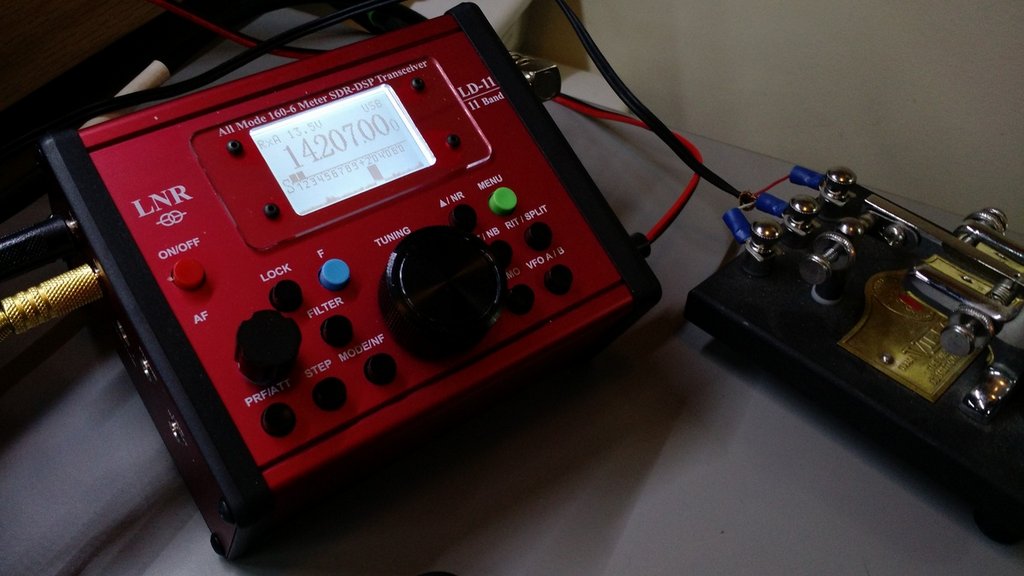
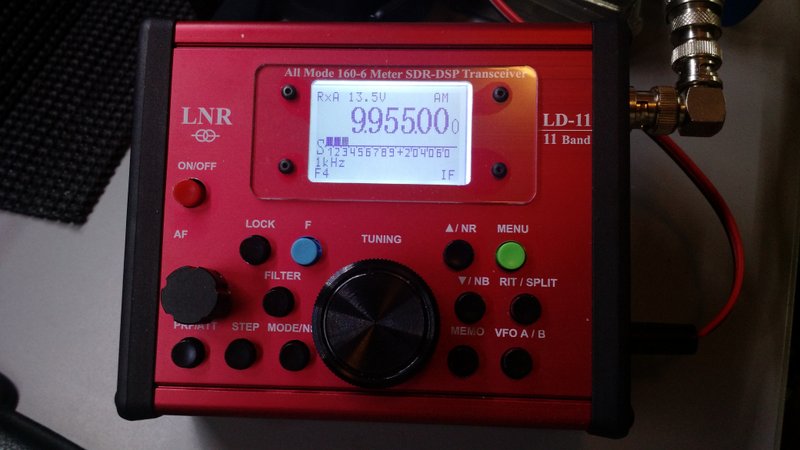
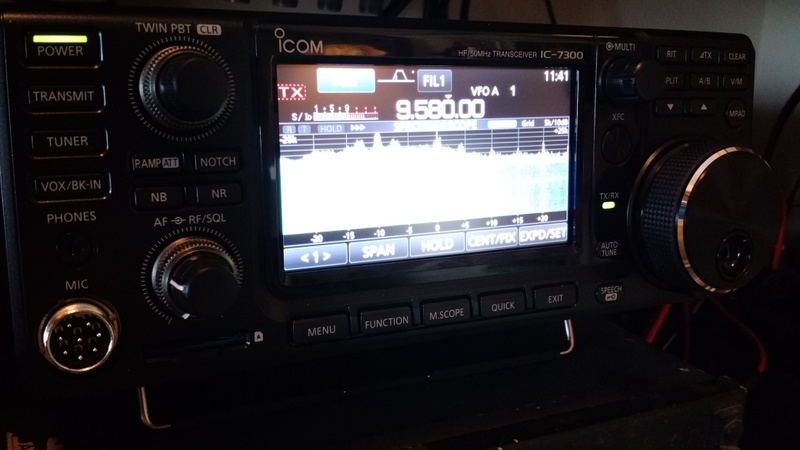
The LD-11 is basically a small, tabletop SDR transceiver. It’s like a miniature, simplified version of the Icom IC-7300 I’ve also been evaluating.
The LD-11 is an all-mode and all-band transceiver–meaning, it includes SSB, CW, CW-R, Digi, AM and FM modes on all amateur radio bands (160 – 10 meters).
Though the LD-11 isn’t advertised as having a general coverage receiver, it will indeed tune the entire HF band.
You do this by entering the LD-11’s administration mode. LNR describes this in the LD-11 product manual, but suggests you contact them for help the first time you do this. In the admin panel, you’ll find functions that allow you to set the band edges on each amateur radio band.
For a preliminary test of broadcast reception, I moved the lower band edge of the 30 meter ham radio band to 8.2 MHz.
After saving the settings and re-starting the LD-11 in normal operation mode, I could then tune the entire 31 meter broadcast band on the LD-11.
Hypothetically, you could either widen each amateur radio band to include adjacent broadcast bands, or you could simply set one of the ham bands to include the entire HF spectrum. To make it easier to navigate and tune through the bands, I’m choosing the former method over the latter.
Since the LD-11 has a proper AM mode, broadcasts sound great–especially via headphones!
Proper AM filters for broadcast reception!
Better yet? The AM filter width can be widened to an impressive 9.6 kHz! Woo hoo!
The LD-11 has four filter slots: F1, F2, F3 and F4.
The F1-F3 slots can be set to a fixed user-defined widths (common widths are default).
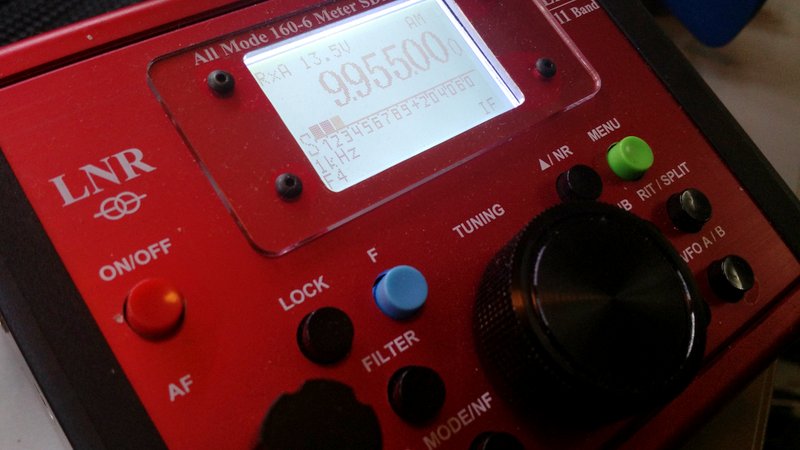
F4 can be altered to any available filter width without having to enter the admin mode of the transceiver. Simply press the “F” (blue function button) and the FILTER button simultaneously and use the encoder/tuning knob to specify the filter width in .1 kHz steps. Pressing the F and FILTER button simultaneously again, will save your filter width for the F4 position.
I’ve been using the F4 filter position for widths between about 8.2 and 9.6 kHz in AM.
It’s still early days with the LD-11, but I’m enjoying this little transceiver immensely. It reminds me of one of my favorite QRP transceivers of yesteryear: the Index Labs QRP Plus (though the LD-11 is much smaller, more versatile and has a much better front end than the QRP Plus!).
LNR Precision sold out all of their first run LD-11 units within moments of having announced availability. I’m willing to bet they’ll bring a few LD-11s to the upcoming Dayton Hamvention, though.
Many thanks to Jon Hudson with SDRplay who shares the following announcement:
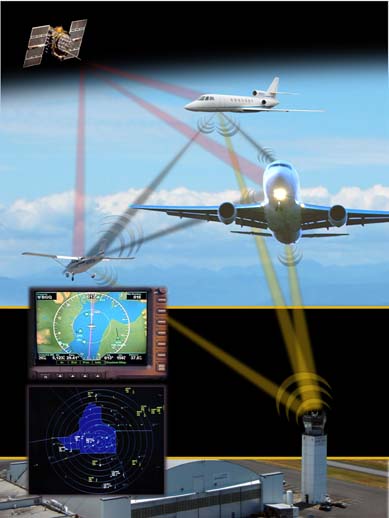
We now have an updated beta version of ADS-B for both the Raspberry Pi 2 and 3. This is based upon the 16bit Mutability version of dump1090 developed by Oliver Jowett and unlocks the full 12 bit performance of the RSP1. People should see a significant performance improvement over the dump1090_sdrplus version, which was based upon 8 bit code. The latest beta version can be downloaded in binary form from http://www.sdrplay.com/rpi_adsb.html .
Should anyone have questions or feedback, please contact [email protected]
Section 1 is how to load a brand new image onto an SD card
Section 2 should be straightforward – 2 commands – one to get the software and another one to run it.
Though I don’t live in a metro area with a lot of air traffic, I am often in the flight path of a couple major airports. I’ve been looking for a simple way to try ADS-B (and ACARS). As soon as I locate a dedicated monitor and keyboard for my Raspberry Pi 3–and a little dedicated time–I will give the ADS-B app a go. Thanks again, Jon!
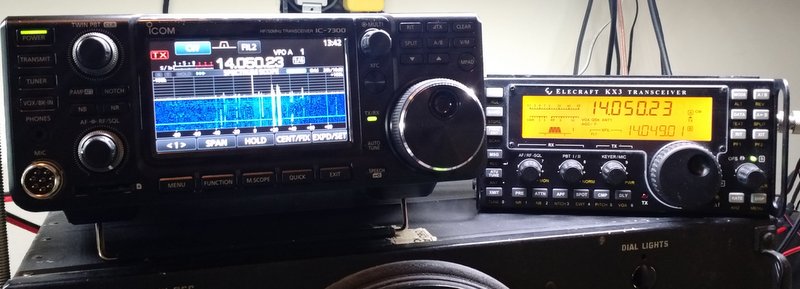
Before completing my review, I thought I might fit in one more quick comparison–this time, comparing the Icom IC-7300 to my Elecraft KX3 and focusing on SSB and CW reception.
Recording notes and disclaimers
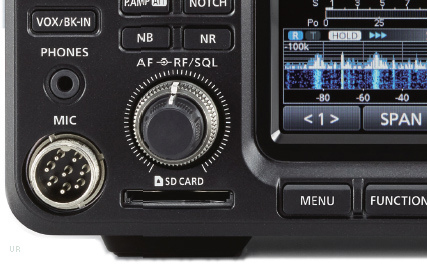
The Icom IC-7300 offers native digital audio recording, which means that it records both transmitted and received audio to an inserted SD card.
The Elecraft KX3 does not have a built-in recorder (indeed, most transceivers do not) thus I made in-line recordings using my Zoom H2N digital recorder.
I did no post-processing of the audio other than converting .wav files to .mp3.
Both receivers shared my large outdoor omni-directional horizontal delta loop antenna for each test.
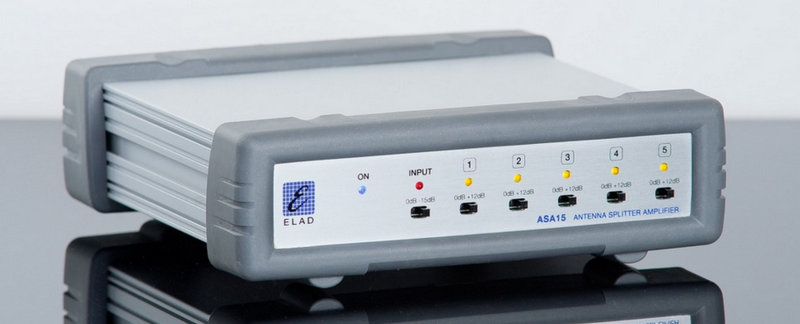
The Elad ASA15 Antenna Splitter Amplifier
To keep the comparison on as equal footing as possible, the receivers shared the same antenna through my Elad ASA15 antenna splitter amplifier. Though the ASA15 has both 12dB amplification and –15dB attenuation, I employed neither.
The ASA15 allowed me to make the following recordings simultaneously.
In each case, I tried to set up both radios using the same filter widths, AGC settings, and (as much as possible), audio level. I didn’t engage a noise-reduction feature on either rig.
I also didn’t employ any type of audio equalization on either rig–still, you’ll note that one radio produces a more “flat” response than the other.
Please vote!
At the end of this post, I have an embedded a survey in which you can vote for the sample recordings you like best. Each recording is clearly labeled to denote that it’s either from “Radio A” or “Radio B” (chosen at random).
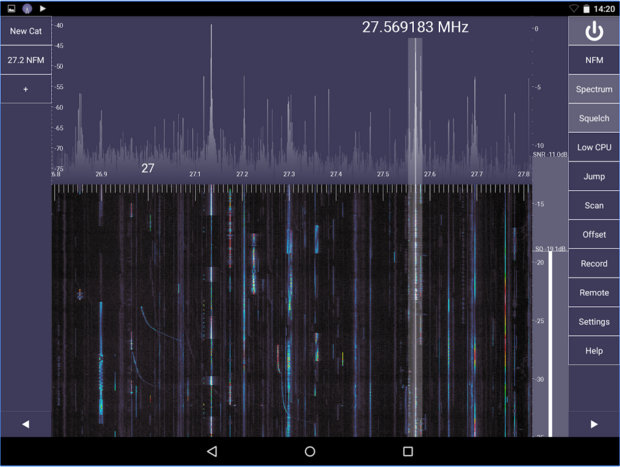
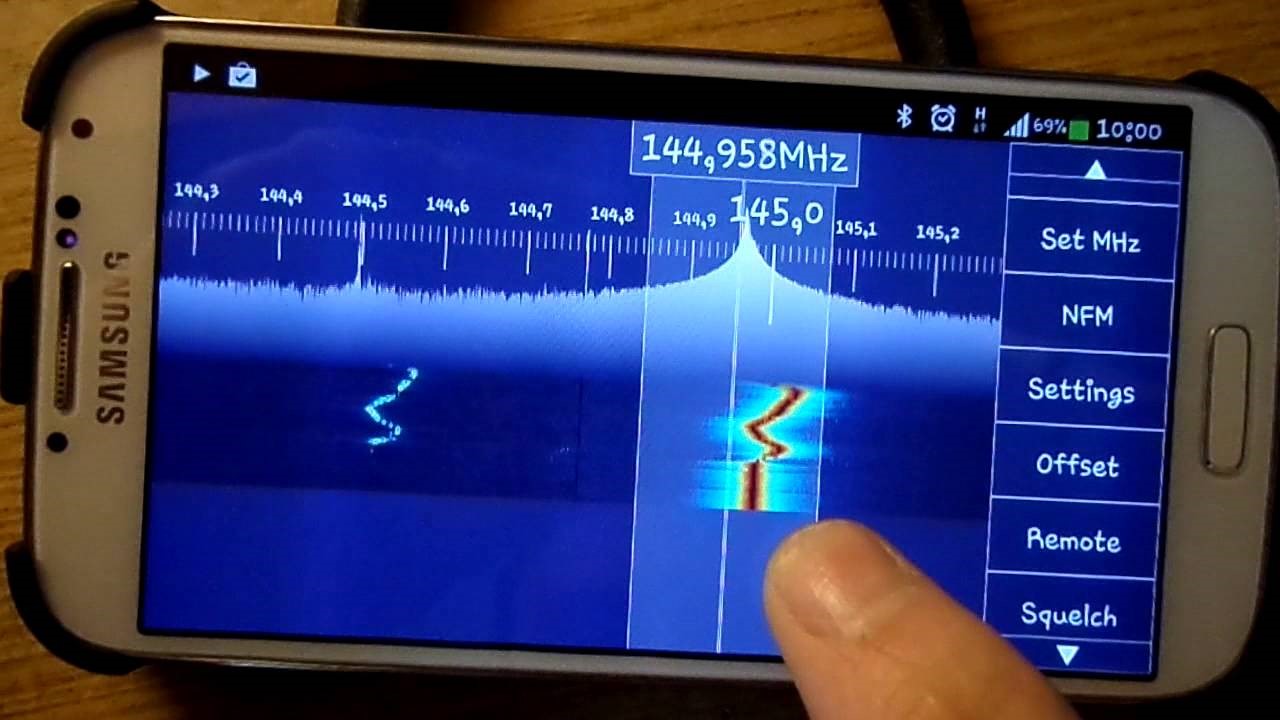
This demonstrates turning an Android Tablet (or Android Phone) into a highly portable comms receiver or spectrum analyzer operating from Long Wave to Microwave (10kHz to 2GHz) – using SDR Touch and the SDRplay RSP www.sdrplay.com
In the past, receiver shoot-outs in which I’ve provided sample audio for “blind” comparison––meaning, the listener does not know which audio sample is associated with which radio––have produced particularly positive feedback from Post readers.
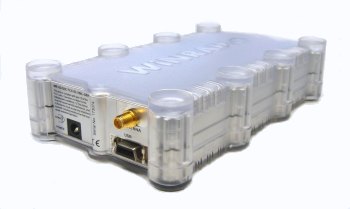
I have a number of SDRs (software defined radios) in the shack at the moment, but I picked the Excalibur because it’s the closest in price ($900 US) to the IC-7300 ($1500) as compared to my Elad FDM-S2 ($520) or the TitanSDR Pro ($2500).
Recording notes and disclaimers
Both the WinRadio Excalibur and the Icom IC-7300 offer native digital audio recording (nice touch, Icom!). The Excalibur simply records the AF to a file on my PC’s hard drive, while the IC-7300 records the audio to an SD card which I can later transfer to my PC.
I’ve been using the Excalibur since 2012, so I’m very familiar with its recording feature. I was not, however, familiar with the IC-7300’s digital recorder, so prior to making recordings, I checked to make sure its recorded audio was a fair representation of its live audio. To my ear, the IC-7300 recorded audio was nearly identical to that of the live audio, so I used the 7300’s internal recorder rather than one of my external recorders.
Both receivers shared my large outdoor omni-directional horizontal delta loop antenna for each test.
The Elad ASA15 Antenna Splitter Amplifier
To keep the comparison on as equal footing as possible, the receivers shared the same antenna through my Elad ASA15 antenna splitter amplifier. Though the ASA15 has both 12dB amplification and –15dB attenuation, I employed neither.
The ASA15 allowed me to make the following recordings simultaneously.
In each case, I tried to set up both radios using the same filter widths, gain, AGC settings, and (as much as possible), audio level. I didn’t engage a noise-reduction feature on either rig.
Note: the only exception to the radios’ equal treatment was in the AM mode recordings, in which I used the WinRadio’s AM Sync (AMS) mode. Why? Frankly speaking, 99% of the time during which I use the Excalibur, I do employ its AMS mode as its AM mode often sounds “hot” and over-driven when band conditions are as noisy, as they were last night.
The IC-7300 does not have AM synchronous detection (AMS mode), but I felt it compared very favorably to the Excalibur in AMS mode. The IC-7300 would have easily beat the Excalibur in this test had I only used the Excalibur’s AM mode. In the end, as a shortwave listener, the goal is to compare the total capabilities of broadcast performance between the two receivers (thus using sync mode if available, to maximize broadcast listening performance).
Please vote!
At the end of this post, I have an embedded a survey in which you can vote for the sample recordings you like best. Each recording is clearly labeled to denote that it’s either from “Radio A” or “Radio B” (I had my wife draw names from a hat to determine which radio would be labeled as A or B).
Since there are quite a few recordings, I’d suggest jotting down your notes separately before completing the survey.
The following recordings were made on the 40 meter ham radio band yesterday evening. Both radios have the same filter width: 250 Hz in CW, 3 kHz in SSB.
Note that the following mediumwave recordings were made during the morning hours (grayline). The strong station is the closest AM broadcaster to my home; it’s not a blow-torch “Class A” type station, merely the closest local broadcaster.
In the “weak” sample, I tuned to 630 kHz, where multiple broadcasters could be heard on frequency––but one was dominant.
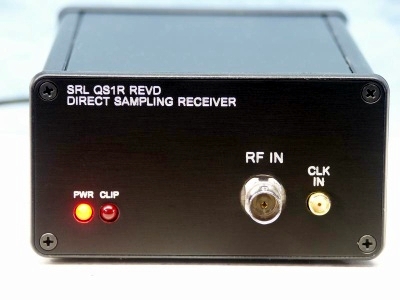
Many thanks to SWLing Post contributor, Ken McKenzie, who noticed the following message from Phil Covington (of Software Radio Laboratory LLC) on the QS1R Yahoo group:
I am working on a replacement for the QS1R that will be less expensive, yet use updated components. I am hoping to have them in production by the end of March.
Ken noticed that the message was originally dated about one month ago, so I’ll follow-up with Phil and see how much progress has been made. The QS1R was a well-respected SDR that had been on the market for several years. It would be great to see an updated version on the market.