Tag Archives: Pavel Kraus

Pavel’s Practical Electronics Homebrew Mediumwave Ferrite Antenna

Many thanks to SWLing Post contributor, Pavel Kraus, who shares the following guest post:


Mediumwave Ferrite Antenna

by Pavel Kraus

This antenna for MW was made according to the instructions from Everyday Practical Electronics magazine, September 2000. The author of the Active Ferrite Loop Aerial construction project is Raymond Haigh.
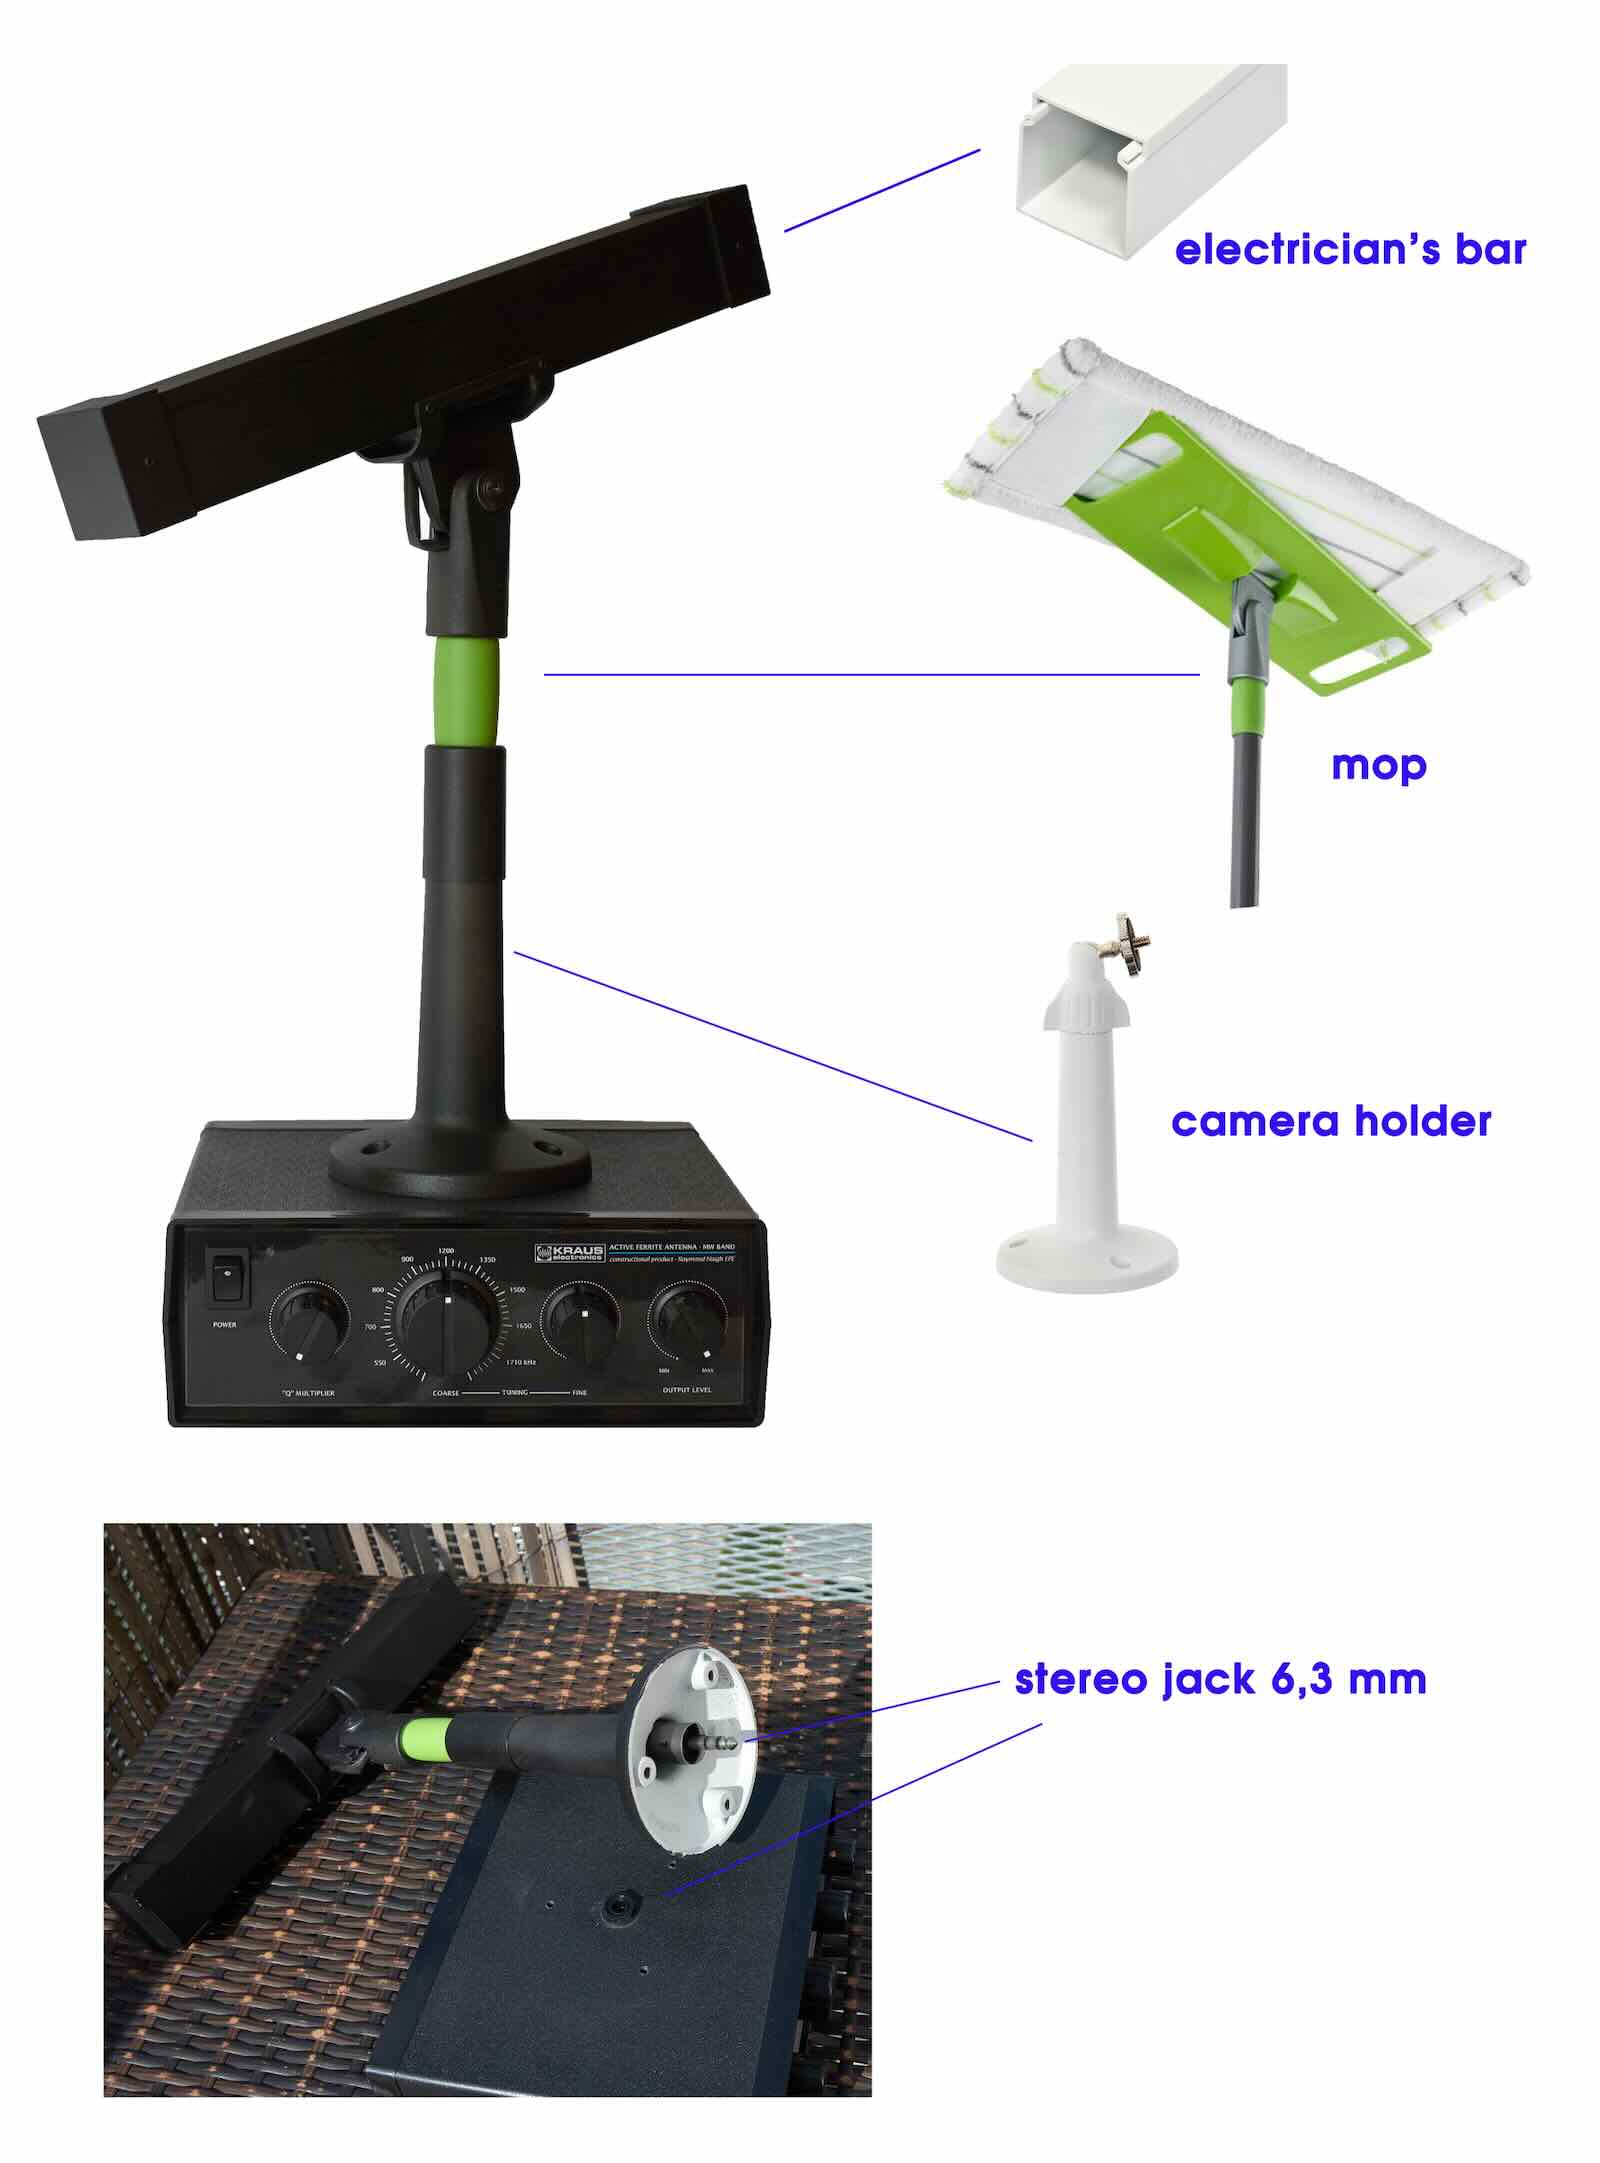
The antenna was only adjusted mechanically according to my capabilities. Reception on this antenna was tested with receivers Malahite DSP 2 – original, Belka, Qodosen DX 286, AOR 7030+, Eton E1 XM and other receivers. Of course, the antenna does not replace a long wire antenna, but in limited urban conditions its performance is sufficient. I compared the antenna to Garry Thomas’ factory Quantum Loop.

Both antennas work similarly, Quantum Loop has a shielded ferrite rod, it is less susceptible to elmg. interference. Raymond Haigh’s antenna shows a bit more gain, the ferrite antenna is made up of 7 pieces of ferrite rods 20 cm long and 1 cm in diameter. The antenna is not shielded.

The construction of the antenna according to the instructions is not difficult. A Raimond Haigh antenna will definitely improve MW reception, especially for radios without an internal ferrite antenna. Instructions can be found at https://www.worldradiohistory.com/UK/Practical-Electronics/00s/Everyday-Practical-Electronics-2000-09.pdf

Belka Test

https://www.youtube.com/watch?v=Yk-ngCQ8TFc

Qodosen DX286 Test

https://www.youtube.com/watch?v=F77HOJSmu_4

Malahite DSP2 Test

https://www.youtube.com/watch?v=C2dvaCT9z6Y

Spread the radio love

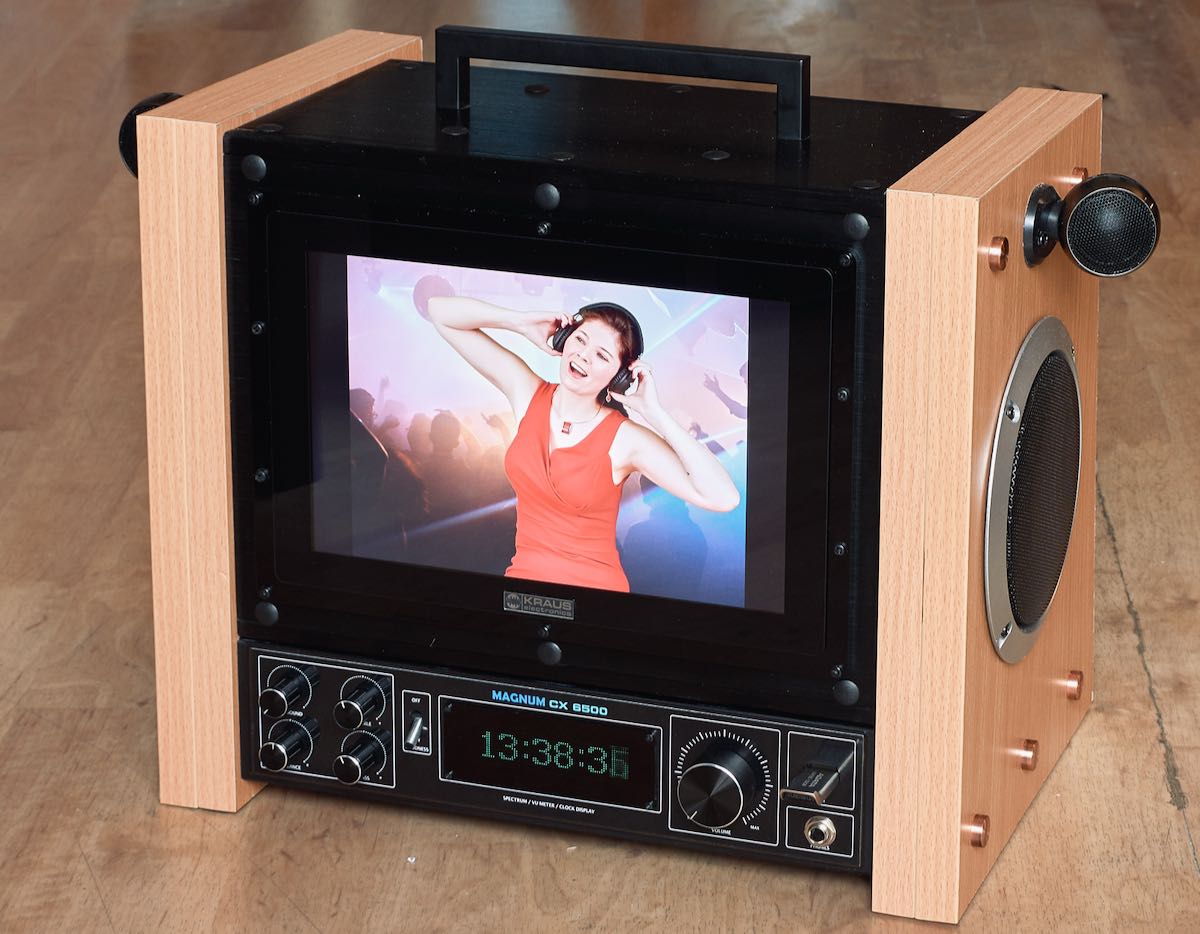
Pavel’s Belka photos and poster

Many thanks to SWLing Post contributor, Pavel, who shares the following message and images. Note that this message was originally sent to me prior to Christmas, but never arrived in my inbox. Thank you, Pavel, for the follow-up:

Hi Thomas,

First of all, I wish you and your entire family and all blog readers a wonderful rest of the Christmas holidays, all the best for the new year 2023, lots of health and well-being and many beautiful moments listening to the radio.

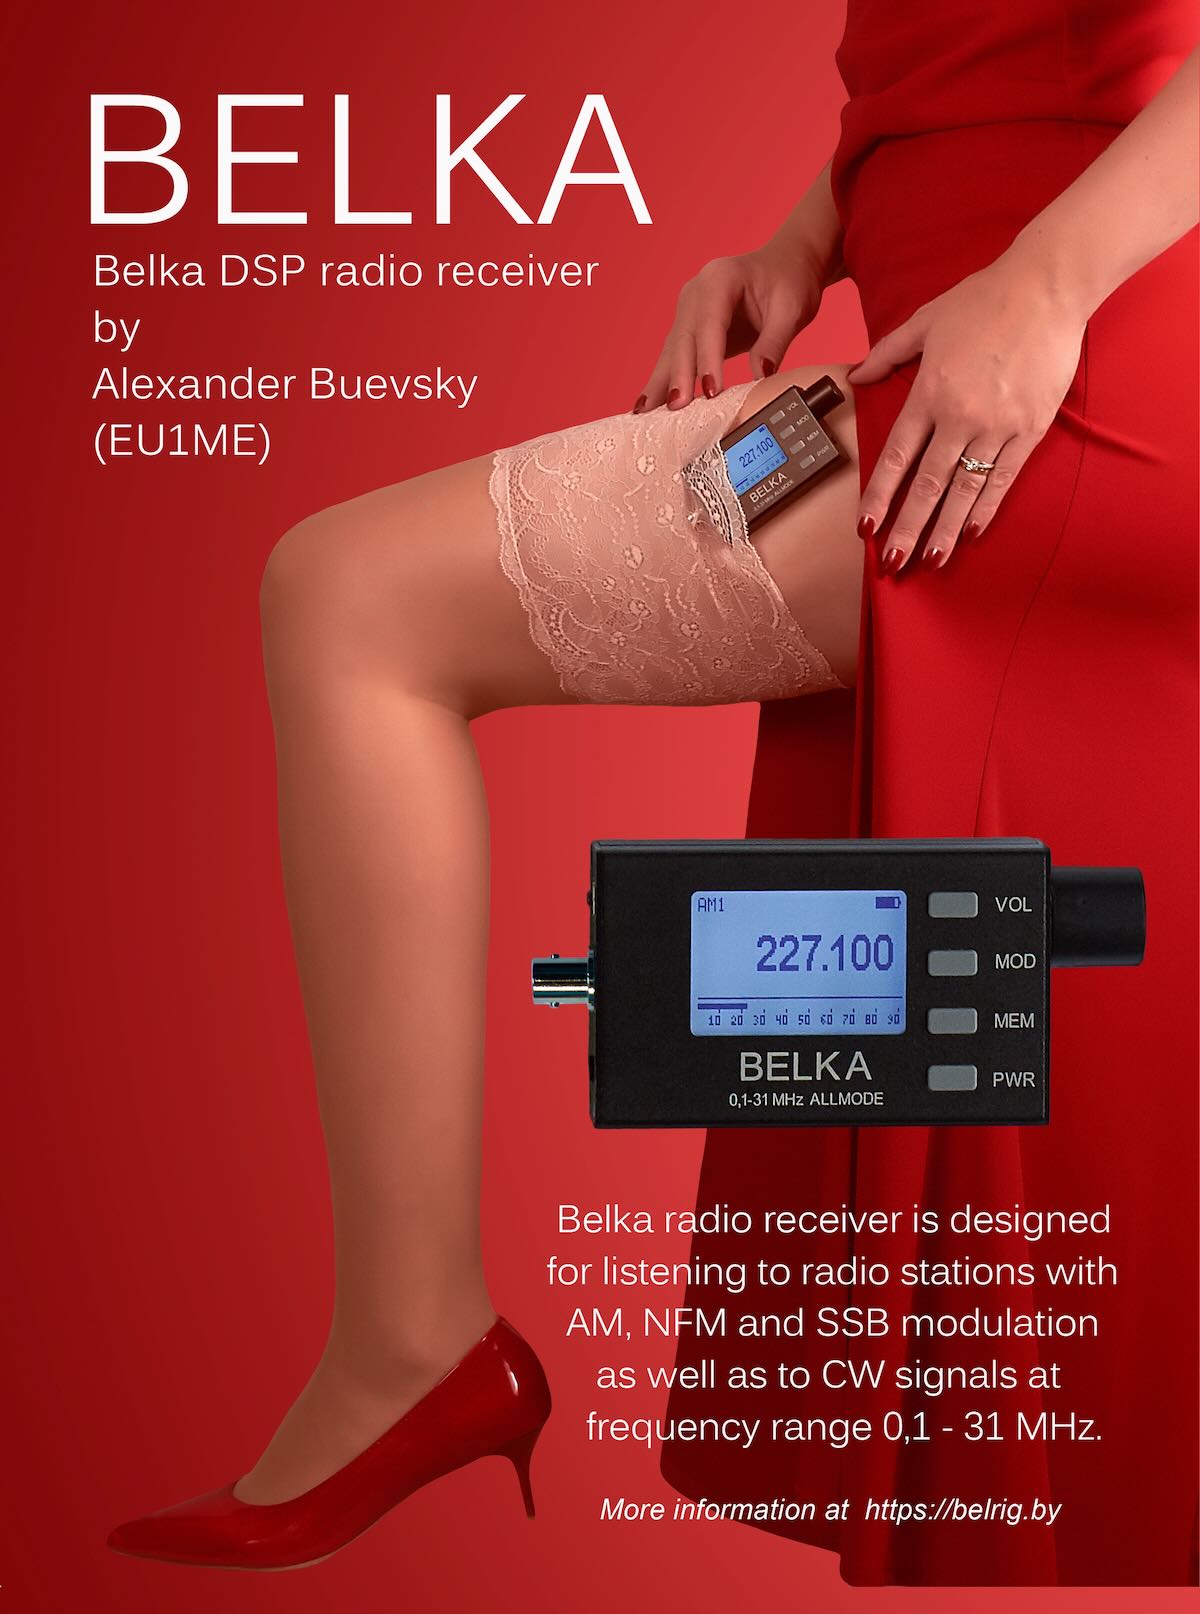
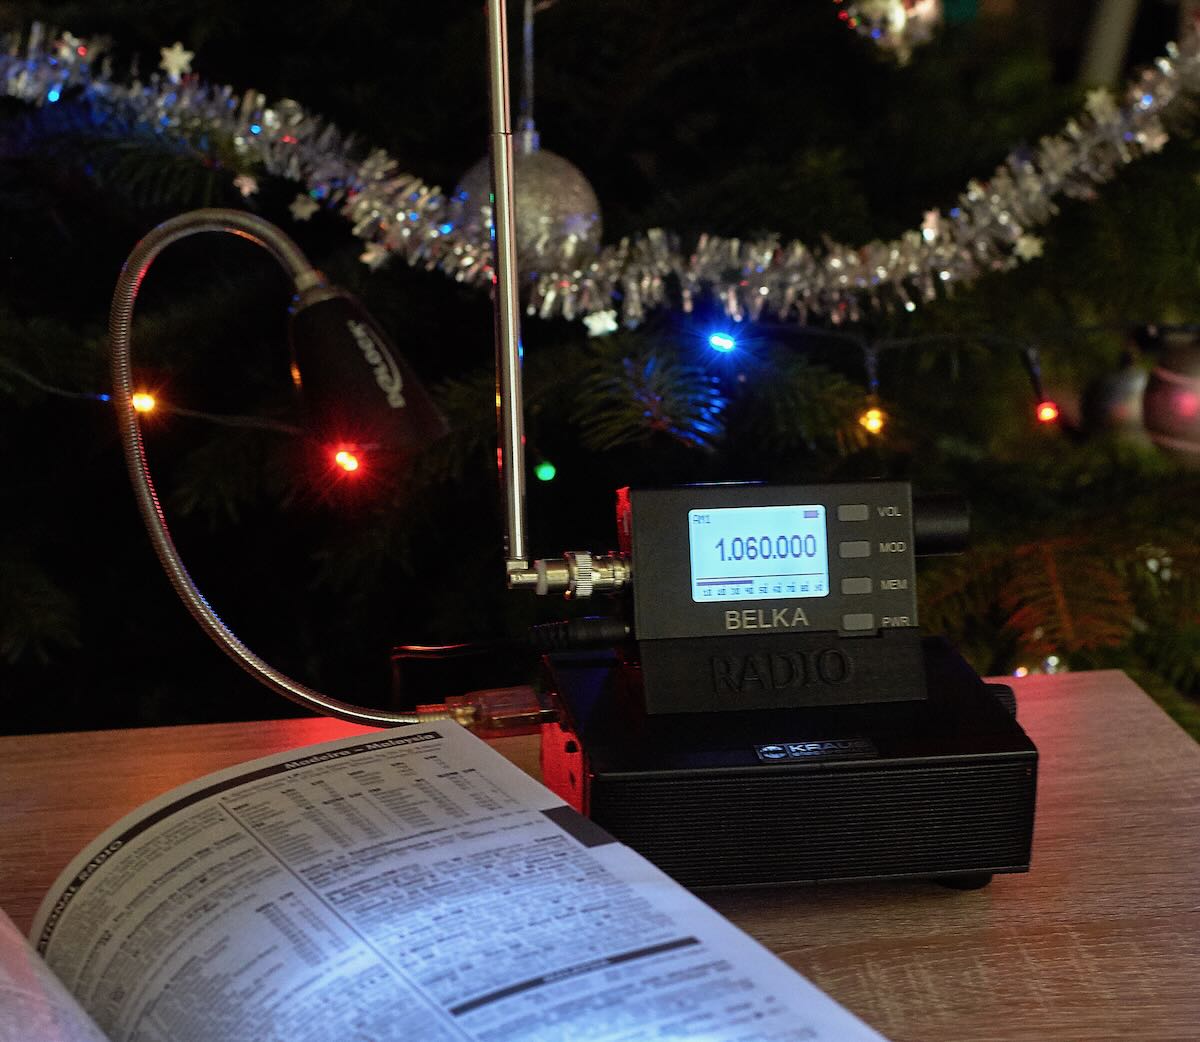
Some time ago I became the owner of the last type of Belky. I’m excited about her. So I immediately made an advertising poster with my wife and Belka :-).

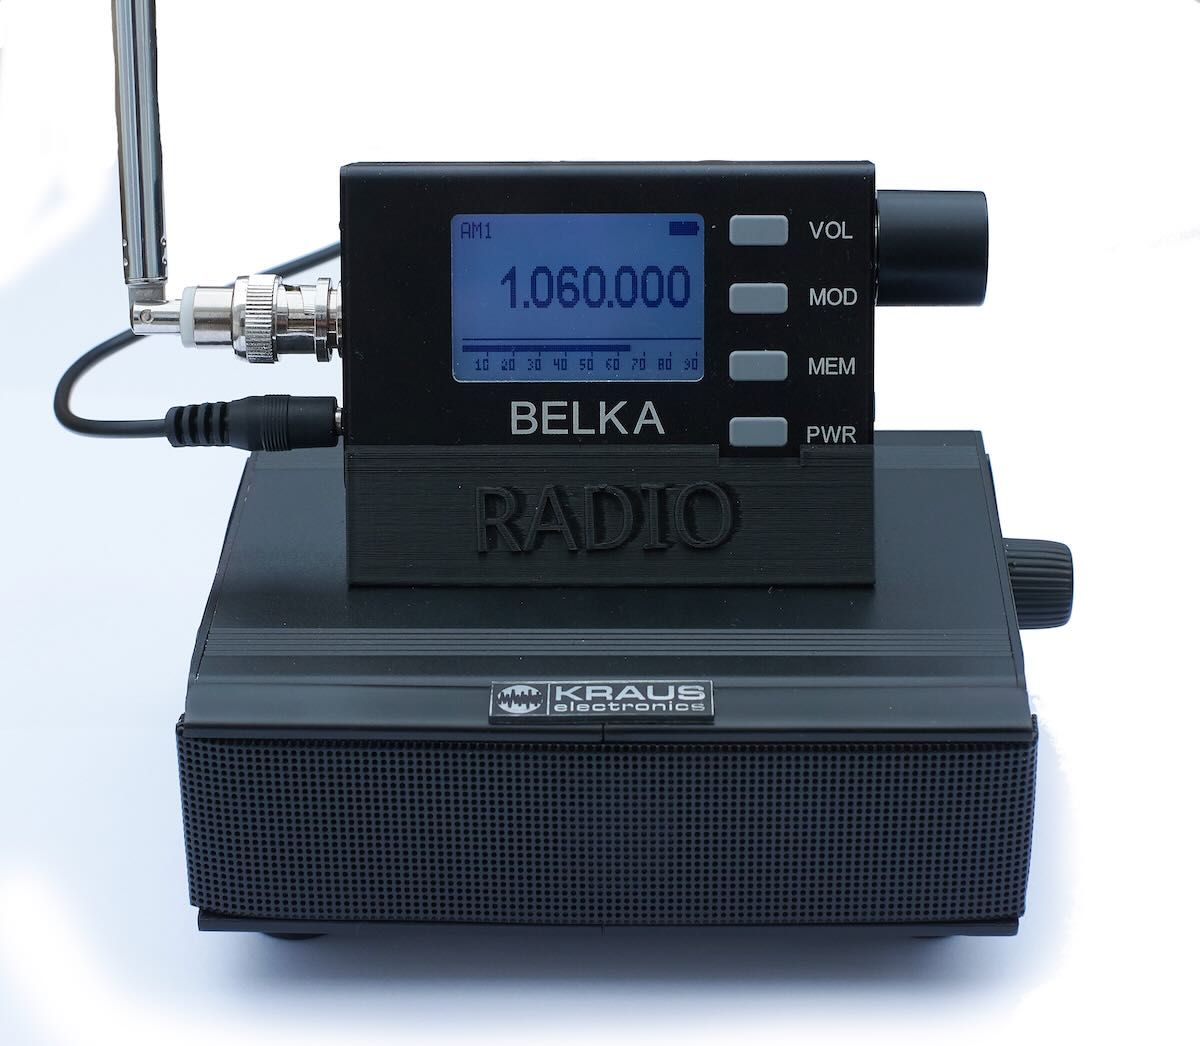
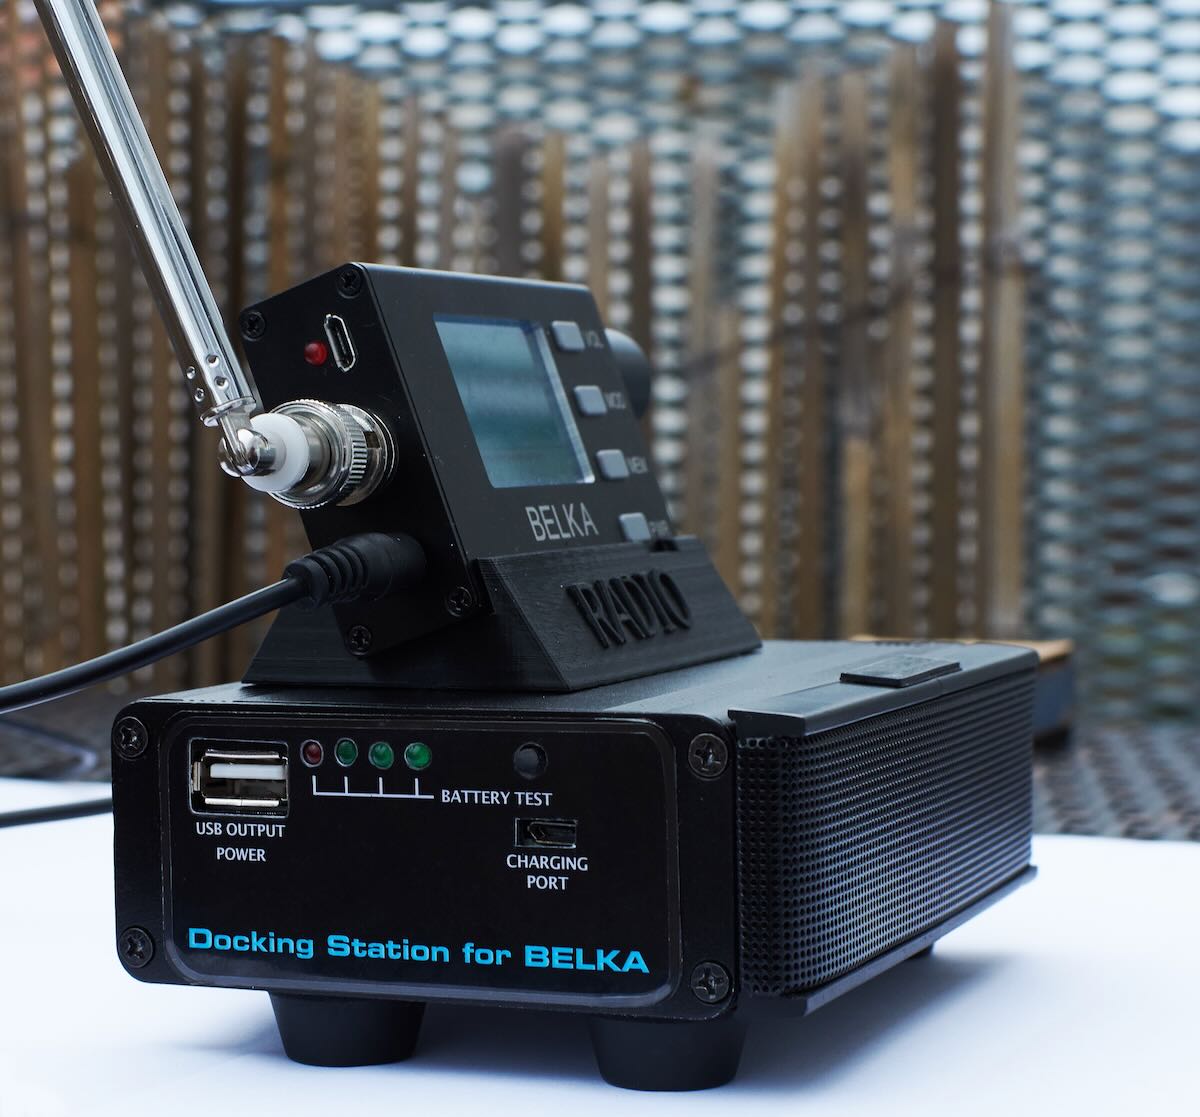
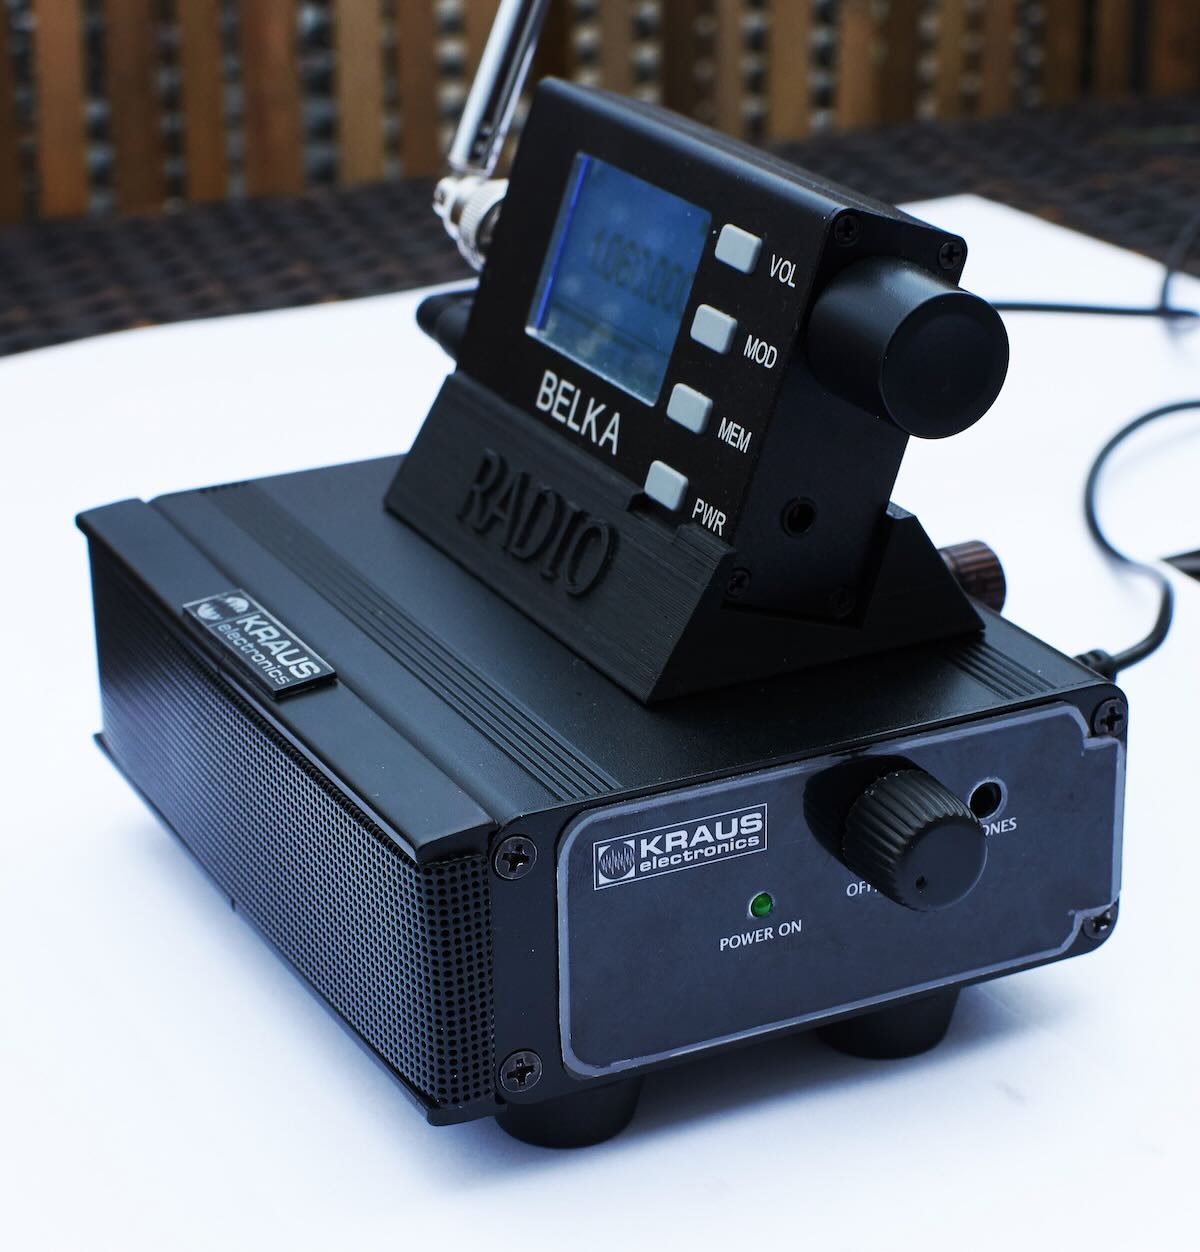
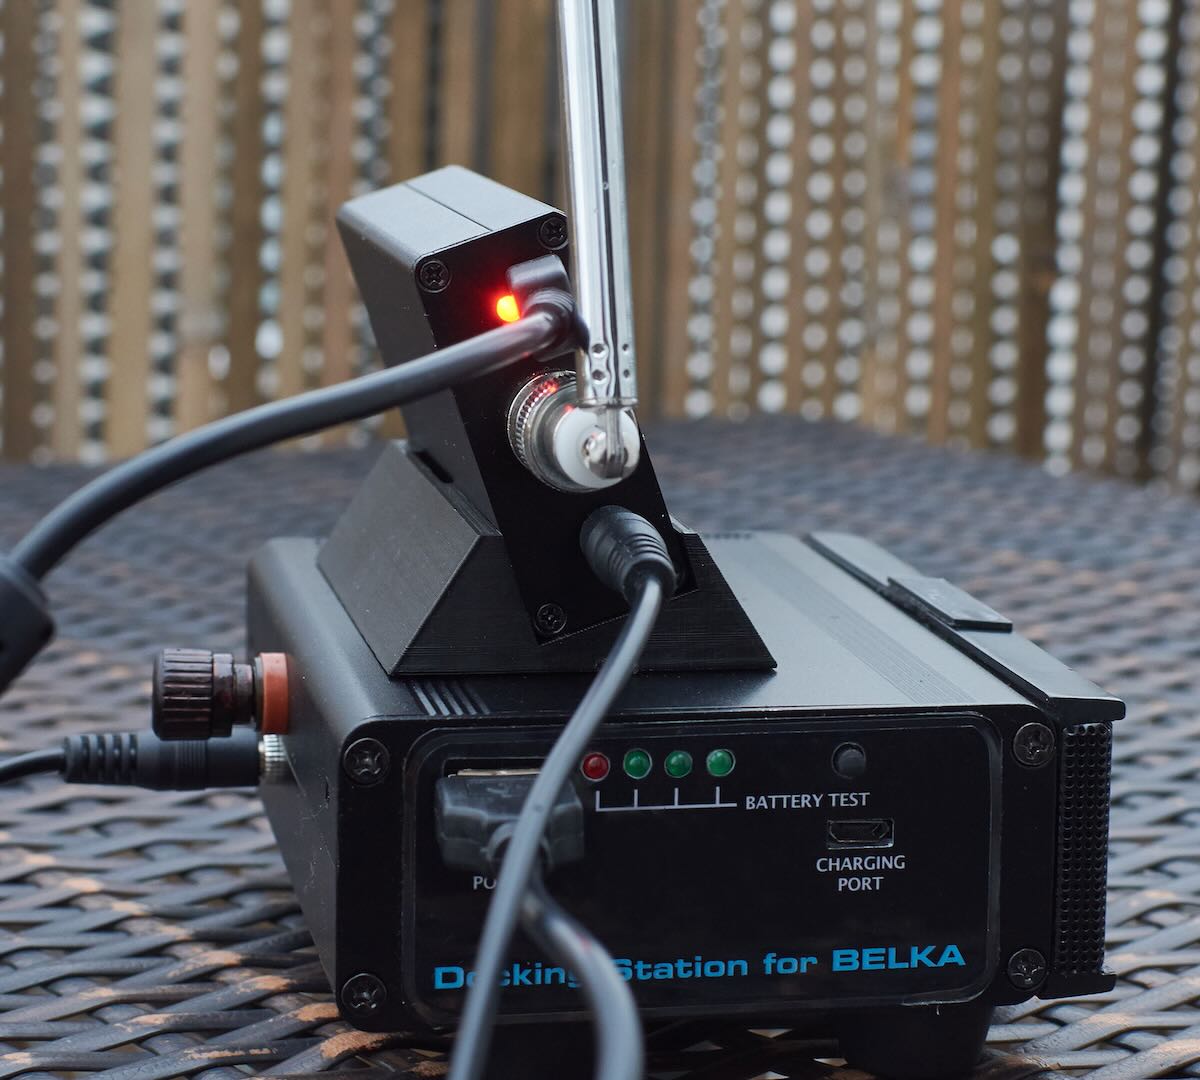
I made a small docking station for the Belka – it has a built-in stereo amplifier, speakers and a battery with a charging circuit and a Dc-Dc converter for emergency charging of the Belka in the field. The status of the battery is indicated by LEDs. The Belka holder itself is made on a 3D printer.

Maybe it can serve as inspiration for blog readers.

Hi

Pavel Kraus

Thank you for sharing this, Pavel. We all love both your creativity not only in your photos, but the amazing radios you produce. We love how you use your wife as your model in your work!

Spread the radio love

Pavel fixes a stereo lock in the Eton E1

Many thanks to SWLing Post contributor, Pavel Kraus, who shares the following guest post:


Eton E1 – fault in stereo reception

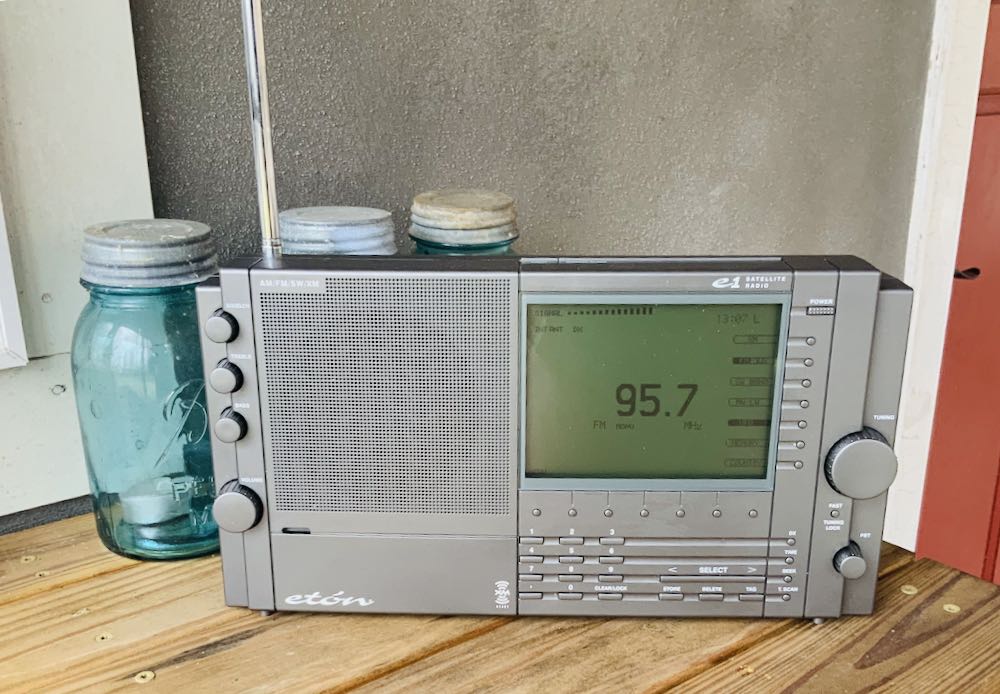
I recently became the owner of an Eton E1 receiver, which I obtained on eBay from the USA.

The receiver is great, everything worked, error-free display. The only problem was that even FM and strong local stations did not play stereo even though stereo reception was set in the menu. The stereo text on the display flashed several times when the stations were not tuned in precisely, but after the stereo tuned, the text went out. I know that stereo reception is not the most important thing for this receiver, but it bothered me that there was a defect at all.

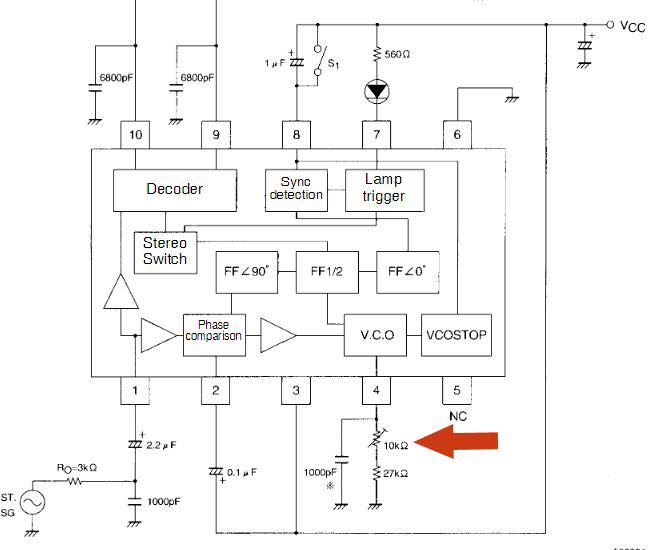
The Sanyo 3335 stereo decoder is used in this radio. The stereo reception switching threshold can be set with a 10kohm potentiometer which is connected to terminal 4 of the integrated circuit:

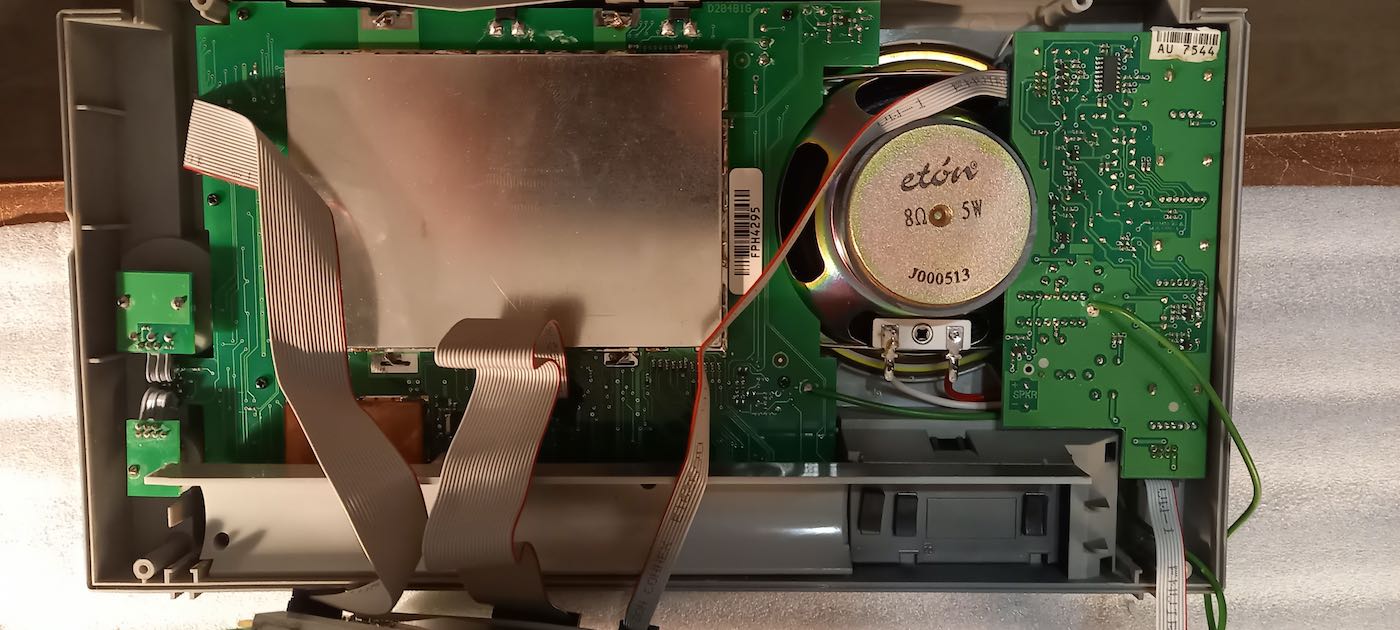
I disassembled the radio by loosening the screws on the back of the radio. The receiver is divided into two parts. I removed the XM module and disconnected the part of the radio with the display from the flat wires on the second printed circuit board of the radio

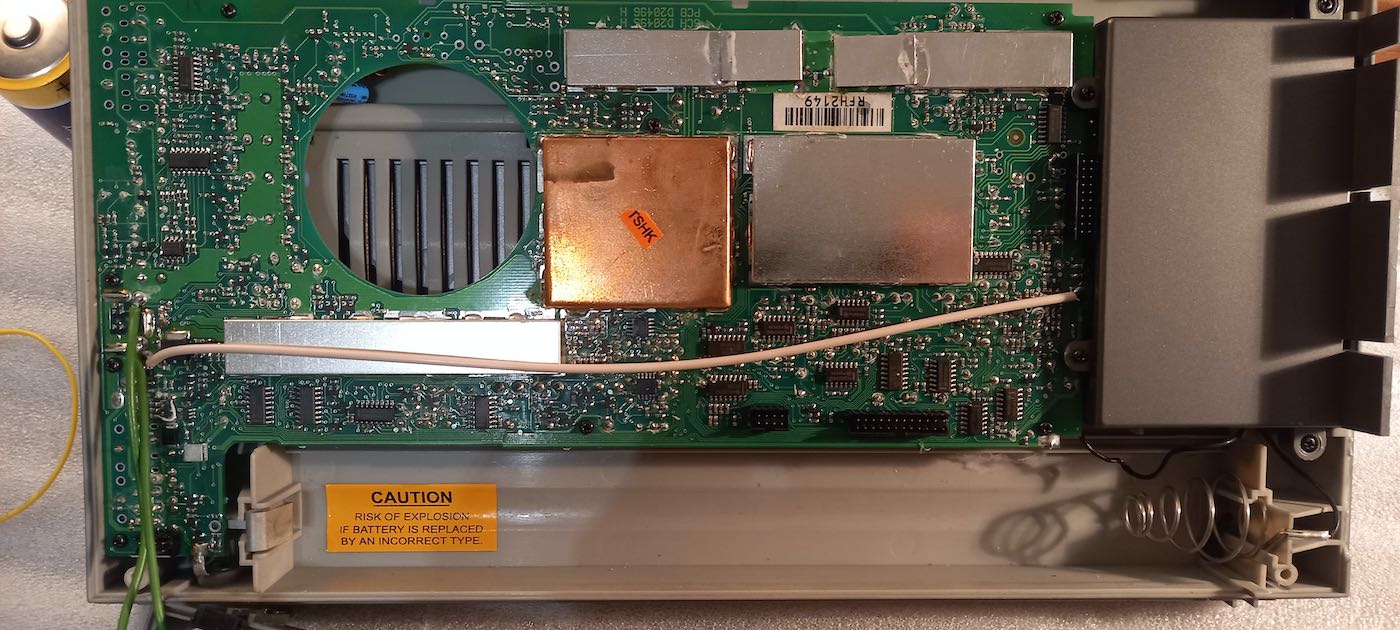
I then removed the screws on the circuit board located at the back of the radio.

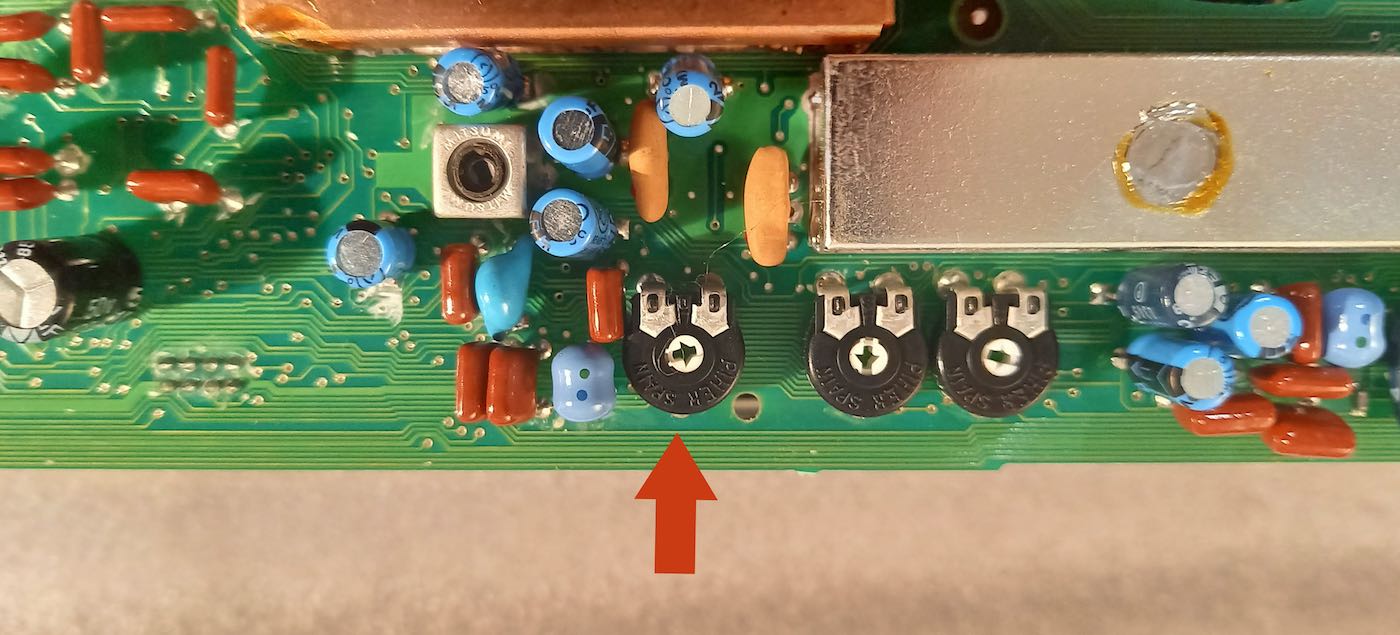
I removed the printed circuit board and found a matching resistor trimmer on the other side of the circuit.

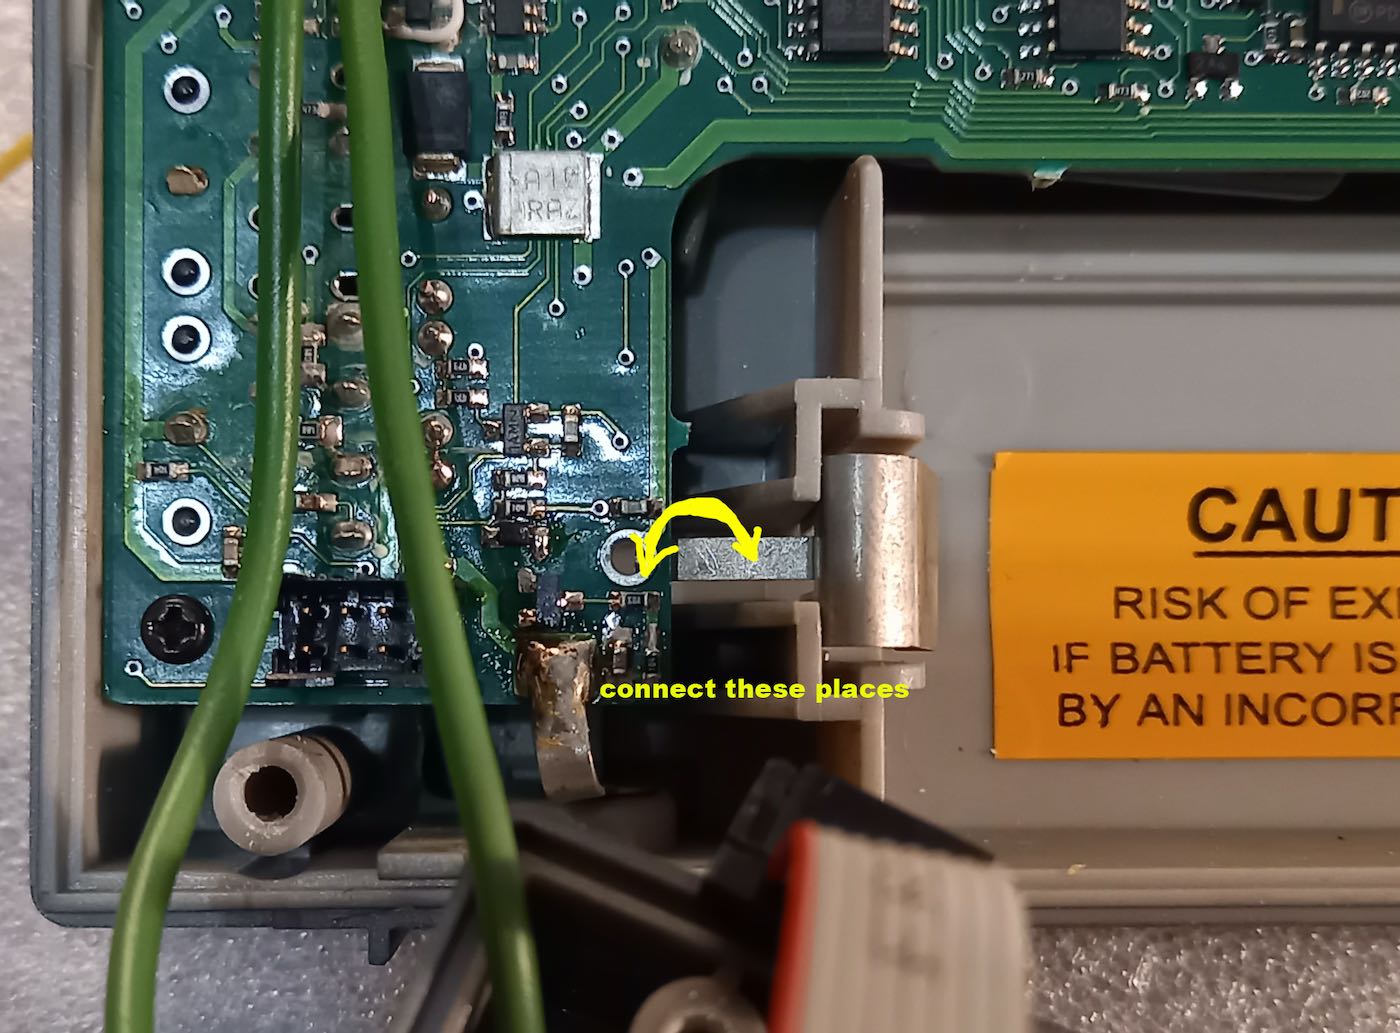
Then I connected these two points with a wire (when running on batteries) so that I could turn on the receiver:

After tuning in to a strong local transmitter, I carefully turned the trimmer until the stereo sign lit up and listening to the headphones made sure the sound matched the stereo. I repeated this at several local stations.

The receiver now plays stereo perfectly and the settings do not affect other parameters of the receiver. After assembling the radio, I was able to enjoy quality stereo reception.

Spread the radio love

Guest Post: Pavel’s Raspberry Pi-based homemade multimedia internet radios

Many thanks to SWLing Post contributor, Pavel Kraus, who shares the following guest post:


Raspberry and internet radio


by Pavel Kraus

Raspberry and Volumio

I recently read an article about a Raspberry microcomputer here and I would like to introduce you to an idea that is easy to implement, not too expensive and does not require special computer knowledge due to the number of detailed instructions on the Internet. With Raspberry and the Volumio free software audiophile system, it is possible to design devices that allow you to play music files from connected or network storage or listen to Internet radio, etc. You can also play music from Spotify using the available plugins.

The system can be controlled by touch from the built-in display, from a mobile phone or tablet or by remote control. There are a huge number of internet radios, you can search them by genre or by country. For example, radio stations in the United States are categorized by  state, in each state by city, and we can select individual stations in that city.

Volumio is the name for the project, which is presented at https://volumio.com/en/.

There is also the option to download this software and install it on a microSD card. Detailed documentation is available at https://volumio.github.io/docs/, so I will not describe it in detail here, the installation itself is not complicated. I used the following components to make this device: Continue reading

Spread the radio love

The Gift That Keeps On Giving: Pavel’s Amazing Upcycled Hombrew Radios!

Many thanks to SWLing Post contributor, Pavel Kraus, who shares the following guest post:


Inspiration for gifts

by Pavel Kraus

This article should be just an inspiration for how to make a gift for our wives and neighbors so that they are not upset that we are still sitting at the radio, but rather they also have something to do with it.

When I see a nice box, I get the thought of building a radio in it.

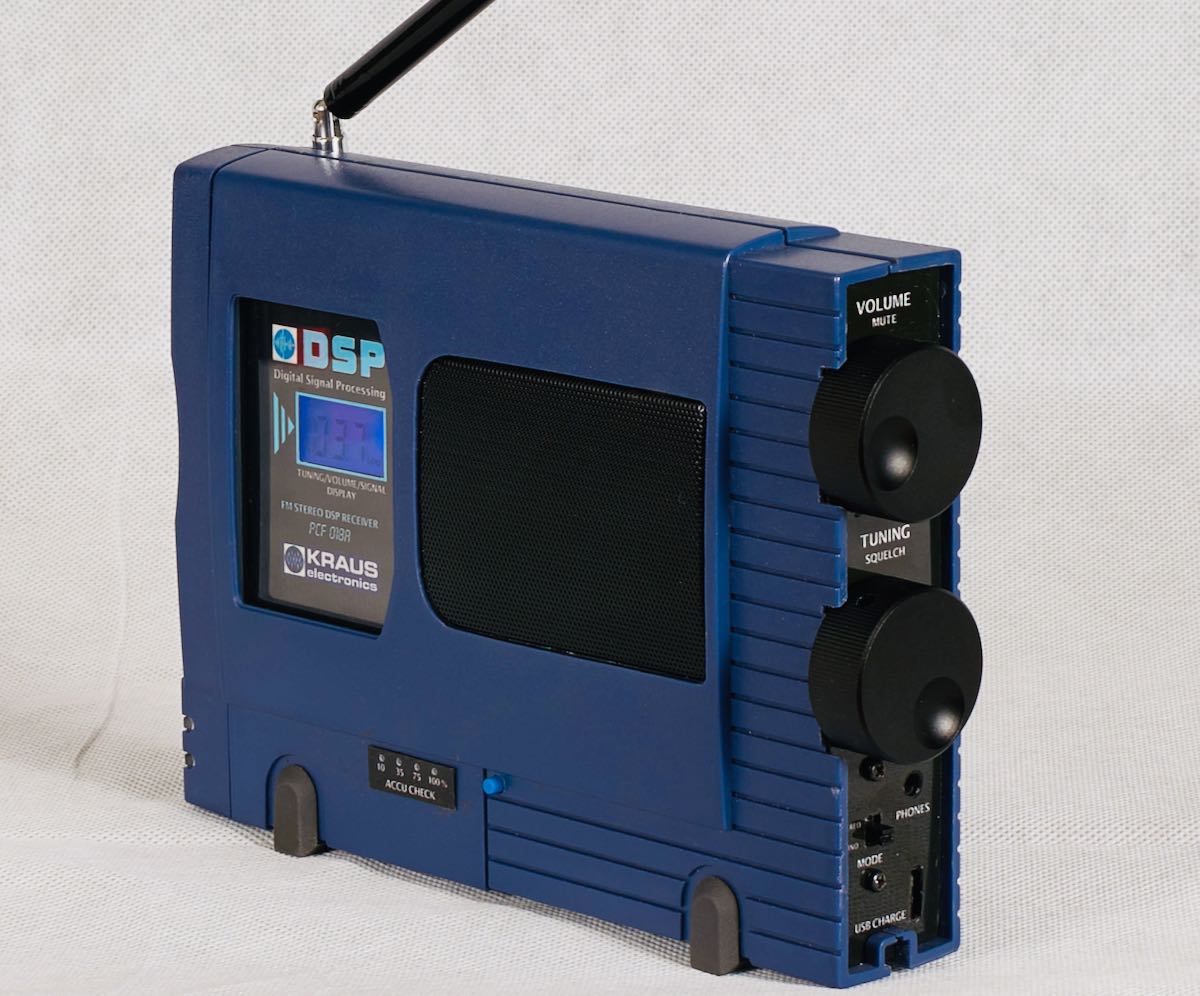
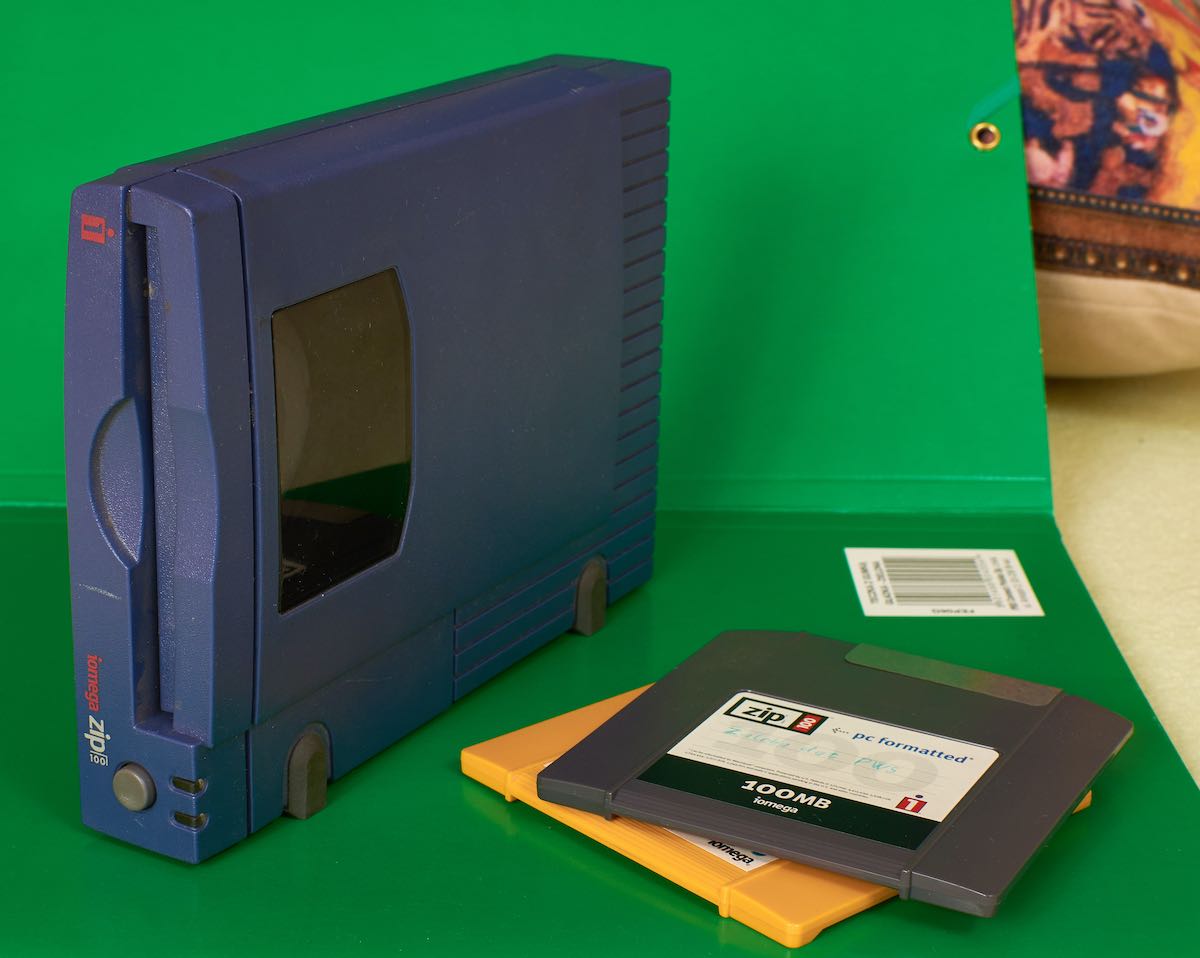
Iomega ZIP Drive Radio

For the production of the first two radios, I used boxes from Iomega ZIP floppy disk drives, which were previously widely used in DTP studios before the advent of USB flash drives and can certainly be found as discarded in warehouses.

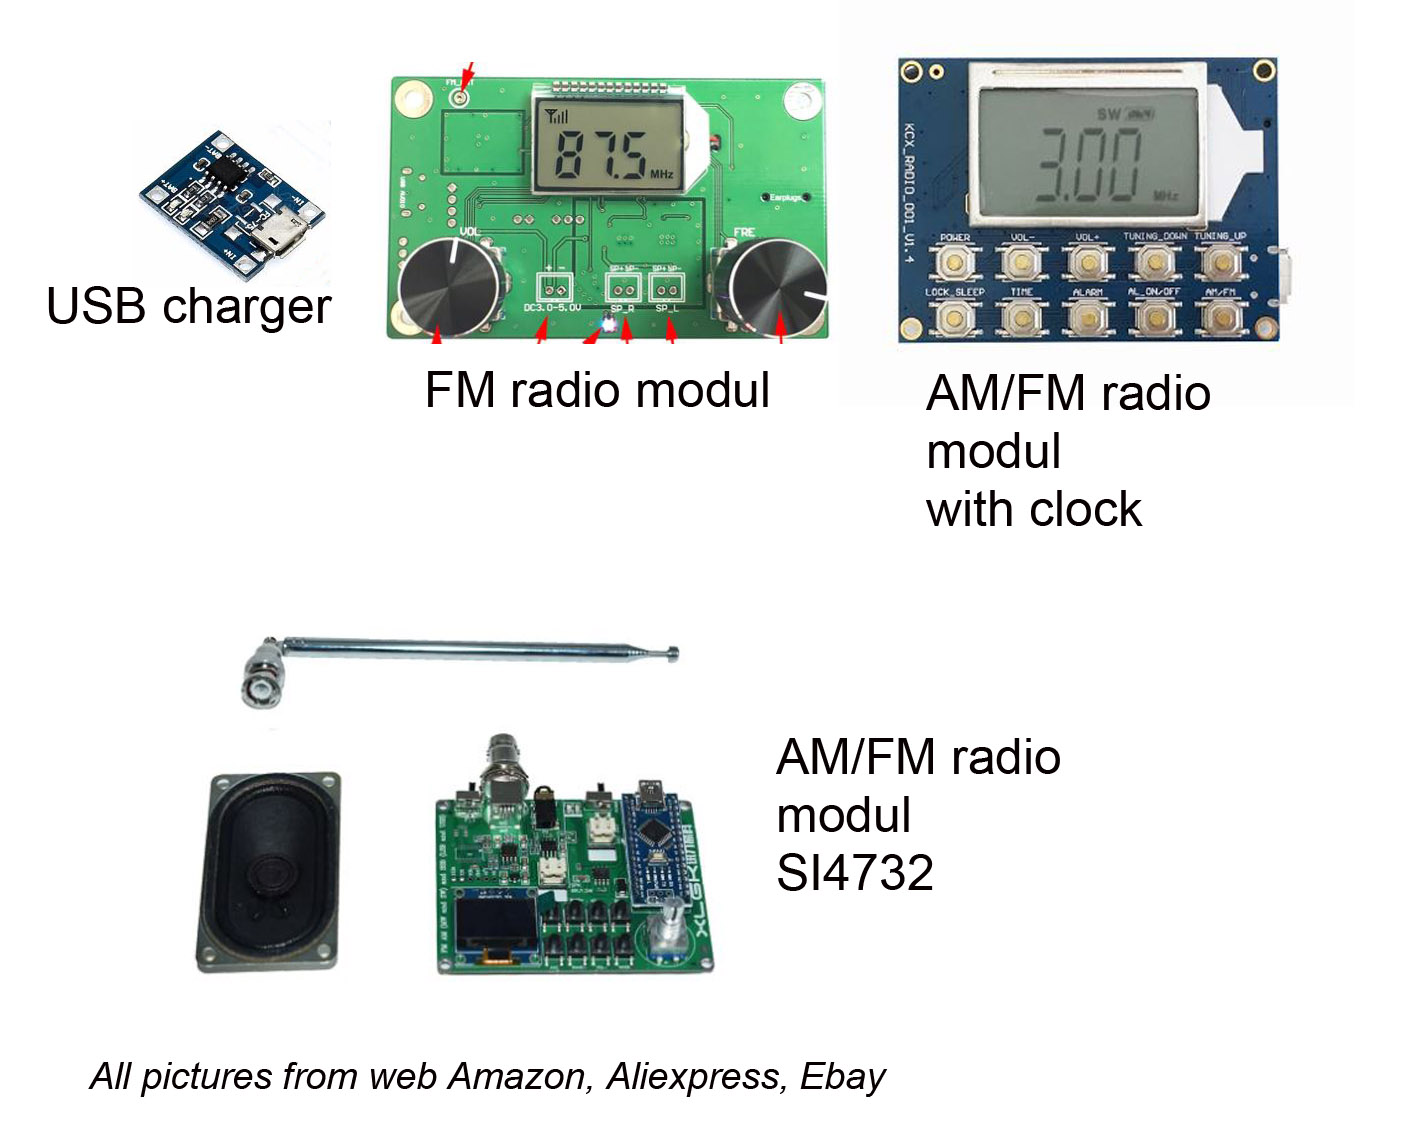
Used electronic components can be purchased on eBay, Amazon, Aliexpress – they are radio modules, batteries, charging module, other components can be found in our amateur stocks.

After removing the inside of the Iomega ZIP drive, there is room for the module to be built in and the transparent window prompts you to place the module with the display.

I desoldered the encoders from the motherboard and placed them on the side of the radio. The fingerboard of the button from the drive can also be used as a power switch.

At the same time, the original LEDs can be used as an indication of charging the built-in battery.

In the second type of radio using the same box, a button control module is used, where the buttons have been desoldered and connected to a separate board inside the radio.

Russian Enclosure Radio

The third type of radio uses a box from Russian radio by wire, where an AM / FM radio module with a clock was built in.

Commodor C 64 Power Supply Radio

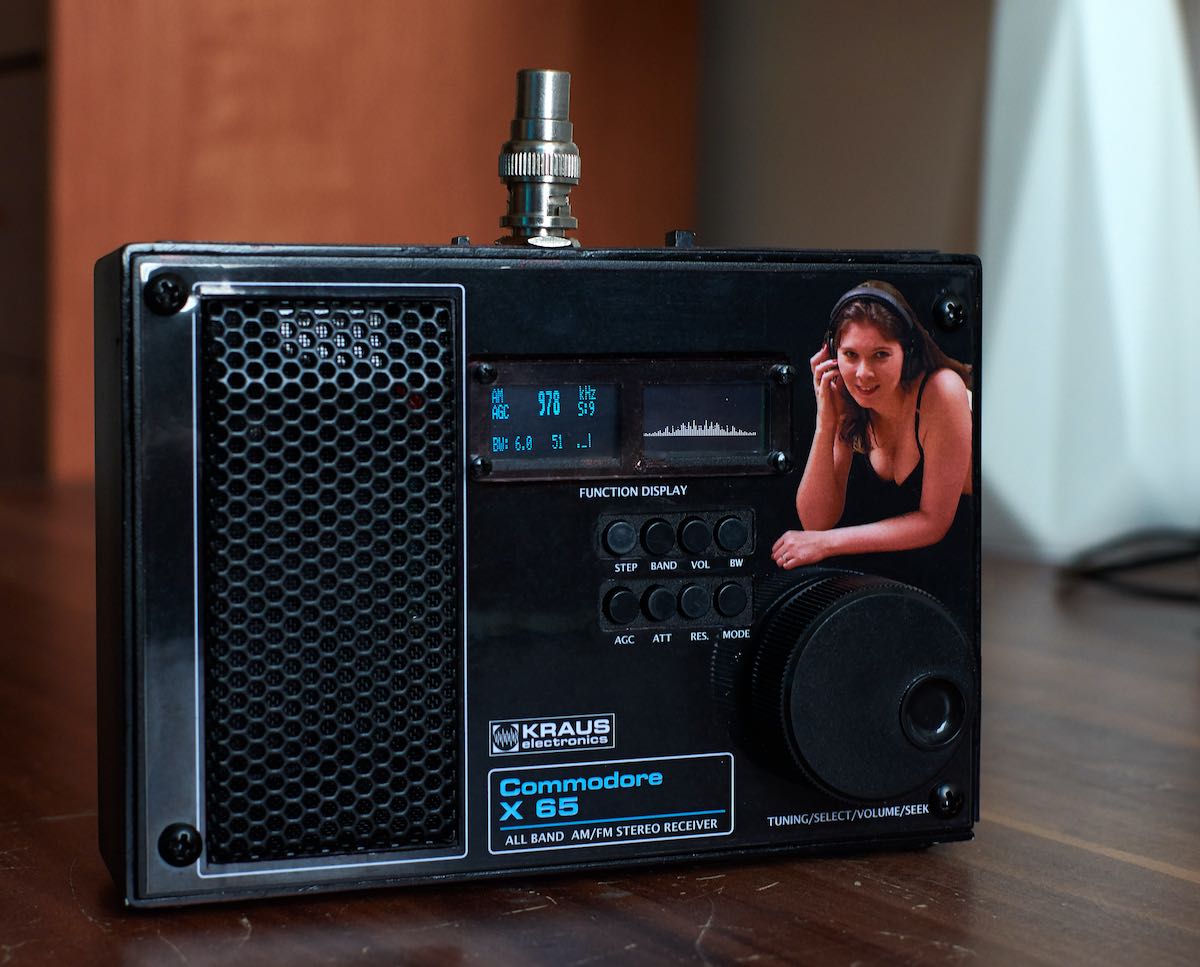
The last type uses half of the box from the Commodor C 64 power supply. It has a built-in radio module with IO SI 4732 (radio from the Commodore C64 power supply box with SI4732 radio module .jpg).

A photo of my wife is printed on the radio panel so she doesn’t say I’m looking at foreign women.

I wish you all a beautiful and relaxing Christmas, all the best until the new year 2022 and a lot of inspiration for radio hobbies.

Pavel Kraus

Spread the radio love

Guest Post: Pavel’s Homebrew “Monster” Drain Pipe FSL Antenna


Many thanks to SWLing Post contributor, Pavel Kraus, for the following guest post:


Building a Drain Pipe FSL Antenna

by Pavel Kraus

Hi, I greet all DX fans and the entire SWLing Post community! I enjoy reading reading this blog and the diversity of contributions from our authors and contributors; many thanks from me for so much useful information.

The following are the construction notes of my FSL antenna, which I designed thanks to the suggestions of GaryDeBock, and other FSL designers.

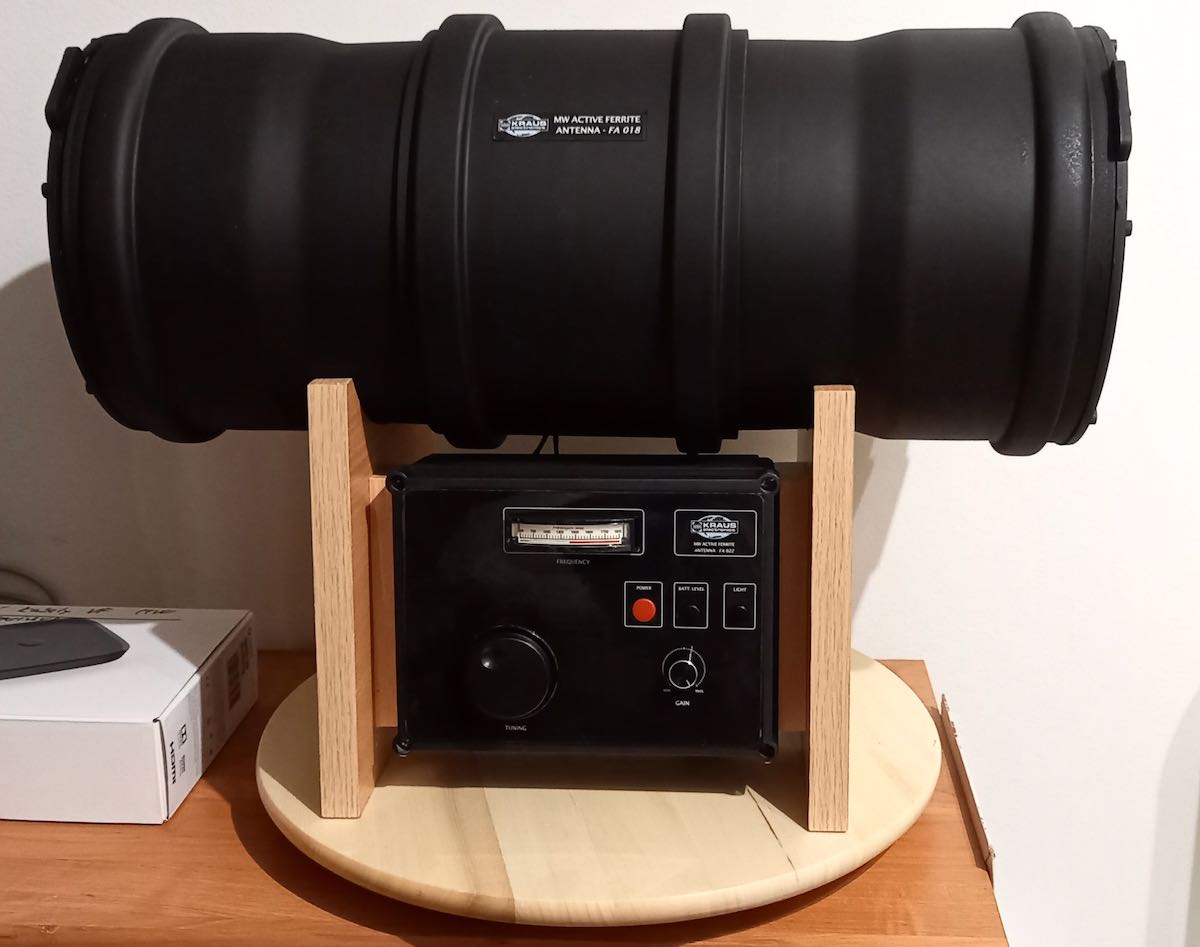
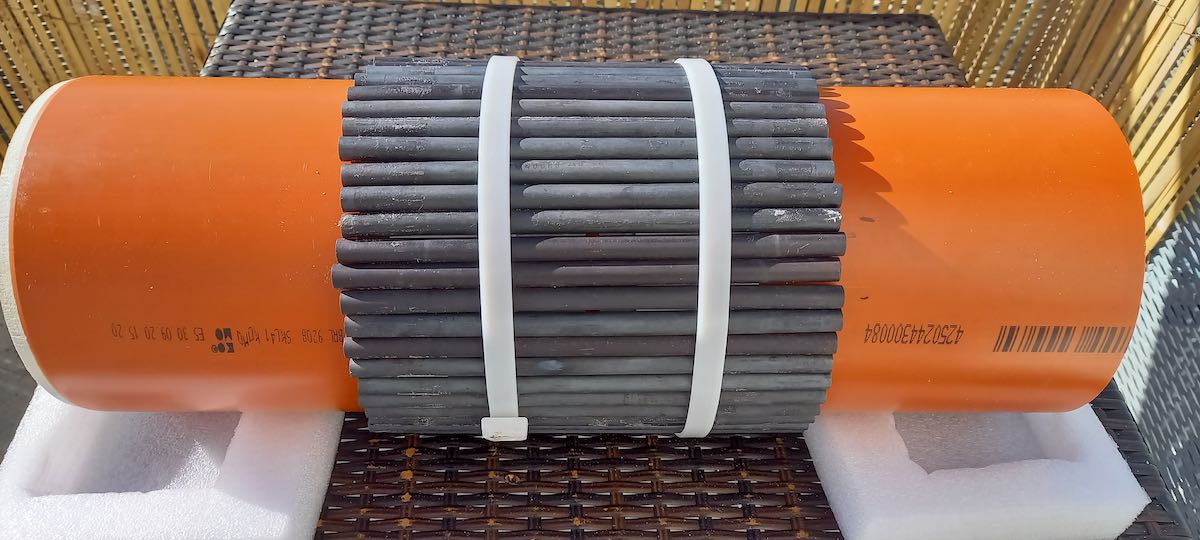
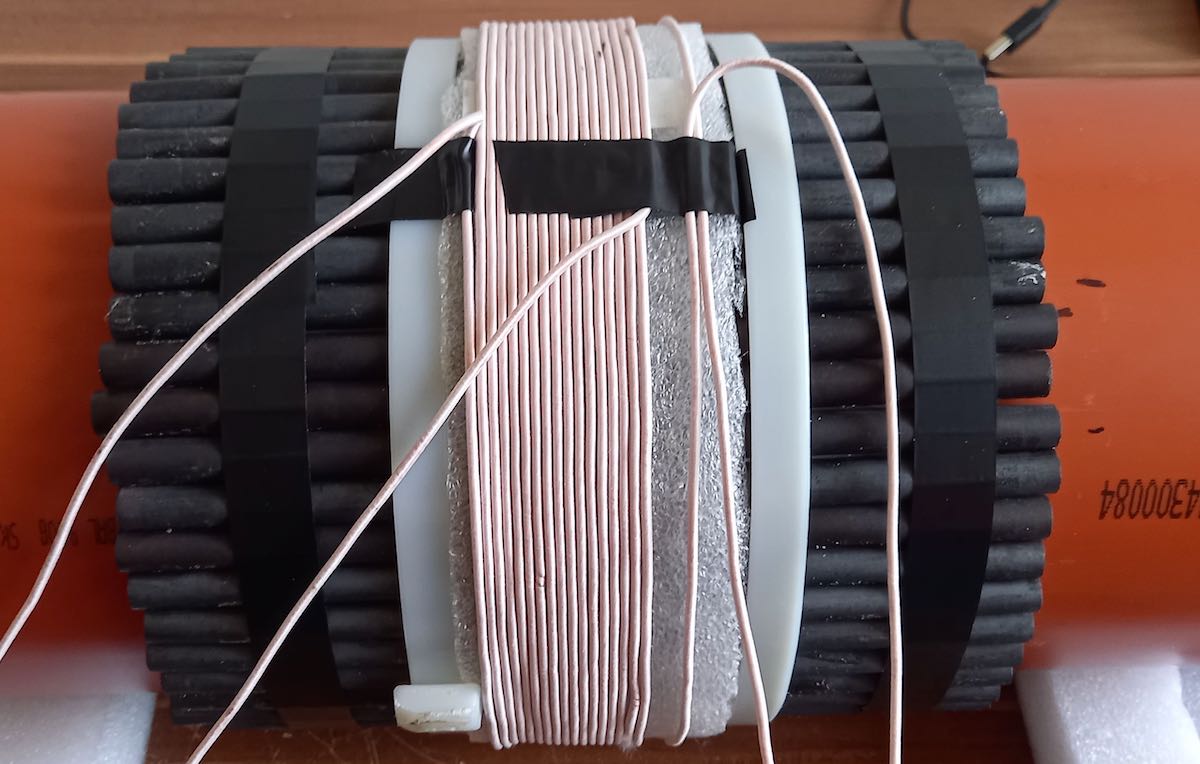
The antenna is a classic design featuring 60 ferrite rods 200x 10 mm, which are placed on a plastic sewage pipe.

Pict 3: Pipe with ferrite rods and windings

Pict 4: Pipe with ferrite rods and windings

In addition, sewer pipe sections are used for the entire antenna cover. I assume that this material can be obtained in other countries as well. Continue reading

Spread the radio love