By Jock Elliott, KB2GOM
I don’t know about you, but my goals when I switch on a radio are not always the same. Sometimes I want to communicate, to send and receive information, such as on the Commuter Assistance Network through ham radio. At other times, I want to gather information passively from first-hand sources, like the road condition reports that I can hear through the scanner from the highway crews on the New York State Thruway. And still other times, in the pre-dawn hours, my greatest desire is to hear the farthest possible station on the medium wave frequencies.
And sometimes, I simply want to hear something different . . . different from the usual fare that comes across medium wave, FM, or even shortwave. Hold that thought for just a moment.
The other day, an email popped up in my inbox from the CCrane Company, inviting me to check out their CCrane CCWiFi3. “Listen to Thousands of Radio Stations from Around the World With Clear Reception – No Static, No Fade, No Apps,” it promised.
I was intrigued and sent an email to CCrane asking if they would like me to do a review, and they sent me a CCWiFi3 without charge.
To cut to the chase, the CCWiFi3 really does deliver what the marketing copy says: you can “Listen to Thousands of Radio Stations from Around the World With Clear Reception – No Static, No Fade, No Apps.” No kidding! And no frustration in setting it up either. It is easy and fun to use.
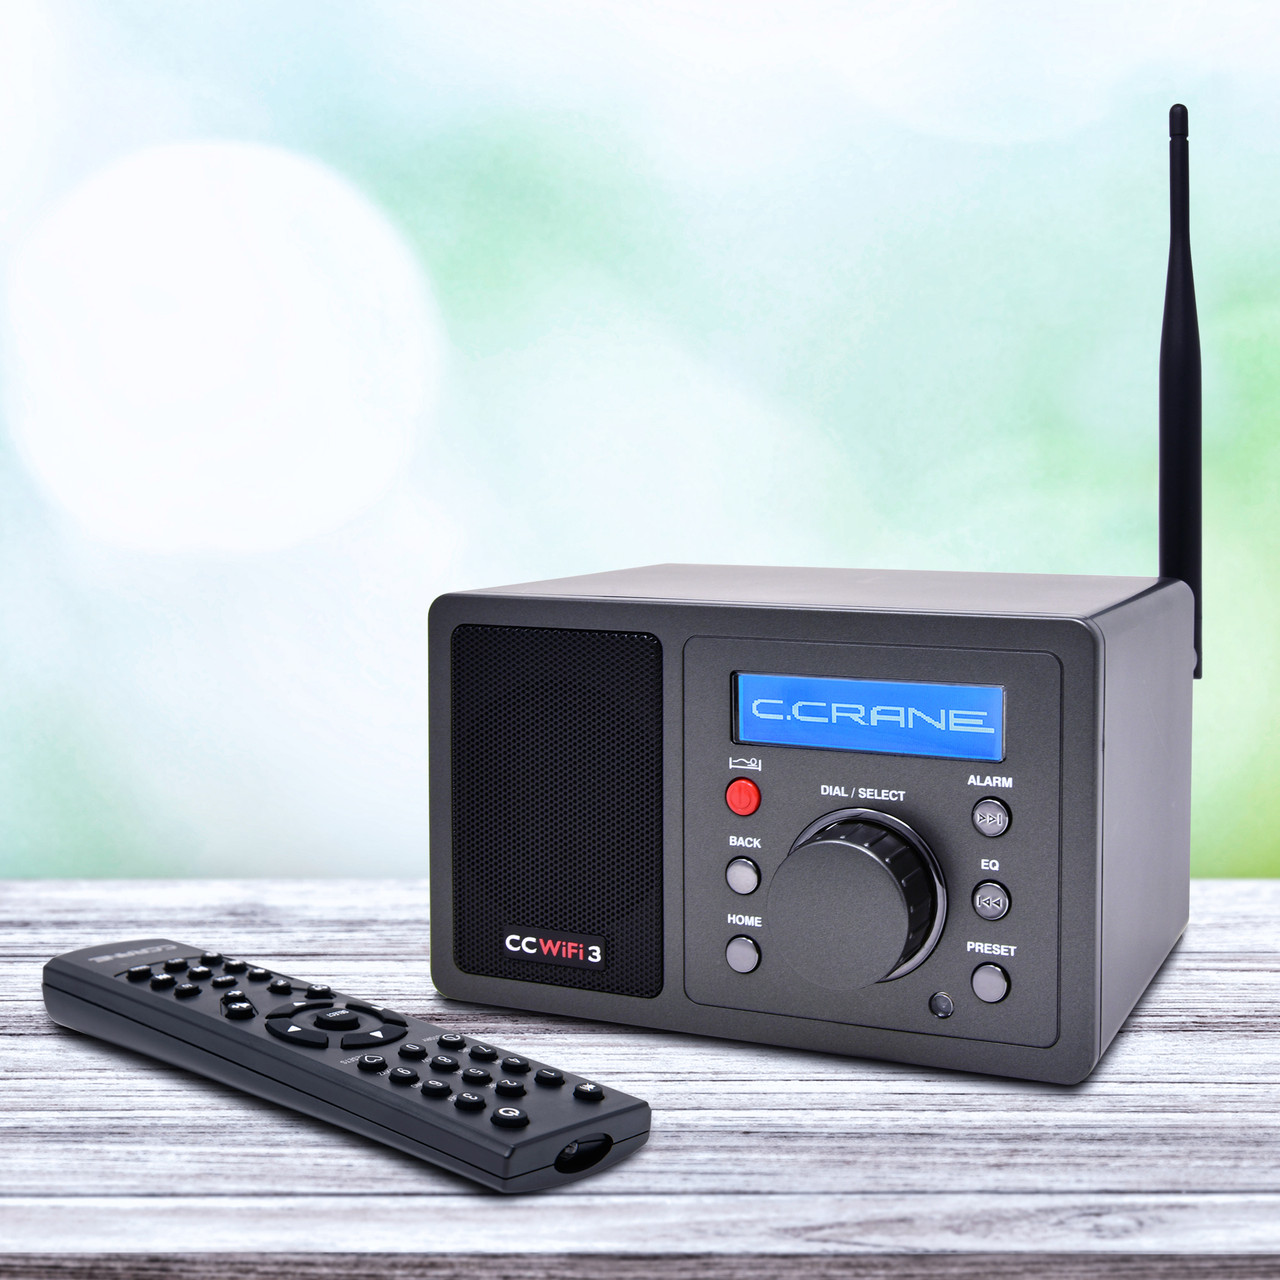
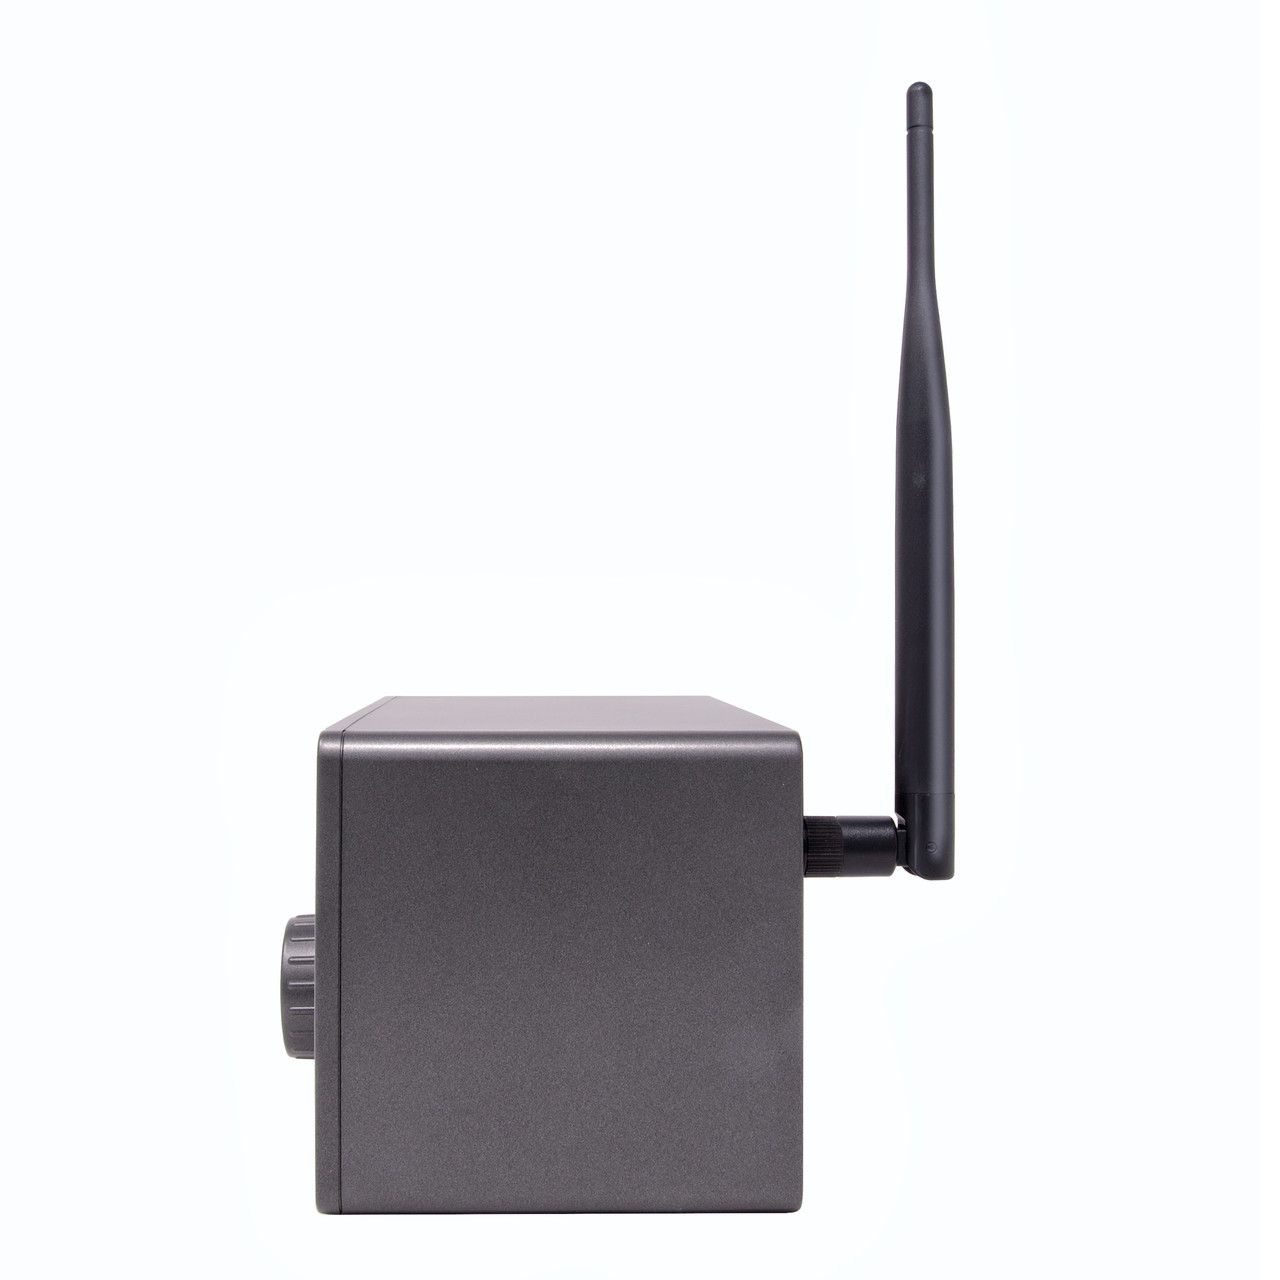
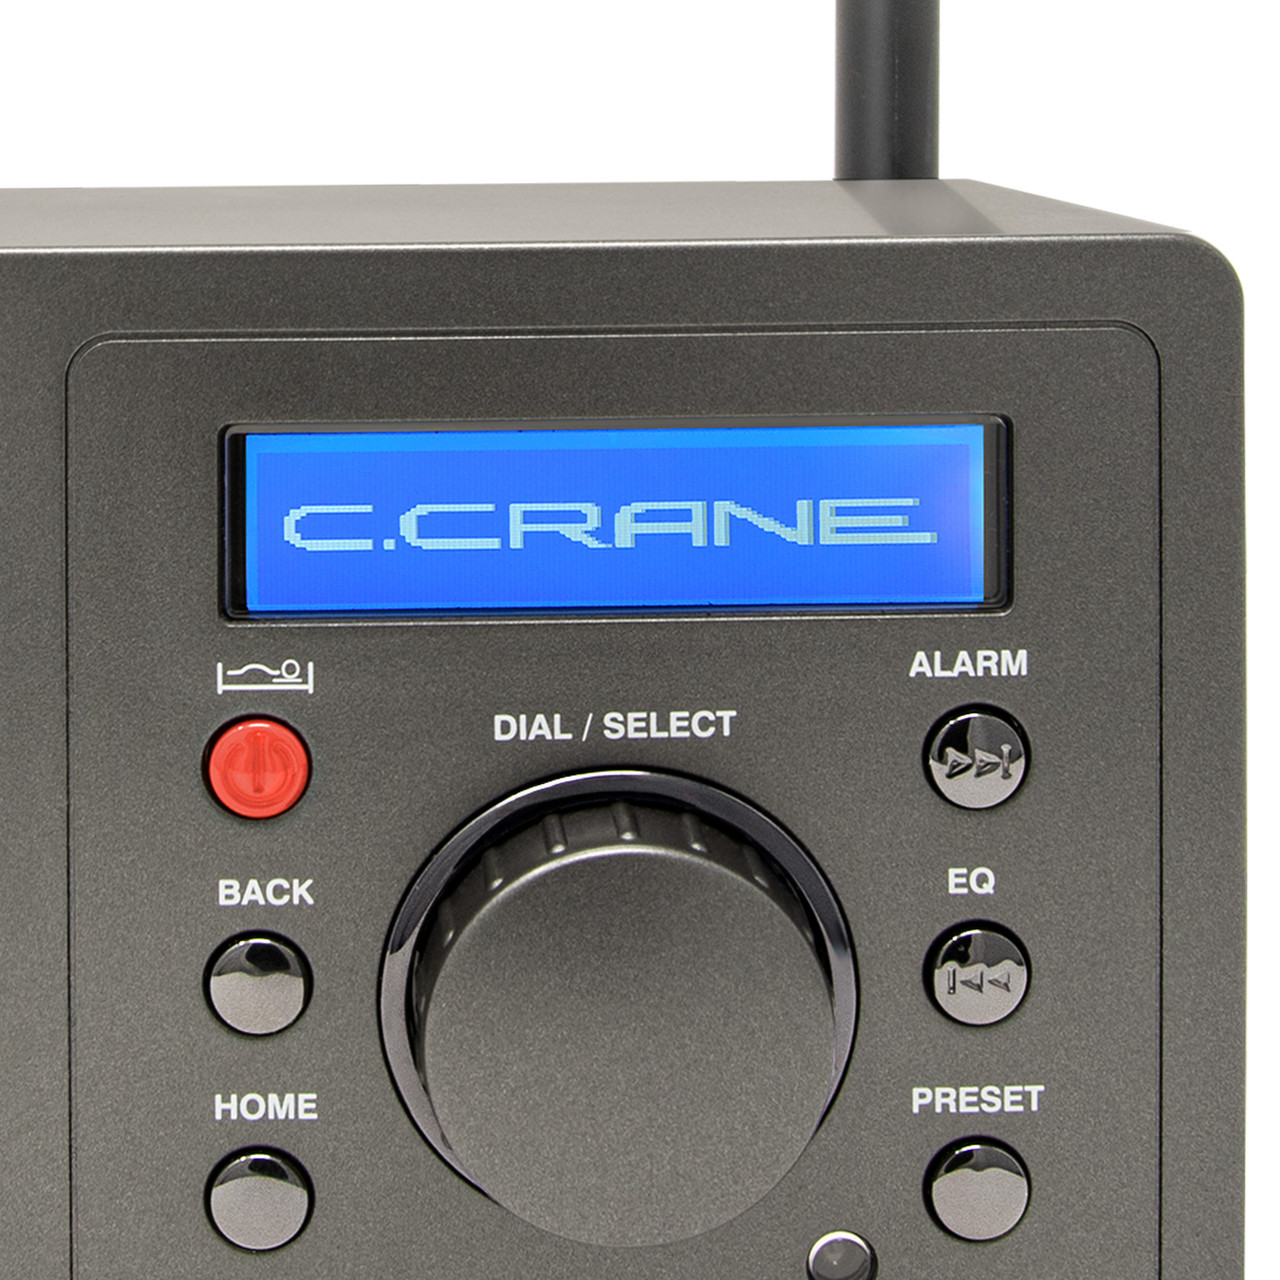
The CCWiFi3 measures roughly 6.5 inches by 4 inches by 4 inches. On the front are six buttons, a knob, a speaker grill, and a small digital display. On the bottom are four rubbery white feet to keep it from sliding around on tables. On the back panel is a connector for a WiFi antenna (included), a line out socket, a headphone socket, and a socket for plugging in an external power supply. The unit comes with a remote control that can select stations, boost and lower volume, mute the audio, and much more.
Setting up the CCWiFi3 is super easy: attach the antenna, plug in the external power supply. It will then warm up, and the display will ask for your preferred language. Make your selection, push in the central knob to confirm it, and the CCWiFi3 will then search for WiFi networks. Select the one you want, put in your password (using the central knob to select and confirm the letters and numbers), and you are good to go. (A tangential but important note: the unit is very light, so moving it from room to room, so long as you have a place to plug in the power supply, is no big deal.)
In a sense, the hardest thing about using the CCWiFi3 is choosing from the dizzying number of stations available. At the top of the menu for internet radio stations is: Most Popular (US), By Genre (World), and By Location. Click on any one of these, and you begin drilling down into the possibilities. For example, click on By Location, and your next set of choices includes Africa, Americas, Asia, Europe, Internet Only, the Middle East, and Oceania. Click on Oceania, and up pops a list beginning with Australia, Bermuda, and the Cook Islands. Want to hear news/talk in Finnish? You can. The possibilities seem endless.
I clicked on By Genre, then Talk-based, scrolled down to Old Time Radio and Suspense, and within minutes had Amazing Tales, Western Old Time Radio, and the Best of Art Bell saved to my station presets. You can access 10 easy presets using the remote and over 100 presets in the sequence list. As is typical of CCrane, the manual is clear, well-written, and easy to follow.
Even better, the audio coming through the speaker or headphones is pleasant.
Don’t get me wrong: I still love my antenna-to-antenna radios, but whenever you have the itch for something different from the radio, the CCWiFi3 delivers almost endless possibilities in a way that is enjoyable, easy to operate, and pleasing to the ears.
UPDATE: A couple of additional comments that I was unable to post until now.
1. Using the CCWiFi3, on St. Patrick’s day, I was able to hear Irish fiddle music, direct from Ireland on Radio Siamsa. The station’s website says: Radio Siamsa is the only Irish radio station specializing in traditional Irish music, with no ads and high-fidelity sound. Listen to Irish tunes and songs from Dublin, 24 hours a day, on your smartphone, tablet, or Amazon Echo device.
2. There is a function on the CCWiFi3 that allows searching by keyword. It’s a little clunky, since you have to select each letter separately using the main dial, but a search for “bluegrass” quickly turned up a couple of dedicated stations that had me happily enjoying banjo, guitar, fiddle and mandolin. That puts a smile on this old banjo picker’s face!