Many thanks to SWLing Post contributor Nick Hall-Patch, who has kindly provided a translation of this article from the Japanese-language publication PROPAGATION by the Totsuka DXers Circle (TDXC). Here, Kazu Gosui recounts his meeting with WavViewDX developer Reinhard Weiß during his visit to Tokyo .
Meeting WavViewDX developer Reinhard Weiß, and Visting Akihabara With Him
by Kazu Gosui
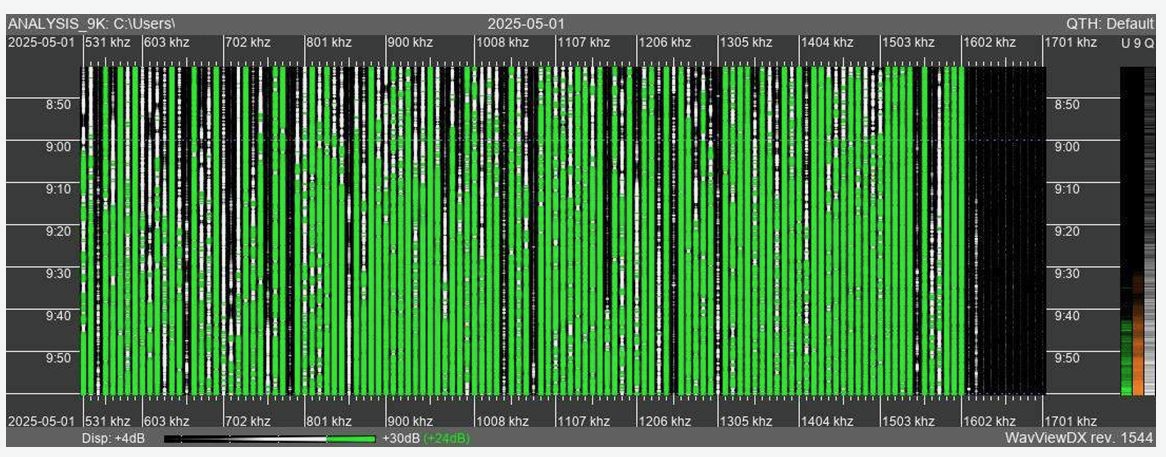
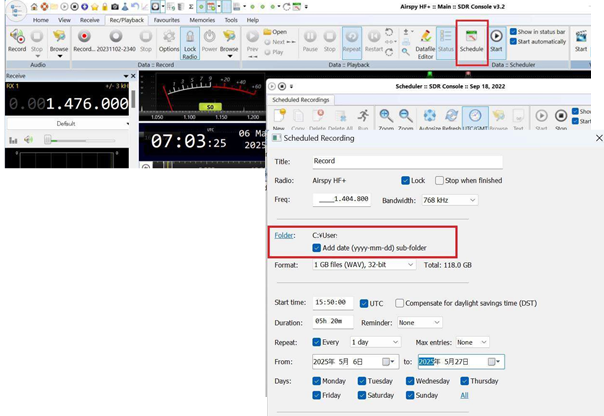
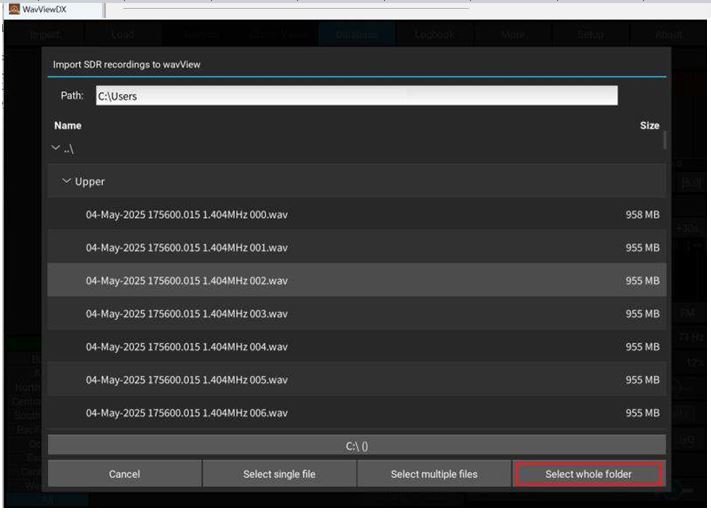
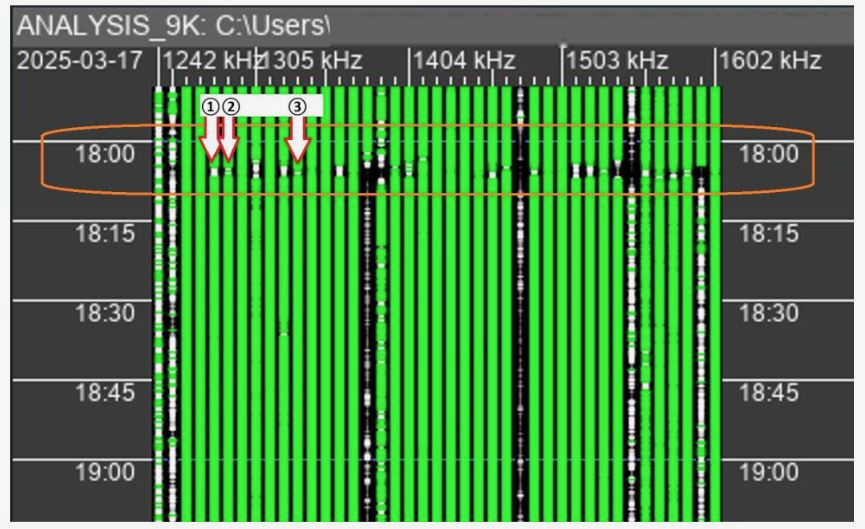
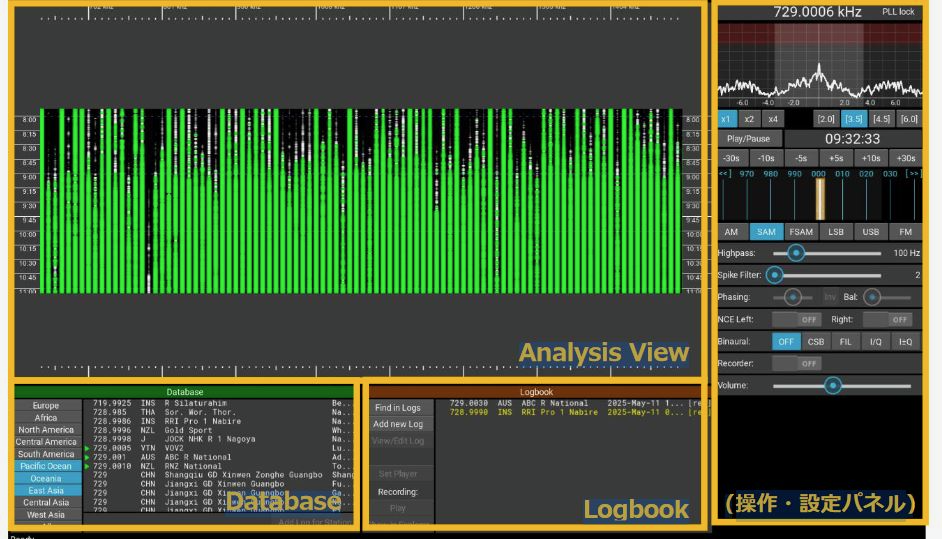
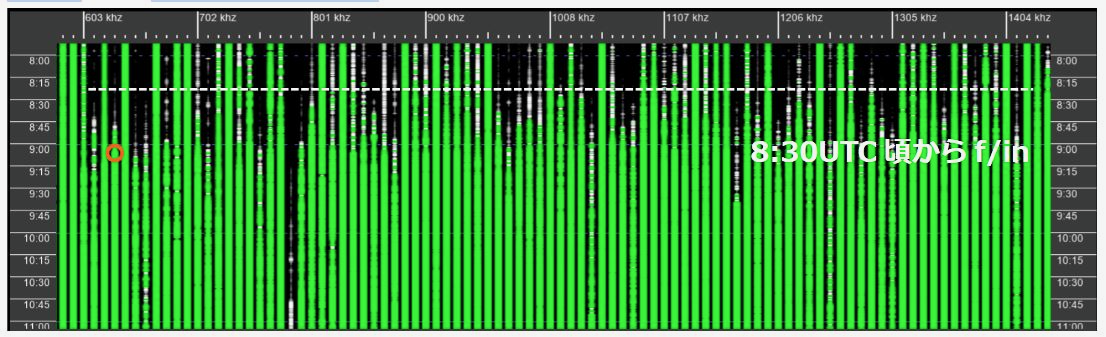
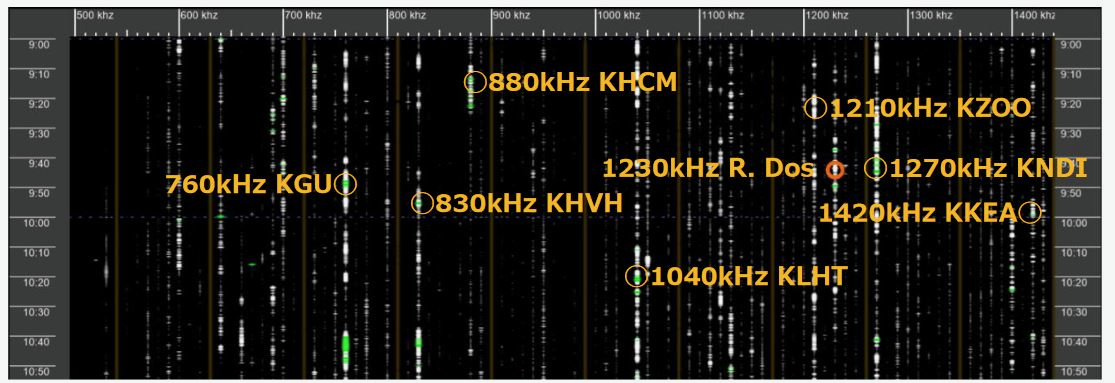
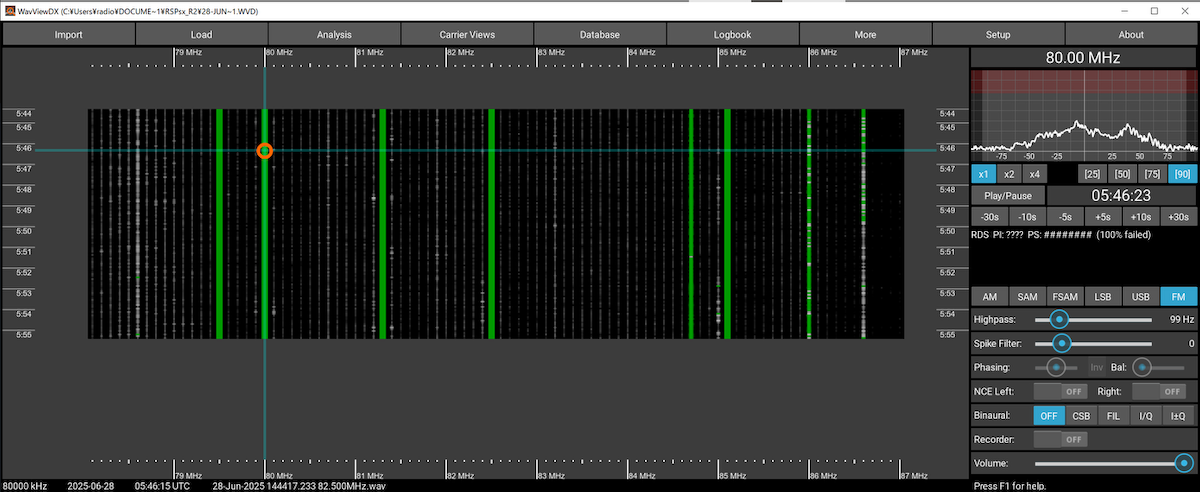
I first learned about WavViewDX in January of this year on the mailing list of the American radio club IRCA. It was described as “analysis software compatible with I/Q WAV recordings created with almost all SDR software,” so I was intrigued. I quickly downloaded it and tried it out, and I was immediately impressed.
In early February, I emailed the developer, asking, “I’m amazed at how easy it is to use and how powerful it is. It works fine with PERSEUS and AirSpy HF+, but are there any plans to support WiNRADiO’s DDC format?” Reinhard Weiß (hereafter referred to as Reinhard) responded that same day, “I’m actually currently working on adding support for WiNRADiO’s G33DDC. I should be able to send you a test version tomorrow.” The email carefully explained the import procedure and important points to note.
The text, the web page description, and the tone of the expression conveyed a sincere and attentive personality. The next day, I tried out the sample version and reported some concerns. Reinhard quickly fixed them, and where he couldn’t immediately fix them, he supported me by sending files via the cloud or screen capture videos. As I continued to request things like adding a shortcut for switching receive modes, I gradually became fascinated with WavViewDX and, before I knew it, became a heavy user.
The first email also asked, “I’m planning to visit Japan in May or June. Are there any ham or BCL (Broadcast Listener; SWL) events in Japan around that time?” In response, I suggested that if Reinhard could come to Tokyo, we could hold an offline meeting with members of TDXC! Through our exchange, I realized that Reinhard is quite knowledgeable about Japanese affairs. He knows Akihabara very well, and even knows Hard Off as a good place to get BCL radios. He loves hot springs and enjoys talking about Japanese food. When I asked him, “Is your wife Japanese by any chance?” he replied, “Yes.” No wonder he’s so knowledgeable! He should have told me sooner! (lol) So, we made an appointment for an offline meeting in Akihabara, Tokyo, in late May.
On the day, we met at the Electric Town exit of JR Akihabara Station. Our four attendees were Hiroo Nakagawa, Satoshi Miyauchi, Fumiaki Minematsu and myself. When I arrived at the meeting point five minutes early, they were already there. When I asked him, “Excuse me, Reinhard-san?” he replied, “Yes, that’s right,” in Japanese. His Japanese was fluent! Up until now, emails had been in English, as I don’t speak German, so I had no choice but to communicate in English… I was completely surprised because I had been counting on the others and Google Translate on my smartphone to converse in English! You should have told me sooner, Reinhard! (lol) Needless to say, from then on, the entire conversation was in Japanese. The meeting venue was a pub near the station. He could read the Japanese menu, and thanks to his wife, who is apparently a good cook, Japanese food was also OK, so no problem.
We spoke about radio and BCL. Reinhard started medium wave DX about three years ago. He has been interested in radio since he was a child and actually worked as a BCL radio broadcaster. He has had a long career. His job is developing debuggers for testing and verifying the operation of in-vehicle electronic devices and measuring instruments. He says that both his work and his hobby are focused on developing easy-to-use hardware and software integration. He developed WavViewDX while studying the programming language Python, and runs it at home using two PERSEUS devices.
He said he would be happy if many people use it. Currently, WavViewDX has 200 users, 25 of whom are active worldwide. Incidentally, the mailing list has 102 subscribers (as of June 10, 2025).
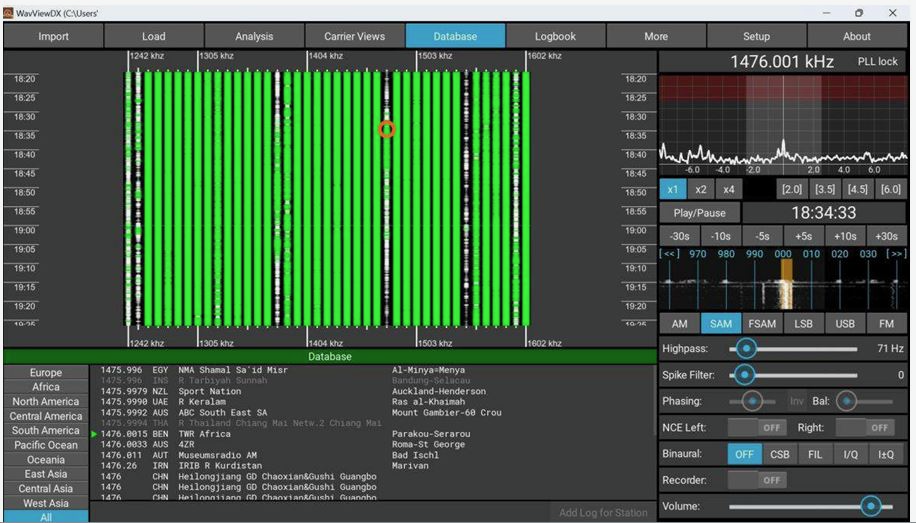
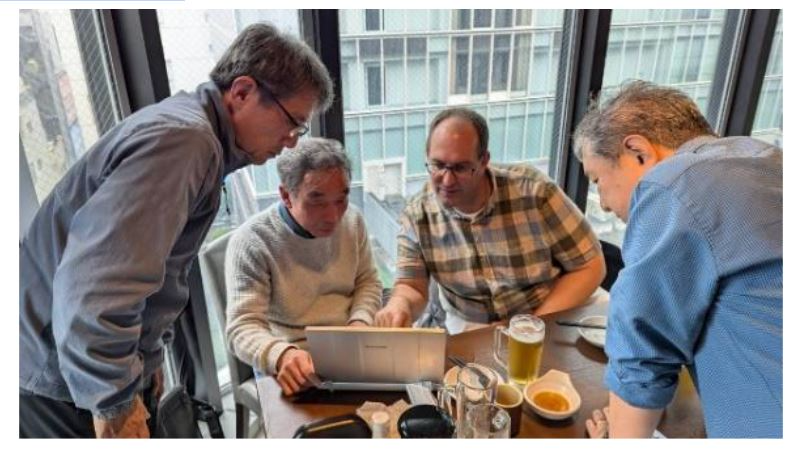
Over lunch, we had the opportunity to use WavViewDX on the PC we brought with us, and it was extremely valuable to have the developer himself explain how to use it, provide an overview of its functions, and explain the development concept. We also received copies of the German BCL magazine “Radio-Kurier” (a radio delivery service?). This magazine apparently publishes an astounding 2,000 copies per month, demonstrating the depth of Germany’s BCL population. The most active BCLs are few, and 80% of the articles are written by one person. That’s impressive.
The second half of the meeting was a tour of Akihabara’s famous shops. We visited the Radio Center rental showcase, Uchida Radio, Radio Department Store, Rocket, Fuji Musen, and Akizuki Denshi. Reinhard has a keen interest in vintage Japanese BCL radios and boomboxes, and his eyes lit up as he looked at rare radios and boomboxes. At Uchida Radio, he even negotiated the price of a radio cassette player he was interested in. Unfortunately, the deal fell through, but he apparently toured Hard Off stores around Tokyo the next day, so he must be a die-hard enthusiast. He also seemed to love the Fuji Wireless and Akizuki Electronics stores on the second floor, saying, “Their unique products are what keeps them going, and I can see why they’ve survived.” He bought a large breadboard (brand new!) for 50 yen on the second floor of Akizuki and then we took a break for tea in the cafe.
We had a great time chatting there, too. Reinhard is, in a word, a nice guy. A German who speaks Japanese, loves radio and BCL, and develops software for BCL—an extremely rare and valuable person. He’s fluent enough in Japanese to even tell jokes, and he’d laugh along with us at our old-man jokes. He was friendly and fun to talk to, and we shared the same values as fellow enthusiasts. It felt like we were old friends.
He apparently returns to Japan every year with his wife, but he hasn’t done a DX expedition yet. Maybe the next one will be the Chigasaki expedition?! So we parted ways, hoping to see each other again next year.
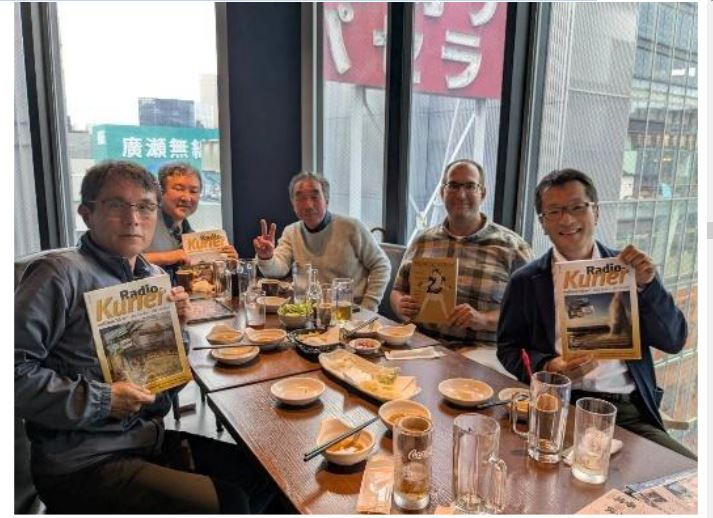
(l-r: Kazu Gosui, Satoshi Miyauchi, Hiroo Nakagawa, Reinhard Weiß, Fumiaki Minematsu) —Hiroo Nakagawa photo
(l-r: Kazu Gosui, Hiroo Nakagawa, Reinhard Weiß, Satoshi Miyauchi) —Fumiaki Minematsu photo
These English translations were prepared for IRCA’s DX Monitor, and are used with the kind permission of IRCA as well as of the authors and the editor of the Totsuka DXers Circle publication, PROPAGATION.