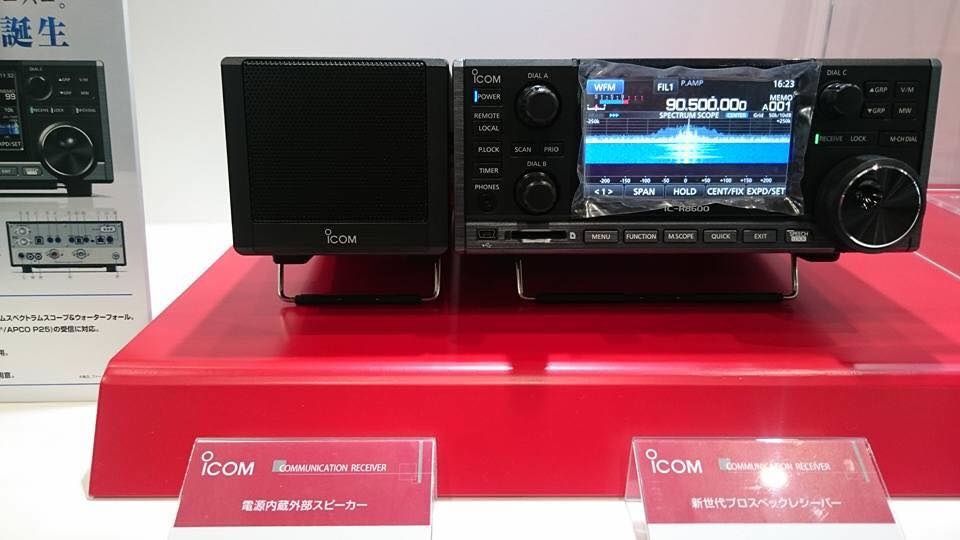
The IC-R8600 (Photo source: QRZ Now)
Many thanks to SWLing Post contributor, Dave Zantow (N9EWO), who shares the following info about Icom’s announcements at the Tokyo Ham Fair:
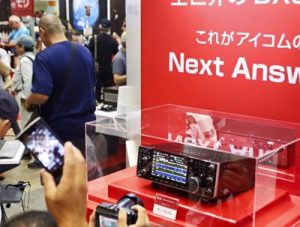
Well the cat is now really out of the bag now !! Icom announced 2 new RECEIVERS at the Tokyo 2016 JARL Ham Fair.
We can almost say for certain that the new IC-R8600 is a SDR based design.
[…]The new IC-R30 handheld probably is SDR too, but not sure yet. Pretty large bugger (no real good picture as of of me typing this). Will it be able to do at least P25 Phase one?
I’ll admit it: I was a little surprised to hear that Icom had announced new receivers. I’m happy to see that it’s an IC-R8500 replacement/update. I love the touch screen color display.
I also very much like the idea of a handheld wideband–possible SDR–receiver. I did a little extra digging and found the most concrete details about the new models on Icom UK’s website:
After an online teaser campaign featuring silhouettes of mystery radio models, the secret is out and Icom Inc. has shown the very first samples of the IC-7610, IC-R8600, IC-R30 and ID-51 PLUS2 to the public at the Tokyo Ham Fair 2016 (August 20-21, 2016). Details are relatively scarce but here are the basic details we have so far on these models.
The new IC-7610 (Photo: Icom UK)
IC-7610 HF/50MHz Transceiver (Base Station)
The IC-7610 is the successor to the IC-7600 and will be a dual-watch capable HF+50MHz 100W base station with built-in antenna tuner. The LCD will be touch screen and you will be able to connect an external display.
IC-R8600 Wideband Receiver (Base Station)
The IC-R8600 replaces the IC-R8500 wideband receiver and will feature the technology incorporated into Icom’s best selling IC-7300. The IC-R8600 will be able to receive a wide frequency range from 0.01-3000MHz frequency in analogue and various digital modes (D-STAR, P25, NXDN and dPMR). The IC-R8600 will feature a larger 4.3 inch touch screen display which will feature fast moving spectrum scope and waterfall display.
IC-R30 Communications Receiver (Handheld)
The IC-R30 is the successor to the popular IC-R20 compact handheld receiver. The IC-R30 can listen to two signals under certain conditions (analogue + analogue or analogue + digital). The IC-R30 will be able to decode D-STAR, P25, NXDN and dPMR digital (conventional) modes.
ID-51 PLUS2 Dual Band D-STAR Digital Transceiver (Handheld)
The ID-51 PLUS2 handportable is a special edition model which will come in several colours/patterns. The new ‘Terminal Mode’ and ‘Access Point Modes’ enable you to make D-STAR calls through the Internet, even from areas where no D-STAR repeater is accessible.
More details will be available nearer to each product’s launch. There are currently no details about pricing and availability.
Stay tuned to this website and our social media pages for further announcements.
I can’t wait to learn what the price point will be for the IC-R8600. I hope it’s at least in-line with the IC-7300 or (its predecessor) the IC-R8500. I also hope that, perhaps, the new IC-R30 will have full-mode HF capabilities.
We’ll post news about these new rigs as it becomes available–so will Dave Zantow. Stay tuned!

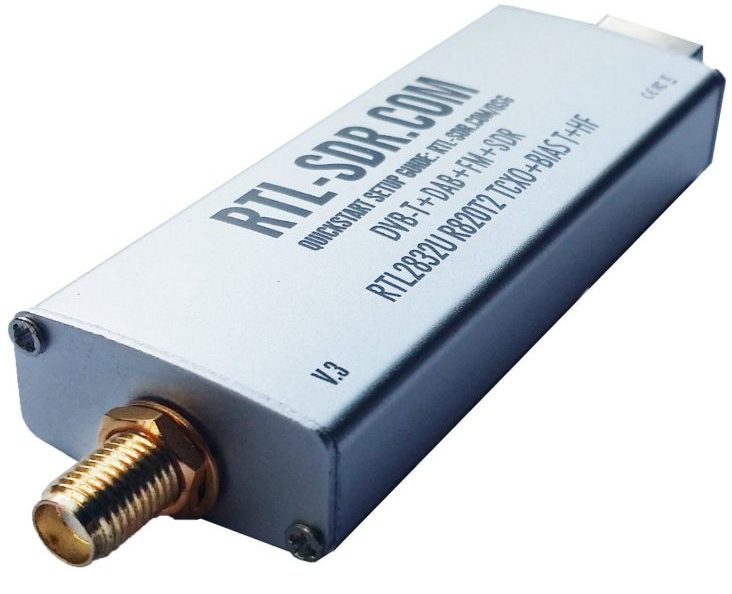
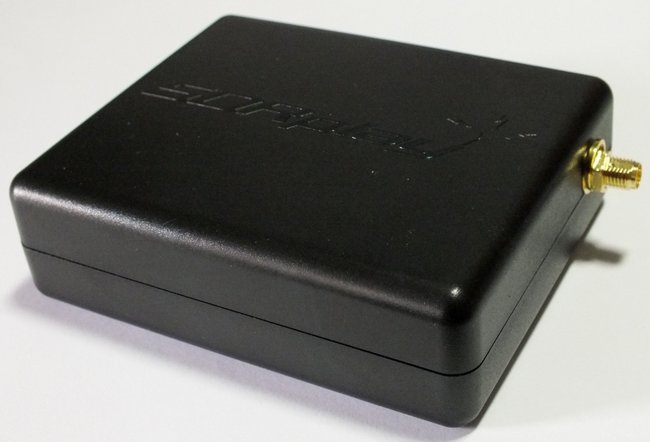
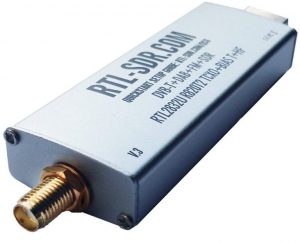 Many thanks to SWLing Post contributor, Ivan Cholakov (NO2CW), who shares the following video review of the new RTL-SDR dongle on the shortwave and mediumwave bands.