Many thanks to SWLing Post contributor, TomL, who shares the following guest post as a his Backpack Shack 3 evolves:
Backpack Shack 3 – Part 2
by TomL
Wanting MOAR options for my recent amplified whip antenna experiment, I decided to add a second antenna input to the kitchen cutting board (can I call it a “Breadboard”? – Ha, that’s an electronics joke!). The idea behind it came from realizing that I might not want to spend all my time outside at a picnic table or on the beach, especially if it is drizzly and windy. And I still wanted a better ground for the antenna. So, I thought I could use more Trucker Parts and put an antenna on top of the roof of my vehicle so I could listen in the relative comfort and safety of my small SUV (or even a friend’s car).
Breadboarding
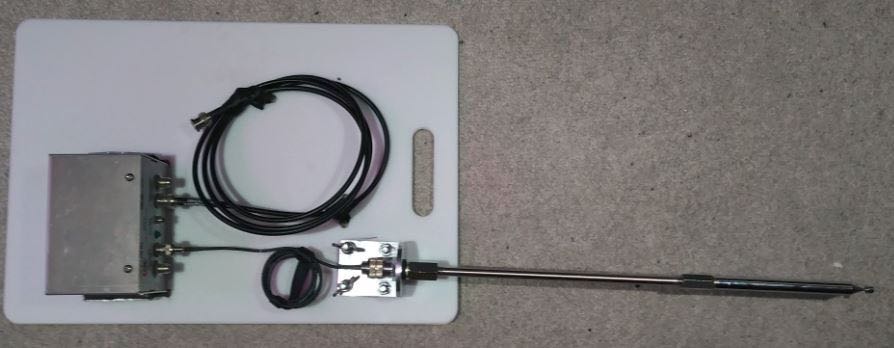
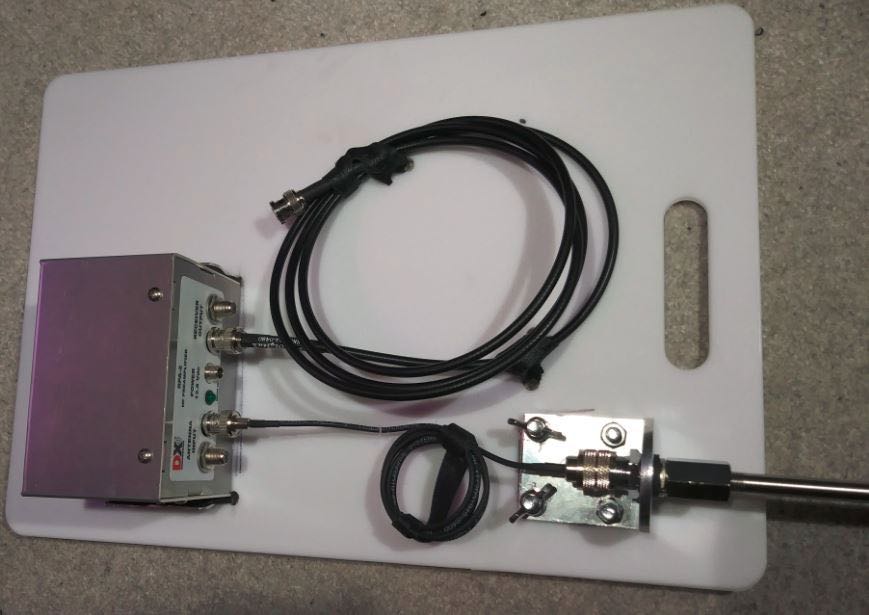
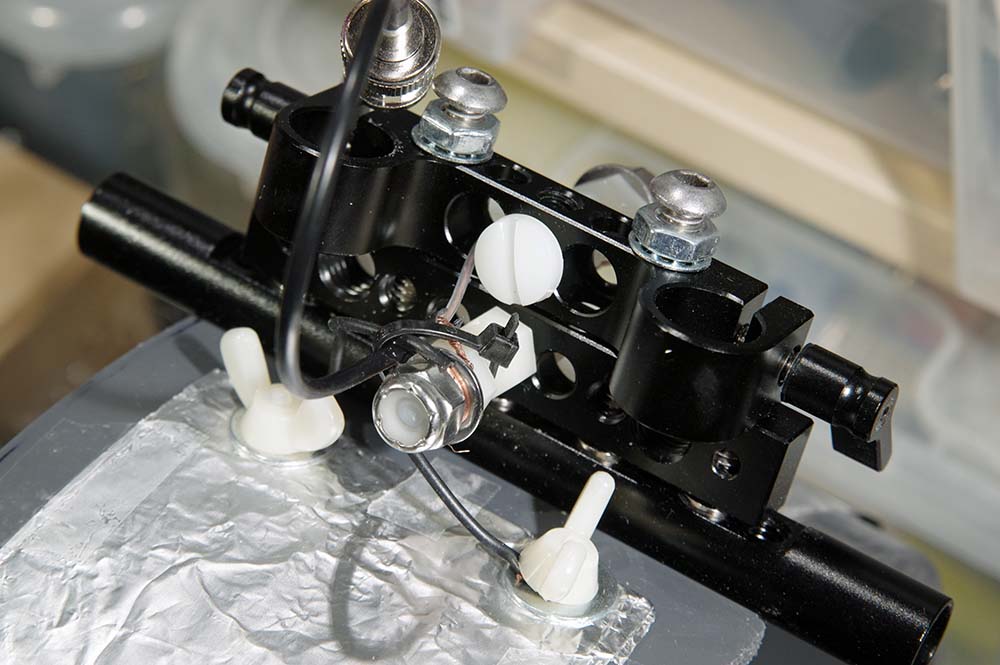
Here is the crowded “Breadboard” with some extra items added.
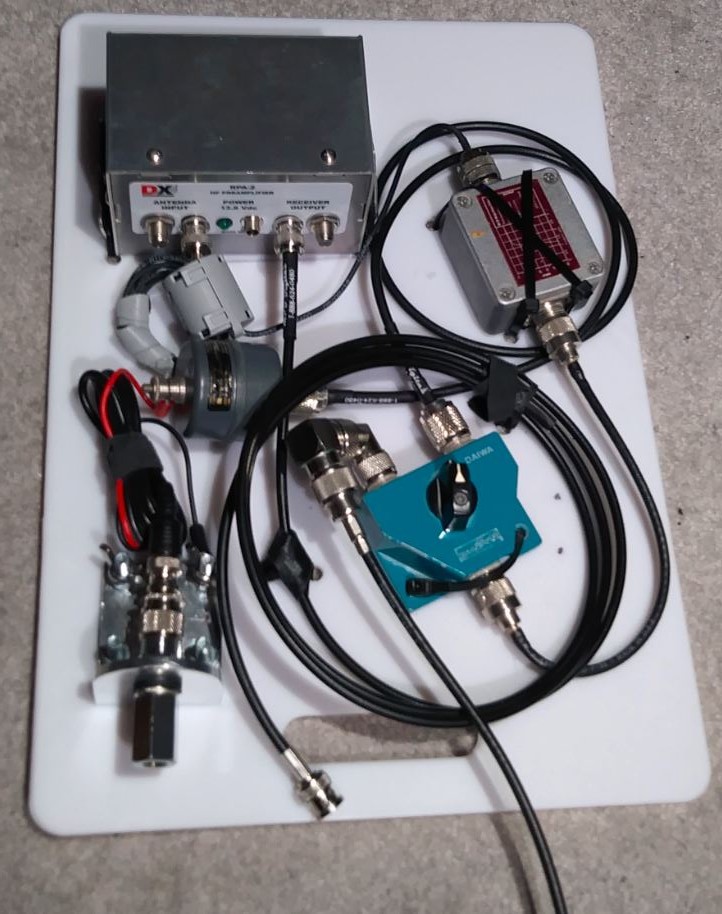
I thought of the vertical antenna as a short longwire and had an old, original RF Systems Magnetic Longwire Balun. That device allows for an improvement in signal/noise ratio (in theory) if used on a longwire. Perhaps it works on this, too?? You can see the gray cylinder connected right beneath the trucker mirror mount on the left (this will not be tested at this time, see External Antenna below). The output goes to a greenish Daiwa switch on the right.
A large amplified antenna has the real possibility of overloading the amplifier. With the Magnetic Balun, I am hoping the VHF band is attenuated enough to preclude any problems because its response naturally tapers off past 40MHz. But Mediumwave is well within its bandpass. I remembered an old Kiwa Electronics Broadcast Band Rejection filter not being used for a long, long time, so I connected that right after the Daiwa switch (the metal box with red plate).
This output then goes to an RF choke just before entering the pre-amp. I figure I will be using my SDRPlay RSP2 and noisy laptop and wanted to try to reduce any interference traveling on the outside coax braid before it gets amplified.
External Antenna
OK, now for the other Daiwa switch selection. The external antenna will be connected and disconnected as often as I use it. I attached two right-angle coax adapters to be the connection point for the antenna. This is so that the physical switch threads do not have to handle that wear-and-tear. You can see it as the fuzzy out of focus thing sticking up out of the left side switch position.
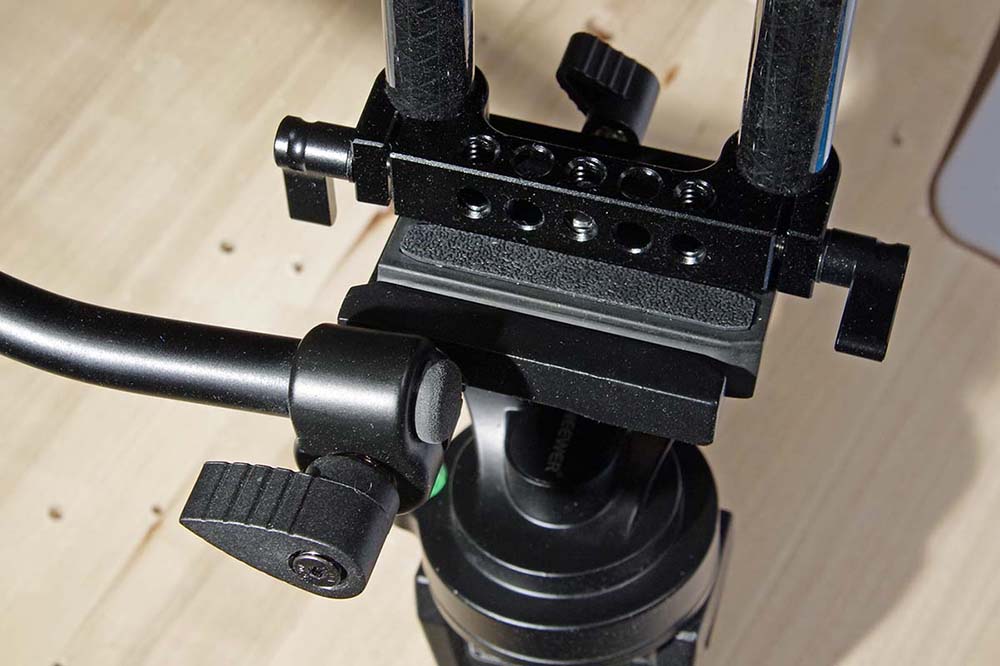
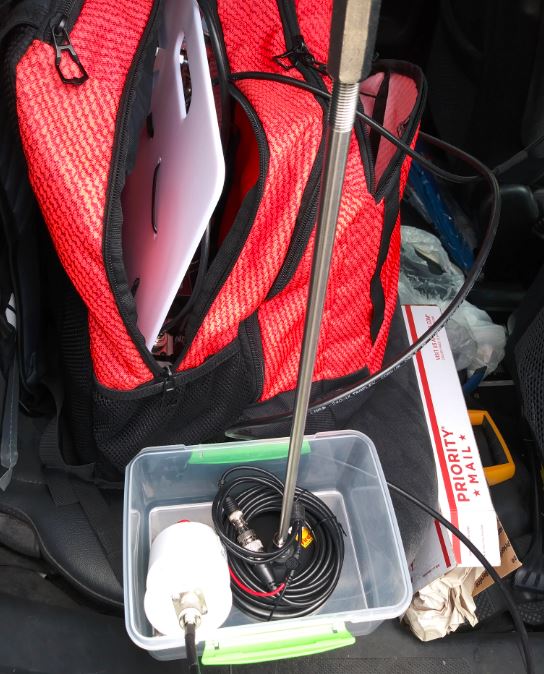
The wire going out the top of the Breadboard goes to a Firestik K-11 magnetic mount placed on top of the roof of the SUV. I also wanted this to be connected to a magnetic balun. I just happened to have a nearly unused Palomar Engineers Magnetic Longwire Balun. It has its own ground lug for use with a counterpoise. Temporarily, I left the 18 feet of wire that came attached to the K-11 Mount and attached an adapter and BNC test lead; on the other end is connected the spade lugs to the Balun (red wire to the lanyard nut, black wire to the ground lug). It all fits neatly inside a Sistema 3 liter container.
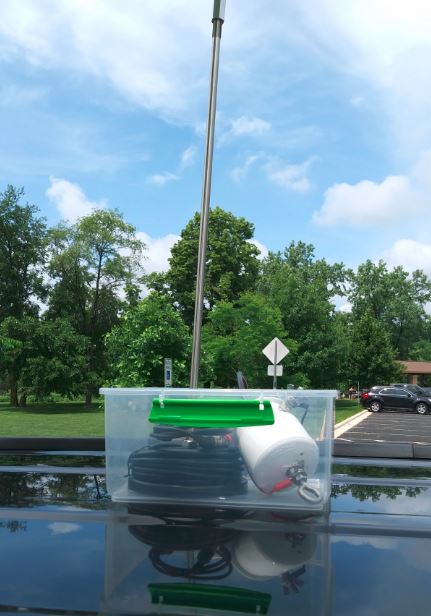
The magnet and box self-clamp easily onto the roof of the vehicle. I added a new 18 inch section to the Trucker Antenna Shafts creating a full 72 inch antenna, complete with mag mount, ground plane (car body), and magnetic balun. It is very easy to put up and take down and the box helps keep everything contained.
I am pushing things a bit here. Magnetic Baluns are not really meant to be used on vertical antennas. It probably breaks some sort of Cosmic Electrical Law somewhere that causes electromagnetic waves to get very confused and die a horrible, twisted, circular death. But I figure that it is an unbalanced “line” similar to a longwire antenna; it’s just a little short and goes straight up instead of horizontal! I like the idea, so I am going to run with it.
Warnings!
It goes without saying that the Antenna Shafts, magnet mount, and magnetic balun are weatherproof (but NOT lightning proof!). Take proper lightning precautions and take it down. Even so, I might add a small drainage hole to the box since it did rain a tiny bit during testing.
Secondly, this setup is ONLY FOR STATIONARY VEHICLES!!!! DO NOT TRY TO DRIVE DOWN THE ROAD OR HIGHWAY!!!! The magnetic mount will NOT stay on the car and will damage your vehicle and maybe a vehicle travelling next to you!
Performance
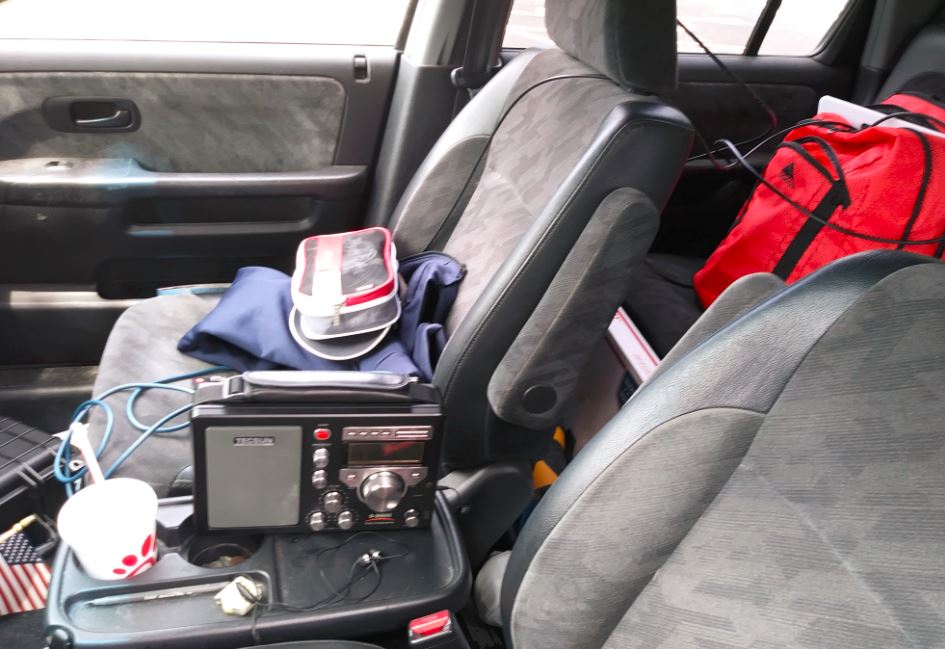
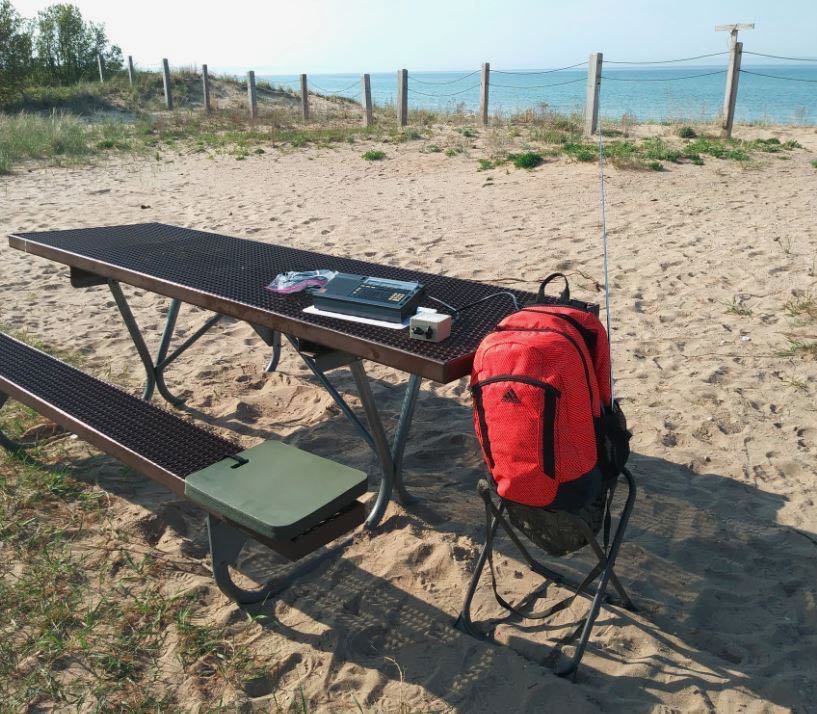
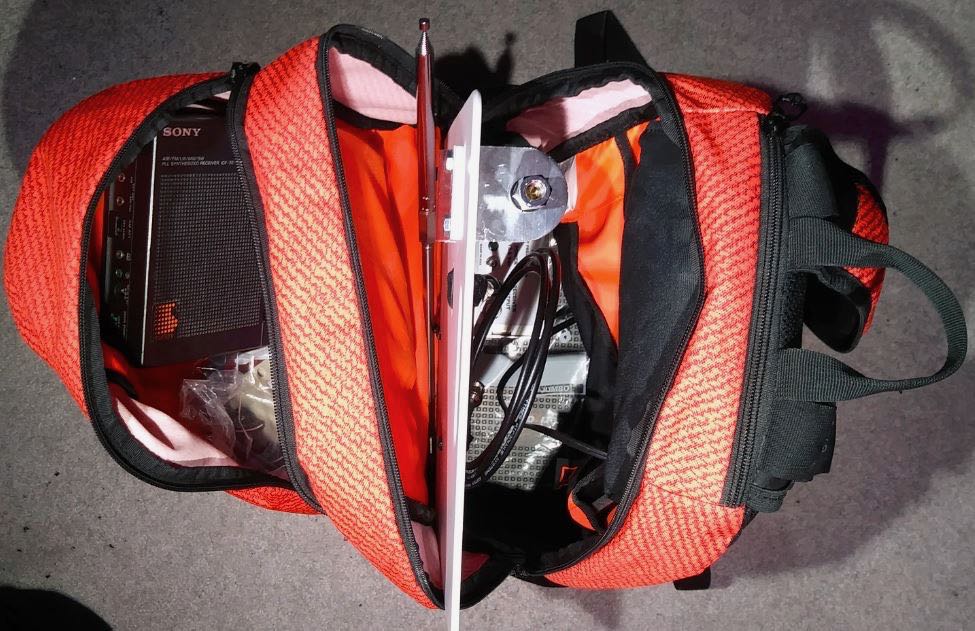
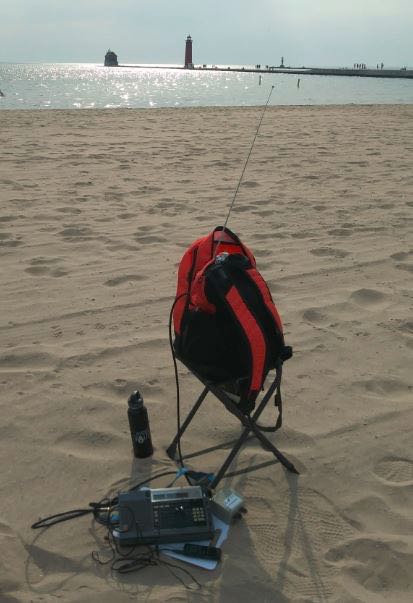
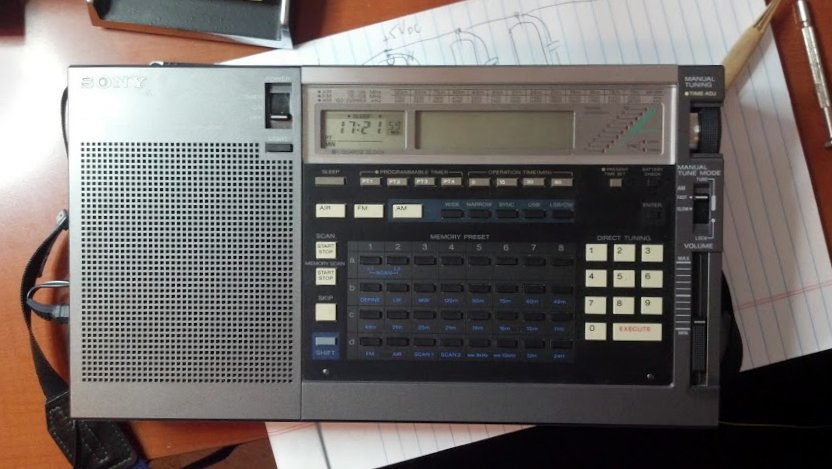
As you can see from the picture, my new Tecsun S-8800 is getting a workout while connected to the Cross Country preselector (not shown behind it) and to the backpack next to the back seat window. The Tecsun S-8800 is a nice radio. My copy has a couple of quirks that I might have to send it back (the AM band tunes incorrectly 2 kHz lower than it should and the SW SSB tunes 140 Hz higher than indicated and I have to compensate using the fine-tuning dial for these modes–FM seems correctly tuned).
Other than this, the actual performance is really quite good! DSP does have sharp cutoffs to the IF bandwidth (especially resolving strong station interference when selecting 3 kHz vs. 4 kHz). With all my filters/balun/choke, I did not notice any MW or FM breakthroughs and signals on those bands were nicely contained and “normal”. Interference from my cell phone while looking up internet frequency listings was minimal – seems like the cable shielding, choke, and car roof are doing a good job.
The audio output jacks have very thin clearance between the jacks and the housing of the radio. So for the second time, I will not have recordings since the cable I wanted to use has home theater style construction with very thick plug outer connectors and will not fit!
From an RF-quiet “Forest Preserve” (County park), there were a variety of stations received from the 25 through 19 meter bands (Local time 11am-1:30pm). A few stations I have never heard before until now:
- Radio Free Asia in Korean on 11985 KHz (Tinian Island)
- Radio China International in Esperanto on 11650 KHz (Xian China)
- Radio Farda in Persian on 12005 KHz (Wooferton England) – broadcast opposite my direction
- Radio Bible BCI in Somali on 15310 KHz (Nauen Germany) – Strange sounding but interesting Christian Somali music
- Radio Free Asia in Chinese on 13675 KHz (Dushanbe Tajikistan)
- Voice of Hope Africa in English on 13680 KHz (Lusaka Zambia) – had to use ECSS USB to get away from strong interference from RFA on 13675, fairly good intelligibility (including music)! I wish there was a 6 KHz option for SSB mode since the audio was slightly muffled and could not compensate much with the tone controls. That kind of feature usually comes with radios costing 3X more, however.
- Voice of Korea in French (Kujang North Korea) being squashed by Radio China International (Kashi China) in English on 13760 KHz
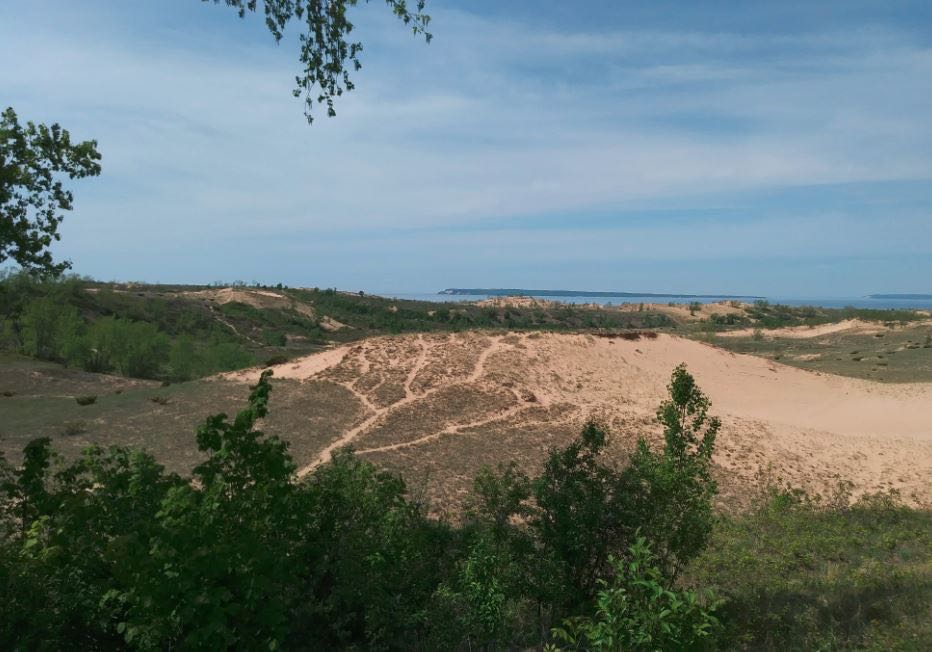
It was so nice not to be on a beach and have people walk by STARING at me with my weird radio/antenna setup. And I was dry and comfy sipping a cool drink while there was a drizzle of rain pelting the windshield. Downside might be that the car setup cannot always be located optimally if I want to be next to that Very Large Body of Water (Lake Michigan) to help enhance reception but this is not a bad alternative. The next test will have to be during early evening when signals are booming into my location and see if performance holds up under those conditions!
Happy Listening,
TomL
Modified Parts List
- Firestik K-11 Magnetic Mount
- Palomar Engineers Magnetic Longwire Balun
- Sistema 3 liter food container
- 12 foot LMR-240 UltraFlex coax assembled by sagemaiden
- Daiwa 2-position coax switch
- Kiwa Electronics Broadcast Band Rejection filter
- RF Systems Magnetic Longwire Balun (discontinued)
- Hard Case for Tecsun S-8800 – (This perfectly-fit case for the Tecsun S-8800 will NOT fit into the backpack, so I carry it separately)
- Vic Firth Marching Snare Bag Pair (to safely hold the Trucker Antenna Shafts)
- TDK 13mm Clamp-style ferrite for RF choke
- 2 right-angle UHF coax adapters
Parts Repeated from Part 1 article
- Trucker Mirror Bracket with SO-239 connector on the bottom
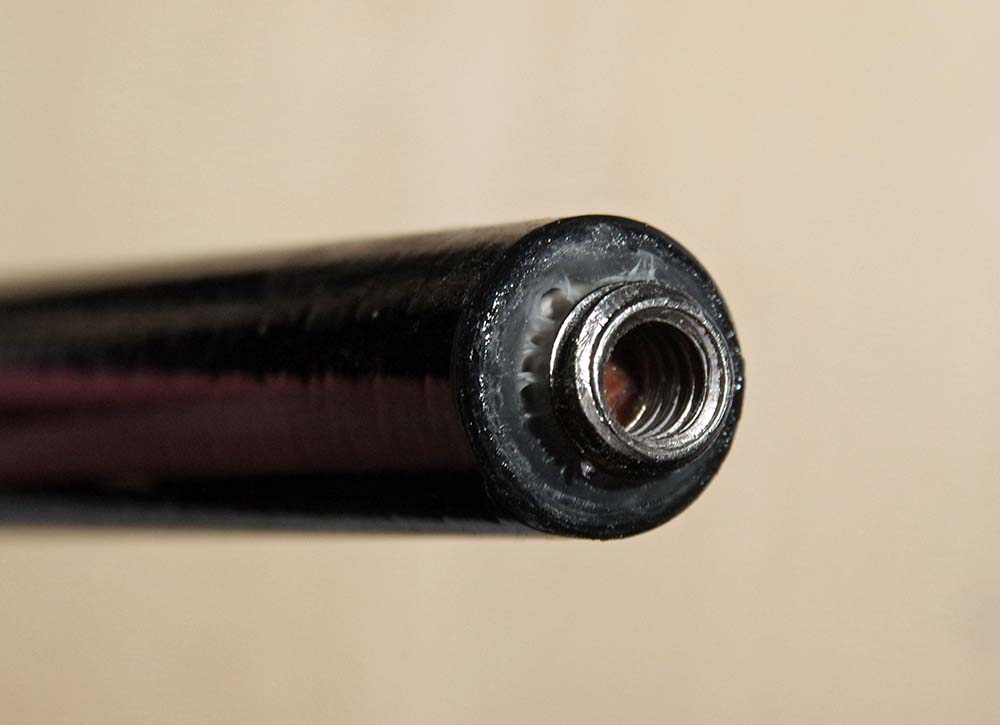
- 10 inch X 3/8-24 SS Antenna Shaft
- 18 inch X 3/8-24 SS Antenna Shaft
- Two SS 3/8-24 Coupling Nuts
- 44 inch SuperAntenna
- Thin Cutting Boards (using the largest one in the pack)
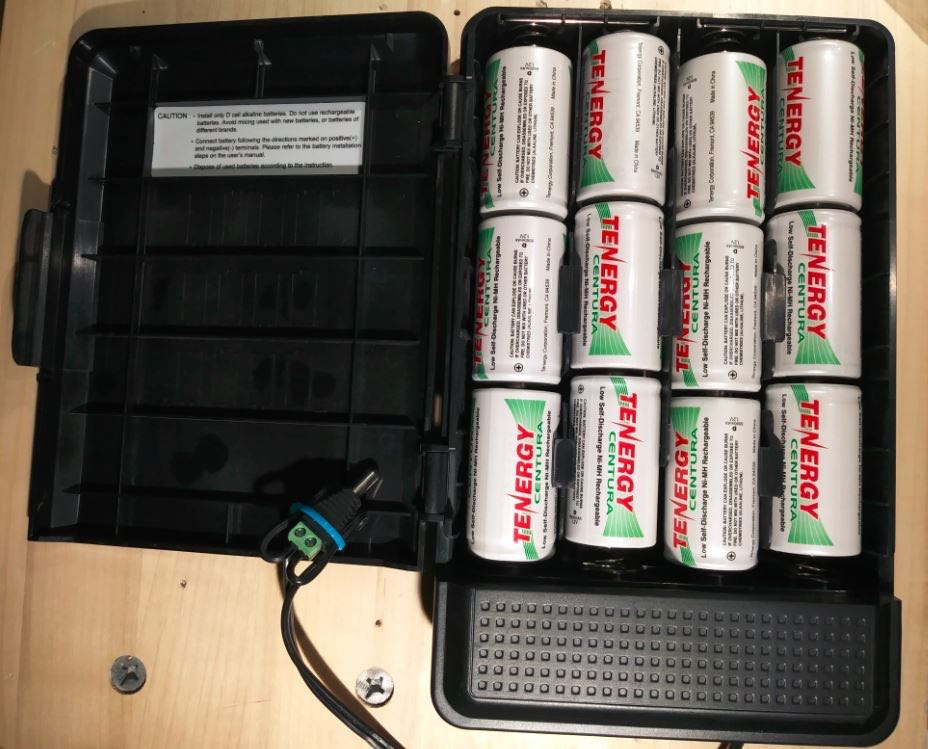
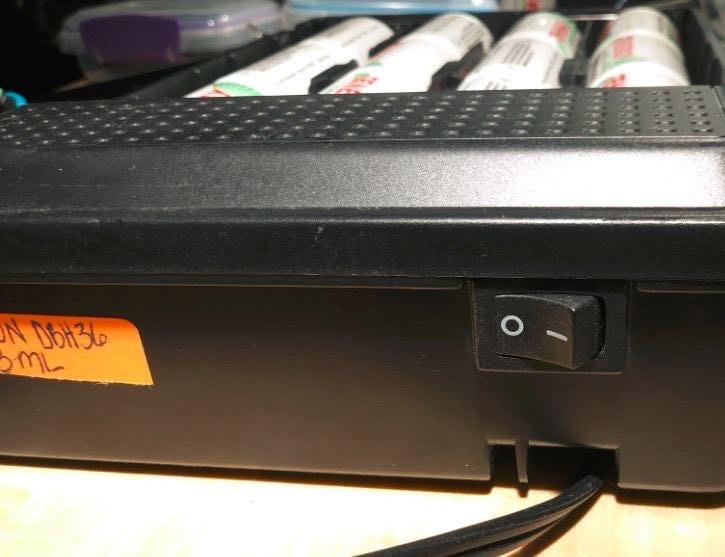
- CyberShield DBH36D12V
- Tenergy Centura Rechargable D cells
- DX Engineering Pre-Amp
- Cross Country Preselector
- Adidas XXL Excel Backpack (Discontinued Solar Red)
As always, Tom, a most impressive setup powered by home-grown ingenuity! Thanks so much for sharing the evolution of your field kits with all of us here at the SWLing Post!
By the way, you still have me chuckling about your use of the term, “breadboard!” 🙂