Shortwave listening and everything radio including reviews, broadcasting, ham radio, field operation, DXing, maker kits, travel, emergency gear, events, and more
Many thanks to SWLing Post contributor, Giuseppe Morlè (IZ0GZW), who shares the following video and notes:
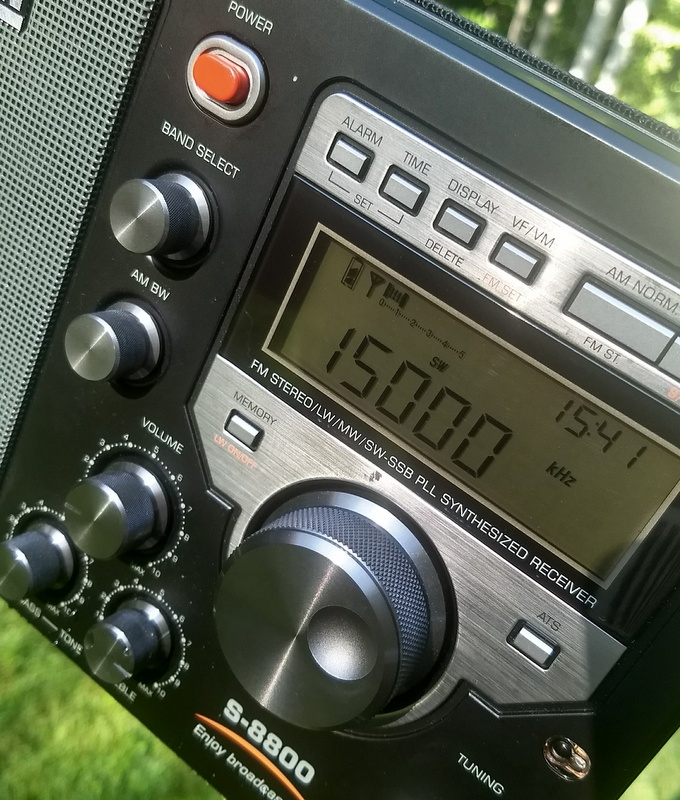
I recently bought a Tecsun S-8800 to be used mainly on shortwave. I carry it in an aluminum case to use it everywhere:
Many thanks for sharing this, Giuseppe! I love the integrated antenna–so clever!
Post readers: Giuseppe has had issues with the S-8800 accidently turning on in the case. Can anyone describe the button combo needed to lock the dial and controls during transport? I checked the manual but have found no reference. Please comment if you can help!
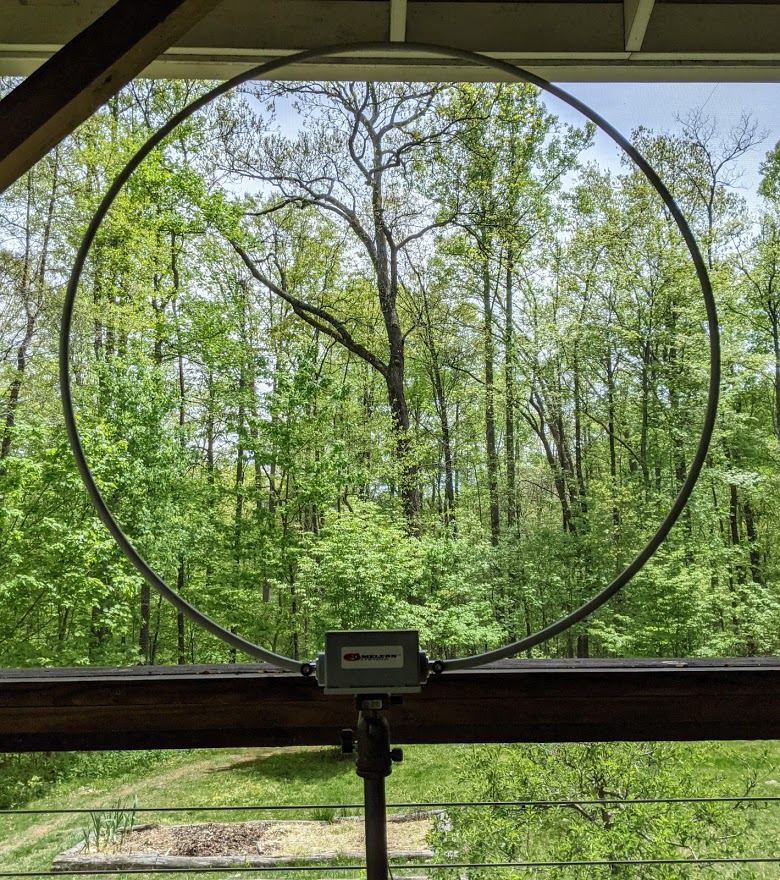
A few weeks ago, Chameleon Antenna sent me a pre-production model of their new wideband magnetic loop antenna called the Chameleon CHA RXL.
I’ve evaluated and reviewed a number of Chameleon’s ham radio antennas (primarily on QRPer.com). I find that the quality of their products are second to none. Price-wise, they tend to be at the top of the market, but keep in mind they machine and manufacture all of their antennas here in the US and they’re incredibly rugged; indeed, military-grade. And in the spirit of full disclosure, I’m proud Chameleon has been a sponsor the SWLing Post and QRPer.com since last year. My sponsors are by invite only and focus on companies I trust with our radio community’s business.
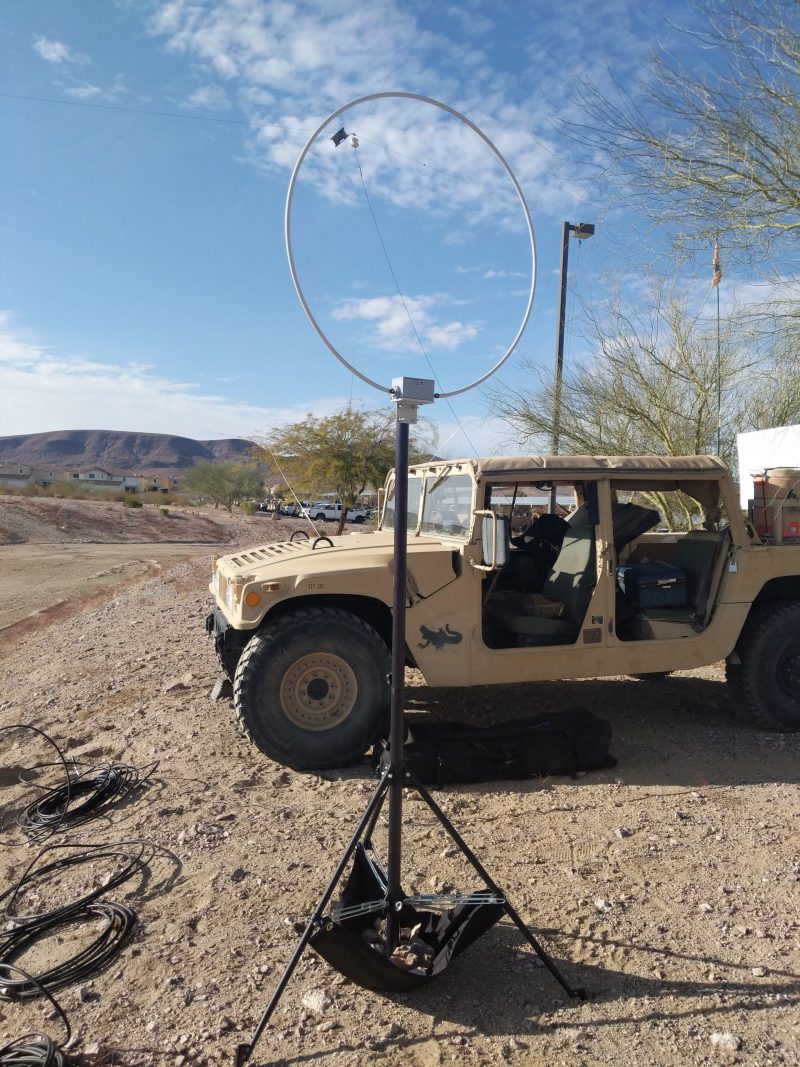
When Chameleon shipped the CHA RXL to me, it wasn’t from their factory, it was directly from the field: Fort Irwin, to be exact.
(Source: NTC Operations Group, Ft. Irwin)
This CHA RXL sample had been used by NTC Operations Group Fort Irwin (who, incidentally, won QRPX this year–click here to read the PDF report).
I was told that the condition of the antenna could be very rough after the QRPX because it had essentially been sandblasted in the desert winds. I was also told that someone accidently transmitted 5 watts into it at some point but it didn’t seem to harm it (for the record, like all amplified receive-only loops, it’s not designed to take RF).
Tony (W0NTC), who was one of the Ft. Irwin radio ops, sent me this note as he dropped off the shipment at Fort Irwin’s FedEx:
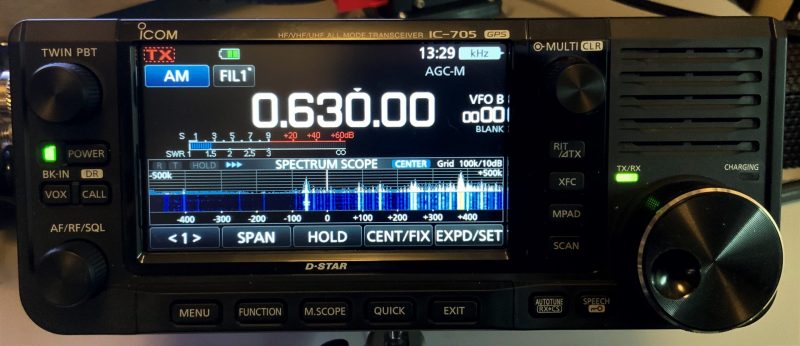
“Had a blast with [the CHA RXL], and it was absolutely critical while I was operating in the Army HF Low Power Competition (think tons of high powered MARS stations piling up and drowning out the 20W or less competitors). It absolutely crushed some localized RFI from a huge building I operated behind, and the receive on it I can only describe as “layered” in that I could hear stations somewhat clearer than usual if they transmitted simultaneously. Receiver I used was the IC-705 with default Auto Notch and Noise Reduction.”
Tony volunteered all of this info–I never asked him how it performed.
A few days later, I wasn’t sure what to expect when I opened the box although I knew that my operating locations were nowhere near as cool as its position next to a Humvee at Fort Irwin in the photo above!
I pulled the CHA RXL out of the box and it looked cosmetically flawless to me.
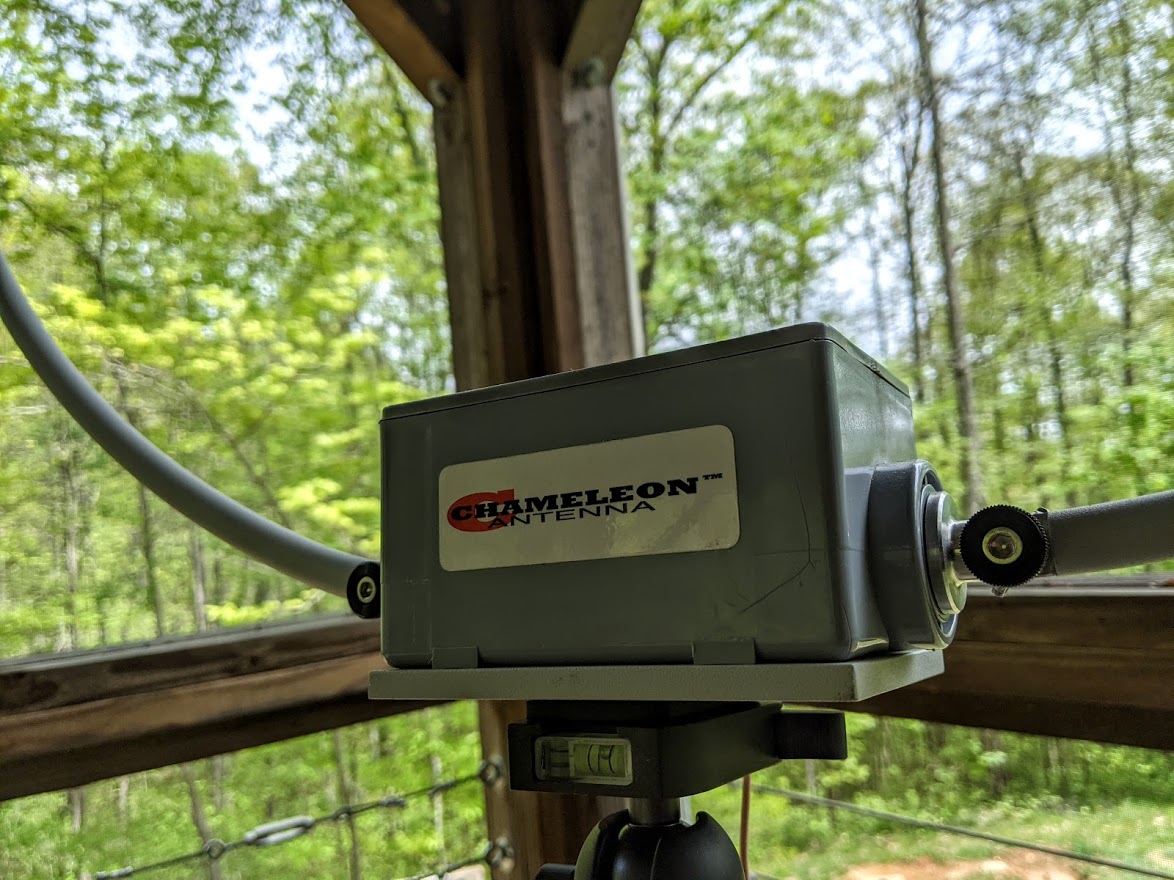
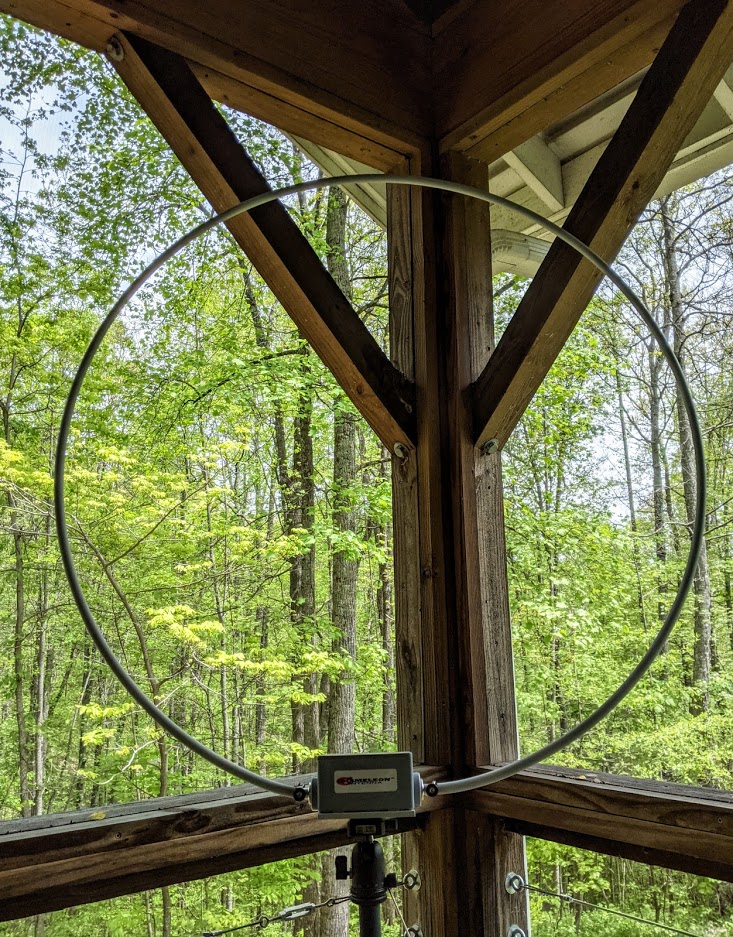
Frankly, there’s not a lot to get damaged. The 36 inch diameter loop is made of rigid aluminum and has a Navy gray powder coating. The preamplifier unit is completely sealed and made of a high-impact plastic/PVC type material. The steel loop is attached to the preamplifier loop flanges with wing nut connectors.
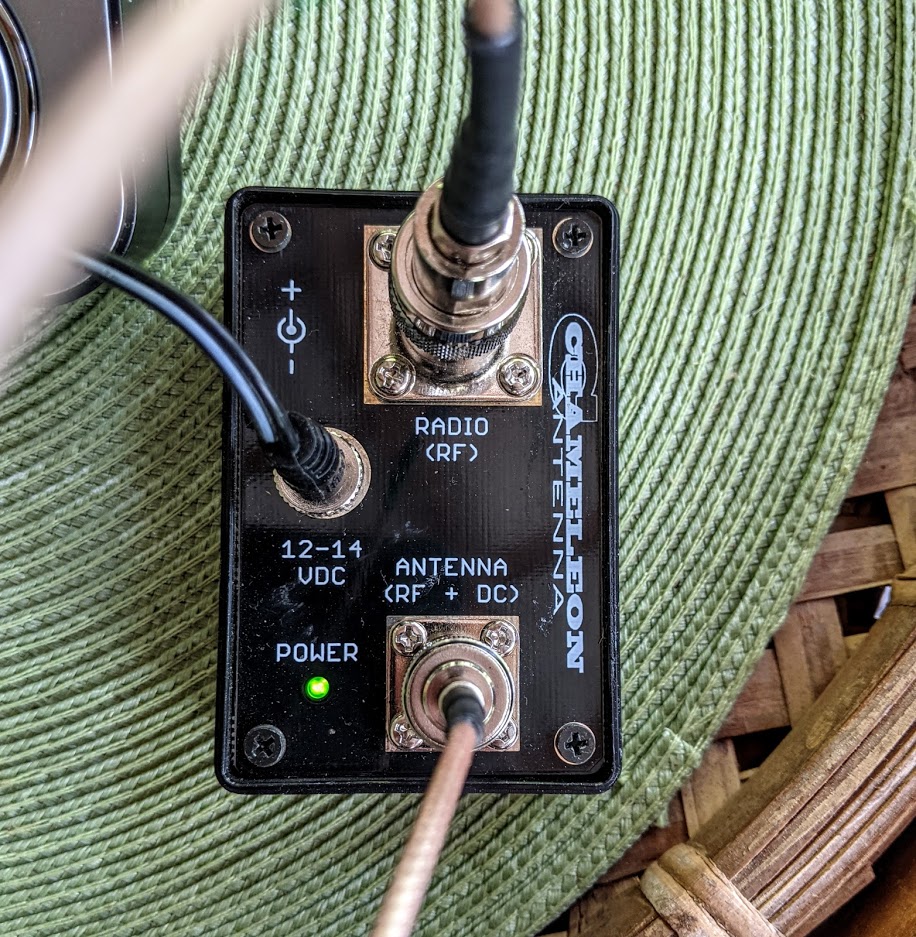
The only potentially vulnerable part of the antenna system is the Bias-T box which would normally be located in your shack close to your receiver.
If I mounted the CHA RXL permanently outdoors, I would use Coax Seal around the BNC connection point, of course.
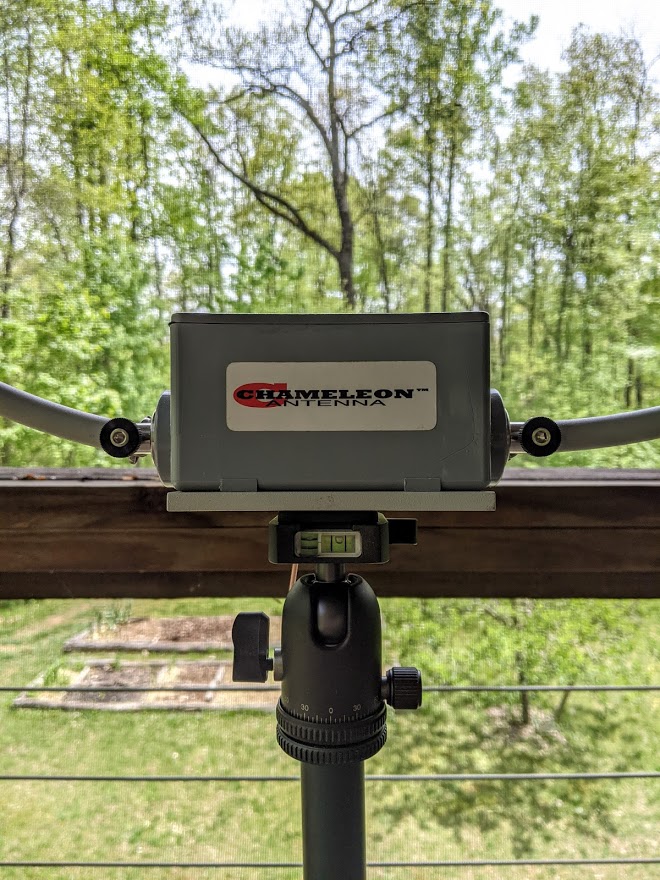
Although the CHA RXL has a supplied mounting bracket for permanent installations, I love the fact that the preamp box has a 1/4” x 20 threaded camera socket on the bottom. This makes for a brilliant portable loop because it can so easily be mounted on a standard heavier-weight tripod! All antenna manufacturers should give us tripod mount options when possible.
On the air
One of the reasons amplified receive loop antennas have become so incredibly popular over the past couple of decades is because they do an amazing job mitigating radio frequency interference (RFI) a.k.a. “QRM.” If you live in a neighborhood with significant radio interference, you really should consider some form of loop in your antenna arsenal.
Ironically, at home, I live in pretty much an RFI-free zone. I’m surrounded by tens of thousands of acres of national forest, so I’ve only used amplified loop antennas in the past for mediumwave DXing–mainly, when I wanted to take advantage of their amazing ability to null out unwanted signals.
Many years ago, I purchased a Pixel Loop Pro antenna (now under a different name via DX Engineering), mounted it outside where it lasted almost a year before a bear decided to pull it down and chew through the coaxial feedline. He/she did so with enough energy that it ripped down the loop and damaged the connector end of the Pixel’s pre-amp. This all happened when our family was travelling for two months in Canada. Why bear, why?!? But I digress…
The CHA RXL version I was shipped has one single rigid loop–the “EU” version’s loop comes in two pieces (for easier shipping/transport)–but I had no problem fitting the entire assembled loop in the back seat of my Subaru or my truck (as long as no one was sitting back there at the time). If you plan to travel with your loop a lot, consider the “EU” version!
I’ve taken the CHA RXL to my parent’s home a couple of times and enjoyed doing a little mediumwave and shortwave listening. Inside the house, the loop would attenuate RFI nicely, but when outside it would all but eliminate many sources of RFI.
At their house, I primarily used my Icom IC-705 for cruising the bands (being careful, of course, to disengage the transmit function).
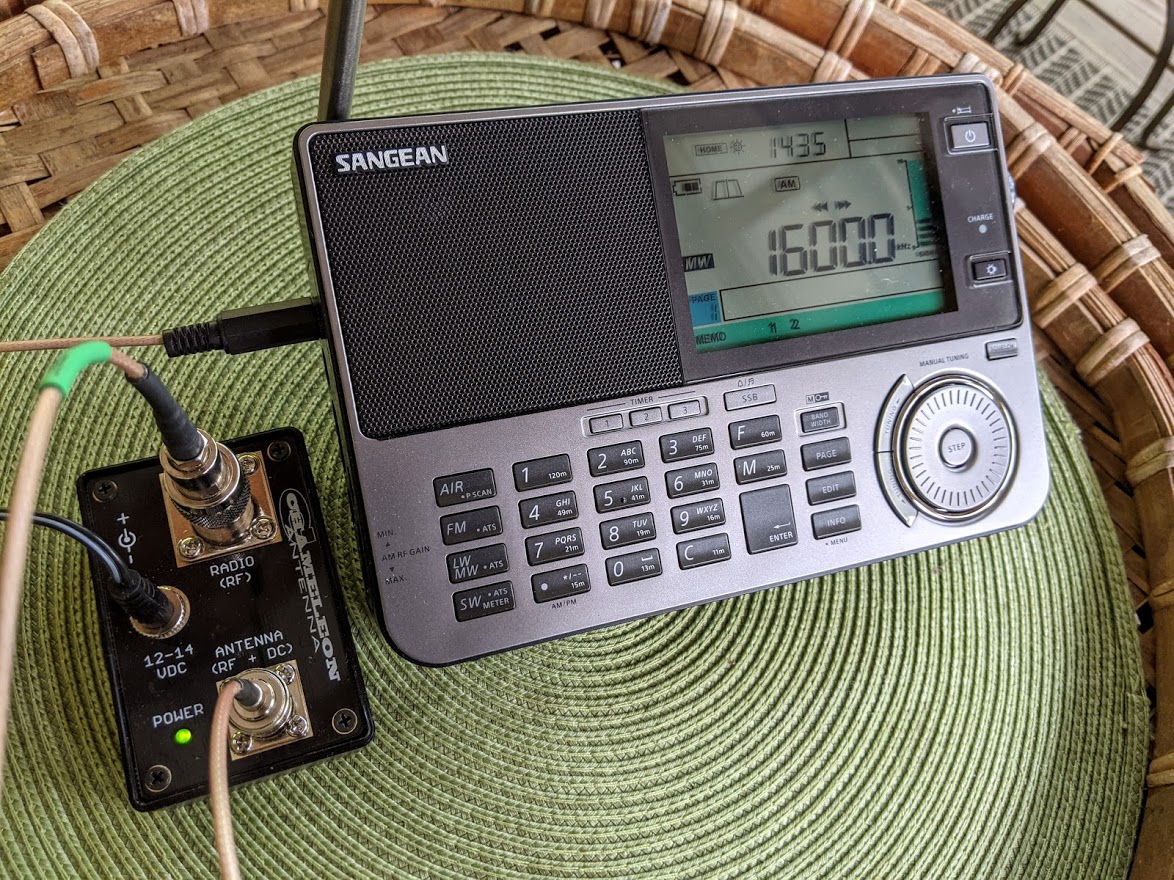
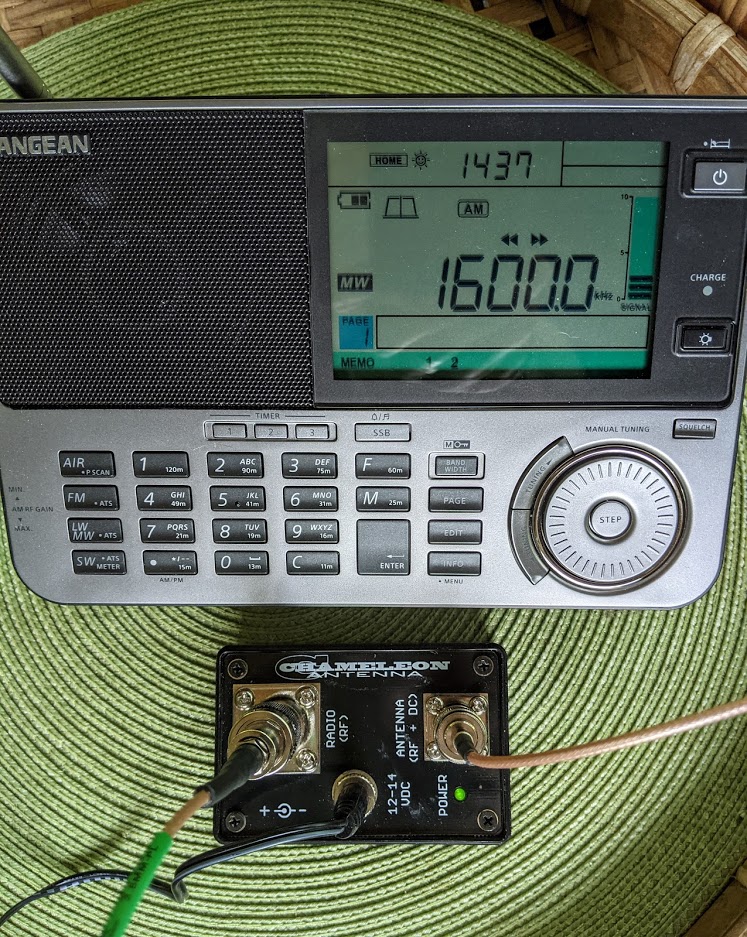
Listening time in my hometown, though, was very limited. Since the CHA RXL is so portable, I decided to set it up at home on our porch for a few days, giving me an opportunity to test both the Sangean ATS-909X2 and Tecsun H-501x with an external antenna.
I’ve especially appreciated using the CHA RXL on mediumwave. Even from our screened-in porch, I can rotate the loop and use its excellent nulling properties to pick out multiple station IDs on crowded frequencies.
I’ve spent time on shortwave, too, and found that it certainly gave these two portables a signal boost.
In fact, it was by using the CHA RXL that I discovered the audio level difference between AM and SSB on my ATS-909X2 is very minimal when an external antenna is connected.
I’m sure you’ll hear the CHA RXL in action when I post audio clips and recordings in upcoming reviews.
Summary
If I owned a CHA RXL loop, one of the first things I’d do is build a power cord for it with an in-line fuse and terminated with an Anderson Powerpole connector. Since the operating voltage of the Bias-T is 12-14 VDC, it would pair perfectly with one of my Bioenno LiFePo4 batteries, offering a power source with longevity in the field–ideal for a group LW/MW/SWL DXpedition.
It’s difficult for me to truly comment on the loop’s performance because I don’t have another loop at present for comparison. I can say that it’s amazing on mediumwave, where I’ve spent much of my listening time this past week. I believe shortwave reception has been at least on par with my former Pixel Loop, if not better. It’s hard to say, in truth, because propagation conditions have been so poor lately. The CHA RXL loop does effectively mitigate noise!
I’m not sure if the CHA RXL is currently on backorder or not, but I would suggest you check out the product page on Chameleon’s website and possibly contact them if you’re interested. They’ve a number of options and accessories to consider.
One thing for sure: this must be one of the most rugged and durable RX loop antennas on the market. In addition, that Navy gray powder coating helps this rigid aluminum loop disappear against the sky. I believe you could strategically mount this loop and the friendly neighborhood association may never notice–it’s pretty stealthy. Speaking of which…
Josh’s CHA RXL install and demo video
Josh over at Ham Radio Crash Course recently installed a CHA RXL on his house and tested it on several bands, comparing it with a number of his external antennas:
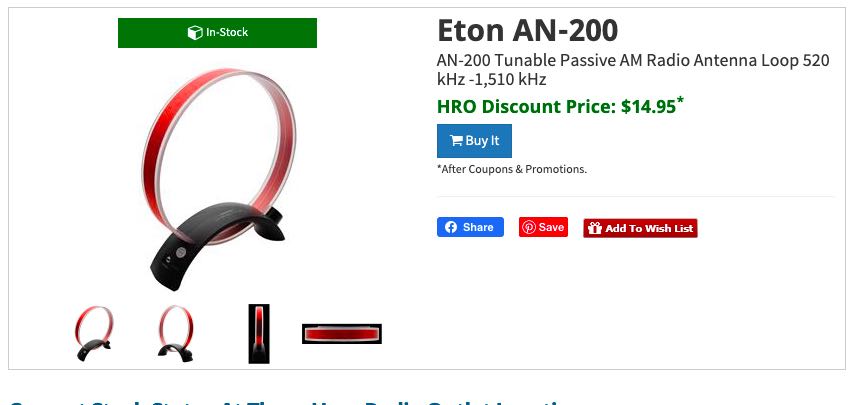
Many thanks to SWLing Post contributor, Grant Porter, who notes that Ham Radio Outlet has the Eton/Grundig AN200 loop antenna on a closeout sale for $15.00.
As Grant notes, this is an especially great deal if you live near an HRO retails store.
Many thanks to SWLing Post contributor, Giuseppe Morlè (IZ0GZW), who shares the following:
Dear Thomas, I’m Giuseppe Morlè from central Italy, the Tyrrhenian Sea, Formia.
Today I tested my noise canceling loop inside the radio station by comparing it to the crossed loops. Again, like my medium wave T Ferrite, this loop proved to be very quiet, practically immune to house noise.
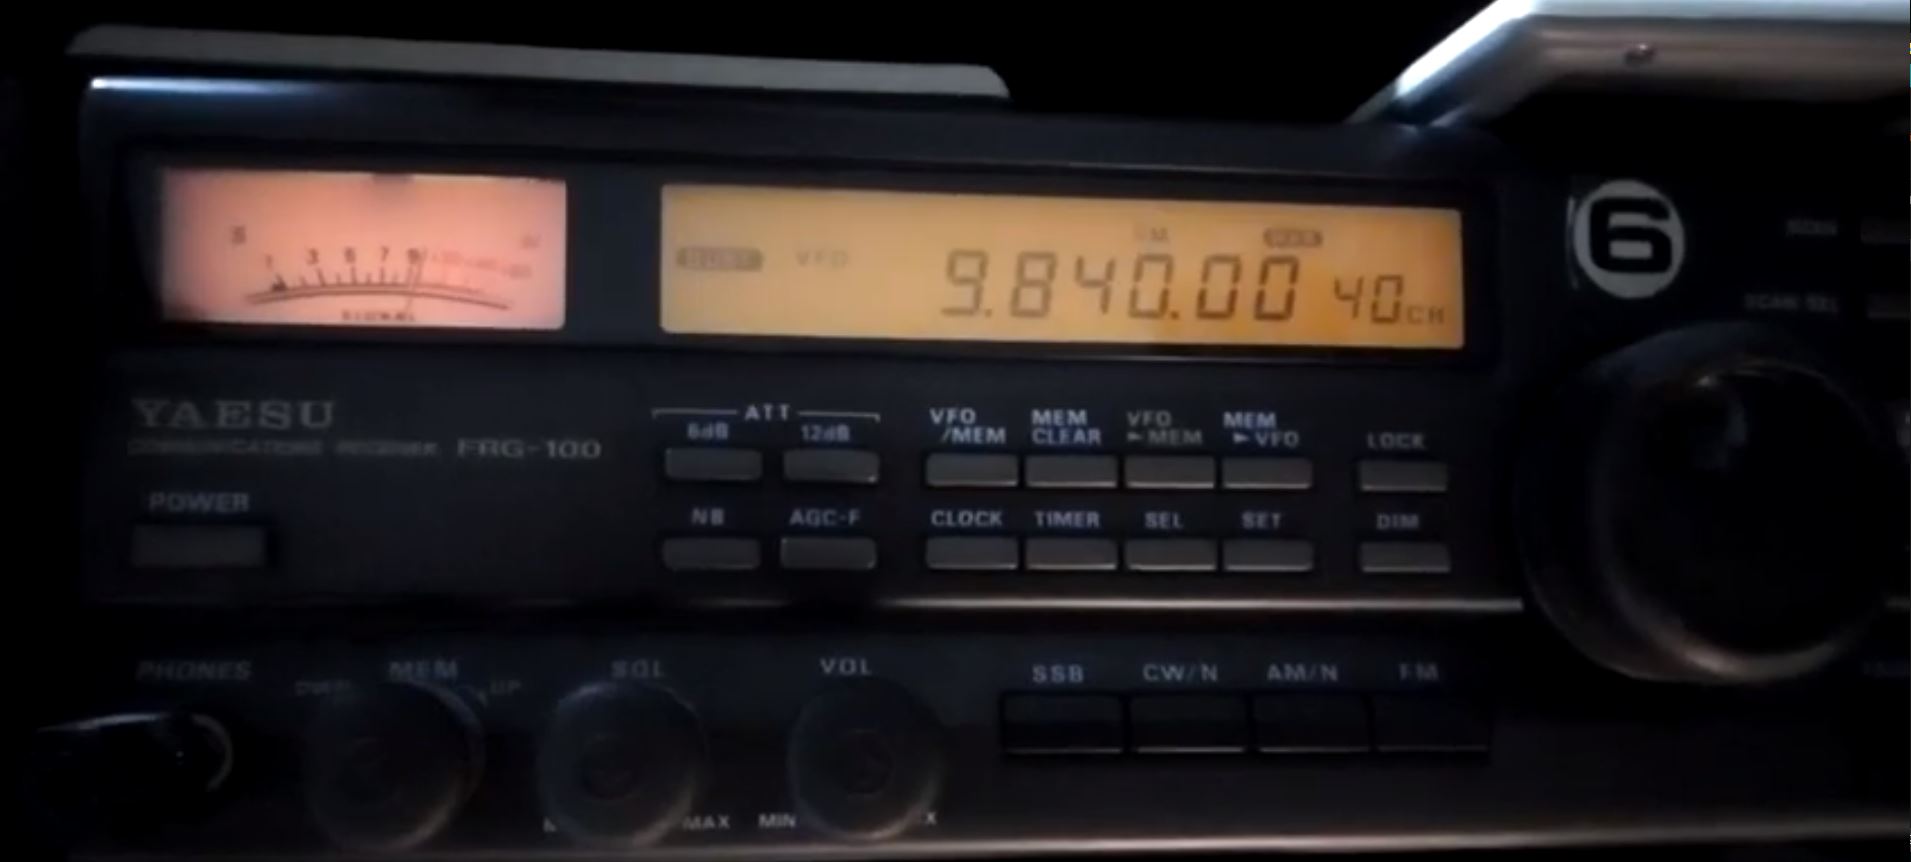
You can see my two videos about listening to the Voice of Turkey and a QSO on 40m. between radio amateurs–a test with two different powers, one high in AM and another much lower among radio amateurs.
A nice result knowing that we are receiving inside my radio station. The homebrew NCPL antenna you encouraged me to build is truly amazing.
Best wishes to you and the SWLing Post community.
73 by Giuseppe Morlè IZ0GZW.
Thank you so much for taking the time to share your thoughts and these videos with us, Giuseppe. It is very encouraging that we have some antenna options that help us cope with all of the RFI generated within our homes! Thank you again!
Mobimax sent one of these speakers to me to install and evaluate at no cost to me–I received it last week and installed it yesterday.
Installation
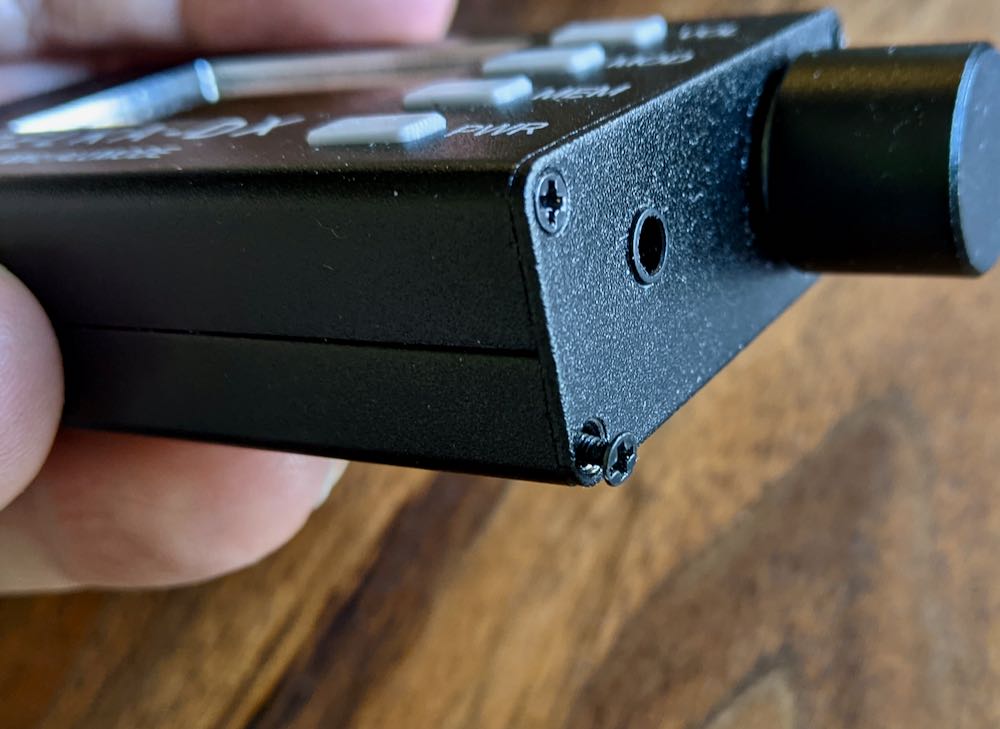
The installation couldn’t have been more simple: the only tool needed is a small Phillips-Head screwdriver. Note that my Belka-DX already had the original speaker option installed.
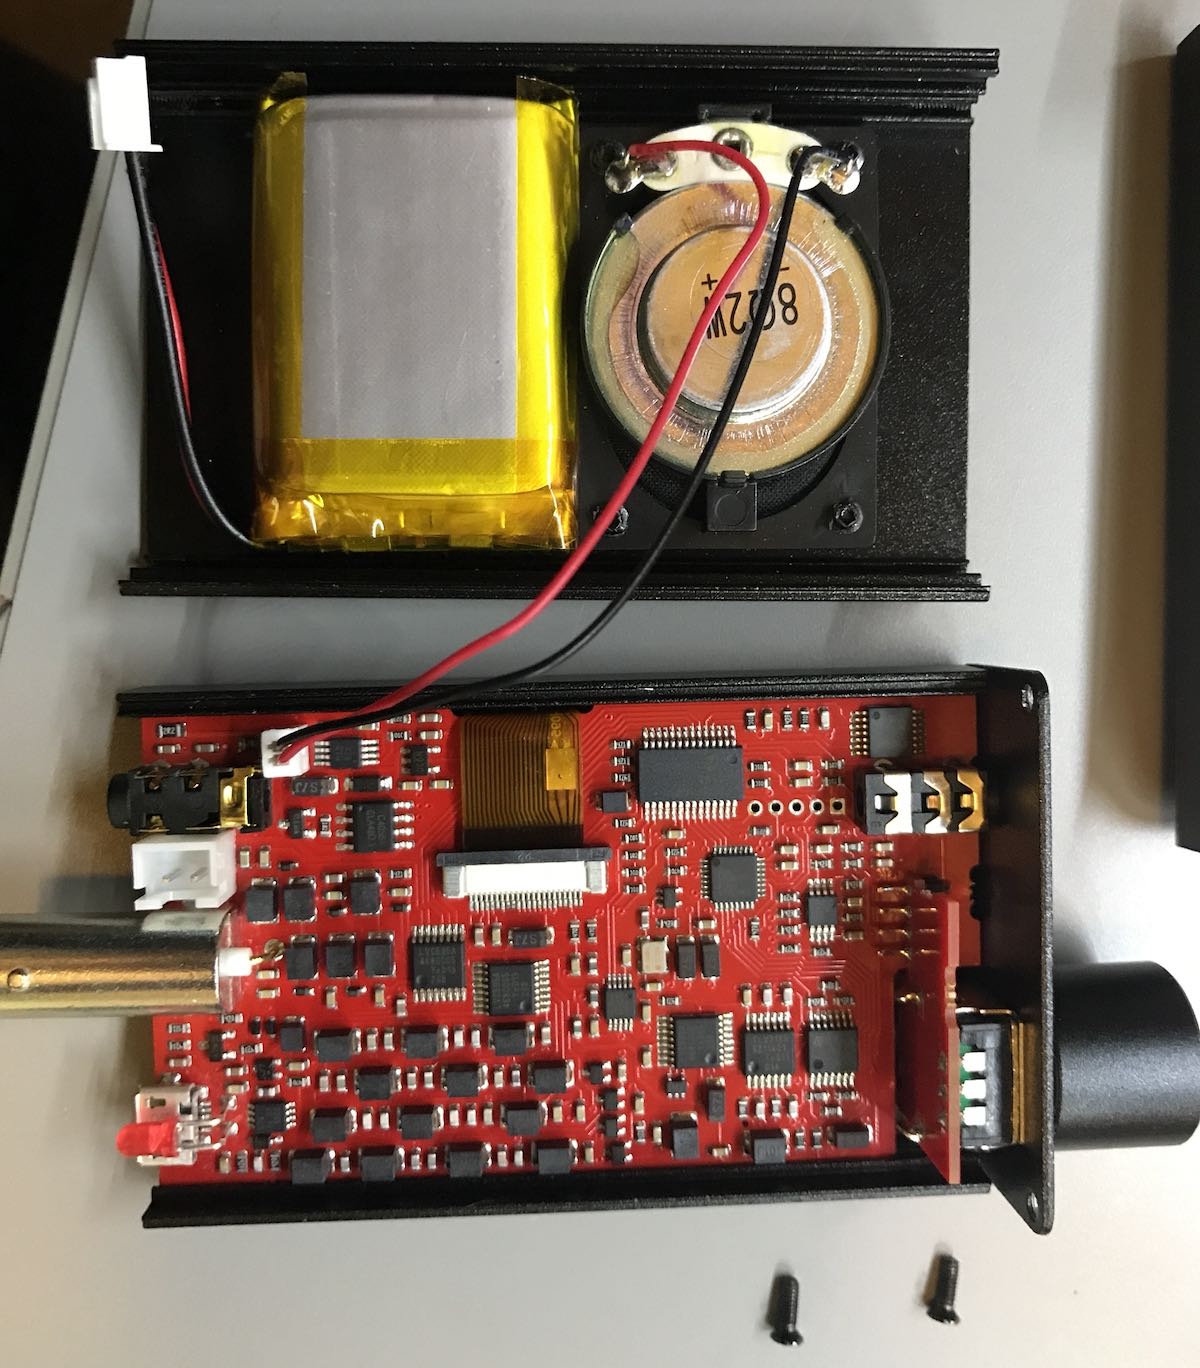
All I needed to do was remove the lower two screws on both sides of the Belka chassis.
After doing this, the bottom section of the chassis simply pulls out (do this slowly since there are both battery and speaker jumpers).
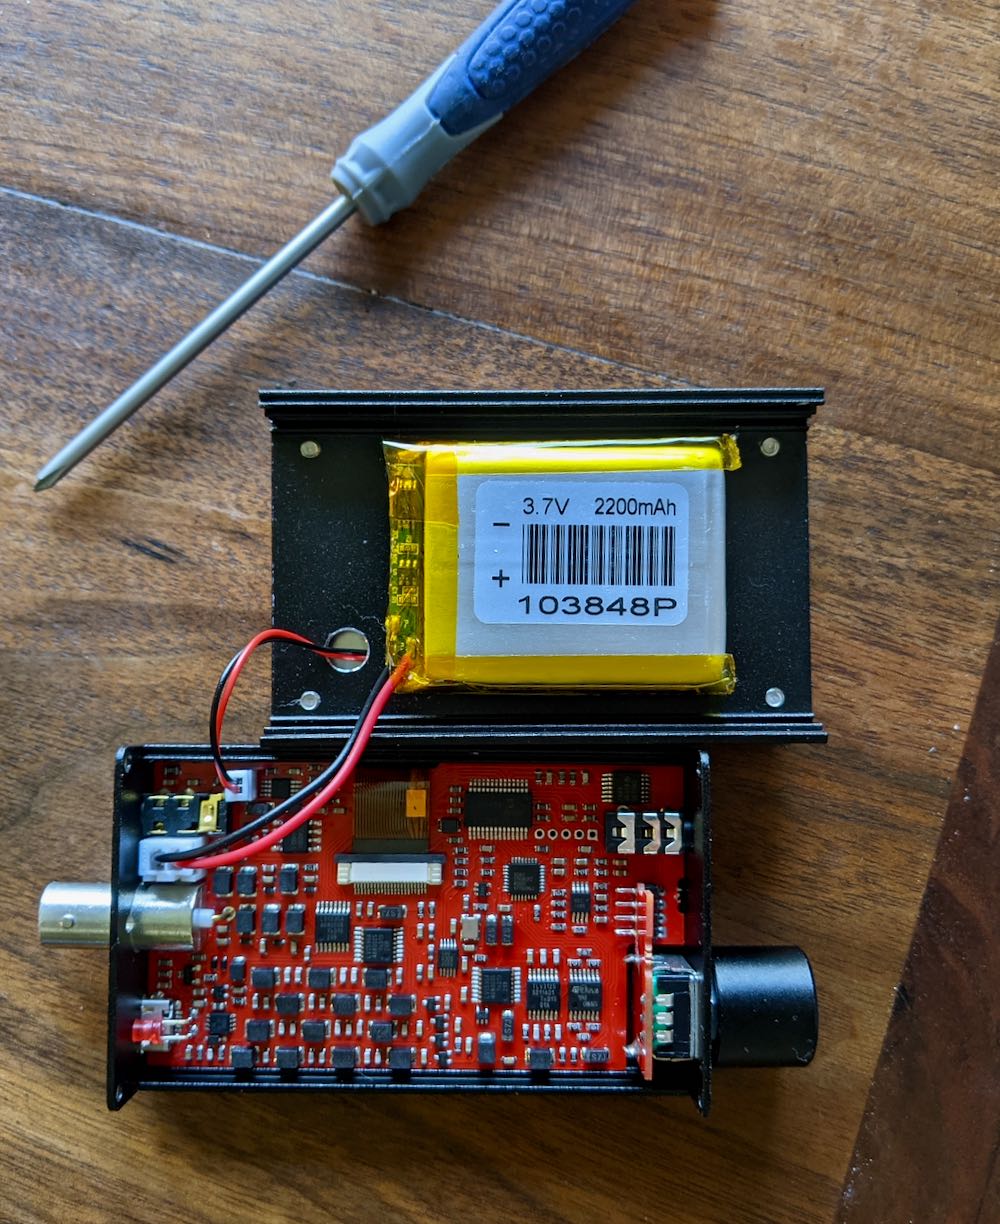
Next, I unplugged the speaker and battery jumpers from the original speaker option.
Installing the new speaker section was simply a matter of plugging in the speaker and battery jumpers (each plug is a different size so they can’t be confused), then attaching the new pack to the back of the Belka-DX using the same four screws that had been removed.
The whole process might have taken four or five minutes (mainly because I took photos!).
How does it play?
Since I can’t really do a side-by-side comparison with the original speaker and this one, I simply listened to the original speaker tuned to WWV, WRMI, and the Voice of Greece for a while before installing the new speaker.
Both speakers are obviously very small as the Belka-DX is the most compact shortwave portable I’ve ever laid hands on.
Audio quality
I believe the original speaker has better audio fidelity, likely due to the fact it uses the body of the Belka-DX as an enclosure or resonance chamber. The new speaker has a dedicated enclosure, but it’s maybe 40% the size of the Belka-DX body.
In the end, though? Neither speaker will give you the audio fidelity of a traditional portable. The original speaker is just slightly better than the new one. With the Belka-DX, I see the speaker as a wonderful convenience, but frankly, I reach for earphones or headphones if I want to do DXing or proper broadcast listening.
Battery
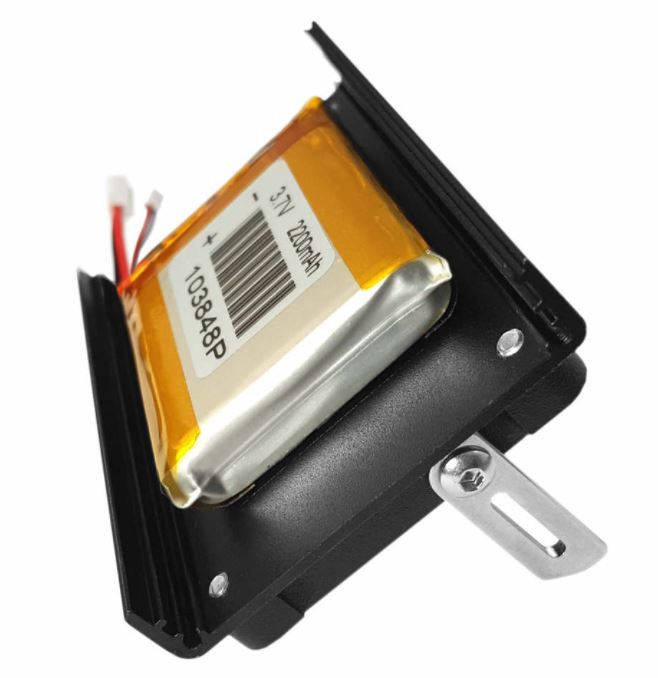
The new speaker option allows for a full size battery pack in the Belka-DX. This is probably the biggest selling point of the new speaker. The original speaker option fits both the speaker and a smaller LiIon battery pack on the bottom plate of the radio.
The original speaker and smaller battery pack (top section of this photo)
Since the new speaker option adds a dedicated speaker section, it opens up the full real estate of the bottom plate for a full size battery again.
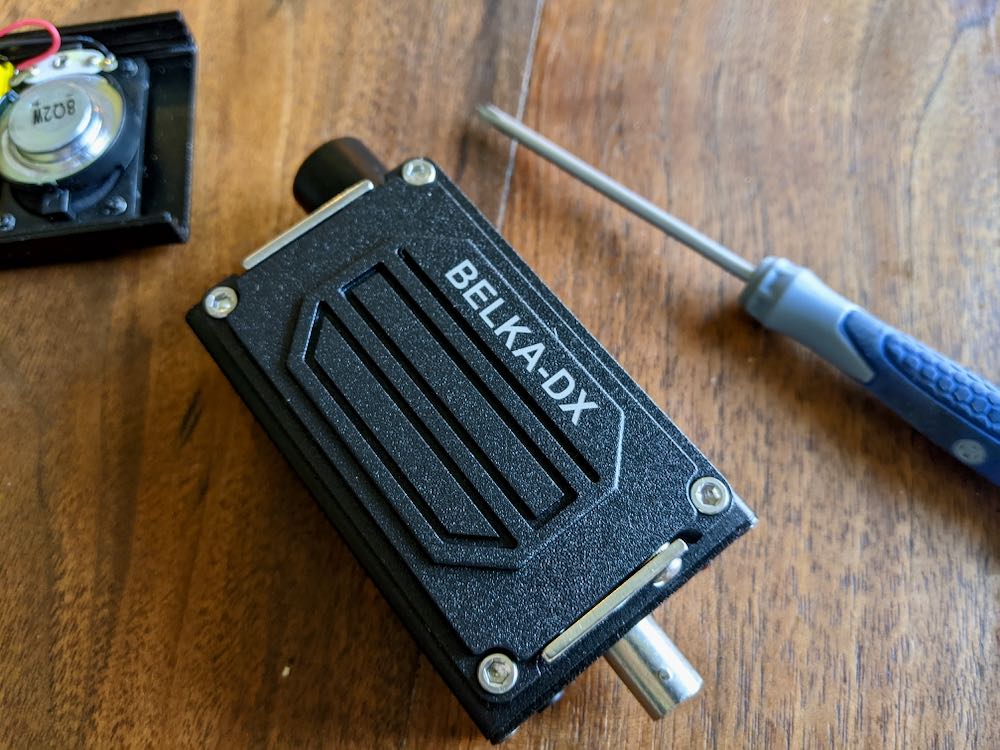
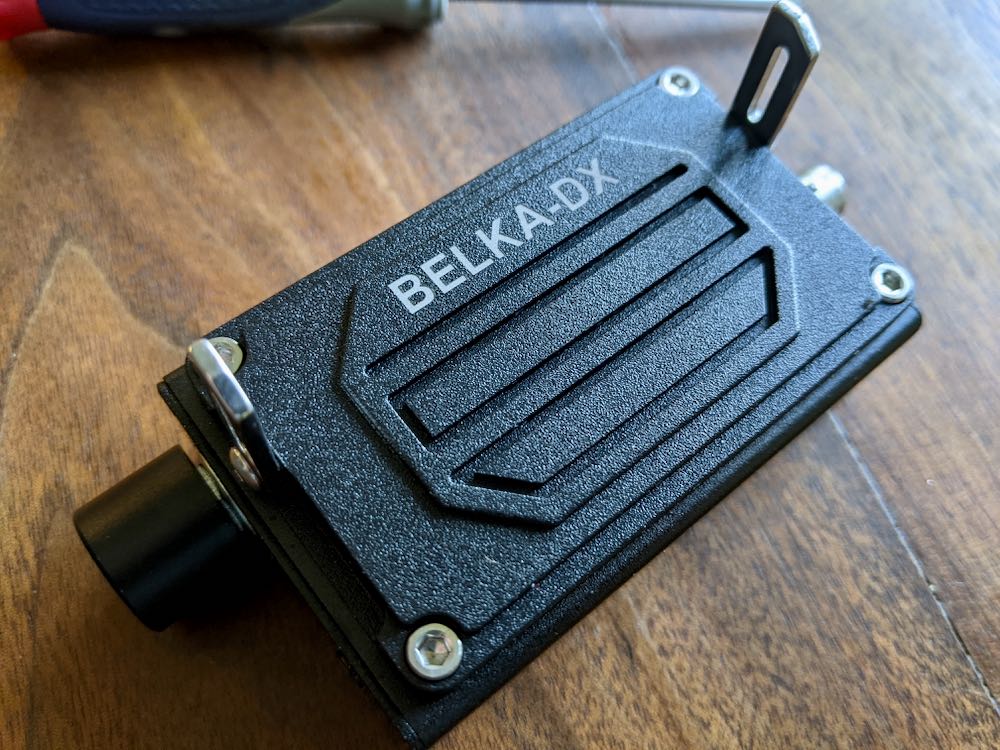
I should also add that the new speaker section matches the original Belka-DX enclosure and speaker in that it’s incredibly durable. Frankly, it feels military-grade and over-engineered. I love it.
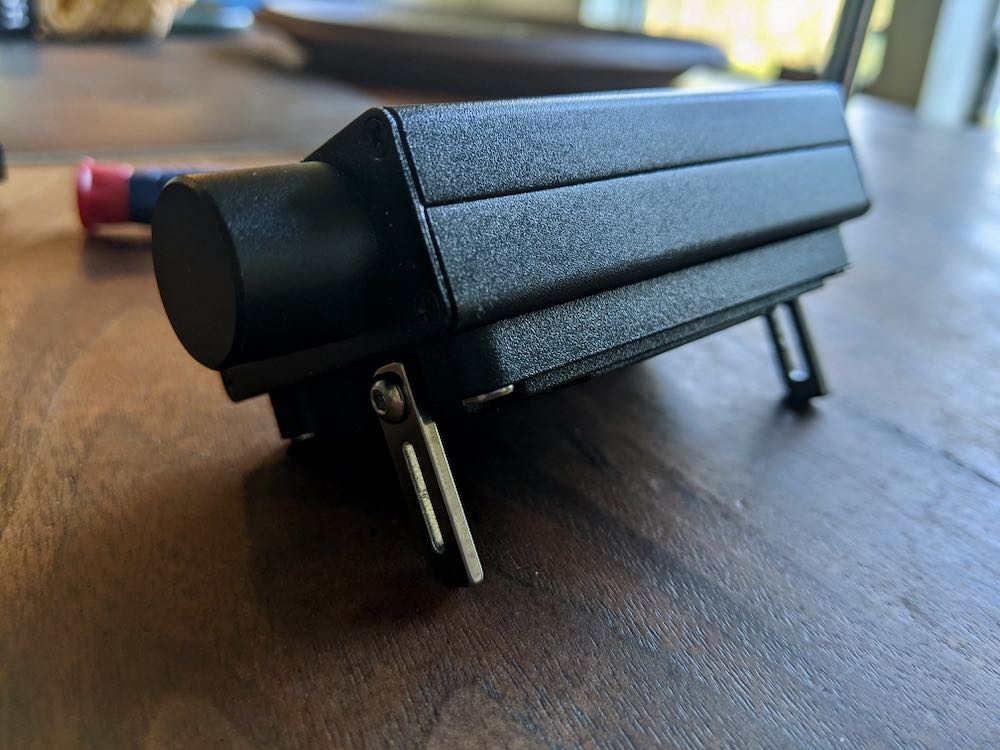
Fold-out legs
I really like the fold-out legs on the new speaker. They actually have two indented sections that click into place as you fold them out. This allows for two different stable viewing angles. I prefer having them folded out all the way.
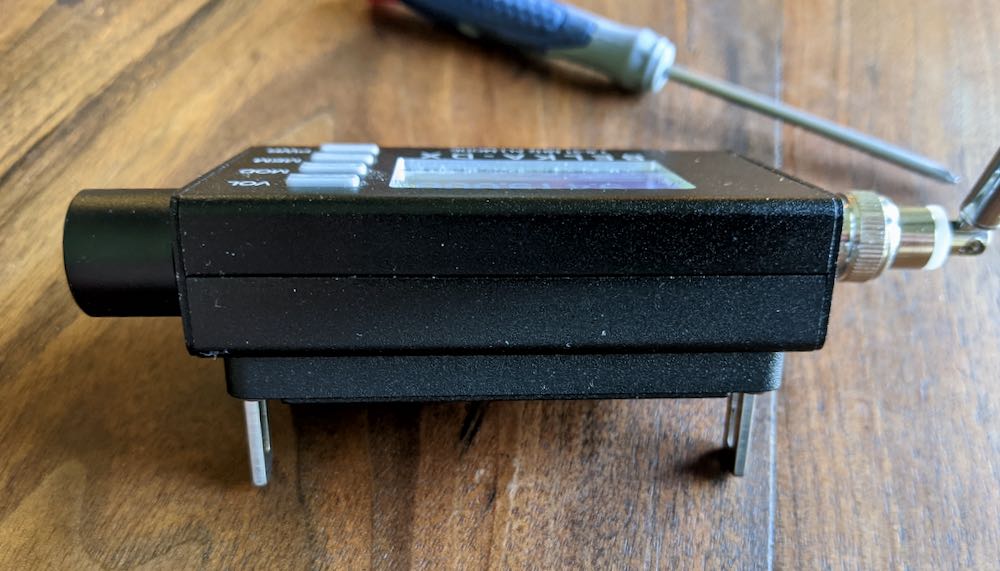
Size
The new speaker option adds a bit of weight and bulk to the Belka-DX.
Again: we’re talking about a wee little radio here, so I can’t imagine someone complaining about the size or weight. The new speaker makes the radio slightly deeper or thicker if you look at it from the side or profile. Frankly, it’s a negligible amount, but worth noting.
Should you buy it?
In my opinion, the main reasons to buy the new speaker option are to take advantage of the longer play time from the full size internal battery and to gain the two fold-out feet. The Belka-DX is so efficient that even the smaller battery pack in the original speaker option will power this radio for many hours without recharge.
Still, if these two factors are important to you, this is a no-brainer.
I would simply pick the speaker option that best suits your needs.
I must say again that it’s a real pleasure evaluating products that are engineered to the degree of the Belka-DX (and Belka-DSP) and both speaker options. These feel like they’re built to last a lifetime and could really take a beating in my various radio packs and kits.
Many thanks again to Mobimax for dispatching one of these for my evaluation.
Even though I do most of my blogging from a MacBook Air and use a Windows 10 PC in the shack for SDR work, I’m a huge fan of Linux.
Over the past decade, I’ve used a number of Linux distributions including Puppy Linux, Ubuntu, Linux Mint, and Raspian.
The past few years, I’ve been doing most of my Linux work with a Raspberry Pi running Raspian. I probably own ten or more Raspberry Pi models; some have one dedicated task (like the Raspberry Pirate, my ADS-B feeder, or one that feeds LiveATC) while others, like the Pi4 4GB models, are serving as primary personal computers for my daughters. I’ve been trying to up my command line game so I can continue teaching it to my daughters–the Pi has been perfect for this.
Why a mini PC?
While I love the Raspberry Pi, I would like a dedicated device in the shack that sports more horsepower and a better integrated sound card. I also want something compact.
In the past, I have, of course, resurrected old PCs by installing Linux and I’ve even turned my primary shack PC into a Windows/Linux dual boot system. I’m not the biggest fan of dual boot, though, because I have run into problems when I needed to do a full re-install of Windows and/or Linux–all of that partition management gets tricky for me. I’ve even found a few PCs (guessing it’s the BIOS) that reject the dual boot loading system.
I simply don’t have the desktop real estate for another revived desktop or tower PC.
Spoiled for choice
I like the idea of a Mini PC dedicated to Linux but there are a dizzying array of devices on the market ranging in price from $100-$700. I don’t need a lot of horsepower, just enough to run SDR apps, potentially playback spectrum recordings, stream videos, and occasionally manipulate graphics and images. The Pi can do many of these tasks to an extent, but it’s not always terribly stable.
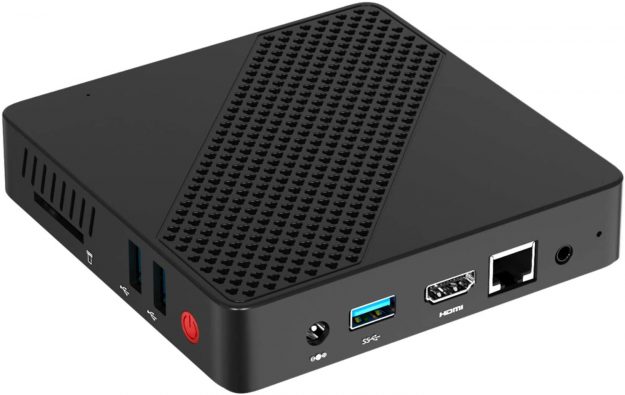
I’ve been tempted by this mini PC because the reviews seem positive (although I don’t always trust Amazon reviews) and the price is right at $129.
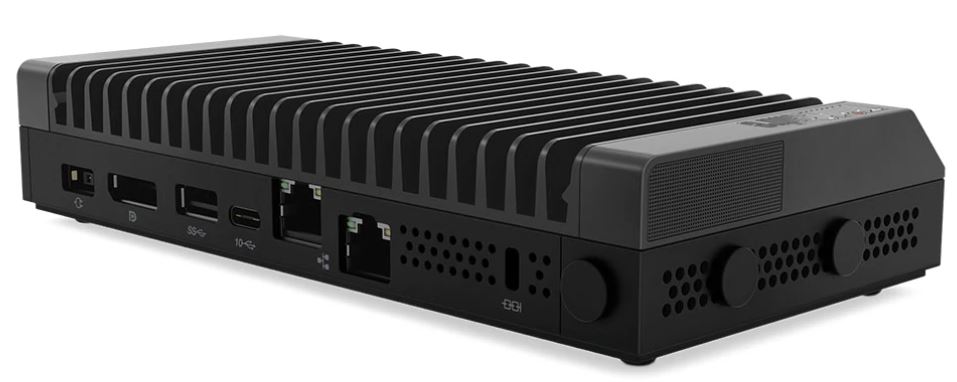
The Lenovo ThinkCentre M90n IoT
I’ve also read positive comments from folks who’ve loaded Ubuntu on a base version of the Lenovo ThinkCentre M90n IoT.
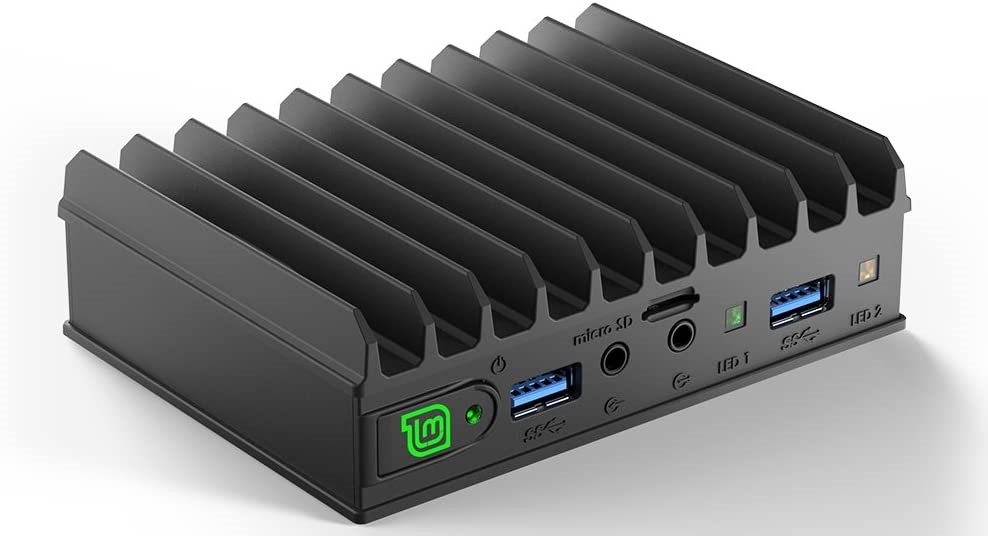
Of course, I know I can also buy Mini PCs that have Linux pre-loaded and part of the proceeds support development of the distro like the Mintbox Mini pictured at the top of this page. I do like the idea of my purchase directly supporting the distro.
I also like the Intel NUC, but once configured it can be a bit pricey for my purposes. I don’t want to exceed $300.
Any recommendations?
If you have any advice, I’m all ears! I’m especially interested in any first-hand experience with a Mini PC model running Linux. Please feel free to comment with your suggestions and links.
I’ve dealt with him in the past with excellent satisfaction. I know that many manuals can be found free on-line, but if that isn’t the case, Tony may have it.
He’s also involved with teaching city school kids about amateur radio and welcomes donations of ham radio gear. I’ve donated items to his cause and felt good about it: http://www.wb2jkj.org/
He always follows up with a nice thank you letter from the school.
Thank you so much for sharing this recommendation, Mario!