Radio Thoughts and Reflections: An informal hands-on review of the Tecsun H501x, Belka, Sony ICF 2010 / 2001D
by Julian Stargardt
This review started as a comparative review of the Tecsun H501x and the Sony ICF 2010 / 2001D. It developed into something more.
I fell in love with radio when as a 5 or 6 year old child, my parents parked an old multi-band thermionic valve / tube radio on a small table in my bedroom. After a few evenings of staring at this wooden beast with its glass face on one side of the front with rows of numbers, I plucked up courage to plug it in, and turn it on. It lit up and after a while it hissed at me. I twiddled some knobs and eventually found some faint speech and then some quite loud music, presumably a local MW broadcaster of the sort for whom a central heating radiator will suffice as a receiver – yes if you’re near enough to the transmitter an old fashioned cast iron water-filled ribbed radiator will work as a MW receiver, the audio isn’t great but you can hear it. A phenomenon that should appeal to steam punks. After a few days, I figured out that I could plug a long wire – actually quite short to start with, only about 5 feet initially, later this grew into a long wire mostly outside. Wow! I could hear all sorts of stations in all sorts of languages. My favourite was an American station that broadcast Country and Western. I invited my younger brother to my room and explained that the Country and Western music was “cowboy music”…. So a love affair started that persists to this day.
In my 20s and early 30s, I set up a National HRO with its coils and external power supply in my study at home, with an excellent long dipole in the garden; that setup could pick up anything from anywhere…
 A Sony ICF 2001D aka 2010 also entered my life. Much more portable than the HRO. By the way, for reasons best known to itself, Sony sold the same radio under two different names; in the USA it was called the Sony ICF 2010, and in the rest of the world it was called the Sony ICF 2001D – not to be confused with the 2001….
The Sony ICF 2010 / 2001D was made from 1985 to 2003. That must be a record or close to a record for a consumer portable broadband radio receiver. And it reflects on what a wonderful radio the 2010 / 2001D is. To many of us it’s a benchmark. For people who worked in remote areas in the pre-internet age it was a window on the world that brought in news, views and entertainment from around the world. At times it could be a life-saver.
So 23 years on is there a worthy equivalent or successor to the Sony 2010 / 2001D?
Yes, there is.
 There are any number of radios available today that perform as well as or in some ways better than the Sony 2010 / 2001D. Some are out of production but still readily available on the 2nd hand market. A number are in production. Some are larger and heavier; some are smaller; a few are much smaller.
The Sony ICF 2010 / 2001D has a certain presence and form factor. It brought phase-locked loop and synchronous detection to the consumer market, though I’m not sure it was the first. It was part of a wave of radios of that era, some of which are notably better, but Sony captured the lion’s share of that segment of the consumer market and won the hearts and minds of many. So what, in my view, is the modern current production successor in size and capability to the Sony ICF 2010 / 2001D?
It’s the Tecsun H501 / H501x. In Tecsun usage, the “x” or “X” suffix denotes the export version, with literature and labeling in English.
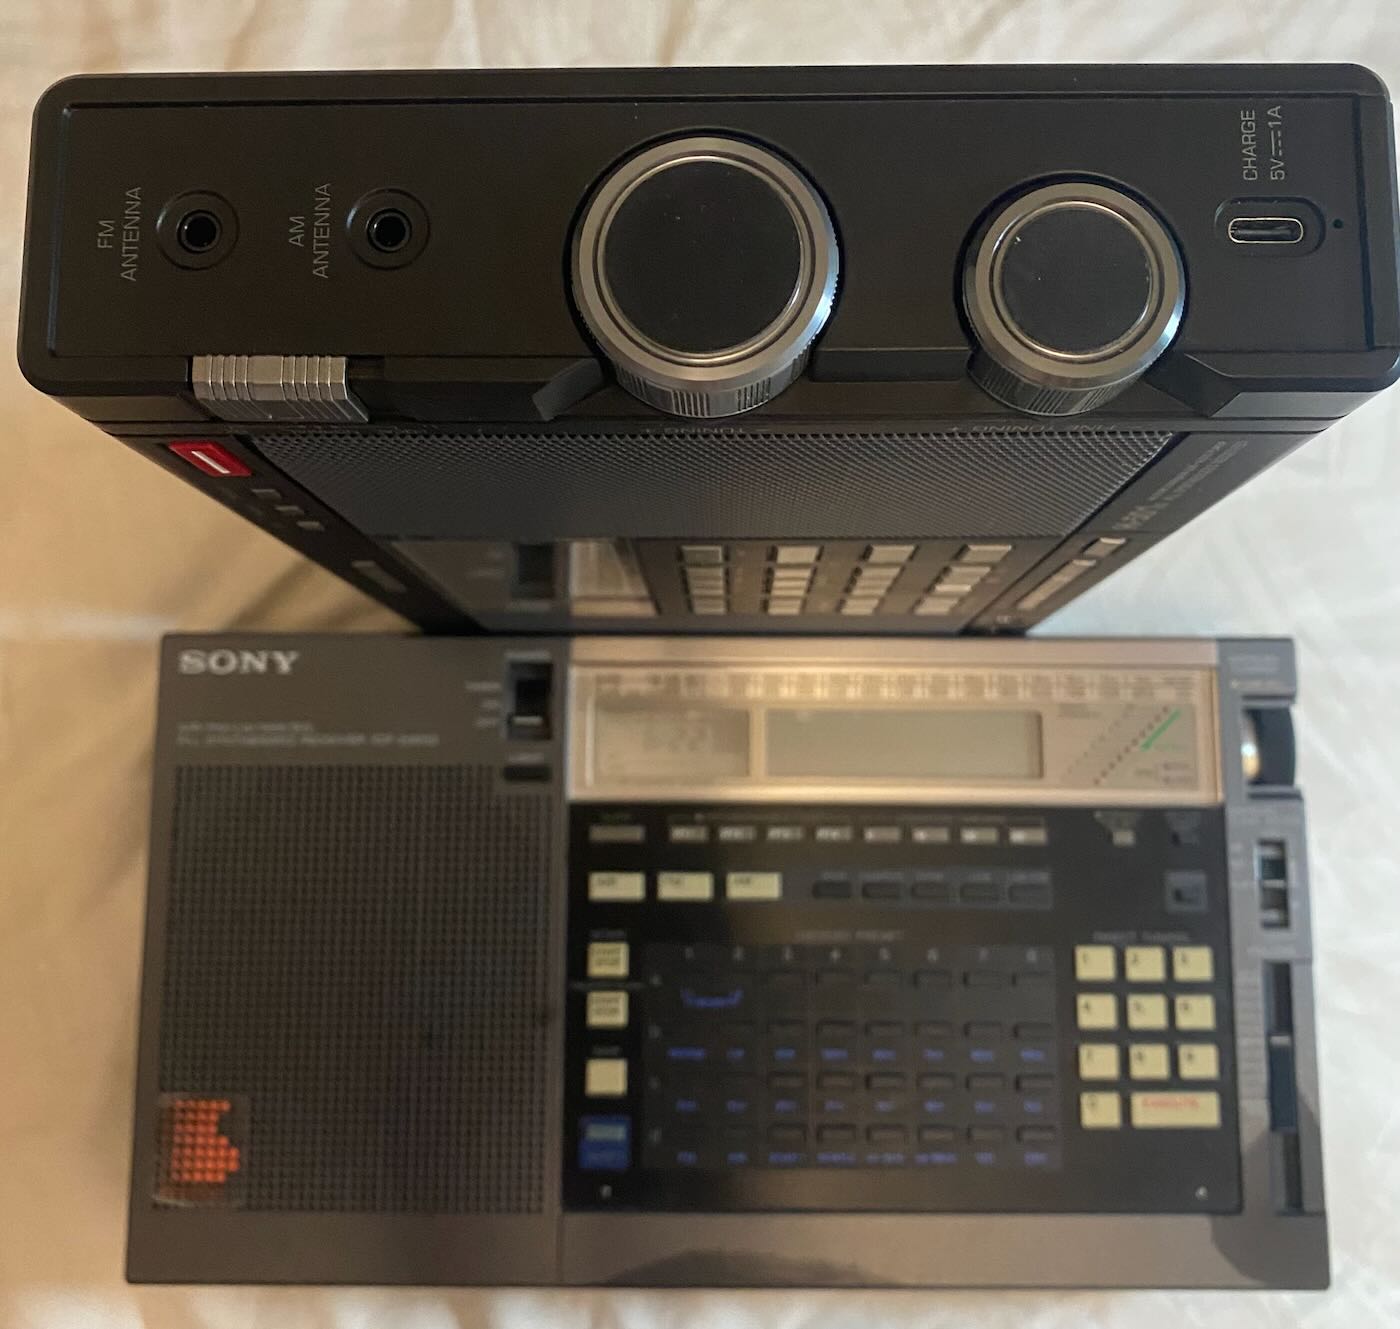 So how does the Tecsun H501x compare with the Sony ICF 2010 / 2001D?
In a word or two: It’s better.
Yes, I know, that verdict might be controversial to some and will raise some eyebrows here and there.
“What about the synchronous detection?” some will ask.
The Sony has legendary synchronous detection, which is generally, though not always, better than the Tecsun’s
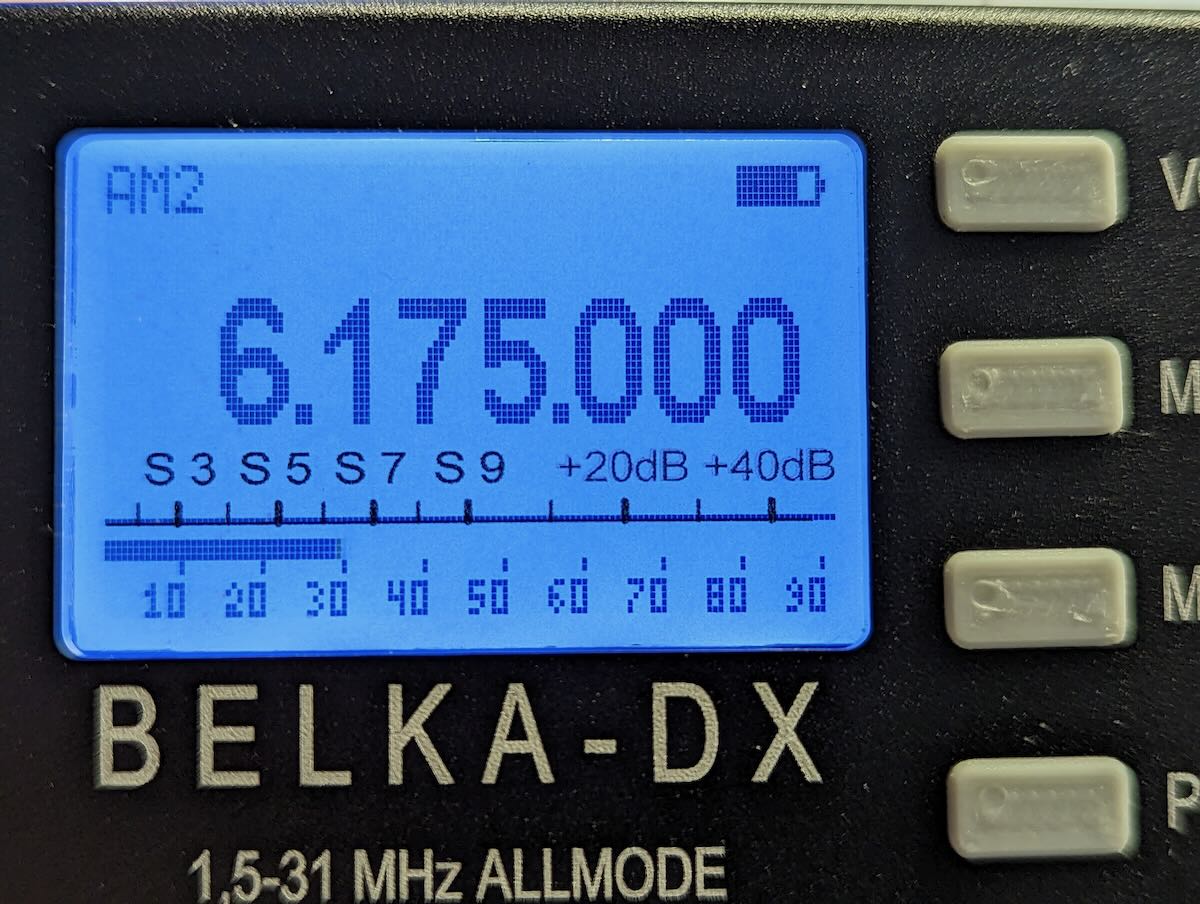
But the Sony’s synch is nowhere near as good as today’s Belka’s. I mention that because some reviewers appear to give the impression that the Sony ICF 2010 / 2001D’s synchronous detection is the best available. It is good. But it’s not the best.
A brief digression about the Belka and some Antenna Options
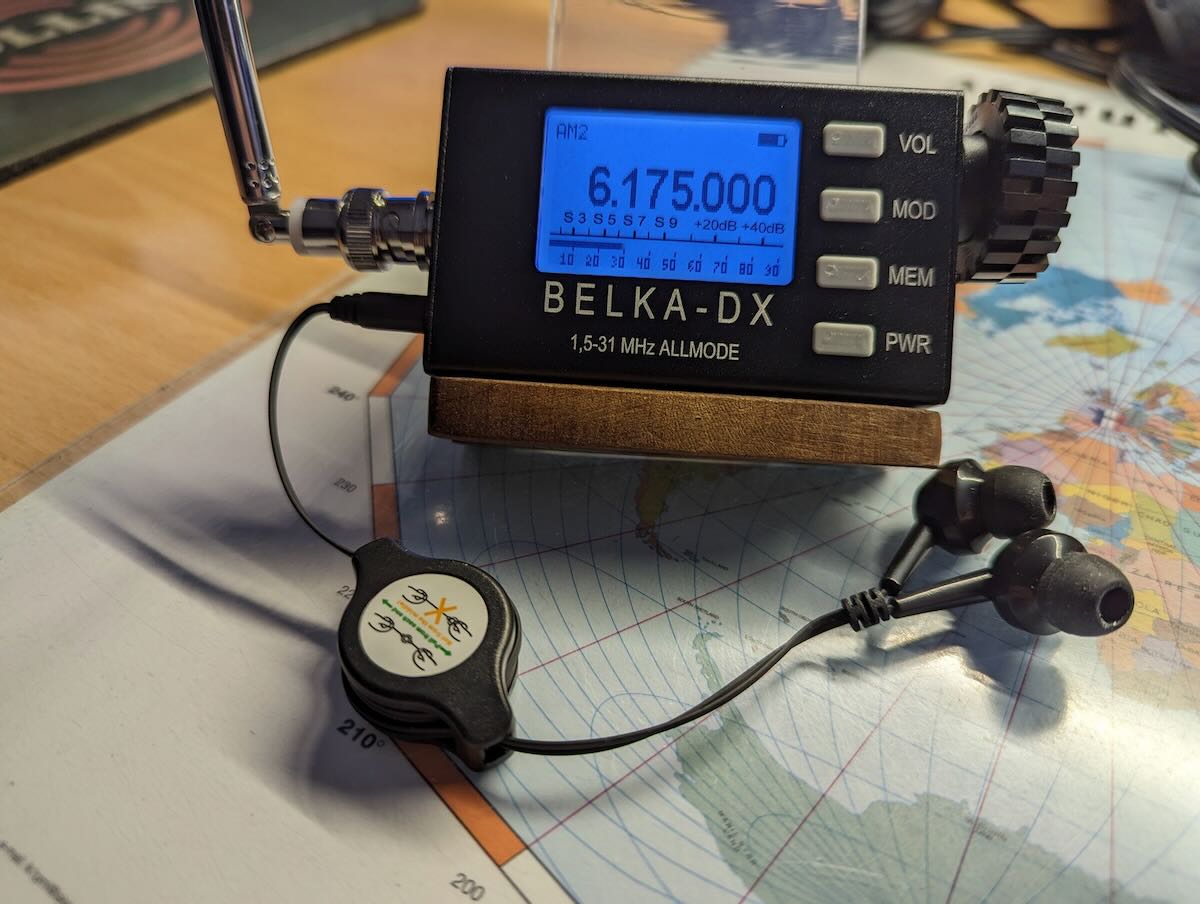
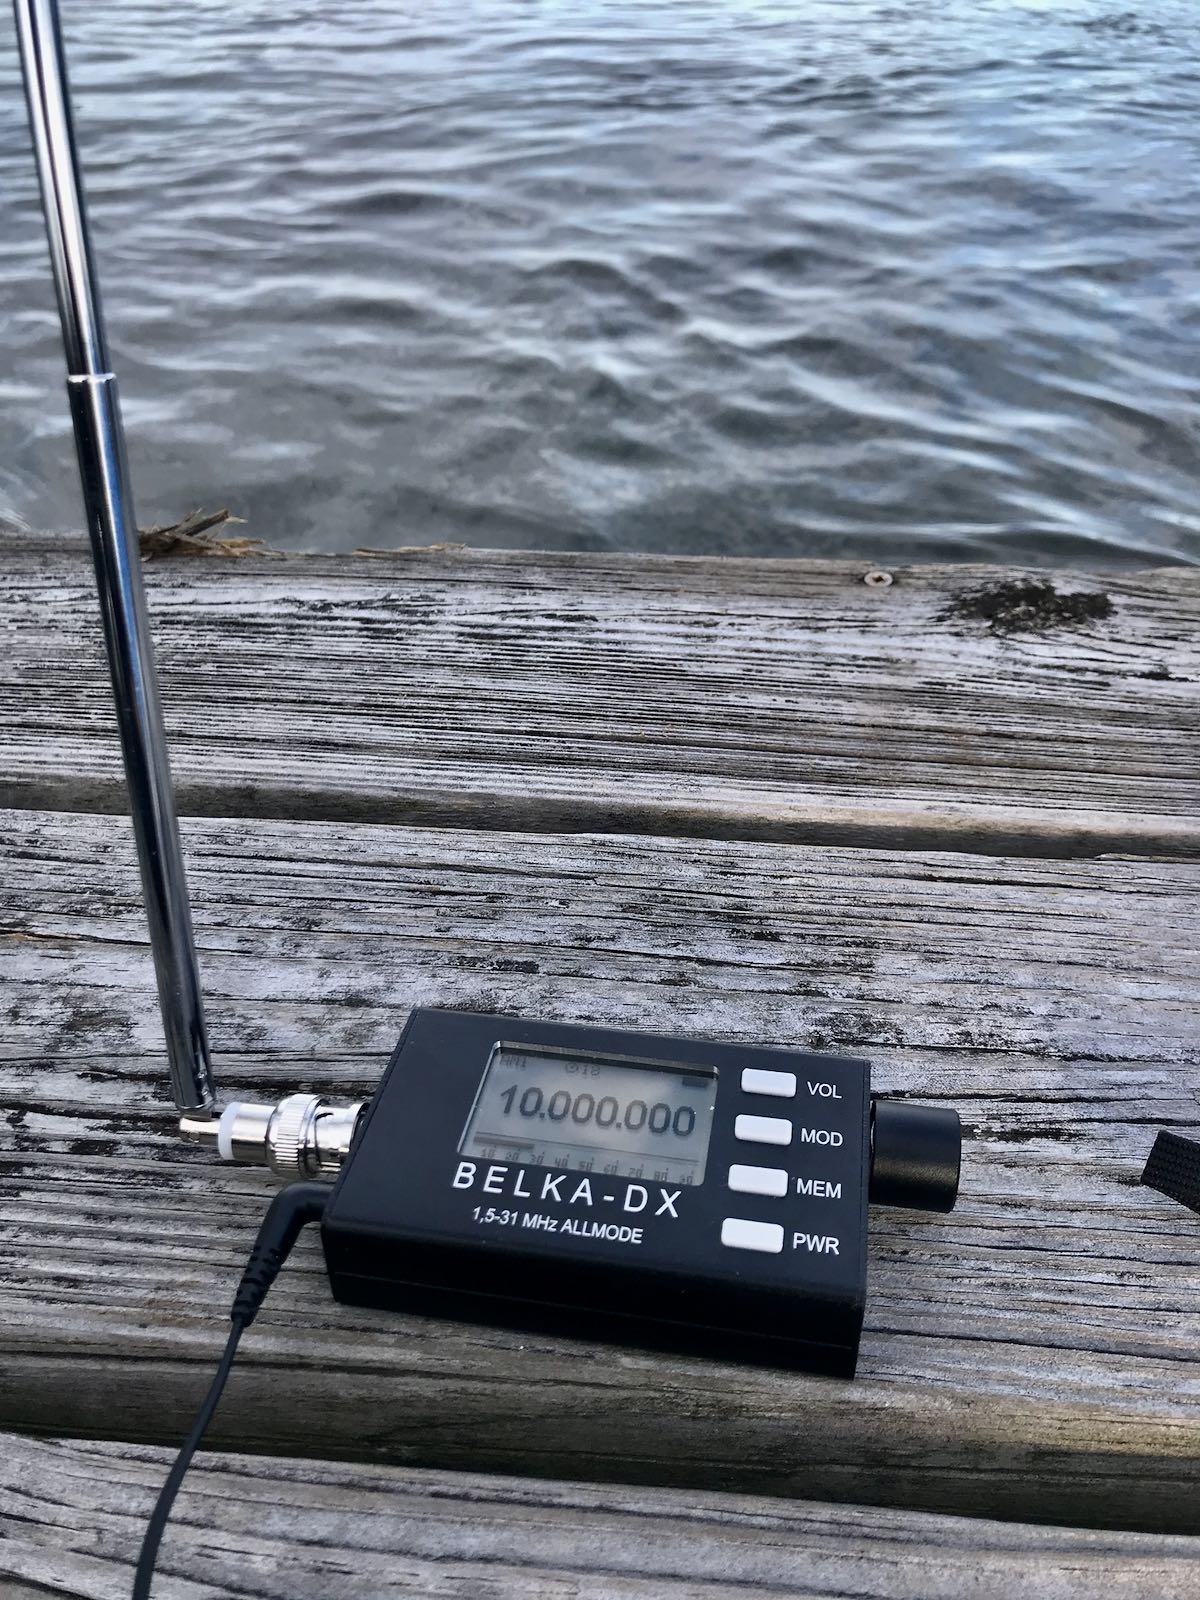
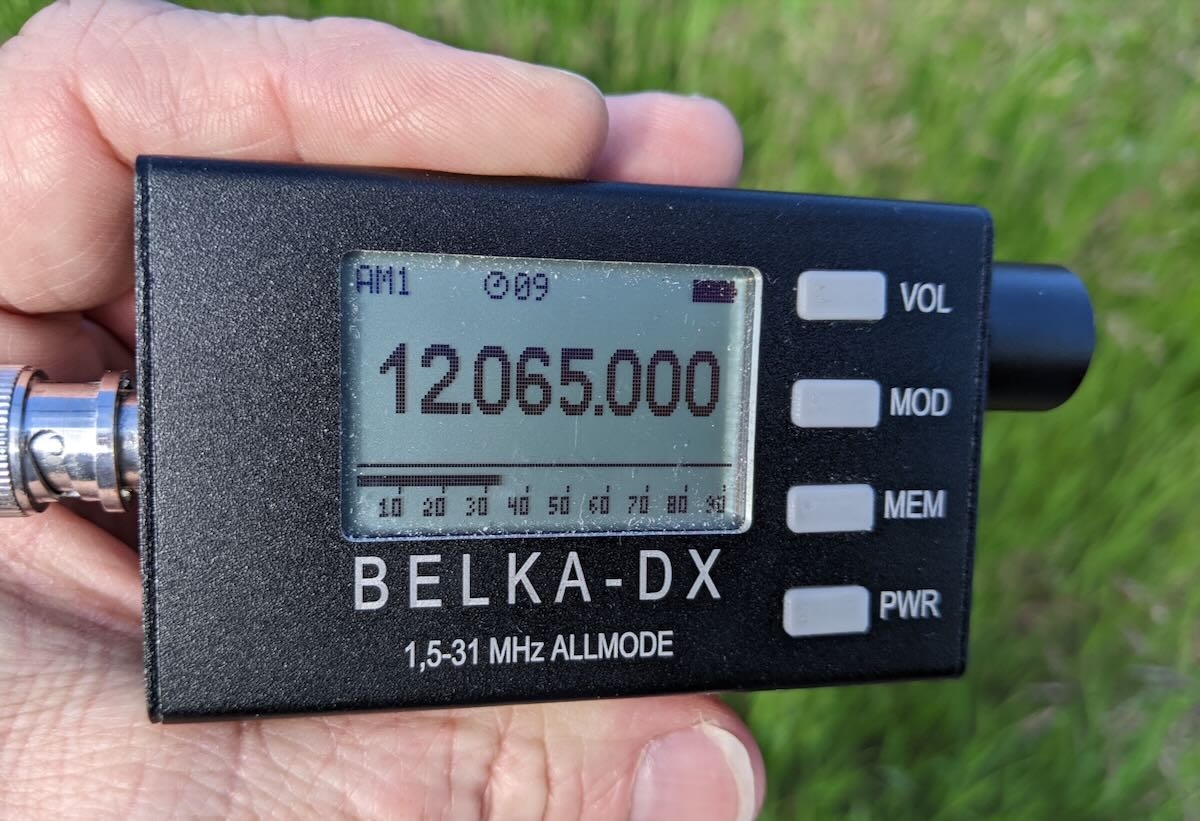
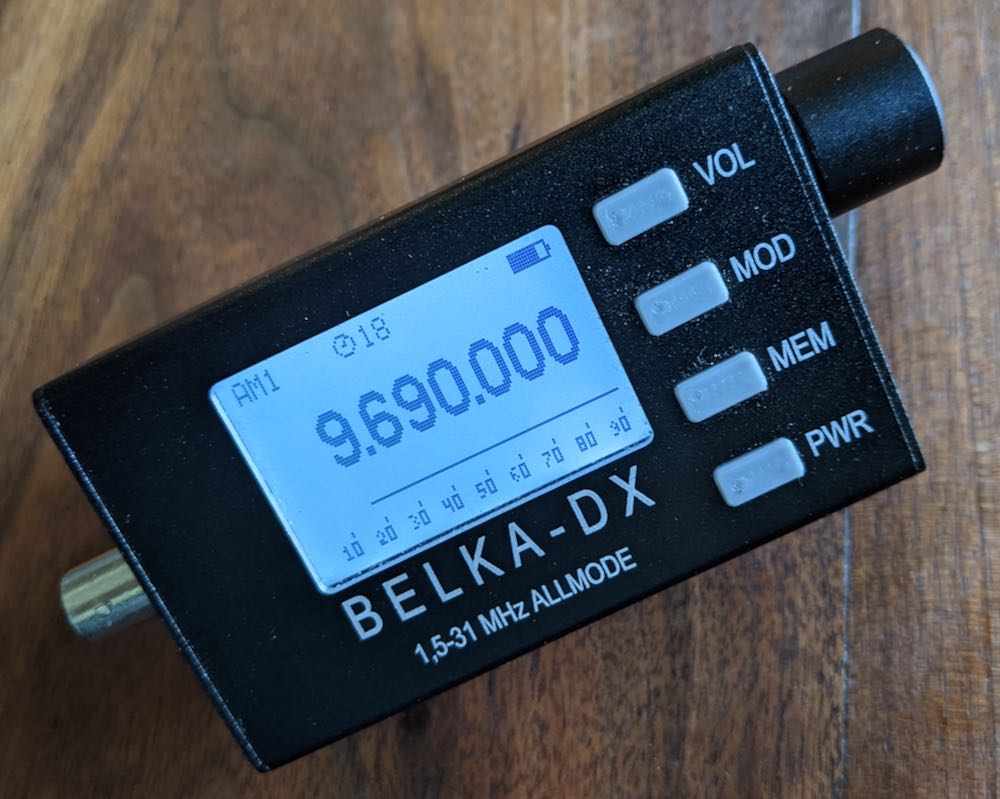 And if you want a pocket-sized high-end communications receiver and you’re willing to pay a few hundred US dollars for the privilege, the Belka is in a league of its own. It’s tiny. It’s robust (the case is thick aluminium). The battery lasts, well, not quite forever, but nearly. Alex, who designed and makes the Belka, claims conservatively that the battery lasts 24 hours of continuous reception.
The Belka has features usually only found in professional rigs. But it doesn’t have FM, and relying on a whip antenna makes listening to Medium Wave or Long Wave in a radio-frequency-interference-rich urban environment either impossible or at least a challenge. But there are solutions to that MW reception issue:
- a compact Medium Wave magnetic loop or
- a ferrite rod.
You could make your own compact magnetic loop or ferrite rod, or you can buy a ready-made one. Keep in mind that the Belka does not have an internal ferrite rod so inductive coupling will not work, you’ll need a BNC connector to connect to the Belka’s antenna socket.
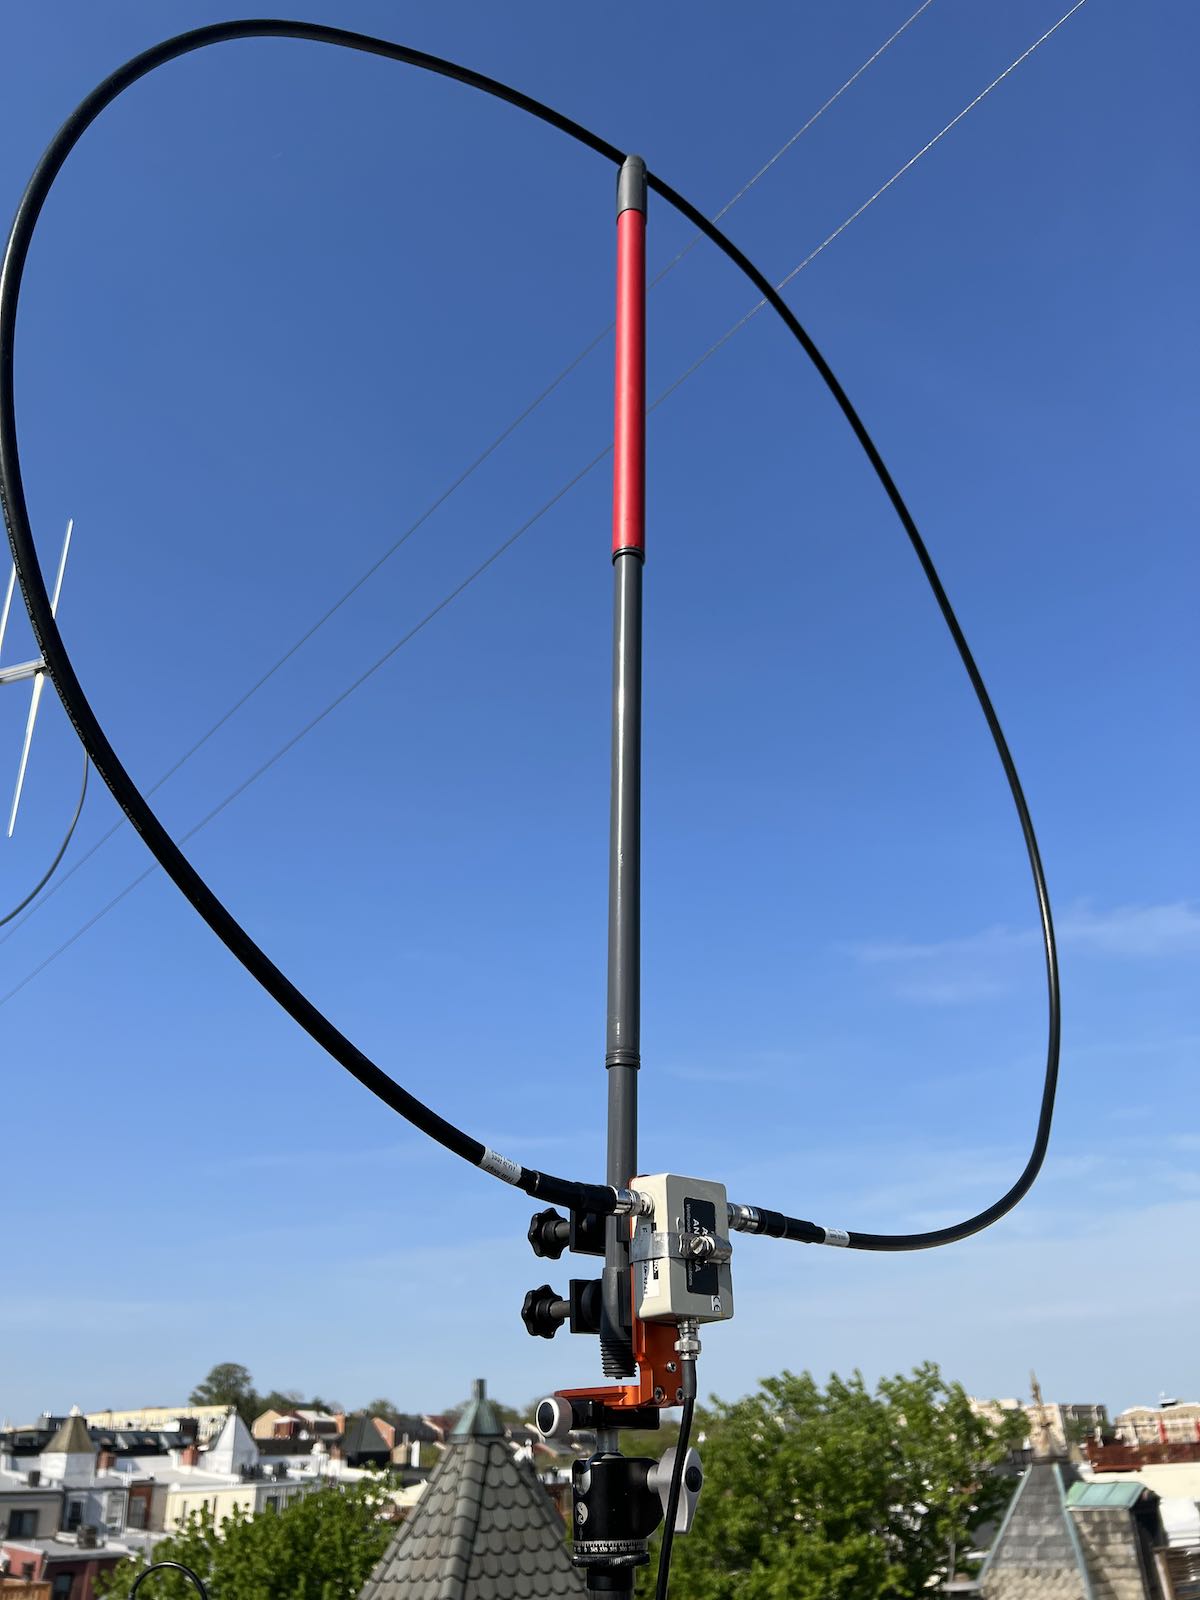
There are a number of compact magnetic loops on the market; one interesting manufacturer is PK Loop, a family-owned business that specializes in magnetic loop antennae and makes indoor and outdoor, passive and active LW, MW and SW loops. These have been reviewed on SWLing; I haven’t got one yet, so I have no personal experience of them. They’re helpful and respond promptly to emails. Their website is: https://www.amradioantennas.com/
I use, and I recommend Tecsun’s AN100 or AN200 compact passive tunable MW magnetic loops. They’re basically the same loop; they just feature different bases. You’ll need a BNC adaptor
Alternatively, you could buy Tecsun’s AN48x active loop set, which comes complete with a wide assortment of adapters, including a compact ferrite rod antenna for inductive coupling of the AN48x’s active loop to the internal ferrite rod of a radio that lacks an external antenna. Tecsun’s little ferrite rod works well on its own as a MW ferrite rod and can be connected to the Belka using the AN48x’s supplied 3.5mm / BNC adapter. I recommend the Tecsun AN48x kit, not only for the AN48x active loop antenna but especially for the wide selection of connectors supplied with this kit, including RCA, BNC, 3.5mm, crocodile clips, and the ferrite rod. At Anon-Co.com, it retails for US$29.99; US stock is sold out, so if you’re in the USA and order it, you will currently possibly have to pay a surcharge for tariffs. Anon-Co.com’s listing for the AN48x is at: https://www.anon-co.com/product/tecsun-an48x-antenna
I digress. I’ll probably do so again.
Back to the Tecsun H501x.
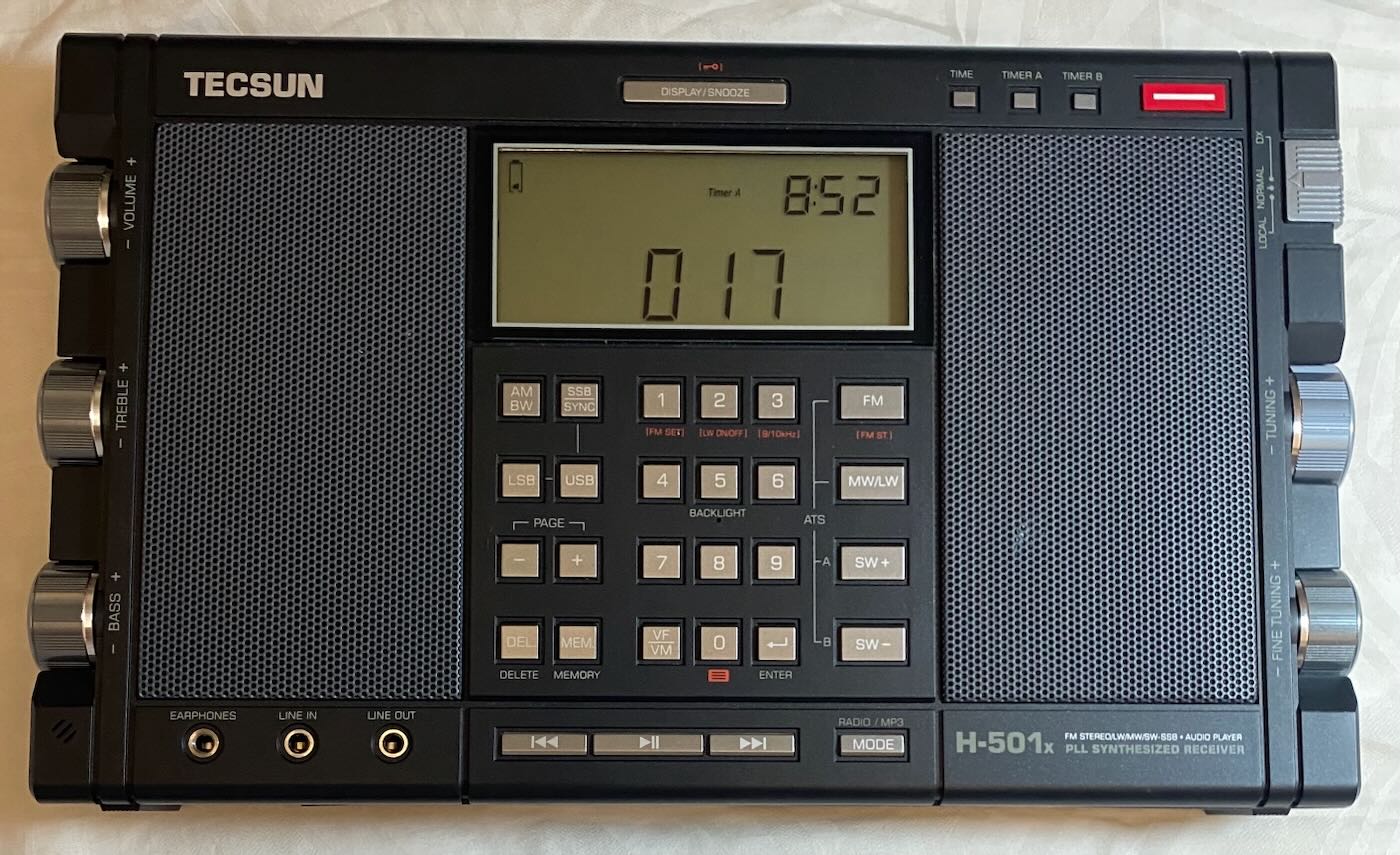
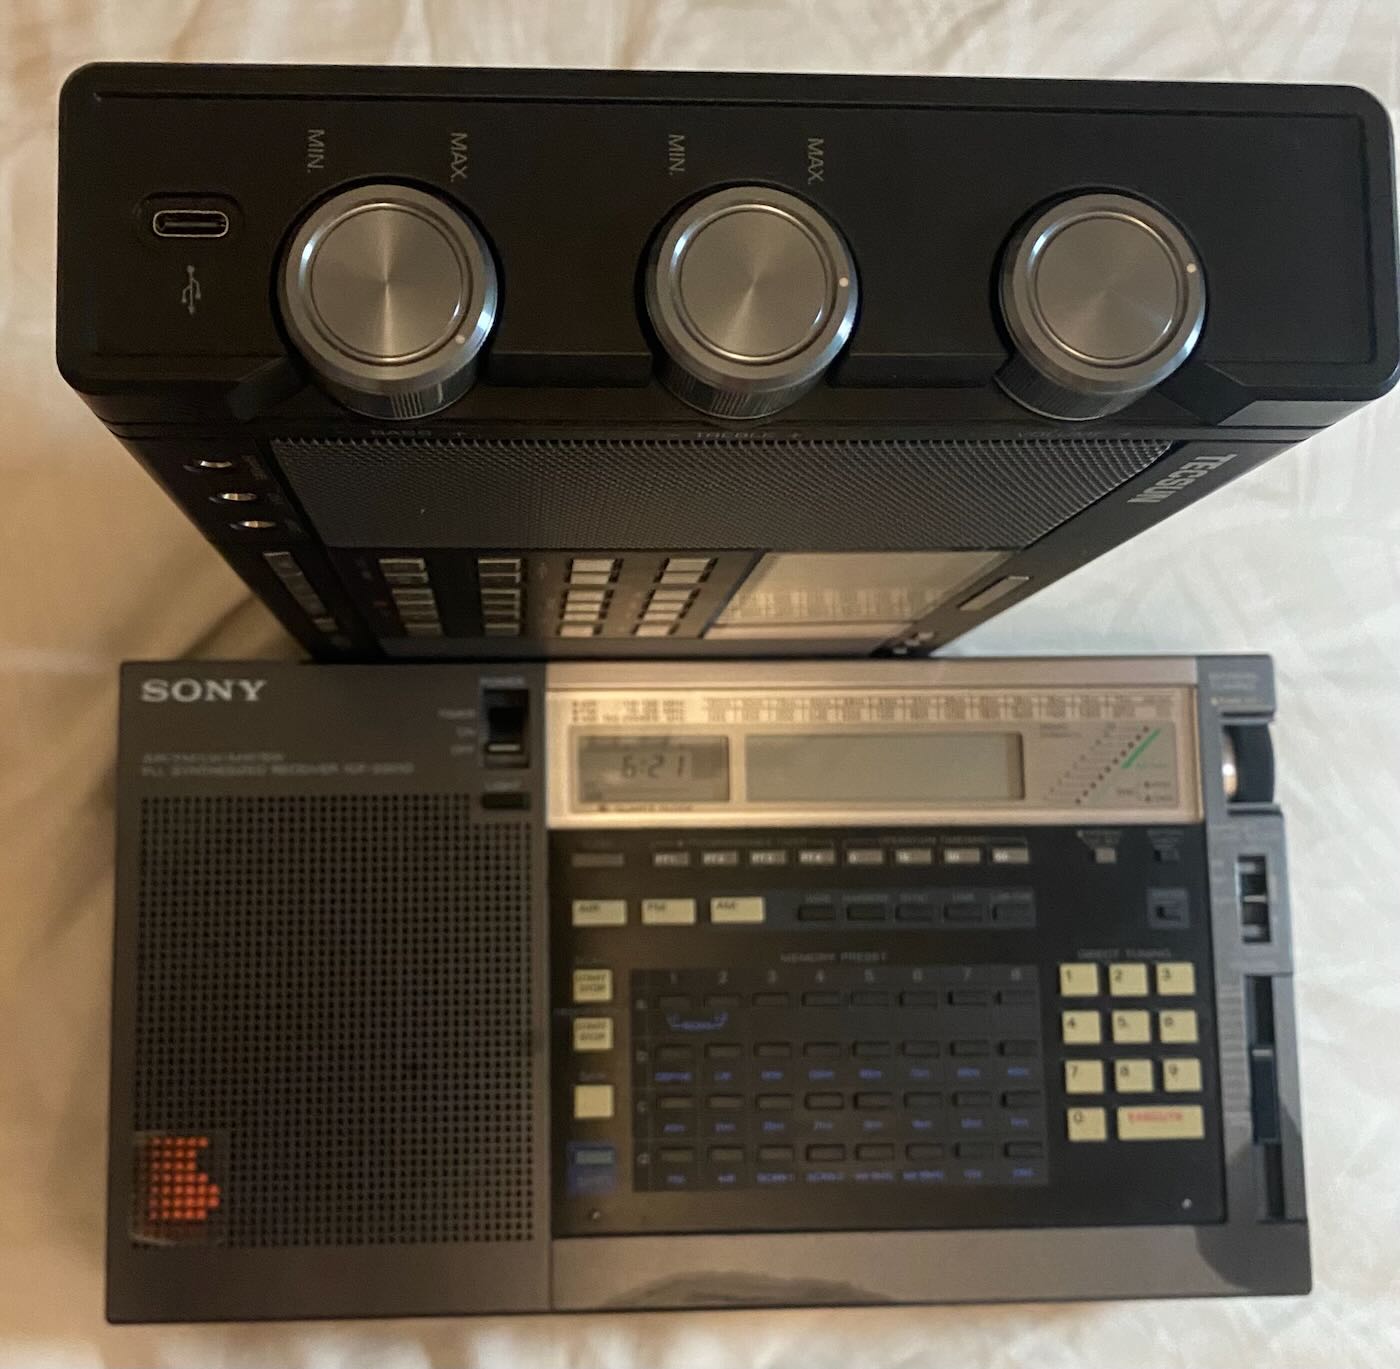
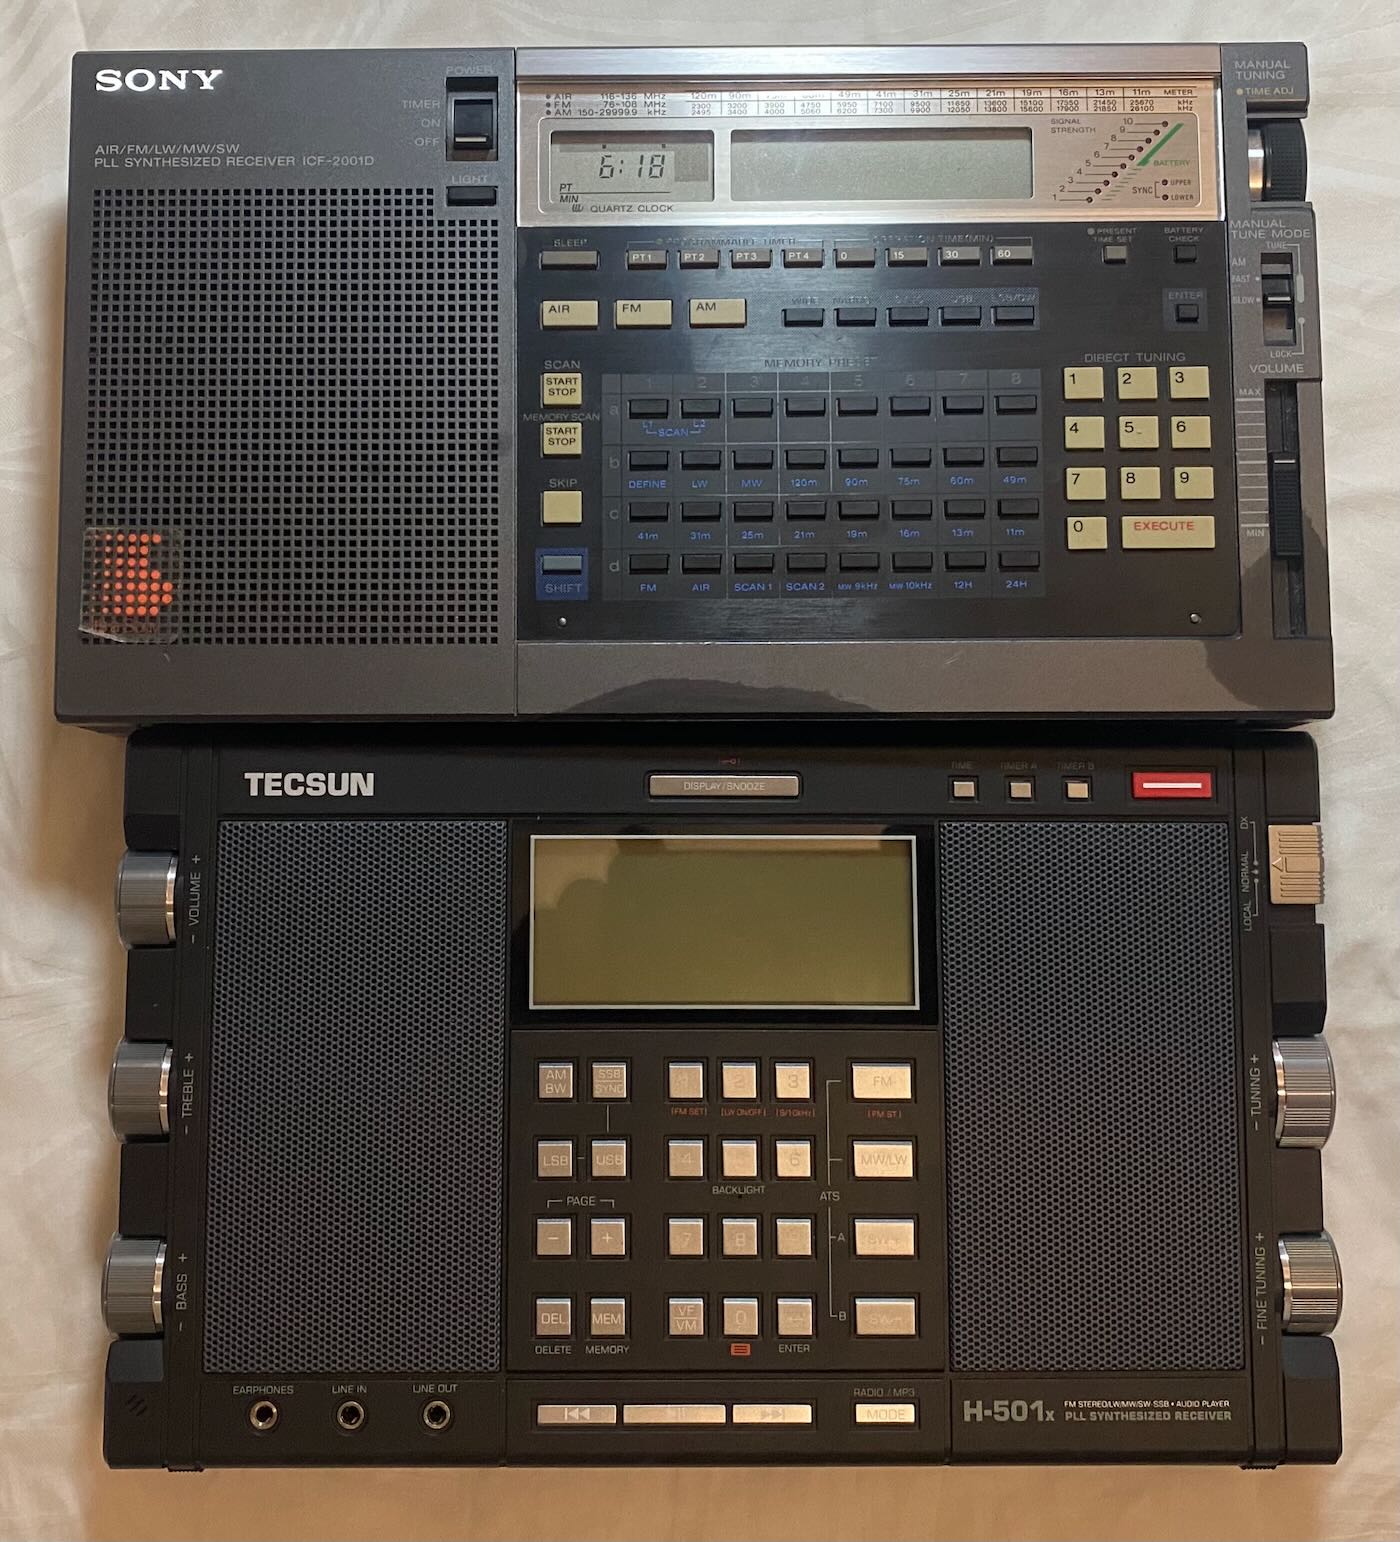
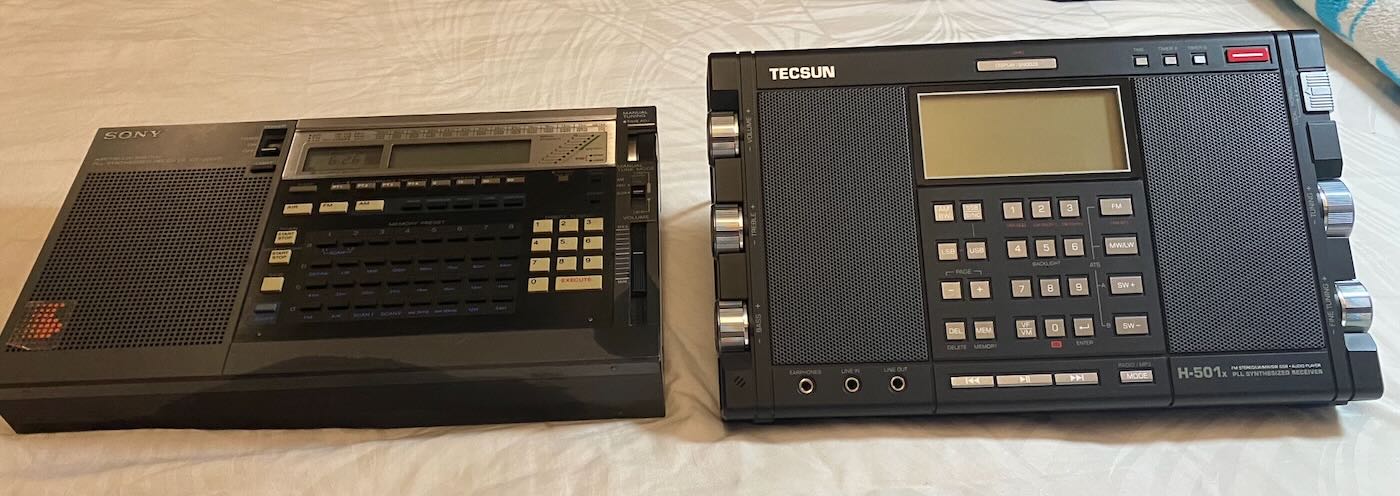 Why do I say the H501x is a worthy successor to the Sony? Well, look at the comparative photos. They’re both pretty much the same size. The Sony’s a touch longer and a touch thicker. The Tecsun is a tad higher, but we’re talking millimetres here folks, so to the non-anal among us they’re roughly the same size. They’re both well built, almost robustly built. But the Sony weighs more, a lot more. And with batteries loaded, that weight difference is all the more noticeable.
The Sony ICF 2010 / 2001D weighs 1.8kg / 4lbs with its batteries.
The Tecsun H501x weighs about 1.1kg / 2.4lbs with both batteries fitted, though only one is needed to operate the radio.
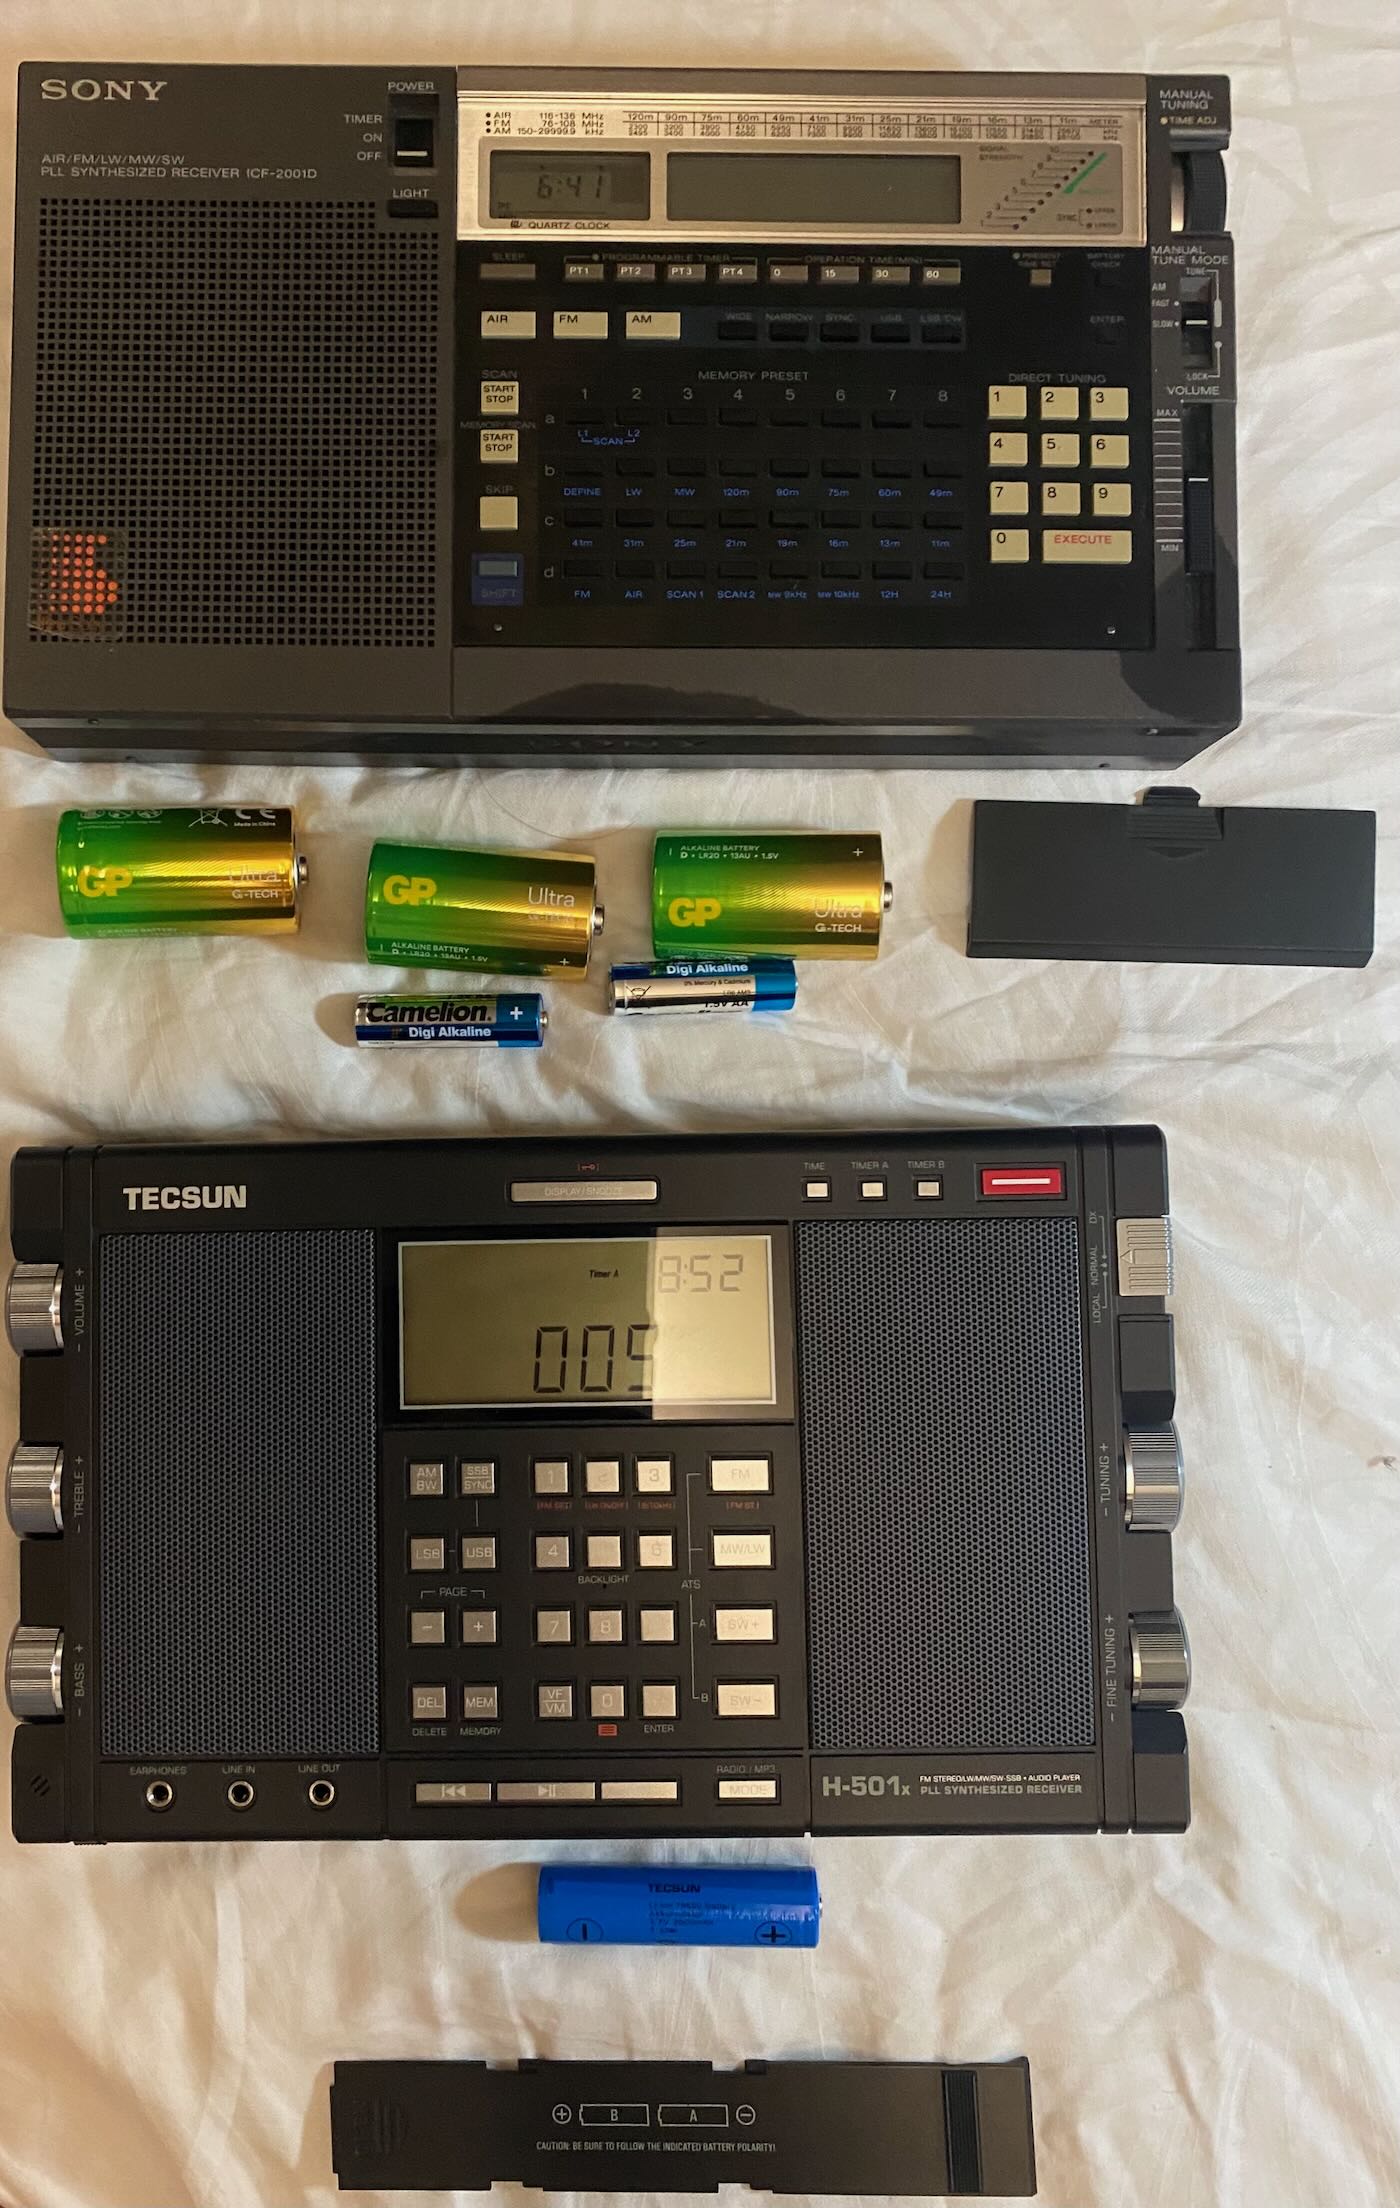 The Tecsun beats the Sony hands down on ergonomics and on ease of operation. Though the Sony is also very simple to use. For example, entering a direct frequency input on the Sony requires 2 steps: step 1, enter the frequency; step 2, press enter- no big deal. On the Tecsun, in common with most Tecsun communication receivers, enter the frequency, and that’s it. Just one step.
Another big-ish difference: chuffing. The Sony chuffs. When rotating the tuning knob on the Sony, it chuffs; the chuff isn’t as awful as on some radios, but it’s there, and it’s noticeable. The Tecsun, like most Tecsuns, doesn’t chuff. And speaking of tuning knobs… some reviewers complain about how the Tecsun tuning knobs are set into the body of the radio and how this makes tuning difficult. Well, the Sony tuning knob is recessed slightly into the body of the radio. OK, the Sony tuning knob has a dimple in it into which one can fit a finger to twirl the tuning knob as it chuffs through frequencies. But if you’re trying to tune the Sony using the tuning knob without the dimple, then the aperture on the front panel of the Sony is noticeably smaller than on the Tecsun. And the Tecsun tuning knob is a little proud of the body so it can be grasped, and it has a synthetic rubber inset that makes twirling it without chuffing through the frequencies quite easy.
Looking at the Tecsun, the main tuning knob and the fine tuning knob are on the right side. On the right side of the radio, above the main tuning knob are an AM, ie LW, MW and SW external antenna socket and an FM antenna socket, and below the fine tuning knob is a USB charging socket, a Type-C socket on current production and a Type-B on older models. The Tecsun comes with a charging adaptor plug and cable; alternatively, one can charge using a 5 volt charger. On the left side, the 3 knobs are, from top to bottom: volume, treble, and bass knobs. On the lower left of the front face are the Headphone socket, a line-in socket, and a line-out socket. The tuning and audio knobs are accessible via apertures on the front of the radio, or they can be turned from the side either by grasping the slender portion of the knob that stands proud of the body of the radio, or by placing one’s finger on the synthetic rubber inset and twirling the knob that way.
The Tecsun comes with a high-quality cotton-lined – at least I think it’s cotton – leatherette vinyl travel bag, stereo headphones, 2 x lithium-ion 1860 batteries, a comprehensive, well-illustrated, easy-to-follow instruction manual and a double-sided wall chart, on one side is a large map of the world showing time zones, on the other side is a colour illustrated quick start guide to the radio. One of the extras the H501x is supplied with is a micro-SD Card player; there is a micro-SD card slot fitted to the radio, and a micro-SD card is provided. The H501x micro-SD does not record; it only plays. By the way, the AM antenna socket serves all AM bands, LW, MW, and SW; I think that’s a nice touch. It means one can attach an external antenna for all bands without hassle. If your antenna has an RCA or BNC connector, you will need an adaptor to a 3.5mm antenna plug
Why is this Tecsun called the H501? Why not the PLXXX? The name is a tribute by Tecsun’s founder to his Alma Mater and to his class. A nice touch in my view. Tecsun’s founder is passionate about radio. He’s been building radios since he was a boy. We owe Tecsun’s continuing production of high-quality consumer portable radios to their founder’s love and passion for radios, and in particular shortwave listening.
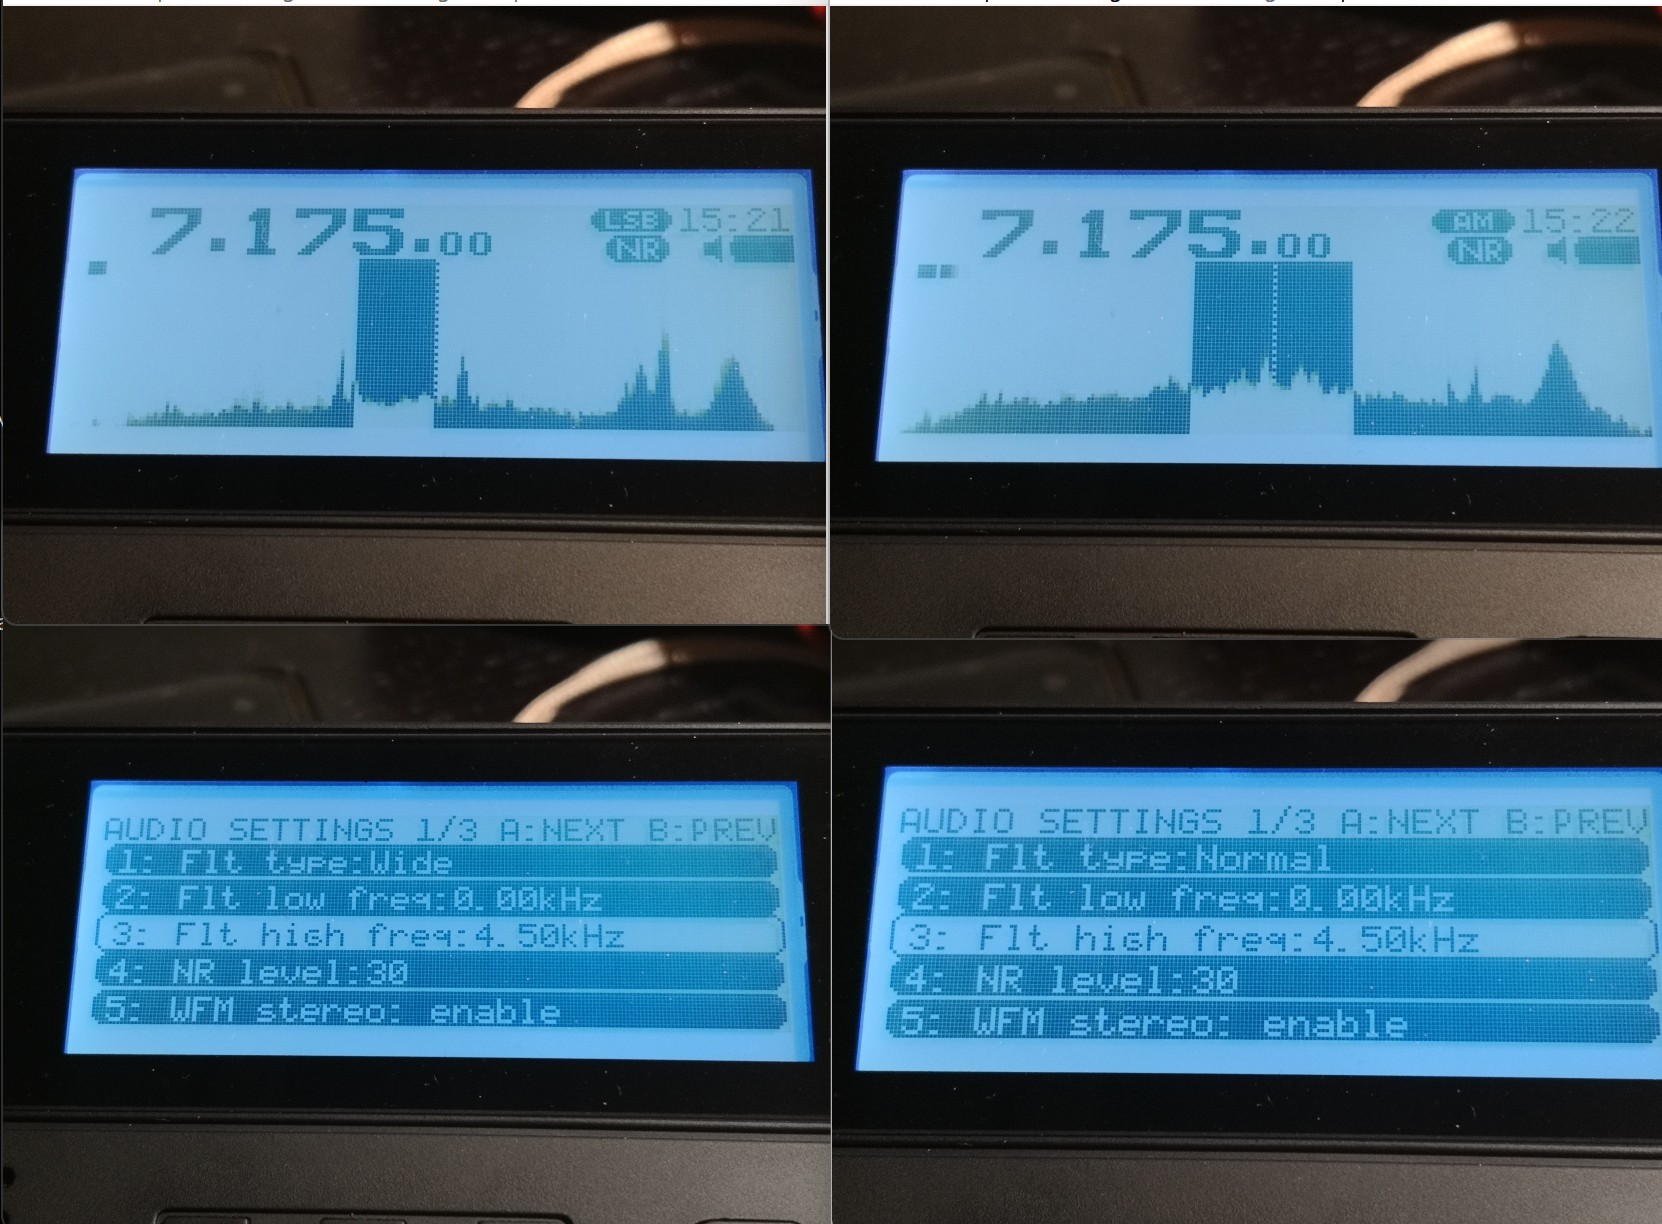
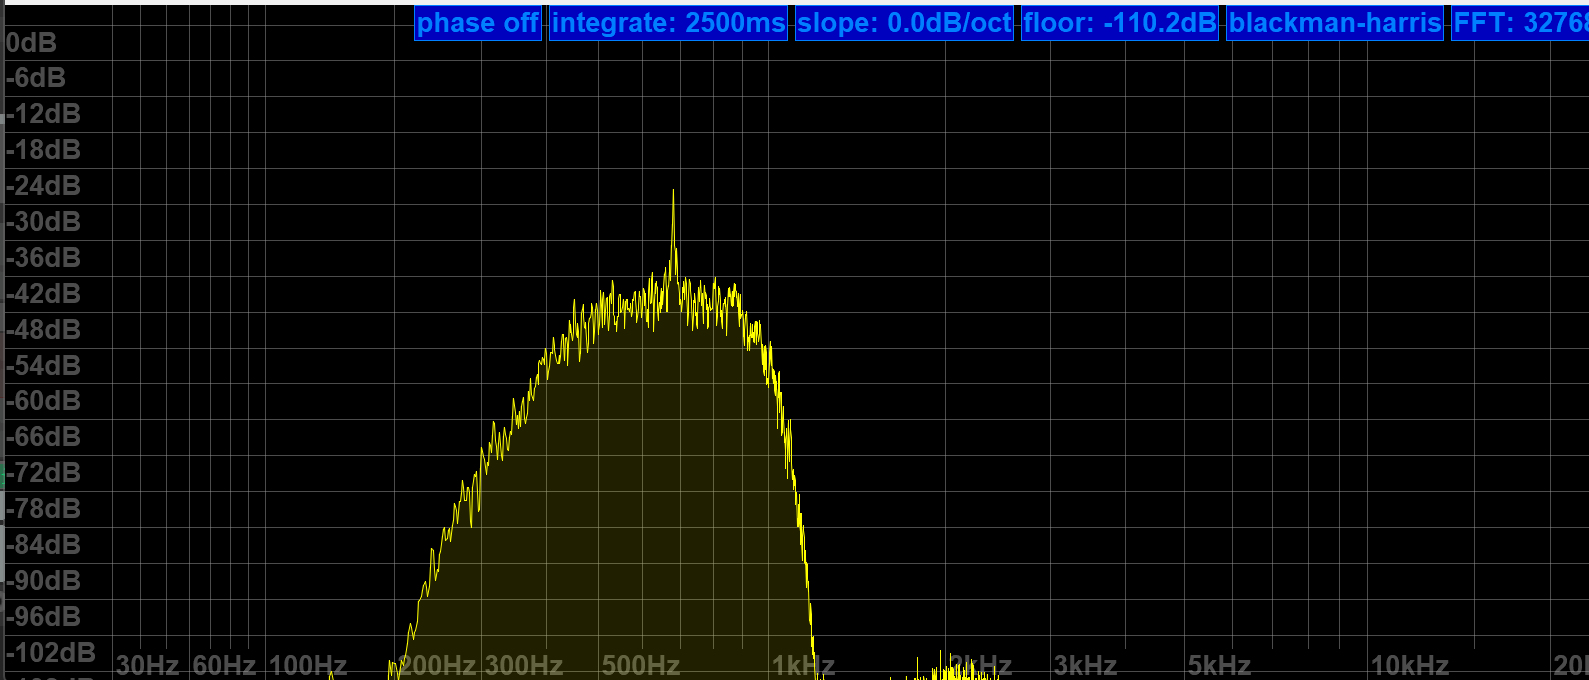
I understand that Tecsun’s founder has done everything he can to optimise the SI radio chips but that the issues other reviewers have mentioned about synchronous detection and USB and LSB are inherent to the SI chip architecture. Don’t get me wrong, synchronous detection works and it can be useful; USB and LSB also work. But their audio is not great because low frequency is cut off at a point that affects the overall sound quality. Like everyone else, including Tecsun’s founder, I wish something could be done about this too.
I find the H501x’s volume and separate tone controls are very useful in helping to resolve shortwave signals, especially in a radio frequency interference-rich environment.
Long wave, Medium wave and FM performance are all good. In LW and MW, the maximum bandwidth is 9KHz, or likely wider, which enables hi-fi-like audio from strong stations.
FM stereo performance is impeccable, especially with headphones.
The Tecsun H501x has multiple bandwidths. In broadband listening, these range from 2.3 to 9 in LW and MW and from 2.3 to 6 kHz in SW. In practice, it seems the bandwidths might be wider than stated. The Sony ICF 2010 / 2001D has 2 bandwidths, “Wide” and “Narrow”.
What are those two grilles on either side of the front (and the back) of the H501x? They are the stereo speaker grilles. Yes, ladies and gentlemen, the H501x is a true stereo radio, and the audio is good. It’s not going to replace a high-end HiFi system, by the way, Tecsun are venturing into those too, but for a portable radio, the on-board loudspeaker audio is good, and via good quality headphones, or via the line-out socket on the H501x’s front panel to your stereo system, the audio is excellent.
The Tecsun operates on one lithium 18650 battery, this has become a widely available battery. The H501x comes with two batteries. Yes, batteries are included. And the H501x has two battery slots. The radio only needs one battery to operate and the battery slots are switchable by a switch on the base of the radio. This means that if one of these long lasting batteries is nearing its recharging time, you can switch to the fresh battery already in place.
Why did I choose the Tecsun H501x and not another receiver as the successor to the Sony 2010?
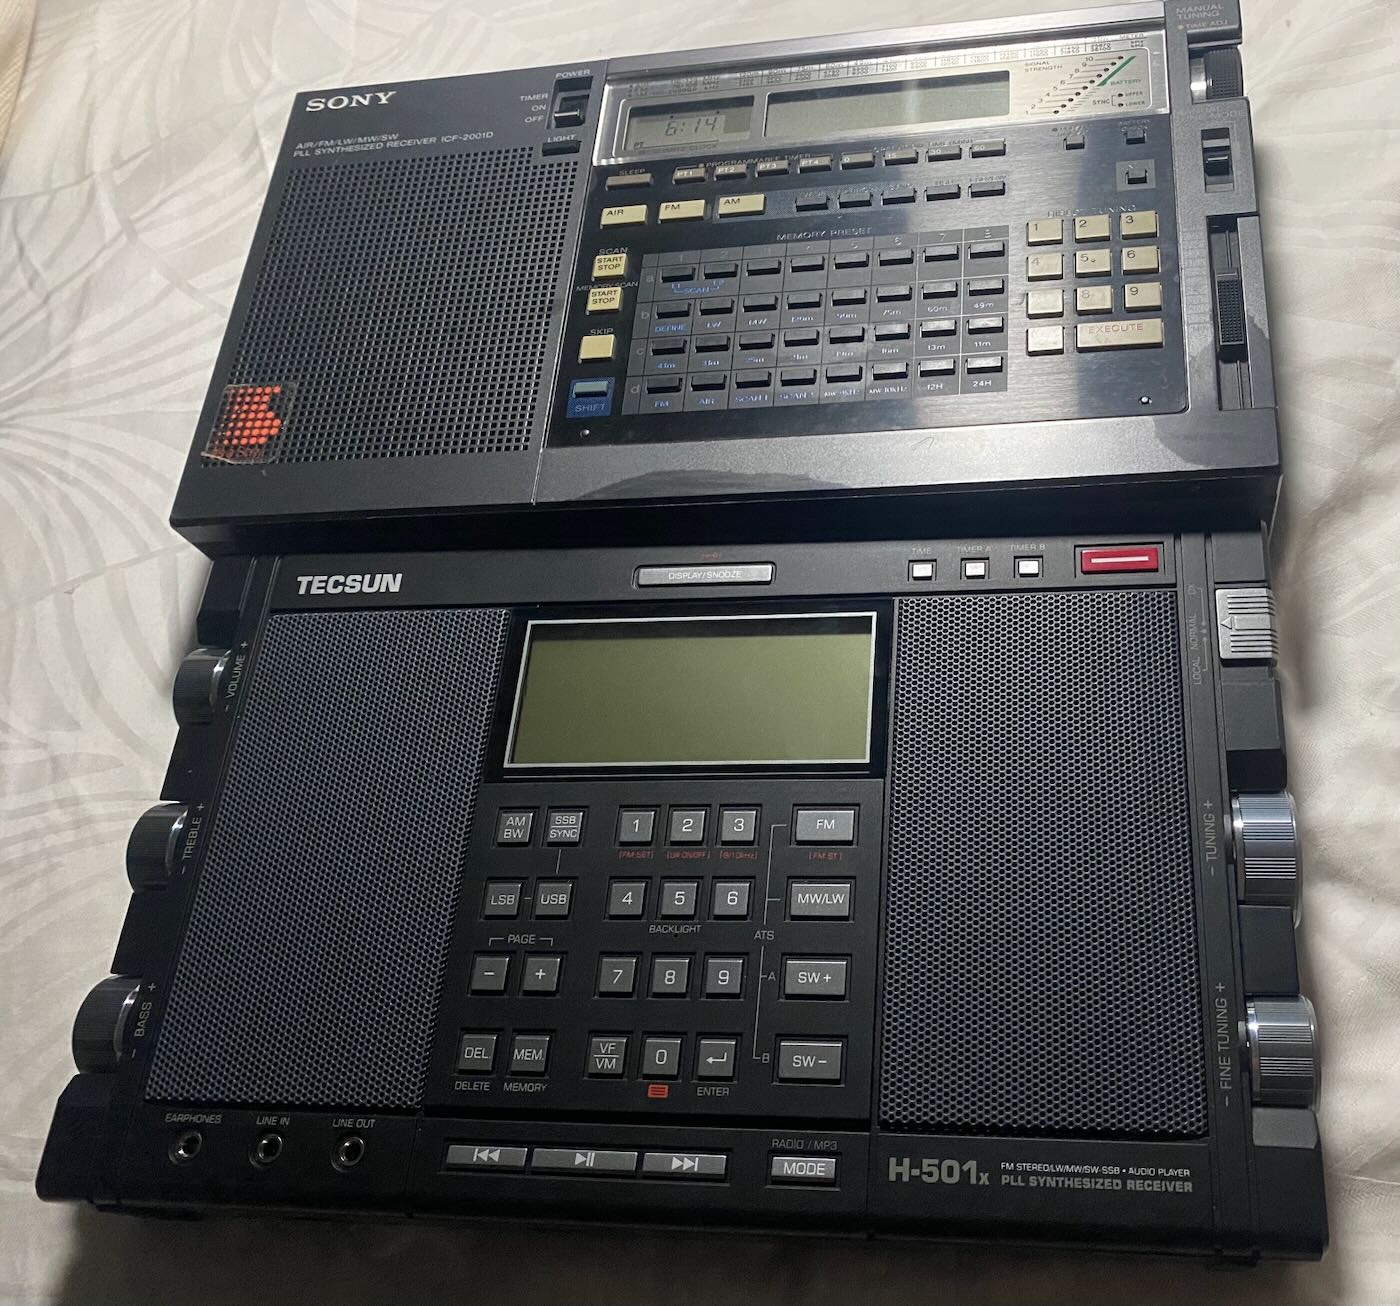 Mainly because the Tecsun H501x has taken the size, form factor, and user-friendliness of the Sony and improved on it; in terms of audio, ergonomics, user-friendliness, and weight, the Tecsun H501x is a considerable improvement on the Sony. One can see some design cues in the H501x, mainly in the overall shape, from the Sony, but where the Sony is very angular, the Tecsun is rounded. The Tecsun’s design cues come more from the classic Grundig Satelit 700, a competitor of the Sony ICF 2010 / 2001D. And that is no surprise; Tecsun manufactures, or used to, Grundig-branded radios. The Grundig Satelit 700 looked better and had superior ergonomics to the Sony ICF 2010 / 2001D, but, so I understand, the Grundig performed less well on SW reception, and if memory serves me correctly, that was also my experience when I did an A / B test of the two radios back in the early 1990s. I currently have several Sony ICF 2010 / 2001D radios and I do an almost daily comparison between a selection of my radios’ shortwave reception. The Sony is good, very good. And when you consider that it’s a 30+ year old radio, that is an excellent result. But the Tecsun H501x is better, with the solitary exception of synchronous detection discussed above. The Tecsun’s sync works; the Sony’s works considerably better. Does one need synch? Rarely. Or not really, depending on your SW listening preferences.
There are still plenty of Sony ICF 2010 / 2001D on the market, and one can pick them up in varying conditions. But expect to pay at least US$300.00 plus shipping for a Sony in adequate condition; prices vary, and there are sellers out there offering Sony ICF 2010 / 2001D for 4 figures. For US$500.00 or so plus shipping, you should be able to find a Sony ICF 2010 / 2001D in good, clean condition and good working order. Remember the Sony ICF 2010 / 2001D is at least 23 years old and more likely 30+ years old.
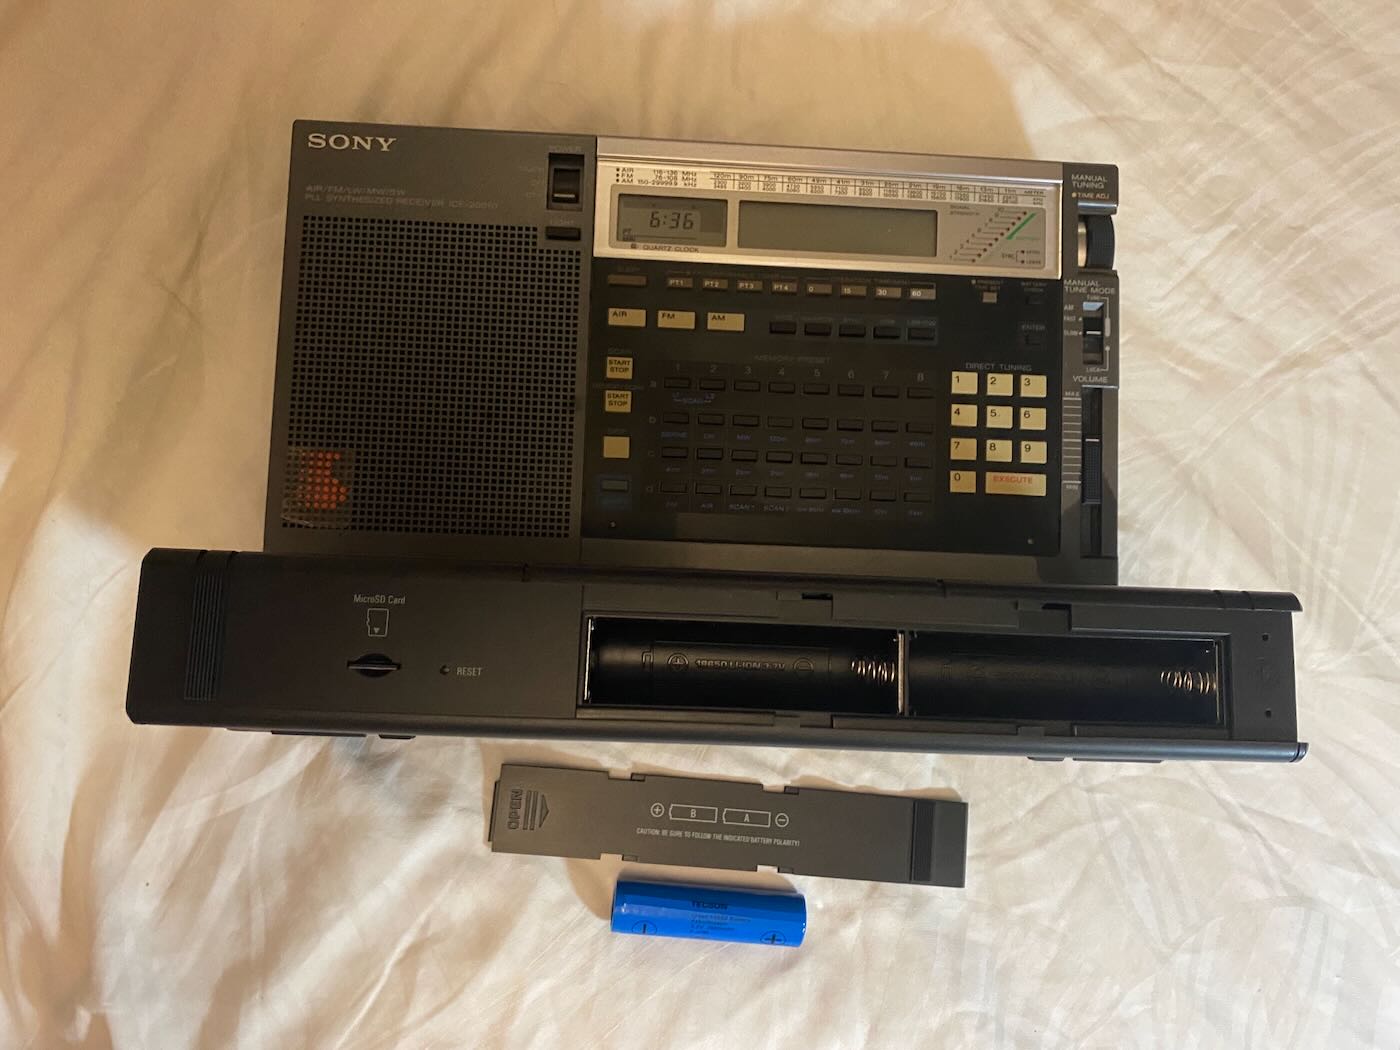 Common failings are the back-light, bleeding LCD, battery leaks, and circuit faults. The Sony was supplied with a power adaptor – this is not a charging unit. The Sony uses 2 x AA batteries to power the clock and computer and 3 x D Cells to power the radio. The Sony has two power switches. A main power switch on the side and an on-off switch on the top front panel to the immediate left of the LCD. First, turn on the main power switch, then turn on the front panel switch. If the LCD shows “ERROR 3” wait a moment to see if the error message goes away. If the error message persists, check that the main power switch at the lower left side of the radio is ‘On’. If both power switches are on, check that the batteries are properly installed, that all battery connections are dry, and that there’s a good battery circuit; also check the power of your batteries with a voltmeter. If you still can’t power on your Sony, do a thorough circuit test and check to find the fault.
So how much is the Tecsun H501x?
Well, its new price from Anon-Co.com in the USA and in the rest of the world is US$298.00. Remember, if you’re in the USA and you’re ordering from Anon-Co.com, make sure you order the USA delivery item so you’re not hit with tariffs.
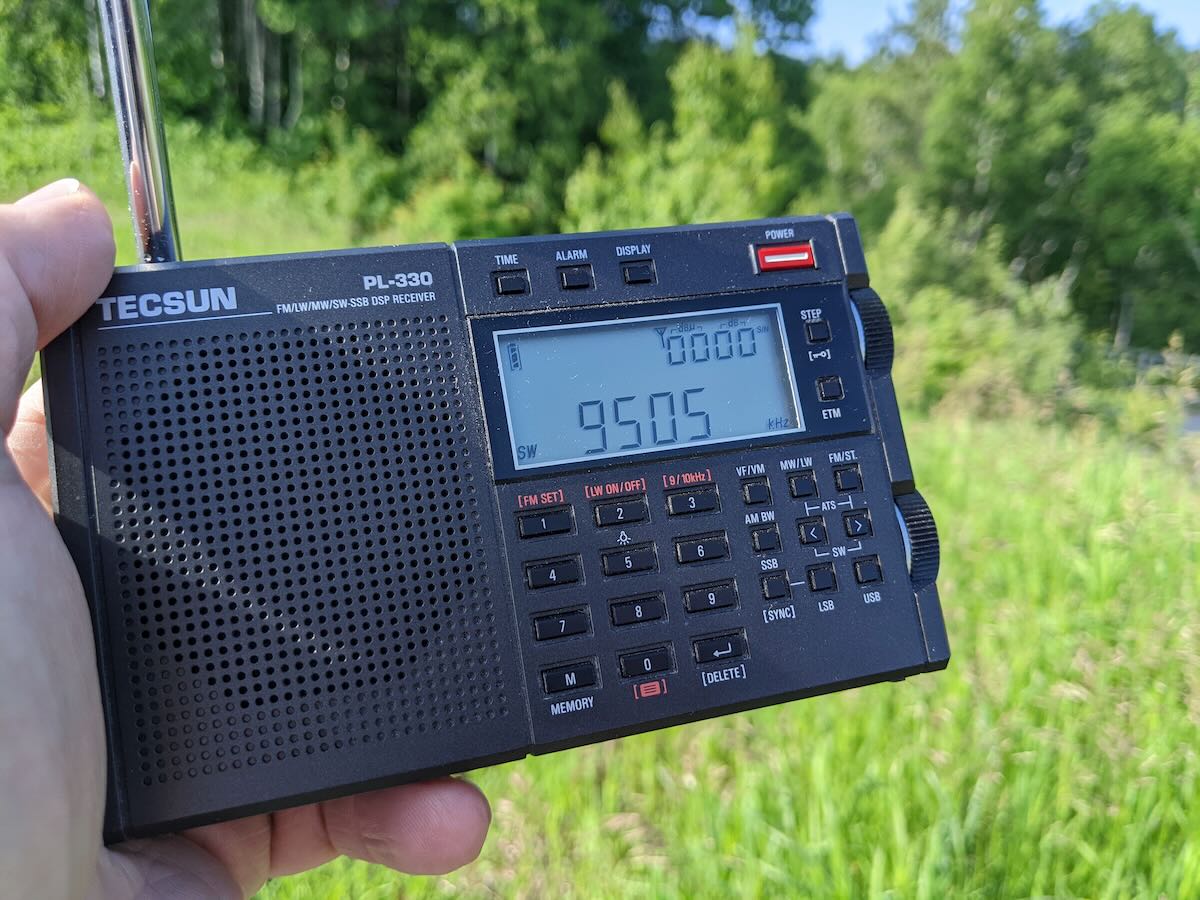
I love Tecsun radios, and I am delighted that Tecsun continues to produce this kind of high-quality broadband radio. I wish they could overcome the synchronous detector audio and stability issues and the USB / LSB audio issues; on the other hand, I love the fact that in USB mode, Tecsun’s high-end shortwave radios tune in 10Hz steps. I remember my astonishment when the PL880x came out and tuned in 10Hz steps; not so long ago, a 10Hz tuning step was unavailable except on expensive professional gear. To find that kind of sophistication in a radio the size of a not-very-large paperback book took my breath away. 10Hz tuning steps have become a tradition for Tecsun in their medium- and high-end portable broadband receivers, even in the inexpensive pocket-sized PL330 or PL540.
Tecsun produce a wide range of radios, you can feast your eyes on their radios and accessories either at Tecsun’s own website, or at Anon-Co.com or at Tecsun Radios Australia – www.tecsunaustralia.com.au
I’ve enjoyed writing this review and I might follow up with another comparative review of vintage and modern radios.
FYI: I don’t have shares in or get free radios from any of the brands and businesses mentioned above. I’m just a keen SW Listener who delights in the fact that Tecsun continues to produce good quality shortwave radios and accessories.