Category Archives: Ham Radio

Take the field and abandon the radio noise!

The most common complaint I hear from new SWLing Post readers is that they can’t hear stations from home on their receivers and transceivers. Nine times out of ten, it’s because their home environment is inundated with man-made electrical noises often referred to as QRM or RFI (radio frequency interference).

RFI can be debilitating. It doesn’t matter if you have a $20 portable radio or a $10,000 benchmark transceiver, noise will undermine both.

What can you do about it?

Since we like to play radio at home, we must find ways to mitigate it. A popular option is employing a good magnetic loop receive antenna (check out this article). Some readers find noise-cancelling DSP products (like those of bhi) helpful when paired with an appropriate antenna.

But the easiest way to deal with noise is to leave it behind.

Take your radio to a spot where man-made noises aren’t an issue.

Field radio

If you’ve been reading the SWLing Post for long, you’ll know how big of a fan I am of taking radios to the field–both transceivers and receivers. Not only do I love the great outdoors, but it’s the most effective way to leave RFI in the dust.

Sunday was a case in point (hence this post).

Let’s be clear: I blame Hazel…

Last week, I did a Parks on the Air (POTA) activation of Hampton Creek Cove State Natural Wildlife Area in Tennessee. It’s a beautiful area with a fantastic hiking trail (the Overmountain Victory Trail) in a relatively remote/rural area.

About 5 minutes before Hazel’s cow patty fun.

My family had a great time at the site–we enjoyed a picnic and I played radio–but Hazel (our trusty canine companion) decided to roll in a cow patty during our hike. Hazel thought it smelled wonderful. Her family? Much less so. And all five of us were staring at a two hour car ride together.

Fortunately, my wife had a bottle of bio-degradable soap we use while camping, so I washed Hazel in Hampton Creek. (Turns out, Hazel didn’t mind that nearly as much as getting washed at home in the tub.)

In all of the commotion I forgot to take my EFT Trail-Friendly antenna out of the tree. Doh!

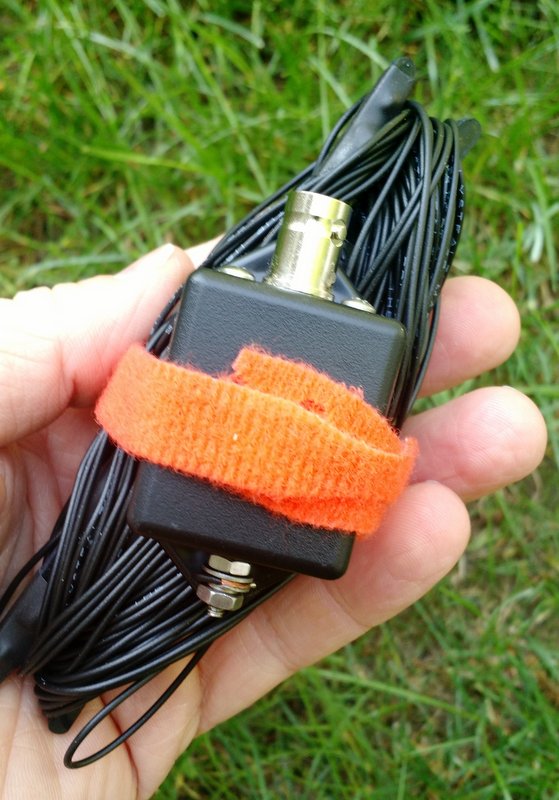
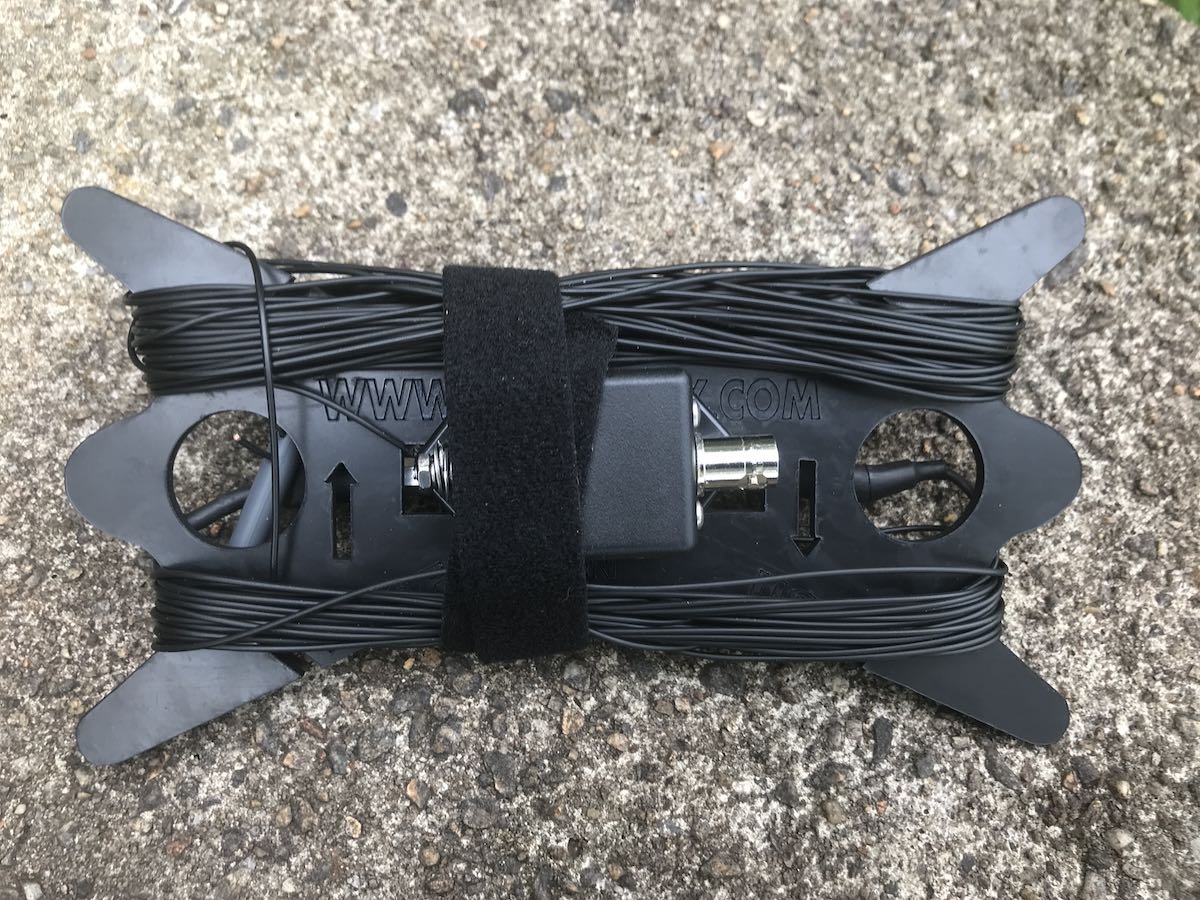
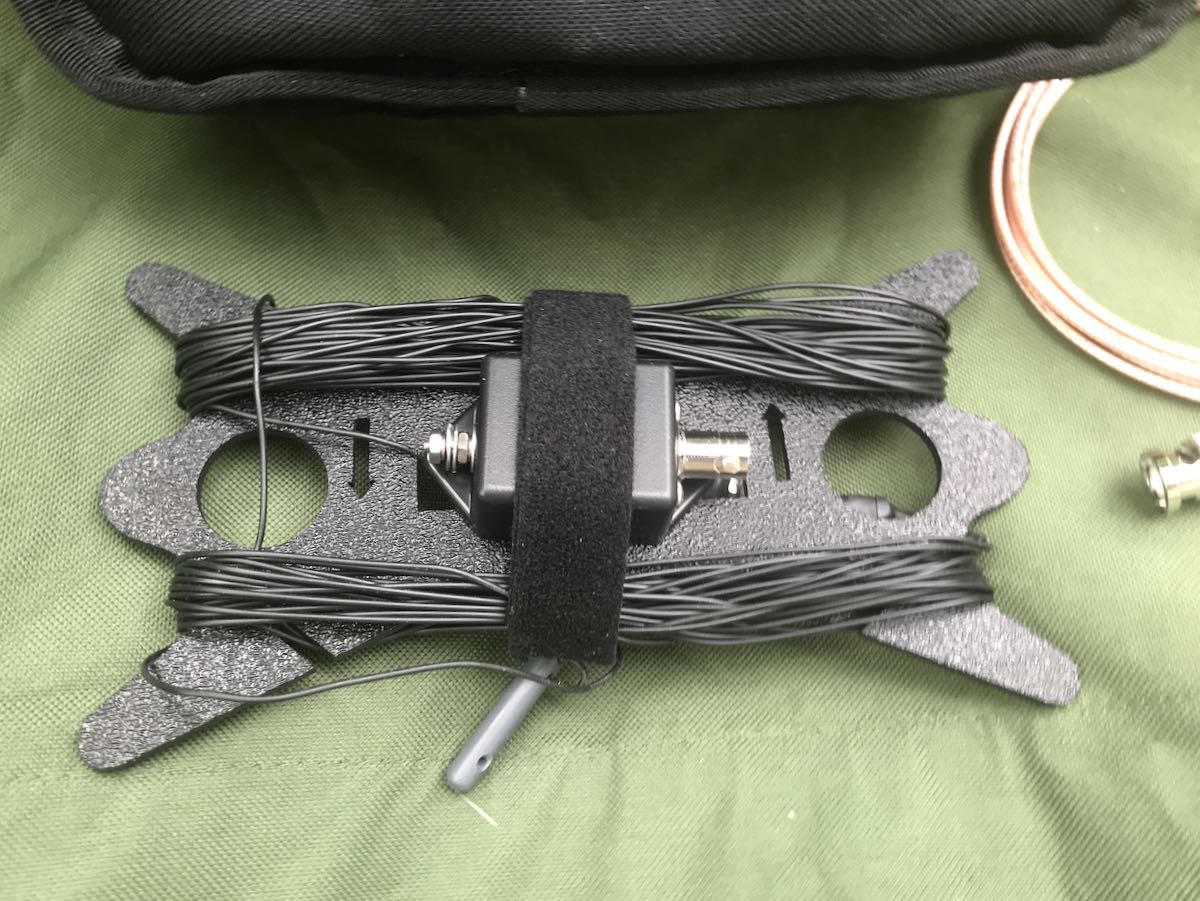
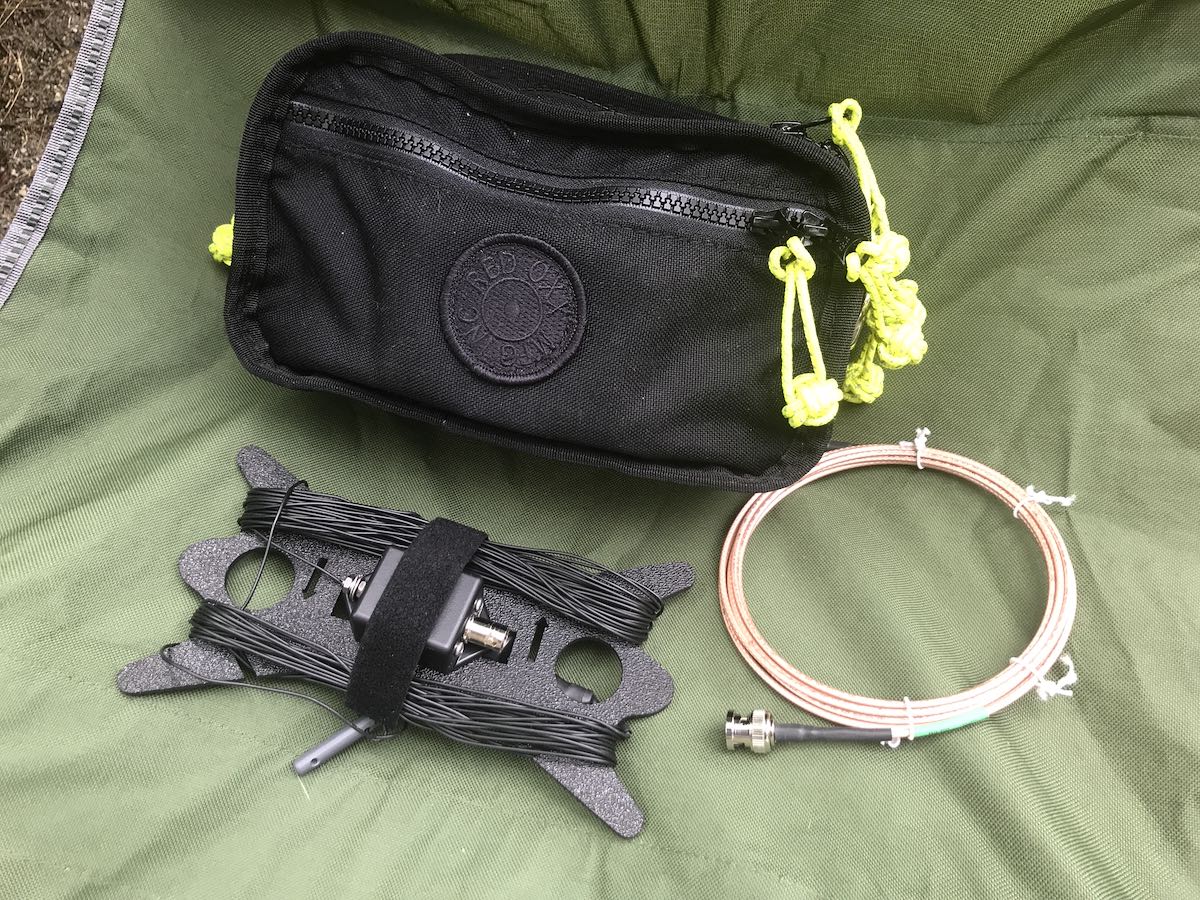
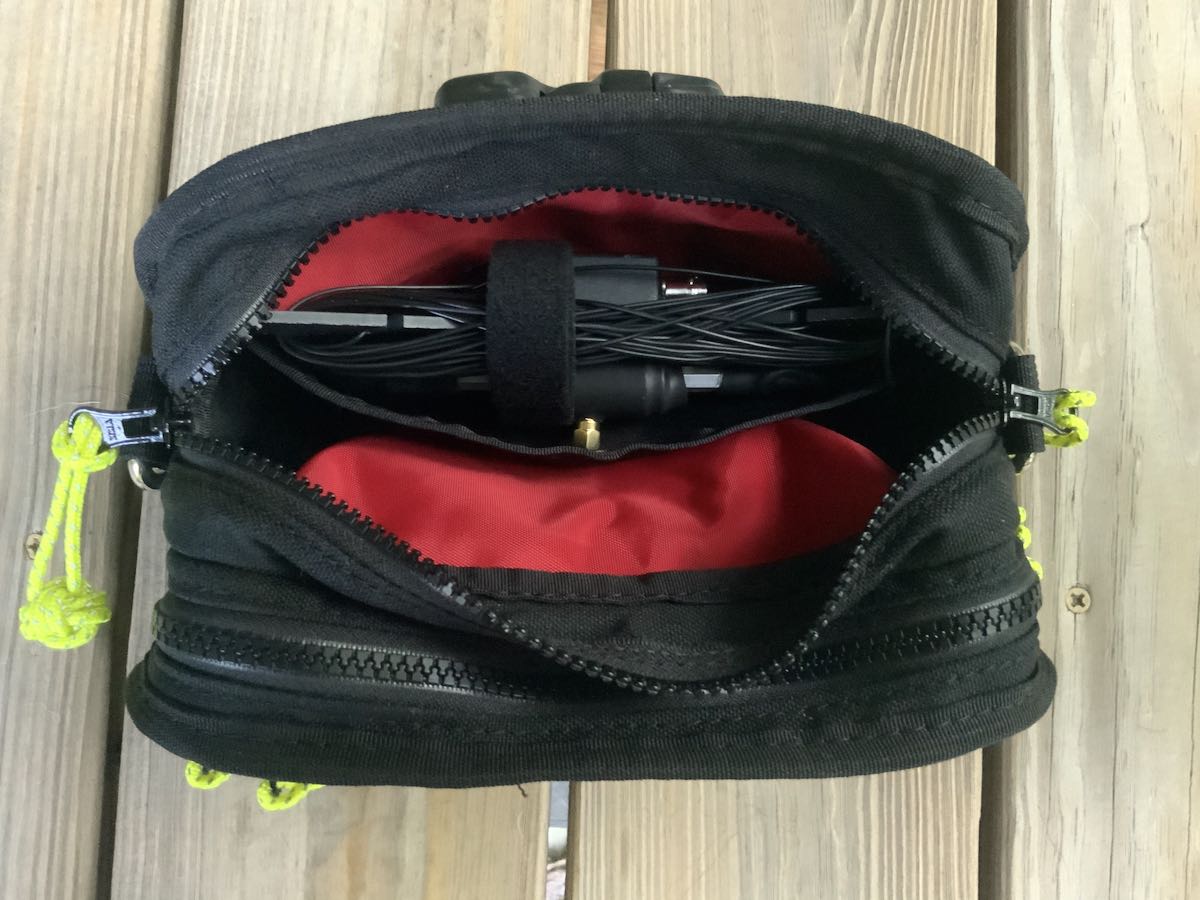
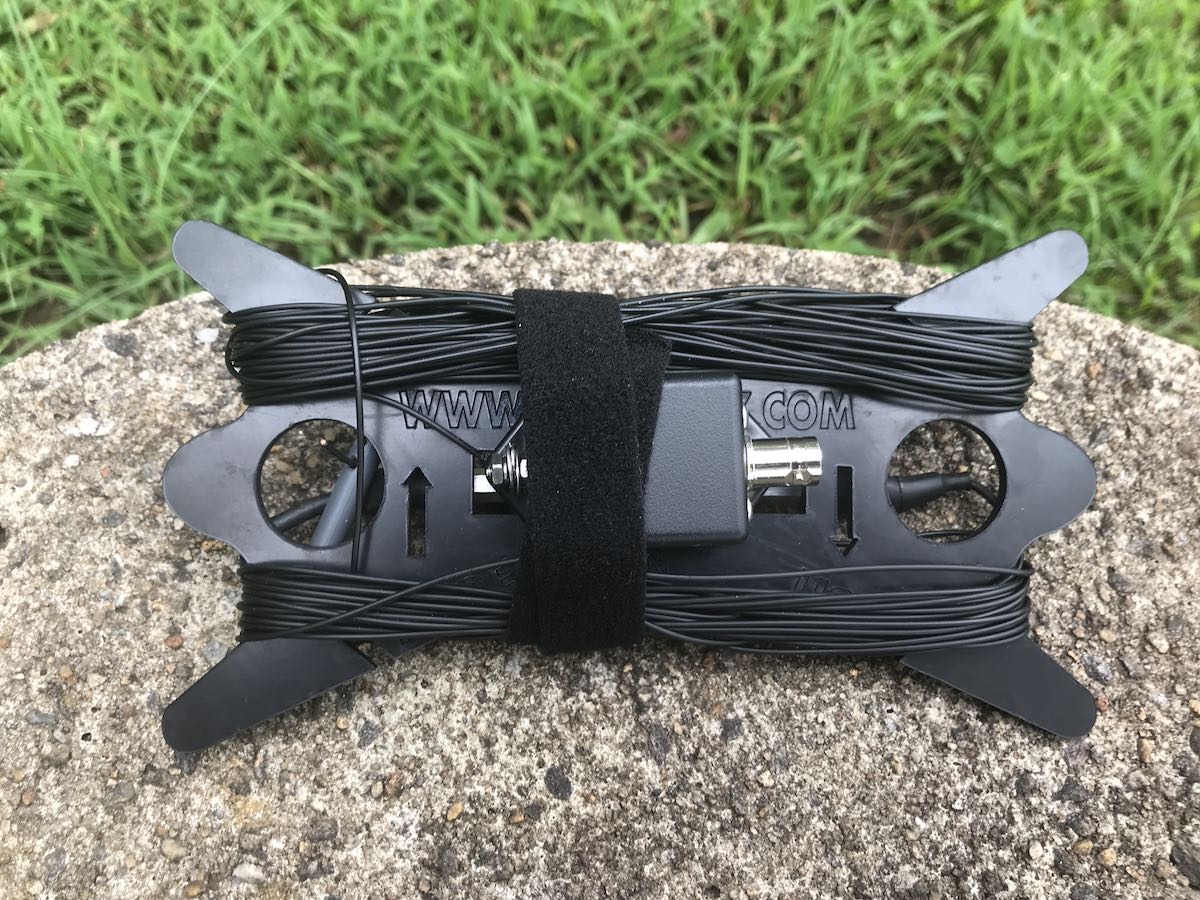
The EFT Trail-Friendly antenna is incredibly compact and quite easy to deploy.

The EFT is my favorite field antenna for POTA activations. It works so well and is resonant on 40, 20 and 10 meters. With an ATU, I can also tune any bands in between. I’ve deployed this antenna at least 130 times in the field and it was still holding up.

I was bummed. Hampton Creek is nearly a four hour round-trip from my home. Was it worth the trip to rescue my antenna?

Fast-forward to Sunday: my amazing wife actually suggested we go back to Hampton Creek Cove on Sunday and also check out nearby Roan Mountain State Park. Would my antenna still be in the tree? Hopefully.

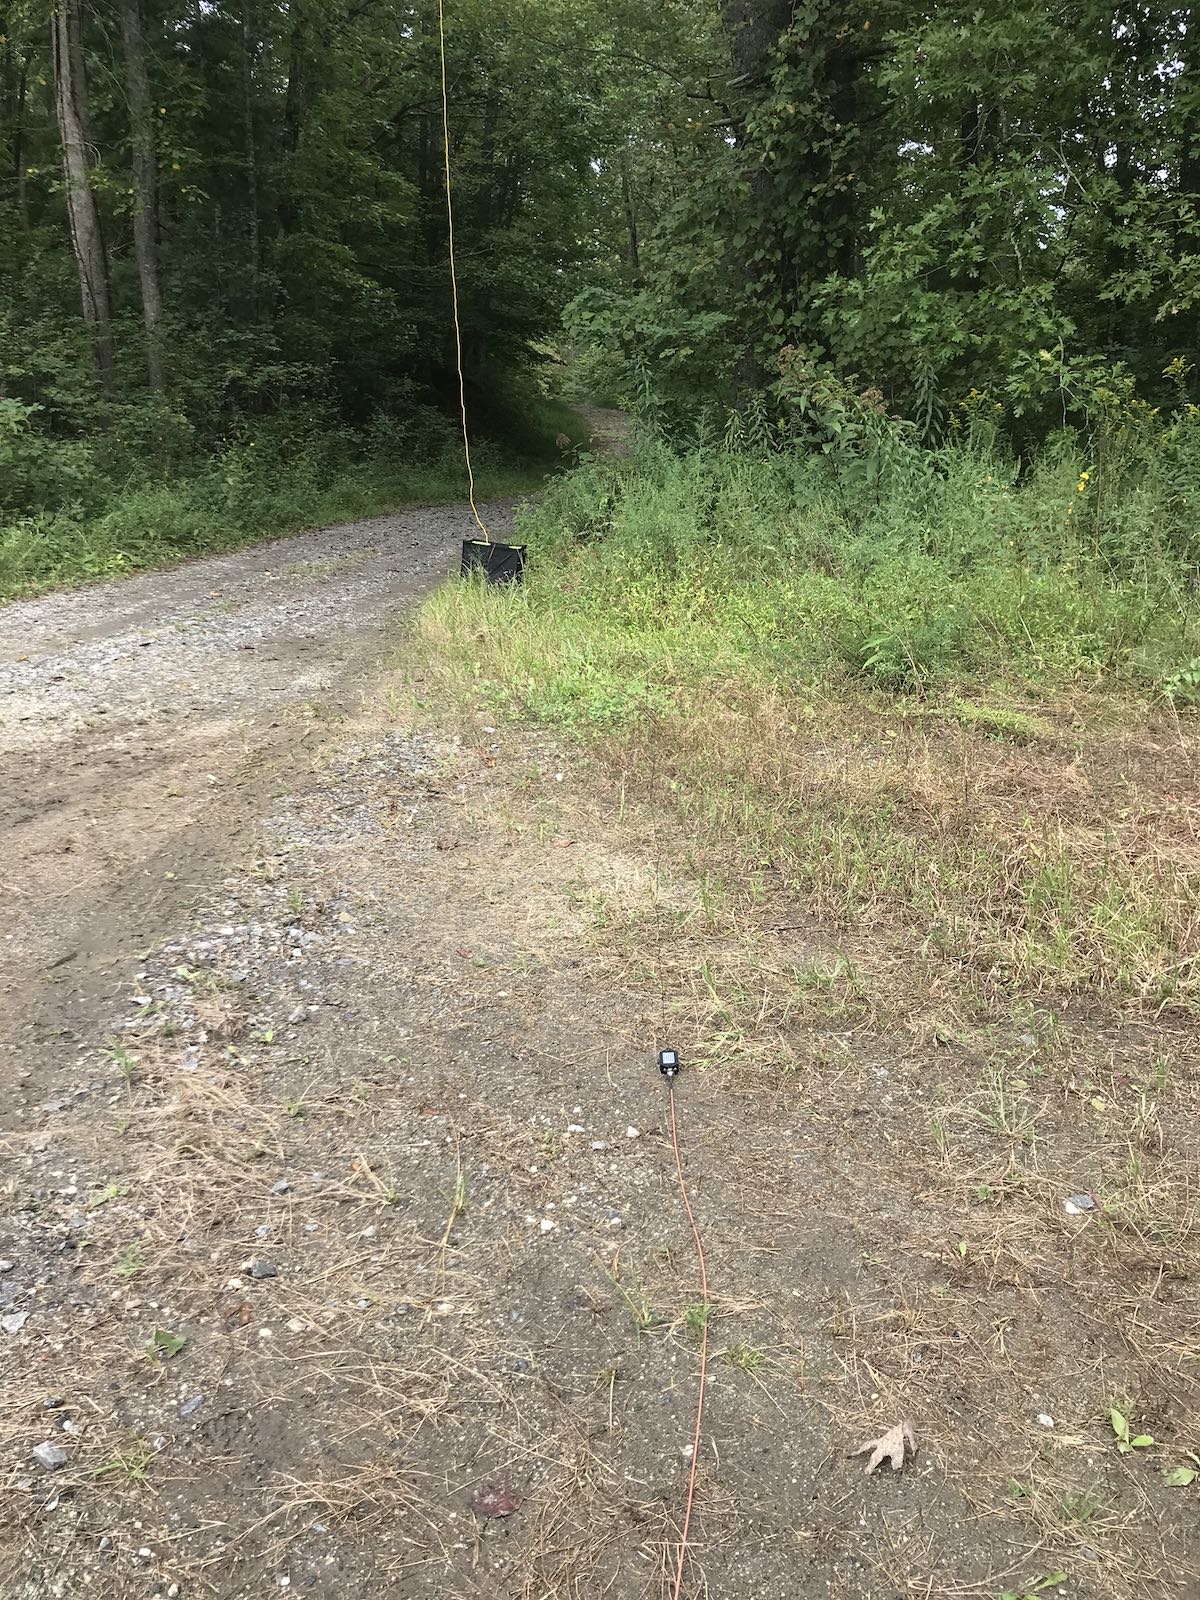
Whew! Still hanging out!

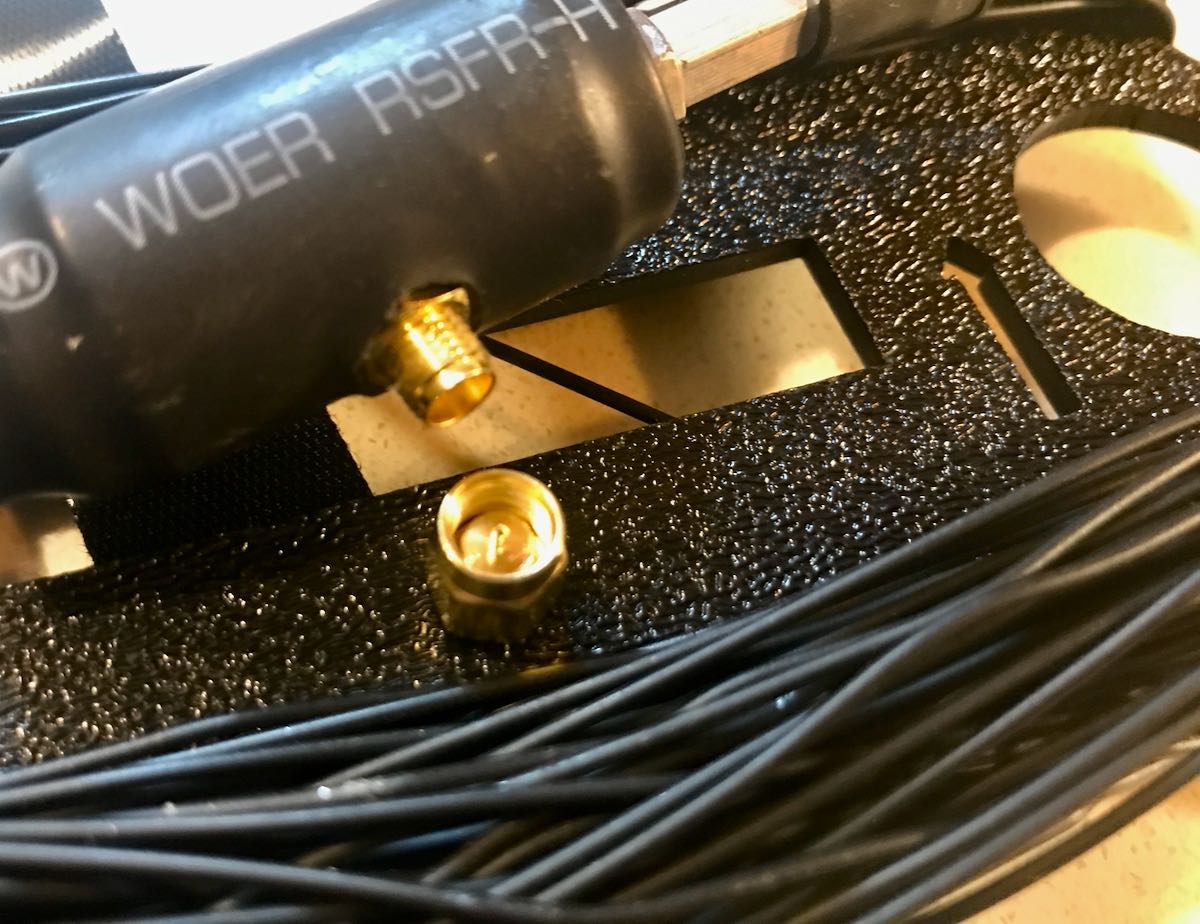
Fortunately, my antenna was still hanging there in the tree as I left it the week before. I was a little concerned the BNC end of the antenna may have gotten wet, but it was okay.

Mercy, mercy, so little noise…

I turned on my Elecraft KX2 and plugged in the antenna. Oddly, there was very little increase in the noise level after plugging in the antenna. That worried me–perhaps the antenna got wet after all? I visually inspected the antenna, then pressed the “tune” button on the KX2 and got a 1.4:1 SWR reading. Then I tuned around the 40 meter band and heard numerous loud stations.

What was so surprising was how quiet the band was that day (this time of year the 40M band is plagued with static crashes from thunderstorms).

Also, there were no man-made electrical noises to be heard.  This allowed my receiver to actually do its job. It was such a pleasure to operate Sunday–no listening fatigue at all. Later on, we set up at Roan Mountain State Park and did an activation there as well. Again, without any semblance of RFI.

When I’m in the field with conditions like this, I always tune around and listen to HF broadcast stations for a bit as well. It’s amazing how well weak signals pop out when the noise floor is so incredibly low.

It takes ten or so minutes to set up my POTA station in the field, but if you have a portable shortwave radio, it takes no time at all. None. Just extend the telescoping antenna and turn on the radio.

Or in the case of the Panny RF-2200 use its steerable ferrite bar antenna!

If you’re battling radio interference at home, I would encourage you to survey your local area and find a noise-free spot to play radio. It could be a park, or it could be a parking lot. It could even be a corner of your property. Simply take a portable radio outside and roam around until you find a peaceful spot with low-noise conditions. It’s the most cost-effective way to fight RFI!

Post readers: Do you have a favorite field radio spot? Do you have a favorite field radio? Please comment!

Also, check out these articles:

Spread the radio love

W9IMS: Chance for a Commemorative Certificate and QSL Card

Indy 500 Week Offers the Chance for a Commemorative W9IMS Certificate and/or QSL Card

By Brian D. Smith, W9IND

Your chance to obtain the 2020 W9IMS Checkered Flag Award – or at least a QSL card commemorating this year’s Indianapolis 500 – unfolds in the coming week. And both amateur radio operators and SWLs are welcome to try.

This year’s certificate is easier than ever to earn. Normally the Indianapolis Motor Speedway’s three major races take place on three different weekends, but this year, because of Covid-19 concerns, two races were consolidated into one weekend – and in turn, two W9IMS special events merged into one.

For anyone who bagged that two-in-one event, you can seal the deal on the certificate by catching the station again between now and Sunday, Aug. 23. The Indy 500 operation will conclude at midnight local time (0400 UTC) Monday, Aug. 24. (Note: Indianapolis is on EDT or New York time.)

Even if you succeed in snaring W9IMS only once, you can still claim the corresponding QSL card. All certificate and QSL designs are brand-new each year.

How to find W9IMS? The station’s two transmitters will operate on three bands – 20, 40 and 80 meters – and may appear at any time of day or night until the final signoff at 0400 UTC Monday.

However, the best bet is to catch the station during prime time – 2200 through 0200 UTC on weeknights (6 to 10 p.m. Indy time). W9IMS operators will frequently activate 20 meters on weekdays between 8 a.m. and 2 p.m. (1200-1800 UTC); and will cover all three bands at various times throughout the weekend starting at 10 a.m. (1400 UTC) daily.

If you still haven’t caught W9IMS by 11 p.m. Sunday in Indianapolis (0300 UTC Monday), operators commonly conduct their own “happy hour” – working stations in rapid contesting style – during that final hour of the special event. But W9IMS has also been known to pull the plug a little early on Sunday evening if no stations are calling.

Here are tips for locating the station:

  • Go to the W9IMS web page (www.w9ims.org), find the “2020 Operating Schedule” heading, and click on the link to “Indianapolis 500.” Although some W9IMS operators make unscheduled appearances, you’ll have better odds looking for the station during the hours and bands reserved with a name and a callsign.
  • Even so, never assume that W9IMS is off the air. Check DX Summit (www.dxsummit.fi) for spots that identify the station’s current frequency (or frequencies), if any. Type “W9IMS” in the search box and you can customize it to show reports for only that station.
  • Preferred frequencies for W9IMS are 3.840, 7.245 and 14.245 MHz, so the station can usually be found there or within 10 kHz.

For further details, consult the W9IMS web page. Feel free to submit your requests for the 2020 QSL cards plus certificate in the same envelope, and if you don’t have your own QSL card, a printout of your W9IMS contacts or reception reports will suffice.

Remember to include $5 for the certificate plus two cards; or an SASE for one or both of the cards alone — the house rule is “No SASE, no W9IMS card, no exception!”

Spread the radio love

Andy builds a genius companion control display for the Yaesu FT-817 transceiver

Many thanks to SWLing Post contributor, Andy Webster (G7UHN), who kindly shares the following guest post:


Yaesu FT-817 companion display

by Andy Webster (G7UHN)


Like so many I love getting out portable with my FT-817 but I do seem to spend so much of my operating time fiddling through the soft-keys because my most used functions (CW narrow filter, power and keyer settings to tune an ATU, A/B, A=B, etc.) are spread across different “pages” of the A,B,C assignments. Compared to the sublime experience of using my Elecraft K2 the FT-817 can be a little frustrating!

Last month, inspiration struck and I thought I could cobble together a small microcontroller and a little OLED display with some buttons to provide some extra soft-keys for the radio using the CAT serial port. Nothing particularly original here (I’ve seen articles of people using PICs for this purpose) but it seemed like a nice sized project for me to play with and build some experience doing PCBs (I’ve only done this once before at home). A little bit of discussion with Michael G0POT (FT-817 and SOTA guru), some Google searching and we were looking over KA7OEI’s excellent reference page (http://www.ka7oei.com/ft817_meow.html) and thinking about our favourite FT-817 commands…


As it happened I was lucky to have the right bits (Arduino Nano, small OLED display, buttons, prototype board and an 8-pin mini DIN cable) lying around the house to see “first light” from my FT-817’s serial port that evening. The Arduino Nano is a good place to start because it works at 5V so can work directly with the FT-817 levels on the ACC port. What followed next was some late nights of hacking on Arduino code to send and receive the data for my favourite commands and more experimentation on prototype board.

I tried a couple of cheap OLED displays and they look great indoors but weren’t quite up to the job in full sunlight which is fairly typical in my portable operations.

Daytime readability issues with an OLED display

By this point I had also realised the utility of having an auxiliary display on top of the radio as a much easier thing to view than the 817’s own display on the front panel. I’d also experienced some interference from the unshielded prototype board coming through as clicking sounds on the radio’s receiver so it looked as though some isolation between radio and my circuit might be necessary. Guided by many Internet tutorials, I switched to using a Nokia 5110-style LCD for better daylight readability and lower power consumption. Adding an ADUM1201 digital isolator and a B0505S-1W isolated DC-DC converter to the prototype board (modules acquired very quickly from eBay suppliers) gave me some isolation and lowered the interference which I guessed would disappear when I made the design on PCB with good ground planes around the signal lines.

Screen capture showing the schematic (click to enlarge)

With a (mostly) working prototype it was time to hammer the Internet tutorials again, this time to learn how to use KiCad, a free open-source PCB design tool available on Linux, Windows and Mac. I’ve done one PCB for home projects before using Autodesk EAGLE and I found learning Eagle pretty hard going, it seems like it carries 20 years worth of baggage and dogma in the user interface. In fact I started using EAGLE on this project but spent 3 hours on the first evening just trying to change the labels on the ADUM1201 chip that I couldn’t find in an EAGLE library… so I gave up and thought I’d try KiCad which I’d seen some recent good reports on. I’m happy to say after finding an excellent tutorial on KiCad I had drawn the schematic and my PCB layout in about 15 hours working time spread over a few evenings.

I should add that the 15 hours of KiCad time did include several hours of agonising over the choice of slide switch so a PCB can be done much quicker than that once you’ve got your favourite parts sorted!

That’s pretty impressive for my first go with KiCad as a near-beginner to PCBs, I heartily recommend it, it was so much easier than EAGLE and quite an enjoyable tool. Right, PCB design done and uploaded to JLCPCB for manufacture. 5 PCBs with DHL shipping cost me less than £20 and arrived from China within 5 calendar days. Other PCB fabs are available… 🙂

Click to enlarge

So that brings us to today, pretty much. The PCB was assembled very quickly (!) and there is no sign of noise from the serial data lines creeping into the 817’s receiver now it’s on PCB. Some lessons have been learned through the construction (e.g. brown 6mm push buttons are less “clicky” than the black ones and that’s a good thing!) and I now have my companion FT-817 display/buttons in field trials. I’ve no plans to sell this, it’s a trivially simple design, but it does make a great home project to polish your skills in microcontrollers, PCBs and construction. I’ll post a write-up on my website in due course.

In use, the device works just as I’d hoped, I can do everything I want to on my FT-817 without having to fiddle through the awkward button presses. The frequency display is also in a much better position for me now (as most FT-817 owners will know as they jealously eye the KX2, KX3, etc…!) and I think I used it for the whole session when I took it to the field on Saturday. If only my CW had been so slick!

Next steps are to work on the Arduino code. My code is pretty rubbish (my coding style involves a lot of Stack Overflow and copy/paste!) and not safe for public consumption. There are also some health warnings to be noted in manipulating the FT-817’s EEPROM (required for some of the functions I wanted), explained on KA7OEI’s page but there have been a few volunteers on Twitter to help with the software which is great. Also I may do a “Rev 2” board with an Arduino Pro Mini to lower the drain on the FT-817 battery before sharing the PCB files. Other than that it’s now time to get back outdoors and enjoy the new improved interface to my smallest radio! 😀

73
Andy G7UHN


Andy, I absolutely love this project! A wonderful addition to the FT-817/818 and I’d hardly call it a “trivial” design–!

I purchased the original FT-817 shortly after it was introduced. At the time, I was living in the UK and travelled extensively throughout Europe. I loved the ability to simply throw this little rig into my carryon and play radio pretty much anywhere my work travels took me. In the end, I did less ham radio work with the FT-817 and more SWLing.

Still, I eventually sold my FT-817 for the very same reason that motivated you to build a companion display: the front panel is too small and my most used functions require too much menu digging. 

Your companion board is an elegant homebrew solution. I love the Nokia LCD screen–superb readability in the field. 

Thank you again and once you do a write-up on for your website, we’ll be sure to link to it on the SWLing Post!


Do you enjoy the SWLing Post?

Please consider supporting us via Patreon or our Coffee Fund!

Your support makes articles like this one possible. Thank you!

Spread the radio love

Any advice on compact Lipo batteries, in-ear earphones with volume control, and portable amplified speakers?

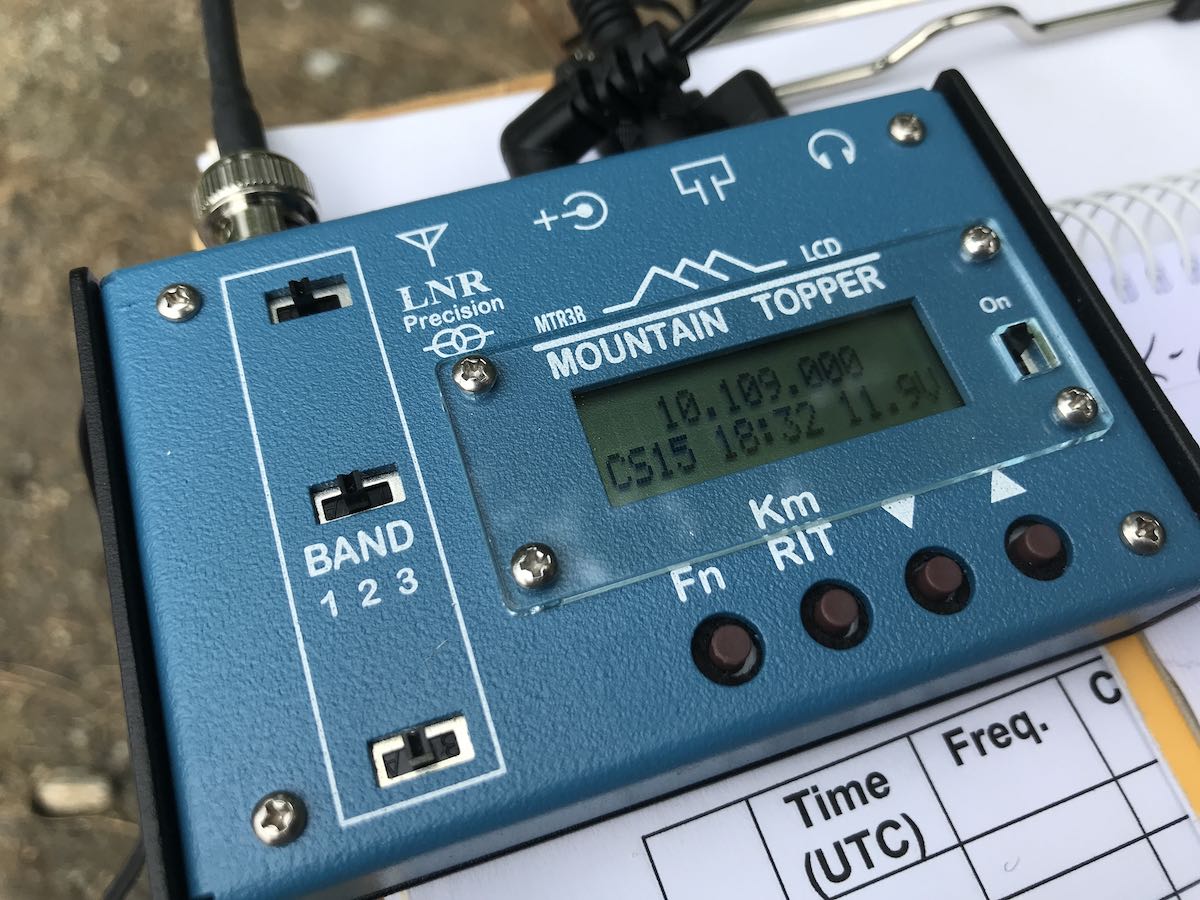
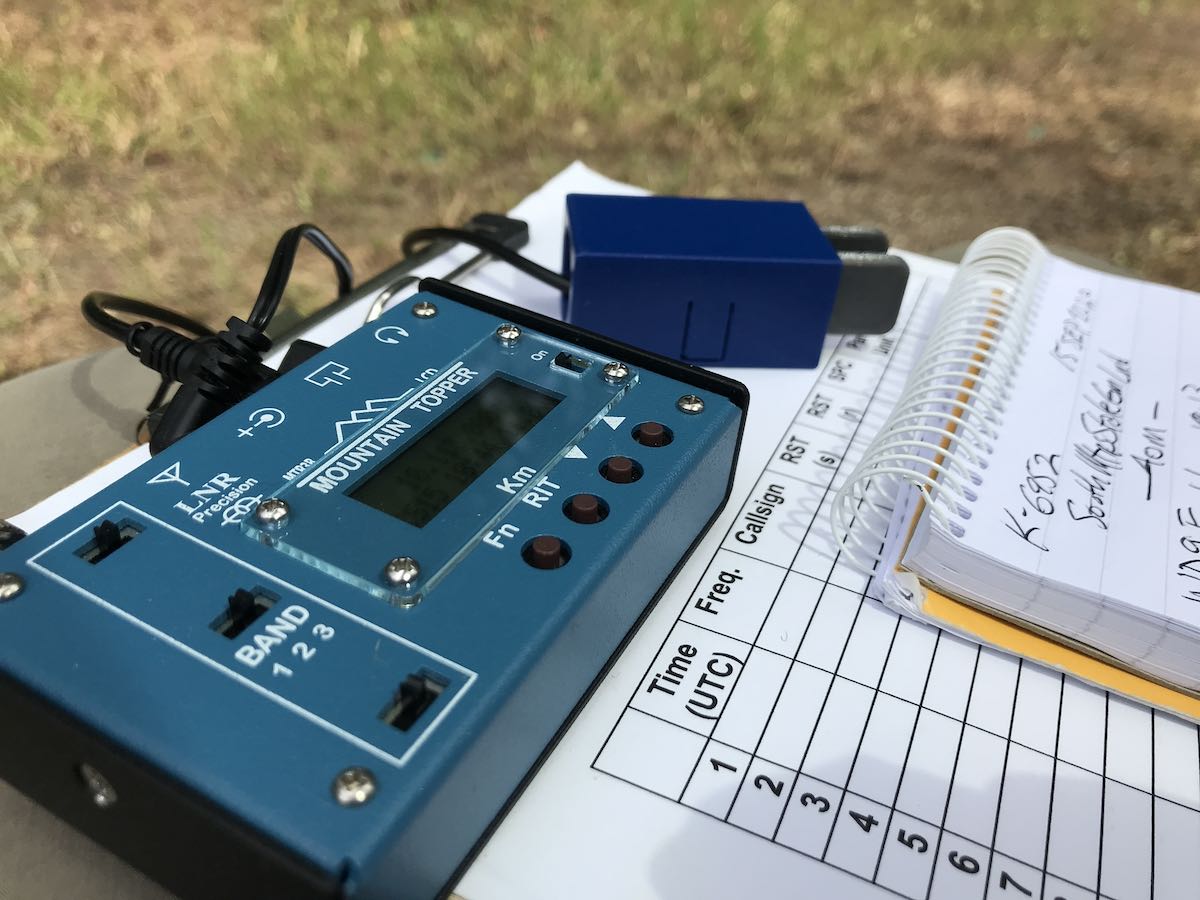
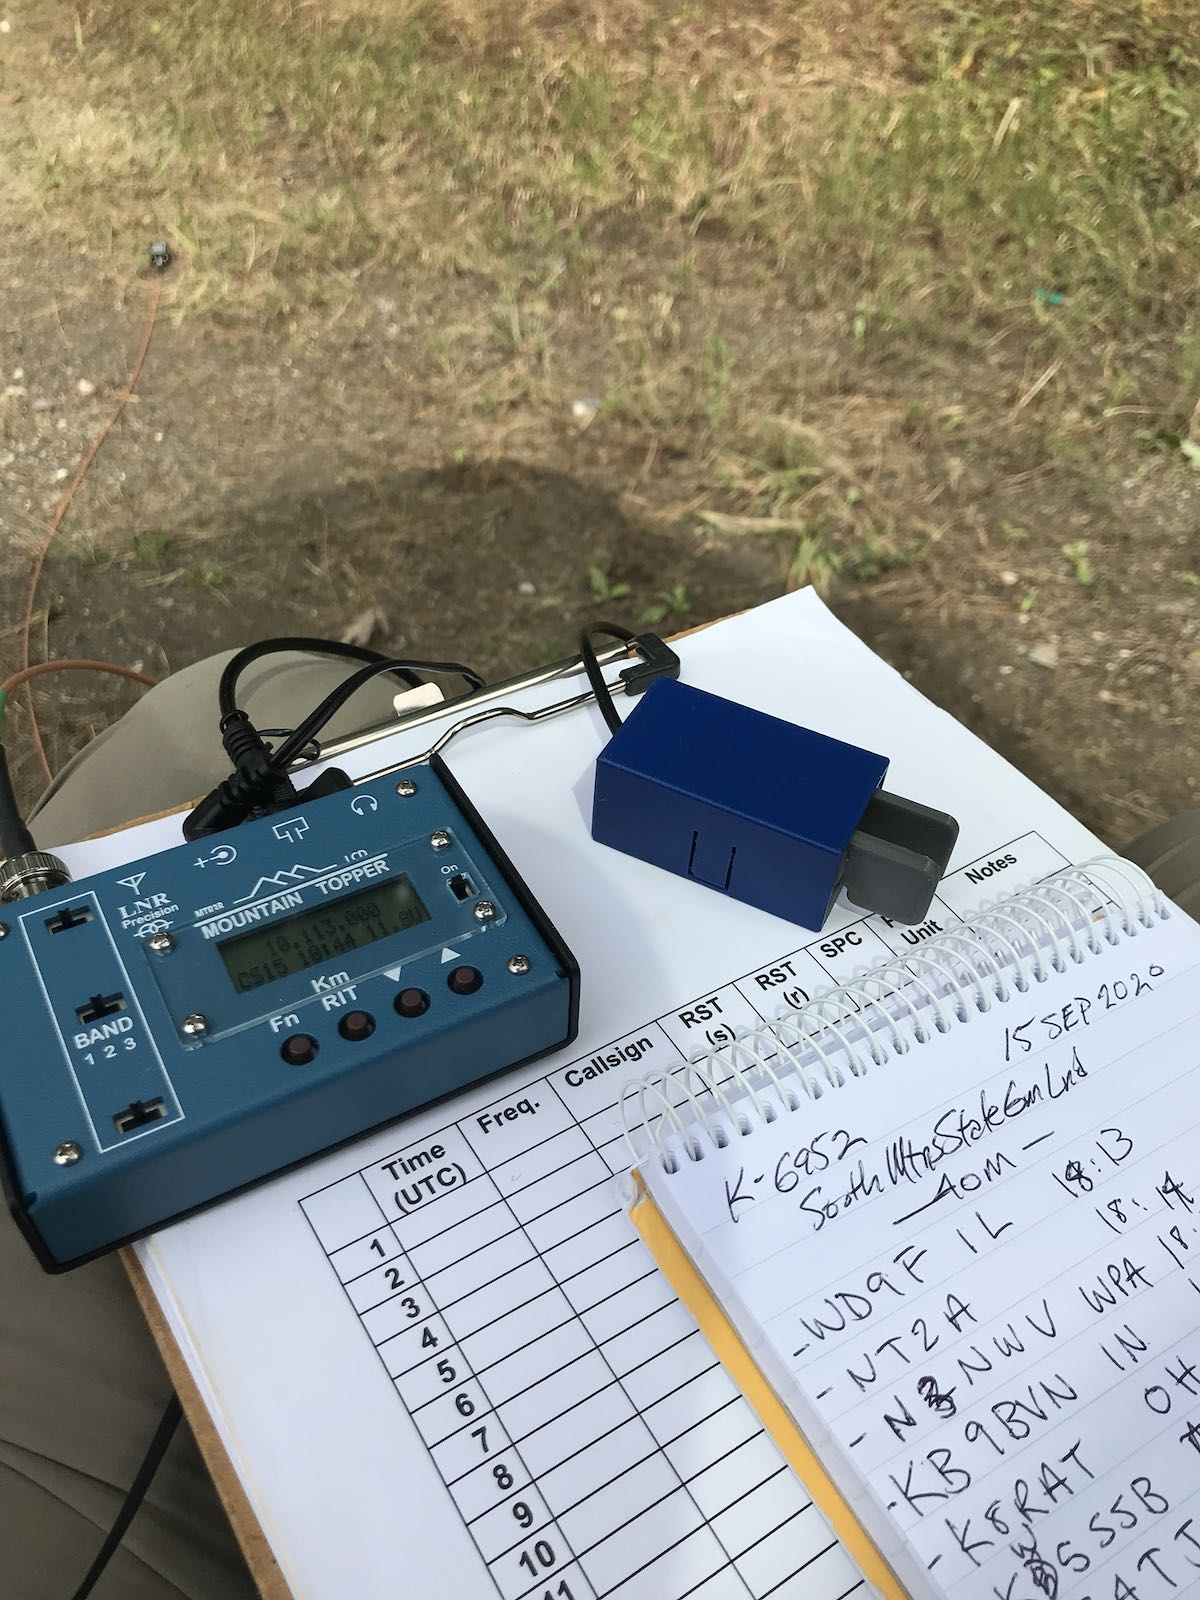
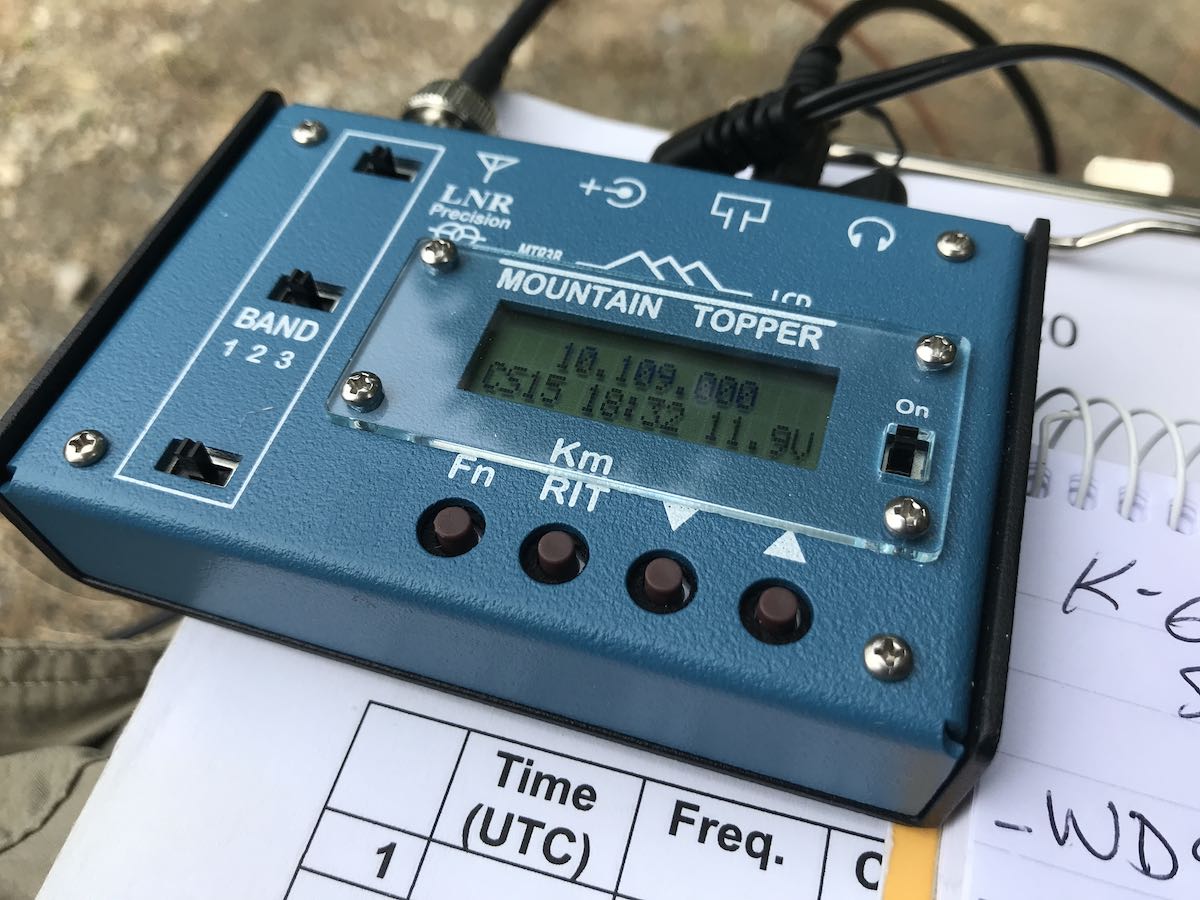
The MTR-3B 3 band transceiver is about the size of a pack of playing cards.

SWLing Post readers: I originally published the following post on QRPer.com. I thought I might share it here on the SWLing Post as well since we’ve so many readers who regularly use compact battery packs, earphones, and portable speakers. I’m looking for some advice as I build a super-compact SOTA/POTA field kit around the Mountain Topper MTR-3B. If interested in helping me sort this out, read on:


I received my Mountain Topper MTR-3B last week, and I’ve already taken it on a POTA activation.

POTA Park Hampton Creek Cove

Last weekend, I decided to break it in on a POTA “two-fer” site: Hampton Creek Cove State Natural Area (K-6246) and The Overmountain Victory Trail (K-4577) in Tennessee. Hampton Creek Cove was actually an ATNO (all time new one) so it was a trial by fire!

POTA Park Overmountain Victory Trail

In short, the MTR-3B was marvelous. I’m so impressed.

As I mentioned in a previous post, I’m building a full SOTA/POTA activation kit for the MTR-3B. I already have a kit built around my KX2 and I don’t want to “borrow” any items from it (so I’m not surprised later in the field when an item is missing).

The TalentCell Rechargeable 12V 3000mAh Lithium Ion Battery Pack is the little black box.

For this activation, I powered the MTR-3B with this inexpensive 12V battery pack a friend recommended on Amazon.com (affiliate link). The battery pack is almost identical in size to the MTR-3B and works perfectly. The battery, charger and cable all set me back a whopping $25.

I also used my Whiterook paddle (which needs new paddle arms at this point) but that will soon be replaced with a set of N0SA portable paddles I recently ordered.

Since the MTR-3B has no volume control, I used a pair of 20 year old Sennheiser earphones I bought when I lived in Munich. These have been in a drawer for ages because I now prefer using in-ear earphones with silicon earpieces for better comfort and sound isolation. But the Sennheisers have one thing none of my other earphones sport: in-line volume control.

While the earphones worked well for this activation, I’d still prefer a set of in-ear earphones with in-line volume control. Any suggestions from MTR-3B owners? Also, I’d like a compact amplified speaker with volume control to carry as an option when needed. If you can recommend one, please comment!

I’m writing an article for The Spectrum Monitor magazine about portable power later this year. I noticed that a number of MTR-3B owners swear by 11V rechargeable Lipo cells that are used in the RC and drone markets. Many have a similar compact form-factor as the common 9V battery. I understand, however, some of these cells need special chargers and equipment to balance them.

I would appreciate any and all information about these batteries.

In the meantime, Rich (N8TGQ), recently shared a pic of his Mountain Topper portable pack. Check it out:

MTR Kit

I think it’s brilliant how he’s mounted everything on a compact plastic cutting board inside the case. Rich says that what he loves about this set-up is that everything is there, ready to go–simply plug in the antenna!

Please comment or contact me if you have any suggestions as I build out a compact MTR-3B kit!

Spread the radio love

Elecraft KX2 3D model tour with Wayne Burdick (N6KR)

Wayne Burdick (N6KR) was one of the QSO Today Expo presenters this year and he took his audience on a very deep dive into the design philosophy behind the Elecraft KX2 (click here to read our KX2 review). The presentation is absolutely fascinating!  If you want geek-out on radio design, I highly recommend you take a look:

Spread the radio love

Val’s Morse Code videos and practice sessions

Many thanks to SWLing Post contributor, Valery Titievsky, who writes:

Perhaps it will be interesting to SWLing Post subscribers. A short video for those wishing to improve their skills in Morse code. Poem by George Byron “Prometheus».

The channel also has lessons in studying Morse code and a few videos with my SWL on shortwaves of various radio broadcasting, weather and other service and number stations.

73! Best Regards

Valery Titievsky (R9O-16) SWL

Click here to check out Val’s YouTube channel.

When I practice my CW skills, I do like listening to real content like this instead of randomly-generated characters. One reason is you start to recognize the sound of common words (like “the” “an” “and” “is” etc).

Thank you for sharing this, Val!

Spread the radio love

TX Factor Episode 26

Many thanks to SWLing Post contributor, Eric (WD8RIF), who notes that the 26th episode of TX Factor was recently released. Here’s the show summary:

A post-lockdown special – well, not really! Just a bumper edition of TX Factor that was planned for March 2020, but due to the Covid-19 restrictions never quite happened! We hope you are all safe and well and enjoying the summer opportunities for amateur radio despite the various restrictions upon us.

Back in February we dropped in for tea and biscuits at the new(ish) QTH of Tim Kirby GW4VXE to learn more about his passion for all things VHF / UHF. Also in February, Bob and Mike fitted a Radio Analog PTRX-7300 RF interface module into Bob’s beloved IC-7300, and, yes, can it be possibly true . . . bang up-to-date, Bob reviews one of the first Icom IC-705 SDR QRP all-mode transceivers in the country. We hope you enjoy the show!

Click here to view on YouTube or on the TX Factor website.

Spread the radio love