Many thanks to SWLing Post contributor, Michael Ye (BD4AAQ), for the following guest post:
 Twins, Yet Each One Unique – A Comparison of the Worldwide Version of LC90 with its Chinese Counterpart
by Michael Ye (BD4AAQ)
The export version of the LC90 is now available in the market [affiliate link]. Previously, we examined the Chinese version, which has been in the China market since early 2023. Instead of a review of the export version, this article will focus on the similarities and differences between the two LC90 versions – the version that has just started to be distributed outside China and the version that is already being sold in China. A link to my previous article can be found by clicking here.
One thing to note is the name of the manufacturer. In my previous review, I used Chaoyuan, the “pinyin” phonetic of the Chinese characters of the name of the company. As it turned out, the westernised spelling that the company uses is Choyong, or Choyong Electronics.
The LC90, a hybrid radio that combines the Internet radio with the traditional radio, is a bold move and seems to be well-received by shortwave listeners and beyond. Let’s explore what these two versions of the same model have to offer.
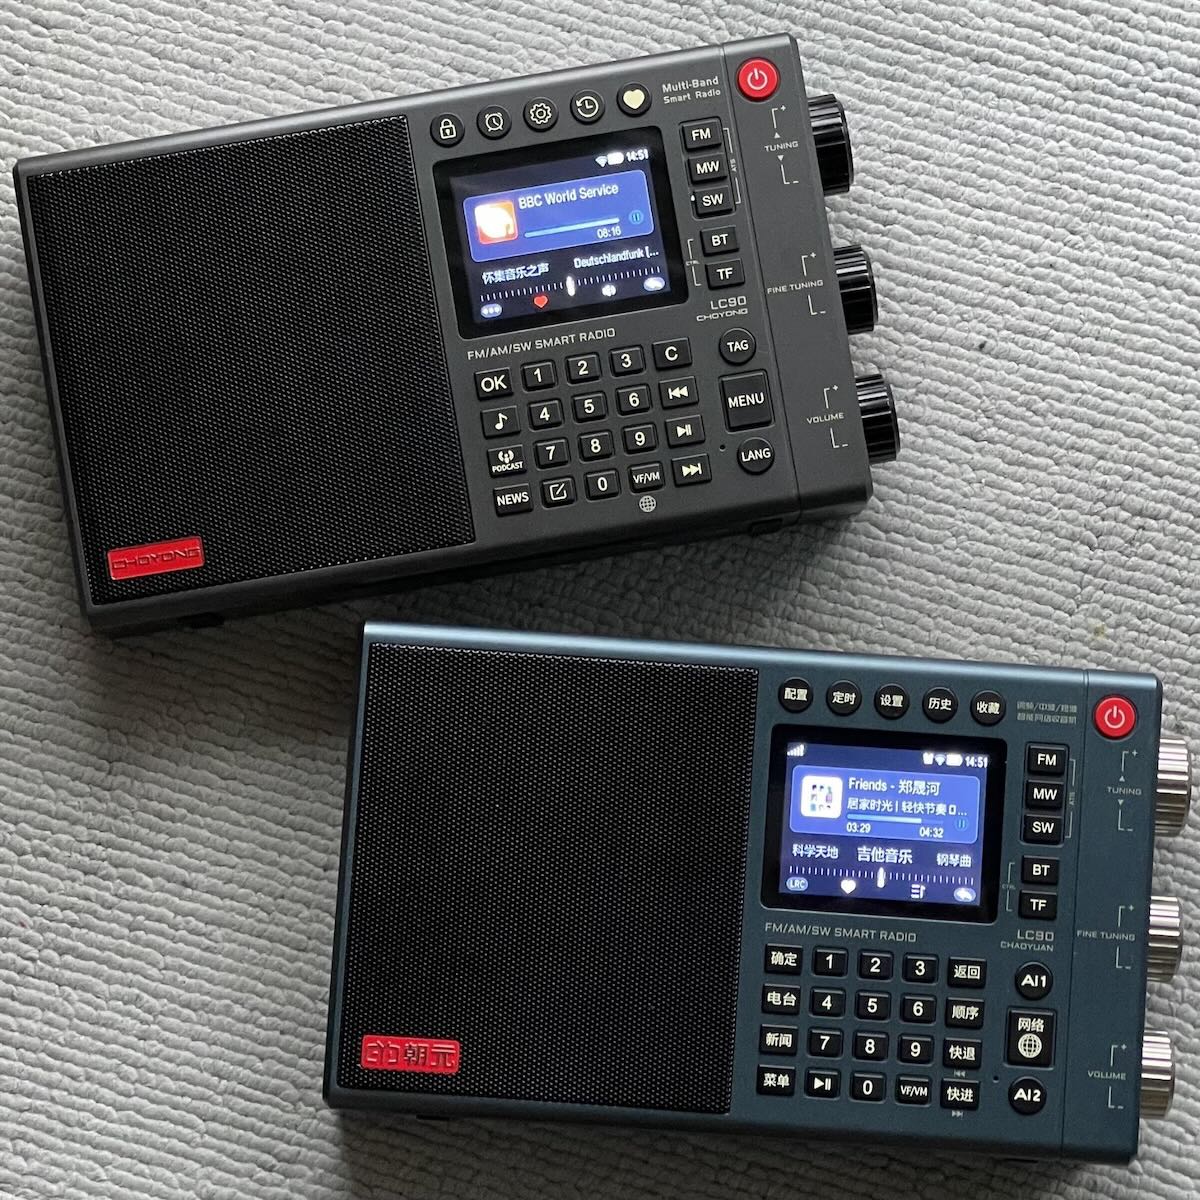
Appearance
The two versions of the radio look the same in appearance. However, upon closer inspection, you will notice the language on the buttons differs. The export version has all the buttons labeled in English, while the buttons of the Chinese version have a mixture of Chinese and English.
Traditional Radio
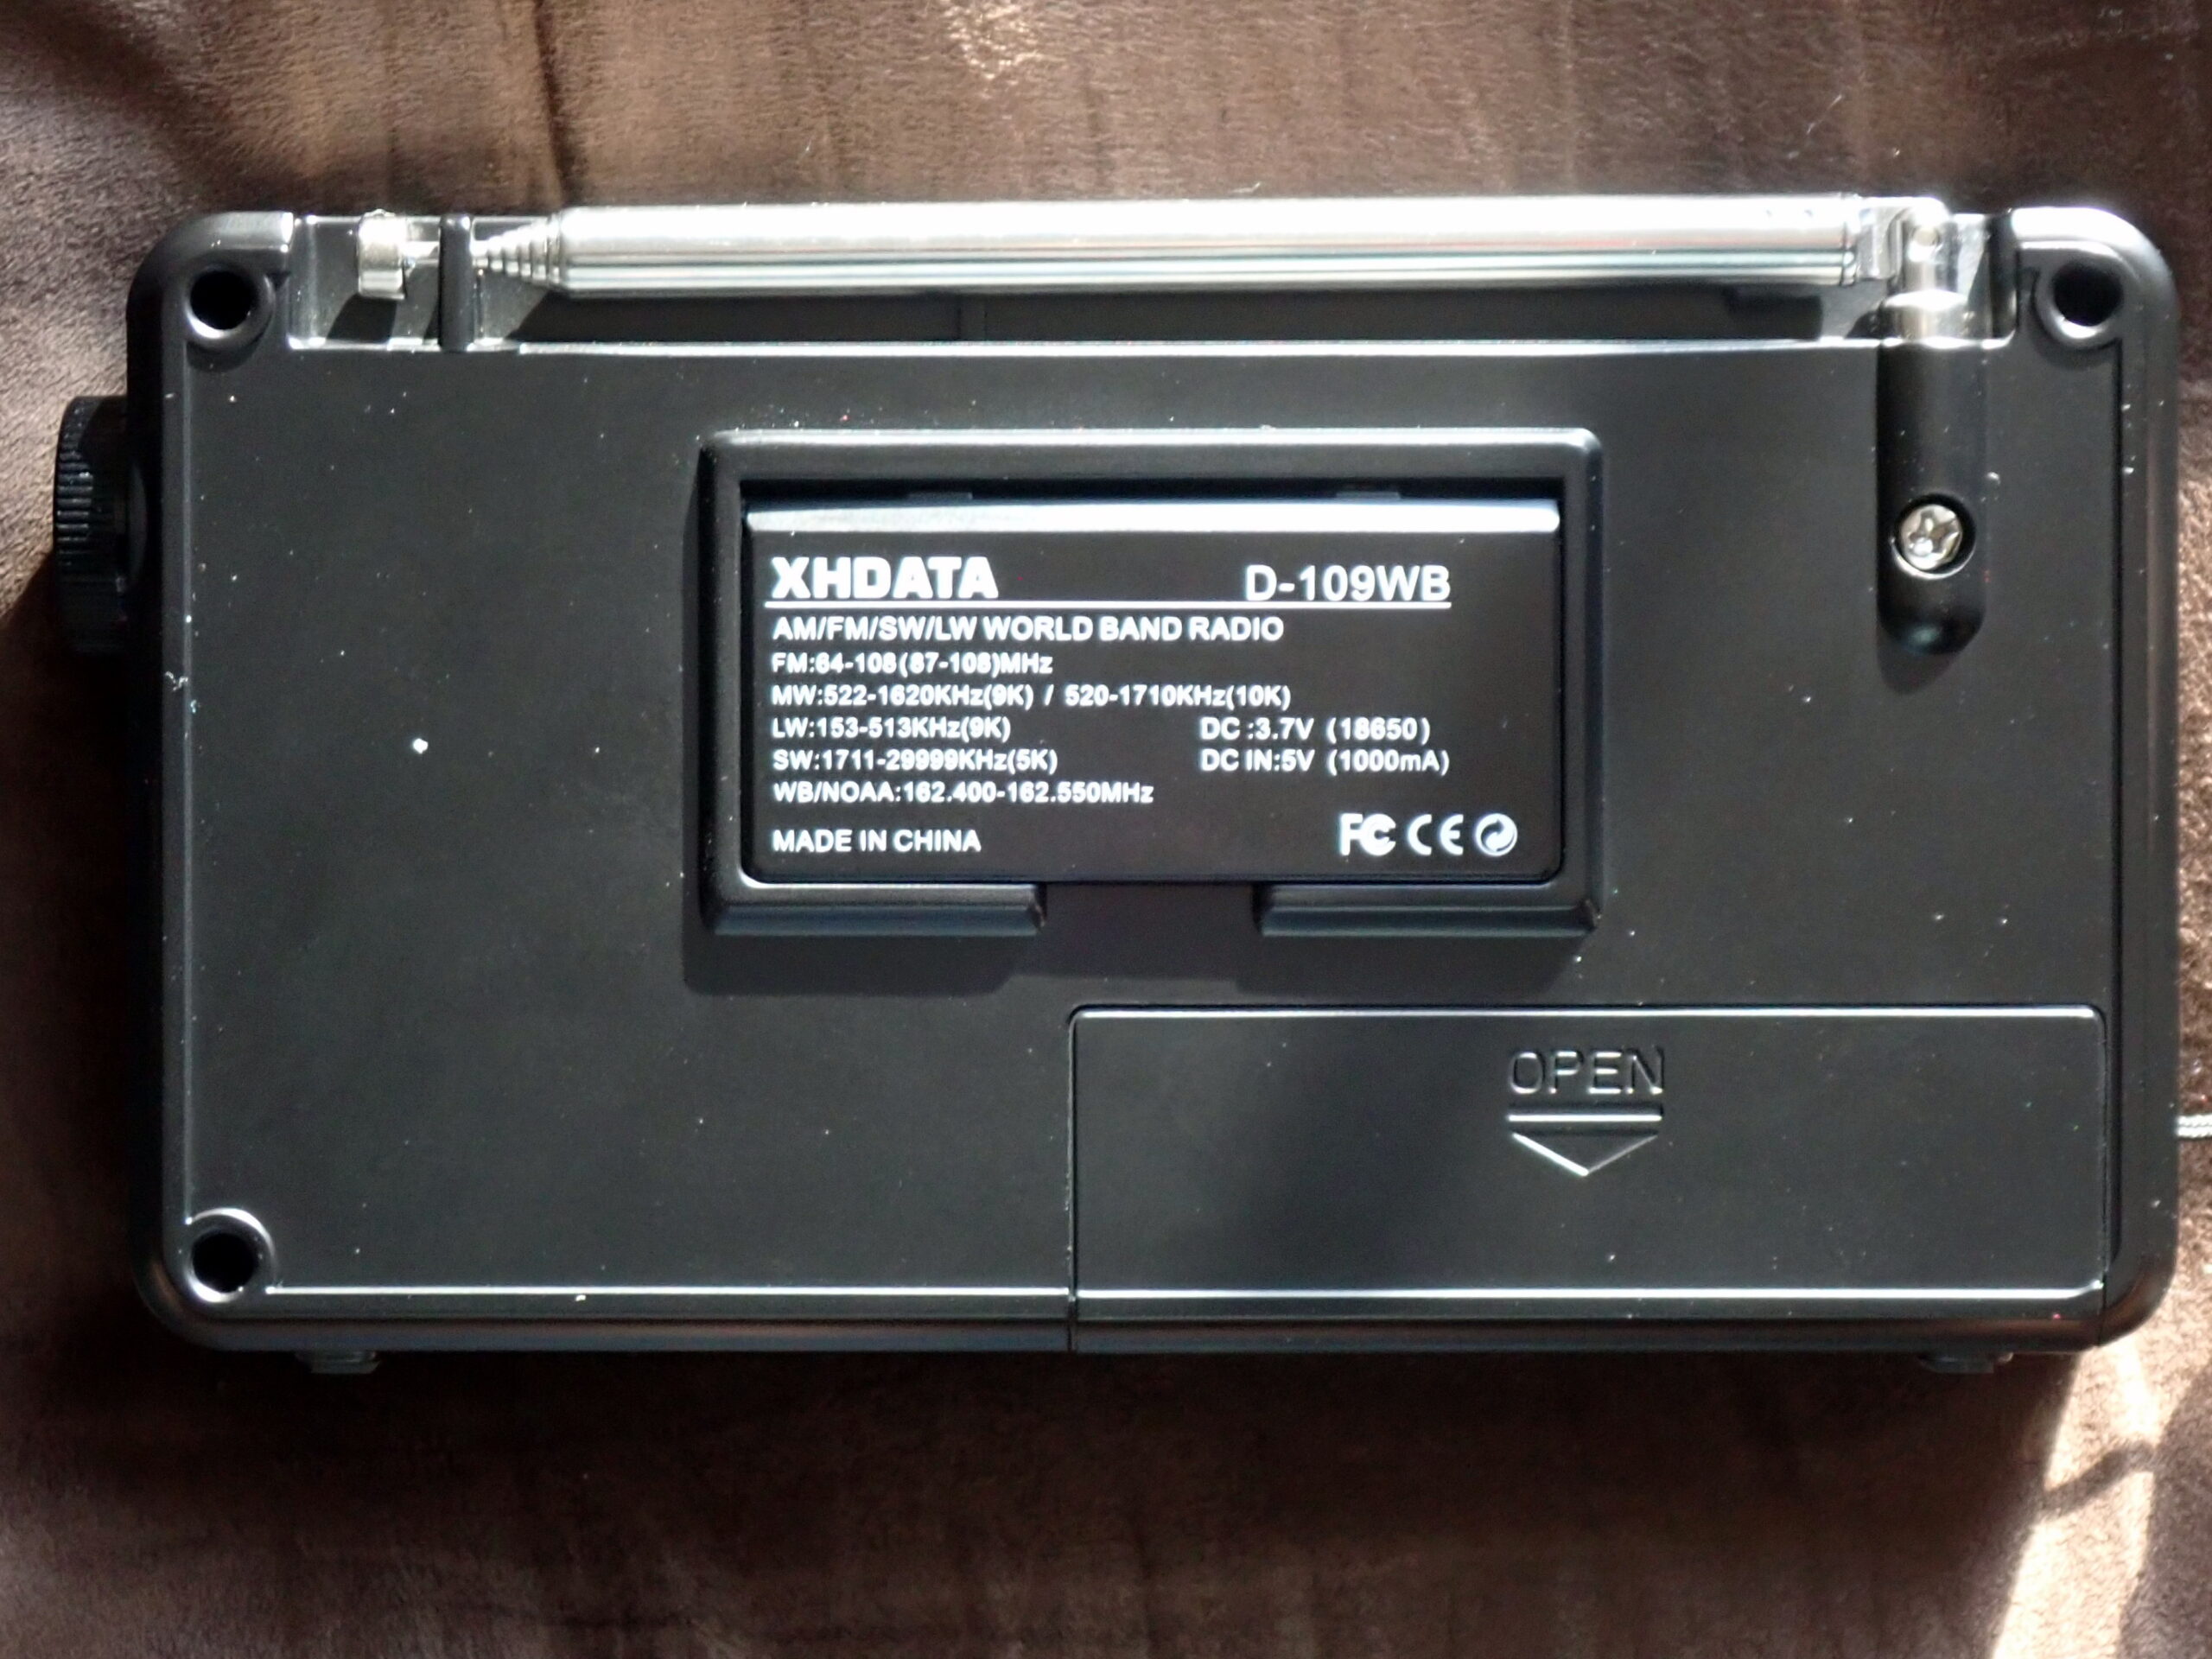
I do not find differences between the FM, MW and SW features of the two versions. Both versions have the specifications as follows: FM: 64-108 MHz, MW: 522-1710 kHz and SW: 2.3-26.10 MHz. Shortwave performance remains excellent. However, for the export version, you could toggle the MW tuning step between 9 kHz and 10 kHz, and the FM tuning step as well, through the setup (gearbox) button, but it does not seem possible to change any tuning step on the Chinese version – this seems to be a matter of software upgrade and so is not really an issue.
On both versions, press MW again to enter LW (153-279 kHz).
Internet Radio
In terms of the stations that can be heard, the Internet radio exhibits significant differences from that of the Chinese version. The Chinese version is designed to exclusively feature Chinese language stations (and a few English language stations) in China. If we were to liken the Chinese Internet radio to a closed system such as iOS, it would be stable, reliable but restrictive. In contrast, the export version could be compared to Android, offering more open, inclusive and customisable user experience.
On the export version, the MENU button provides access to the main menu, which begins with the six continents (excluding Antarctica) and allows users to navigate to the desired country and then select a specific station. Additionally, shortcut keys are available for direct access to MUSIC, PODCAST, NEWS, TAG and LANG (languages).
TAG and LANG for Ai1 and Ai2 Buttons
 On the Chinese version, two buttons, Ai1 and Ai2, serve as voice assistants. Activate and speak to them and the radio directly plays the content (Ai1) or displays search results for users to choose from (Ai2). They come in handy when you look for a specific item, for instance the title of a song or a talk show. On the export version, however, the voice assistants have been removed and replaced with shortcuts TAG and LANG.
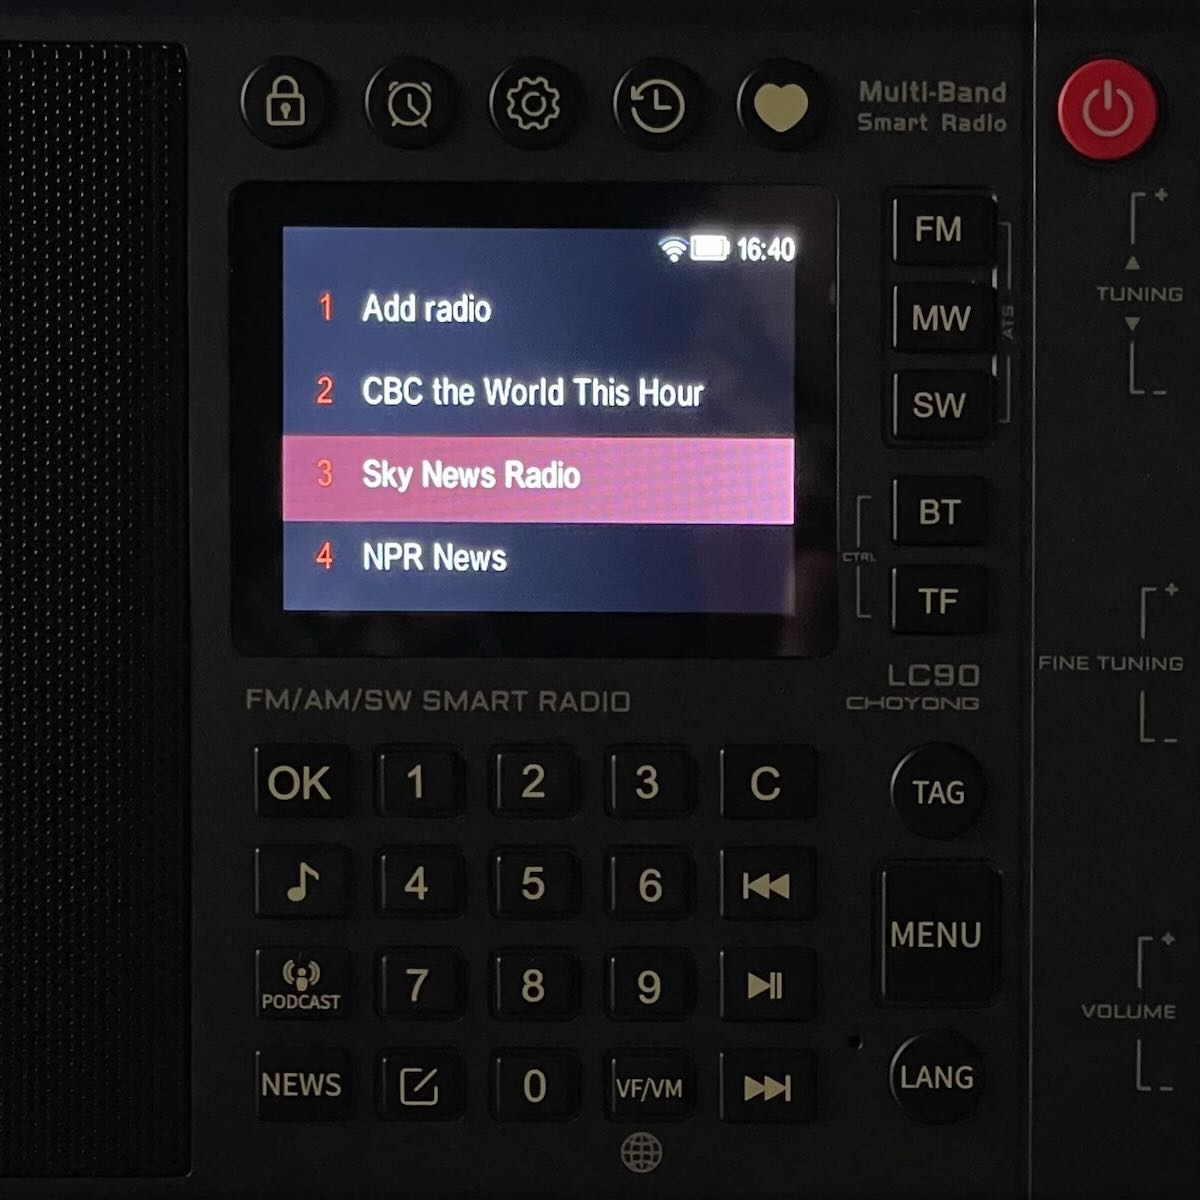
Add Your Own Stations
The Chinese version has about 1000 Chinese Internet stations built-in. On the worldwide version of the radio, there is a vast number of Internet stations available, literally tens of thousands of them, in different languages, and from different corners of the world. The number is updated from time to time. And that is not all. A really cool feature is the ability to add stations of your choice and it is easy to do with the help of a mobile phone. Unfortunately, this feature for adding your own stations is not available in the Chinese version.
Nano SIM card
The Chinese version comes with a built-in nano SIM card that is prepaid and provides Internet data. To continue using it, simply add credit to the card. In contrast, the export version does not include a prepaid, data-enabled SIM card for the user. Still, the user can use a WI-FI connection or purchase a 4G nano SIM card to insert into the device’s slot.
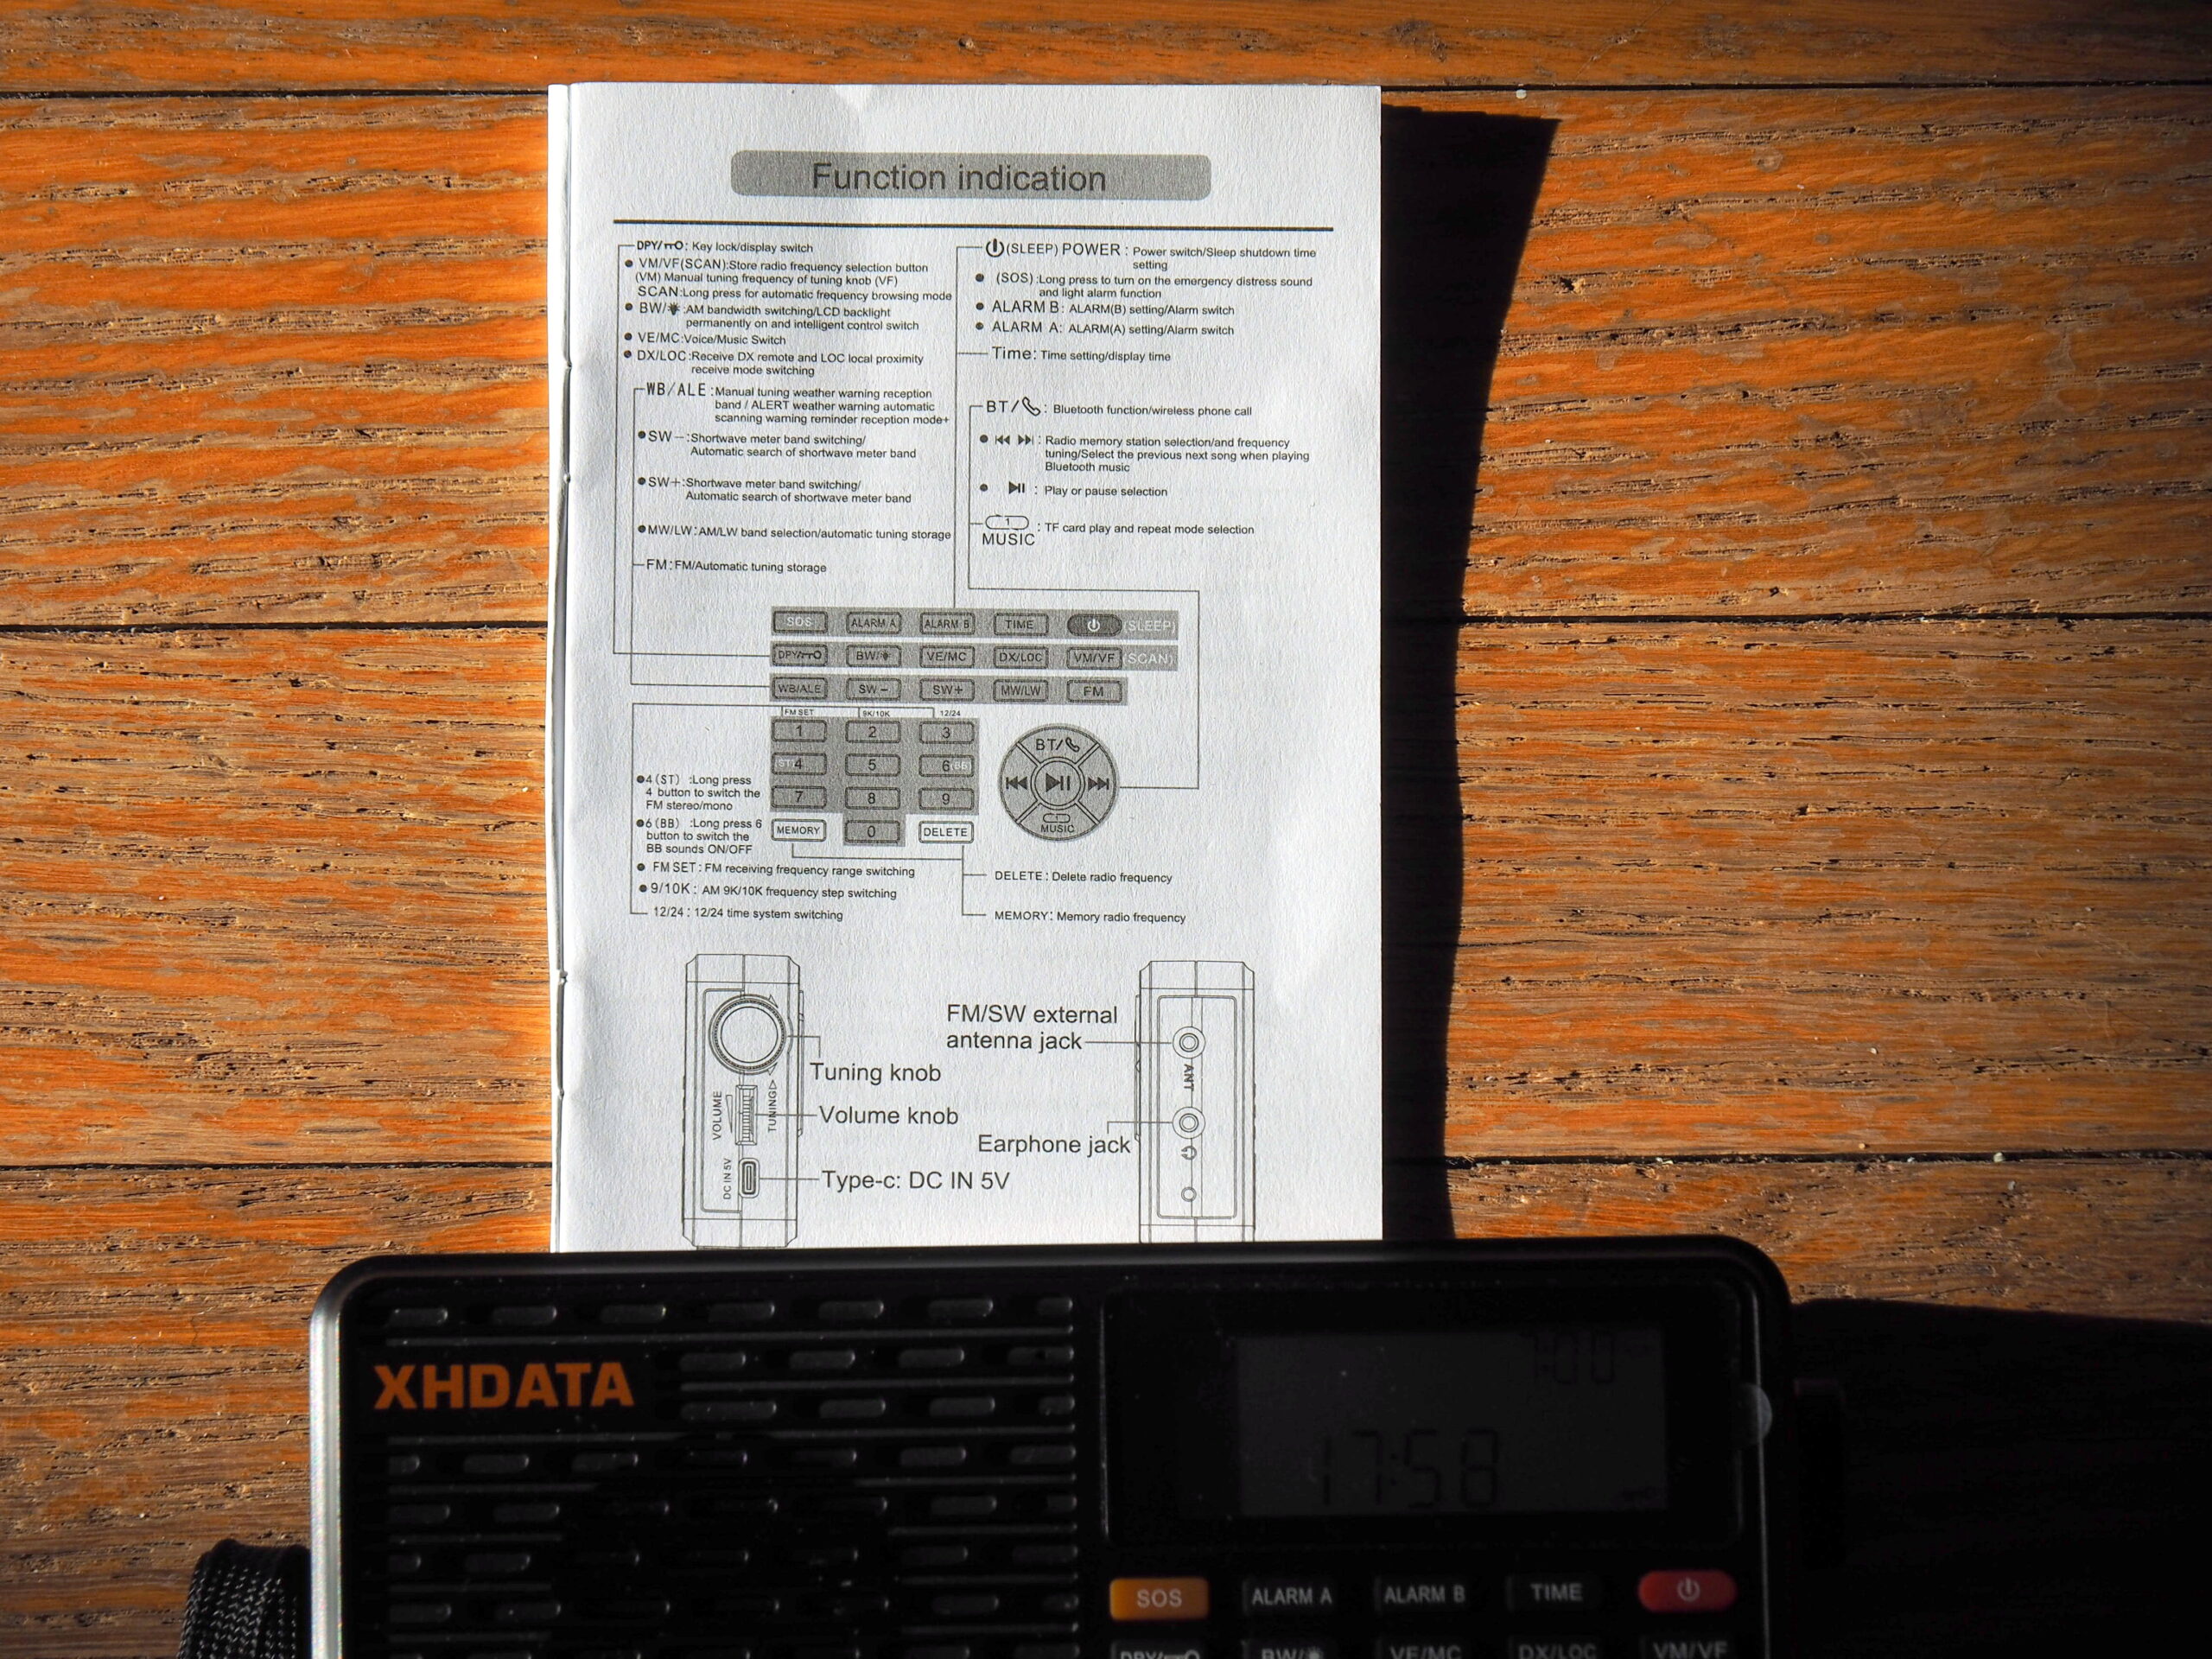
Some Features Not Discussed Previously
Both versions have the following features:
- Keyboard backlight;
- IPS LCD with backlight;
- Type-C charging cable supplied;
- TF card supported (to store and play your own music); and
- Bluetooth for the radio to serve as a Bluetooth speaker.
The integration of high-tech gadgets and advanced devices into our daily routines has become indispensable in this age of the Internet. It is essential to adapt to the ever-evolving nature of the times.
Bottom Line
The Choyong LC90 is an exceptional radio that combines traditional radio features with modern Internet capabilities. It is available in both domestic and worldwide versions. The revolutionary design of the LC90 allows for excellent overall performance in both over-the-air radio reception and online streaming/podcasting.
There is no difference in traditional radio reception and performance between the domestic and worldwide versions of the LC90. However, the Internet features are drastically different, as the worldwide version serves audiences around the world, while the Chinese version is dedicated to the audience in China.
Overall, the Choyong LC90 offers a unique combination of traditional radio and modern Internet capabilities, making it a versatile and high-performing device for radio enthusiasts and music lovers.
Wish List
Is SSB decoding necessary? Well, it depends. The radio primarily caters to broadcast listeners, but both hardcore amateur radio hobbyists and general listeners may find it appealing. While adding SSB decoding can enhance its functionality, it will increase costs and may require additional space, considering it already combines two radios in one device.
There are two switches, the red button (upper right) and the volume/sleep knob (lower right side). Is it really necessary to have both?
On the export version, the “network error” message may occasionally pop up, and the radio would become quiet until human intervention steps in. Is it feasible for the radio to automatically resume play after the network error is cleared?
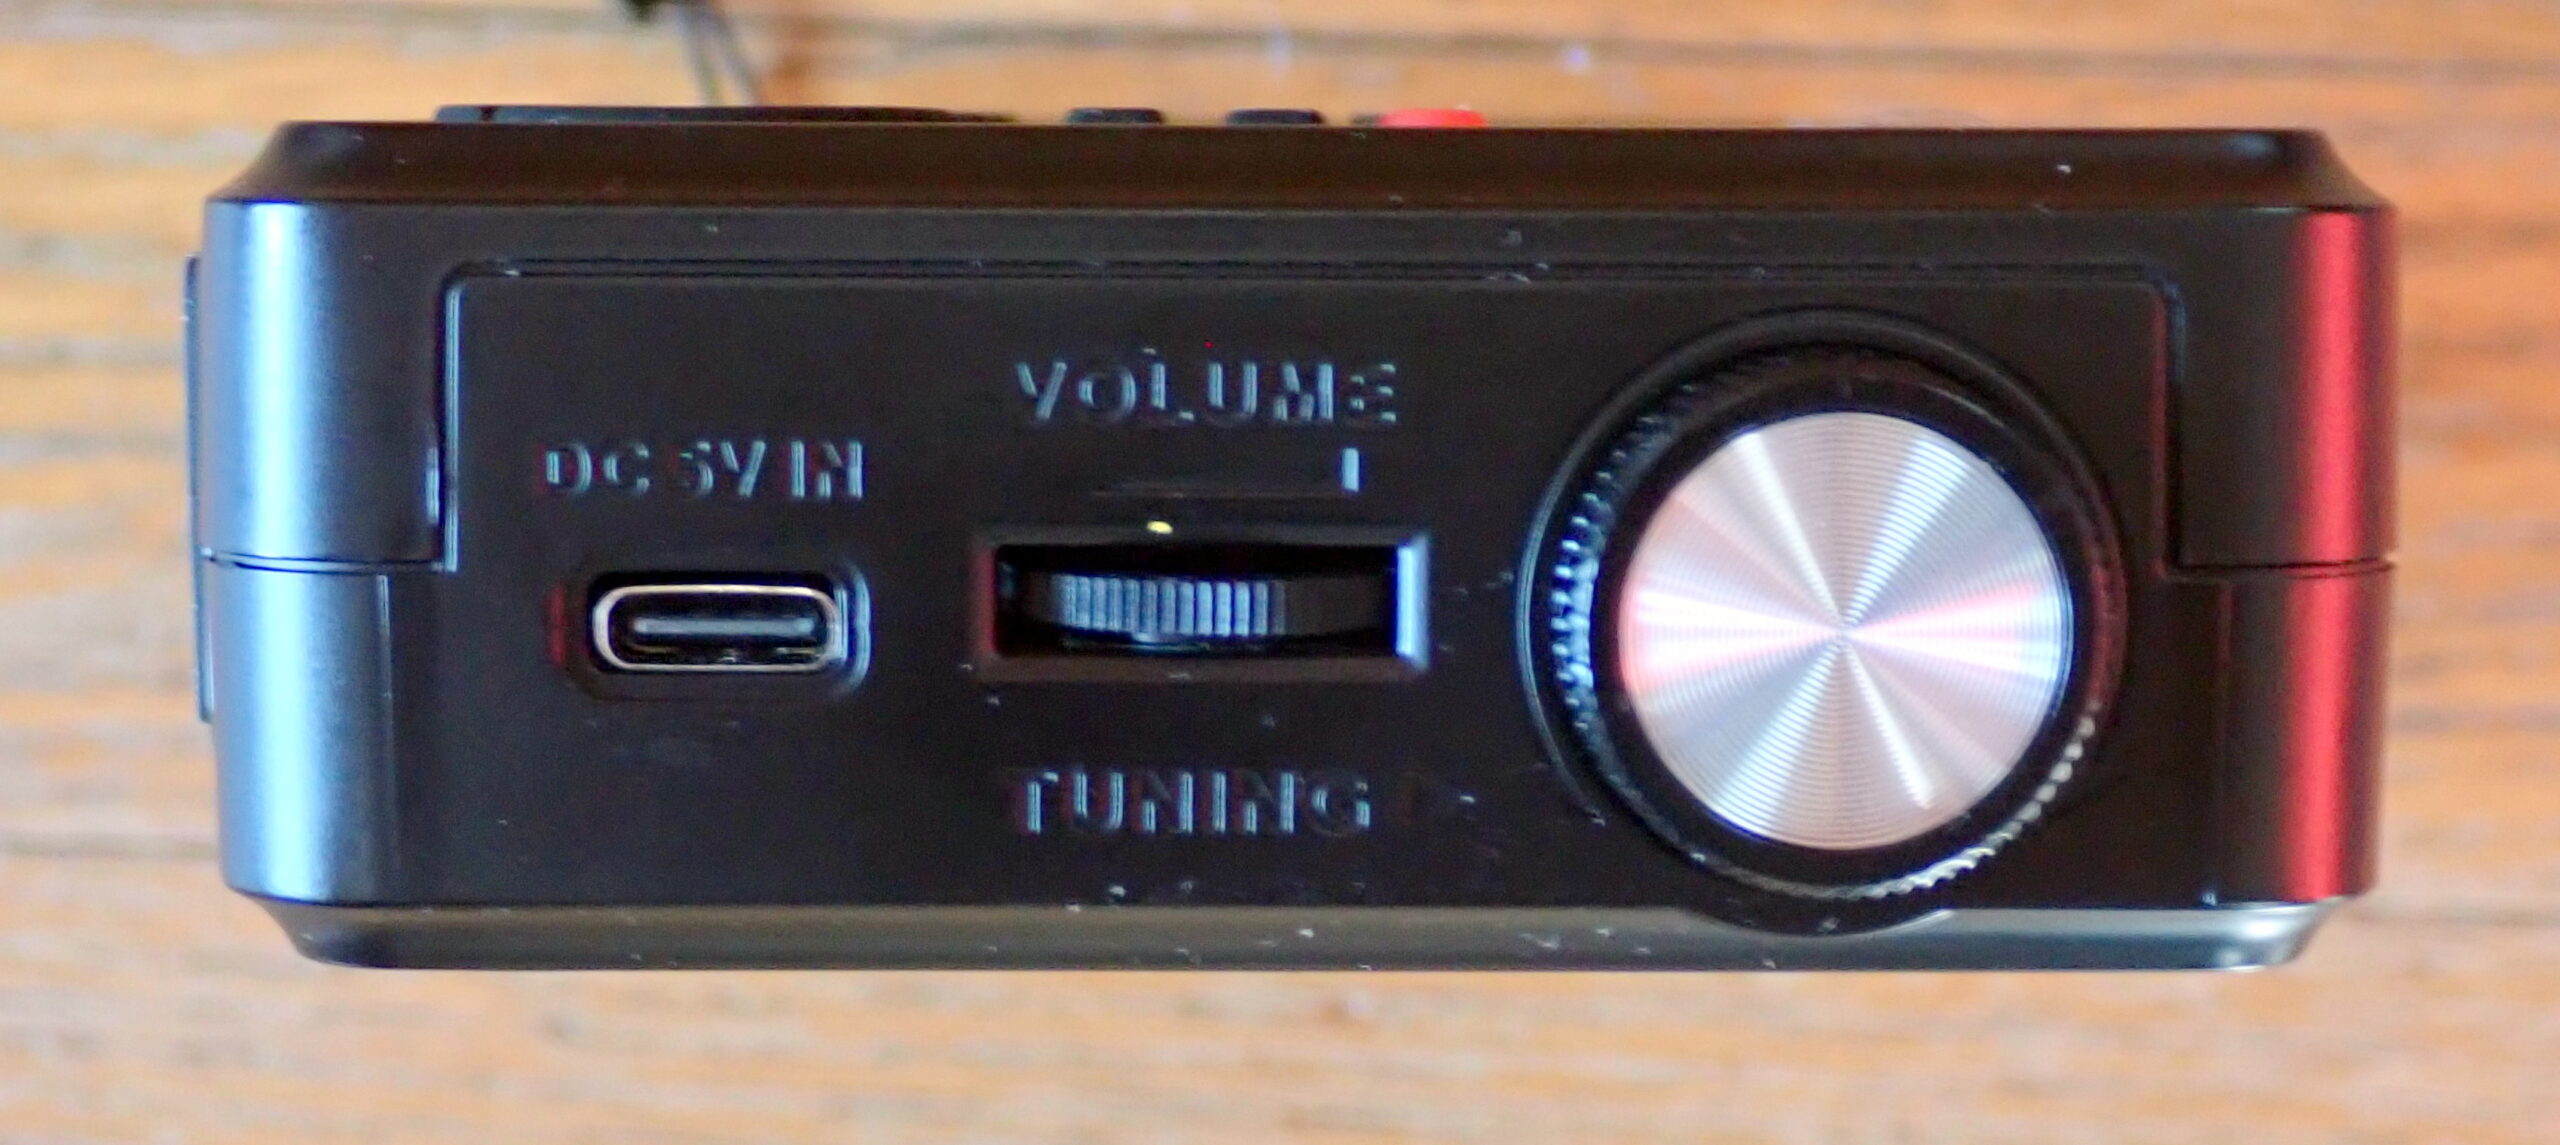
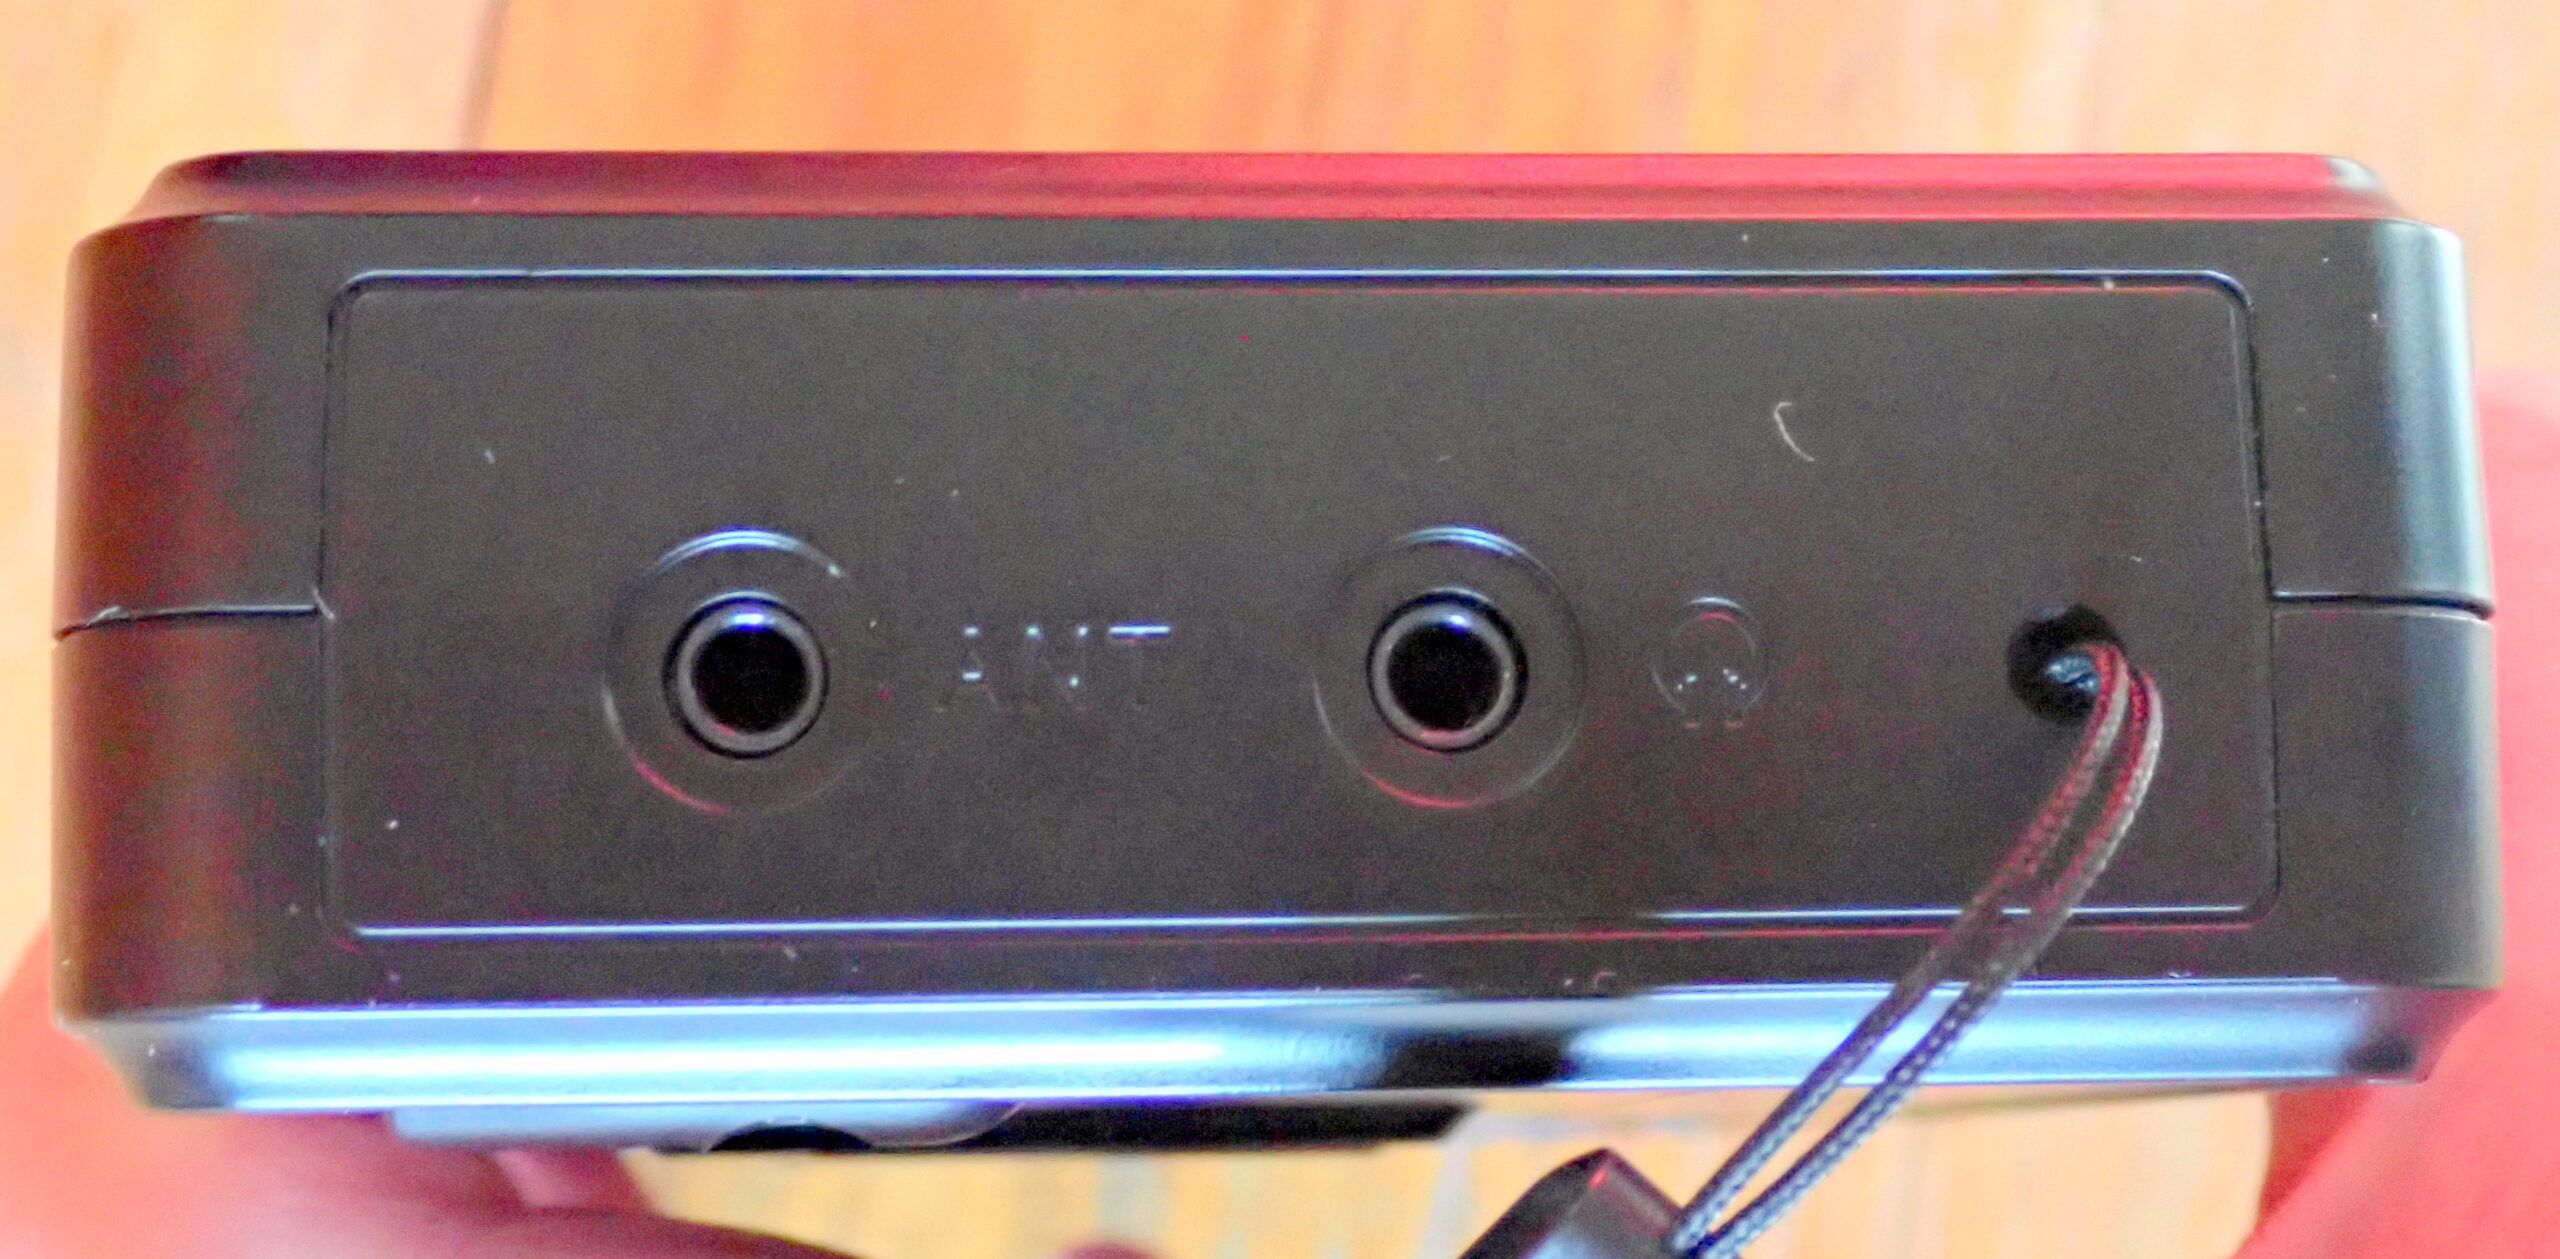
For some users, the antenna jack is a bit too close to the tuning knob. In most situations, this proximity does not impact the radio’s operation. However, if you need to connect an antenna using a connector, you may encounter difficulty or even find it impossible to plug it in.
Click here to check out the Choyong LC90 (export version) on Amazon.com.
Note that this Amazon link supports the SWLing Post at no cost to you. Thank you!