 by Thomas (K4SWL)
It’s been a long while since I’ve written a receiver review. Years ago, I cranked them out several times a year and genuinely loved the process–evaluating performance, quirks, economics, and overall user experience. Writing reviews is, to this day, one of my favorite things to do.
But over the past four years, my reviewing work shifted more toward amateur radio and portable operations, especially as my QRP activities ramped up. And as many of you know, the SWLing Post now has an incredible group of contributors who regularly write thoughtful reviews, taking some of the pressure off of me.
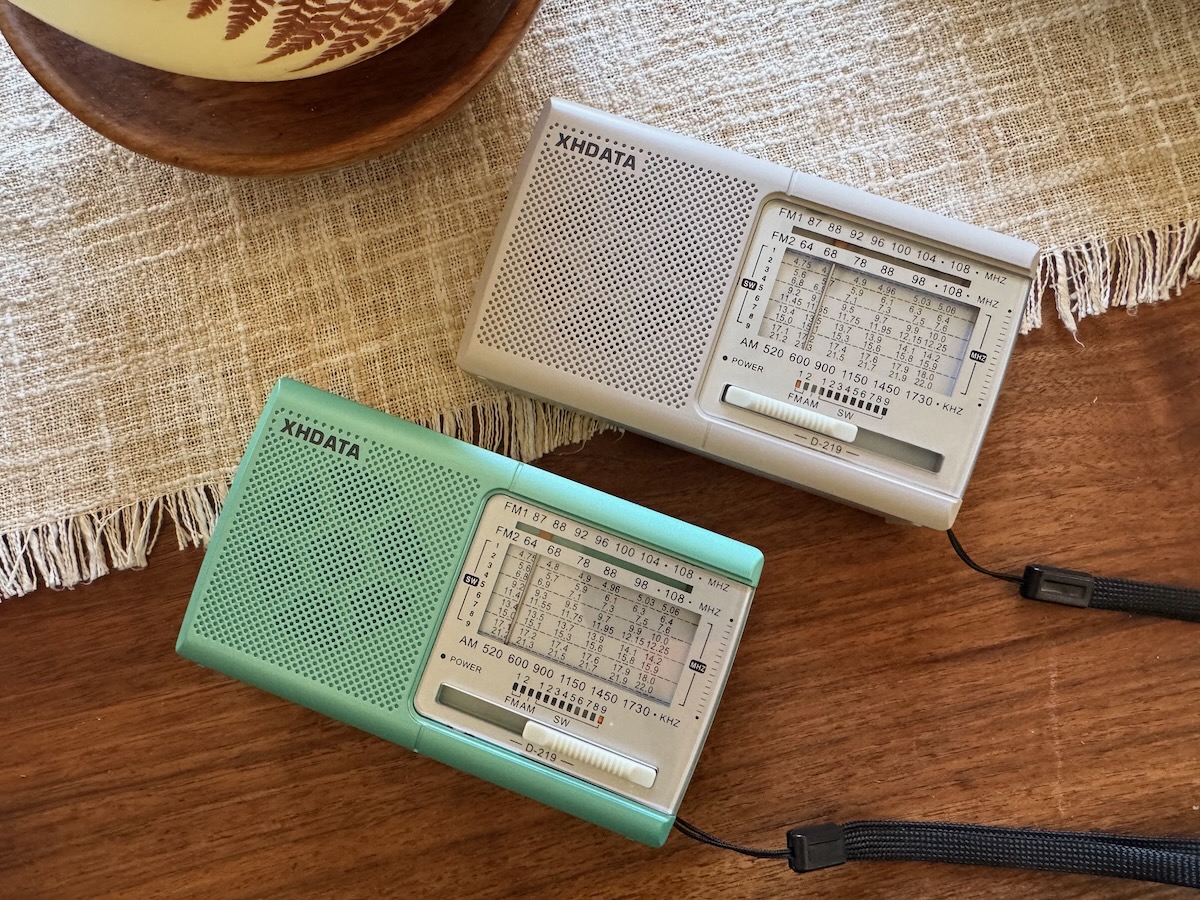
So when my contact at XHDATA reached out a few weeks ago asking if I wanted to try two new color variants of their ultra-affordable D-219, I surprised myself: instead of passing it along to one of our contributors, I decided I wanted the chance to revisit the world of simple, inexpensive portables firsthand.
Why? Because I’d been hearing surprisingly positive things about this little radio—and because it reminds me of the DX-397, a tiny analog portable I used for years after working at RadioShack right out of college.
 This review, then, is less about testing a product and more about rediscovering the joy of having a simple, super-basic radio at hand.
Disclosure: XHDATA is a generous long-time sponsor of the SWLing Post. They sent both of these D-219 radios free of charge. Honestly, I don’t know many companies that would send out a sub-$20 product as a review loaner–it probably costs them more in shipping.
As always, I’ll be gifting these units back out once I’m finished. And in this case, I’ll also be buying three more myself for Christmas gifts… one of those, I’ll keep.
Design & First Impressions
 Let’s be clear: the D-219 is a simple radio. It looks like something straight out of the mid-1990s, with:
- an analog tuning dial
- band-switching sliders
- a dedicated on/off switch on top
- a small, lightweight plastic enclosure
But inside, it’s very much a modern radio. The D-219 is based on the Silicon Labs Si4825-A10 DSP chip, meaning that although tuning feels analog, you’re actually listening to a DSP-based receiver stepping through the band in predetermined increments.
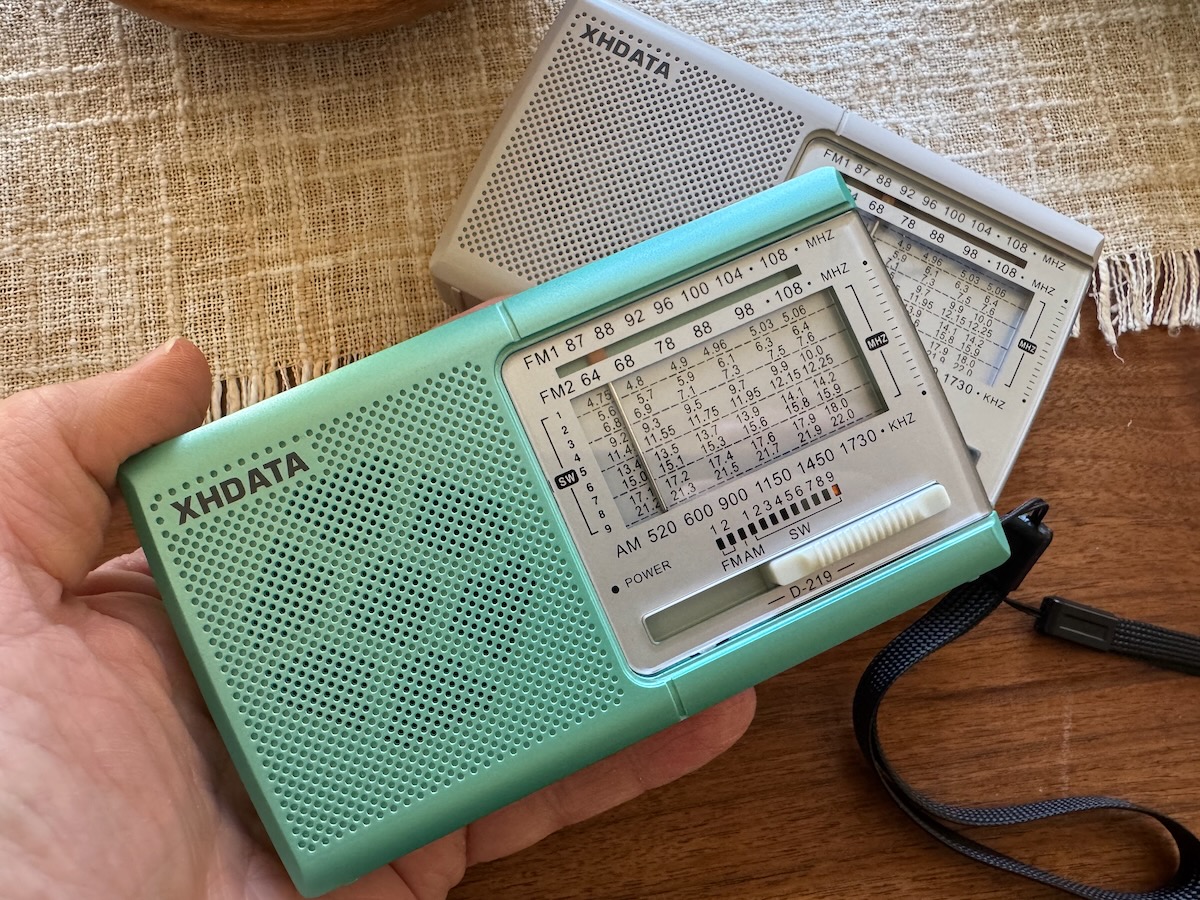
XHDATA sent me two new color options: off-white and light silver-green. Both look great in person.
Using the D-219 Outdoors
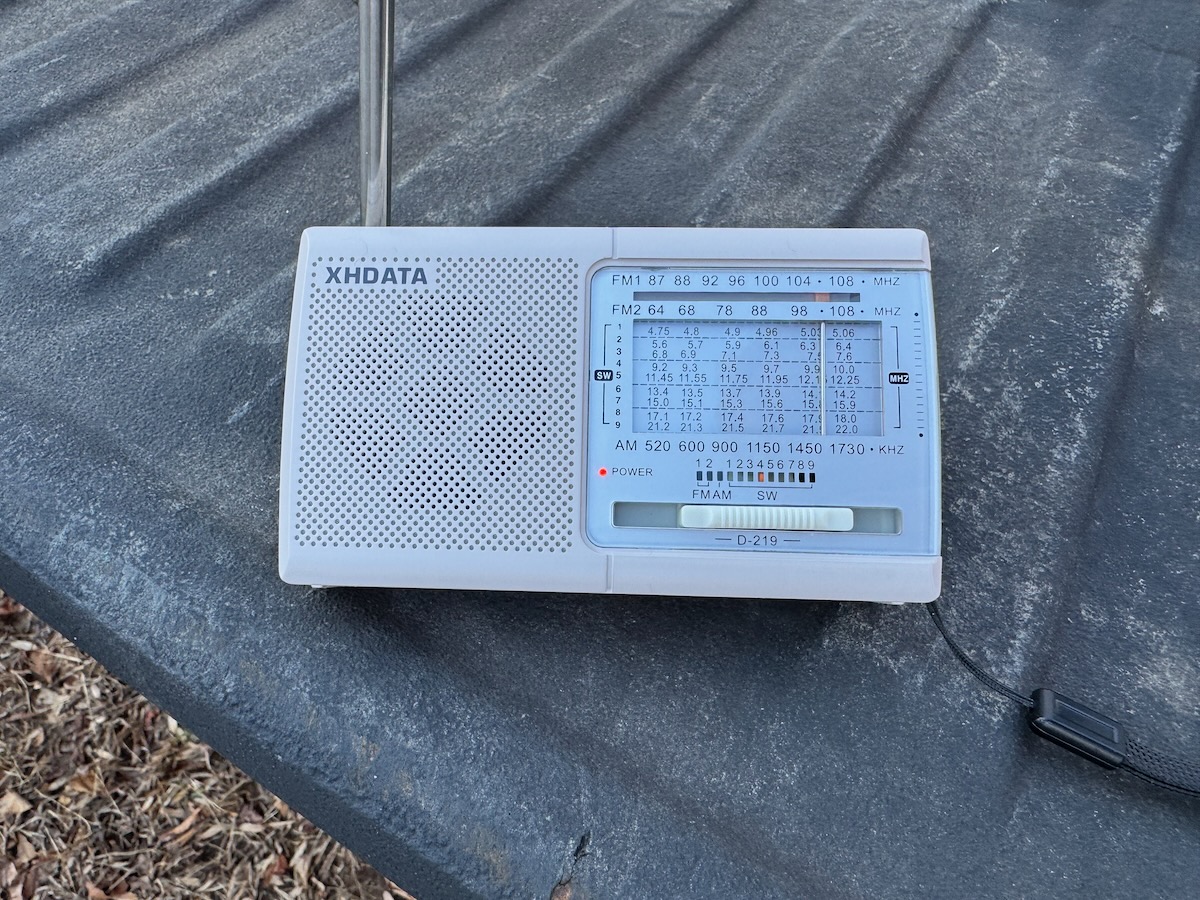
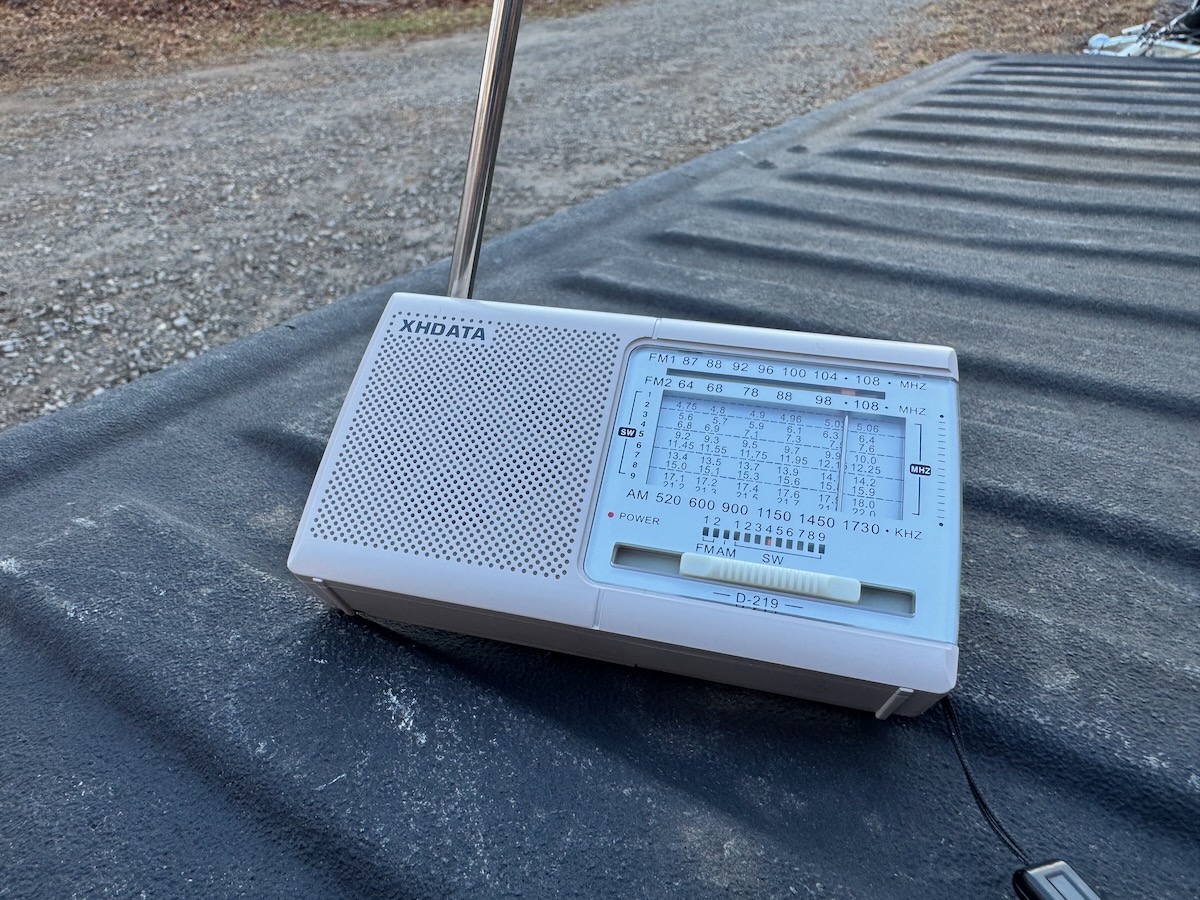
I used my truck tailgate to hold the D-219 while stacking firewood.
Over the past couple of weeks, I’ve been doing a lot of work outside—stacking firewood, yard projects, general winter prep. The D-219 became my little companion radio during all of it.
I mostly listened to:
- Mediumwave
- A bit of shortwave
- and FM radio
Audio Quality
The audio surprised me. It’s a tiny speaker, so don’t expect brilliant fidelity, but it’s perfectly listenable and cuts through outdoor noise when the volume is up.
Performance
 FM performance is excellent—far better than I expected. I have a handful of “benchmark” distant FM stations that many small portables struggle to hold onto. The D-219 locked onto them easily. DSP chips often shine in FM, and this was no exception.
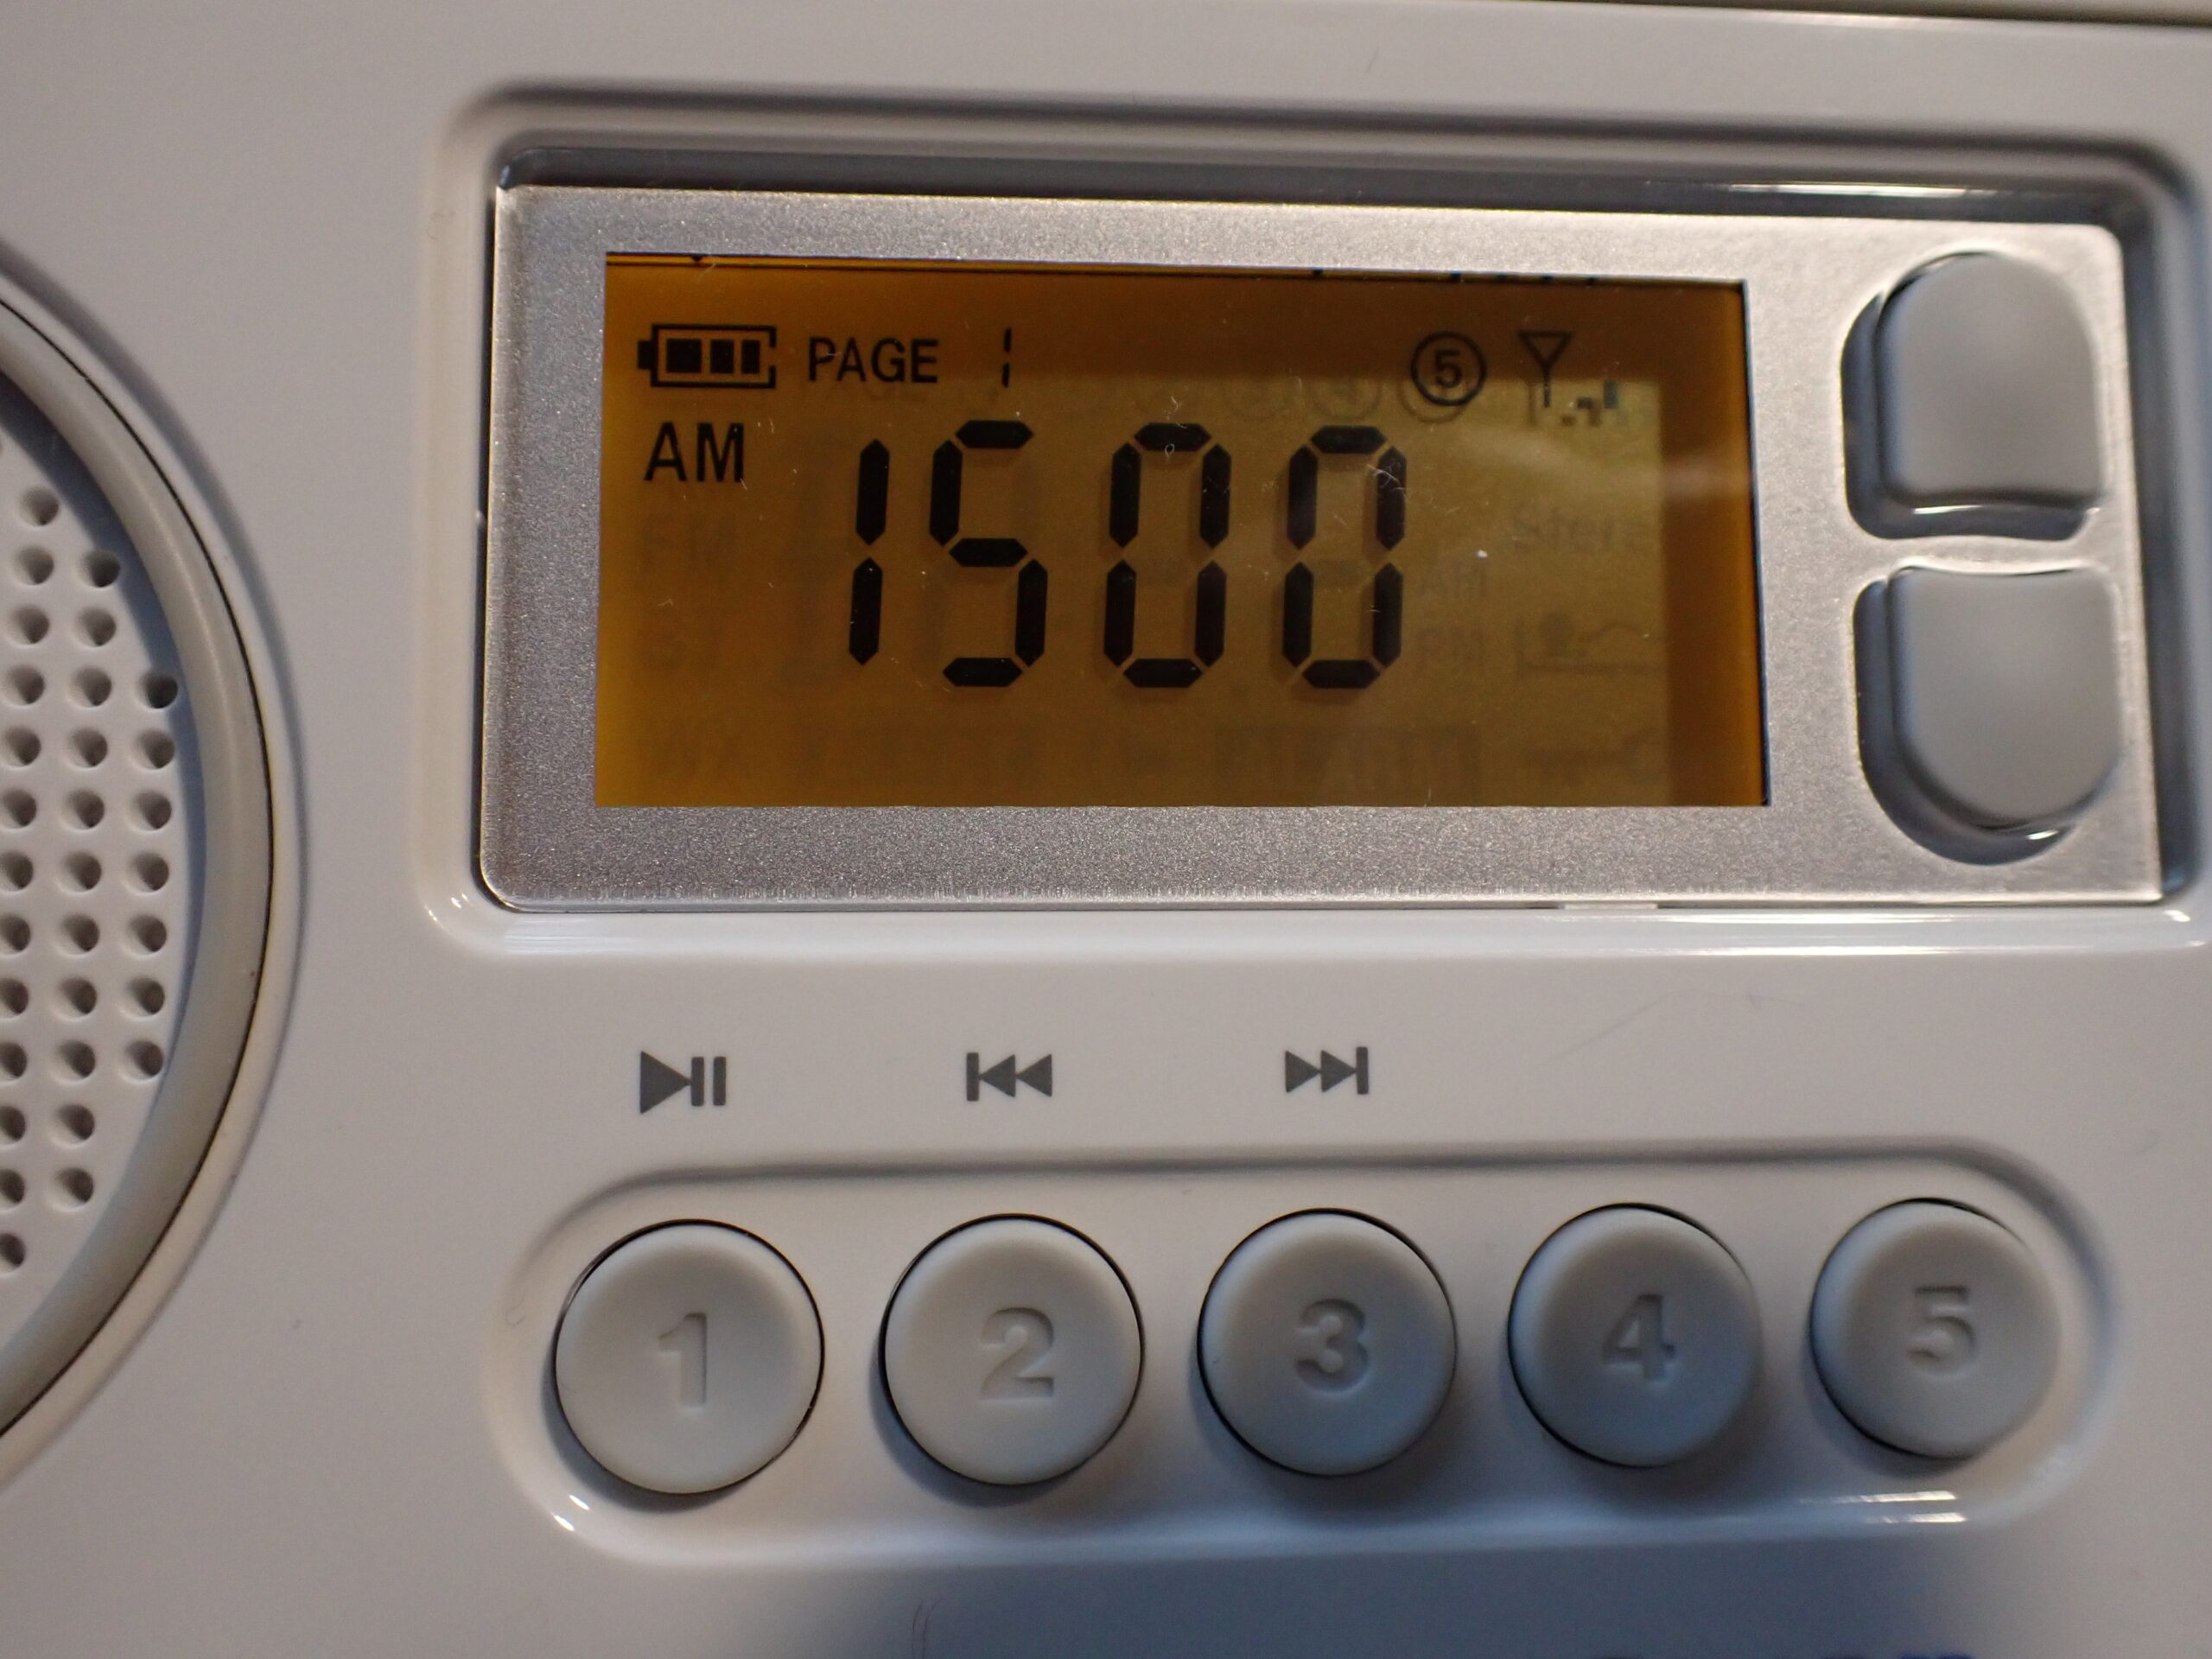
Mediumwave was the biggest surprise. I have a regional AM station–WTZQ 1600 kHz–that I enjoy during the day, especially around the holidays. Only about half of my small portables receive it well enough to be pleasant.
The D-219 locked it in better than most of my other inexpensive portables.
That alone impressed me.
Shortwave performance is quite good for the price. Sure, it lacks an adjustable filter, and tuning steps mean you don’t get that smooth, fluid band-scanning experience like a proper analog receiver. But overall, it works pretty well.
On 31 meters, for example, tuning felt natural and not cramped–something many ultra-cheap shortwave radios struggle with. It helps that the selected shortwave bands have enough tuning bandspread that you don’t have to use micro adjustments during tuning (I’m looking at you, XHDATA D-220!).
Back in the Cold War era, when the bands were jammed shoulder-to-shoulder, a radio like this would have been harder to use. But today, with fewer simultaneous signals, it’s totally workable.
Real-World Utility
 In the aftermath of Hurricane Helene, I’ve become even more vocal about keeping at least one AM/FM/SW radio as part of your personal preparedness kit. The D-219 checks many boxes:
- Runs on AA batteries
- Very low power draw
- Lightweight and pocketable
- Small enough to disappear into a backpack or glove compartment
I’ve been using mine heavily for two weeks on a pair of Eneloop rechargeables and haven’t had to recharge yet.
 Two of the D-219s I’m buying will be stocking stuffers for my daughters, just so they always have a reliable source of news and info while at university–even if the power or internet goes down.
Why This Radio Works
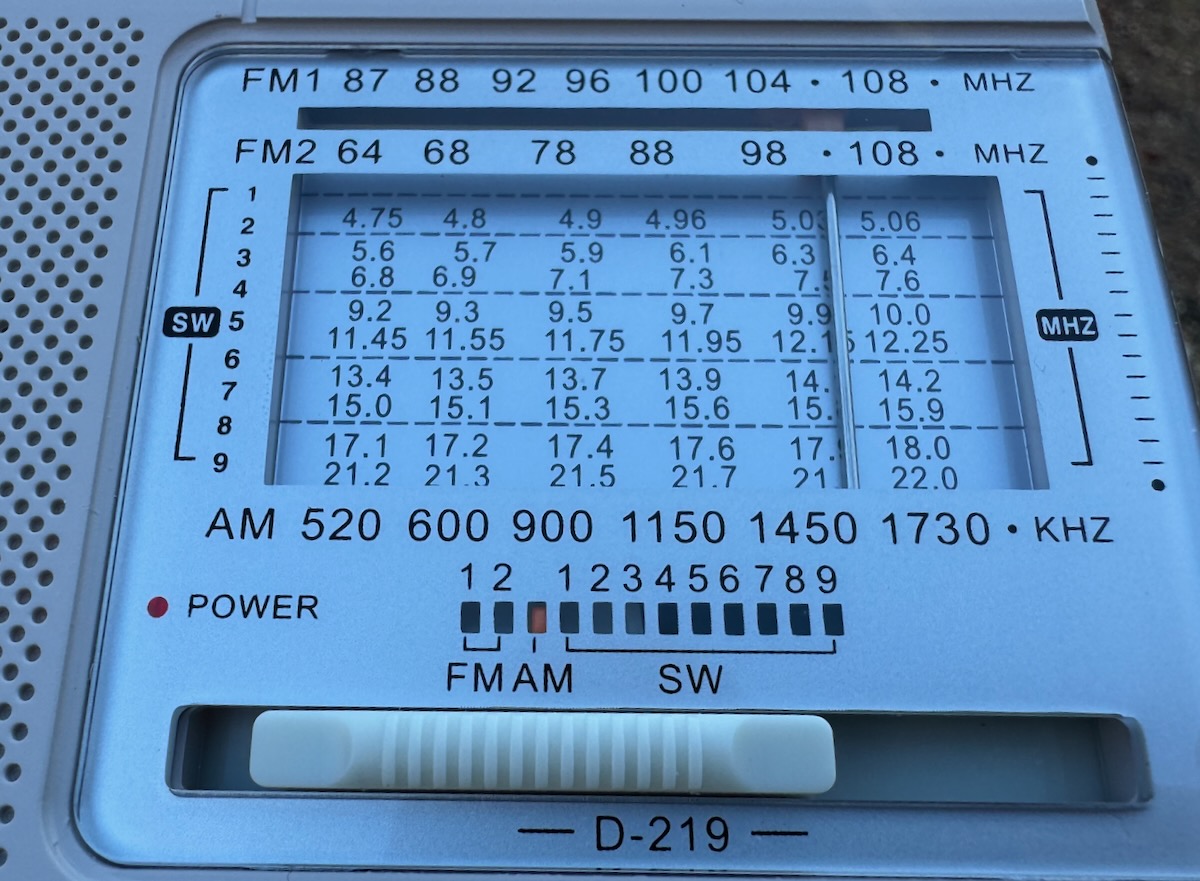
The band spread is generous compared to the D-220
I’m sure own more than three dozen portable radios here at SWLing Post HQ—from high-end benchmarks to tiny ultralights. Normally, I advocate for buying a good-quality receiver instead of “throwaway” electronics.
But I don’t think the D-219 is a “throwaway” radio; being based on the Silicon Labs DSP architecture, it doesn’t have an insane component density–inside, its board is almost roomy. Looking at it, I think I could make modest repairs myself as long as the chip still functions.
Sometimes simple designs translate into long life rather than an early landfill destiny. Of course, only time will tell, and I will post an update if my radio experiences any issues.
This is why I’m comfortable giving them to my daughters as everyday radios. And frankly, I’d much rather they lose or break a $13 D-219 than my old Panasonic RF-65B, PL-660, or ICF-SW7600GR–some of my most cherished (and irreplaceable) legacy portables.
The D-219 is also a perfect glove box radio. One to grab and listen to when you’re waiting on your spouse/partner to finish a yoga class, or waiting on your kids at schoool.
In Summary
 If you’re looking for a true benchmark portable, obviously, this isn’t it.
But if you want:
- a fun, capable, ultra-affordable little radio
- something to give as a holiday stocking stuffer
- a simple preparedness radio that uses AA batteries
- a pocketable MW/FM/SW companion
- a “leave-it-in-the-car” radio
…the XHDATA D-219 genuinely delivers for well under $20 each.
And as someone who hates e-waste and often avoids ultra-cheap electronics, I’m betting this radio will age better than most. Its internal design is refreshingly simple and built around the reliable Si4825-A10 DSP chip. There just isn’t much inside to fail.
For the price, performance, and sheer fun factor? The D-219 is a solid option.
Purchase options: