Category Archives: Portable Radio

Tecsun PL-330: Initial impressions, overview of functions, and operation


Many thanks to SWLing Post contributor, Jaap de Goede, for the following guest posts:


Operating the TECSUN PL-330 without an English manual

by Jaap de Goede

Introduction

Inspired by my father, I like listening to radio transmissions for the last 60 years. That includes listening to shortwave transmissions. In my collection there are a number of radios including computer based SDR-receivers. The TECSUN PL-330 is a shortwave portable radio with SSB and digital readout.

I’d like to share my operating experience of the PL-330 and throughout I will now and then compare this radio to similar radios in my collection:  Eton Satellit, XHDATA D-808 and CountyComm GP5-SSB (AKA Tecsun PL-365).

To be clear the PL-330 used here is a Chinese domestic version, probably manufactured in July 2020. An English manual was not available at the time of writing. In the meantime, the English manual of the Tecsun PL-990 helped to figure out a number of the features of the PL-330. Newer manufacturing batches might contain other firmware and that could change the way of operating.

Size and sound

With a volume of about 18 cubic inches the PL-330 is less than 20 cubic inches. It easily fits the pocket of my jeans. 20 cubic inches (unofficially) classifies it as an Ultralight DX radio. The smallest radio of the four is the GP5-SSB with 14 cubic inches. The Satellit is the largest of the four and the size of these radios can be determined by the eye but by the ear as well.

The PL-330 has digital VOLUME control and the volume level is indicated on the display. In contradiction, the three other radios have analog volume control. All radios have a 3.5 mm socket for a stereo headset. A nice feature of the PL-330 is that the FM stereo decoder only works with a plugged-in headset. Else FM remains in mono.  I think that’s a very clever feature because why would the stereo decoder degrade the mono-sound through the speaker in case of poor FM stereo reception?

Personal audio quality ranking from best to worst:

  1. Satellit
  2. PL-330 and D-808
  3. GP5-SSB

Power and Batteries

The PL-330 is supplied with a BL-5C battery of 1000 mAh. The battery can be charged in the radio through though a micro USB port. The display permanently shows battery status, regardless whether the radio is on or off. USB makes it very easy to charge from any external USB charger or an external USB battery. Here a quick comparison of the powering of the four radios:

Radio Battery Charging Port
Tecsun-PL-330 1 x BL-5C Micro USB
CountyComm GP5 3 x AA NiMH Mini USB
XHDATA D-808 1 x 18650 Micro USB
Eton Satellit 4 x AA NiMH Bus


I don’t have runtime figures. I just charge when indicated on the radio’s display and carry a spare USB battery to charge the radio in case.

Antenna and Backlit

All four radios have an extensible whip antenna (what else would you expect). Also, all four radios have a 3.5 mm socket for an external antenna. The only radio with an antenna attenuator switch is the Satellit.

All four radios have backlit. But a feature that none of the other radios has is the ability with the PL-330 to toggle the backlit between “always on” or “automatic off”. Just hold and press the 5 button to toggle between the two modes. For comparison, the Satellit has the nicest illuminated display of all four, while the D-808 is way too bright.

Supported Radio Bands

The PL-330 supports the following radio bands:

  • Long Wave (153-513 kHz)
  • Medium Wave (520-1710 kHz or 522-1620 kHz)
  • Short Wave (1711-29999 kHz)
  • FM broadcast (64-108 MHz)

Radio Band and Demodulation Selection

To enable or disable the LW-band you must long press the 2 button when the radio is powered off. When the radio is powered on and LW has been enabled you can select between LW and MW by short press of the MW/LW button.

The American or Rest of World MW-band plan can be toggled by long press the 3 button when powered off. When the radio is powered on you can select between MW by short press of the MW/LW button.

To select the regional FM-band plan you should long press the 0 button when the radio is powered off. When the radio is powered on the FM-band can be selected by short press FM/ST. button.

When the radio is powered on the SW-band can be selected by short press < or > button.

In LW, MW and SW bands de-modulation can be AM, SSB and AM synchronous (SYNC). A short press of the SSB button toggles between AM and SSB. A long press of the SSB button toggles between AM/SSB and AM synchronous mode.

A nice feature within the SW band is that you can quickly skip to pre-determined broadcast or HAM bands. In AM and SSB mode you can skip to the desired band by pressing < or > button. The following bands can be selected and indicated in the display:

  • AM (broadcast) bands: 120m, 90m,75m, 60m, 49m, 41m,31m25m, 22m, 19m, 16m, 13m, 11m
  • SSB (HAM) bands: 160m LSB, 80m LSB, 60m, LSB, 40m LSB, 30m USB, 24m USB, 20m USB, 17m USB, 15m USB, 12m USB, 10m USB

Manual Tuning and Step Sizes

There is one (digital) TUNING dial for all tuning operation in any radio band. It only tunes up and down the bands and has no other function. (That makes tuning with the PL-330 so easy compared to the other three radios with multifunction dials.) Depending on the selected band and de-modulation the tuning steps can be altered by the STEP button.

In the LW and MW bands for AM demodulation the step size can be toggled between 1 kHz and 10/9 kHz by short press of the STEP button.

In SW for AM demodulation the step size can be toggled between 1 kHz and 5 kHz by short press of the STEP button.

In the SW band for SSB and synchronous mode the step size can be toggled between 10 Hz, 1 kHz and 5 kHz by short press of the STEP button. My other three portable radios, but only plus or minus 1 kHz of the actual frequency in steps of 10Hz. The PL-330 has continuous fine tuning in SSB; you can tune the entire SW band up and down in steps of 10 Hz. However, I noticed that the step size can change from 10 Hz to 50 Hz in case you turn the TUNING dial fast.

In the FM band the step size can be toggled between 100 kHz and 10 kHz by short press of the STEP button.

Bandwidth Settings

For AM and SSB you can change the bandwidth by pressing the AM BW button, turn the VOLUME dial to the desired bandwidth and press the AM BW button again.

  • LW/MW band, AM bandwidth selection: 2.5 kHz, 3.5 kHz, 5.0, 9.0 kHz kHz
  • SW band, AM bandwidth selection: 2.5 kHz, 3.5 kHz, 5.0 kHz
  • SSB bandwidth selection: 0.5 kHz, 1.2 kHz, 2.2 kHz, 3.0 kHz, 4.0 kHz

Easy Tuning Mode or ETM and Memories

I decided to purchase the PL-330 because of my good and bad experience with the GP5-SSB (PL-365). The PL-365 is super portable and I think ETM is great for occasional shortwave listening. However, without direct frequency entry the GP5-SSAB is a nightmare to operate just now and then. Now the PL-330 has an enhanced version of ETM:  ETM+. No other radio has such a feature and I think ETM+ is fantastic.

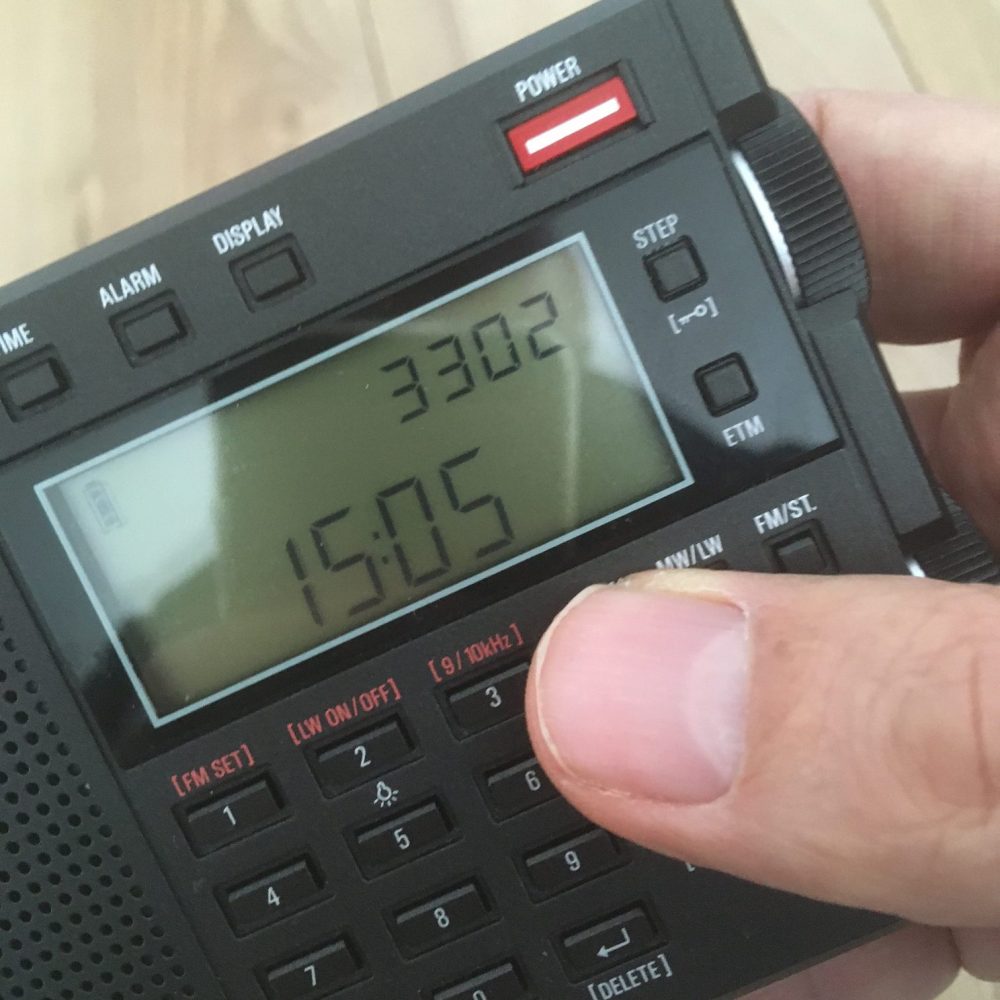
ETM + provides 24 ETM banks that are chosen automatically based on the hour. Every hour you can press and hold the ETM button to initiate a (new or renewed) shortwave scan. It will display “E” plus the hour in 24 hours format like E00 to E23 depending on the time. When you quick press the ETM button it recalls the memory bank according to the time. As an example, when you quick press the ETM button at 15:24h it will recall bank E15. Then you can select the memory locations stored in the bank by turning the TUNING dial.

To toggle between ETM and Tuning mode press the ETM button.

In addition to ETM memories, the PL-330 has a lot of memories but lacks alpha tags. I really have difficulties remembering what I put in those memories. I hardly use them. The only one of the four that has alpha tags is the Eton Satellit, that makes things a lot easier.

Memories can be automatically populated in a bank separate from the ETM banks by using the Automatic Tuning and Storage (ATS) function. All four radios have ATS and I think it’s only convenient for FM. It works like:

  1. Press FM/ST. to select FM Band
  2. Press and hold FM/ST. to start ATS
  3. Use the TUNING dial to select from the stored FM stations

To toggle between Memory and Frequency tuning mode simply press the VM/VF button.

Bugs or Features

With the DISPLAY button you can change the upper right part of the display between:

  • Signal strength
  • Clock
  • Preset (only in VM Mode)
  • Alarm time

The display always returns to signal strength after a few seconds. Except if time is chosen with a long press of the DISPLAY button. Nevertheless, the display returns to signal strength after applying any operation, including volume change. I’m not sure if this is a feature or a bug.

When using a headphone and changing volume, sometimes the sound is cut off. By changing the volume again, it comes back. Seems like a bug, not a feature.

I tried AM synchronous mode. It works like on the Satellit: poor. I would recommend to make this mode hidden or make it work well.

Universal Serial Bus

When connecting the radio with an USB cable to a PC, its operating system does not show any connection information. If the radio would have USB logic apart from charging, connection information would have showed up. I assume there is no way to update firmware via USB.

Hidden Features

Without an English manual, and maybe even with a Chinese manual I couldn’t understand all functions.

When the radio is powered off:

  • Press and hold VF/VM shows all items of the display.
  • Press and hold 8 toggles display clock in “HH:MM” and “HH:MM: SS”
  • Press and hold 3 in MW/LW band toggles between internal ferrite and external whip antenna
  • Press and hold Enter shows “dEL ALL”, probably delete all (except what is all)?
  • Press and hold M shows numbers, no idea.
  • Press and hold 0 shows “PO []”, no idea.

There seems to be a combination to show the firmware version.

Missing Features

RDS display would be welcome. Even though the PL-330 shares the radio chip with the D-808 and the Satellit, the PL-330 does not display FM Radio Data System (RDS) on its display. Backlit buttons would be a welcome for operation in the dark. (Although you’ll quickly get used to the button layout.)

Features I didn’t miss

None of the four radios has DAB+ or HD radio. For DAB+ reception I use a Sony XDR-S41D and I can’t receive HD radio in Europe. DAB+ and HD radio could make the radio way more expensive and I prefer good SW performance anyway.

The possibility to upgrade firmware would be convenient. But I understand constraints of costs and the liability of bricking the radio.

The Satellit and D-808 support the Air band (108-135 MHz). That is ok for occasional listening to one single channel, but forget about channel scanning. I have my Bearcat UBC XLT125 VHF/UHF scanner for that purpose.

Conclusion

Like I started, I’m an occasional shortwave listener. I couldn’t really tell the difference in radio performance between the four radios. Of course, the best radio is the one you have with you. And because of its size, easy operation with a single tuning dial and features like ETM+, the PL-330 is probably the best portable shortwave receiver at the moment (for me ?). Thanks to Tecsun!

Jaap de Goede

October 2020


Many thanks, Jaap, for taking the time and care to put together this excellent overview of the Tecsun PL-330! This will serve nicely as an operation manual. Your father would be proud of you! 🙂

Readers: Please note that you can also download Jaap’s PL-330 guide as a printable PDF document by clicking here. The PDF has even better formatting as Jaap has used operation manual styled fonts to indicate button labels and functions. 

Spread the radio love

Tecsun PL-990x vs. PL-880: Comparing SSB audio characteristics and pre-production/production PL-990 models

A number of SWLing Post readers have been asking about SSB audio characteristics on the new Tecsun PL-990.

Earlier this week, I took a moment while visiting family to make a few quick comparison videos with the PL-880 outdoors and away from RFI.

As I mention in the videos, there are a lot of cicadas singing in the background and you can also hear a bit of road noise–not ideal for audio, but I had to take advantage of a break in the weather!

You should also note that this isn’t a sensitivity comparison. The radios were pretty close together–if measuring sensitivity, I would have spaced them much further apart. Rather, I hope these videos give you an idea of the audio characteristics in SSB (both CW narrow and voice) and one comparison in AM. If you’re curious about sensitivity and how the PL-990x compares, check out Dan Robinsons initial evaluation.

CW Audio: .5 kHz filter on the 80 meter band

CW Audio: .5 kHz filter on the 30 meter band

SSB audio: 75 meter band

AM Audio: 5 kHz filter WWV 10 MHz

My thoughts

While these videos are far from ideal, they should give you a real-word impression of audio characteristics.

Personally, I think the PL-990x is a much better performer in single sideband. The noise floor is lower, but I think that may have more to do with better filter implementation. I’ve always felt that the PL-880 audio sounds “wider” than the selected filter in the more narrow SSB selections.

In addition, the PL-990x exhibits better SSB stability that’s especially noticeable in CW. The PL-880, at times, almost sounds garbled in comparison.

I also mentioned in the last video that the audio sounds better on the PL-880. I should have qualified that statement a bit better.

In general, yes, the PL-880 audio sounds better because its built-in speaker has slightly better audio fidelity that’s most noticeable when listening to music on the FM band, or a strong local AM station. On shortwave, I feel like I actually prefer the PL-990 audio for all but the strongest stations although I do wish the PL-990 filter could be widened to 9 kHz like the PL-880.

PL-990x (pre-production) vs. PL-990 (production model)

Tecsun Radios Australia reached out and kindly sent me one of their PL-990 production model radios to compare with the PL-990x pre-production model from Anon-Co we’ve been testing up to this point. This has been incredibly helpful as I put together my PL-990 review for the 2021 World Radio TV Handbook.

As I’ve mentioned in previous posts, I feel it can be problematic using a pre-production model radio for review only because there can be differences in quality control when a small number of pre-production units are manufactured compared with a proper first production run (remember this case?).

I’ve only had the production model PL-990 for a few days and most of that time we’ve been dealing with the remnants of hurricane Sally moving through our area dumping torrential rains.

Last night, however, a massive tree fell across our road knocking out power for the better part of 5 hours. This gave me a perfect excuse to start my comparison indoors while rain continued outside.

Based on my comparisons last night, it appears performance is nearly identical between the production and pre-production models. I’ve still more testing to do, but my initial impressions are most positive. Very happy quality appears to be consistent.

Many thanks again to Tecsun Radios Australia for making this comparison possible.

Spread the radio love

Mark spots another radio in “Death In Paradise”

Many thanks to SWLing Post contributor, Mark Hirst, who writes:

Another radio turned up in the BBC series, ‘Death in Paradise’.

Set on a picturesque Caribbean island with an infeasibly high murder rate, we see the police interviewing a witness as he listens to the local radio station.

Can SWLing Post readers identify the radio I wonder?

Please comment if you can ID this radio! Not an easy task this time as there’s no close-up shot to pull details from the front panel. Good luck!

Spread the radio love

Tecsun PL-990x Initial Assessment

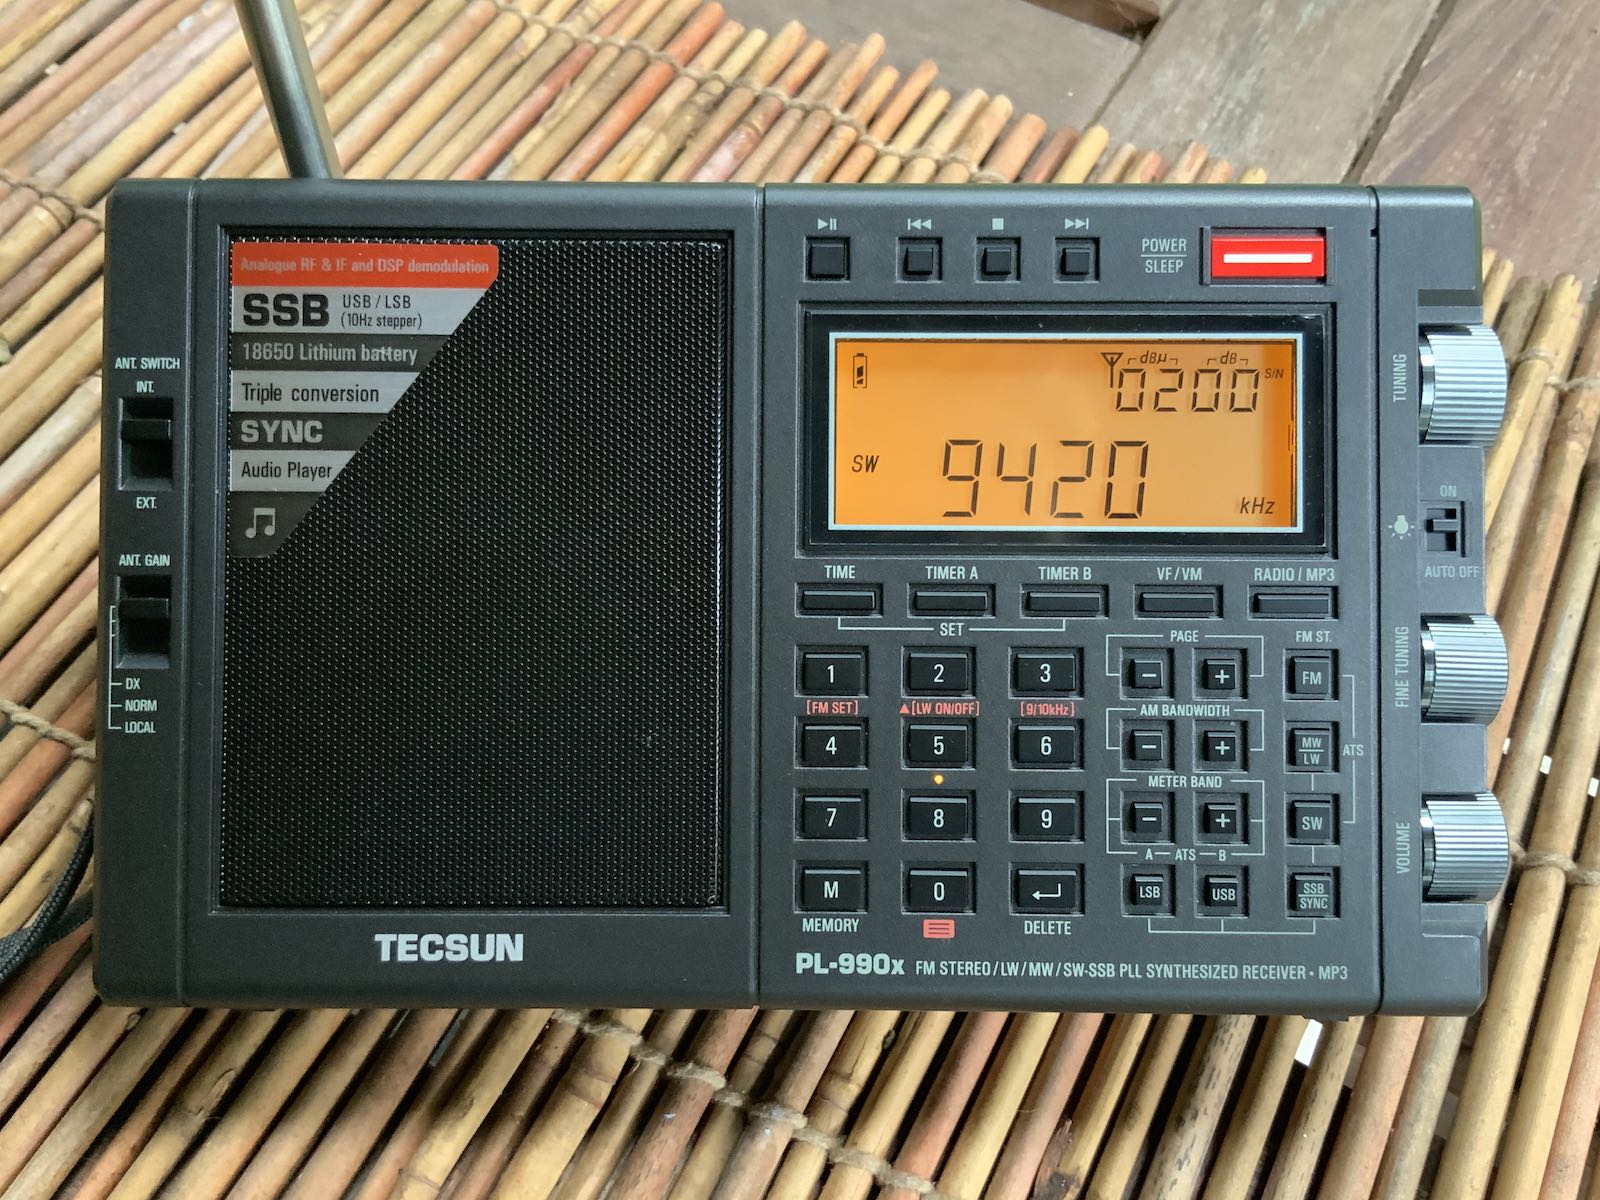
SWLing Post contributor, Dan Robinson, and I have been evaluating a pre-production model of the Tecsun PL-990x portable shortwave radio–the same model which will be soon sold by Anon-Co.

Dan has just completed his initial assessment and included a long-format video. Many thanks to Dan for sharing the following:


Tecsun PL-990x:  An Initial Assessment

by Dan Robinson

Recently, Thomas Witherspoon posted the first photos of the Tecsun PL-990x – we both received units from Anon-co in Hong Kong for testing.

I was able to spend some time outside my house here in Maryland, running the 990x and comparing it to the older receiver by Tecsun, the PL-880.

Tecsun undertook a thorough re-design of the PL-880, which among other things was known for its superb sound through a large speaker.

The 880 was available both on its own, or in a hard-case kit that also included (or includes assuming these are still purchasable) a separate Tecsun-branded solid state recording device, spare knobs and other accessories including Li-ion batteries.

So, the long-awaited PL-990, which we have been seeing in YouTube videos being tested by various individuals who purchased pre-production versions from Asian sites such as AliExpress, is finally here – or will be in coming weeks and months.

Those who view my videos know that I like to do fairly long hands-on tests of receivers, and this is no exception, at about 50 minutes.  My test did not include medium wave or FM, focusing only on shortwave performance and using only the telescopic whip antenna.

Throughout the video, I do put the 990x up against the older PL-880, which had the well-known issue of poorly-implemented synchronous detection (SYNC was not an official feature in the older receiver).

IMPORTANT NOTE:   On the 990x, hitting the “4” key while the radio is powered on activates DNR (Dynamic Noise Reduction) which then activates auto-bandwidth switching, a feature I found quite annoying in the PL-880 and would no doubt find just as annoying in the 990x.  I can’t imagine why anyone would want bandwidths auto-switching on their own.

I always tell people who come to me for advice about radios that you don’t always have to have the latest receiver to enjoy what’s left of shortwave.

I am a big fan of classic older portables such as the SONY ICF SW55s, 7600GRs, SW100s, SW-07s, SW-1000Ts, SW-77s, etc along with other classics such as the Panasonic RF-B65.  I own one or more of most of these – they’re a joy to use assuming they are in good condition.

One more thing – I did not compare the 990x to the Tecsun S-8800.  I think they are really different radios – the 8800 has that gorgeous remote control and fantastic audio . . . I really don’t put it in the same category as the 880/990s or even the 600 series Tecsuns.

I will leave extensive tests of the 990x on medium wave and FM to others – there are already quite a few YouTube demonstrations online showing this.  In the tuning I did on MW and FM, the radio did seem quite sensitive.  I noted that whereas the 9 kHz bandwidth is not visible on shortwave, it is on MW.

Here is my list of high points and low points for the 990x.  Since this receiver, and the still-to-be-released H-501, may in fact be the last we will ever see from Tecsun, it’s up to the individual to make a judgment as to whether to buy.

PL-990x High Points

  • A thorough physical re-design of the old PL-880
  • Tecsun has mostly fixed the problem with synchronous mode which is now a regular as opposed to a hidden feature.
  • Selectivity options are still excellent.
  • Calibration function retained (but see below)
  • Audio is fairly full and powerful.
  • Sensitivity seems good
  • Tecsun has added mp3 play capability and a microSD slot
  • Tecsun has added bluetooth capability (NOTE:  This is activated by pressing the RADIO/MP3 key in powered off state, and then toggling Bluetooth on or off with the PLAY/PAUSE button).
  • Tuning and other knobs remain of high quality as on the PL-880
  • Bandwidths given their own separate buttons
  • Line out retained and hidden feature can adjust line out level
  • Claimed “Triple Conversion” in AM mode
  • Timer functions
  • ATS (automatic station tuning) retained
  • Nice faux-leather case retained

PL-990x negatives:

  • Re-design appears to have come at expense of speaker real estate.
  • Synchronous mode improved, but there still seems to be some distortion which is more noticeable on some frequencies and in some reception situations than others.
  • PL-880’s wide AM bandwidth of 9 kHz is no more at least on SW, but it does appear when using MW.
  • Sensitivity seems good BUT in some situations, PL-880 sounded better and seemed to bring in stations better
  • MicroSD capability does not provide recording from broadcasts (likely due to copyright issues)
  • Method for re-calibrating radio is puzzling – more information needed on this
  • Birdies are present
  • Top element of telescopic antenna is VERY thin, vulnerable to bending and breaking
  • Number keys seem to be not as good as they could be – the white paint on the keys is certain to fade over time.  On my test unit part of the “W” on the MW/LW key was already beginning to disappear.

Selectivity comparison of the PL-990x and PL-880

PL-990x

Selectivity Options on SW:

2.3, 3.5, 5.0, 6.0

Selectivity Options LSB/USB:

0.5, 1.2, 2.3, 3.0, 4.0

Selectivity Options LW/MW:

2.3, 3.5, 5.0, 9.0

PL-880

Selectivity Options SW/LW/MW:

2.3, 3.5, 5, 9

Selectivity Options LW/MW:

0.5, 1.2, 2.3, 3.0, 4.0

Video


Many thanks, Dan, for sharing your initial review with us. As always, your expertise as an experienced DXer is incredibly valuable. 

I’ve tested every function on the PL-990 save some of the hidden features (yes, there will be hidden features). Dan and I are both trying to sort out the calibration sequence so that when these units hit the market, there’ll be a documented procedure in place. 

We’ve been comparing notes along the way and are in agreement on all of the major points with this radio. Still more testing to do, but updated with be posted here with the tag: Tecsun PL-990x


Do you enjoy the SWLing Post?

Please consider supporting us via Patreon or our Coffee Fund!

Your support makes articles like this one possible. Thank you!

Spread the radio love

Andy builds a genius companion control display for the Yaesu FT-817 transceiver

Many thanks to SWLing Post contributor, Andy Webster (G7UHN), who kindly shares the following guest post:


Yaesu FT-817 companion display

by Andy Webster (G7UHN)


Like so many I love getting out portable with my FT-817 but I do seem to spend so much of my operating time fiddling through the soft-keys because my most used functions (CW narrow filter, power and keyer settings to tune an ATU, A/B, A=B, etc.) are spread across different “pages” of the A,B,C assignments. Compared to the sublime experience of using my Elecraft K2 the FT-817 can be a little frustrating!

Last month, inspiration struck and I thought I could cobble together a small microcontroller and a little OLED display with some buttons to provide some extra soft-keys for the radio using the CAT serial port. Nothing particularly original here (I’ve seen articles of people using PICs for this purpose) but it seemed like a nice sized project for me to play with and build some experience doing PCBs (I’ve only done this once before at home). A little bit of discussion with Michael G0POT (FT-817 and SOTA guru), some Google searching and we were looking over KA7OEI’s excellent reference page (http://www.ka7oei.com/ft817_meow.html) and thinking about our favourite FT-817 commands…


As it happened I was lucky to have the right bits (Arduino Nano, small OLED display, buttons, prototype board and an 8-pin mini DIN cable) lying around the house to see “first light” from my FT-817’s serial port that evening. The Arduino Nano is a good place to start because it works at 5V so can work directly with the FT-817 levels on the ACC port. What followed next was some late nights of hacking on Arduino code to send and receive the data for my favourite commands and more experimentation on prototype board.

I tried a couple of cheap OLED displays and they look great indoors but weren’t quite up to the job in full sunlight which is fairly typical in my portable operations.

Daytime readability issues with an OLED display

By this point I had also realised the utility of having an auxiliary display on top of the radio as a much easier thing to view than the 817’s own display on the front panel. I’d also experienced some interference from the unshielded prototype board coming through as clicking sounds on the radio’s receiver so it looked as though some isolation between radio and my circuit might be necessary. Guided by many Internet tutorials, I switched to using a Nokia 5110-style LCD for better daylight readability and lower power consumption. Adding an ADUM1201 digital isolator and a B0505S-1W isolated DC-DC converter to the prototype board (modules acquired very quickly from eBay suppliers) gave me some isolation and lowered the interference which I guessed would disappear when I made the design on PCB with good ground planes around the signal lines.

Screen capture showing the schematic (click to enlarge)

With a (mostly) working prototype it was time to hammer the Internet tutorials again, this time to learn how to use KiCad, a free open-source PCB design tool available on Linux, Windows and Mac. I’ve done one PCB for home projects before using Autodesk EAGLE and I found learning Eagle pretty hard going, it seems like it carries 20 years worth of baggage and dogma in the user interface. In fact I started using EAGLE on this project but spent 3 hours on the first evening just trying to change the labels on the ADUM1201 chip that I couldn’t find in an EAGLE library… so I gave up and thought I’d try KiCad which I’d seen some recent good reports on. I’m happy to say after finding an excellent tutorial on KiCad I had drawn the schematic and my PCB layout in about 15 hours working time spread over a few evenings.

I should add that the 15 hours of KiCad time did include several hours of agonising over the choice of slide switch so a PCB can be done much quicker than that once you’ve got your favourite parts sorted!

That’s pretty impressive for my first go with KiCad as a near-beginner to PCBs, I heartily recommend it, it was so much easier than EAGLE and quite an enjoyable tool. Right, PCB design done and uploaded to JLCPCB for manufacture. 5 PCBs with DHL shipping cost me less than £20 and arrived from China within 5 calendar days. Other PCB fabs are available… 🙂

Click to enlarge

So that brings us to today, pretty much. The PCB was assembled very quickly (!) and there is no sign of noise from the serial data lines creeping into the 817’s receiver now it’s on PCB. Some lessons have been learned through the construction (e.g. brown 6mm push buttons are less “clicky” than the black ones and that’s a good thing!) and I now have my companion FT-817 display/buttons in field trials. I’ve no plans to sell this, it’s a trivially simple design, but it does make a great home project to polish your skills in microcontrollers, PCBs and construction. I’ll post a write-up on my website in due course.

In use, the device works just as I’d hoped, I can do everything I want to on my FT-817 without having to fiddle through the awkward button presses. The frequency display is also in a much better position for me now (as most FT-817 owners will know as they jealously eye the KX2, KX3, etc…!) and I think I used it for the whole session when I took it to the field on Saturday. If only my CW had been so slick!

Next steps are to work on the Arduino code. My code is pretty rubbish (my coding style involves a lot of Stack Overflow and copy/paste!) and not safe for public consumption. There are also some health warnings to be noted in manipulating the FT-817’s EEPROM (required for some of the functions I wanted), explained on KA7OEI’s page but there have been a few volunteers on Twitter to help with the software which is great. Also I may do a “Rev 2” board with an Arduino Pro Mini to lower the drain on the FT-817 battery before sharing the PCB files. Other than that it’s now time to get back outdoors and enjoy the new improved interface to my smallest radio! 😀

73
Andy G7UHN


Andy, I absolutely love this project! A wonderful addition to the FT-817/818 and I’d hardly call it a “trivial” design–!

I purchased the original FT-817 shortly after it was introduced. At the time, I was living in the UK and travelled extensively throughout Europe. I loved the ability to simply throw this little rig into my carryon and play radio pretty much anywhere my work travels took me. In the end, I did less ham radio work with the FT-817 and more SWLing.

Still, I eventually sold my FT-817 for the very same reason that motivated you to build a companion display: the front panel is too small and my most used functions require too much menu digging. 

Your companion board is an elegant homebrew solution. I love the Nokia LCD screen–superb readability in the field. 

Thank you again and once you do a write-up on for your website, we’ll be sure to link to it on the SWLing Post!


Do you enjoy the SWLing Post?

Please consider supporting us via Patreon or our Coffee Fund!

Your support makes articles like this one possible. Thank you!

Spread the radio love

Any advice on compact Lipo batteries, in-ear earphones with volume control, and portable amplified speakers?

The MTR-3B 3 band transceiver is about the size of a pack of playing cards.

SWLing Post readers: I originally published the following post on QRPer.com. I thought I might share it here on the SWLing Post as well since we’ve so many readers who regularly use compact battery packs, earphones, and portable speakers. I’m looking for some advice as I build a super-compact SOTA/POTA field kit around the Mountain Topper MTR-3B. If interested in helping me sort this out, read on:


I received my Mountain Topper MTR-3B last week, and I’ve already taken it on a POTA activation.

POTA Park Hampton Creek Cove

Last weekend, I decided to break it in on a POTA “two-fer” site: Hampton Creek Cove State Natural Area (K-6246) and The Overmountain Victory Trail (K-4577) in Tennessee. Hampton Creek Cove was actually an ATNO (all time new one) so it was a trial by fire!

POTA Park Overmountain Victory Trail

In short, the MTR-3B was marvelous. I’m so impressed.

As I mentioned in a previous post, I’m building a full SOTA/POTA activation kit for the MTR-3B. I already have a kit built around my KX2 and I don’t want to “borrow” any items from it (so I’m not surprised later in the field when an item is missing).

The TalentCell Rechargeable 12V 3000mAh Lithium Ion Battery Pack is the little black box.

For this activation, I powered the MTR-3B with this inexpensive 12V battery pack a friend recommended on Amazon.com (affiliate link). The battery pack is almost identical in size to the MTR-3B and works perfectly. The battery, charger and cable all set me back a whopping $25.

I also used my Whiterook paddle (which needs new paddle arms at this point) but that will soon be replaced with a set of N0SA portable paddles I recently ordered.

Since the MTR-3B has no volume control, I used a pair of 20 year old Sennheiser earphones I bought when I lived in Munich. These have been in a drawer for ages because I now prefer using in-ear earphones with silicon earpieces for better comfort and sound isolation. But the Sennheisers have one thing none of my other earphones sport: in-line volume control.

While the earphones worked well for this activation, I’d still prefer a set of in-ear earphones with in-line volume control. Any suggestions from MTR-3B owners? Also, I’d like a compact amplified speaker with volume control to carry as an option when needed. If you can recommend one, please comment!

I’m writing an article for The Spectrum Monitor magazine about portable power later this year. I noticed that a number of MTR-3B owners swear by 11V rechargeable Lipo cells that are used in the RC and drone markets. Many have a similar compact form-factor as the common 9V battery. I understand, however, some of these cells need special chargers and equipment to balance them.

I would appreciate any and all information about these batteries.

In the meantime, Rich (N8TGQ), recently shared a pic of his Mountain Topper portable pack. Check it out:

MTR Kit

I think it’s brilliant how he’s mounted everything on a compact plastic cutting board inside the case. Rich says that what he loves about this set-up is that everything is there, ready to go–simply plug in the antenna!

Please comment or contact me if you have any suggestions as I build out a compact MTR-3B kit!

Spread the radio love

Photos of the lab599 Discovery TX-500 in the field

Many thanks to SWLing Post contributor, Don (W7SSB), who shares the following photos of the new lab599 Discovery TX-500. Don notes that all of these photos were taken in Russia–where the TX-500 is manufactured–and include a number of Chameleon resonant field antennas.

Thanks for sharing these, Don.  The thin form-factor of the TX-500, paired with a resonant antenna, certainly makes for a lightweight portable field setup!

Spread the radio love