Finding Rare DX with the Data File Analyzer
By Don Moore
Don’s DX traveling stories can be found in his book Tales of a Vagabond DXer.
I’ve been a real jack-of-all-trades in my over five decades of DXing. I began with SWBC (shortwave broadcast) but soon branched out to medium wave and voice utility. Later I added longwave beacons and more recently I’ve gotten into digital utility stations. My goal has always been to log lots of different stations from lots of different places. And the rarer they are, the better.
For SWBC and medium wave stations, as well as scheduled utility broadcasts such as marine and aeronautical weather reports, the DXing process is simple. You tune to a frequency at a time when a station is scheduled to be on the air. It’s either there or it’s not there. If it’s not there then maybe propagation isn’t right or maybe your antenna/receiver setup isn’t the best for that frequency band or the station’s power level. You tune away to find something else with plans to try again another day.
But it’s not always that easy. Most utility stations do not have fixed schedules and only come on as needed. The best example of that is two-way marine, aeronautical, and military voice communications.
In eastern North America, tune to 8906 kHz anytime from late afternoon until morning and set your receiver to USB mode. You’ll probably hear empty static at first but it’s unlikely that more than ten or fifteen minutes will pass before you’ve heard some aeronautical traffic. The frequency is assigned for communication on the North Atlantic and is heavily used by aircraft communicating with New York Radio, Gander Radio (Newfoundland, Canada), and Shanwick Radio (Shannon, Ireland). If you keep listening, the frequency will probably be occupied around 25% of the time. Wherever you are in the world, there are a few heavily used air frequencies like 8906 kHz and listening to them can be fascinating. But I want to log more than just a few easily heard stations.
Sticking to aeronautical DX, there are many assigned frequencies for different regions and air routes around the world. But propagation to those distant areas is unpredictable and less-used routes have fewer flights. Fewer flights mean less radio communication and more empty static. The most interesting frequencies may only see traffic a few times a week.
Hearing the rarest voice utility DX requires listening to lots of empty static just to get a brief DX catch. For years my process was simple. I would set my receiver to an interesting frequency and leave the tape recorder running while I sat nearby listening and doing something productive. I got some very good DX over the years that way. But I don’t want to think about how many long hours of empty static I listened to in order to get that DX.

SDRs offered some improvement. Instead of audibly monitoring a specific frequency I could now make a spectrum recording that included a band of interest, say the 8815 to 9040 aeronautical band. During playback I could visually monitor the SDR waterfall for interesting signals. That works. But watching an SDR waterfall scroll by for three or four hours gets tedious quickly.
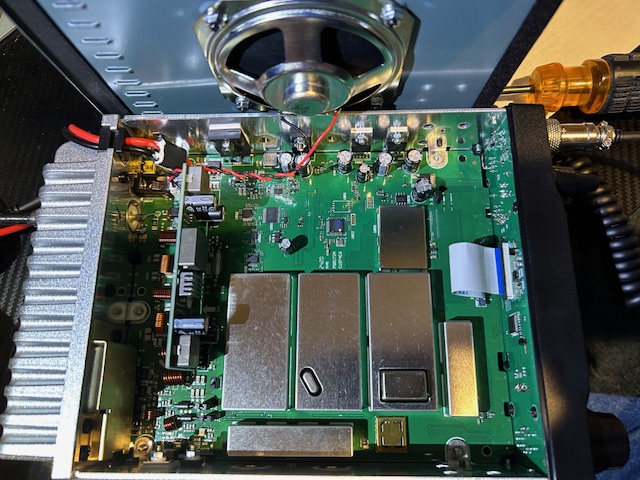
(When I refer to SDRs, I mean ones consisting of a small box that is connected to and controlled from a computer using a software program. None of this applies to models such as the Malachite line or the Icom IC-R8600, which use SDR technology inside but mostly function as a traditional receiver.)
Finding a Better Way
That better way is, I think, one of the most exciting DX tools out there – the Data File Analyzer in the SDR-Console program. Since I learned about it a few years ago, the Analyzer has gotten me all kinds of catches that I probably wouldn’t have gotten otherwise. Let’s start with an overview and then dig into the how-to.
SDR-Console is one of the better-known SDR programs and it works well with most of the common SDR radios on the market, including the Airspy, Elad, Perseus, and SDR-Play models. Here’s what the main window looks like:

The Data File Analyzer is a second window that produces a scrollable waterfall display for the entire length of an SDR spectrum recording. The display is similar to a standard waterfall with frequencies along the bottom and times along the side. However, there is also a scroll bar on the right side for browsing through the entire length of the recording. Instead of watching a four-hour spectrum recording slowly roll by in real time, I can scroll through the window looking for DX.

And this is what makes the Data Analyzer really useful. When I spot an interesting signal, I click on it and that causes the main window to start playing at that time and frequency. Now going through a four-hour spectrum recording takes from a few minutes to around half an hour, depending on how much DX I find.
Here’s a closeup of part of that same screen of spectrum recording made on 24 October 2024 at a DXpedition in western Pennsylvania, USA.

“A” marks a short exchange between an aircraft and Ndjamena Radio in Chad on 8894 kHz. “B” is Niamey Radio in Niger on 8903 kHz. “C” is Gander Radio on 8891 kHz. Just to the left of that is a string of digital signals. “D” is New York Radio on 8918 kHz. Again, there is a string of digital signals just to the left. Finally, “E” is communication from Dakar Radio in Senegal and Sal Radio in the Cape Verde Islands on 8861 kHz. I caught four African aero stations in just four-and-a-half minutes. I could also show you long stretches of time when there was nothing interesting coming in. With the Data File Analyzer I was able to visually find and focus on the DX and not waste my time with the empty static.
Here’s another image taken at the same DXpedition. Notice the three transmissions between 8820 to 8845 that seem to be mirroring one other.

That turned out to be Flightwatch Brisbane, the Australian regional aeronautical network. It uses multiple transmitter sites on 8822, 8831, and 8843 kHz to cover the entire country. I had never logged it before and I doubt I would have found it if DXing in the traditional manner.
The How-To
Here I’m going to assume that you already have SDR-Console installed and know the basics of how to use it, including making spectrum recordings. (If not, see the links at the end.) This article was written using version 3.4 of SDR-Console. Some of the functionalities described are not in earlier versions, so upgrade if you are not up to date. And I should point out that while you can do this on a single monitor, it works more smoothly if you have a dual monitor setup and can put each window on a different screen. Continue reading