Many thanks to SWLing Post contributor, Paolo Viappiani, who shares the following guest post:
The WJ-8711 & WJ-8712 vs. Ten-Tec RX-340 & RX-331 Receivers
by Paolo Viappiani, Carrara, Italy
In recent years, a renewed interest has grown in regards to the best HF receivers using “first generation” DSPs, typically the HF-1000/HF-1000A, WJ-8711/WJ-8711A and WJ-8712 models by Watkins-Johnson and the RX-340 and RX-331 models by Ten-Tec. Even today, the aforementioned receivers are considered among the best performers of all times; this is a well-deserved fame in the case of the W-Js, a bit less with regard to the units manufactured by Ten-Tec, a firm that once had a good reputation but that has been recently acquired by a new owner (who sold the old facilities by transferring the company and distorting the sales, support and assistance policies of the previous company [2]). I therefore believe that this article serves as a dutiful information for the readers who are potentially interested in these receivers.
A Bit of History
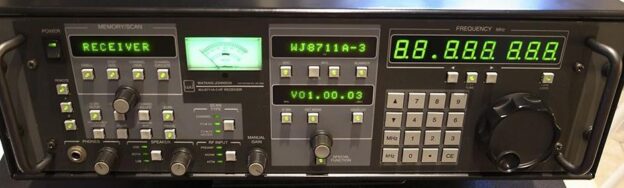
In the years between the last and the present century, two receivers very similar to each other in terms of design and structure were released almost simultaneously by Watkins-Johnson of Gaithersburg, Maryland [1] and by Ten-Tec of Sevierville, Tennessee [2]: the WJ-8711 (later upgraded to the A and A-3 versions and followed for a short period by the HF1000 and the HF1000A “civilian” versions [3]) and the Ten-Tec RX-340; both of them are shown in Figure 1.

Figure 1: The WJ-8711A (above) and Ten-Tec RX-340 (below). Notice the similarity of the front panels of the two radios.
The WJ-8712/WJ-8712A and the Ten-Tec RX-331 receivers were released by their respective manufacturers in that period also (the latter one was preceded by the RX-320 and RX-330 models). All these types were nothing more than “black-box” units, that in all respects corresponded to the WJ-8711A and to the Ten-Tec RX-340 receivers but that had not been provided with true front panels, as they were controlled by special hardware interfaces or from a PC, look at Figures 2 and 3.
Looking at the appearance of the WJ-8711/HF1000 receiver series and of the Ten-Tec RX-340 units, a relative similarity to each other is evident, and it has led to various speculations regarding the design of both devices.
One of the theories was revealed by James (Jim) C. Garland W8ZR of Santa Fe, New Mexico [4], about which he claims to have obtained information from a Ten-Tec employee directly. James claims that in 1991 the US Government Agency NSA (National Security Agency), which used to purchase numerous HF receivers for surveillance and interception, decided that the current cost of the receivers were too high and formed a special group in order to study how to obtain a possible price reduction.
At that time the high-end HF receiver market was dominated by a few manufacturers: Watkins-Johnson, Racal, Cubic, Rockwell-Collins and a few others, and Ten-Tec applied for joining the group.
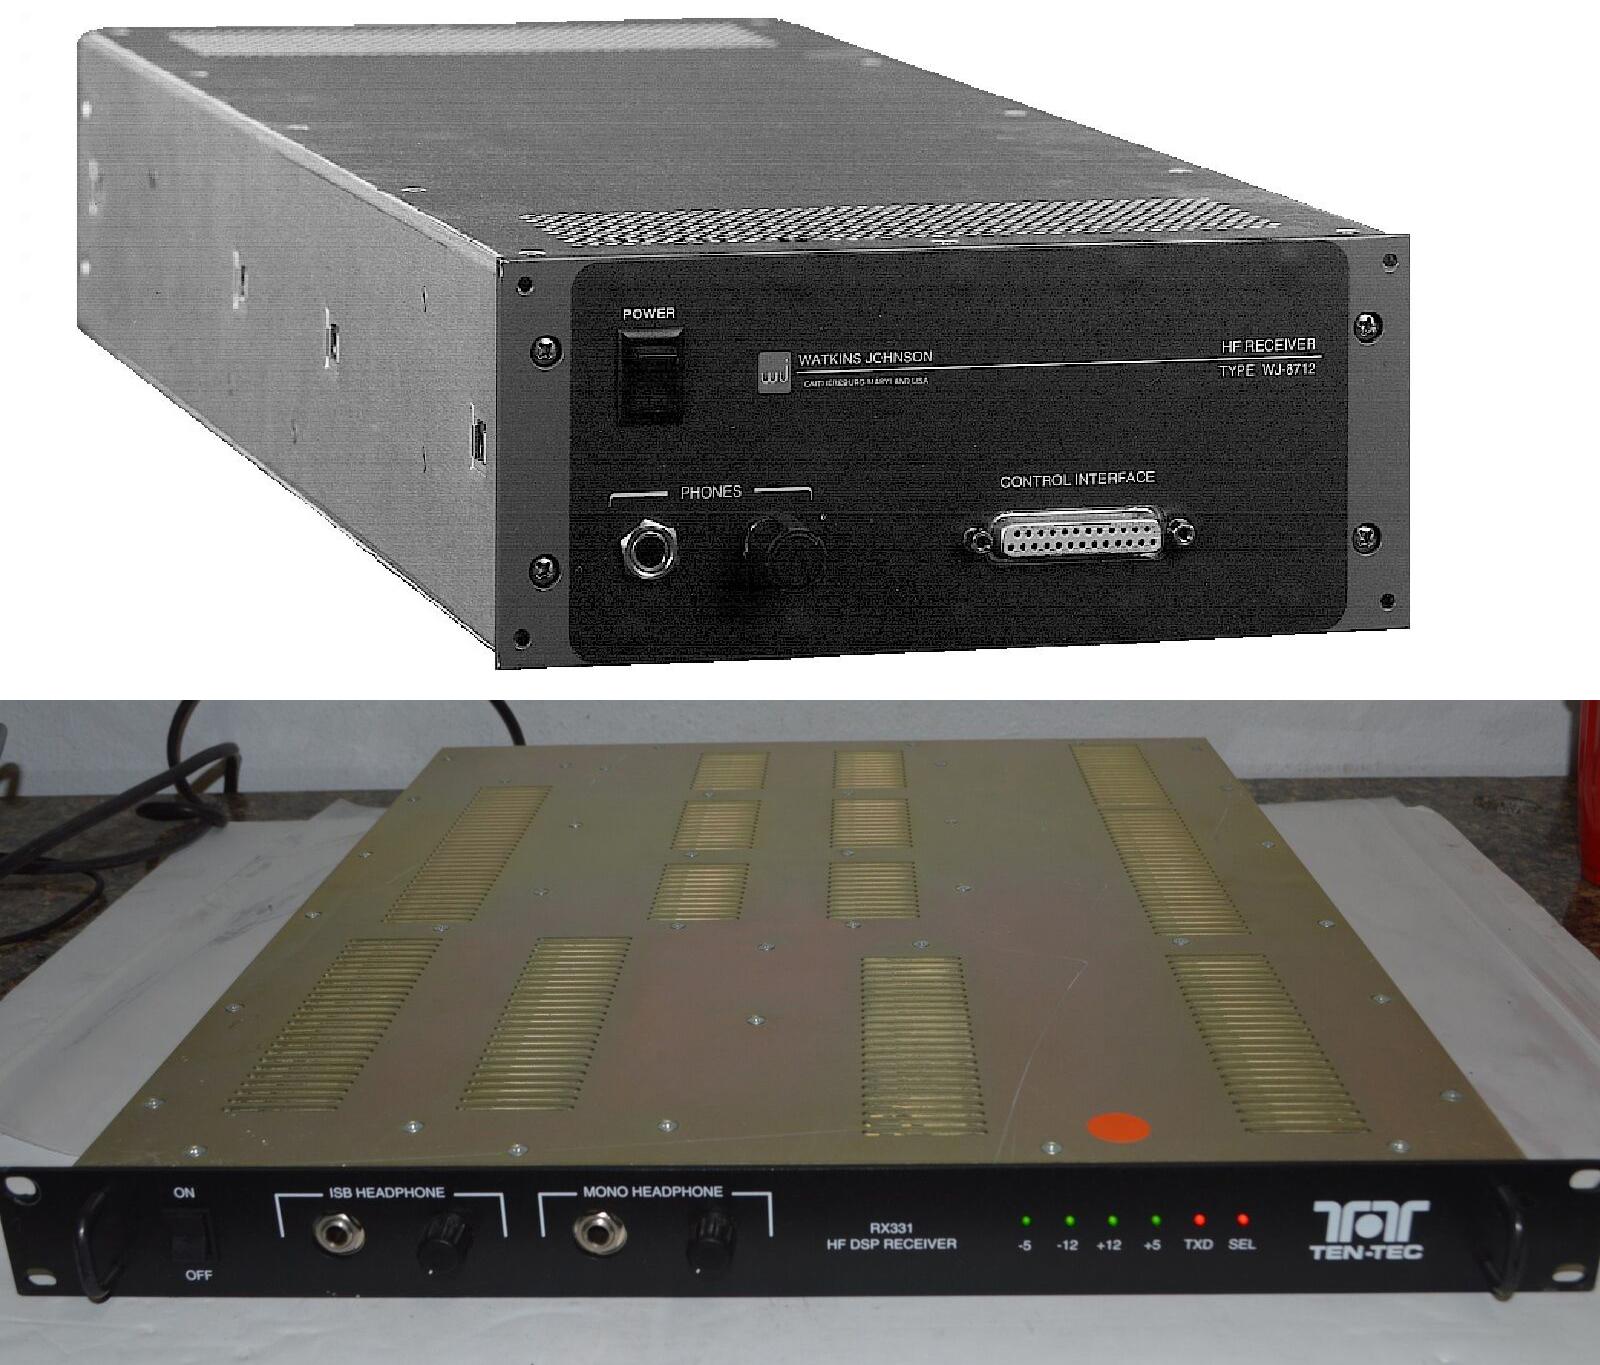
Figure 2: The WJ-8712A (above) and Ten-Tec RX-331 (below). While the Watkins-Johnson model is two rack units high and half wide, the Ten-Tec develops less in height (only one rack unit) and more in width (standard 19” rack). However, both receivers are quite deep (more than 20”-50 cm.).
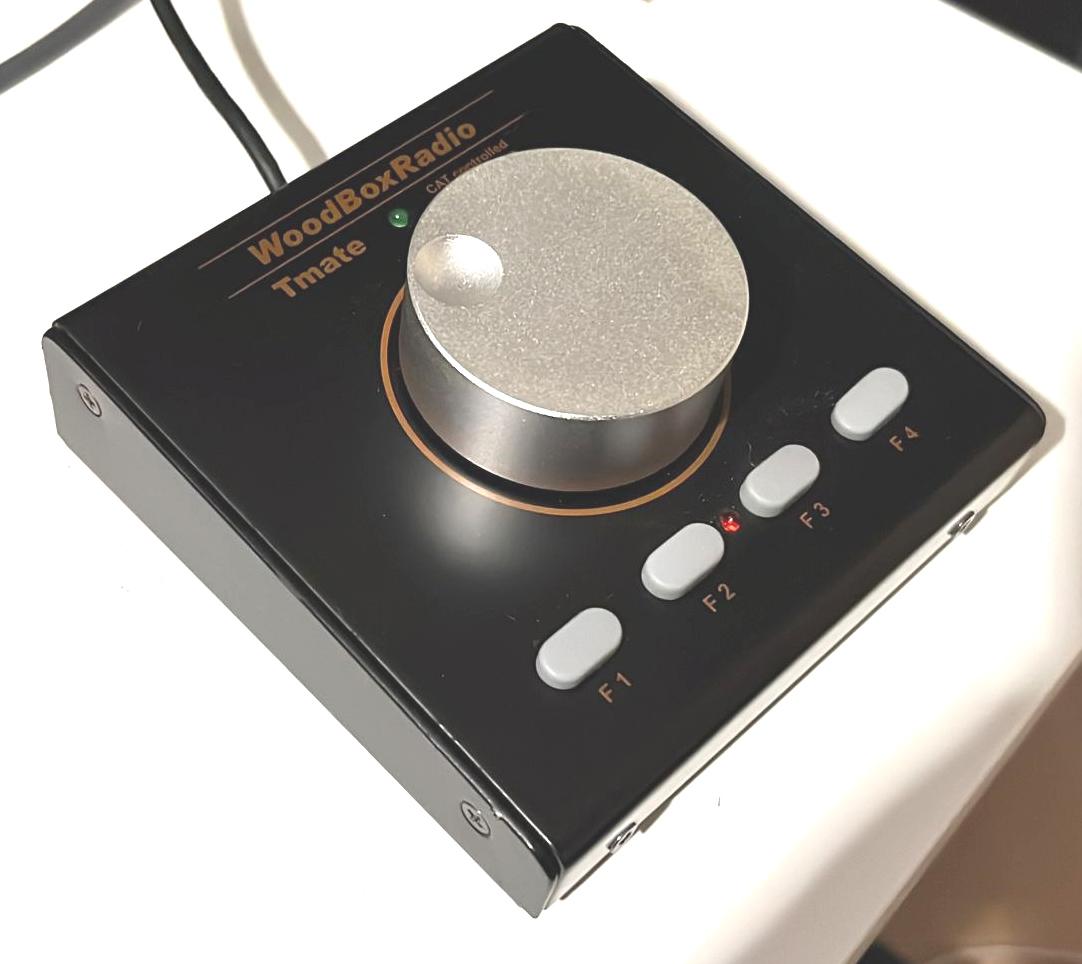
Figure 3: The Tmate unit of the WoodBoxRadio is shown here; it is one of the possible accessories which, together with a PC monitor, allow using the “black-box” receivers via an RS-232 interface.
According to the information provided by Jim Garland, the Watkins-Johnson and the Ten-Tec designers worked together for about one year in order to agree on the technical characteristics and guidelines of the “radio of the future” which must meet all the requirements that the NSA requested.