Many thanks to Chris Smolinski who writes:
I wanted to run SdrDx, and other SDR apps on my Mac with an RTL SDR Dongle. So I wrote this server app, that makes it appear like a networked SDR.
No need to install any RTL libraries, or compile any code.
Just run the app on your Mac, configure it and your SDR app, and you’re all set.
The app is free, and should work with Mac OS X 10.6 through 10.11.
Chris has kindly allowed me to share his full post here on the SWLing Post below–you can read the original at RadioHobbyist.org:
Running an RTL SDR USB Dongle On Your Mac The Easy Way With Cocoa RTL Server
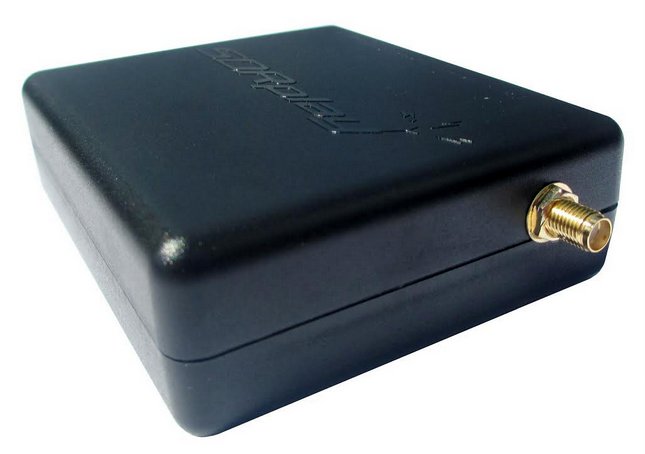
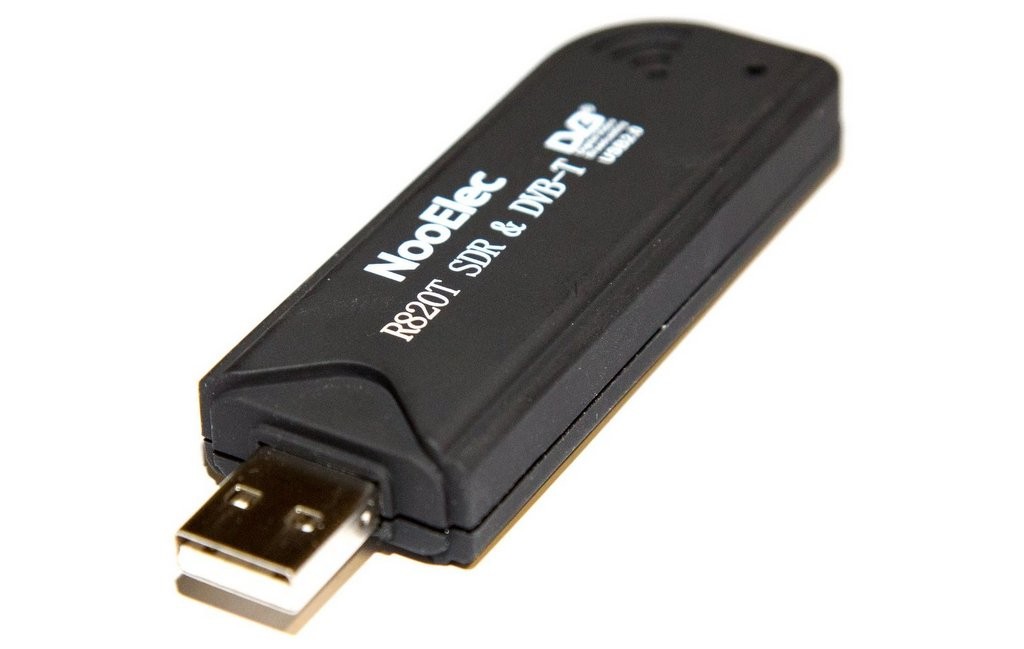
I’ve had a few of the RTL radio tuner dongles for a while. These are USB devices that were originally made for use as TV tuners overseas, but it turns out that you can access the I/Q data stream, and turn them into an SDR (Software Defined Radio). They can be tuned roughly over a range of 25 to 1700 MHz, and sometimes even higher, depending on the tuner IC chip inside the particular dongle.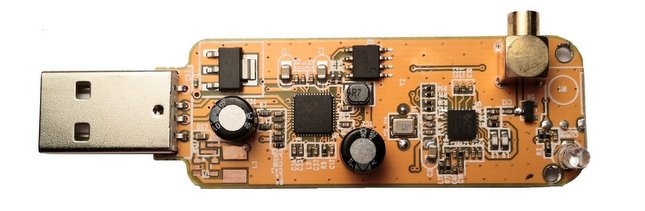
I previously posted about how to get the RTL dongle working on the Mac here: An SDR for $17 – The R820T USB RTL-SDR DVB-T Dongle and here: An SDR for $17 – The R820T USB RTL-SDR DVB-T Dongle – Part 2. These posts were from 2013, and I did the installation on a Mac running OS X 10.6, using some pre-built libraries.
Fast forward to the present day. I got a new Mac running OS X 10.11 El Capitan, and I wanted to be able to use the RTL dongles with my favorite SDR software on the Mac,SdrDx. Enter Cocoa RTL Server.
Cocoa RTL Server is a stand alone app that interfaces with an RTL dongle. It does not require you to build or install any drivers or libraries. It just works. It’s based off of an open source app called SoftShell, that I heavily extended. Cocoa RTL Server also acts like a networked SDR, following the RF Space protocol. That means it works with SdrDx, as well as any other SDR app on the Mac that supports RF Space SDRs like the netSDR. You can download a copy of the app from the Cocoa RTL Server page. Source code is included, however I am not offering any support for the project or final app.
Here’s a screenshot of the app running:
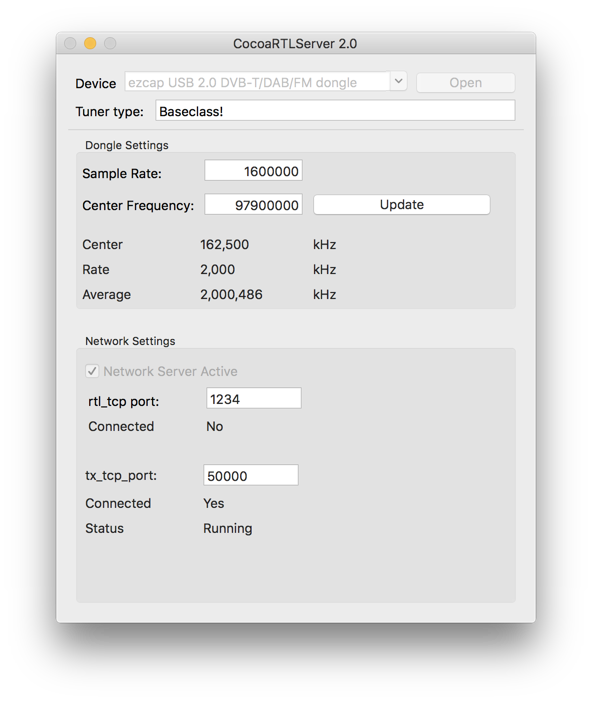
Getting up and running is easy:
1. Plug in your RTL device
2. Run CocoaRTLServer 2.0
3. Select the device from the popup menu (usually it is already selected)
4. Change the rtl_tcp or tx_tcp port values if needed
5. Click Open
6. Configure your SDR app (set the correct TCP port) and run it
I’ve run it under Mac OS X 10.6, 10.10 and 10.11, It should run under 10.7-10.9 as well.
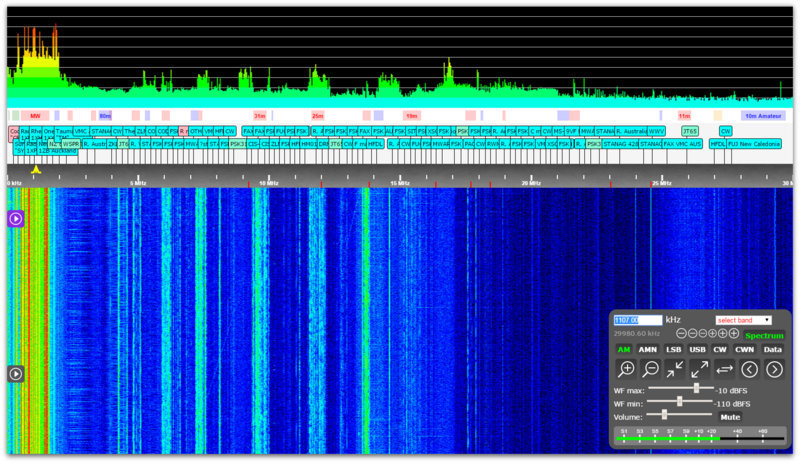
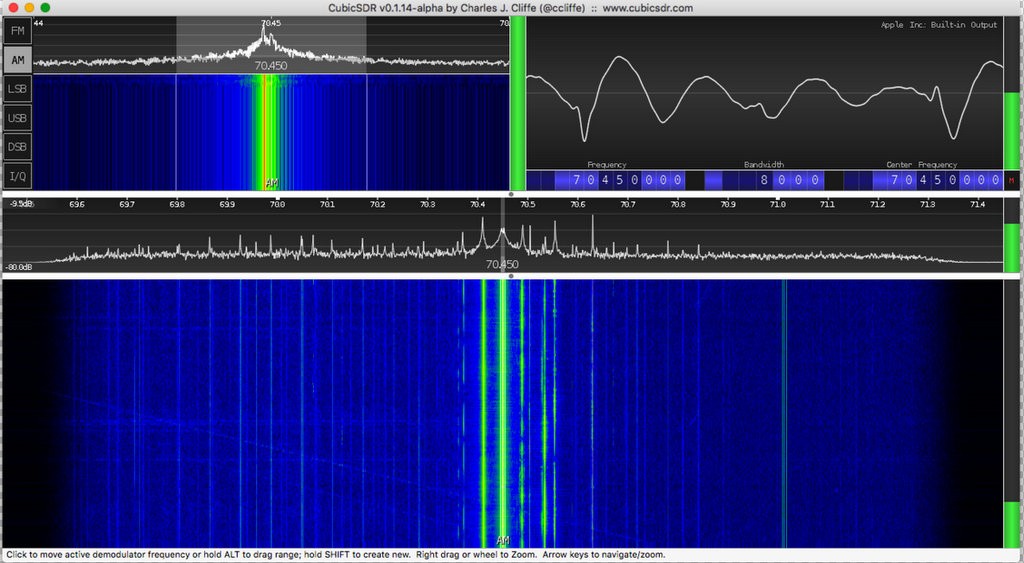
Using SdrDx, I can tune a large portion of the FM broadcast band, click to view full size:
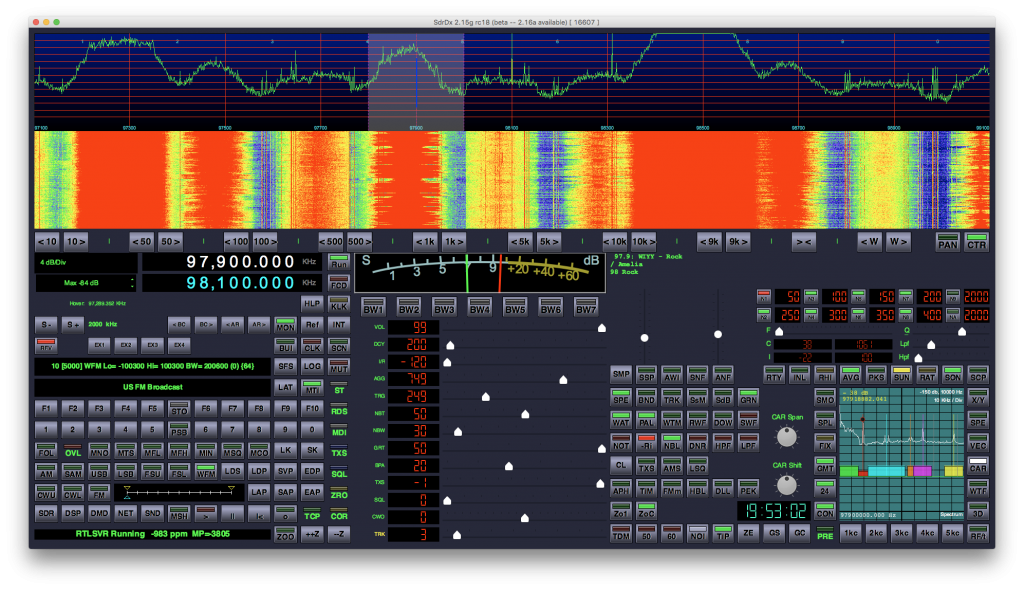
In this case I am tuned to 97.9 MHz. To the left of the signal meter, you can see it has decoded the station ID from the RDS data. Yes, SdrDx decodes RDS.
If you look at the lower right corner, you see the scope display of the demodulated FM audio. There are markers for the portions of interest:
You can see the main audio above the green marker to the left.
The stereo pilot at 19 kHz (red marker).
The stereo subcarrier (aquamarine)
The RDS data (orange)
The 67 kHz SCA subcarrier (purple)
The 92 kHz SCA subcarrier (yellow)
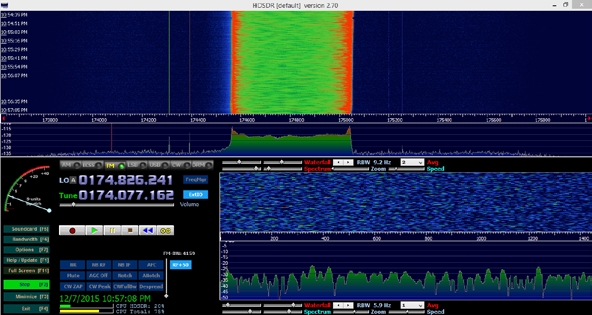
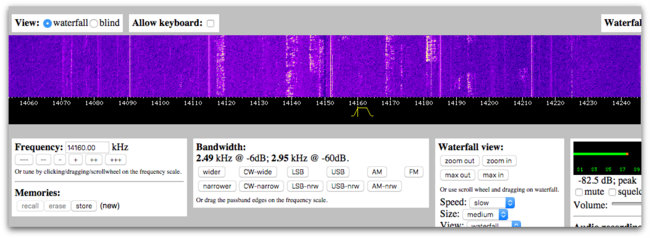
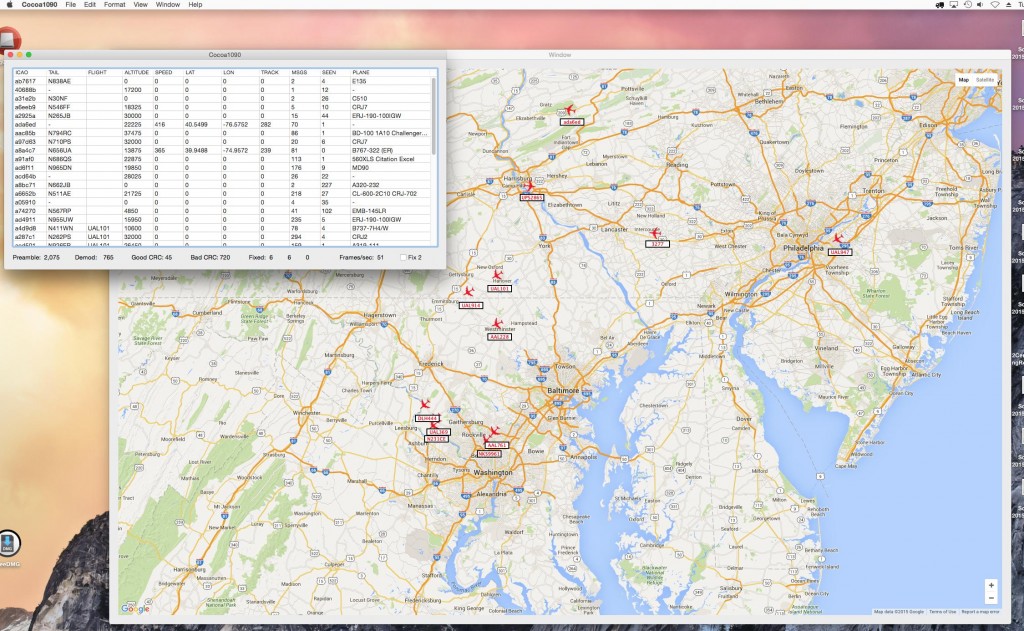
Cocoa RTL Server also includes a server that emulates rtl_tcp, so it works withCocoa1090 which decodes aircraft transponders that transmit on 1090 MHz. It should also work with any other app that gets data from rtl_tcp. Here’s a screenshot of Cocoa1090 running:
Thanks so much for developing this app, Chris!
I think I might go ahead and pull the trigger on an RTL-SDR as it would be great to run one on my Mac. I think your app will make the process much easier.
Readers: make sure you check out Chris’ blog RadioHobbyist.org.