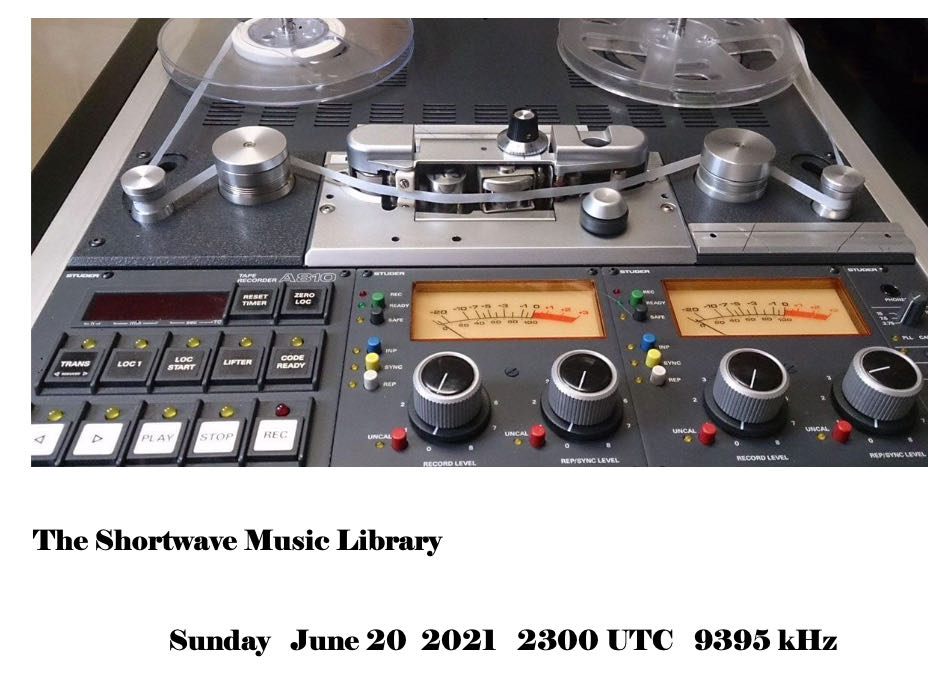
 I just received the flyer above for a new program. I’ve no other details but am certainly looking forward to the broadcast!
Canada D’eh Special Broadcast

Canada D’eh
Date/Time: July 1, 10-11PM EDT (July 2, 0200-0300 UTC)
Frequency: WBCQ The Planet, 6160 & 7490 kHz
July 1st is Canada Day, and since RCI is no longer blessing shortwave listeners with its presence on the short waves, Fred Waterer, a genuine Canadian, and “Uncle Bill” Tilford, an American who is frequently mistaken for one, will present Canada D’eh, an affectionate salute to the occasion with music, humor, fun facts and stories on WBCQ The Planet, which is right next door to Canada with time donated by Angela and Allan Weiner.
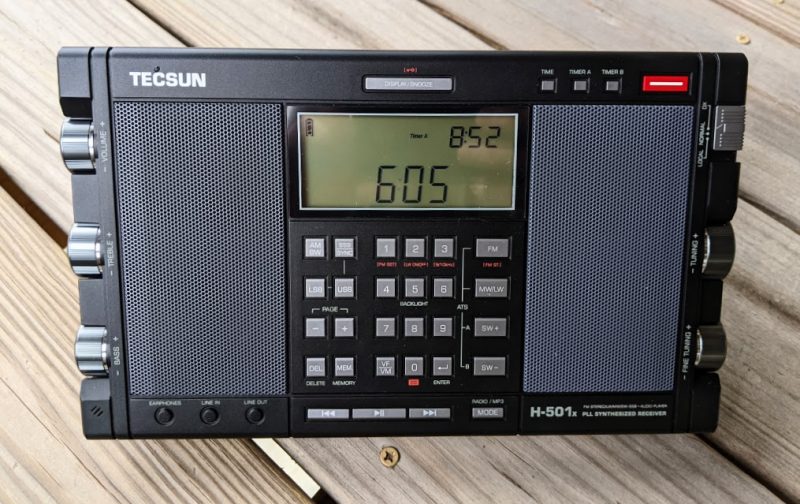
International Radio Report reviews the Tecsun H-501x
 Many thanks to SWLing Post contributor, Sheldon Harvey, who writes:
Hi, Thomas
Gilles and I have a special edition of the International Radio Report in which we discuss the new Tecsun H-501X portable shortwave receiver.
The special edition is available exclusively on our show’s YouTube channel.
Here is the link to the video:
Thank you for sharing this, Sheldon!
Four frequencies will be used for the 2021 BBC Midwinter Broadcast
 Many thanks to Richard Hollingham with Boffin Media, who writes:
Hi – I’m (proudly) the Executive Producer of the Antarctic Midwinter Broadcast. It’s made by Boffin Media for the BBC….I’m about to deliver this year’s edition.
In terms of the broadcast itself, following the test on Monday, the BBC’s decided to transmit on all four of the frequencies [noted here] this year.
Because it’s a unique broadcast, the SW version is 30 minutes long whereas the global version is 26′ 29″ (to fit the standard World Service half hour, following the news bulletin). The SW version also has a different introduction as it’s aimed just at our audience of 35 in Antarctica.
Fascinating! Thank you for sharing this, Richard. We’ll be listening!
As a reminder, here are the frequencies courtesy of Richard Langley:
- 6035 kHz from Dhabbaya
- 6170 kHz from Ascension
- 7305 kHz from Woofferton
- 9505 kHz from Woofferton
Reminder: Comb Stereo Broadcast via Radio Gum Tree–June 18, 2021
 A quick reminder that the rebroadcast of Radio Gum Tree Episode 2 will take place tomorrow: June 18, 2021 at 9:45 EDT (or June 19, 2021 at 01:45 UTC) on on 5850 kHz. You can find the program notes for these Test broadcasts at this web site address: www.radiogumtree.com/?p=54
Many thanks for putting together this Comb Stereo series, TomL!
For more information, check out TomL’s initial announcement.
Jock designs a Horizontal Room Loop to cope with reception issues
Many thanks to SWLing Post contributor, Jock Elliott, who shares the following guest post:
Got reception issues? An idea worth considering: the “Horizontal Room Loop.”
by Jock Elliott (KB2GOM)
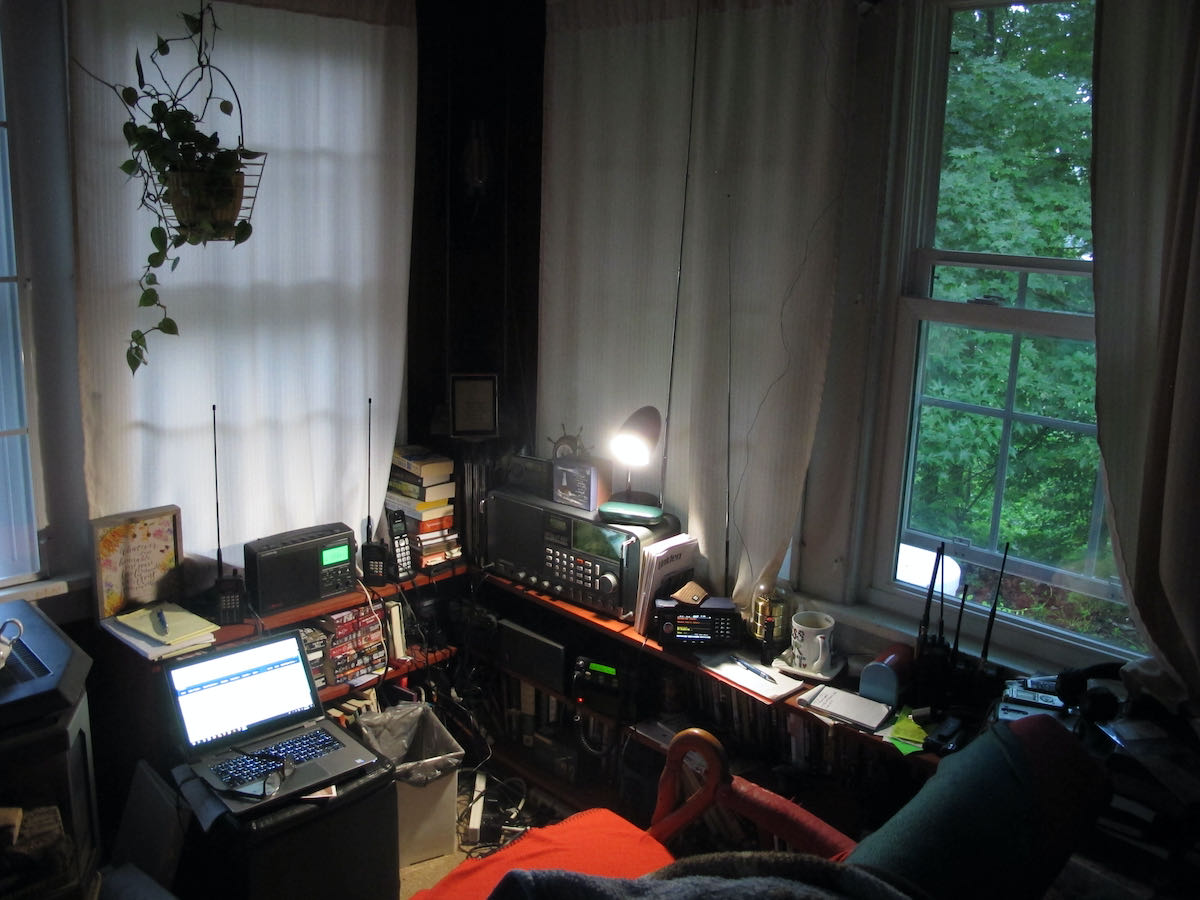
When my radio room was in the front of the house (on the east side), it was easy to run a feedline to a large RF-hungry SWL dipole with various stubs and feeders.
Now, however, with my “shack” moved to the SW corner of the house, any attempt to mount an outdoor antenna of any significant length raised potential safety issues because of nearby electrical lines.
Monitoring VHF/UHF is no big deal because of high-performance scanner antennas. HF, however, presents challenges.
My main SWL receiver is a Satellit 800, which has the guts of a Drake R8 and also has a large telescoping vertical antenna. It works okay, but I wanted more signal. I had been looking at small loops and got some great recommendations on Radio Reference, but then I had a thought: what if I turned the 8′ x 12′ room into a giant horizontal passive loop?
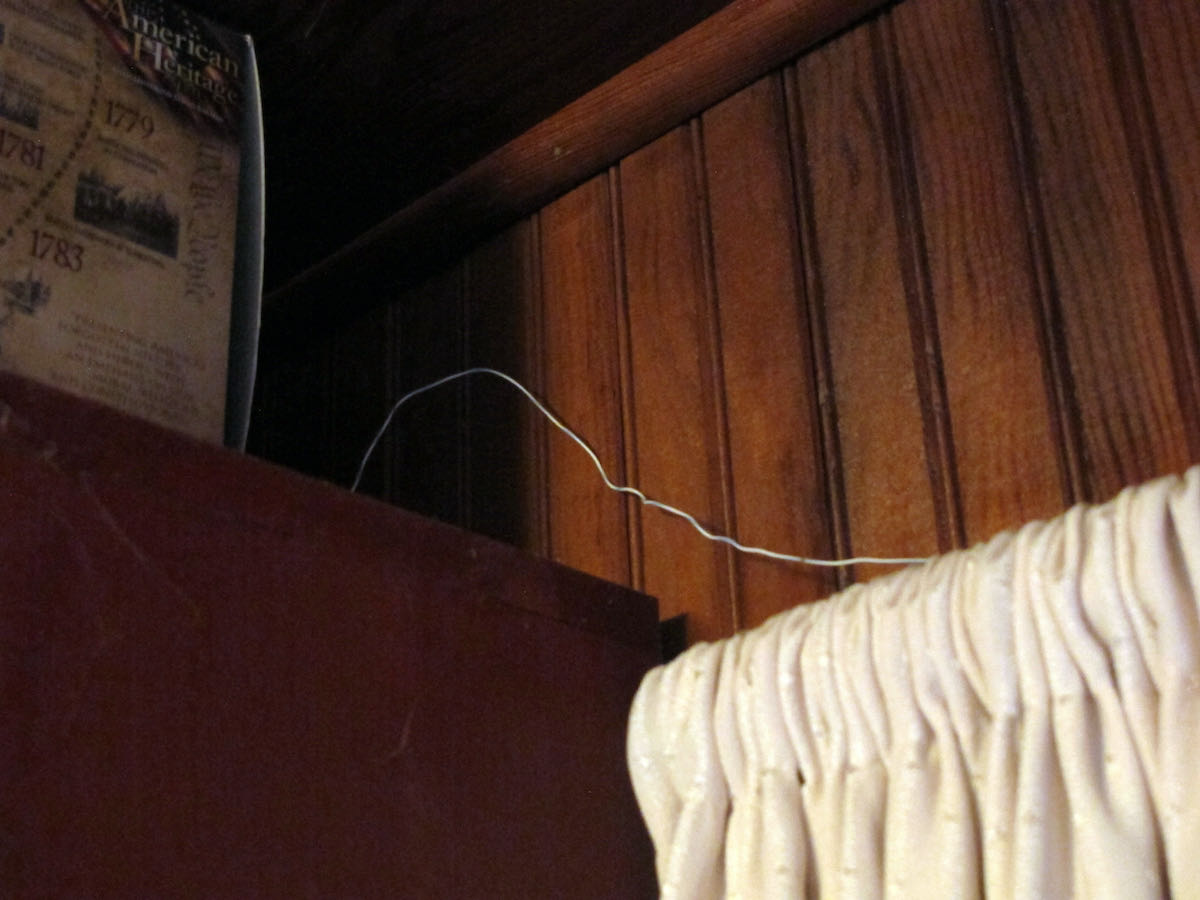
So I called a ham friend and ran the idea by him. “Sure,” he said, “give it a try.” He gave me 25 feet of 4-conductor phone wire. Before I could use it, I had to strip off the outer insulation so I could get at the four separate insulated wires inside. The better half helped. Once I had the four wires, I connected two of them together and ran the resultant 50-foot strand around the perimeter of the room by taping the wire to the top of window frames and hiding the wire on the top shelves of book cases. As a result, the horizontal room loop is near the ceiling, about 7 feet in the air, and the room itself is on the first floor.
With the loop in place, I hooked the ends to the clip-in terminals on the back of the Satellit 800.
There’s a switch on the back of the 800 that allows me to quickly compare the loop with the radio’s built-in vertical antenna. And . . . it works! It pulls in more signal than the vertical (as measured on the signal strength meter), but I have not noticed a dramatic reduction in noise. On some stations, the horizontal room loop brings the signal up to full scale, and then the sound is very agreeable indeed.
In all, I am pleased with the results.
For anyone who wants squeeze more performance out of their shortwave receiver, I can recommend giving the horizontal room loop a try. It’s not expensive; it’s relatively easy to do (and undo if you don’t like the results), and just might improve your shortwave reception.
If you are not blessed with a bunch of window frames on which you could tape the wire for your room loop, you’ll have to get creative, but with lightweight wire, you don’t need a massive support structure. Tape, map tacks, or even self-adhesive Velcro segments might work for putting your room loop in place.
I don’t claim that this is the “ultimate” SWL DX antenna, but it certainly improved my situation. Perhaps others have suggestions for improving it.
— Jock Elliott, KB2GOM
Analog Devices MxFE RF Data Converter Transceivers could be an SDR game changer
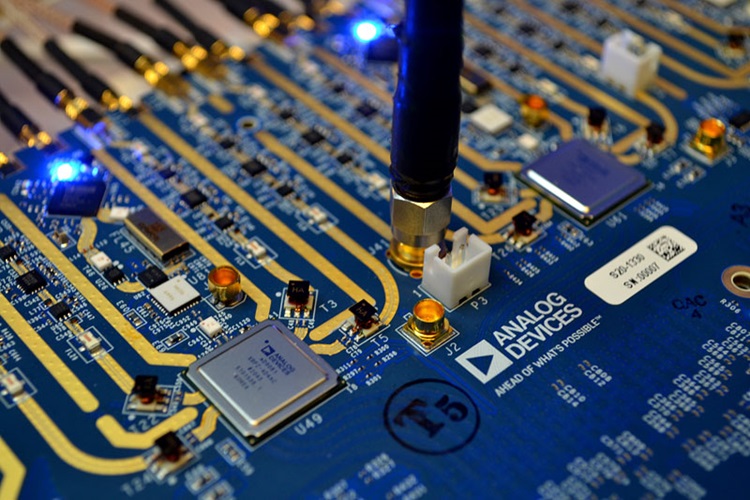 Many thanks to SWLing Post contributor, Paul Evans, who shares info about the new Analog Devices MxFE and notes that it could be a game changer in the world of software defined radio:
This does sound like a very robust and powerful platform although I’m not an engineer so can’t speak to how it might be integrated in affordable SDR receivers and transceivers..
Here’s another information page with specifications about the platform.
Please comment if you’re familiar with this platform!

