Guest Post by Troy Riedel
I’ve mentioned here in the past that I am an astronomy hobbyist first, and an SWL hobbyist second (call SWL my cloudy nights hobby).
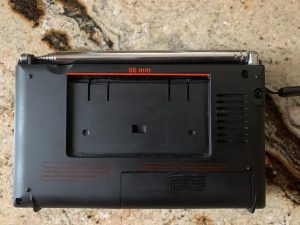
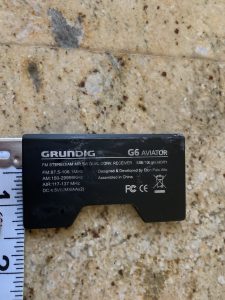
A couple of years ago my Grundig G6 suffered from the troublesome “sticky” body that afflicts all of the Grundig/Eton radios of that era. I used the recommended cleaning agent as has been posted here (Purple Power) to remove the sticky residue. It worked great – but I discovered one must be very careful using this cleaner. Why? Excess cleaner seeped into the crevices where the radio stand mounts, was not fully removed/dried, and the cleaner “ate” the nubs off that hold the radio stand in place. The result: a broken radio stand! Right Photo: you’ll see glue residue smeared on the broken stand – where I tried to make & glue new nubs and failed miserably.
Through my astronomy hobby, I discovered someone (Joel) who 3D prints some astronomical accessories. After ordering & receiving three quality products, we established a friendly rapport. I asked him if he knew of anyone who 3D printed and commercially sold radio stands.
He replied “No” – and frankly he wasn’t quite sure what I was referring to – but he essentially conveyed “if you supply me a photo and dimensions, I will gladly print one that you can try”. Great news!
After supplying him a photo and supplying dimensions, Joel printed off a stand plus a spare and shipped it to me. Unfortunately, it did not fit … the side nubs were simply too small.
I wrote-off the encounter as having been worth the nominal cost & effort. But Joel was not ready to write this off! He asked for more details re: why it didn’t fit (we designed the stand about .25mm too thin – a small tolerance but significant in that the stand simply would not fit – the nubs were too small at the thickness that was printed). We consulted, both made recommendations, then Joel promptly 3D printed another stand (v.2) and mailed it to me.
The end result: it fits perfectly – works perfectly. I now have a replacement G6 stand and I feel my little Grundig Aviator Buzz Aldrin Edition (note the astronomy connection) was now, once again, whole!
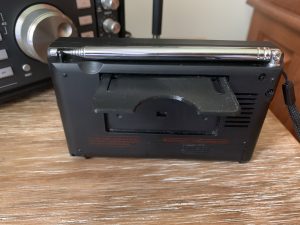
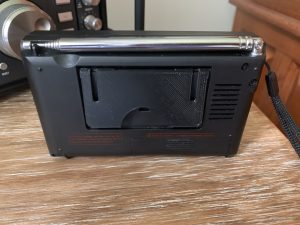
For those who’ve replaced radio stands before, the biggest obstacle is *not* breaking it when you try to insert it into the back of the radio. A tried and true trick is to freeze the replacement stand, so it contracts very slightly (by the mm), and then insert it into the body of the radio. The great thing about this stand: it is designed with a cut-out on each side. This cut-out allows the stand to ever-so-slightly flex (better – and probably more safely – than the freezing trick). This design allowed me to safely and rather effortlessly insert the stand without fear of breaking it. And the stand’s thickness is quite capable of supporting the weight of the radio (note: the plastic of the 3D printed stand is not quite as hard as the OEM stand but it is still more than capable of supporting the radio’s weight).
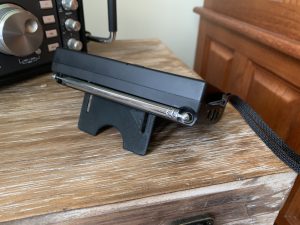
I’m sharing this because Joel has added the G6 stand to his little BuckeyeStargazer Web Store , for $10 – what a great deal for us suffering G6 folks with broken stands.
At this time, the Buckeye Stargazer only offers the G6 stand. But, who knows? Before I came along, he didn’t offer any stand. You might be able to cajole Joel into prototyping another stand? For that – you’d have to contact him directly to see if he were receptive to more experimentation.
So, thanks again to the Buckeye Stargazer! It’s always nice to tie my two hobbies together: astronomy & shortwave radio.

