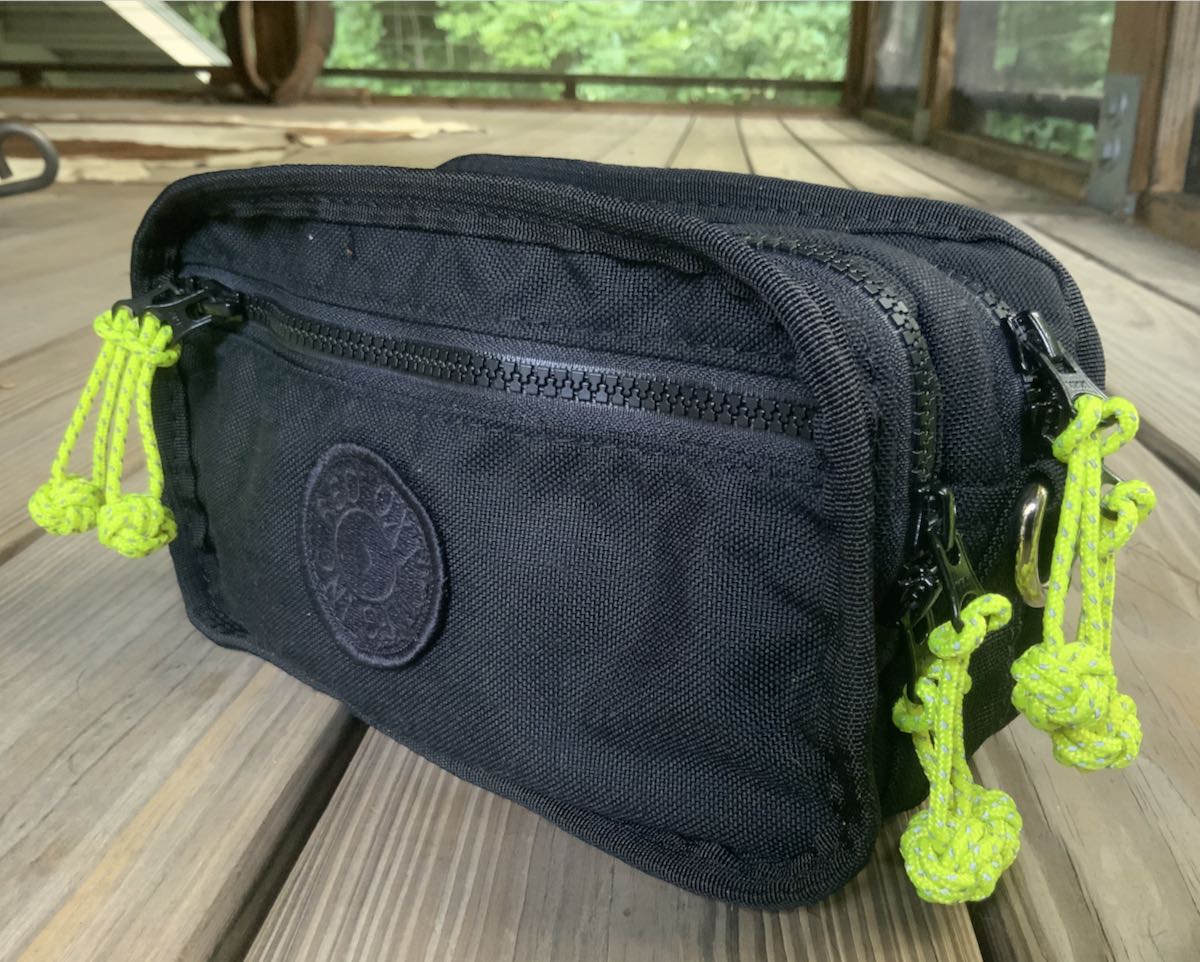
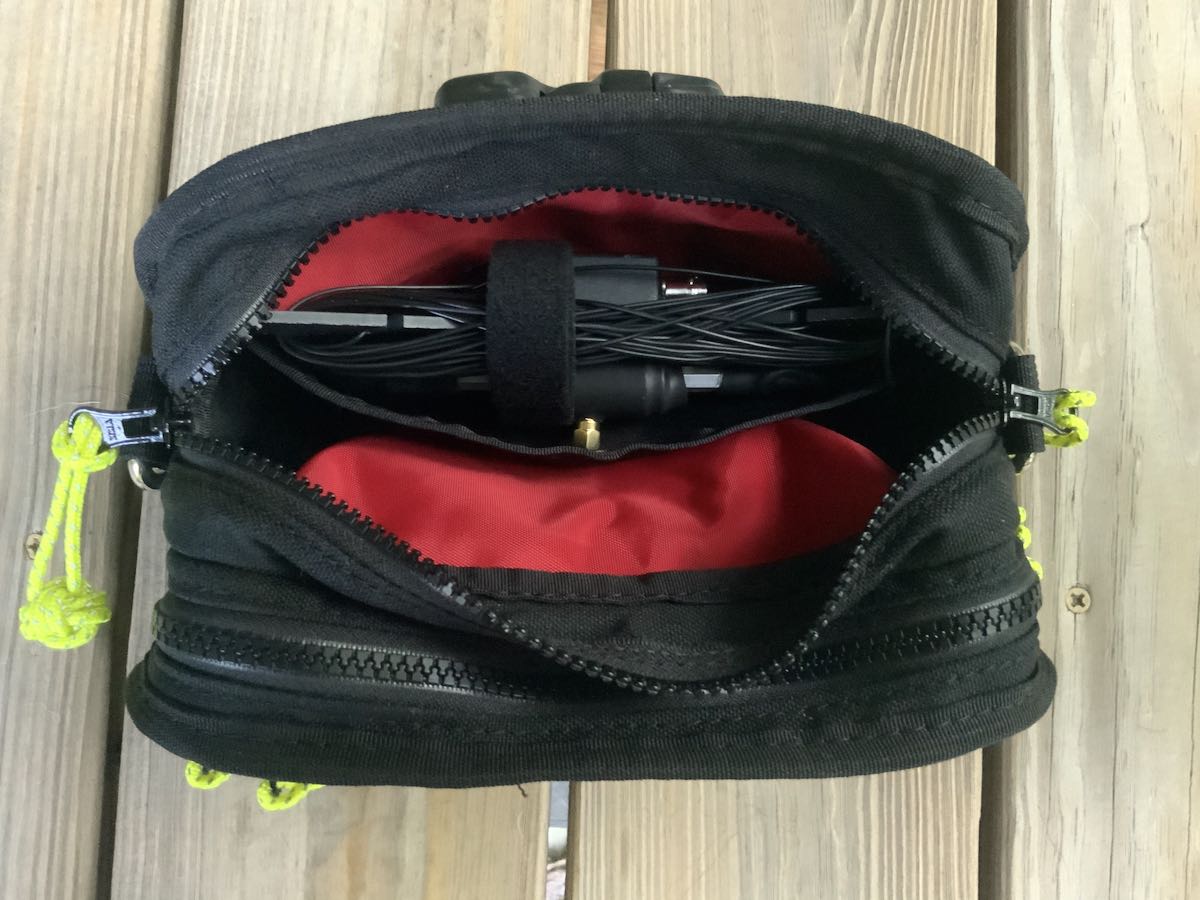
The Red Oxx Booty boss sporting my add-on reflective yellow monkey fist zipper pulls
If you’ve been reading the SWLing Post for long, you’ll have already sorted out that I’m both a radio geek and a pack geek.
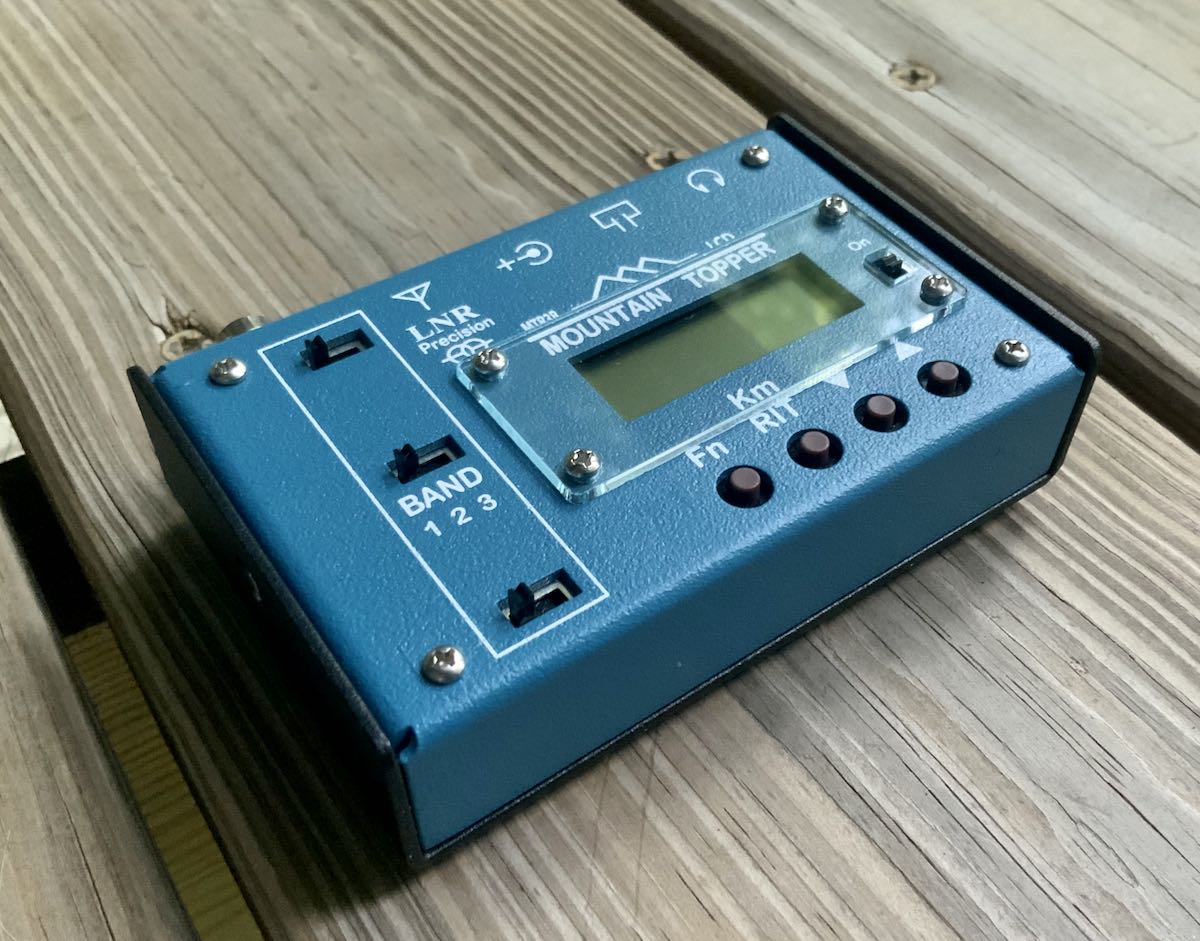
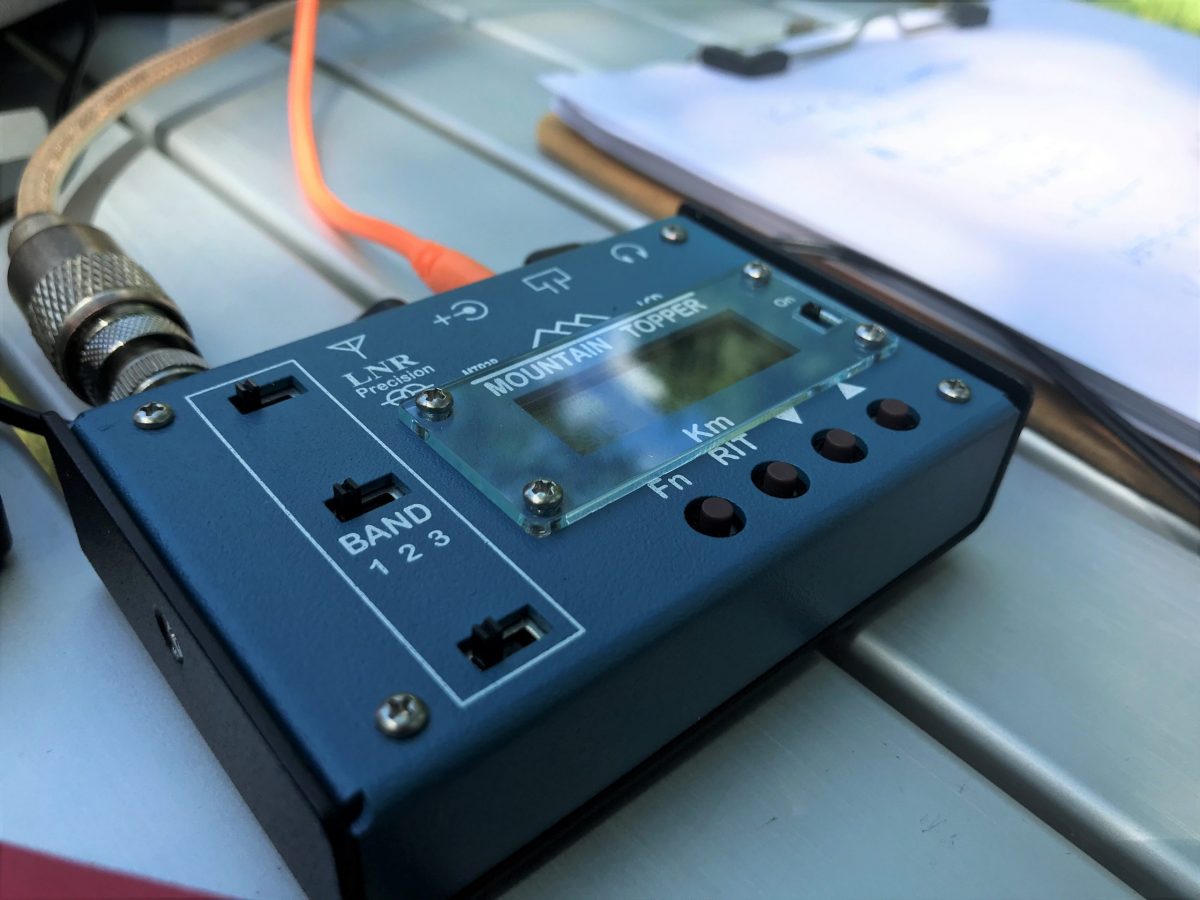
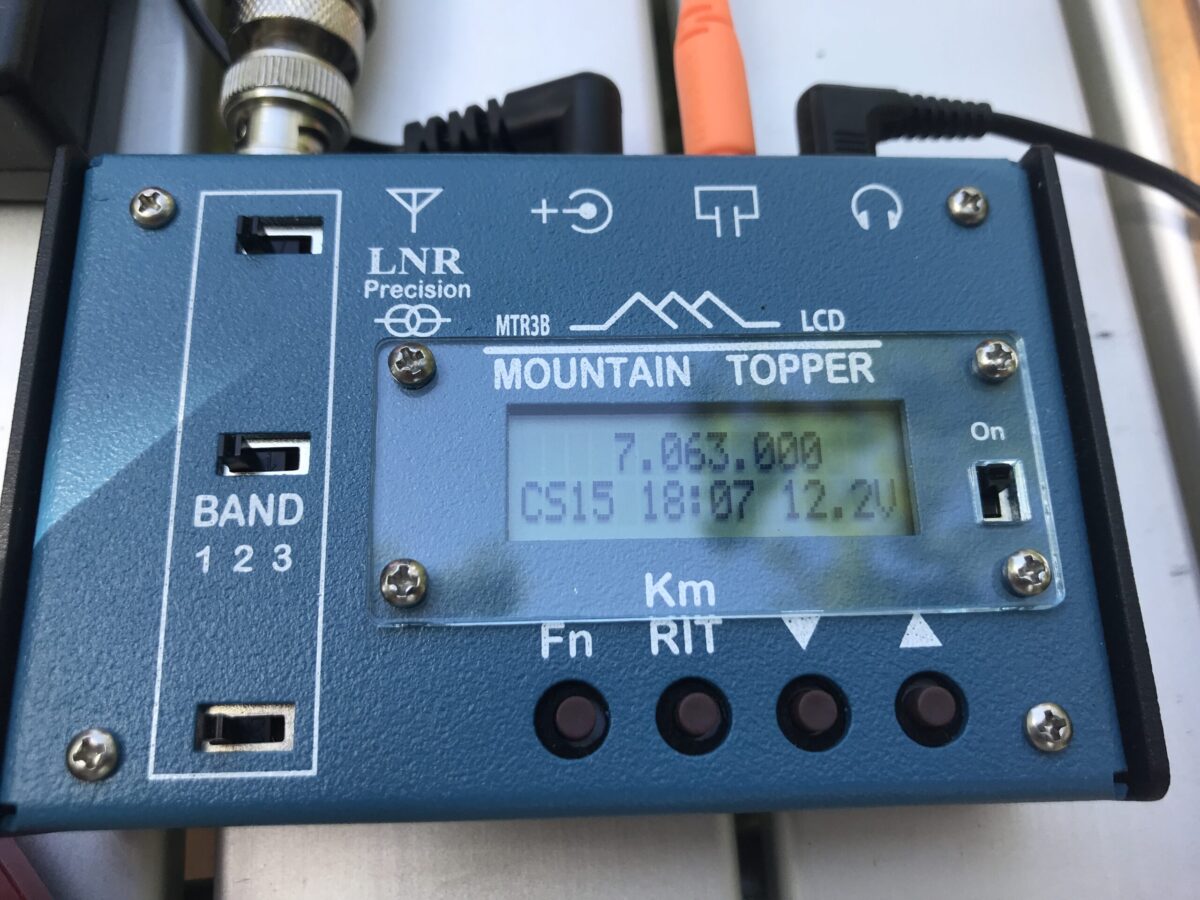
The LnR Precision MTR-3B transceiver
I recently purchased an LnR Precision MTR-3B QRP transceiver. I added it to my collection because the rig is so incredibly compact, it gives me the opportunity to keep a full HF radio kit in my EDC bag or packed away for one bag travels.
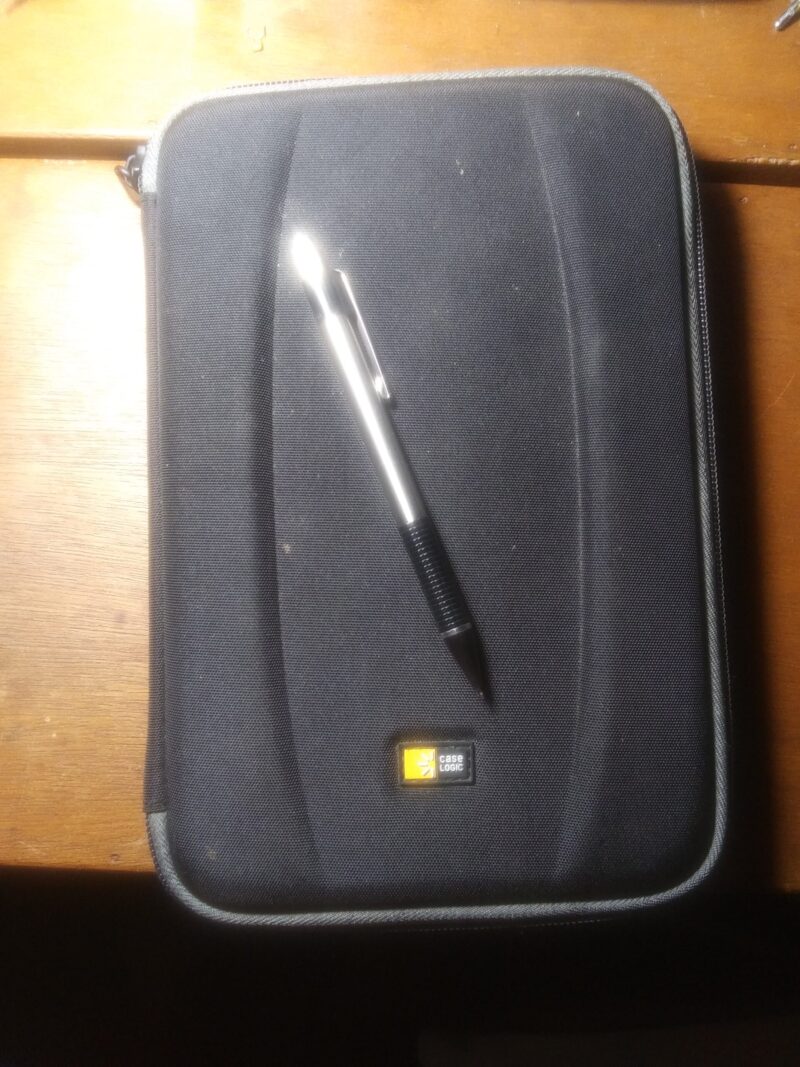
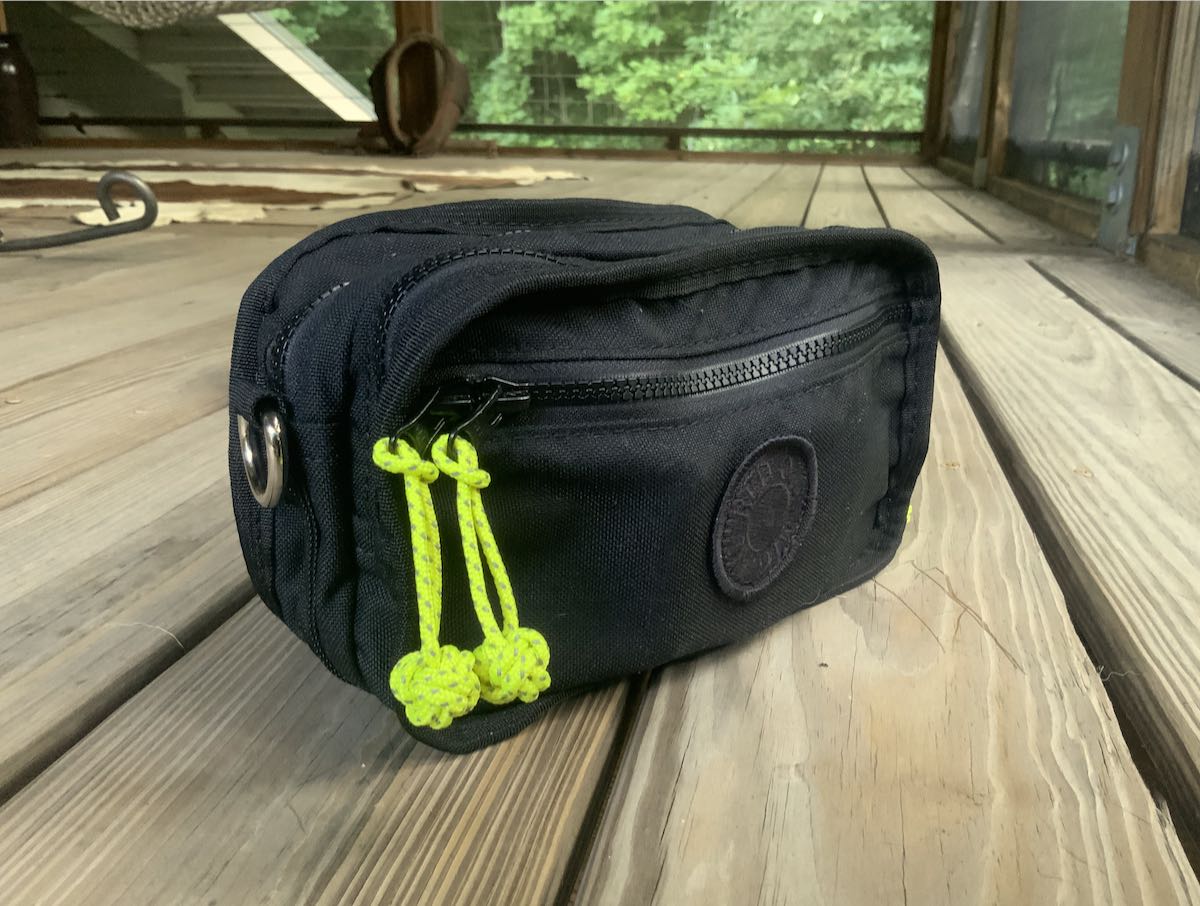
Now I’m building a full field kit for the MTR-3B in a Red Oxx Booty Boss pack I recently purchased specifically for this radio.
If you’re wondering why I’d build yet another field kit for the MTR-3B instead of simply using field supplies I already have, allow me to explain…
Field radio kit Golden Rule: Never borrow from one kit to feed another
I never violate this rule. (Well, not anymore, at least.)
I don’t care if I’m building a kit around a portable shortwave receiver, an SDR, or a ham radio transceiver–my radio kits are completely self-contained and organized.
I’m actually plotting a whole series of posts about building portable radio kits and packs because I enjoy the process so much, but for now, I’ll keep my explanation short:
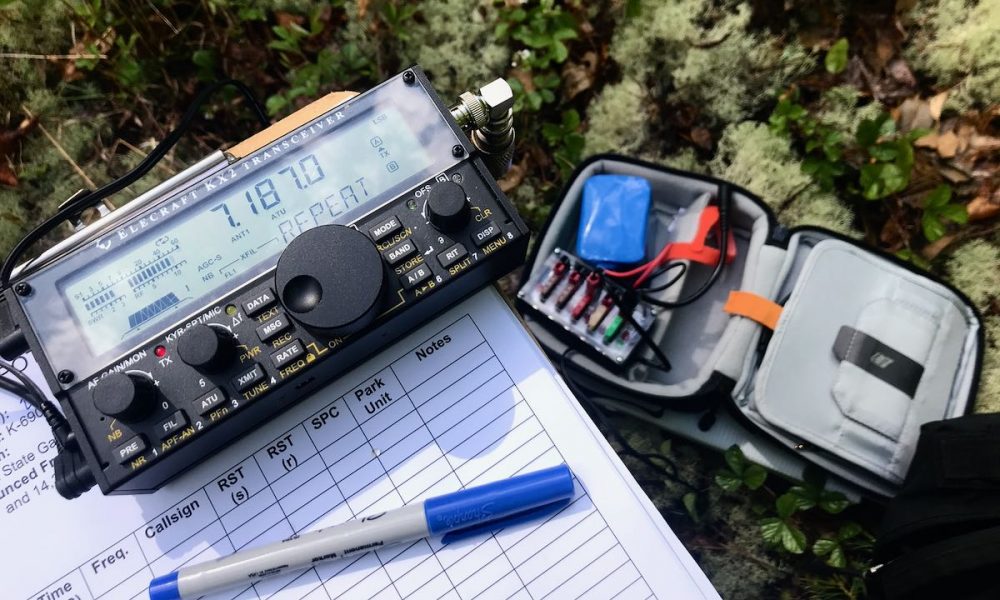
Because I have an active family life and can’t often prepare in advance for field radio time, my kits must be at-the-ready all the time. If we decide (as we are this morning) that we’re heading to a national park for a little hiking and a picnic, I know that when I grab my KX2 field kit, for example, I’ll have everything I need to do a Parks On The Air or Summits On The Air activation. I know my kit contains an antenna, all antenna accessories and hanging supplies, feed line, a fully-charged battery, microphone and/or CW (Morse Code) key/paddles, earphones/speaker, and a transceiver. It’ll also have the little bits we often forget like a pen, notepad, extra connectors/adapters, and even a few first aid supplies.
If you borrow from one radio kit to feed another, you’ll regret it later. I promise.
Case in point

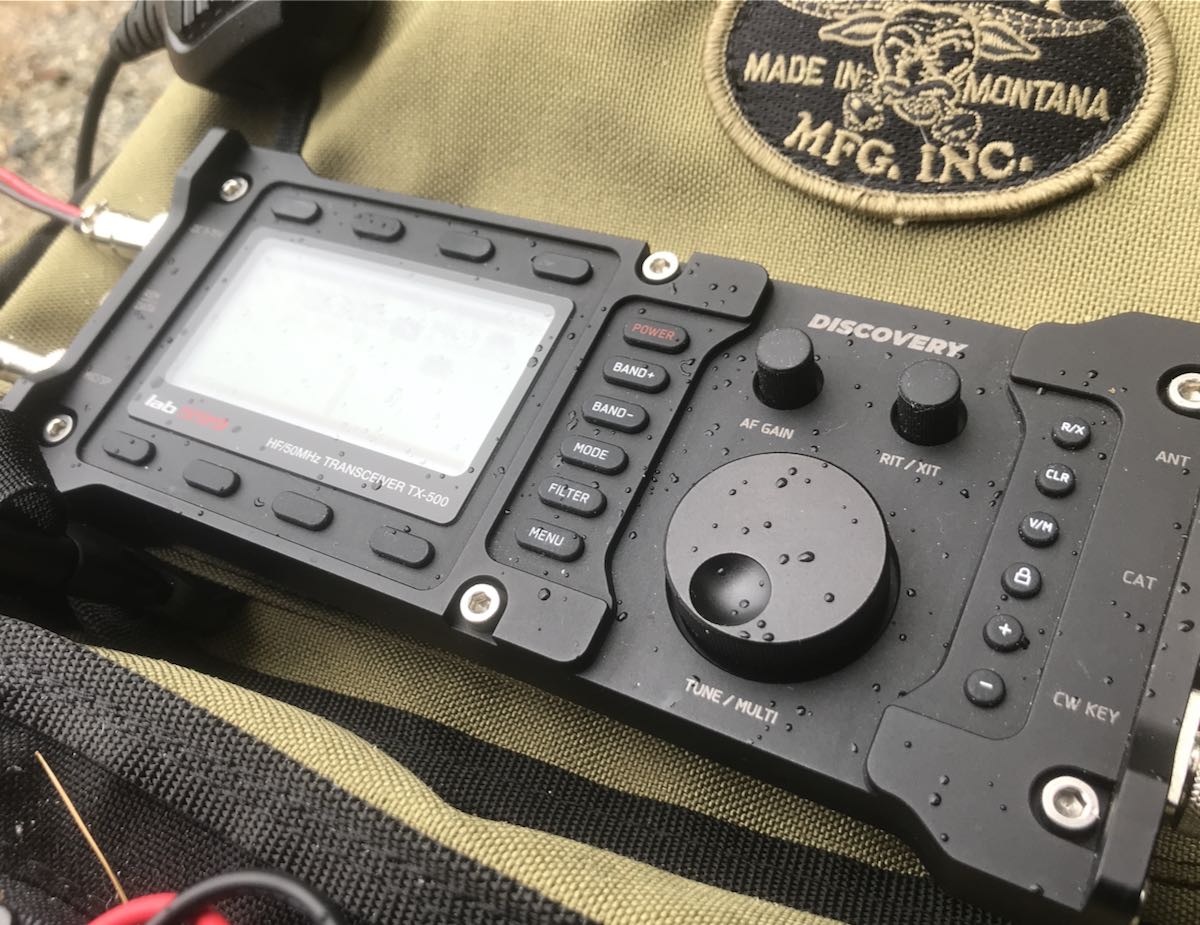
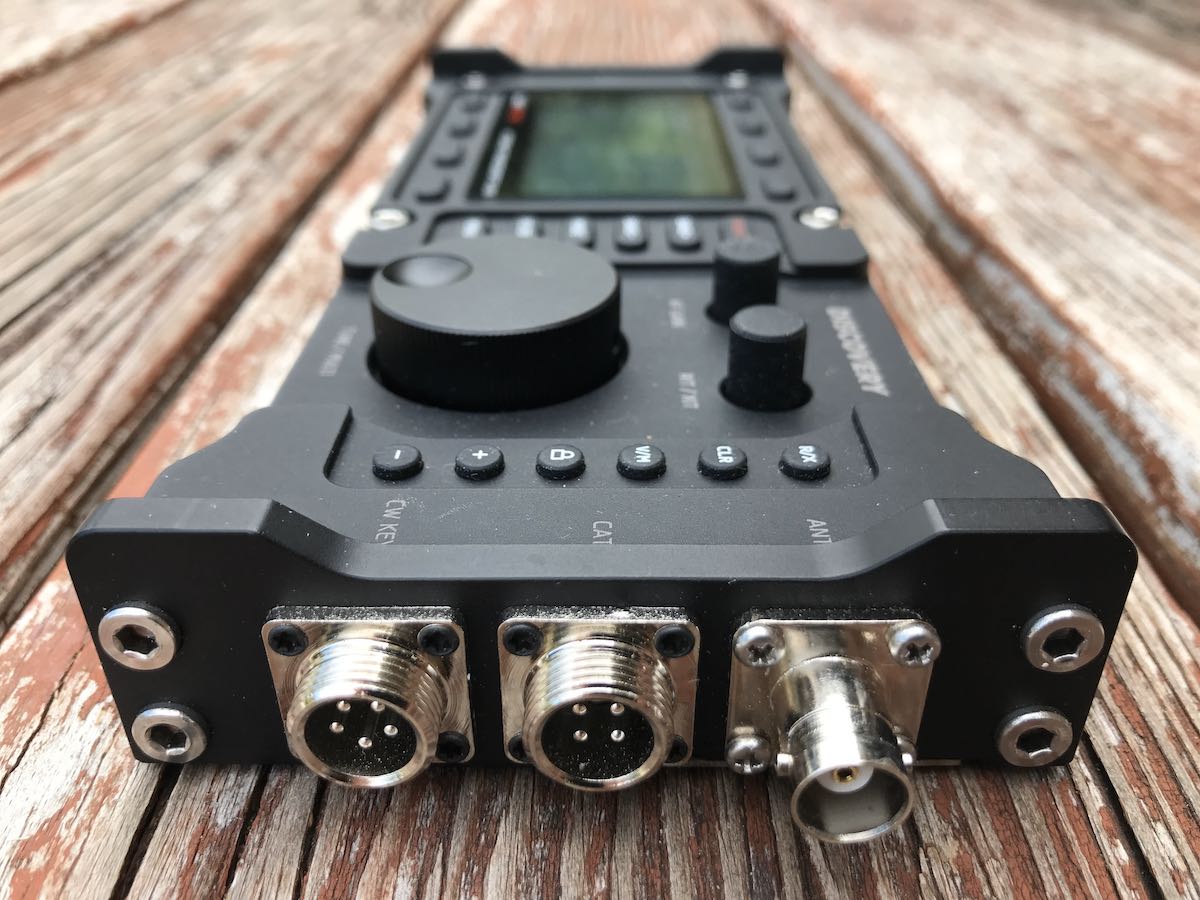
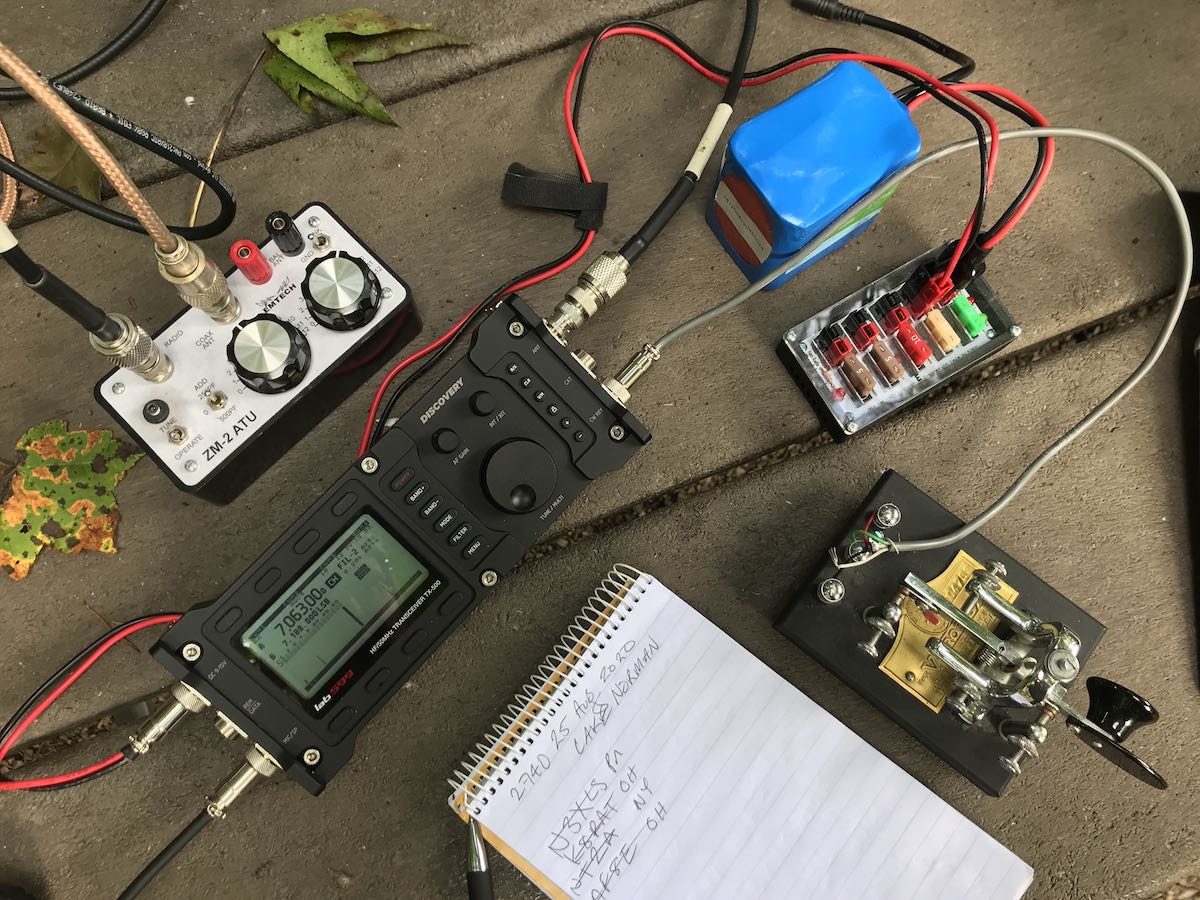
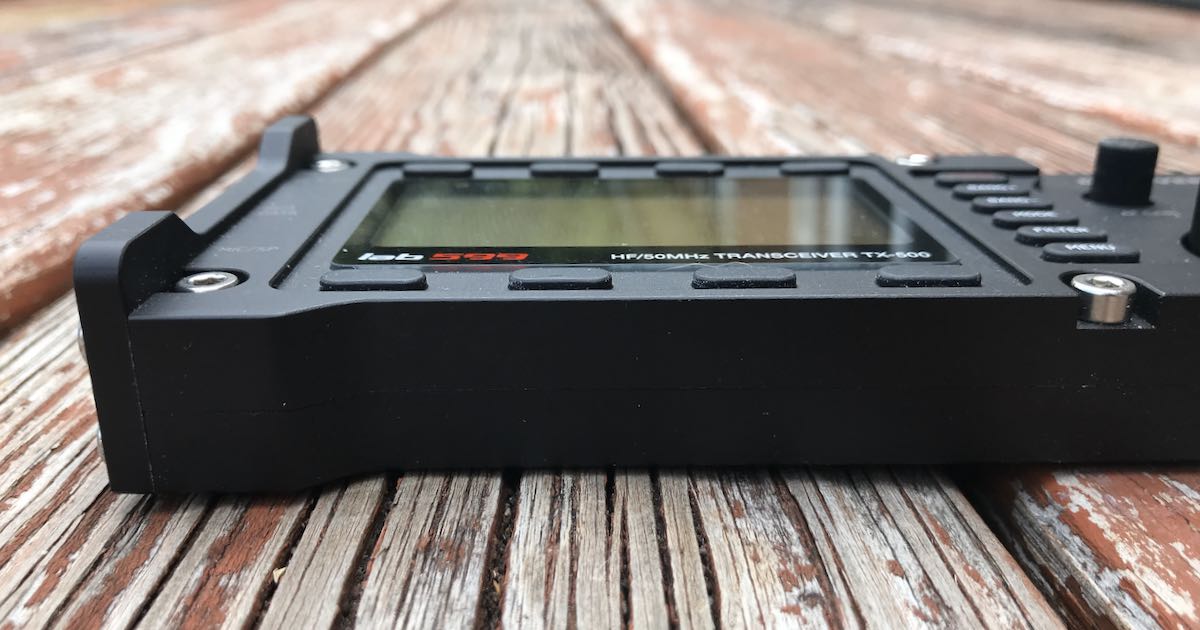
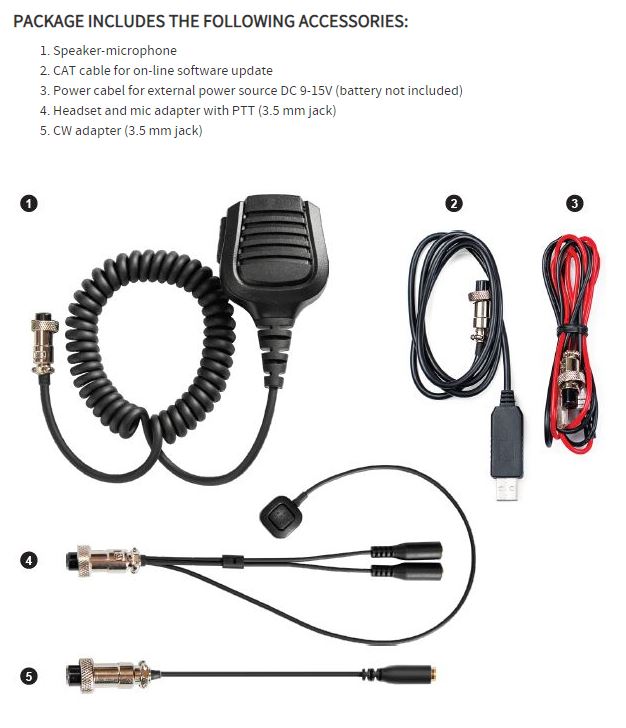
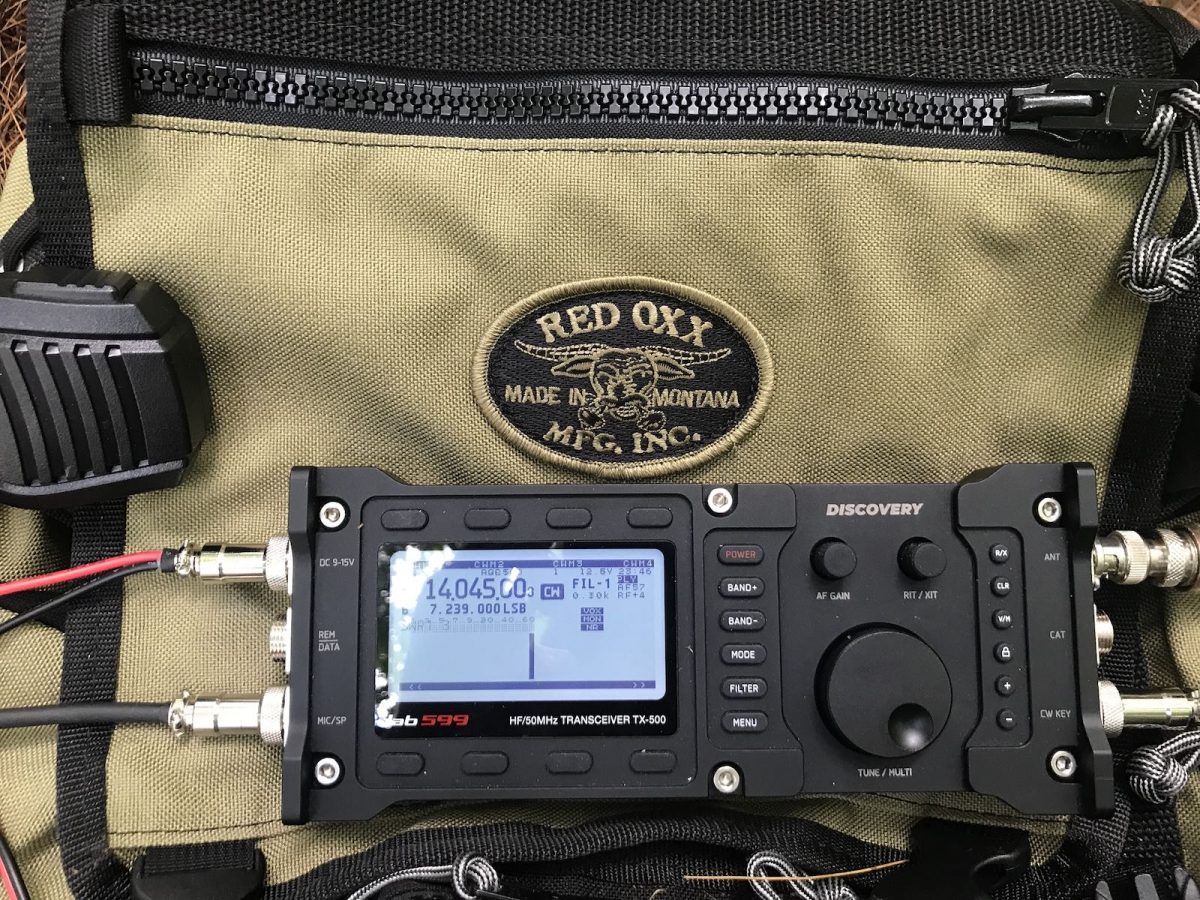
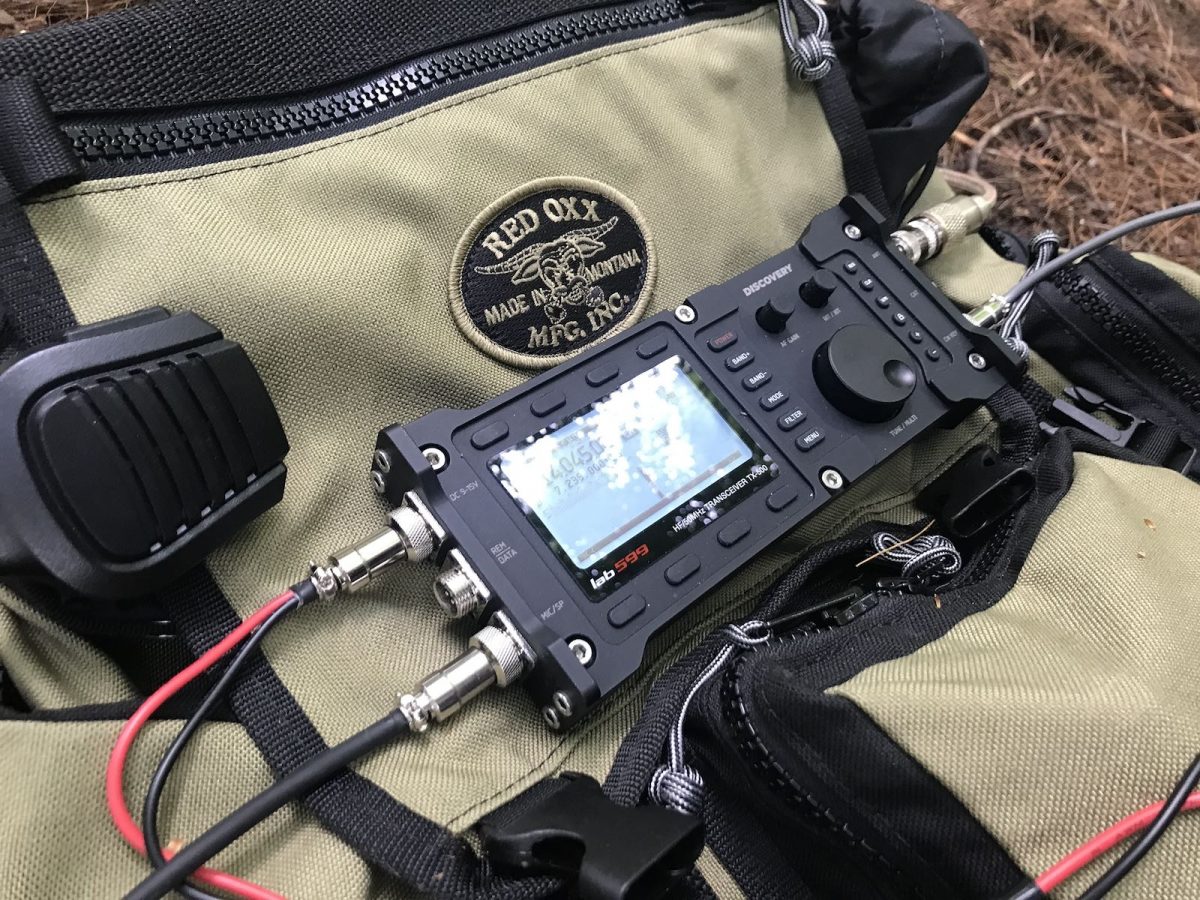
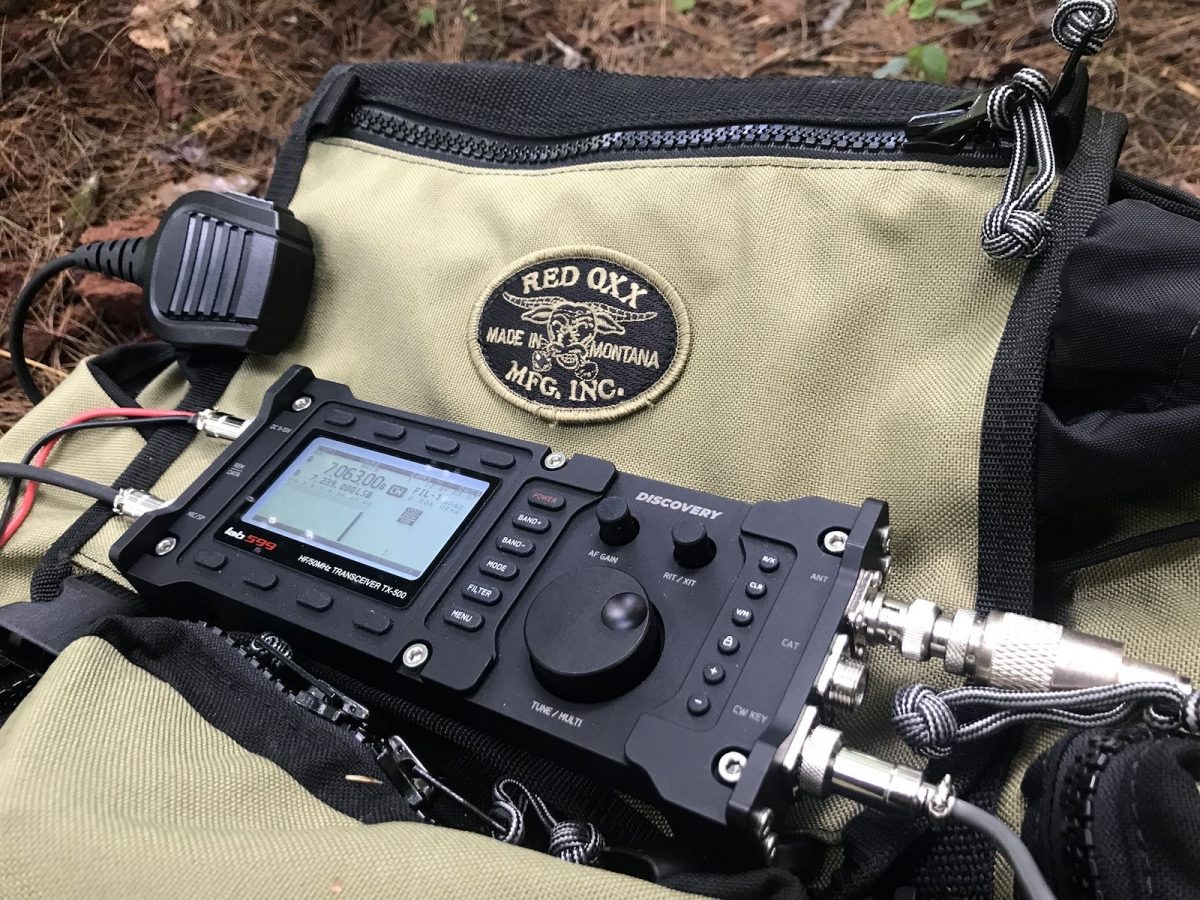
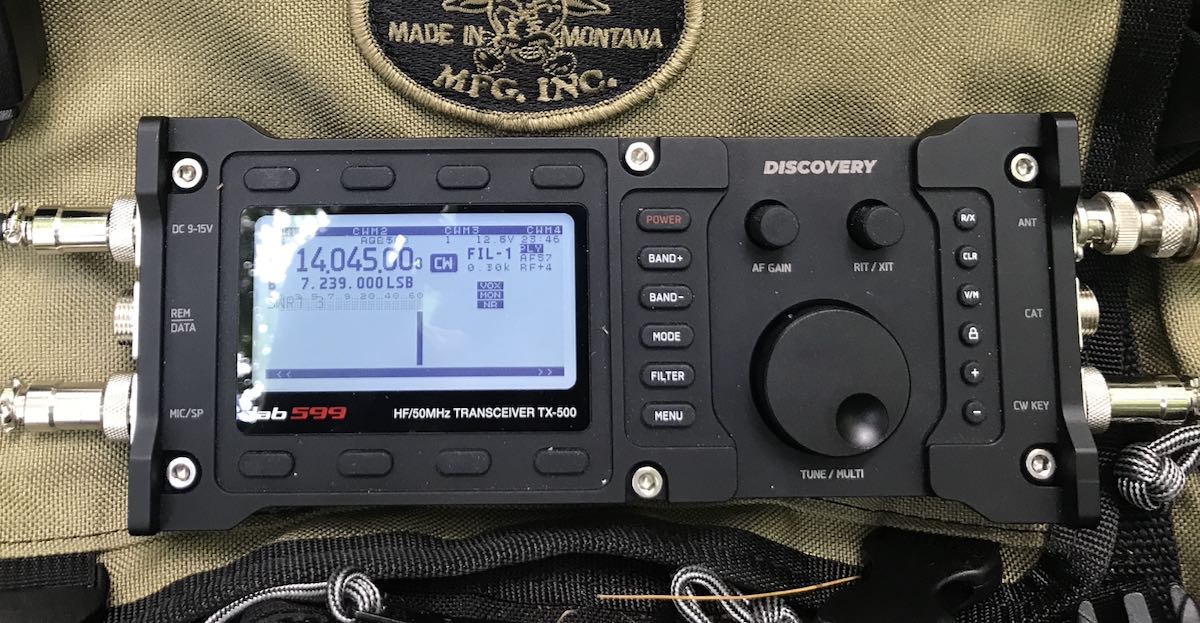
The lab599 Discovery TX500
Here at SWLing Post HQ, I review lots of radios and have a special affinity for field radios. Many times, I either obtain a radio as a loaner from the manufacturer (like the lab599 TX-500), or I purchase a radio with the intention of selling it after the review (as I will with the Xiegu G90). In either case, I don’t want to build a specific field kit for that radio because it’s really only visiting SWLing Post HQ.
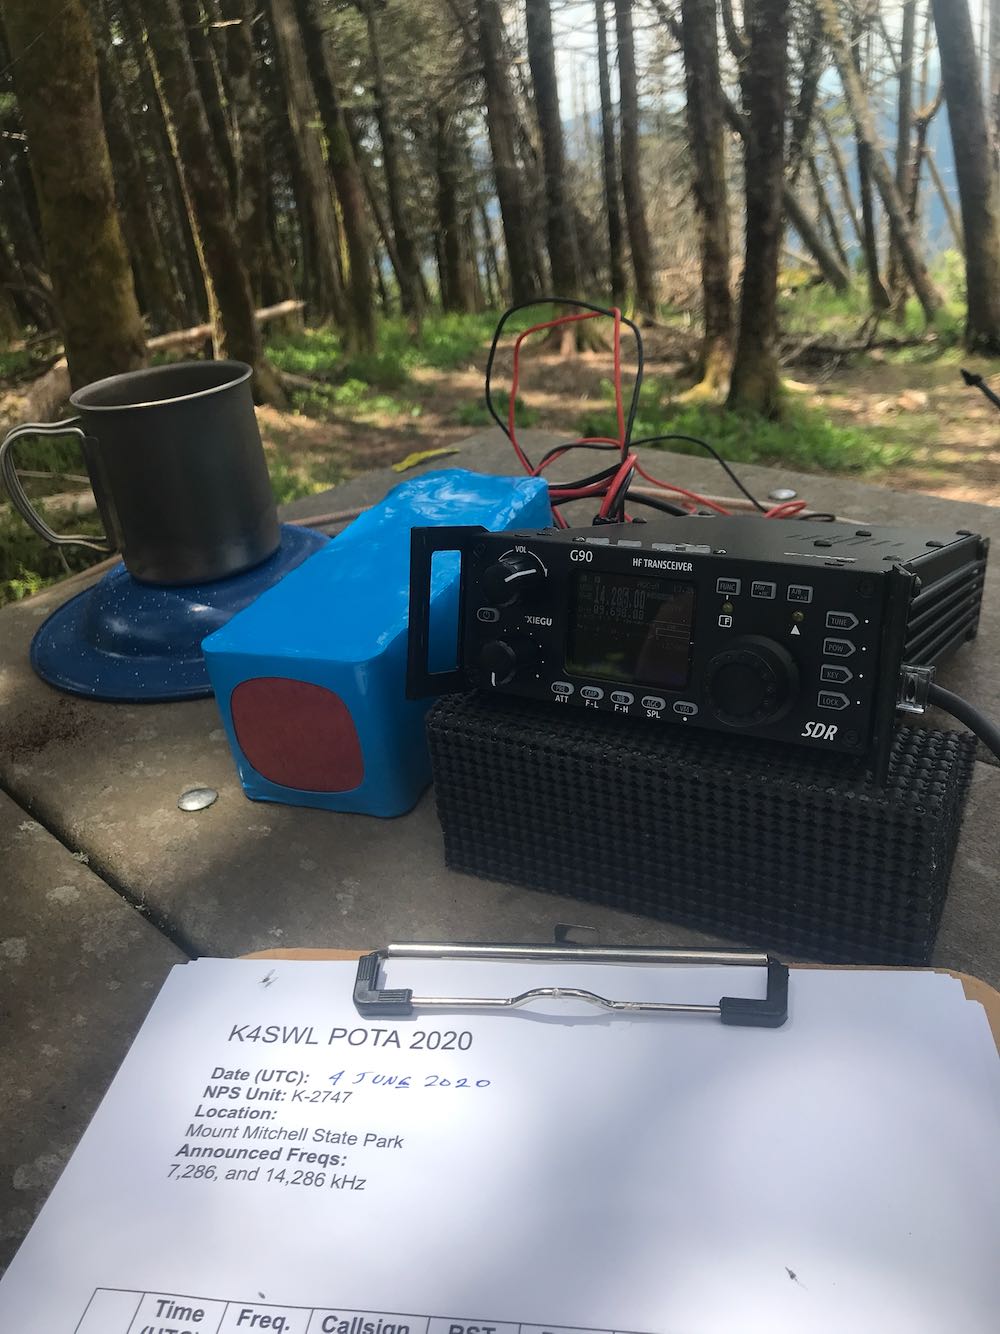
The Xiegu G90
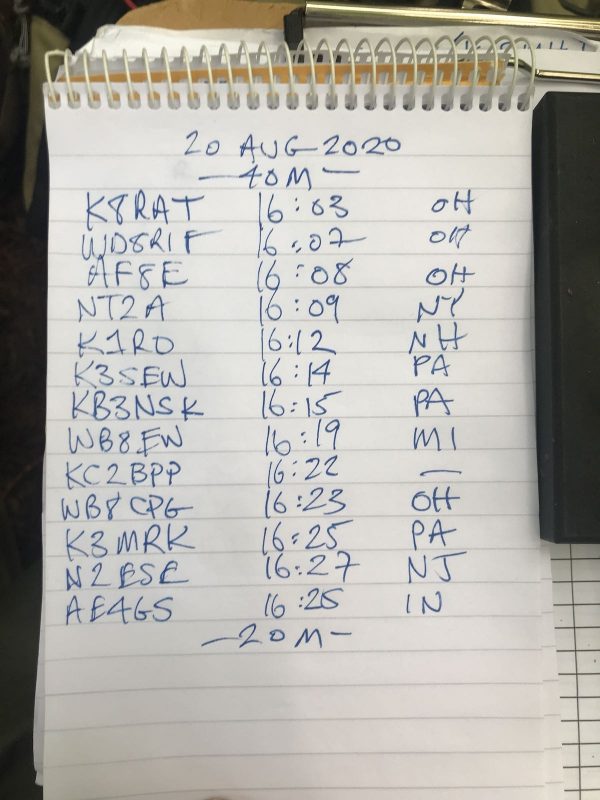
When I first took the Xiegu G90 to the field, I felt confident I could simply throw together a quick field kit in one of my smaller backpacks. As I prepared for an impromptu POTA park activation, I discovered that I needed a coax feed line for the kit and the quick solution was to grab the one from my Elecraft KX2 field kit. Even though I knew that would be violating my Golden Rule–a rule I had adhered to for five years and counting–I did it because I was very pressed for time. That activation went off without a hitch–a total success.
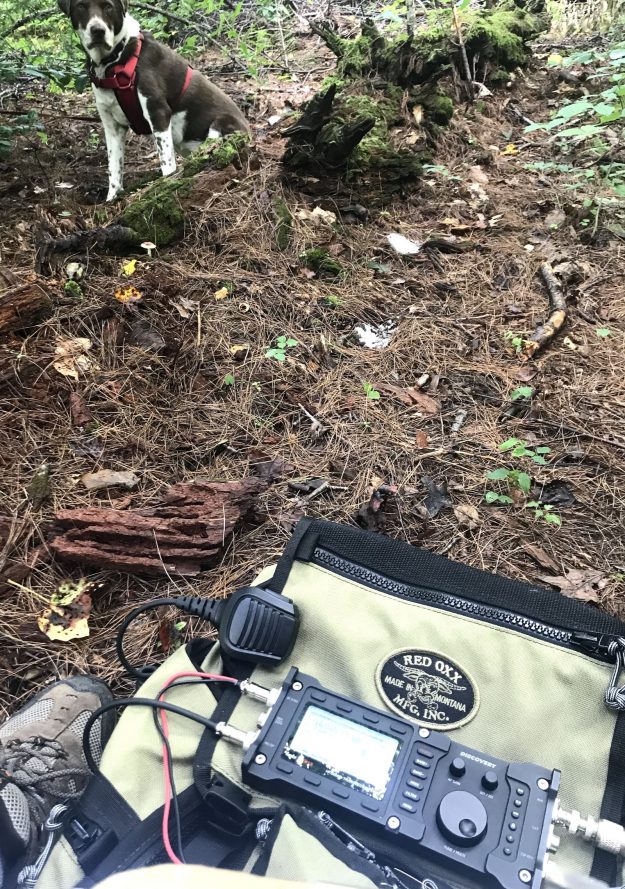
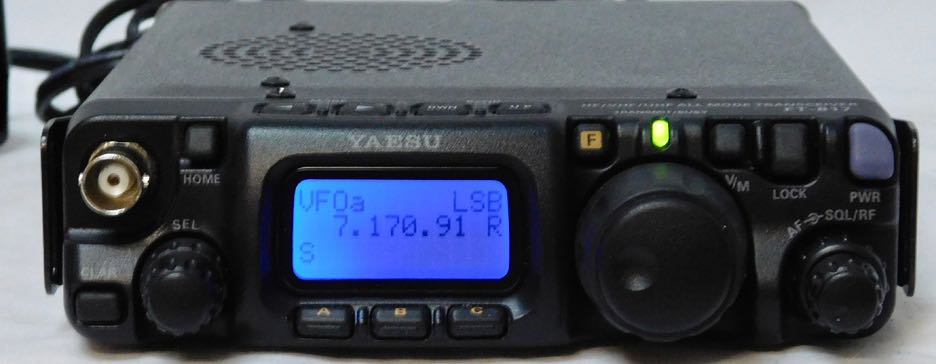
Fast-forward two days later and I had another opportunity to do a park activation, but this time I wanted to use my Elecraft KX2 because I knew I would need to hike into the site and I’d also have to both log and hold the transceiver on my clipboard while sitting on my folding stool. The KX2 is ideal for this as it’s compact and has top-mounted controls.
I hiked into DuPont forest, found an ideal site to play radio, starting deploying the antenna and quickly realized I forgot to put the feed line back in the KX2 kit. Doh! Without even a short piece of coax, I had no way to connect my KX2 to the antenna.
Fortunately, I happened to have a spare coax line back in the car and I also keep two extra BNC adapters in the KX2 kit. Still, I kicked myself as I hiked all the way back to the car. Had I only followed the Golden Rule that had served me so well!
In the end, it could have been worse. I still got to do my activation and hadn’t wasted a 2.5 hour round trip to the park.
You’d better believe the first thing I did when I got back home was to put the coax back in my KX2 field kit and my radio world order had been restored again.
Back to the pack!
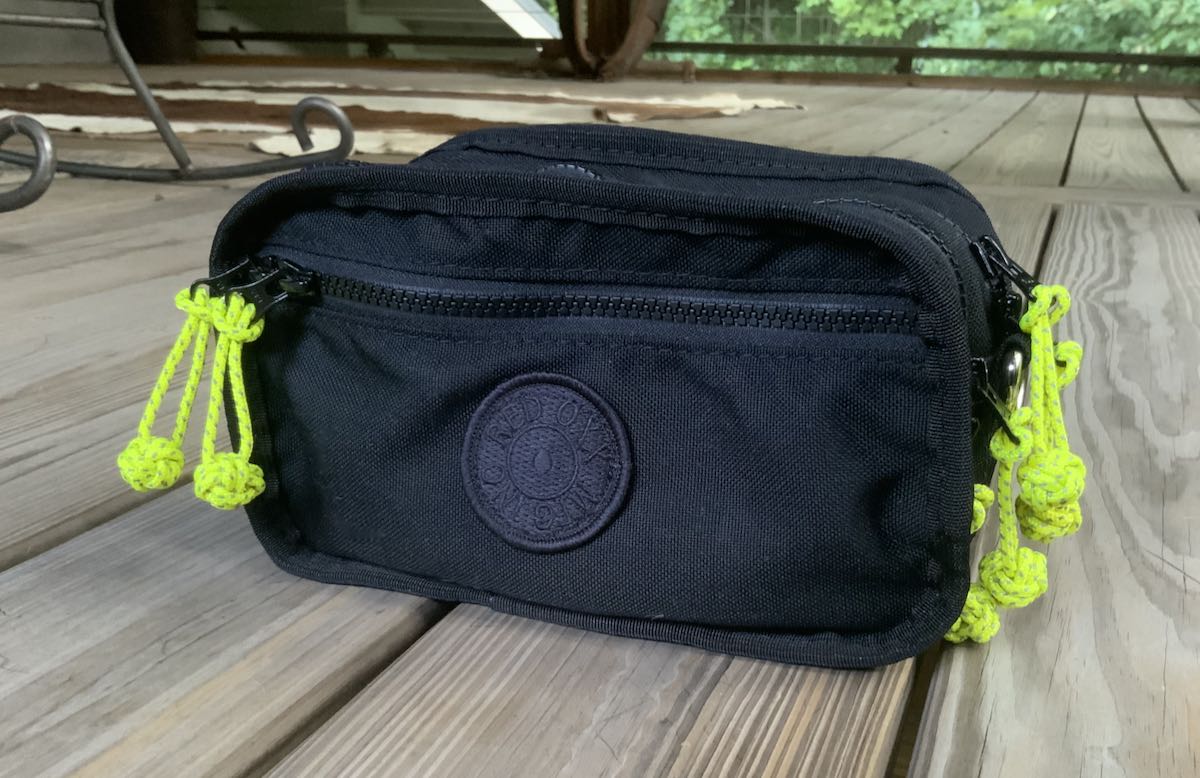
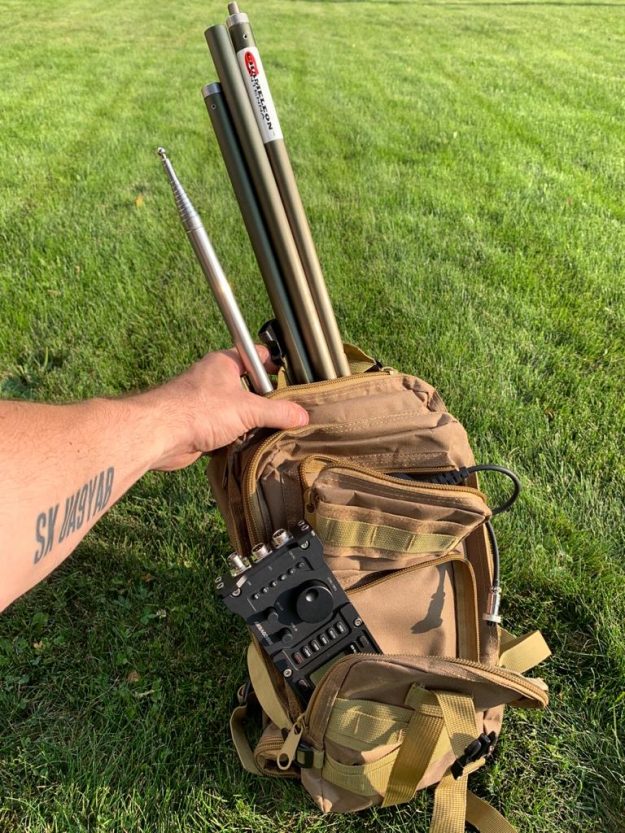
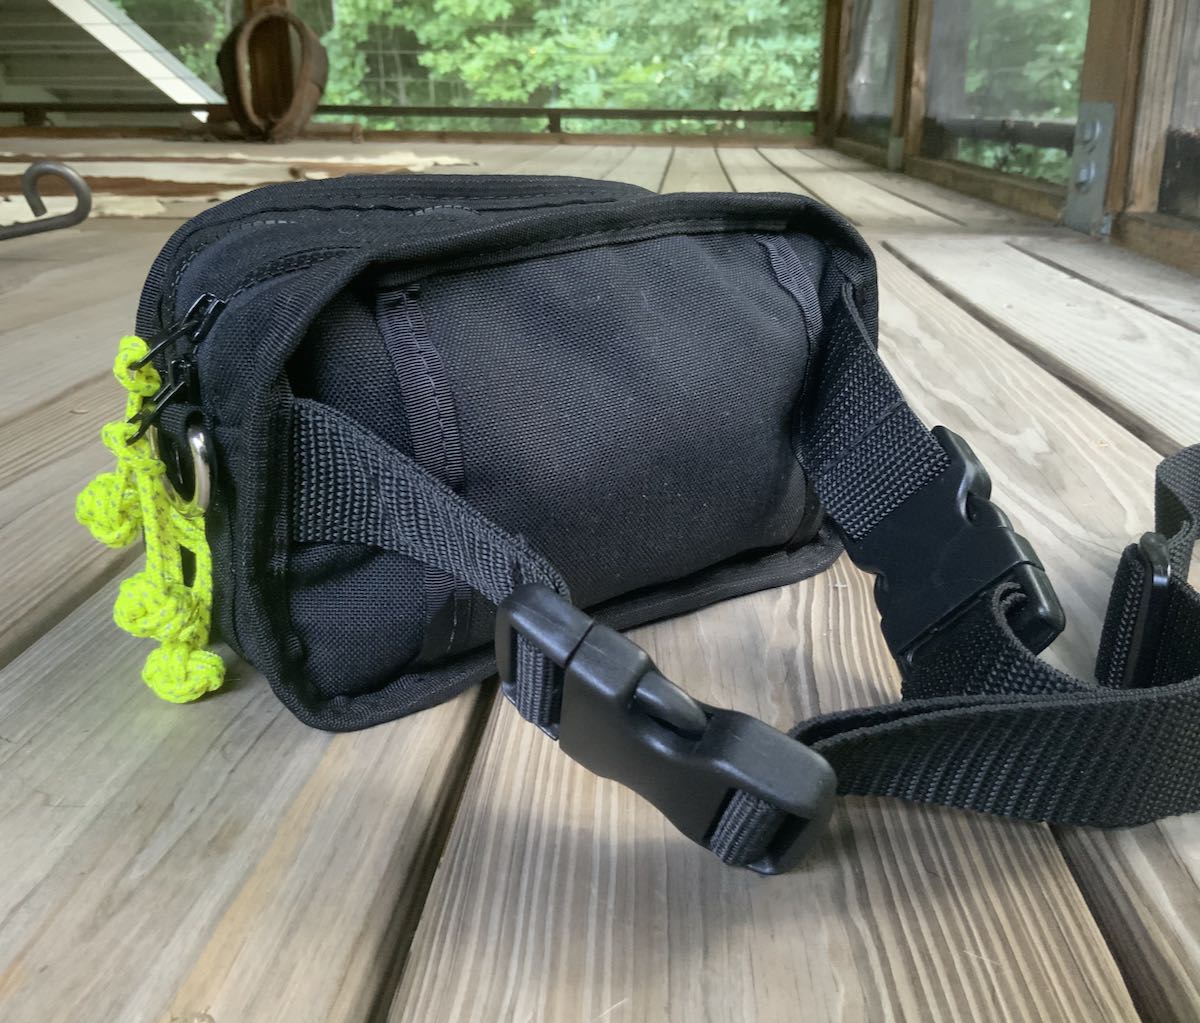
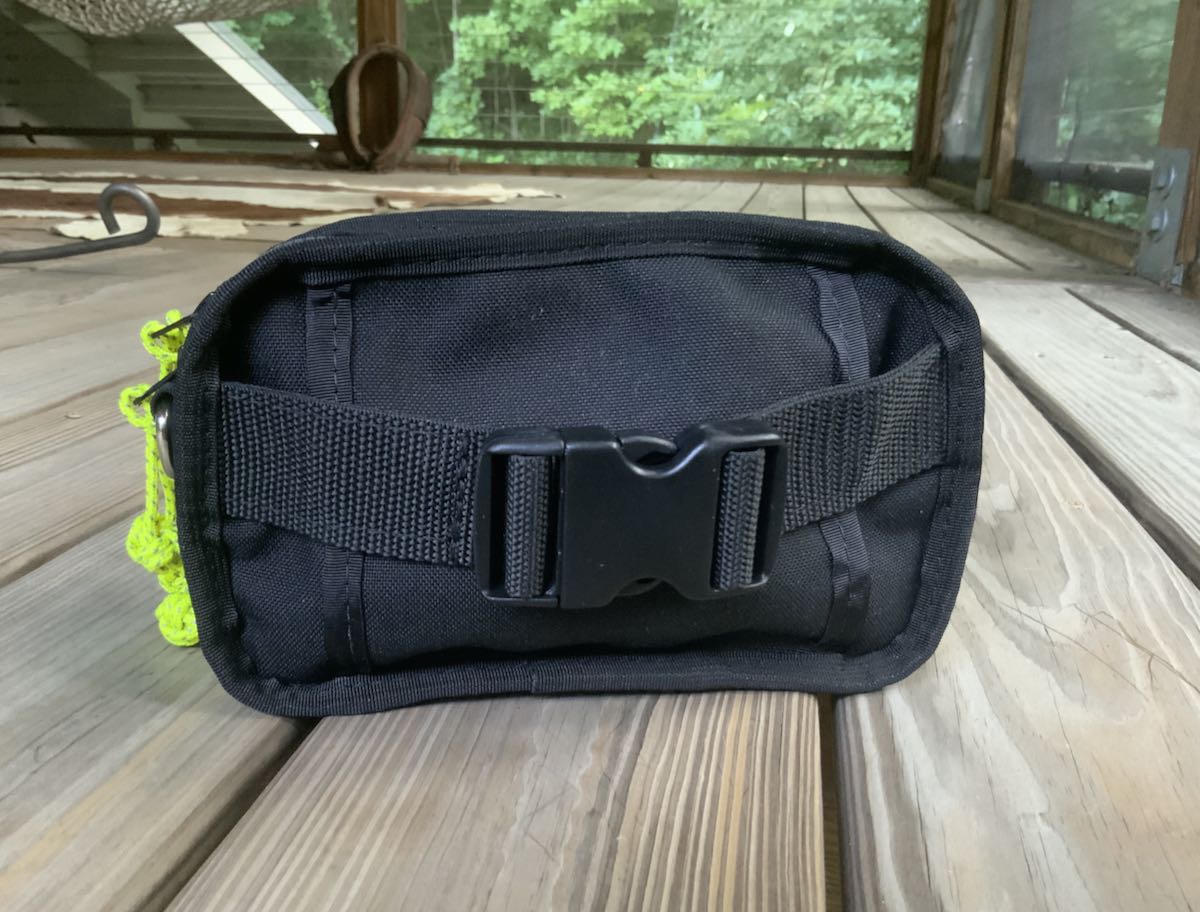
I picked the Red Oxx Booty Boss for the MTR-3B because 1.) it’s an ideal size for a super-compact field kit, 2.) it can be carried a number of ways (on back, sling, and over shoulder), 3.) with straps detached, it’s compact & easily fits in my EDC pack and 4.) I love Red Oxx gear and love supporting the company. When you buy a Red Oxx bag, you know it’ll outlast you…not the other way around.
I also ordered reflective monkey fist zipper pulls to replace the stock zipper pulls so that the pack would be easy to spot, for example, on a forest floor at twilight.
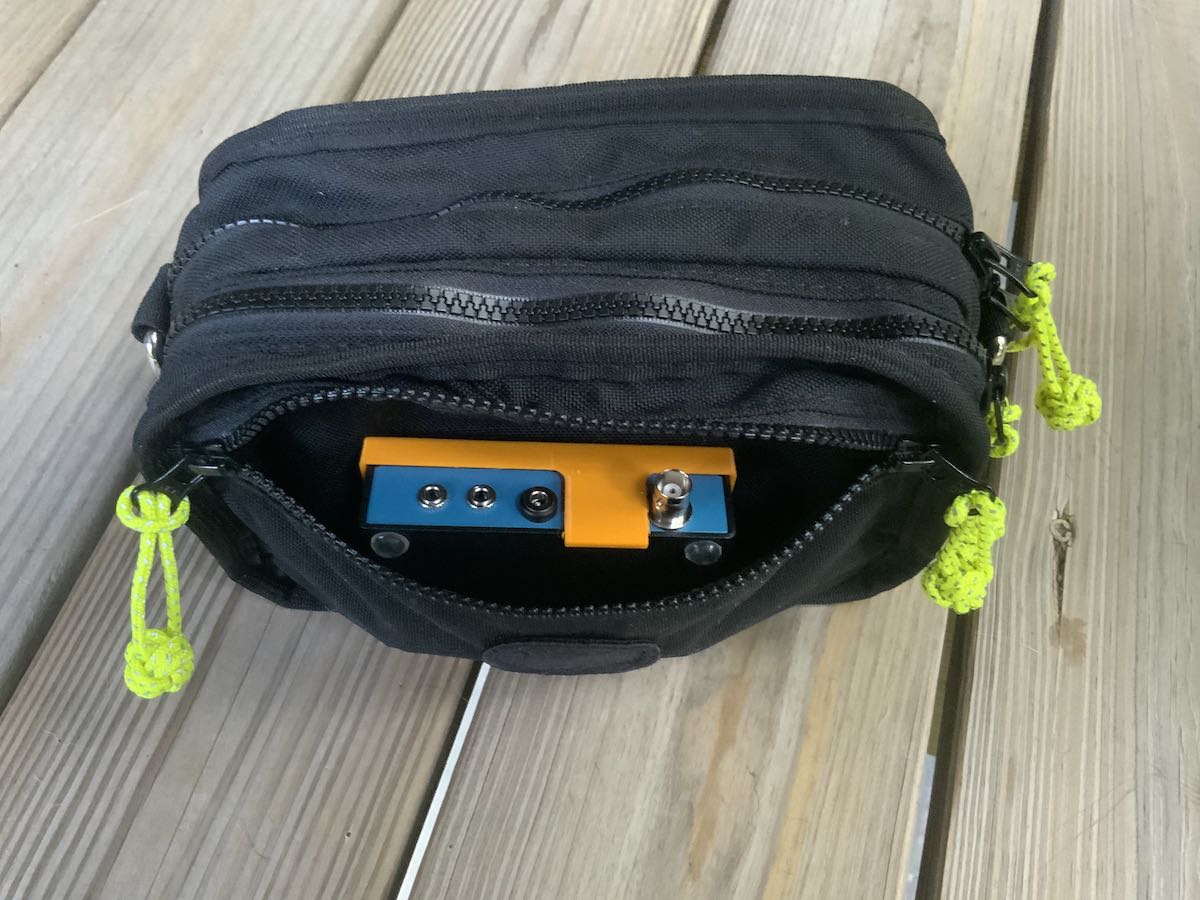
Here’s what I’m putting in the Booty Boss:
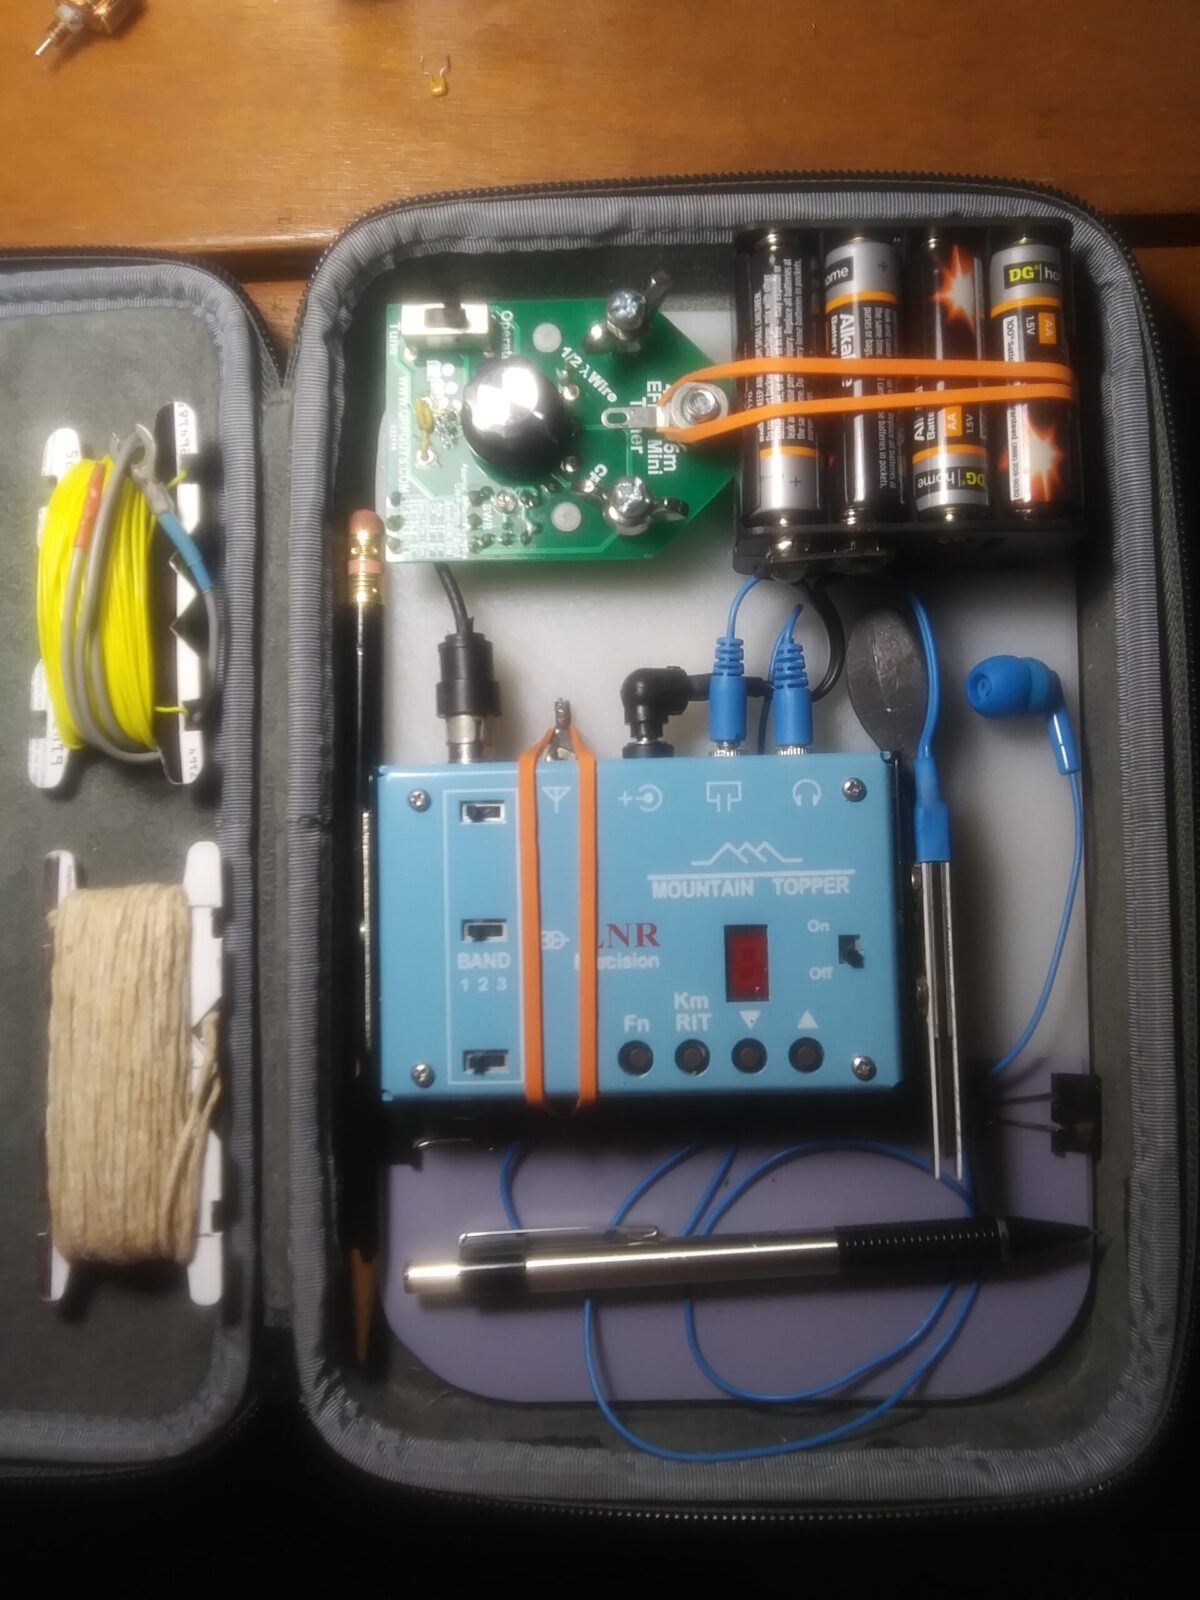
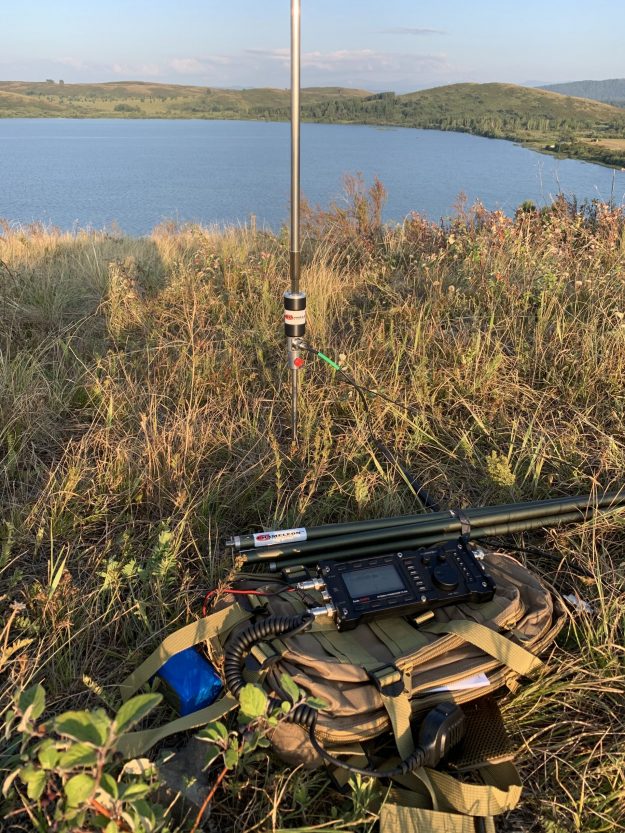
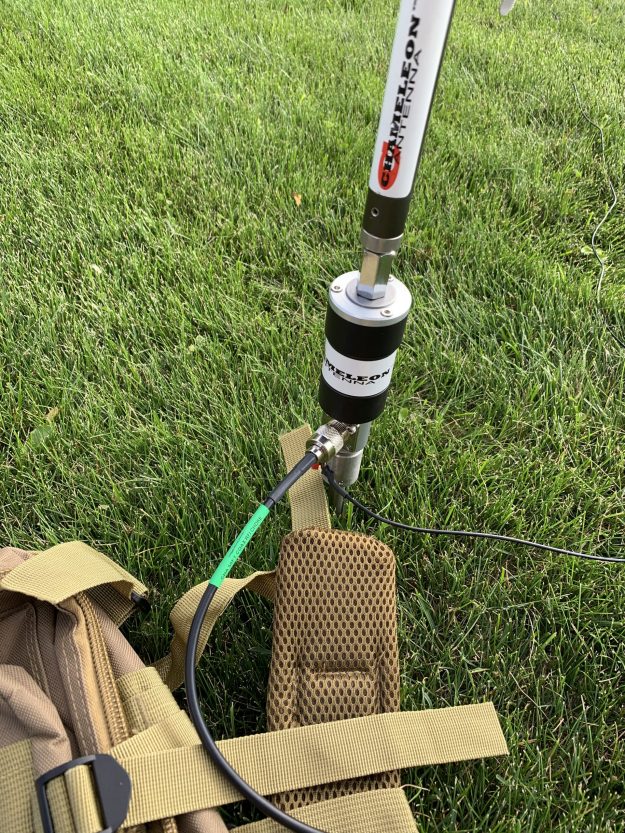
- LnR Precision MTR-3B
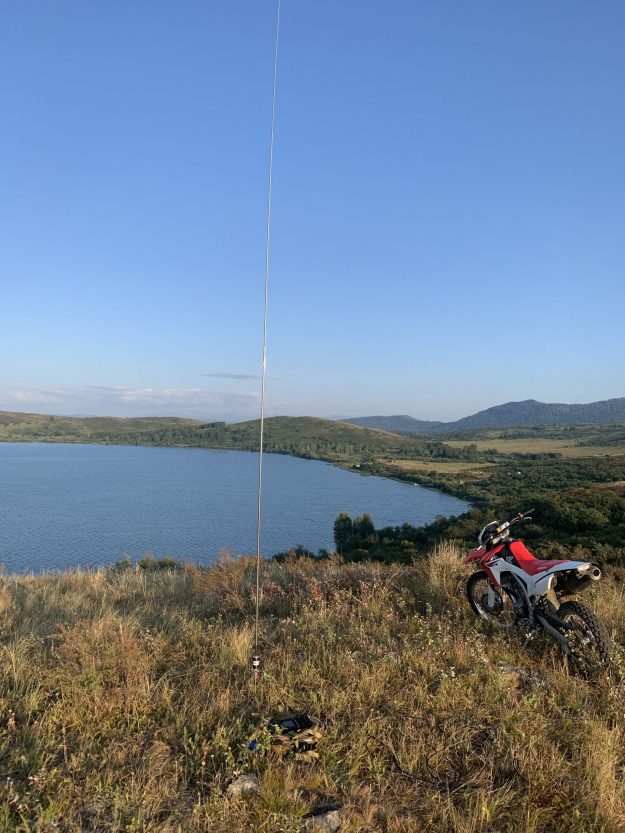
- Vibroplex EFT MTR antenna
- Bioenno LiFePo 9V 3Ah batttery
- ABR Industries 8ft ABR316 BNC Male Both Ends, HST cable
- Sennheiser earphones with in-line volume control
- Extra connectors, mini first aid kit, flashlight, etc.
Here’s the amazing thing: without realizing it, everything in this kit save my earphones was designed and manufactured in the USA. The Booty Boss was made in Montana, the MTR-3B in North Carolina, the Vibroplex antenna in Tennessee, the ABR cable in Texas, the Bioenno battery pack in California. My 20 year old Sennheiser earphones were made in Germany.
I think that’s pretty darn cool and certainly bucks the trend!
Within a week, my battery and cable should arrive and the MTR-3B field kit will be ready for adventure.
I can’t wait!
Do you enjoy the SWLing Post?
Please consider supporting us via Patreon or our Coffee Fund!
Your support makes articles like this one possible. Thank you!