Tag Archives: Radio Repair

Using bus service to ship heavy vintage radios

Many thanks to SWLing Post contributor, James Branch, who shares the following comment regarding the shipment of heavy vintage radios:

On the issue of shipping Boat Anchors, I’ve had good experiences using Greyhound Package Express, Tough-bin structural foam footlockers and proper padding.

The parcel is loaded at the bus station of origin and usually remains on that bus to its destination without having to survive a sorting center or multiple unhappy loading personnel.

It may be inconvenient to drop off and pick up at the bus terminal, but considering the irreplaceable nature of these rigs, it’s worth the effort.

http://www.shipgreyhound.com/e/pages/Home.aspx

I had no idea!  Thank you for the tip, James!

Spread the radio love

Finding a repair service for boat anchors and other vintage valve/tube radio gear

Vintage tube radios will likely survive an EMP, but how do you power them without mains electricity?

Here’s a common question I receive from SWLing Post readers:

“Where can I have my vintage valve/tube radio repaired? Can you recommend a good repair service?”

The answer isn’t always a simple one, especially for those living in rural or remote parts of the world.

Go local

The short answer is: try to find a local repair service.

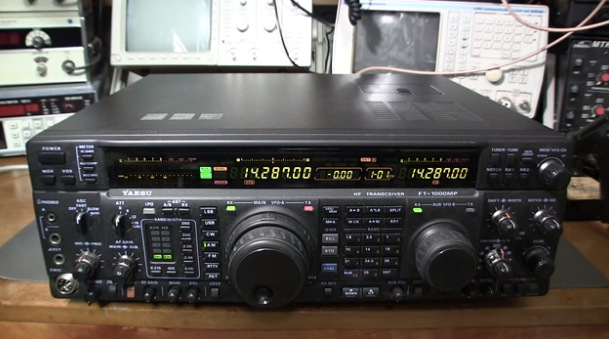
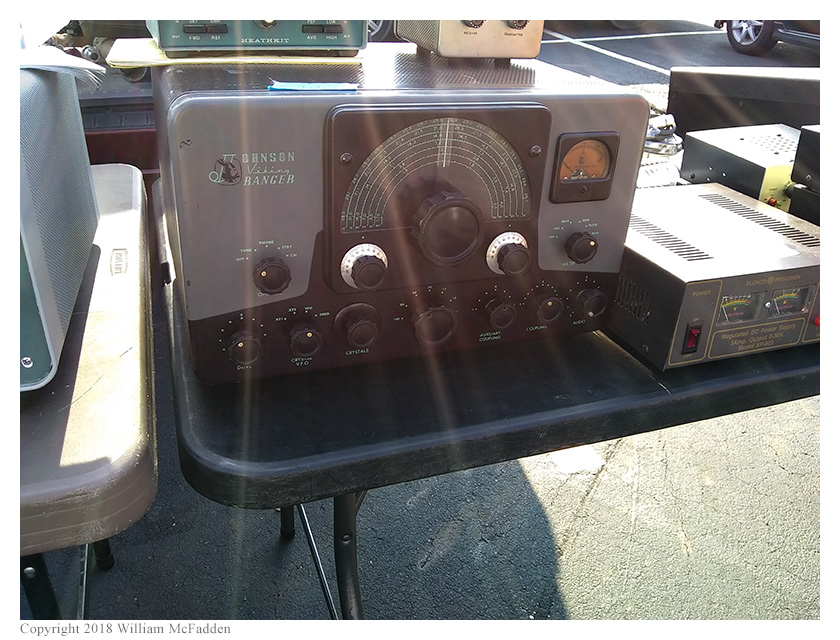
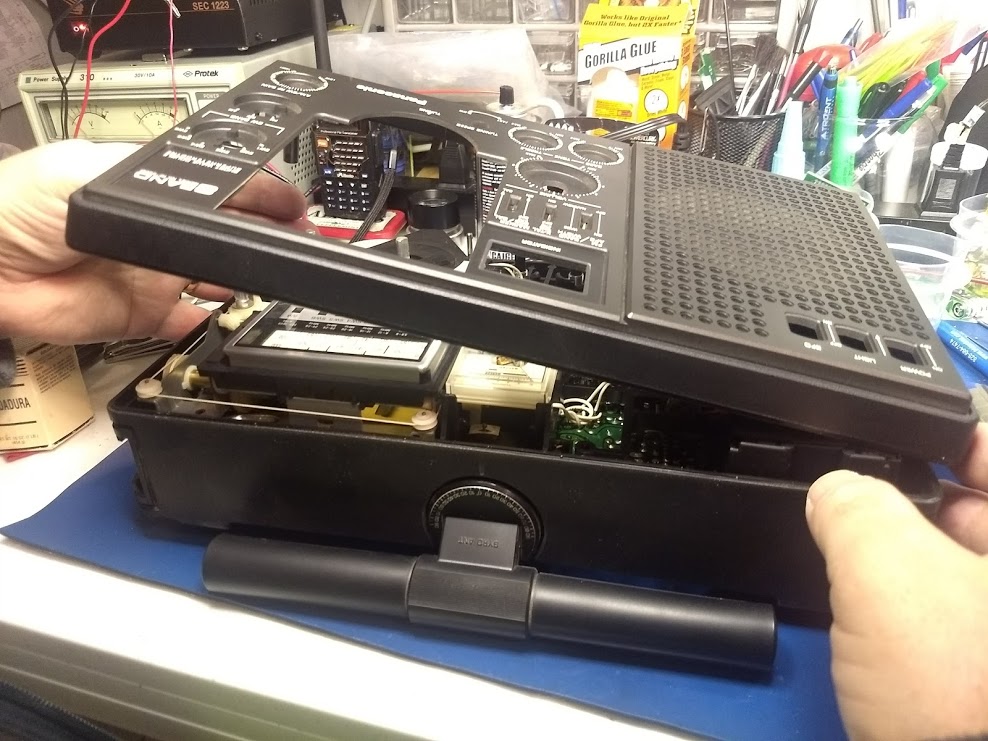
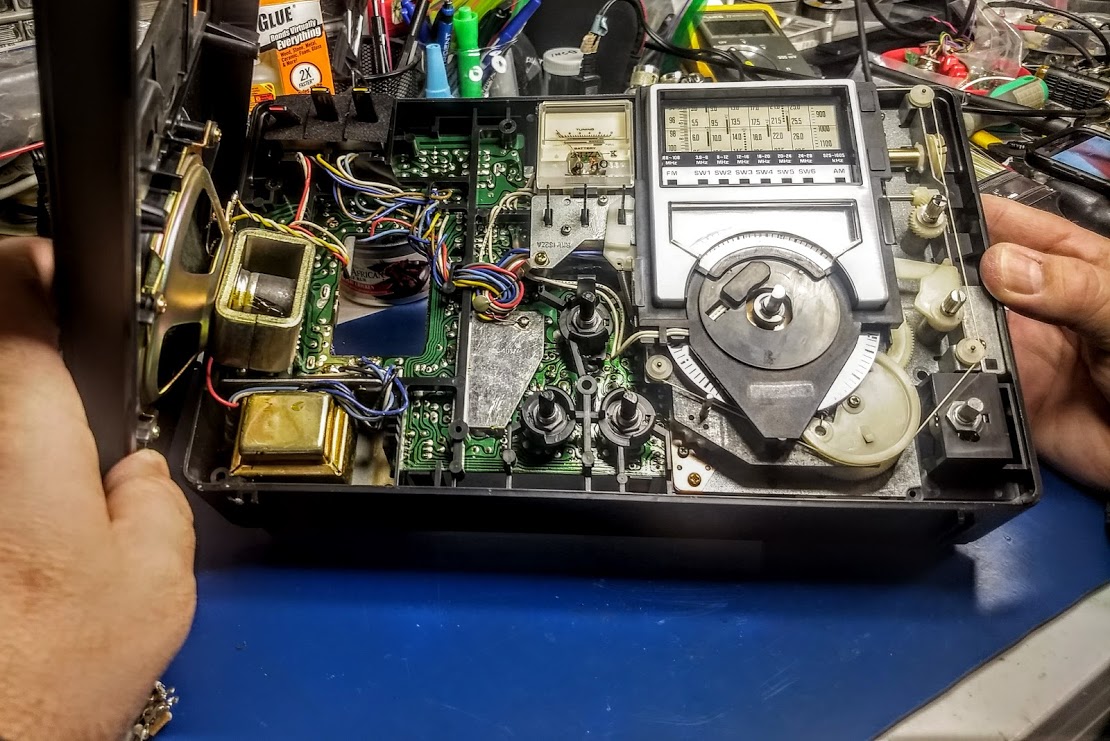
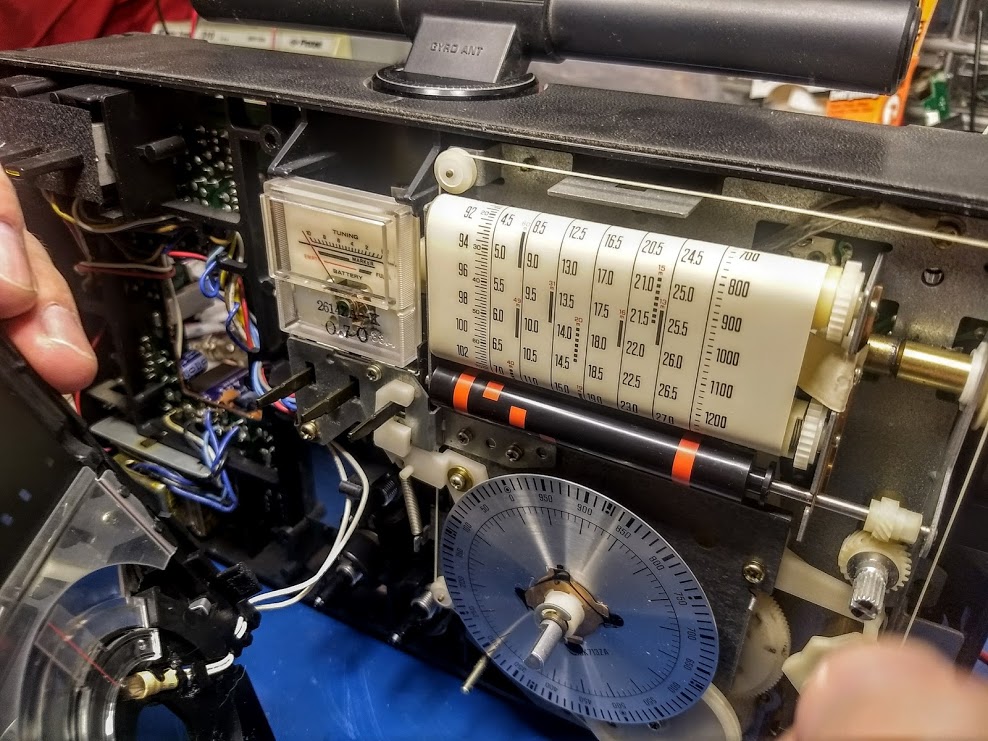
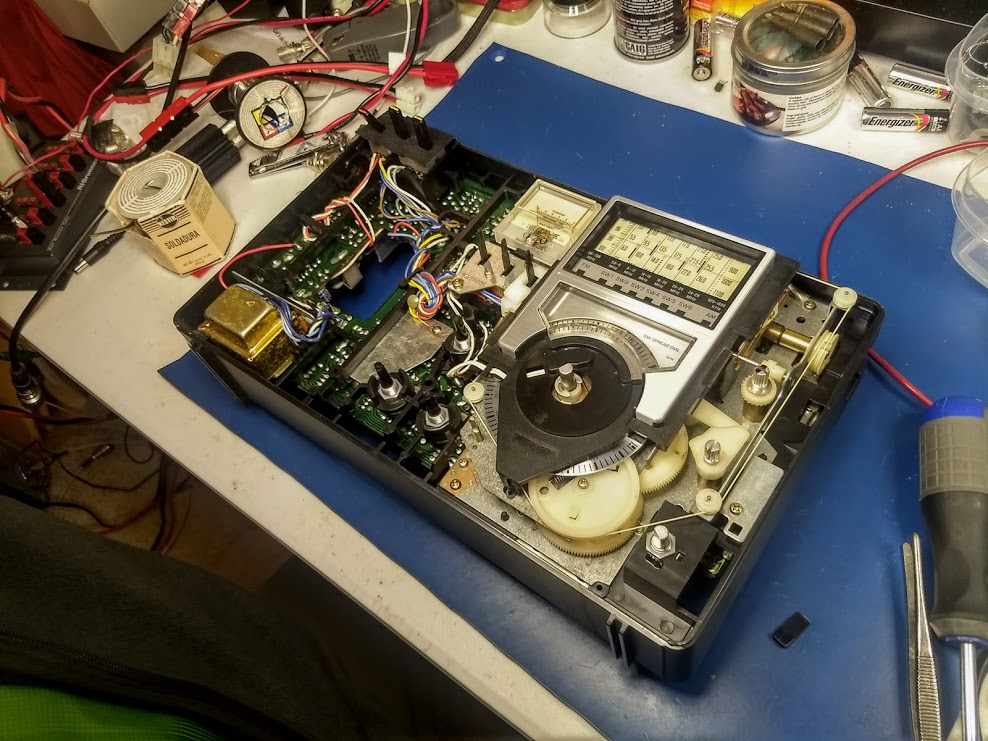
Unlike modern solid state radios, “boat anchors” (metal chassis vintage radios) are heavy and very pricey to ship.

Some repair services and retailers won’t even consider shipping vintage metal chassis radios because of the likelihood of damage or a tube or other component loosening during transit resulting in a DOA (Dead On Arrival) situation. They insist on in-store or local pickup/delivery.

Johnson Viking Ranger transmitter


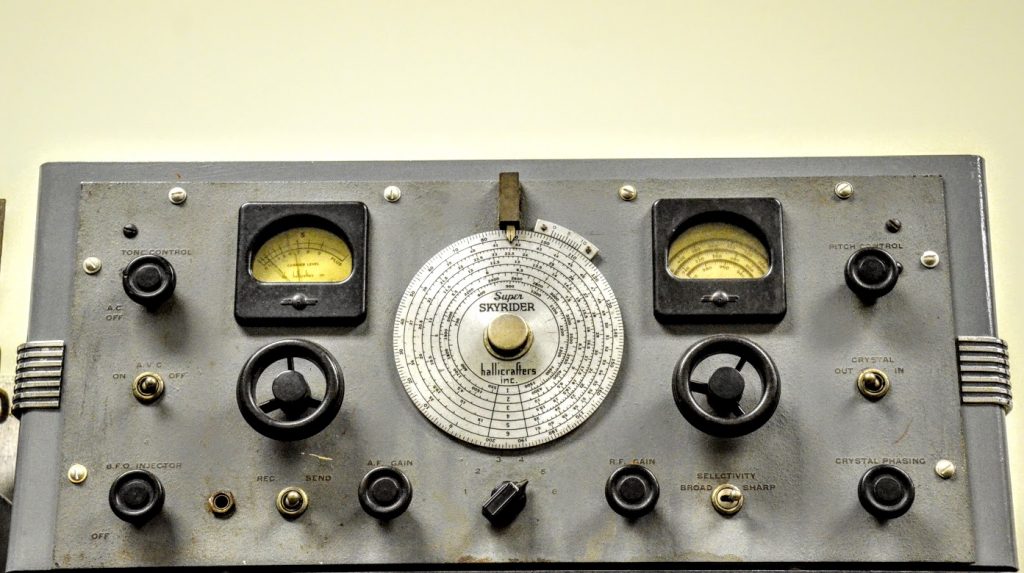
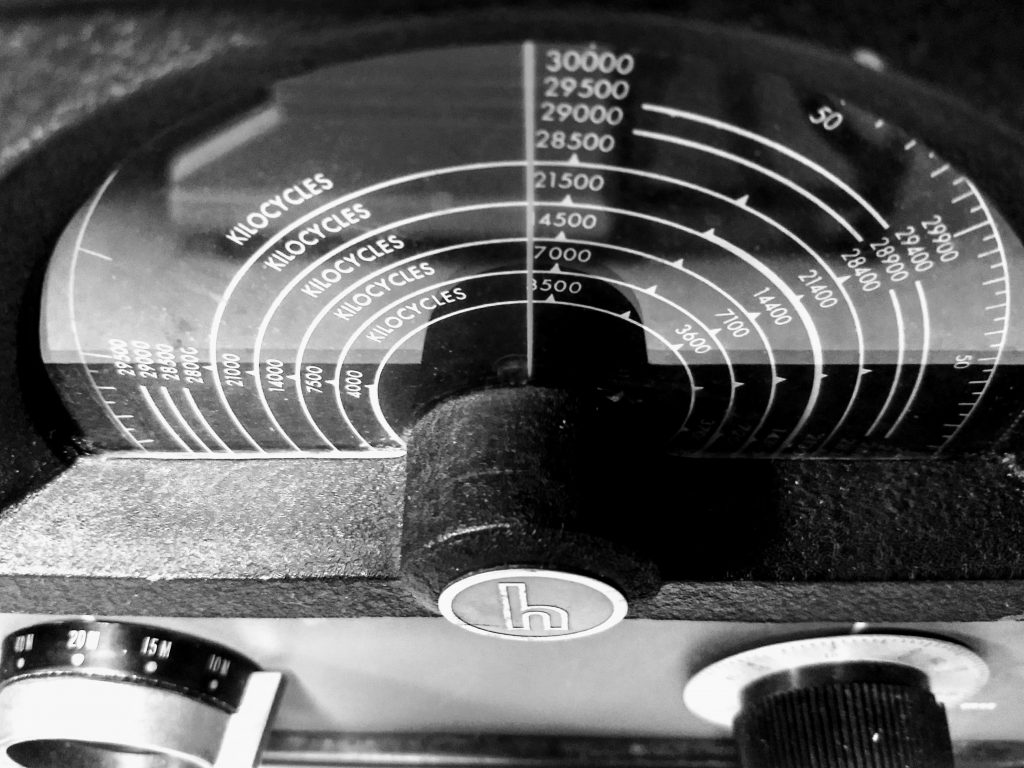
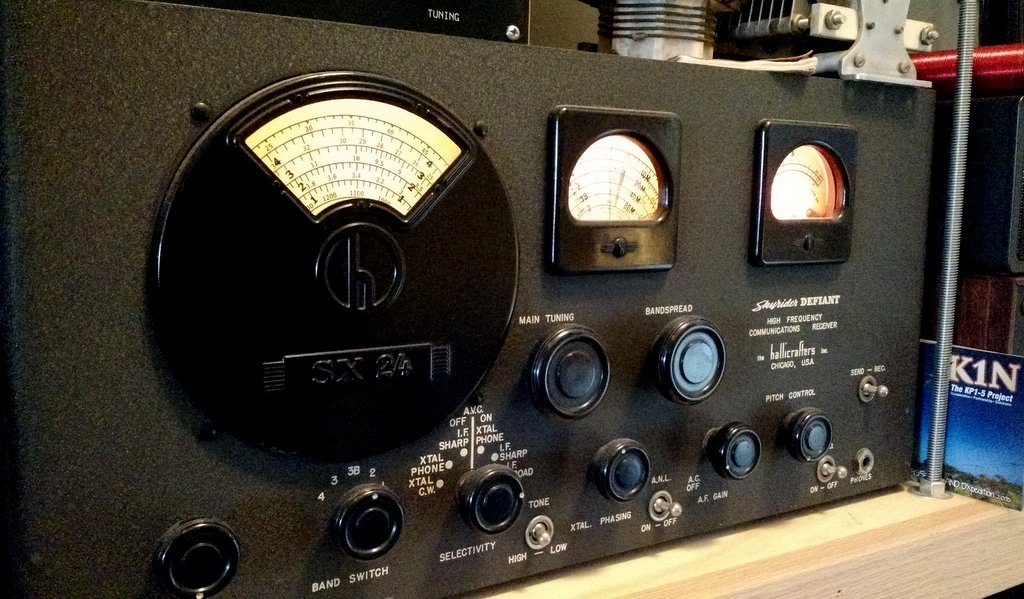
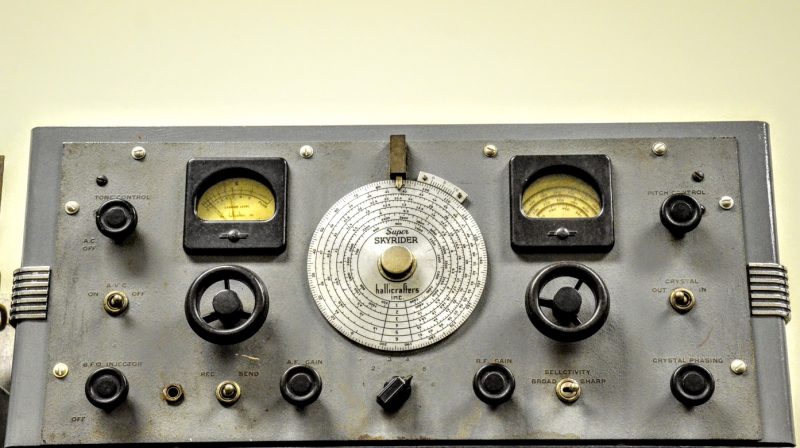
Last year at the Dayton Hamvention I was speaking with an acquaintance who restores and repairs vintage tube radios–he specializes in WWII and Cold War era boat anchors (Collins, Signal Corps, Hallicrafters, National HRO, etc.). Although he makes a tidy profit from doing repairs, it’s most certainly a labor of love and not the most profitable use of his time.  He told me that he recently stopped accepting any repairs other than those delivered and picked up locally.

He told me he took great care in packing equipment after repairs had been made–he’d secure all components so that they couldn’t budge during shipment and would either double box or use industrial strength cartons. Being so diligent, his return shipments almost always arrived unscathed, but customers would complain about the shipping costs. He could, of course, skimp on packaging, but then risk his repair work being undermined by rough handling. He was never willing to compromise on shipping and I certainly don’t blame him.

So again, due to the complexities of shipping heavy gear, I always recommend trying to find someone local to do your “boat anchor” repair work first.

Where can you find a local repair shop? If you belong to or know of a local ham radio club, stop by a meeting and ask around. If there’s a vintage radio repair technician in town, someone in the club can likely connect you.

Shipping boat anchors

With that said, there are some excellent repair technicians out there who will take work via parcel shipments, but be prepared to pay upwards of $50-150 each way each way (depending, of course on the radio size and weight).

Lighter tube radios are easier and cheaper to ship, but should still be packed carefully. Bakelite radios, for example, are lightweight but incredibly fragile.

In short: if you ship your vintage radio, pack meticulously and confirm that your repair person will do the same.

And where do you find repair services? I point readers to radio repair service reviews on eHam.net. You might also search the QRZ.com forums or even post a question.

Let’s be clear: some radios are worth the shipping costs!

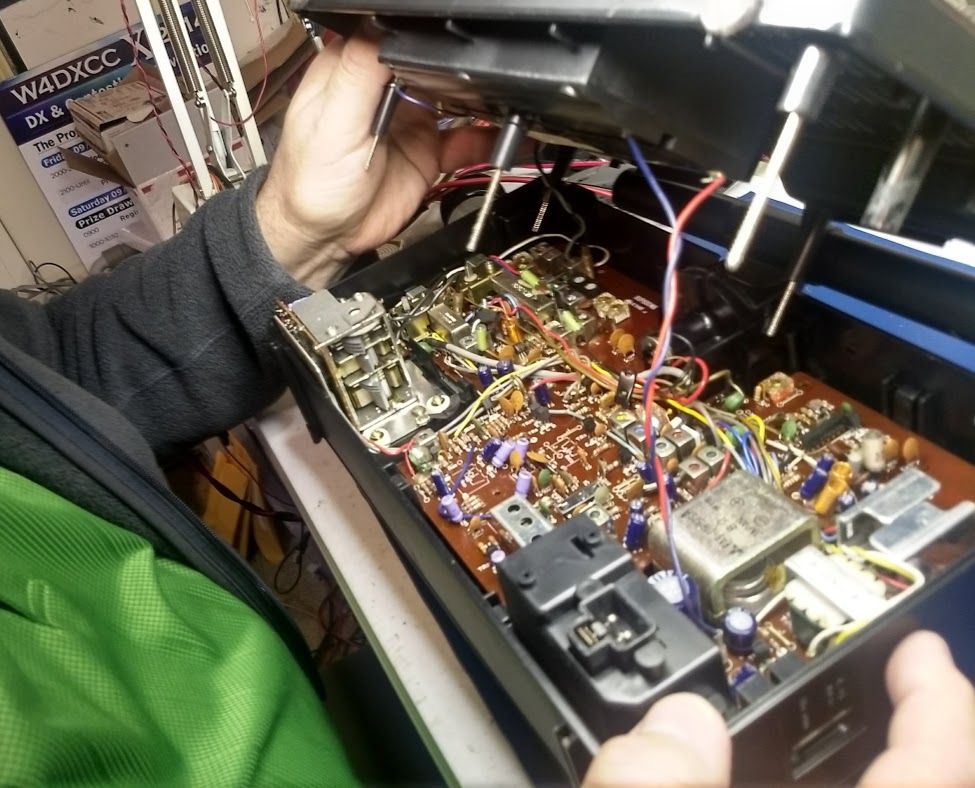
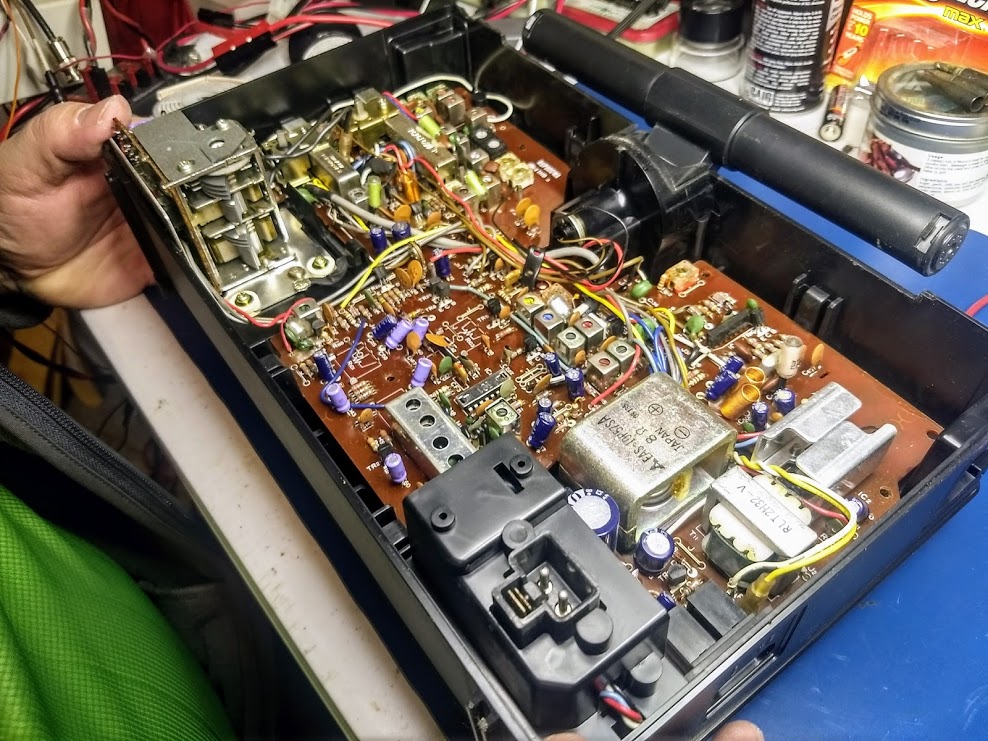
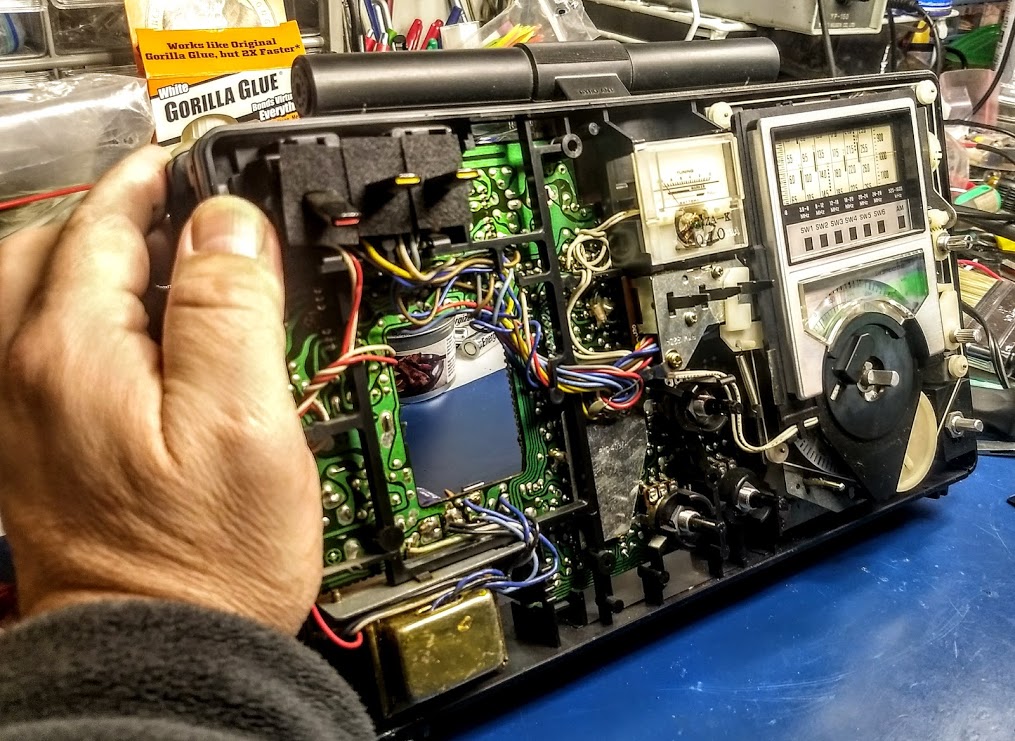
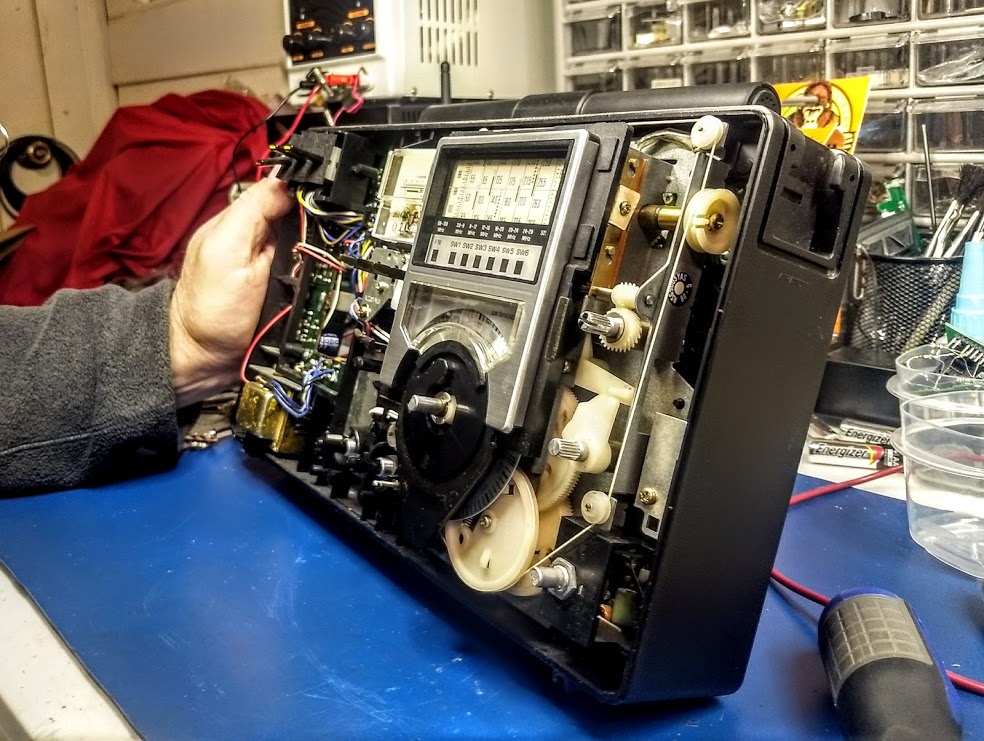
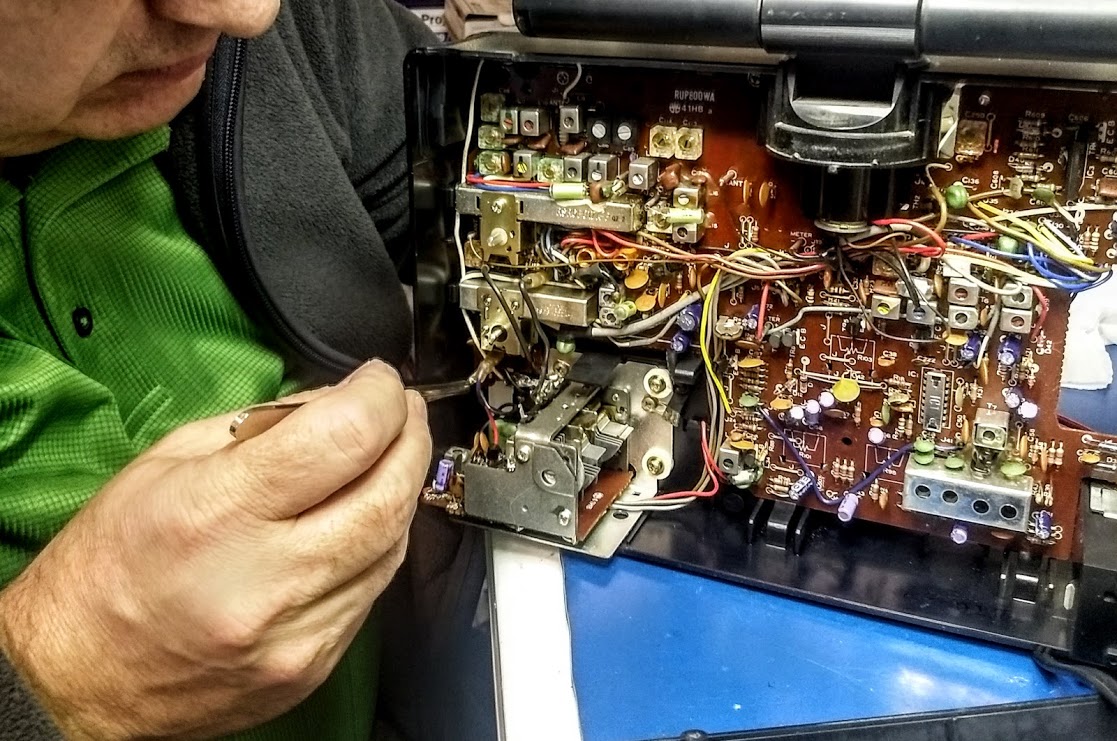
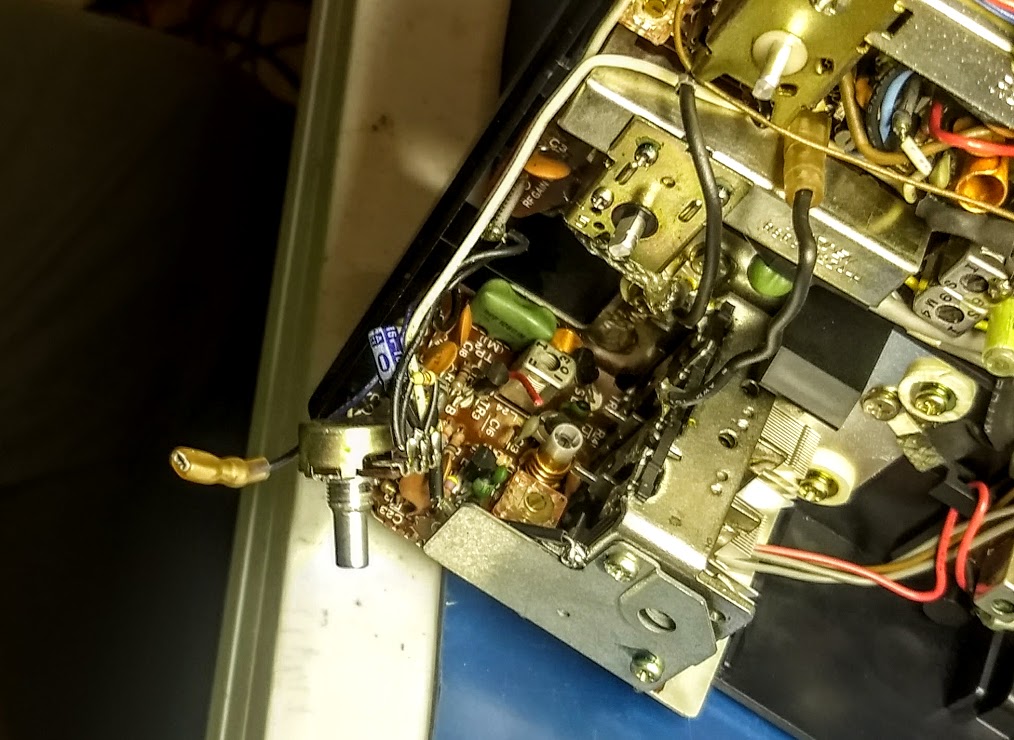
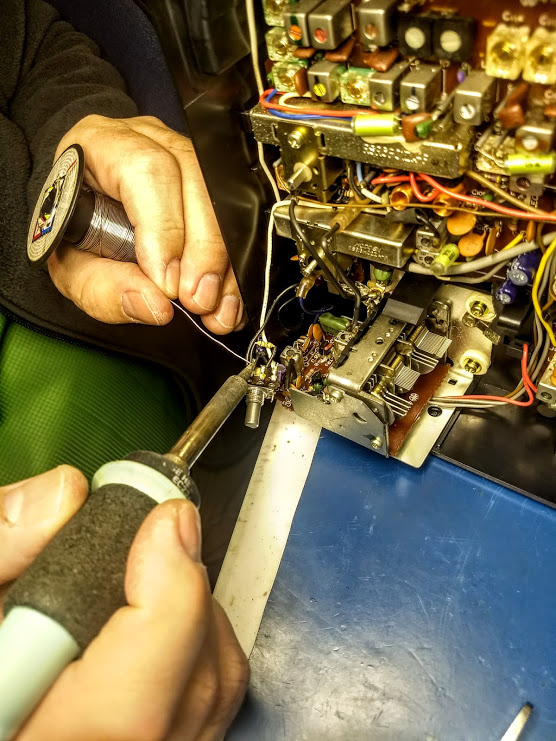
I am fortunate in that I do have a local friend and mentor Charlie (W4MEC) who repairs tube gear. Better yet, Charlie is willing to teach me how to do repairs and alignments myself. This, I would argue, is the best of both worlds!

A Note of Caution: When it comes to repairing tube/valve gear, I believe you should always learn the ropes with an experienced technician. Unlike battery-powered solid state devices, tube gear is mostly high voltage. If you don’t know what you’re doing inside the chassis of a tube radio, you could be severely shocked or even electrocuted. No radio is worth that price.

Who do you recommend?

If you have any advice about repairing boat anchors and other vintage electronics, please comment! Also, if you can recommend a repair service, please share details.

Spread the radio love

Joseph Hovsepian: Montreal’s “Radio Doctor”

Many thanks to SWLing Post contributors Scott Gamble and Bill Mead who both share the following story via the CBC News:

Joseph Hovsepian says he is part of the last generation that knows how to repair electronics

Joseph Hovsepian has been repairing? radios for so long that he claims that he can sometimes smell the problem.

“When I pick up a radio, I turn it on or I plug it in and the way it smells, the way it sounds or doesn’t sound, the way it crackles and fades away, all these things are recorded in my brain and I know exactly how to start and how to fix it,” he said.

Since 1960, Hovsepian has been fixing radios, turntables and other electronic gadgets from his Parc Ave. repair shop.

The 79-year-old sees himself as part of the last generation of people trained in the art of repair.

“We have lost the ability to touch things, fix things, repair them and feel good for doing it,” he said.

For almost his entire life, Hovsepian has been tinkering with radios. He built a crystal radio when he was 12, and his first tube radio at 15.

[…]He believes that today’s electronics lack the warmth that the old radios offered. Hovsepian said smartphones look dead to him compared to old technology.

“Even the sound of the old radios, a little scratch here, a little scratch there…This is radio.”[…]

Click here to read the full article at CBC News.

This is a charming story and I think Post readers can certainly understand why radio seems to be in a class of its own. I feel very fortunate that I’m friends with two people who repair radios for others, my buddy Charlie (W4MEC) and Vlado (N3CZ). Both are kind enough to show me the ropes as they troubleshoot problem sets.

Post readers: Do you live somewhere with a radio repair shop? Have any readers ever visited Mr. Hovsepian’s shop in Mile End? Please comment!

Spread the radio love

Doctor Vlado repairs the Panasonic RF-2200 (Part 1)

Panasonic RF-2200 at Hamvention

Last year, at Hamvention, I picked up a Panasonic RF-2200 for $70. It came with the original box, manual and was in superb cosmetic condition.

The seller told me that over the years he exclusively used the radio to listen to a local FM station.

At that price, I didn’t hesitate to make the purchase even if this would have simply been a non-functioning parts radio for my other RF-2200.

After I brought the radio home, I unpacked it and gave it a quick test.

FM worked brilliantly. Mediumwave and shortwave, however, were essentially deaf. I made the assumption that the ‘2200’s switches and pots likely needed cleaning with DeoxIT. The next day, I was leaving for a two month trip to Canada though, so I packed the RF-2200 back into its box and set it to the side of my shack table.

Fast-forward to yesterday…

While digging around my shack, I re-discovered the boxed RF-2200. Since I was planning to visit my buddy Vlado (the best radio repair guy in the world) yesterday evening, I thought I’d take the RF-2200 and do a proper contact cleaning. Several of the RF-2200’s switches and pots cannot be easily cleaned without removing the chassis.

(Click photos to enlarge.)

Vlado is familiar with the RF-2200 and since it’s not the easiest radio to work on, I asked for his expert hands on the job. Within seconds of handing him the radio, he plugged it in, tested the switches and pots, then removed the back cover (disconnecting the battery compartment leads) and then the front cover (disconnecting the speaker leads).

The magic behind the RF-2200’s classic analog dial:
Vlado offered a word of caution to anyone operating on their RF-2200: as you can see in the photo below, the dial string snakes around the front of the radio and is very close to some key components. You must exercise caution when having a soldering iron tip near the string, or using lubricants nearby.I didn’t realize this, but by the time Vlado started taking apart the RF-2200, he had already determined that even though the contacts needed cleaning, this wasn’t the source of the audio problem for the MW and SW bands.Vlado expertly pulled out the pot for the FM/AM/SW selection–not an easy task–began cleaning it, testing it and re-soldering contacts.

Vlado determined the pot was actually in good shape, thus started testing the rest of the circuit.

After a few minutes of performing tests and getting intermittent performance, he determined that at least one, if not more, of the RF-2200’s caps need to be replaced. Of course, neither one of us was terribly surprised. At this point though, it was getting late and I had an early wake up time in the morning, so I left my RF-2200 with Vlado.

Am I worried about this prognosis?  No, not in the slightest…

Doctor Vlado is on the job!

Vlado will have the RF-2200 back on the air in no time, working as well as it did when it was new. He’s actually performed a similar RF-2200 repair for an SWLing Post reader and I’m willing to bet this repair job is relatively simple compared to most he encounters (including the Icom IC-7200 he recently repaired after it was hit by lightening!).

I’ll try to post a “Part 2” update with photos of the RF-2200 repair.  Follow the tag: Panasonic RF-2200 Repair

Spread the radio love

Mr. Carlson restores and repairs a Hammarlund HQ-140-X

hammarlund-hq-140xMany thanks to SWLing Post contributor, Moshe, who writes:

Hi Thomas!
You must see this restoration job from Mr. Carlson’s lab:

Click here to view on YouTube.

Thank you for sharing this video, Moshe!  I truly enjoy watching Paul’s videos–no doubt, any radio turned over to him is in expert hands. I love how he explains, in such detail, each action he takes to restore and repair these vintage radios.

Click here to view Mr. Carlson’s YouTube channel.

Spread the radio love

Video: Yaesu FT-1000MP Repair

Yesu-FT1000MP-Reapir

Remember Mr. Carlson’s excellent video of the Sony CRF-320 restoration? Many thanks to SWLing Post contributor, Ken McKenzie, who shares a link to the latest Mr. Carlson video–a Yaesu FT-1000MP repair:

Spread the radio love

Video: Repairing, restoring and modifying a Sony CRF-320

Sony-CRF-320

Many thanks to SWLing Post contributor, Ken McKenzie, for sharing the most comprehensive video you’ll ever find on restoring the Sony CRF-320 receiver:

Click here to watch on YouTube.

Make sure you check out Mr. Carlson’s YouTube channel, Mr. Carlson’s Lab where you’ll find repair videos ranging from solid state to tube gear.

Thanks for the tip, Ken!

Spread the radio love