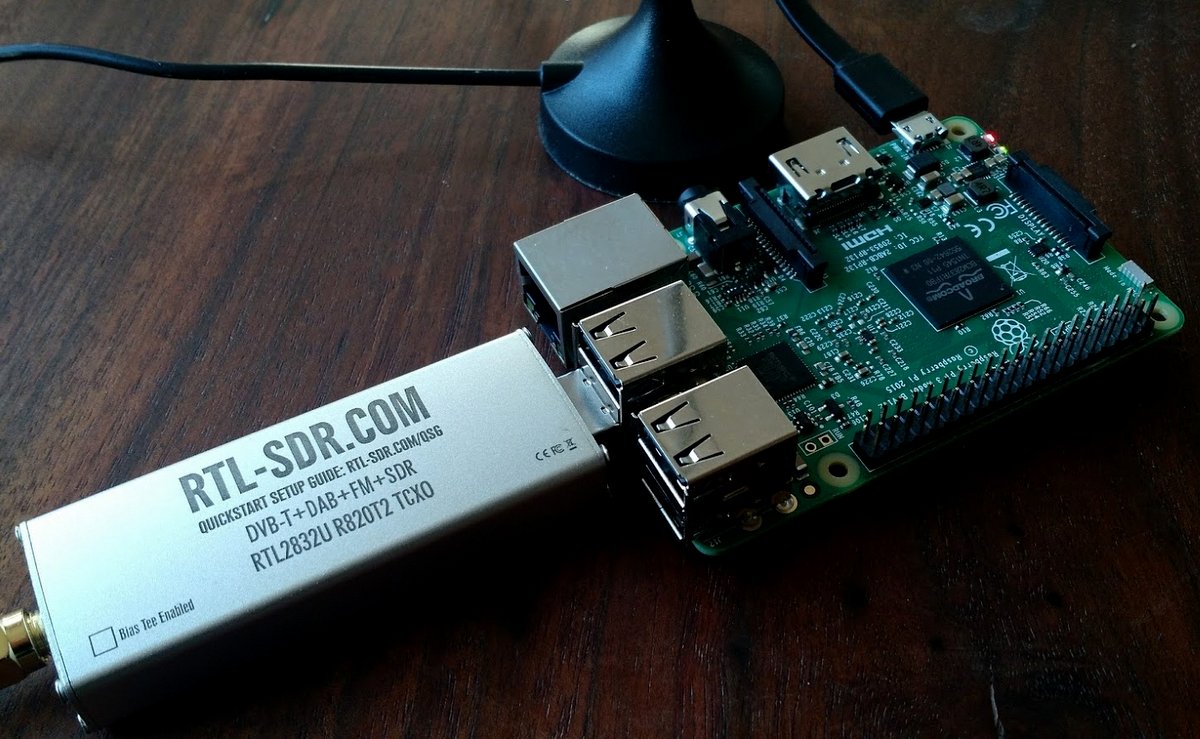
The $22 RTL-SDR paired with a Raspberry Pi and employed as an ADS-B receiver/feeder.
The following article originally appeared in the July 2018 issue of The Spectrum Monitor magazine:
Welcome back to the world of SDRs
Last month we covered Part One of our three-part primer on software-defined radios (SDRs). While last month’s Part One focused on the nomenclature and components of a functioning SDR system, Part Two will take a look at some affordable SDR station options that will propel you into the world of SDRs for less than $200 US. We’ll cover Part Three in November, and we’ll dive a little deeper into the rabbit hole and cover higher-end SDRs and ham radio transceivers with embedded SDRs.
SDRs are affordable

If there’s one thing I’d like you to take away from this part of our primer, it’s that SDRs are truly affordable. For less than the price of a typical full-featured shortwave portable, you can own an SDR that covers almost all of the listening spectrum, and that does so with excellent performance characteristics.
We’re lucky to live in a time of phenomenal radio innovation. When I first jumped into the world of SDRs, the least expensive SDR that covered any of the bands below 20 MHz was about $500. That was only a few years ago, in 2010 or so.
Yet in the past three years, affordable SDRs have become the dominant radio product on the market. And these modestly-priced products have made the barrier of entry into the SDR world crumble overnight.
Today, even a $100 SDR has more features, more frequency range, and more functionality than a $1000 SDR from just a decade ago. Times have changed dramatically; indeed, the pace of innovation in this craft is simply amazing.
Before we begin looking at some choice sub-$200 SDRs, I’d just like to direct your attention to the first part of our SDR Primer (click here to read). Specifically, I’d like you to note one element I discussed in that article: the vital importance identifying your goals as an SDR owner. In other words, how do you plan to use your SDR? If you’re only seeking an SDR to listen to local ham radio repeaters, track cubesat satellites, or gather ADS-B information from aircraft, a $25 SDR will more than suffice. If you wish to use the SDR as a transceiver panadapter, or you wish to chase weak signal DX on the HF bands, then I’d suggest you invest a bit more.
I’d also like to remind you, as I noted in the previous article, that this primer will be limited in the SDRs I highlight. The reason for this is simple: there now exists a vast ocean of SDRs on the market (just search eBay for “SDR” and you’ll quickly see what I mean) so all models simply can’t be included in this introductory foray. I’ll be focusing here on several SDRs that cover the HF spectrum and above. I’ll also focus on SDRs with which I have personal experience, and which I consider to be “enthusiast” grade among a healthy community of users. Of course, this part of the primer will only include HF-capable receivers that cost a total of $200 or less.
Let’s take a look at what’s on the market in order of price, starting with the most affordable.
$10-$25: The RTL-SDR dongle
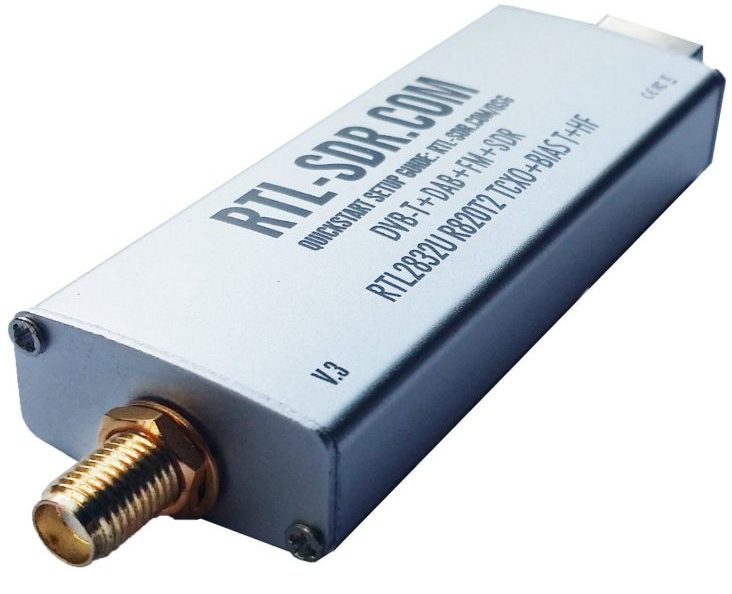
No doubt, many of you reading this primer have purchased an RTL-SDR dongle. Over the years, I’ve owned three or four of them and have even purchased them for friends. These dongles originally appeared on the market many years ago as mass-produced DVB-T TV tuner dongles based on the RTL2832U chipset. Very soon, users discovered that with just a little hacking, the dongle was capable of much, much more than its original intended purpose.
The dongle resembles a USB memory stick. On one end, you’ll find a standard USB connector. On the other, you’ll find an antenna port, typically SMA, to which one connects an antenna. Although it goes without saying, here’s a friendly reminder: make sure you’re choosing an antenna to match the frequency range you’re exploring!
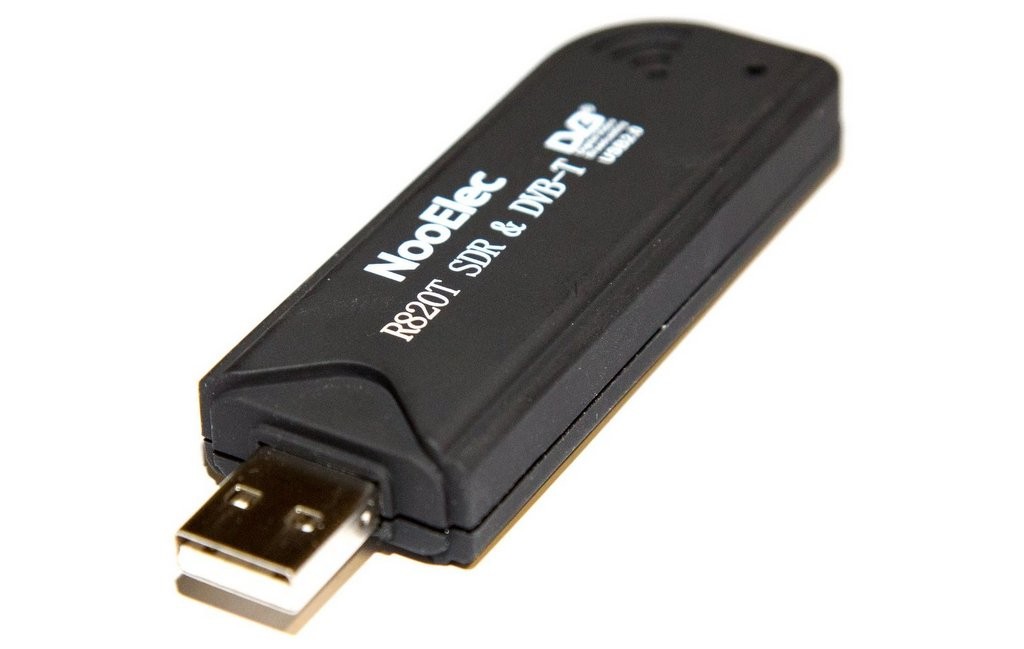
I’ve seen this older model of RTL-SDR being sold for $9 at Hamvention.
Early RTL-SDR dongles couldn’t cover the HF bands or lower, but many models can now cover a gapless 500 kHz all the way to 1.75 GHz.
So, what can you do with an RTL-SDR dongle? In short, quite a lot! Here are a few of this simple device’s many applications and uses in our hobby. It can:
- become a police radio scanner
- monitor aircraft and ATC communications
- track aircraft with ADS-B decoding and read ACARS short messages
- scan trunking radio conversations.
- decode unencrypted digital voice transmissions such as P25/DMR/D-STAR.
- track maritime boat positions like a radar with AIS decoding.
- track and receive weather balloon data
- connect to VHF amateur radio
- decode APRS packets
- receive and decode GPS signals
- utilize its rtl-sdr as a spectrum analyzer
- receive NOAA weather satellite images
- and so much more––! This list is not fully comprehensive by any means. Check out this list of projects at RTL-SDR.com.
And, of course, you can listen to any signals between 500 kHz up to 1.75 GHz––essentially, most of the radio listening landscape.
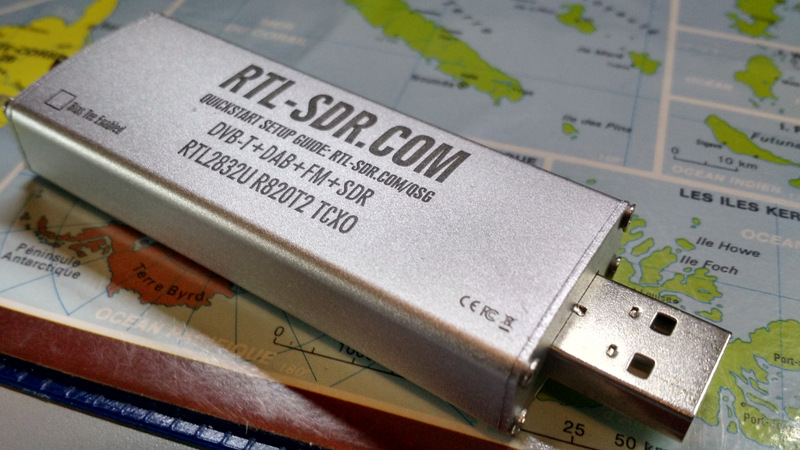
Is $25 still a little high for your budget? RTL-SDR dongles can be found for as low as $10 US, shipped, on eBay. While the cheapest of these dongles may suffice for some radio applications, I’m partial to the dongle produced by RTL-SDR.com, since they’re built in a tough metal enclosure, have thermal pad cooling, as well as extra ESD protection. Amazon has an RTL-SDR.com dongle starter package with antenna options for about $26. That’s, what, the price of three hamburgers? Two orders of fish and chips? And worth it.
Many third-party SDR applications support the RTL-SDR dongle, but my favorite is SDR# (click here to download).
So, the major pros of this little SDR are 1) obviously, the price; 2) many, many uses; and 3) the fact that it’s the most popular SDR on the market, with a massive online user base.
What about negatives? Well, to be frank––aside from the dongle’s budget-busting versatility––the fact is that “you pay for what you get.” You’re investing just $10-$27 in this receiver, so don’t expect exceptional performance especially on anything lower than 50 MHz. On HF, for example, the RTL-SDR could easily overload unless you employ external filtering.
Indeed, I’ve never used the RTL-SDR for HF DXing, but I currently have three dongles in service 24/7: two as ADS-B receivers, and one as a receiver for the LiveATC network. And these work hard. Indeed, It’s a workhorse of a device!
I suggest you grab an RTL-SDR and use it as an accessible step into the world of SDRs, and as an affordable single-purpose tool to unlock the RF spectrum!
Click here to check out the RTL-SDR blog SDR dongle via Amazon (affiliate link).
$99: The SDRplay RSP1A
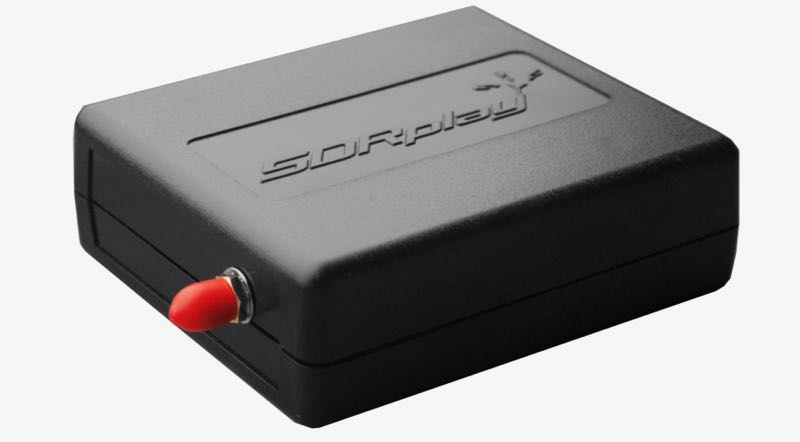
When you invest a modest $99 US (or $120 shipped), and purchase the RSP1A, you take a major step forward in the SDR world.
UK-based SDRplay is an SDR designer and manufacturer that focuses on enthusiast-grade, budget wideband SDRs. SDRplay designs and manufactures all of their SDRs in the United Kingdom, and over the past few years, they’ve developed a robust user community, extensive documentation, and, in my humble opinion, some of the best tutorial videos on the market.
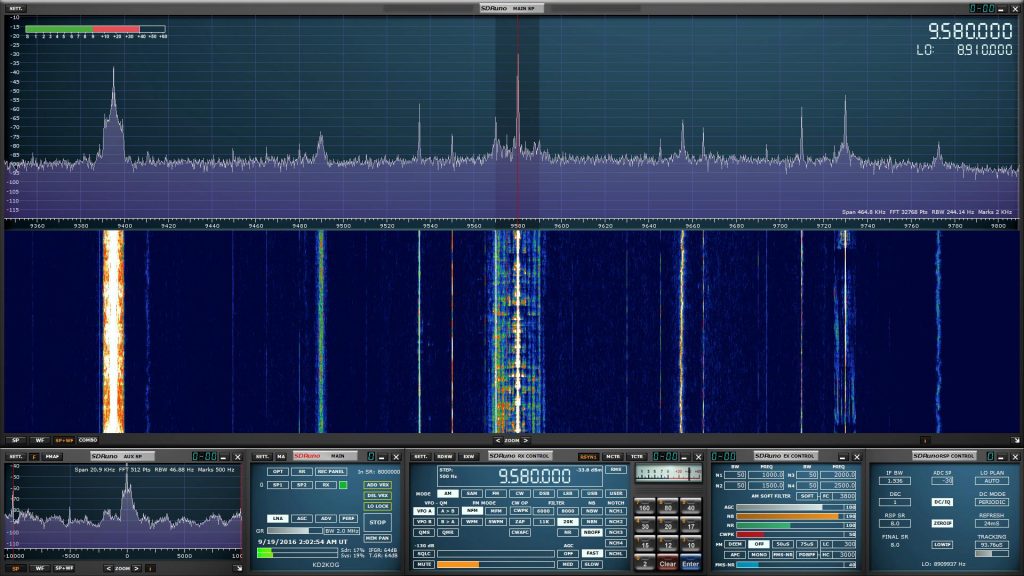
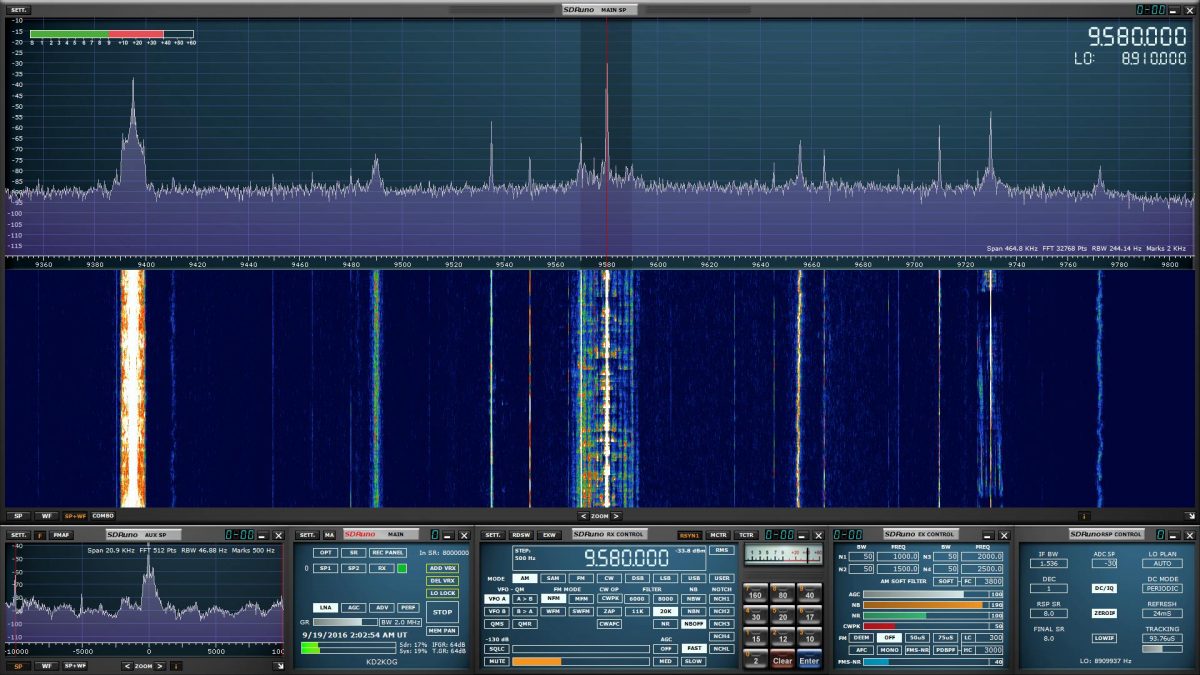
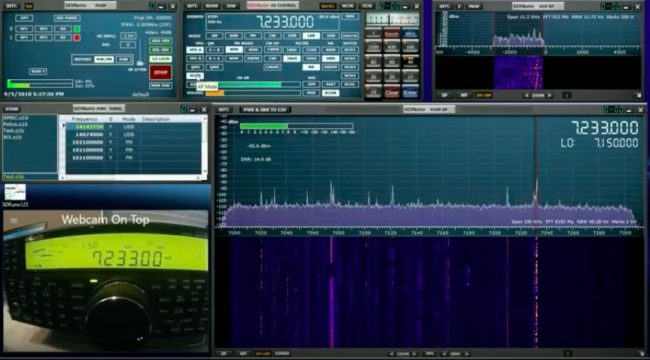
SDRuno windows can be arranged a number of ways on your monitor.
Although the RSP series SDRs are supported by most third-party SDR applications, SDRplay has their own app: SDRuno. Moreover, SDRuno is a full-featured, customizable application that takes advantages of all of this SDR’s performance potential and features. I should mention that installing the RSP1A and SDRuno is a pure plug-and-play experience: just download and install the application, plug in the RSP1A to your computer, wait for the USB driver to automatically install, then start SDRuno. Simplicity itself.
While the RSP1A is SDRplay’s entry-level wideband SDR, it nonetheless plays like a pro receiver and truly pushes the envelope of performance-for-price, and for other SDR manufacturers, sets the bar quite high. The RSP1A is a wideband receiver that covers from 1 kHz all the way to 2 GHz; equally pleasing the longwave DXer, HF hound, tropo-scatter hunter, and even radio astronomer. This affordable SDR really covers the spectrum, quite literally. Not only does the RSP1A cover a vast frequency range, but its working bandwidth can be an impressive 10 MHz wide and via SDRuno, the RSP1A will support up to 16 individual receivers in any 10 MHz slice of spectrum. All this for $99? Seriously? I assure you, yes.
Think of the RSP1A as the sporty-but-affordable compact car of the SDR world. It delivers performance well above its comparatively modest price, and is fun to operate. In terms of DX, it gets you from point A to point B very comfortably, and is a capable receiver which will help you work even weak signals––and very reasonably!
If you’re looking to explore the world of SDRs, would like a capable receiver with great LW/MW/HF reception to do it with, but also want to keep your budget in check, you simply can’t go wrong with the RSP1A.
Check out the RSP1A via:
$167 US (125 GBP): FUNcube Dongle Pro+
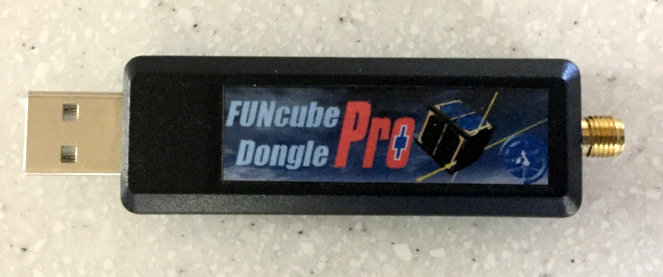
Many years ago when I ventured into the world of SDRs, one of the only affordable SDRs which covered the HF bands was the FUNcube Dongle Pro+.
The Funcube Dongle Pro+, which resembles the RTL-SDR “stick” type dongle, was originally designed as a ground receiver for the FUNcube Satellite (cubesat) project initially made possible by AMSAT-UK and the Radio Communications Foundation (RCF). The original Funcube dongle did not cover any frequencies below 64 MHz, but the Funcube Dongle Pro+ added coverage from 150 kHz to 1.9 GHz with a gap between 240 MHz and 420 MHz.
In full disclosure, I’ve never owned a FUNcube Dongle Pro+, but I have used them on several occasions. I believe you would find that it is prone to overloading if you use a longwire antenna that’s not isolated from the dongle. In other words, during such use it seems to be subject to internally-generated noise. In my experience, the Pro+ worked best when hooked up to an external antenna fed by a proper coaxial cable.
To be clear, with the advent of SDRplay and AirSpy SDRs, the FUNcube Dongle Pro+ is no longer the budget SDR I would most readily recommend.
Still, the Pro+ is a very compact dongle that has a great history, and around 2012 really pushed the performance-for-price envelope. It still has many dedicated fans. No doubt, this product has had a huge influence on all of the sub $200 SDRs currently on the market, thus we owe it a debt of gratitude.
Click here to check out the FUNcube Dongle Pro+.
$169 US: SDRplay RSP2 & RSP2 Pro ($199):
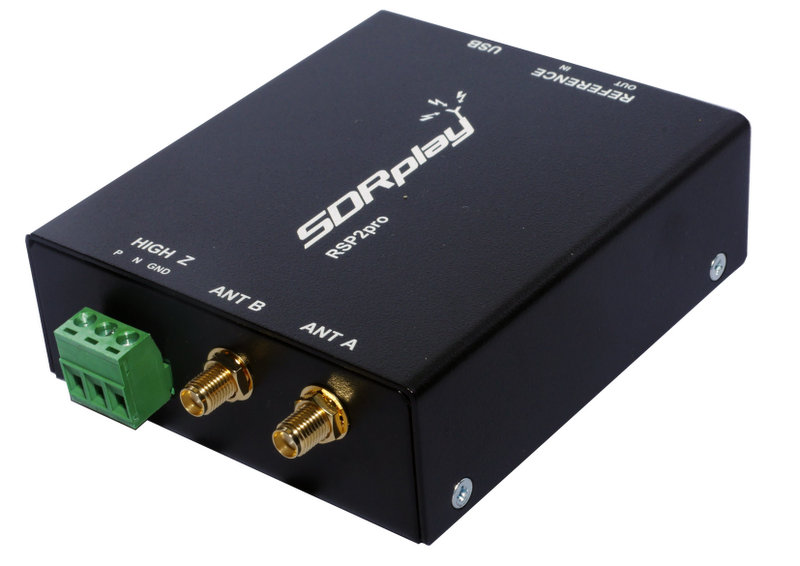
The SDRplay RSP2 Pro
In 2016, after the remarkable success of the original RSP, SDRplay introduced the RSP2 and RSP2 Pro SDRs. The RSP2 is housed in an RF-shielded robust plastic case and the RSP2 Pro is enclosed in a rugged black painted steel case. In terms of receivers and features, the RSP2 and RSP2 Pro are otherwise identical
The RSP2 and RSP2 Pro provide excellent performance, three software-selectable antenna inputs, and clocking features, all of which lend it to amateur radio, industrial, scientific, and educational applications; it is a sweet SDR for $169 or $199 (Pro version). I know of no other SDRs with this set of features at this price point.
The RSP2 series has the same frequency coverage as the RSP1A. Of course, to most of us, the big upgrade from the SDRplay RSP1A is the RSP2’s multiple antenna ports: 2 x 50-Ohms and one High-Z port for lower frequencies.
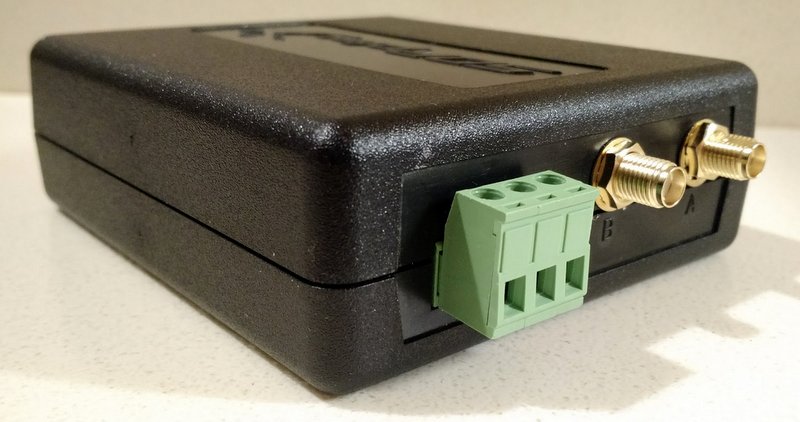
The SDRplay RSP2 with plastic enclosure.
As with all of SDRplay’s SDRs, their own application, SDRuno, will support up to 16 individual receivers in any 10 MHz slice of spectrum.
Bottom line? Since the RSP2 has multiple antenna ports––and two antenna options for HF frequencies and below–the RSP2 is my choice sub-$200 SDR to use as a transceiver panadapter. (Spoiler alert: you’ll also want to check out our summary of the recently released $279 RSPduo from SDRplay in this review or in Part 3 of our primer before pulling the trigger on the purchase of an RSP2 or, especially, an RSP2 Pro!)
Check out the RSP2 via:
$199 US: AirSpy HF+

Sometimes big surprises come in small packages. That pretty much sums up the imminently pocketable AirSpy HF+ SDR.
The HF+ has the footprint of a typical business card, and is about as thick as a smartphone. Despite this, it’s a heavy little receiver––no doubt due to its metal alloy case/enclosure.
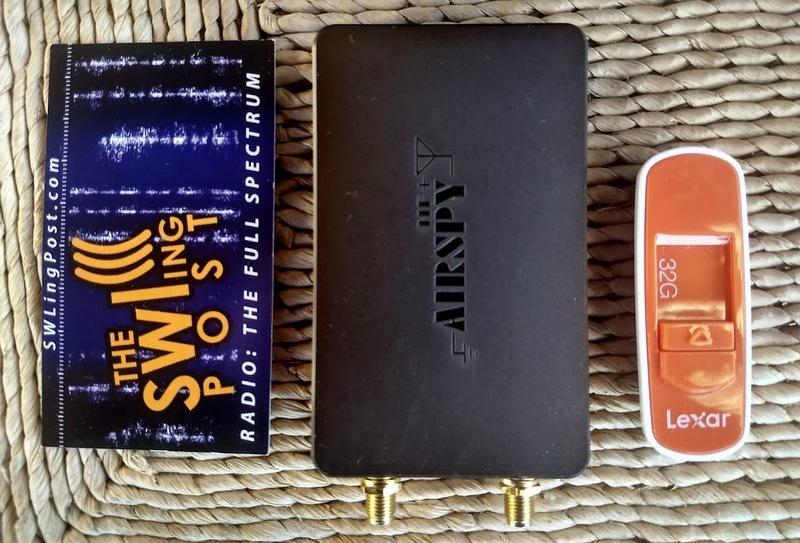
AirSpy’s HF+ was introduced late 2017. Don’t be surprised by its footprint which is similar to a standard business card to its left, this SDR is performance-packed!
Not to dwell on its size, but other than my RTL-SDR dongle, it’s by far the smallest SDR I’ve ever tested. Yet it sports two SMA antenna inputs: one for HF, one for VHF.
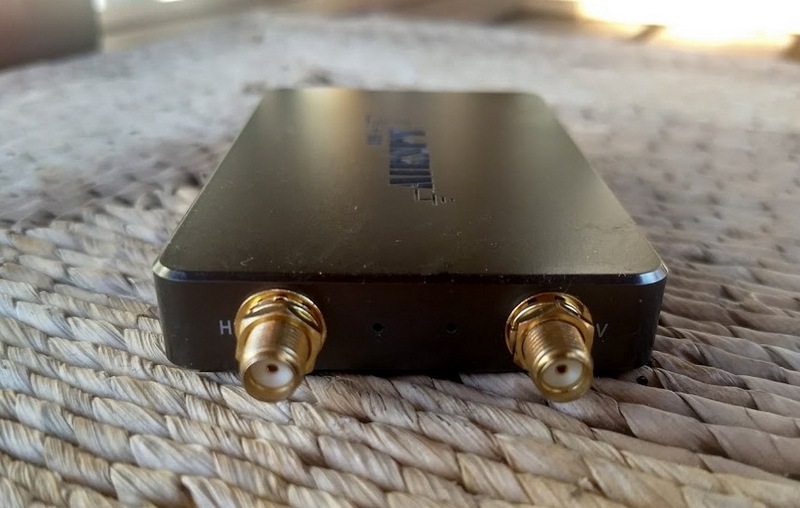
The HF port is labeled as “H” and the VHF port as “V”
When I first put it on the air, my expectations were low. But I quickly discovered that the HF+ belies its size, and is truly one of the hottest sub $500 receivers on the market! Its HF performance is nothing short of phenomenal.
The HF+ is not a wideband receiver like the FunCube Dongle Pro+ or RSP series by SDRplay. Rather, the HF+ covers between 9 kHz to 31 MHz and from 60 to 260 MHz only; while this is a relatively small portion of the spectrum when compared with its competitors, this was a strategic choice by AirSpy. As AirSpy’s president, Youssef Touil, told me,“The main purpose of the HF+ is [to have] the best possible performance on HF at an affordable price.”
Mission accomplished. Like other SDRs, the HF+ uses high dynamic range ADCs and front-ends but enhances the receiver’s frequency agility by using high-performance passive mixers with a robust polyphase harmonic rejection structure. The HF+ was designed for a high dynamic range, thus it is the best sub-$200 I’ve tested for strong signal handling capability on the HF bands.
You can very easily experiment and customize the HF+ as well; easy access to the R3 position on the circuit board allows you to make one of several published modifications. “During the early phases of the design,” Yousef explains, “R3 was a placeholder for a 0 ohms resistor that allows experimenters to customize the input impedance.” He goes on to provide in-depth clarification about these mods:
“For example:
- A 300 pF capacitor will naturally filter the LW/MW bands for better performance in the HAM bands
- A 10µH inductor would allow the use of electrically short antennas (E-Field probes) for MW and LW
- A short (or high value capacitor) would get you the nominal 50 ohms impedance over the entire band, but then it’s the responsibility of the user to make sure his antenna has the right gain at the right band
- A custom filter can also be inserted between the SMA and the tuner block if so desired.”
Since the introduction of the HF+, it has been my recommended sub-$200 receiver for HF enthusiasts. If you want to explore frequencies higher than 260 MHz, you’ll have to look elsewhere. Also, note that longwave reception is not the HF+’s strong suit––although modifications to R3 and future firmware upgrades might help with this! Additionally, the HF+’s working bandwidth is 660 kHz; quite narrow, when compared with the RSP series, which can be widened to 10 MHz.
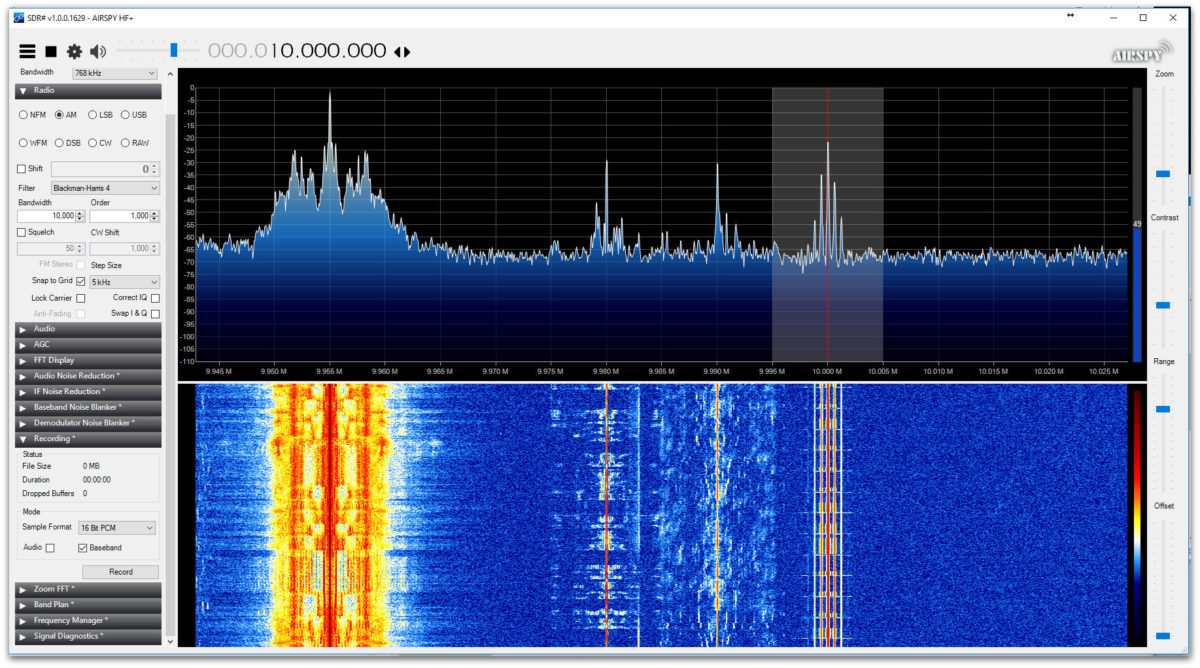
AirSpy also designed the free application SDR# to take full advantage of their receivers’ features and performance.

The AirSpy application (a.k.a. SDR#)
Installing the HF+ and getting it on the air is pure plug-and-play. While SDR# is a powerful and fluid SDR application, I actually use SDR Console more often, as it supports most of my other SDRs as well, and offers advanced virtual receiver and recording functionality.
If you’re an HF guy like me, the HF+ will be a welcome addition to your receiver arsenal. It’s a steal at $200.
Click here for a full list of AirSpy distributors.
Conclusion
If you haven’t gathered this already, it’s simply a brilliant time to be a budget-minded radio enthusiast. Only a few years ago, there were few, if any, enthusiast-grade sub-$200 SDR options on the market. Now there are quite a number, and their performance characteristics are likely to impress even the hardest-core weak-signal DXer.
Still, some hams and SW listeners reading this article will no doubt live in a tougher RF environment where built-in hardware filters are requisite to prevent your receiver from overloading. Or perhaps you desire truly uncompromising benchmark performance from your SDR. If either is the case, you may need to invest a little more of your radio funds in an SDR to get exactly what you want…and that’s exactly where I’ll take you November in the final Part Three of this SDR primer series. Stay tuned!
Stay tuned for more in Part Three (November). I’ll add links here after publication.
Do you enjoy the SWLing Post?
Please consider supporting us via Patreon or our Coffee Fund!
Your support makes articles like this one possible. Thank you!