 Many thanks to SWLing Post contributor, TomL, who shares the following guest post:
Indoor Noise and Ferrites, Part 1
by TomL
My magnet wire loop antenna on the porch reminded me to revisit aspects about my noisy Condo that I still needed to understand. Some RF noise I could control if I could find the right kind of information that is understandable to a non-engineer like me. There is a lot written about the general problem of noise and radio listening, for instance this ARRL article with web links to research – www.arrl.org/radio-frequency-interference-rfi, but I needed to get more specific about my particular environment.
I had tried some common clamp-on TDK ferrites I had obtained from eBay a long time ago but they only seemed to work a little bit. I have since found out these are probably the ones which are widely used on home stereo system connections used to reduce noise on those systems. There must be a better way.
The more I researched topics, like a portable “Loop on Ground” antenna, or, using RF chokes on the magnet wire loop, it dawned on my feeble, misguided brain that I was wrongly thinking about how to use ferrite material. For one thing, the material used to suppress RF noise is made with a certain “mix” of elements, like Manganese-Zinc, that electrically “resists” a specified frequency range. Fair-Rite has a useful Material Data Sheets web page which lists the Types of ferrite material. For dealing with noise (at the Source causing the problem), I needed to use the right kind of “Suppression” materials and proper placement. So, it (partly) made sense why the TDK snap-on ferrites might not fully work to reduce certain noise coming from my computer screens, LED lights, USB devices, and cheap Chinese-made power adapters.
A very good paper is by Jim Brown (K9YC) of Audio Systems Group entitled, “Understanding How Ferrites Can Prevent and Eliminate RF Interference to Audio Systems [PDF]”. There is a longer paper speaking directly to Amateur Radio folks, but the Audio version is simpler and it uses some of the same graphs and ideas. I was drawn to the very detailed Impedance measurements of many different “Types” of ferrite material used for different noise mitigation. I remember the traumatic pain of my college experience trying mightily to understand the Van Vlack Materials Science text book to no avail. But Jim’s paper reminded me of the importance of using the correct type of ferrite material and in an optimal way that reacts favorably in the target frequency range to solve a particular noise problem. So, what are my problem areas?
Shortwave Noise
Loop antennas have been what I have experimented with the most. They do not pick up as much man-made noise (QRM) and they have a space saving footprint. Fortunately, there is a wooden porch where these things have been tried. I had successfully built a broadband amplified “ferrite sleeve loop” (FSL) in the past. It was useful for a while but it fell into disrepair and also the Condo building has steadily increased in noise output. The amplifier was just amplifying the noise after a while. I also tried phasing two antennas but found the ever increasing noise cloud was coming from all directions and I could not null it out. I even tried a “mini-whip” from eBay but that just produced a wall of noise.
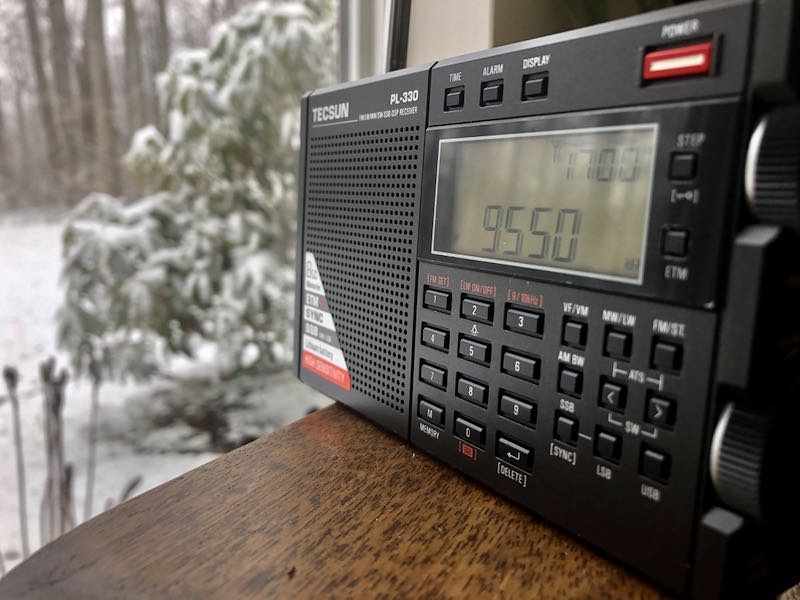
I recently tested AirSpy’s YouLoop written about before, and the results were good. However, it seemed obvious to me that it was too small as a passive loop to capture shortwave signals strongly enough without resorting to another amplifier attached at the antenna and would not improve the signal/noise ratio. My current solution is a unamplified stealth magnet wire loop about 32 feet in circumference. In that article, I mention things like common mode RF chokes at both ends of the antenna connection, horizontal polarization, and basically accepting that only the stronger shortwave signals will be received in a predictable manner. I think for now, this is about all I can do for shortwave and mediumwave noise, as far as my own Condo-generated noise. Neighborhood noise is a different topic.
VHF Noise
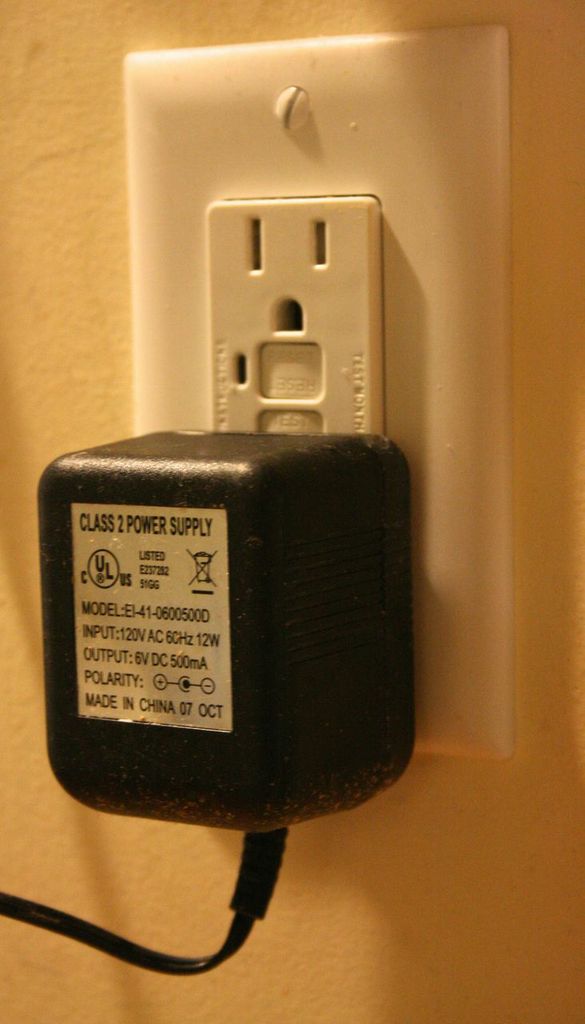
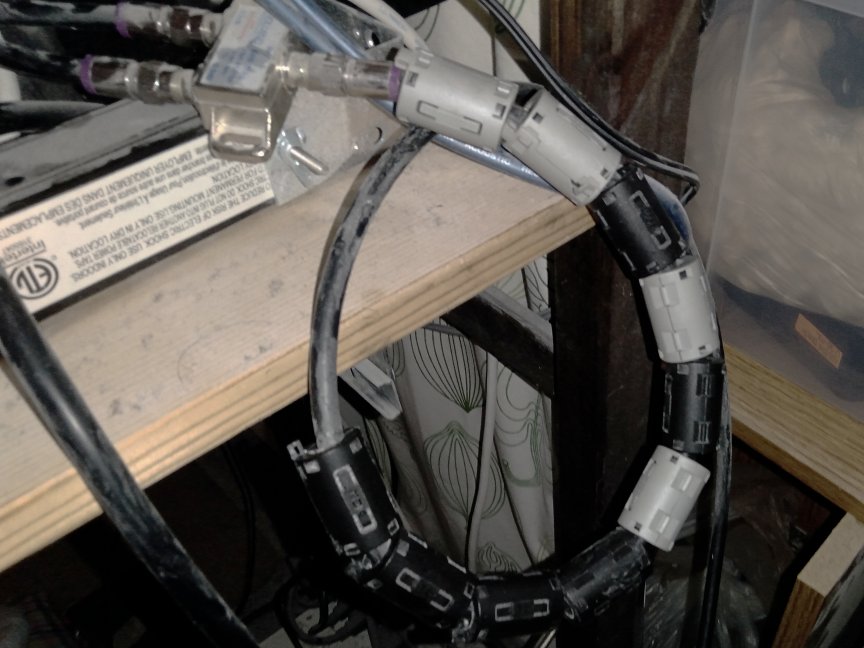
I then started to isolate which devices caused which kind of noise when listening to my outside amplified antennas for FM/VHF and UHF-TV transmissions. Many consumer Power adapters make a lot of noise from VLF up into UHF ranges. One thing I did right was to try a 10 pack of these little miracle “Wall Wart” toroids from Palomar Engineers. One by one, I put one of these small toroids (19mm inside diameter) on my home AC adapters as shown in the pictures, and the noises started disappearing. It does not explicitly say, but I believe it is Type 75 material which suppresses the noise generating AC adapter (at very low frequencies) when wrapped 8 – 12 times.
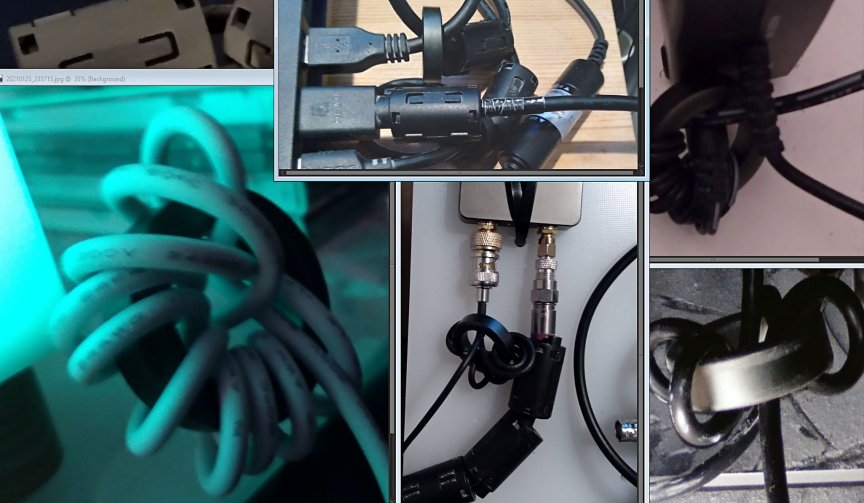
Most egregious of these was my CCrane FM2 transmitter. A strangled warbling sound kept emanating from the monitor closest to my laptop. Installing ferrites on the laptop and back of the monitor were not working. I moved the FM Transmitter and noticed a reduction in noise. So, I put one of these little toroids on the power input of the device and the noise disappeared. Apparently, it was picking up noise from the monitor (as well as its own power adapter) and rebroadcasting it to all my other radios! The strangled warbler is no more, I choked it (HaHa, sick bird joke).
While looking for the monitor noise, I put the eBay TDK ferrites on all the USB ports and HDMI ports. This has helped greatly on VHF and confirms my suspicion that these cheap TDK ferrites are indeed a common type of ferrite material. Some informative graphs can be seen in Jim Brown’s Audio paper mentioned before. One example might be Figure 22, which shows the #61 Series Resistance which peaks around 100 MHz when using a toroid with three “Turns”. More confused, I could not find a definition of a “Turn”. Eventually, in his longer paper to Amateur Radio operators, he defines it, “…is one more than the number of turns external to the cores”. Somewhere else he describes using many single snap-on ferrites being electrically equal to just one toroidal ferrite with multiple Turns. And interestingly, more Turns shifts the peak impedance substantially lower in frequency. So, using the graphs he supplies, one can target a noisy frequency range to try to suppress.
I then put 6 of the TDK ferrites on the VHF input to the AirSpy HF+. Some FM grunge was reduced and was thankful for that. The rest of the background noise truly seems to be coming from the outside picked up by the amplified antenna.
Also, I juggled a couple of the amplifiers around and now have separate VHF/FM and UHF/TV amplifiers which cleaned up the FM reception a little bit more – https://www.youtube.com/watch?v=zkDsy95et2w .
UHF TV Quality
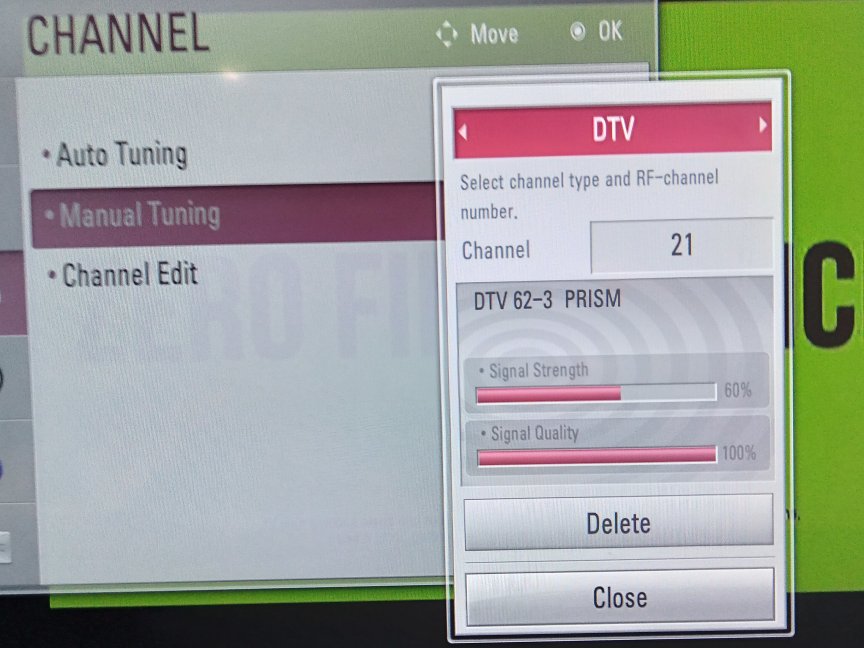
On a whim, I put the balance of the TDK ferrites on the FM/TV splitter input cable, 10 in all. The FM reception did not improve but the Over The Air UHF TV reception Quality improved noticeably. My weakest TV station now has a stable Signal level and the Quality is pegged at 100%. This is a nice surprise since it means that now all local TV stations on UHF will come in cleanly without dropouts and I can view all digital subchannels. I was even able to rescan and added two more low-power stations never seen before. ?
LED lights
I have common LED lights hanging over a number of fish tanks and some grow lights over an indoor plant box and can hear this noise on upper shortwave and higher radio bands. In a future article, I will explore RF noise from lights as its own special topic. For instance, why do some LED lights generate RFI and how to know before buying (I am using BR30 spot bulbs from name brands)? Also, there is a new kind of LED “filament” light out now that uses much smaller LED’s on both sides of an aluminum strip, greatly reducing electromagnetic noise output (or do they??). More questions than answers.
I will explore creating my own customized AC power cord attached to the AC power strips of the LED lights. I will need to test this for safety and efficacy, so I will want to take some time to do this right. The hope is that, using Jim’s info, I will be able to create a broad spectrum RFI suppression AC power cord and cost less than $30 each cord. We’ll see.
Finally, I will look at “stacked” toroids using different mixes of ferrite Types, creating a custom RF suppression better than using just one Type of ferrite material, using AC cords as the main examples. For instance, the best set of graphs in Jim’s paper, in my opinion, are Figures 21 and 24 compared to each other. Something I did not know before is that one can not only use multiple turns on a single toroid to get a lower, peaked frequency response, but also stack multiple toroids of the same Type to get a smoother frequency response. Then on top of this, combine that set with other Types to create a customized frequency response curve.
Radios are quieter now. Those pesky grow lights are still a problem as well as the upstairs neighbor’s lights which seem to be on a timer, making FM reception noisy again after 5pm!