The following review first appeared in the August 2017 issue of The Spectrum Monitor magazine.
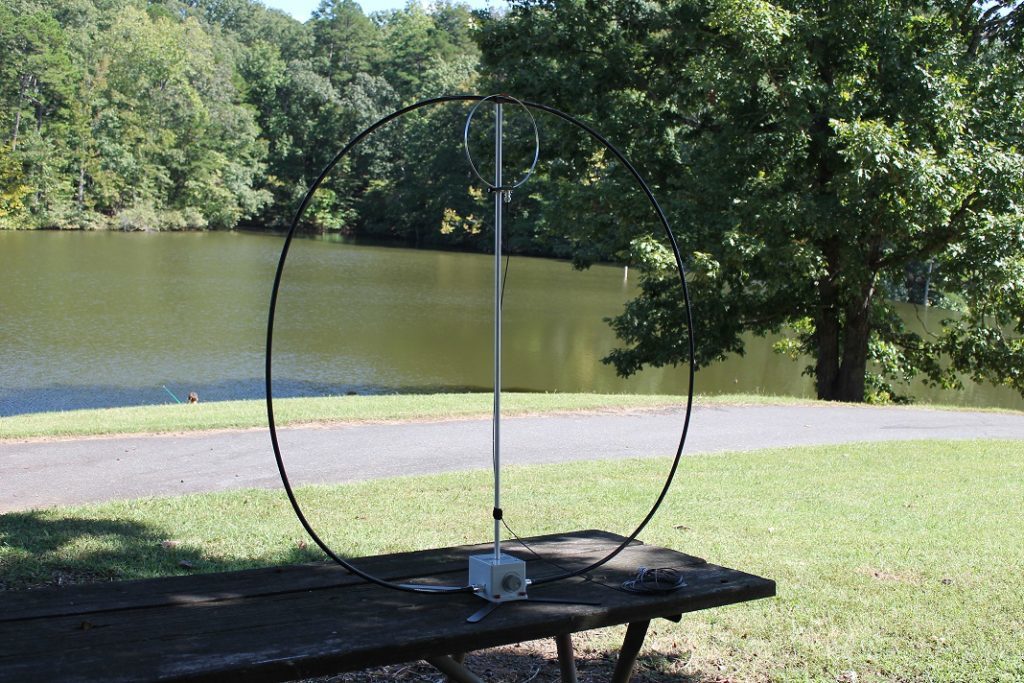
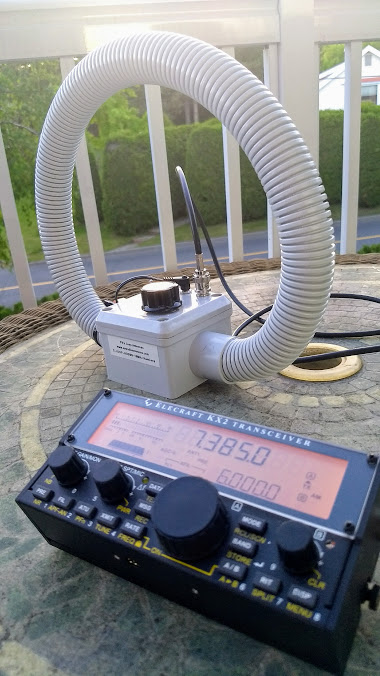
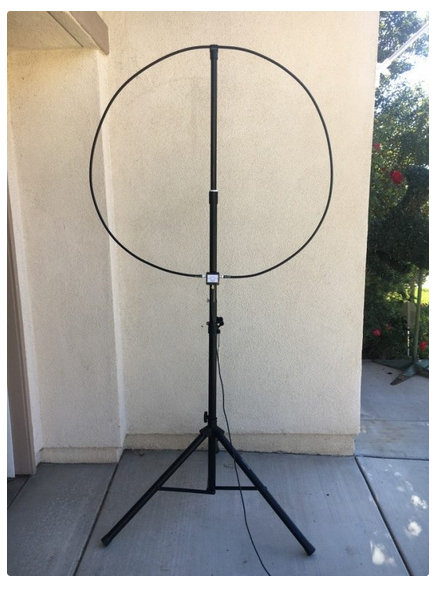
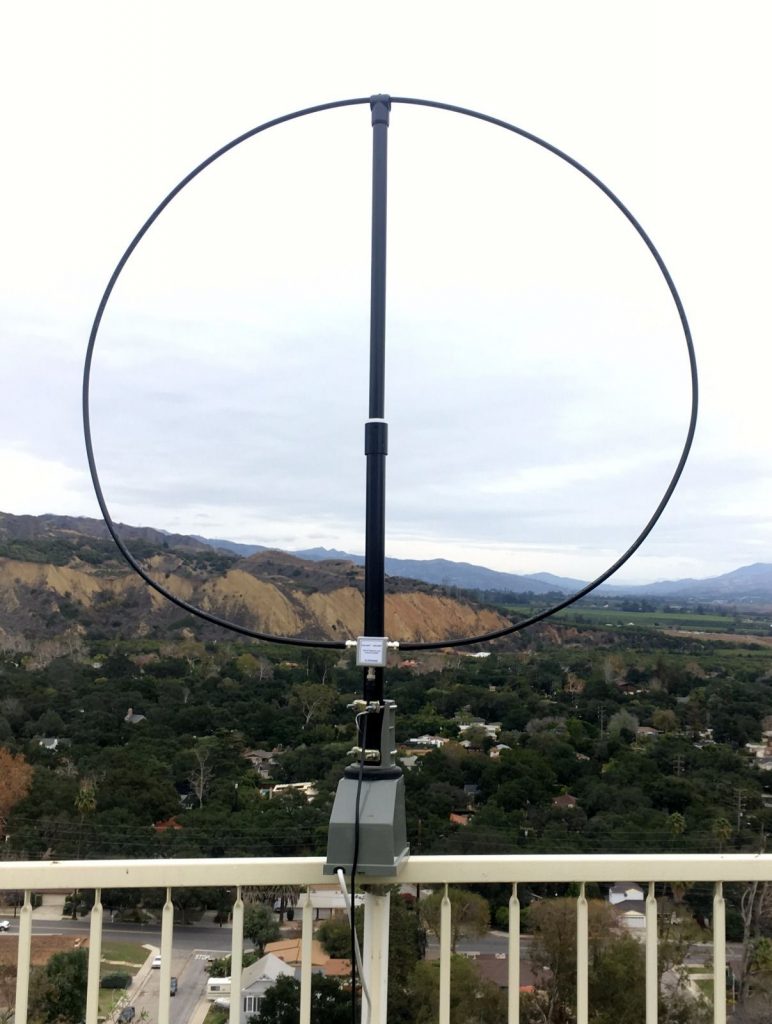
The W4OP Magnetic Loop Antenna (Photo Credit: LnR Precision)
What can one say about portable antennas? They’re up, they’re down, they’re basic in design: they either work for an intended purpose or they don’t. But, I wondered, could they provide their service easily and conveniently, even in the field?
Last year, I decided to purchase a portable field antenna, and at the Dayton Hamvention I became the owner of the three-band (40/20/10) EFT Trail-Friendly antenna from LnR Precision.
Then, I caught a bug: the National Parks on the Air (NPOTA) bug. And, wow, I caught it in a bad way…! Having activated seven sites during the 2016 Dayton Hamvention with my buddy Eric McFadden (WD8RIF), I found NPOTA the perfect excuse to play radio outdoors. Last year, from August to December, I activated all but that initial seven of my ninety-one NPOTA park activations. All of these activations were QRP and all of them were “field” activations; meaning, I set up my field antenna each time; no activations were made with a mobile (vehicle) HF installation. And I made 85% of all of my activations using LNR’s EFT Trail-Friendly antenna.
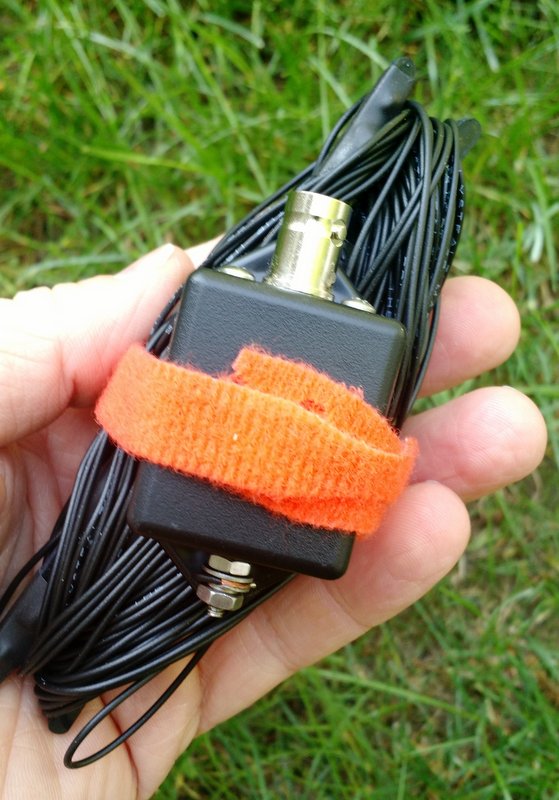
The EFT Trail-Friendly antenna is incredibly compact and quite easy to deploy.
The EFT Trail-Friendly antenna is end-fed and requires some sort of support system to raise the end of the 33’ radiator. Most of the time, I simply hung the lightweight EFT from a sturdy tree branch. On a few occasions, I hung the end on a 31’ or 22’ fiberglass telescoping pole. I was altogether pleased with its performance; indeed, I can’t recommend it enough for someone who wishes to have a simple, roll-up, resonant antenna for QRP field work. But it does have one limitation: it requires that source of external support, which I worried could undermine some NPOTA activations.
In December 2016, my buddy Eric (WD8RIF) and I organized a mini NPOTA DXpedition in Ohio. I decided that en route to Ohio, I’d make a run through West Virginia and activate some relatively rare parks along West Virginia’s mighty river gorges.
Eric had made the same activation run earlier that year, and had advised me that when I seek permission to activate these parks, I would be asked to apply for and pay at least one, sometimes more, “special use permit” fees merely to drape the lightweight EFT antenna over a tree branch or to stake a fiberglass support pole in the ground. Even if my equipment is less invasive in the great outdoors than the poles and stakes of a basic pup tent, I understood US park trees and shrubs can be delicate, rare, or endangered, and even park soil can be, for example, geologically or archaeologically sensitive, so of course I didn’t want a mere antenna to bring about any harm––however minor––to the parks I was enjoying.
Eric had simplified this step by strapping a fiberglass pole antenna to his vehicle, thus avoiding either penetrating the ground or using park vegetation as a support. So as not to potentially harm sensitive park environs, nor be obliged to hop through time-consuming (and expensive) administrative hoops, I decided I would adopt an option similar to Eric: I would use a portable antenna that could stand on its own, thus not requiring external support from park property.
Enter the W4OP magnetic loop antenna
LnR precision had only a few weeks before announced their new portable, self-supporting, magnetic loop antenna: the W4OP loop ($329.99 US).
I contacted LnR in November to tell them about my upcoming December NPOTA DXpedition, and inquired whether they thought the W4OP loop would be a good fit? They responded by sending me a loaner unit to both use and review. After all, what better way to evaluate an antenna than by using it in the field? I said I’d be happy to give it a test drive.
The W4OP loop arrived in early December, about one week before my trip.
Contents of the loop package are straightforward:
- The main loop assembly and support
- The coupling loop assembly and clamp
- The tuning box
- The support feet assembly
- An owner’s manual
The main radiator is a sturdy, flexible-yet-rigid shielded cable. The tuning box is a heavy PVC box, and the tuning knob has an appropriate amount of brake and drives a 6:1 reduction drive on the tuning capacitor.
The overall package feels well-built and of very decent quality. The only piece of the equipment package I didn’t like are the four support feet: these feet attach to the bottom of the tuning box with red thumb screws, a very basic way of supporting the unit, since the red screws are challenging to tighten and almost any movement from the feet loosens the screws. Since my review, however, LnR has designed a tripod mount for the W4OP loop which promises to make it much, much easier to deploy this antenna in the field. With the tripod mount, one would only need to pack a sturdy (camera) tripod, and then toss out the included stabilizing feet.
The manual is fairly simple and concise, but certainly provides enough information to get you on the air in short order.
On the air with NPOTA
I’m a bit embarrassed to admit that I was something of a newbie when it comes to passive mag loop antennas. I’ve used a number of wideband mag loops over the years––receive-only versions, to be precise––but had never used one specifically designed for amateur radio transmitting.
My first proper NPOTA activation using the loop was on the Blue Ridge Parkway at the Folk Art Center in the mountains of western North Carolina. The loop operates best when raised off the ground and sitting on a dielectric base.
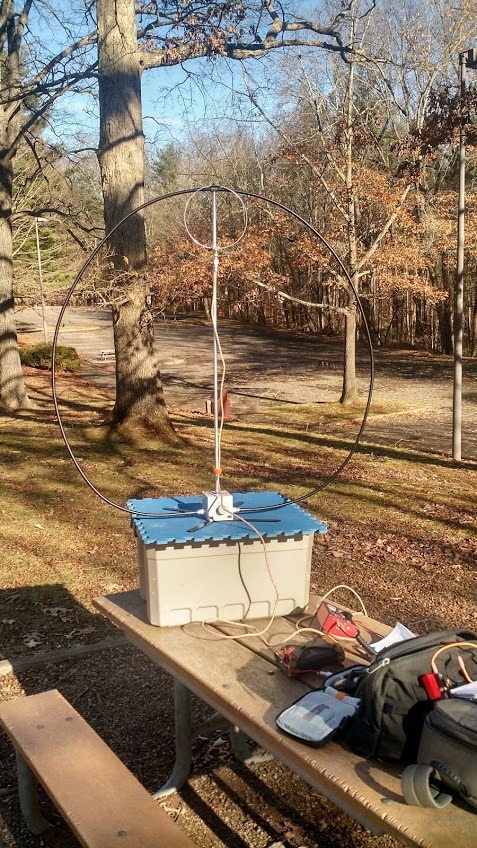
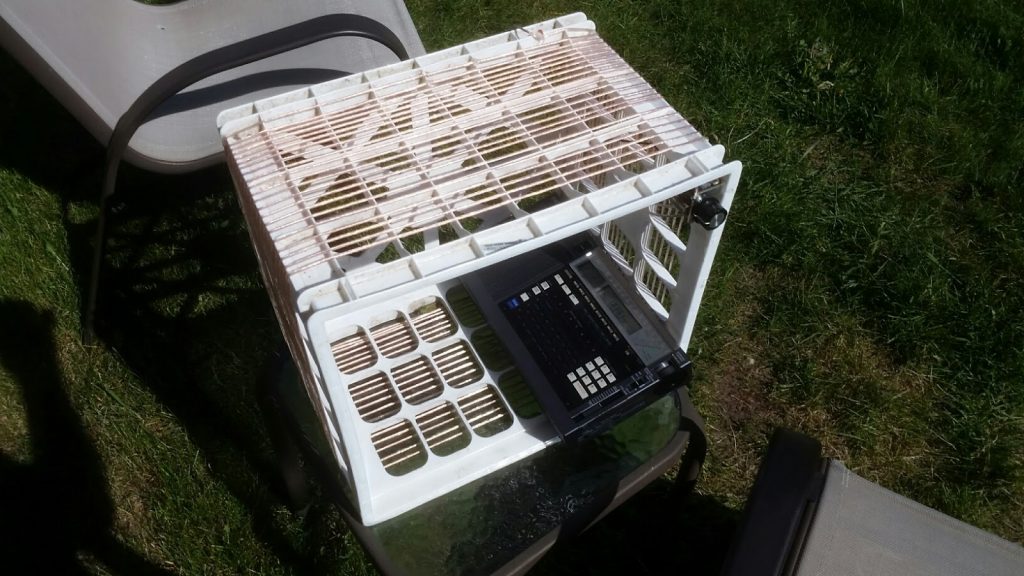
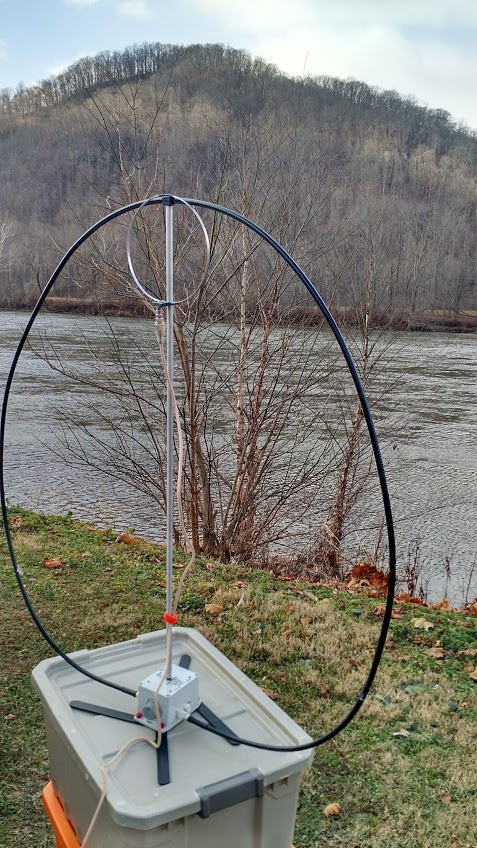
Having no tripod mount at that point, I simply sat the antenna on a plastic storage bin which sat on top of a picnic table where I operated. It’s not ideal to be so close to the antenna, of course, but I thought I’d give it a go.
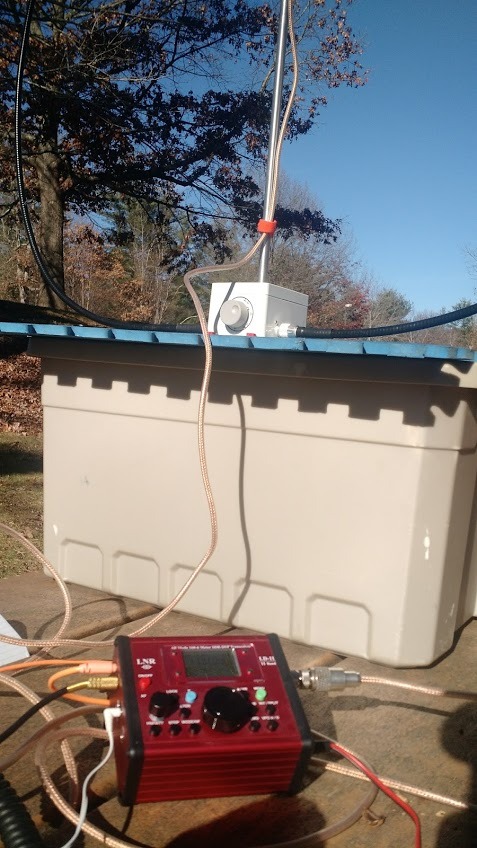
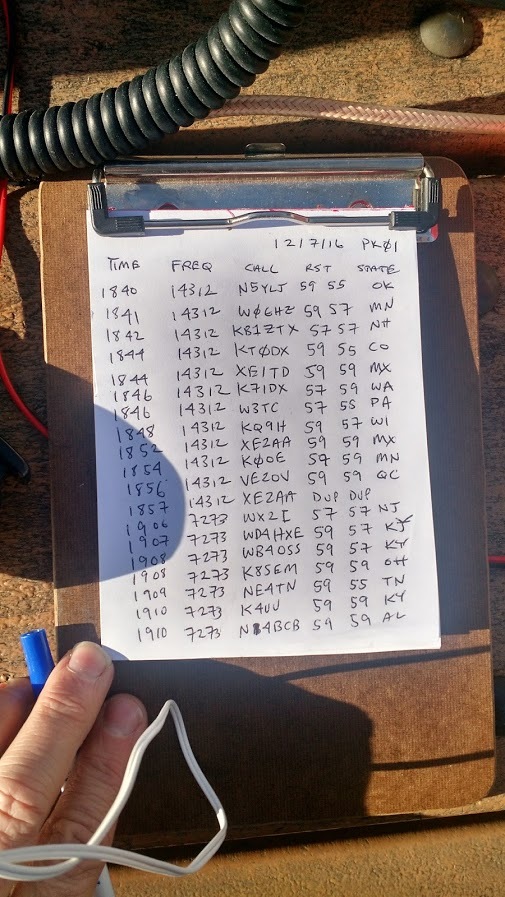
And go I did. What truly surprised me was how many contacts I racked up in relatively short order on the twenty and forty meter bands using SSB at QRP levels. I’ve always been a wire antenna guy in the field who believed in getting antennas up as high as possible; it still blows my mind that an antenna so compact, in such a compromised position, could rack up the contacts thousands of miles away.
This first activation was the only chance I had to properly learn the dos and don’ts of this antenna before I had to deploy it in the field on my river run through West Virginia. There, I simply didn’t have the time to worry about the process. I did take a few notes, however:
- The W4OP loop is high gain and very narrow band; if you move off frequency even a few kHz, you’ll certainly need to re-tune;
- The bandwidth is so narrow that, if you’re turning the capacitor too quickly in the field–especially in windy conditions– you’ll miss hearing the audio level increase when you make the loop resonant;
- Sometimes being near the loop while tuning the capacitor can affect the results;
- Loop antennas are not terribly practical for hunting and scanning for DX across the bands due to frequent re-tuning;
- For NPOTA or SOTA type activations where you operate on one frequency, the loop performance is downright amazing!
Mini DXpedition
My excursion into the three river gorges of West Virginia––the Bluestone, New River and Gauley––took an amazing amount of planning for such a short trip. Firstly, I only had a limited amount of time to activate each site, yet these were rare sites and I wanted to log as many stations as possible at each site. Secondly, I had to announce my activation times and frequencies well in advance so chasers could find and spot me. Also, I knew a number of west coast chasers who really needed one or more of these sites, so had to plot on-air times to maximize 20 meter propagation. Finally, an actual valid activation site has a lot of requirements and is not easy to find on a map!
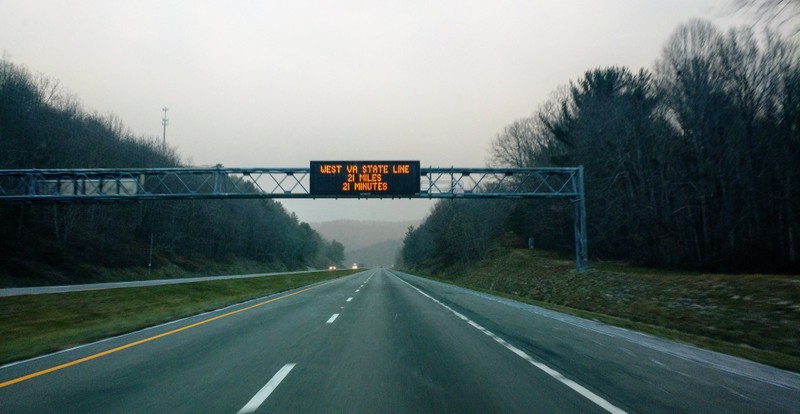
Surprise snow started falling well before I even entered West Virginia that morning.
And––oh, yes––the weather was really dodgy.
As soon as I hit the West Virginia state line on I-77, the snow started in earnest. Despite being from the southeast, I’ve no fear of driving in snow, but this was a bit unexpected and no roads had been prepared in advance. Also, I was driving into some pretty remote areas with my least snow-capable vehicle: a minivan. The snow was bad enough that I knew I would not attempt to activate the New River Gorge at the site I originally planned, which required negotiating a very long, steep, and winding road deep into the gorge. Instead, Eric advised me of another New River site option that was more easily accessed. I readily took him up on his suggestion.

And it was at the alternate New River site where the loop antenna truly saved the activation.
The activation site was essentially a one-car off-pavement parking spot next to a river access for small boats. Space was tight, but plenty big for the loop antenna.
It was about 20F with sharp wind, and spitting snow; wind gusts were high. I set up two plastic storage bins with the W4OP antenna on top, only about four feet off the ground; fortunately it did not blow over. I tuned the loop quickly to my pre-announced frequency of 14.312 MHz. I made a couple of calls, was answered by a chaser who spotted me…and whoosh! In less than an hour, as I sat there in the freezing wind, I worked 70+ chasers with 15 watts SSB with my Elecraft KX3. It was exhilarating.
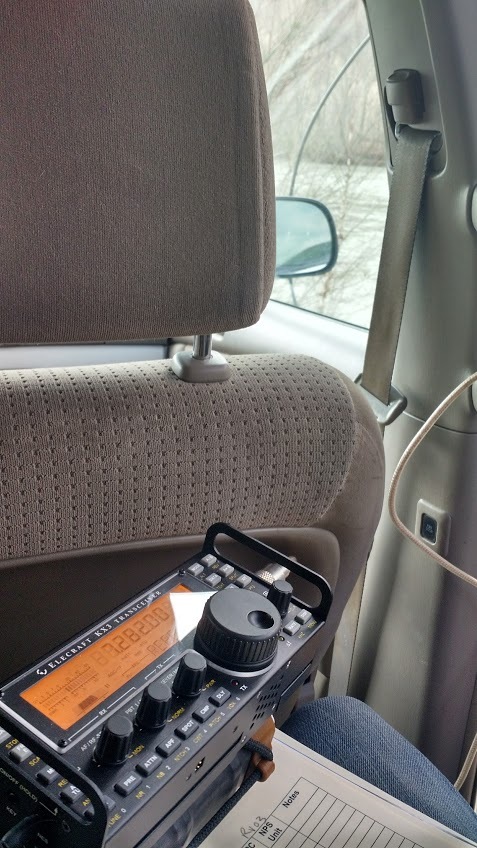
As I packed up my station to move to the next site, I quickly scanned over my log sheet: I found I had worked much of the east coast of North America, almost all of the west coast states, several Canadian provinces, Italy, Slovakia and Croatia. All with this incredibly modest antenna.
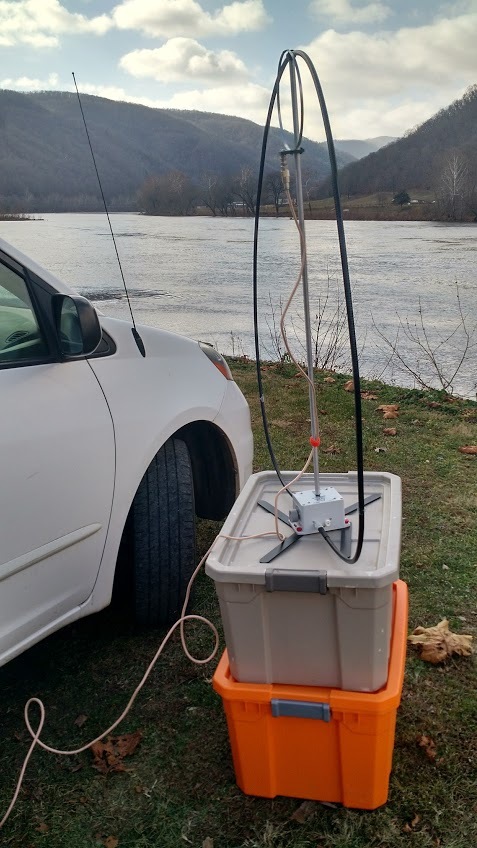
Weather was much better in the New River gorge.
Signal reports were averaging about S7.
Of course, I was a DX target, which, as any ham will tell you, gives you an automatic 30 dB of gain! Still, people could hear me clearly even though I was at a fairly low elevation in a gorge.
Impressive. I was really beginning to appreciate this antenna.
Problems at Gauley River
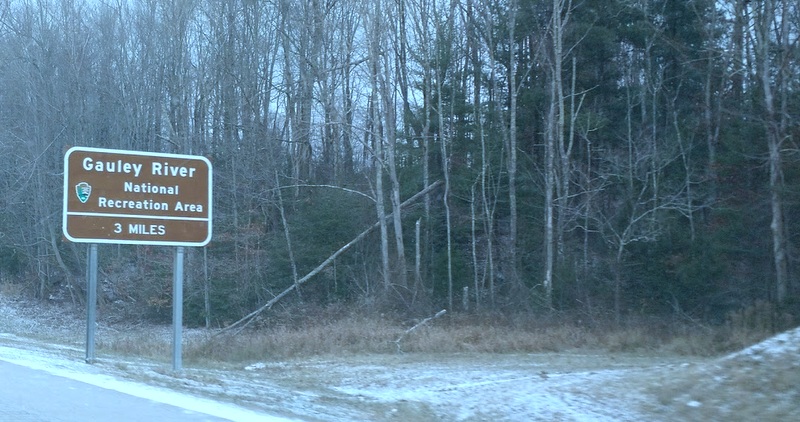
My next destination, the Gauley River, was about a seventy-minute drive from the New River and at a much higher altitude. The light rain turned into snow again accompanied by more very strong winds. I was really feeling chuffed about the easy loop setup ahead of me at the site.
After arriving on site, I set up the loop quickly, my Elecraft KX3 quickly followed, and started the tuning process. Unfortunately, I could not get the antenna to find a match on the 20 meter band. No doubt, the cold, the wind, my frozen hands, and a desire to stay on the tight schedule all influenced my ability to tune the antenna.
After ten minutes of trying to tune the loop, I initiated Plan B, pulling out the trusty EFT Trail-Friendly antenna and launching it into a nearby tree. The EFT didn’t fail me: once I was on the air, I worked almost 100 stations in a little over one hour.
I felt a little badly about hanging an antenna in a tree limb since I did not seek permission from the NPS in advance. Still, I was the only person at the park that day. No one in their right mind would have been hanging out by the roadside, save your author. I took comfort in the fact that the mature tree that aided me was entirely unharmed, and by the fact that not only do I strictly adhere to the Leave No Trace philosophy, I also clean up other visitors’ trash in the vicinity of all of my activation areas, as a means of honoring the park. I don’t think even the CSI would be able to find evidence of my activation.
Back to the loop. When I finally arrived at the QTH of my buddy, Eric, we took the loop out and he hooked his antenna analyser up to it. Again, we were not able to get the excellent match I had on 20 meters earlier that day at the New River. Eric and I both assumed (incorrectly, it turns out) that something had happened to the capacitor inside the tuning box.
Once I returned home, I called Larry with LnR and described what was happening. He quickly identified the problem: the coupling loop wasn’t positioned and clamped correctly. Whoops…I should have considered that. Once I adjusted the coupling loop an inch or so, it worked fine again.
Summary
Every radio, accessory, and antenna has its pros and cons. When I begin a review of a product, I take notes from the very beginning so that I don’t forget some of my initial impressions. Here is the list I formed over the time I’ve spent evaluating the W4OP.
Note that, since this was my first proper experience with a loop antenna for QRP operations, many of these items are indicative of loops in general, not just the W4OP.
Pros:
- Excellent build quality and overall value
- Excellent gain when tuned to a frequency (see bandwidth con)
- Overall impressive performance in the field and super fast and simple setup
- Excellent choice for those living in high-density neighborhoods with antenna restrictions
- LnR telephone customer support is excellent
Cons:
- Bandwidth is very narrow and the loop requires re-tuning on frequency changes (see gain pro)
- Supplied support feet are very basic; splurge for the new tripod mount
- Not always convenient and accessible to tune the antenna on the antenna base (though LnR will soon produce a remote tuning W4OP loop)
LnR Precision has recently released a remote tuning W4OP loop ($354.99) and a 6m kit for the current loop.
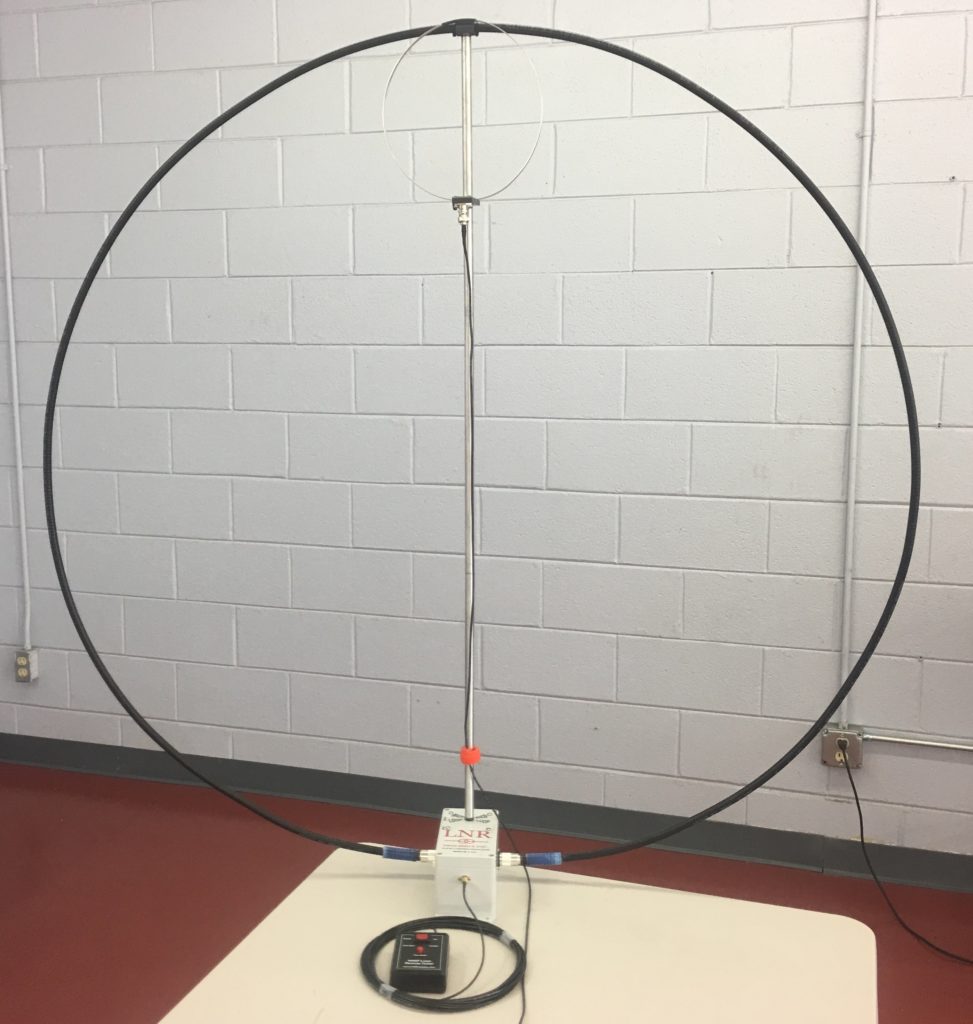
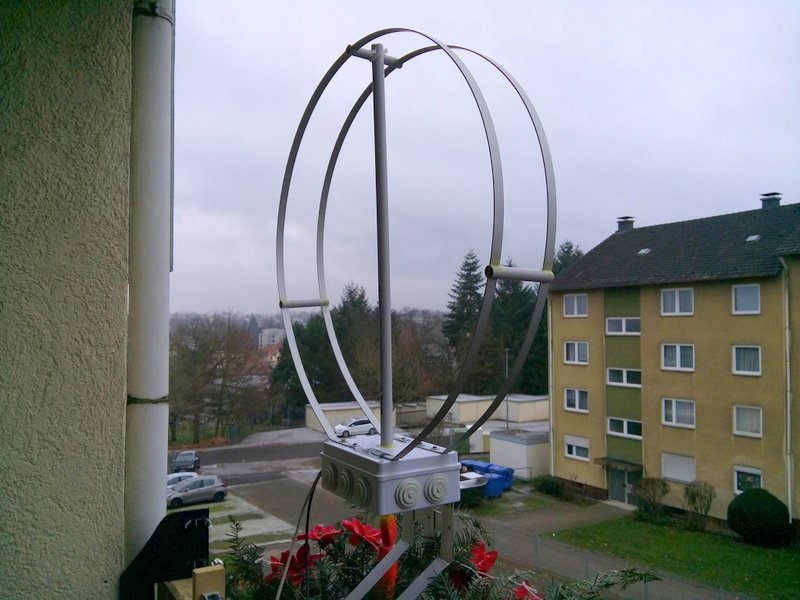
The W4OP Remote Loop Antenna (Photo: LnR Precision)
I think a remotely-tuned W4OP loop would make this an excellent antenna for amateur operators who wish to set up the antenna as a semi-permanent home installation; certainly a bonus for those living in restricted neighborhoods. Without a remote tuner, you would need to go to the antenna to make frequency adjustments. Note that LnR even has an upgrade program if you wish to turn your W4OP loop into a remote loop.
Of course, this first version of the W4OP loop isn’t designed as a permanent home antenna; it’s designed for field use.
And am I impressed with the W4OP loop? Absolutely.
Like me, if you’ve never used a mag loop antenna for field operations, spend a little time at home learning how to deploy it and tune it in advance.
Most of the criticisms of the W4OP loop I mention in this review are simply indicative of passive mag loops in general: narrow bandwidth, sensitivity to nearby metal objects, and the need for frequent re-tuning.

I understand that the W4OP may have even narrower bandwidth than other similar field-portable antennas. While some may consider this a disadvantage, I think I prefer it; in fact, I would rather be inconvenienced by re-tuning in exchange for higher overall gain. After all, even broader bandwidth loops require re-tuning if you move frequency more than a few kHz.
The W4OP antenna meant that my mini NPOTA DXpedition was a success, especially at the super-restrictive New River access point. Though I’ve used it in the field on a number of occasions now, I’m still in awe when such a compact antenna performs so well on such little power. I unhesitatingly recommend it. Great job, LnR Precision!
The W4OP is made in the USA by North Carolina manufacturer LnR Precision. The loop, and its accessories, can be ordered directly from LnR:
http://www.lnrprecision.com/loop-antennas/
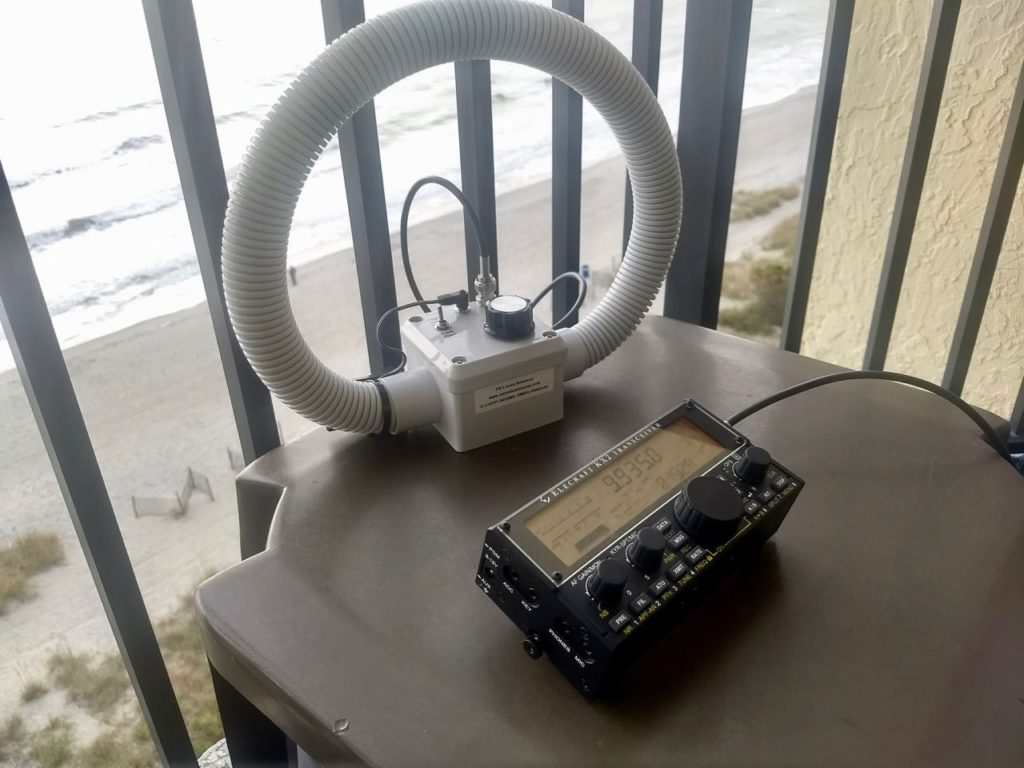 In 2016, I purchased portable shortwave magnetic loop antenna designed and built by Paul Karlstrand in Australia. I posted a “preliminary” review of this antenna in 2016 and since then have taken this loop on many travels.
