Many thanks to SWLing Post contributor, Walter Salmaniw, who shares the following guest post:
 10 Meter Beacon DXing
by Walter Salmaniw, Masset, BC
My hobby of radio listening has evolved over the years. Beginning with crystal radios as a child in the 60s, I’ve migrated through SWLing with numerous rigs including the kings of valve technology, like the Collins R390A and Racal RA17, and then on to high end mil-spec solid state rigs: Racals, Harris, Ten-Tec, and my all-time favourite, the Rockwell-Collins HF-2050 receiver. Unfortunately, broadcast band stations, especially transmitting to North America, have dwindled over the years, and my favourite Pacific stations also disappeared: 120 and 90 meter Indonesians, the 60 meter AIR network, and the numerous PNG stations. Well, what’s one to do?
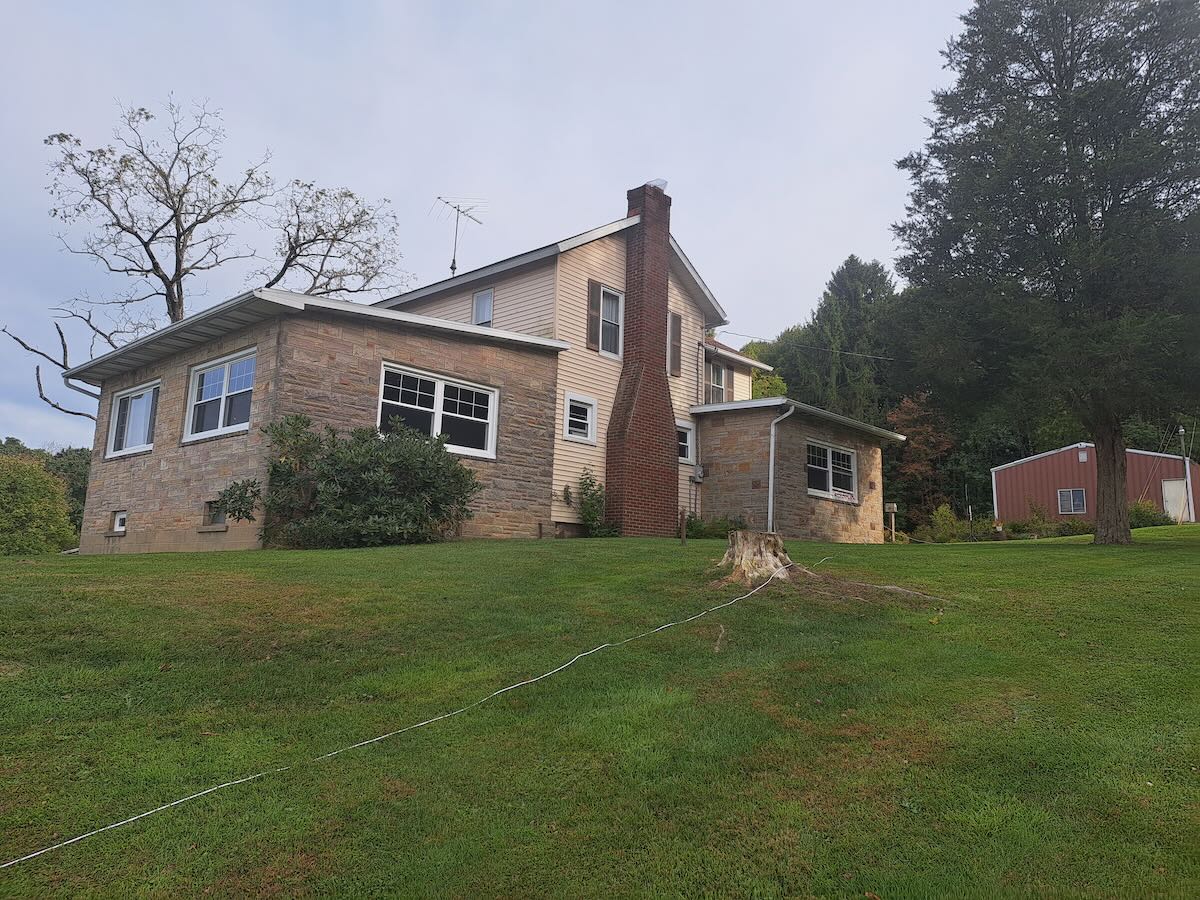
About 10 years ago, I switched over to MW DXing, and especially trans-Pacific and trans-Atlantic DX. My cottage near Masset, BC is the ideal location for such DXing, as I have an ocean beach location, the room for some great antennas, and very low noise in the area. This has produced some incredible DX, and I’ve been honoured with visits by some pretty eminent DXers, including Victor Goonetilleke from Sri Lanka, Mauno Ritola from Norway, Vlad Titarev from Ukraine, as well as our own experts in DXing from Victoria and the Pacific North-West of the US.
MW DXing is great, but that involves DXing primarily during the night time and early morning hours. What to do with the rest of the day? Well, with the rising sunspot counts and heading toward the peak of the next solar cycle, why not look at 10 meters? About 2 years ago, with a lot of help from the local DX geniuses, I was able to remote my set-up in Masset, and DX even when at home in Victoria, BC. 10 meters has consistently remained open almost every afternoon. Now, I’m not a ham, and at this point, have no interest in obtaining my ham license. However, I noted a lot of beacon activity on 10 meters.
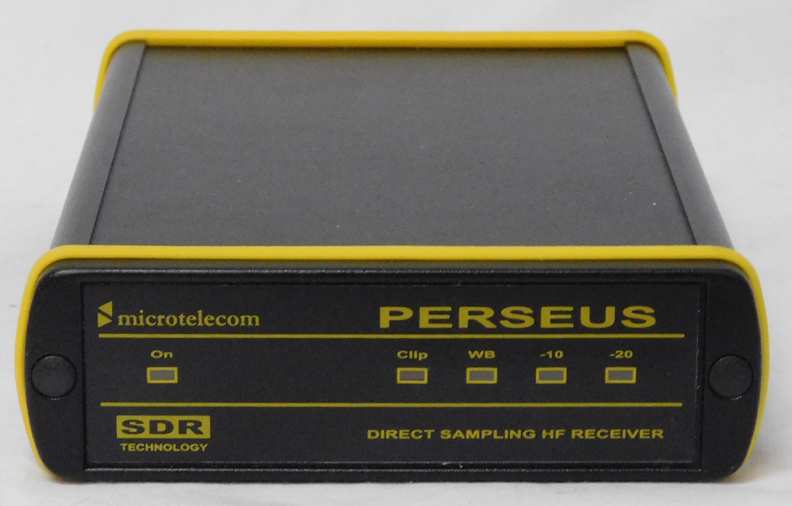
I’ve dabbled in LW NDB DX, which can be a lot of fun. Why not do something similar on the higher frequencies? Not being a ham, I needed some help with decoding the beacons. Thankfully, one can often see the CW and it’s slow enough to read in many cases. Being a bit too lazy for that exercise, though, I’ve tried several software solutions to use with my KiwiSDR and Perseus SDR in Masset. Fldigi is probably best known, and works fairly well. Another program I use is MixW, which I’ve always liked for SSTV reception. Another is CW Decoder. None, however, get anywhere close to how well CW Skimmer works. It’s an awesome program, albeit a pricey one. I’m still in the test phase, but will likely go ahead and fork over the $75 to purchase this. It will even take control of my Perseus receiver and decode 192 kHz worth of spectrum. Wow!
Here’s an example of what the band looked like last weekend:

There happened to have been a world-wide CW DX competition, but nonetheless, there were literally hundreds of CW signals to be decoded! Now, for me, however, I was more interested in the Beacon region of 10 M which is roughly between 28150 and 28300 kHz. I’ve found CW Skimmer to be a perfect tool to decode the beacons. Not only is it very accurate, but one can also easily see the CW signal with the dahs and dits on the screen and a continual readout of the messages. Most of these beacons run 5 or 10 W, and all are run by amateurs. Where to find information about who they belong to? That’s easy as well. WI5V.net has a great 10 M beacon list at https://wi5v.net/beacon-list-table-version/ . That’s my go to, but I also have DL8WX.de’s beacon list on my laptop, giving even more information, like contact e-mails, etc. He’s found at: http://www.dl8wx.de/BAKE_KW.HTM
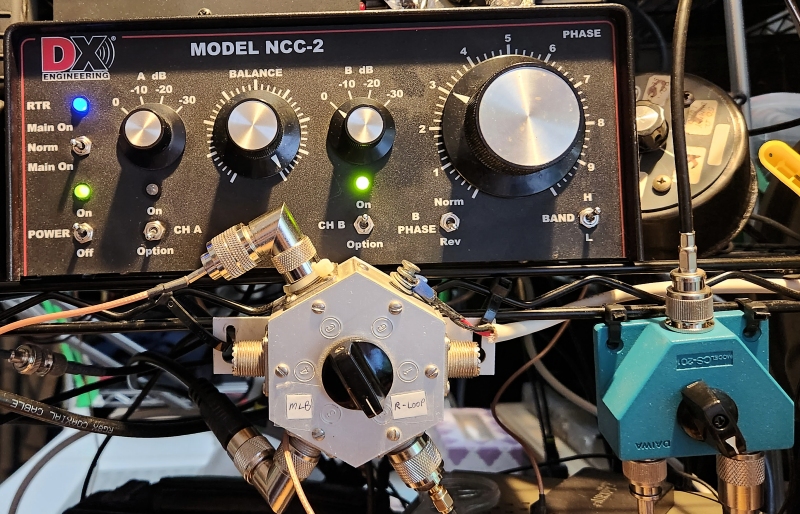
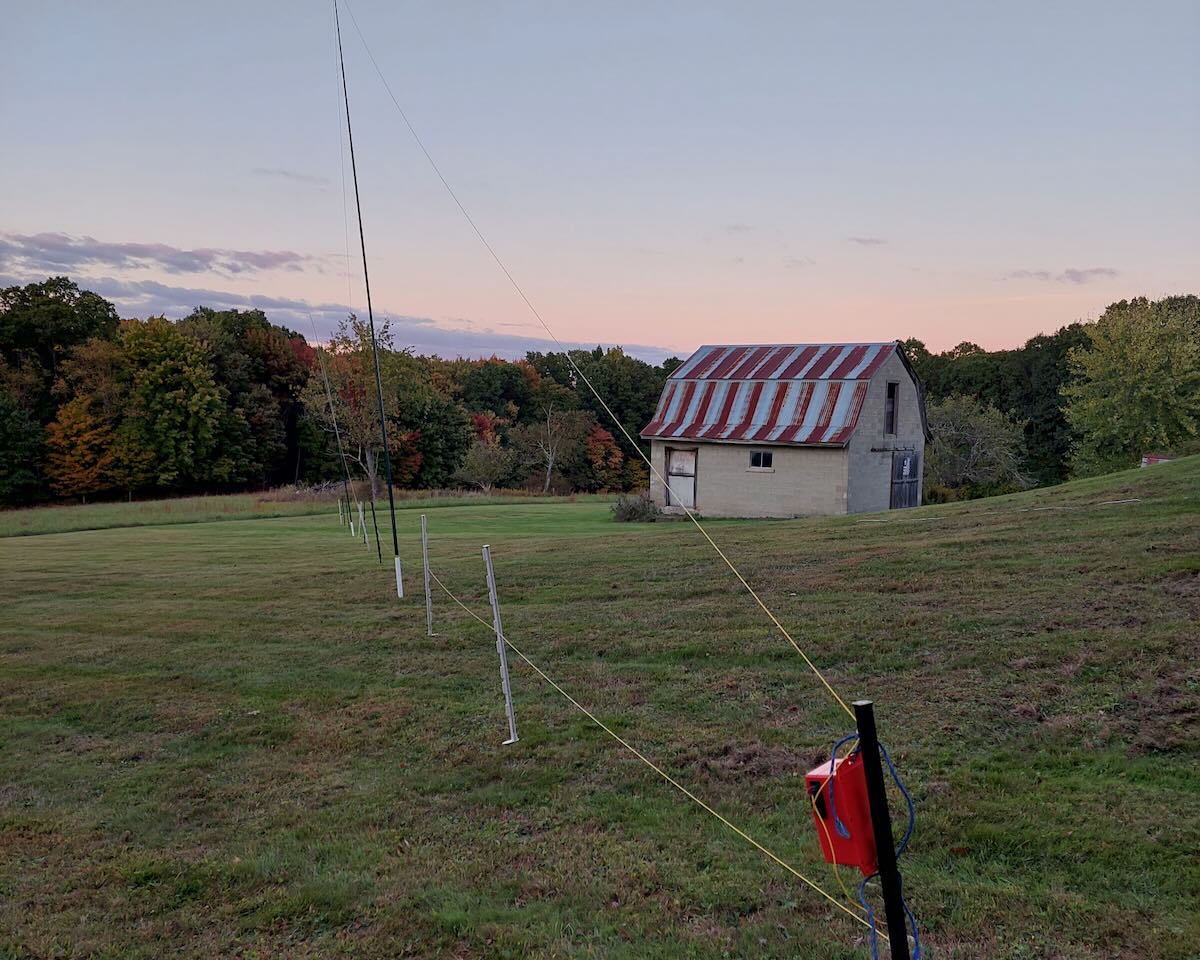
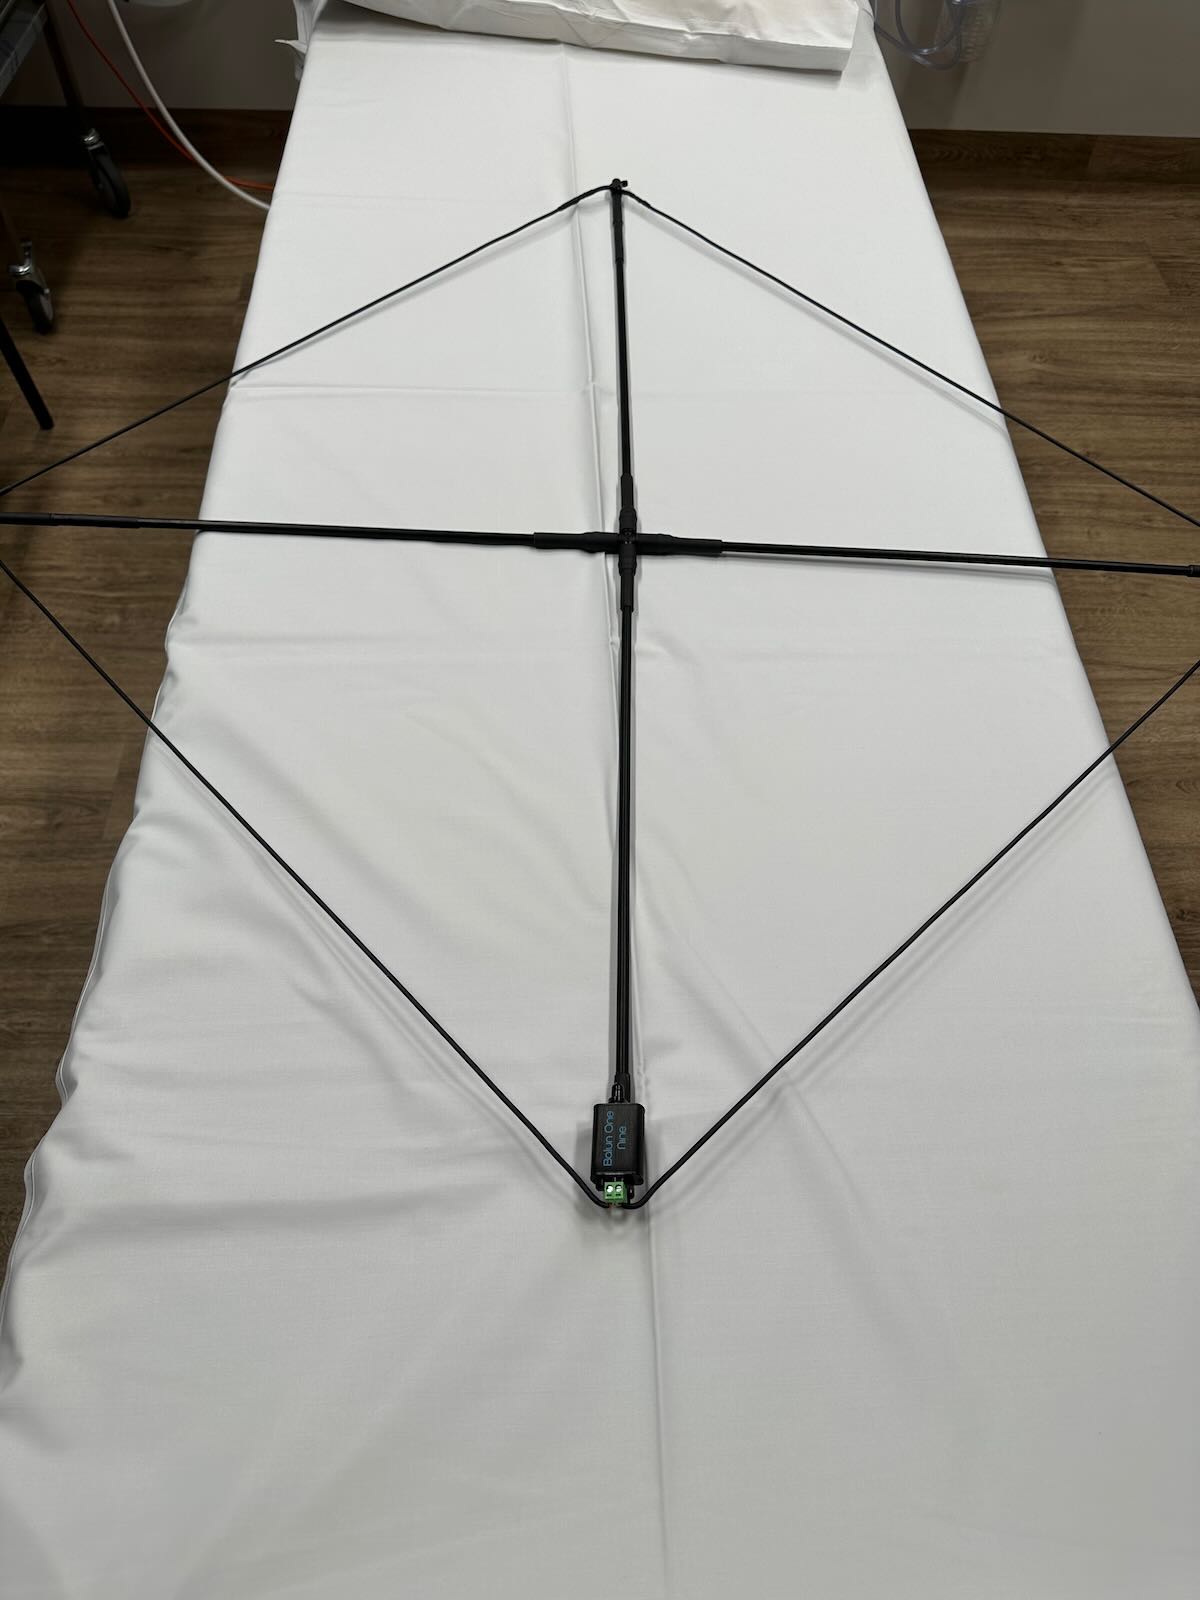
What type of antenna do I use? Well, none of mine are 10 M antennas at all. Most are, in fact, for DXing trans-oceanic MW DX! Still, they seem to work quite well. My go-to has been a DKAZ antenna aimed 290 degrees. Now, that’s 180 deg to where most of my Beacon activity comes from. How come? Well, Nick Hall-Patch, MW DXer extraordinaire, used his ENZEC antenna prediction program to see how the DKAZ works on 28 MHz, and sure enough, it’s opposite to MW DX. On the lower band, it’s best aimed 290 deg, but 180 deg opposite on 28 MHz! Who would have guessed that one? In any case, the next time I’m in Masset, I plan on putting up a simple vertical for 10 meters, seeing that solar max is still a year or two away, so there’s plenty of time for some fun DX!
Here’s what I’ve heard with a few afternoons of listening. My best catch has been Darwin, Australia!
28207 N4XRO 1924 CW 5 watt beacon heard with a bit of a buzzy signal best deciphered on my 110 deg DKAZ…. 17/Oct/2022 (Salmaniw, Masset, BC)
28236.5 W0KIZ 1933 CW Another well heard beacon this morning giving ID in CW along with location. Also very strong at 23:11 recheck. Almost a barn burner! Not bad for 5 watts! 17/Oct/2022 (Salmaniw, Masset, BC)
28244 WA6APQ 1934 CW Much stronger, and it shows with their 30 watts output, with slow CW giving callsign, then location. Very strong when rechecking at 23:05 UTC. Frequency is actually a little lower than listed. Actually measuring 28243.942 kHz. 17/Oct/2022 (Salmaniw, Masset, BC)
28287 WI6J 1949 CW Poor reception, but with same format giving ID and location. 17/Oct/2022 (Salmaniw, Masset, BC)
28250 K0HTF 2248 CW Fairly good copy of this beacon away from the coast now in Iowa. Only giving callsign/B. Tom ‘Doc’ Gruis
replyed to my email confirming he’s feeding 20 Watts from an Old President radio and feeding an AR-10 antenna. Thanks, Doc! 17/Oct/2022 (Salmaniw, Masset, BC)
28248.3 NJ5T 2258 CW A relatively difficult catch, but I decoded the J5 part of his call, as well as ‘dipole’. 17/Oct/2022 (Salmaniw, Masset, BC)
28215 KA9SZX 1954 CW Beacon quite well heard from Masset. Most of my 10 meter beacon loggings have been a more N/S axis, but this one is coming in nicely in our early afternoon. Callsign and power listed as 3 W, along with his email address. 5/Nov/2022 (Salmaniw, Masset, BC)
28218 AC0KC 2035 CW Despite being listed as on 28218.5, he’s actually on the even channel at fair level into Masset. Solar powered and only 3W, into a Bazooka antenna (what’s that?). Call sign repeated. 5/Nov/2022 (Salmaniw, Masset, BC)
28220 AA8HS 2123 CW Despite listed as 30 Hz higher, I’m hearing them on the even channel with repeated IDs. Fair level. Antenna listed is a vertical J-Pole. 5/Nov/2022 (Salmaniw, Masset, BC)
28230.3 W2MQO 2125 CW Strong reception with call sign as W2MQ0/B repeated twice, then tones, and cycle repeats. Into a Bazooka Antenna. 5/Nov/2022 (Salmaniw, Masset, BC)
28203 KG8C0 2132 CW Another strong beacon with call sign, and prolonged tone, and repeat. 5/Nov/2022 (Salmaniw, Masset, BC)
28203.5 K6LL 2134 CW Strong signal also from California, ID’ing as K6LLL/BCN, and giving location and QSL info. 5/Nov/2022 (Salmaniw, Masset, BC)
28193 VE4ARM 1827 CW Excellent reception of my first 10 meter Canadian Beacon. Run by the Austin, MD Amateur Radio Museum, as outlined in their beacon text. 6/Nov/2022 (Salmaniw, Masset, BC)
28284.8 N9TNY 2226 CW Another new one for me from Illinois. Not a particularly great afternoon, but nonetheless, a number of CW Beacons on 10 meters are visible/audible. Callsign is given, then PSE RST. Not sure what that means? Wiki tells me that this is like SIO or SINPO code. Stands for Readability-Signal Strength-Tone. Hmm. 28/Nov/2022 (Salmaniw, Masset, BC)
28297 NS9RC 2237 CW Another Illinois Beacon audible. This one is weak, but fiddling with the KiwiSDR AGC settings, makes for a much better decode (mostly raising the CW Threshold (marked Thresh CW in the AGC section). Near 100% correct decode now. Chicago is sent along with call sign. 28/Nov/2022 (Salmaniw, Masset, BC)
28287 WI6J 2240 CW Strong signal from this Californian, and heard before. VVV VI6J/B Bakersfield CA DM 5 28/Nov/2022 (Salmaniw, Masset, BC)
28254.5 K4JEE 2243 CW Good copy with VVV DE K4JEE/B K4JEE/B K4JEE/B LOUISVILLE, KY 28/Nov/2022 (Salmaniw, Masset, BC)
28236.5 W0KIZ 2300 CW Always one of the strongest beacons on 10 meters, and not disappointing this afternoon. VVV W0KIZ/B DENVER, COLORADO . 5 WATTS, So does he mean 5 or 0.5 Watts? Presumably 5 Watts. 28/Nov/2022 (Salmaniw, Masset, BC)
28206.5 KA7TXS/B 2303 CW Nice reception with VVV DE KA7TXS/B DM22 Listed in dl8wx.de website, but not the primary one I use (wi5v.net Beacon Website). 28/Nov/2022 (Salmaniw, Masset, BC)
28209 N5TIT/B 2315 CW Fair reception with VVV DE N5TIT/B EM1UPX, or something similar. 28/Nov/2022 (Salmaniw, Masset, BC)
28211.8 AC7GZ 2321 CW Good reception for only 3 W with VVV DE AC7GZ AC7GZ AC7GZ DM3BI. The latter is the ham grid square, near Mesa, AZ. 28/Nov/2022 (Salmaniw, Masset, BC)
28232.3 W7SWL 2323 CW I like the callsign! Fair reception with VV DE W7SWL TUCSON AZ DM42 The band is fading fast. Fascinating that the best antenna for 10 m Beacon reception today is my 290 deg DKAZ (and not the 110 deg DKAZ). Not sure why! 28/Nov/2022 (Salmaniw, Masset, BC)
28206.5 N4SO 2231 CW Very weak, but really picked up just now. DE N4SO/B repeated. A fine catch! 30/Nov/2022 (Salmaniw, Masset, BC)
28212.8 AC7GZ 2253 CW Very strong reception with VVV DE AC7GZ AC7GZ AC7GZ DM43BI 30/Nov/2022 (Salmaniw, Masset, BC)
28209.5 N2UHC 2300 CW Tough copy, but bits of STPAUL decoded. as well as N2UHC/B. 30/Nov/2022 (Salmaniw, Masset, BC)
28254.5 K4JEE 2308 CW Strong reception with ID and location. Deep fades, as well, though. 30/Nov/2022 (Salmaniw, Masset, BC)
28255.8 WI5V 2310 CW Fair reception with occasional good fade-ups with WI5V/B repeated. 30/Nov/2022 (Salmaniw, Masset, BC)
28175.5 VE3BKM 2034 CW Hearing an unlisted beacon. VE3BKM/BCN repeated, often at strong level. A new one for me! 5/Dec/2022 (Salmaniw, Masset, BC)
28168 VA3KAH 2040 CW I have no idea where this island is located, so had to look it up. Fair reception with VV DE VA3DAH/B It’s located to the north of Lake Simcoe in southern Ontario. 5/Dec/2022 (Salmaniw, Masset, BC)
28145 DL2WB 2048 CW A highly tentative logging. All I hear is the occasional tone for several seconds, then off. Nothing else listed on this frequency, so no idea! 5/Dec/2022 (Salmaniw, Masset, BC)
28203 KG8CO 2055 CW Very strong signal with repeated KG8CO/BT 5/Dec/2022 (Salmaniw, Masset, BC)
28203.5 K6LLL 2058 CW Weak reception with VVV K6LLL/BC Grid Square coordinates, and PSE QSL TNX DE K6LL/BCN. 5/Dec/2022 (Salmaniw, Masset, BC)
28206.3 KA7TXS 2100 CW Strong reception, although a bit of a congested part of the band making decodes a tad difficult. Not listed on my main source (WI5V Beacon website), but it is on the dl8wx.de website. 5/Dec/2022 (Salmaniw, Masset, BC)
28208 WD5GLO 2126 CW Fair copy with WD5GLO/B repeated 3 times and OK OK 5/Dec/2022 (Salmaniw, Masset, BC)
28209.1 N5TIT 2130 CW Poor reception this afternoon, but making out the call-sign. VVV DE N5TIT/B. 100 Hz higher than listed. 5/Dec/2022 (Salmaniw, Masset, BC)
28209.5 N2UHC 2133 CW Poor reception, but seeing his callsign. Fades up to quite good at times. N2UHC/B EM27JM N2UHC/B ST PAUL KS. 5/Dec/2022 (Salmaniw, Masset, BC)
28212.1 AC7GZ 2140 CW A regular visitor to Masset. Fair to good this afternoon with VVV DE AC7GZ DM43BI 5/Dec/2022 (Salmaniw, Masset, BC)
28215 KA9SZX 2142 CW A slower rate beacon at good reception: VVVV KA9SZX KA9SZX KA9SZX BCN MACOMB IL PWR 3W GRID EN40PK EMAIL KA9SZXWAYAHOO.COM Now that’s a full information beacon! 5/Dec/2022 (Salmaniw, Masset, BC)
28217.7 K4PAR 2152 CW Very weak, but fully decodable with VV DE K4PAR/B. Listed as from the Piedmont ARC and 25 W. Just barely audible. 5/Dec/2022 (Salmaniw, Masset, BC)
28220.15 AA8HS 2155 CW Measuring below their listed 28.2203 frequency. Weak but in the clear. 5/Dec/2022 (Salmaniw, Masset, BC)
28232.3 W7SWL 2206 CW Now that’s a call-sign! He wasn’t there a few minutes ago, but noticed a very powerful beacon. VVV DE W7SWL W7SWL TUCSON AZ DM42 and repeated. 5/Dec/2022 (Salmaniw, Masset, BC)
28254.5 K4JEE 2220 CW Another beacon I recognize from previous sessions. Fair to good reception this afternoon with VVV DE K4JEE/B K4JEE/B K4JEE/B LOUISVILLE, KU EM78. 5/Dec/2022 (Salmaniw, Masset, BC)
28255.8 WI5V 2226 CW Weak reception, with some AM QRM. VVV DE WI5V/B 5/Dec/2022 (Salmaniw, Masset, BC)
28278.5 WA4OTD 2228 CW Weak, but in the clear with callsign and location. 5/Dec/2022 (Salmaniw, Masset, BC)
28280 K5AB 2231 CW Strong reception with DE K5AB EM01BEACON, repeated, then CENTRAL TEXAS 5/Dec/2022 (Salmaniw, Masset, BC)
28281.1 W8EH 2234 CW 100 Hz above their listed frequency at fair level with callsign and grid square reference. 5/Dec/2022 (Salmaniw, Masset, BC)
28284.8 N9TNY 2237 CW Strong reception with callsign and grid square reference. 5/Dec/2022 (Salmaniw, Masset, BC)
28236.5 W0KIZ 2243 CW Again, a beacon not there a few minutes ago, but really burning up the receiver with repeated VVV DE W0KIZ/B DENVER COLORADO 5 WATTS. 5/Dec/2022 (Salmaniw, Masset, BC)
28240 W8EDU/B 2223 CW Weak, but readable. For only a watt, I’m impressed! Giving callsign and grid square location. Found them on the dl8wx.de beacon website. Location and operator is the Case Western Reserve University amateur radio club. 8/Dec/2022 (Salmaniw, Masset, BC)
28252.5 WD8INF 2227 CW Good reception with callsign and grid square locatioon (EM79). 8/Dec/2022 (Salmaniw, Masset, BC)
28258.5 AC5JM 2229 CW Good copy with callsign and OK repeated. 8/Dec/2022 (Salmaniw, Masset, BC)
28277.56 WA4OTD 2232 CW Fair copy. Listed in the WI5V beacon website on 28.2788, so a bit lower in reality. Giving callsign, grid square, and CARMEL 8/Dec/2022 (Salmaniw, Masset, BC)
28281.1 W8EH 2235 CW Good reception with callsign and grid square (EM79). Clearly, Ohio is coming in well this afternoon. Normally I’m hearing AC7AV on or near this channel (Green Acres, WA). 8/Dec/2022 (Salmaniw, Masset, BC)
28284.8 N9TNY 2237 CW Strong signal with VVV DE N9TNY/B EN51 PSE RST. 8/Dec/2022 (Salmaniw, Masset, BC)
28271 W4ZZK 2245 CW A very weak signal heard while monitoring another very adjacent signal. , giving the callsign/B. CW Skimmer comes through again! 8/Dec/2022 (Salmaniw, Masset, BC)
28290.8 K5TLJ 2302 CW Weak reception, but able to copy AR AR AR DE K5TLJ/B K5TLJ/B K5TLJ/B AR Band is quickly fading, so looks like this is the top frequency beacon I can hear now. 8/Dec/2022 (Salmaniw, Masset, BC)
28250 K5AB 2341 CW A this late hour, very little propagating in the 10M Beacon band. Nonetheless, good reception from this high power beacon with DE D5AB EM01BEACON DE D5AB CENTRAL TEXAS. 14/Dec/2022 (Salmaniw, Masset, BC)
28268.334 VK8VF 2344 CW My first Australian beacon! Very weak, but the call sign is being decoded by CW Skimmer. Not even visible on the waterfall. 334 Hz high compared to the listed 28.268 on the WI5V Beacon website. 14/Dec/2022 (Salmaniw, Masset, BC)
28189 VE4TEN 2100 CW Great reception this afternoon. The band had many 10 M beacons, but unfortunately, I had other family matters today. Still, nabbed this one, with an interesting call, and flea powered as well. 18/Dec/2022 (Salmaniw, Masset, BC)
28193 LU2DT 2355 CW My surprise for the afternoon, and my first Argentinian beacon. Fair reception. Long, somewhat garbled tone, followed by VV DE LU2DT LU2DT GF12FA. Distance approximately 12,432 kM with bearing 125 degrees! 19/Dec/2022 (Salmaniw, Masset, BC)
I hope that I’ve wetted your appetite into trying something, “completely different” in our radio monitoring hobby. Who knows next what I’ll want to try!
Walter Salmaniw, Masset and Victoria, BC