Will modern portable radios survive an EMP? Likely not without protection.
Here on the SWLing Post we tend to cover topics related to shortwave radio, ham radio and international broadcasting. We also cover an array of other topics our contributors and readers find appealing.
Lately, I’ve noticed an uptick in one particular question–at least, variations of it–from readers and people who found our site searching for emergency/preparedness radios:
“What radio can survive an EMP?”
or
“How could I protect a radio from an EMP?”
What is an EMP?
In case the term EMP is new to you, check out this explanation from Wikipedia:
An electromagnetic pulse (EMP), also sometimes called a transient electromagnetic disturbance, is a short burst of electromagnetic energy. Such a pulse’s origination may be a natural occurrence or man-made and can occur as a radiated, electric, or magnetic field or a conducted electric current, depending on the source.
EMP interference is generally disruptive or damaging to electronic equipment, and at higher energy levels a powerful EMP event such as a lightning strike can damage physical objects such as buildings and aircraft structures. The management of EMP effects is an important branch of electromagnetic compatibility (EMC) engineering.
Weapons have been developed to create the damaging effects of high-energy EMP. Misleading or incorrect information about such weapons, both real and fictional, have become known to the public by means of popular culture and some politicians’ claims. Misleading information includes both exaggeration of EMP effects and downplaying the significance of the EMP threat.
In short? A strategic EMP could cripple our electrical grid and potentially many other electronic and digital devices.
Most of us are concerned with wide-spread disruptions from electromagnetic pulses originating from:
- Man-made atomic weapons
- Natural occurrences, like solar flares/storms

A solar flare erupts on the far right side of the sun, in this image captured by NASA’s Solar Dynamics Observatory. (Image: NASA/SDO/Goddard Space)
No doubt, with North Korea testing nuclear weapons and their delivery systems, the latest surge in questions are a reaction to this behavior. Moreover, North Korea’s state news agency has been explicit about their intention to deploy and detonate an EMP weapon over the United States.
I’ve never been as concerned about man-made EMPs…well, until recently. Rather, I’ve been more concerned about the EMP potential of our local star––the Sun.
When, not if, we receive a strong EMP from a solar storm like that generated in 1859, known as the Carrington Event–our electronic infrastructure could very well be severely crippled, perhaps even for the better part of a decade.
Concerning, isn’t it?
Let’s come back down to Earth…
 As the Wikipedia article indicates, there’s a lot of confusing and misleading information out there regarding EMPs. And while some of this reportage underplays the seriousness of this very real, if rare, concern, a great deal of it, including the fiction about it, is more alarming than it needs to be.
So I turned to a good friend who happens to be an expert on EMPs.
My pal has worked for thirty-five years designing military radar equipment, broadcast transmitters, and automotive electronics.
His profession requires that he knows how to “harden” equipment against all types of EMP threats, and thus is regarded as a specialist in this field. Because of his professional ties he’s asked that I withhold his name.
My EMP expert friend is also very pragmatic. That’s why I asked him to explain how EMPs might affect us both generally and specifically, in terms of communications and the radio world.
I asked him to address what effects an EMP might have, both nuclear and solar originated, and how what practical preventative measures we might take to mitigate the damage to our radio equipment. His reply follows…
 Anxiety over EMP seems to recur every time there is a change in the established order. The premise of Mutually Assured Destruction that has kept us ‘safe’ in the nuclear age vanishes when confronted by a suicidal adversary. That _seems_ to be the case at present.
So let’s look at the facts available:
A nuclear EMP has its peak energy in the 1 MHz range, with appreciable energy even in the 1 GHz range. It has field strengths of up to 50 kV/m.
The wiring inside of modern consumer electronics, including PCB traces, is close to GHz wavelengths, so they will be effective [in] receiving that energy and carrying it to any electronics [to which] it is connected.
There was a series of articles in QST 30 years ago by Dennis Bodson (W4PWF) that should be the go-to reference:
[Note: the following links require that you’re logged into the ARRL website and are a current member.]
The author related results of a number of tests on equipment by the US in EMP simulators.
The impact on vehicles

One observation was that vehicles were not affected.
As a former automotive engineer, I can attest to the lengths to which designers go to make automotive electronics resistant to damage. A vehicle must be designed to withstand operation with no battery, reverse battery voltage, inductive surges, and other abuse. Automotive electronics are designed to operate under radio and TV transmitters without damage.
There are of course anecdotal accounts of ham equipment causing vehicle computers to go haywire, but if (and that is a BIG IF) the equipment was designed properly, there will not be damage. One area where EMP will cause damage in a vehicle is the car radio. It is tied to an antenna that will conduct the surge directly into the very fragile receiver circuitry.
That said, the amount of electronics in a vehicle is hugely increased since these articles were written in 1986, and even after I left the automotive industry in 2006.
The specs for automotive EMI resistance have not changed in that time, though.
EMP hardening
The way that you keep EMP out of any object is to surround it in conductive metal, so that no gaps exist. Think of a microwave oven that must keep the radiation _in_. The screen in the door window has tiny holes you can see through, but much smaller than the wavelength of the oven. Where microwave leaks are most likely to occur is around the door, where the metal shield is not continuous.
If you want to shield electronics from EMP, the coverage by the metal shield must be continuous. A gap or slit will permit the energy to penetrate.
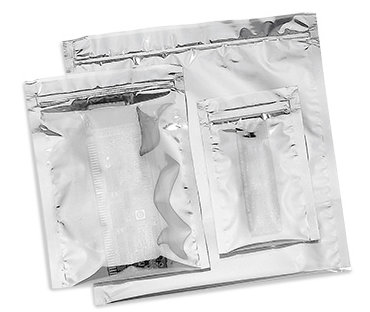
Sample of reclosable ESD bags.
In the silvered plastic Electrostatic discharge (ESD) bags that are very popular for EMP protection, the zip-lock seam is the weak point in the shielding. You can very easily just use two bags, one inside the other, with the seams in opposite directions, to make a greatly improved shield.
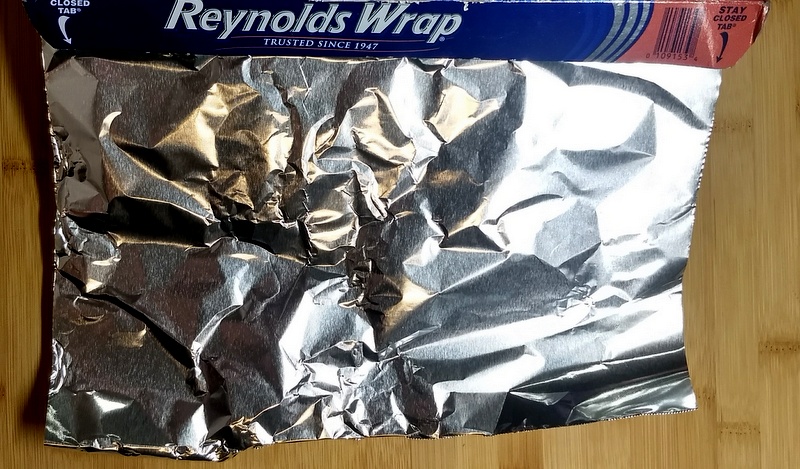
Aluminum foil is a great shielding medium, [and] it’s cheap and plentiful.
Use a big piece, and wrap several overlapping layers. It’s hard to do better.
 Many of the solutions used for EMI and RFI lose their effectiveness in the high field strengths of an EMP.
The ferrite snap-on chokes saturate at high magnetic field intensities, and lose their permeability, and the ability to stand off conducted surges.
Use of ammo boxes or file cabinets for EMP protection [a popular method promoted by many on the Internet] is of limited effectiveness because of the large gaps between sheets of metal, and the poor conductivity of steel.
A galvanized trash can is a better solution, because of the conductivity of the zinc galvanization.
The gap around the lid should be covered with adhesive copper tape, available at craft and garden supply stores.
Batteries
Batteries are not affected by EMP. But a battery pack with a built in smart charger may be.
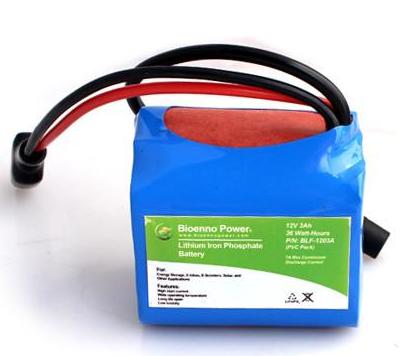
Be aware that LiFePo batteries tend to have built-in smart charge controllers.
Store battery packs safely shielded also––but make sure the terminals cannot contact the metallic shield and cause a short!
Tube/Valve radio equipment
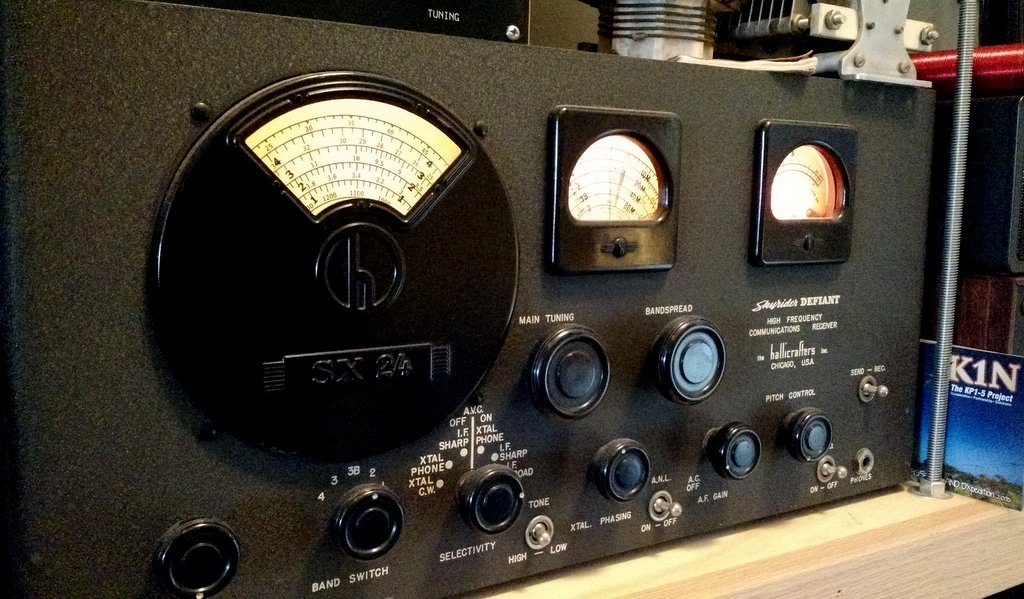
Vintage tube radios will likely survive an EMP, but how do you power them without mains electricity? By modern standards, valve gear is power hungry!
Vacuum tube equipment is very resistant to EMP, as [it] can withstand arcing and surges with no damage.
The bigger question is, how do you power it afterward?
Suppress Surges and Unplug
Much of the damage from an EMP will be conducted, coming in on power lines. Always unplug any critical electronics when not in use. Also, put a surge suppressor on every outlet [into which] you have electronics plugged.
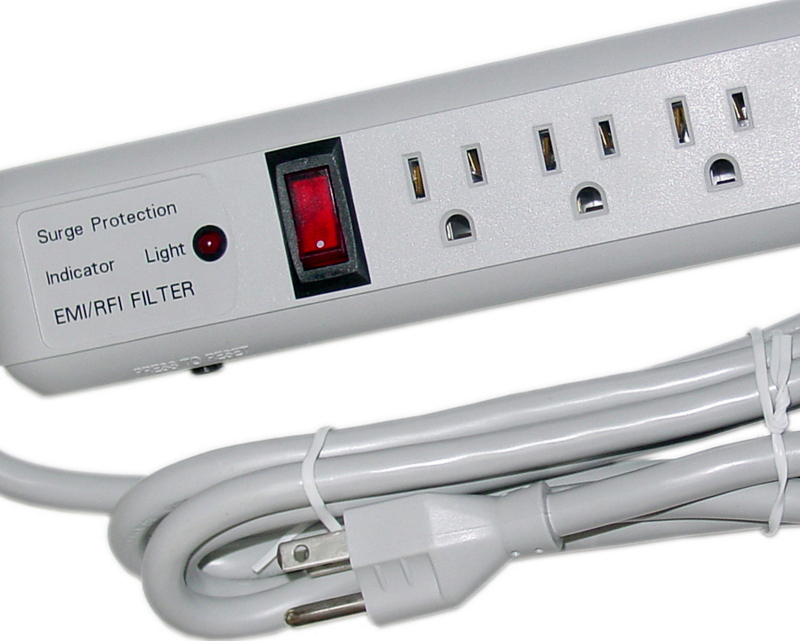
It is cheap insurance. Even of you are not in line-of-sight of an EMP, the conducted surge can wipe out costly appliances. I do this as protection anyway because of my ham antenna. When lightning hit the tree outside my house ten years ago, we only lost two CFL bulbs, while every neighbor on our block lost TVs, microwaves, and washing machines.
Gamma Ray Bursts
EMP radiation should be distinguished from ionizing nuclear radiation. Exposure to a gamma ray burst from near proximity to a nuclear event will disrupt electronics also, but that is an entirely separate topic.
Most Important Communication Medium During Disasters

(Hopping on soap box) The most important form of communication is that which covers the shortest distance. Get to know your neighbors. When bad things happen, they will be the people who will help you out, and be the most grateful when you help them. We’re seeing this happen on a massive scale in Houston [Florida and Puerto Rico] right now. (off soap box).
My Disclaimer
The subject of EMP is very controversial. There is a tremendous amount of misinformation out there. There is disagreement even among the experts.
The problem is that since aboveground nuclear testing…ended a generation ago, there is very little relevant information existing, since semiconductor electronics were in their infancy at that time this occurred. Most information that there is has come from EMP simulators, which are assumed to create waveforms close to that of a nuke. We all know…how risky assumptions can be!
But we do know how to make shielding, and we do know what kind of effects will damage electronics, and we can use this knowledge to try to assure that the preparations we make will be sufficient to protect our electronics.
All of these are very hostile EMI/EMC environments, and the specifications for their design are very strict. These designs offer guidance as to how to create EMP resistant electronics. What are offered are opinions, but hopefully well informed opinions. If I’m wrong, I won’t argue about it, there is more at stake than ego.
Answering common questions
Many thanks for these useful insights and explanations. And now, with all of this in mind, let’s re-evaluate questions about EMPs and radios:
“I understand tube/valve radios can survive an EMP. Which model should I buy?”
My answer: You’re correct; as discussed above, vacuum tube equipment is very resistant to EMP, as it can withstand arcing and surges with no damage.
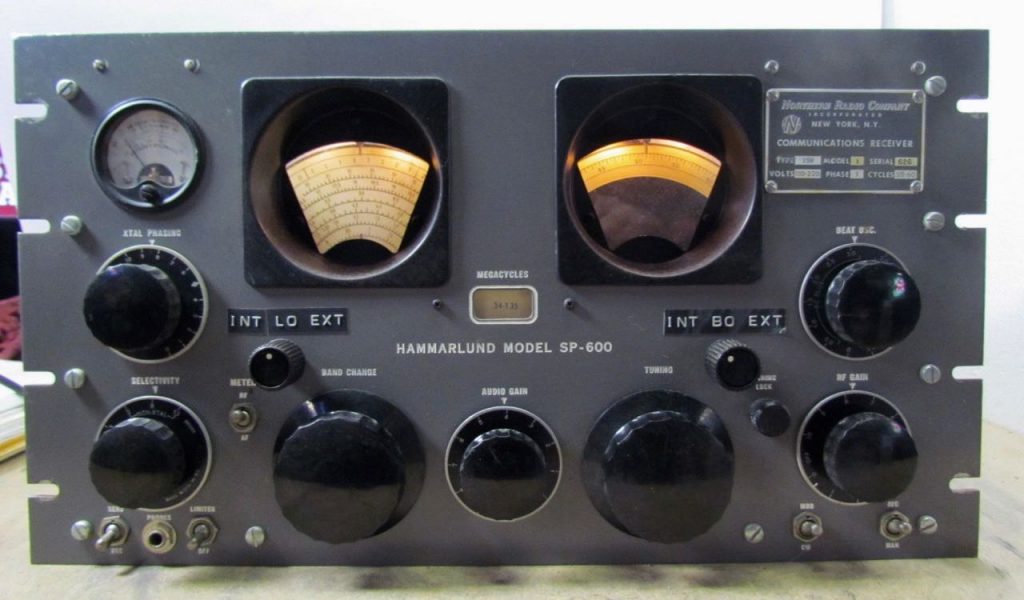
However…without mains power (the most likely result from a strategic EMP) how will you power tube gear––? Many tube radios were never designed to be operated from a battery source. Those that could, require batteries with a fairly exceptional amount of capacity. Vacuum tube radios are not efficient compared with modern solid-state battery-powered radios.
If you have an generator or power source that is hardened to survive an EMP, and you have a plentiful supply of fuel to run it, then you may consider a tube radio. Otherwise––or better yet, additionally––protect a much more efficient portable radio.
“What radio can survive an EMP?”
Any radio that is properly shielded from the effects of EMP should survive an EMP.
“How can I protect a radio or other portable electronics from an EMP?”
After you’ve chosen which radio to protect, take the extra precaution of removing any attached telescopic antenna. Most antennas are held in place with a simple tiny stainless steel screw/bolt. Unscrew it, pull the antenna off, place both pieces in a small bag and keep it with the radio.
Next, place the radio in a container that will act as a “Faraday cage” to exclude an EMP’s electrostatic and electromagnetic influences. There are a number of commercial products specifically designed for this use, but it’s more simple and affordable to adopt one of the procedures our expert outlines above. Let’s re-cap:
ESD Bags
Find a bag that’s large enough to fit your radio; many of the bags designed for SATA hard drives should fit more compact radio models.
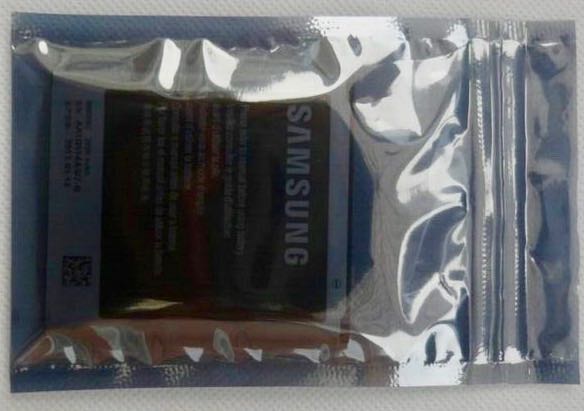
Place the radio (and its detached antenna) into the ESD bag and close the zip seam.
Then, place the ESD bag containing your radio equipment into another ESD bag, making sure the bag seams are on opposite ends.
Aluminum Foil
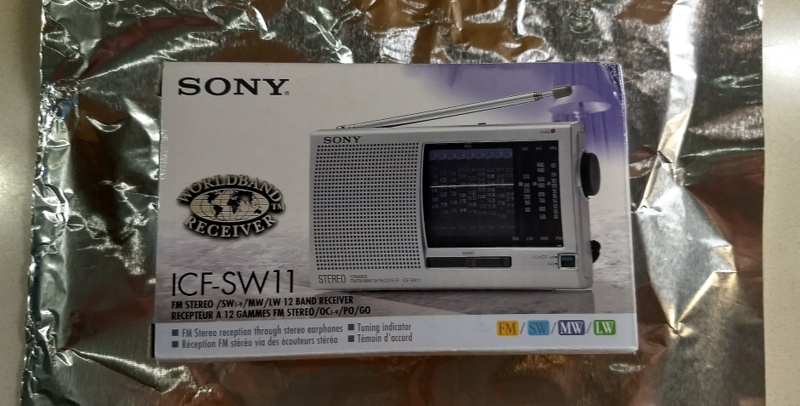
Consider wrapping your radio or electronic device in its box. Not only does it insulate the contents, but it makes an easier surface to wrap in foil.
Wrap the radio in at least three layers of aluminum foil. Make sure all seams are tightly sealed with each layer of foil. Each layer should completely enclose and protect the radio.
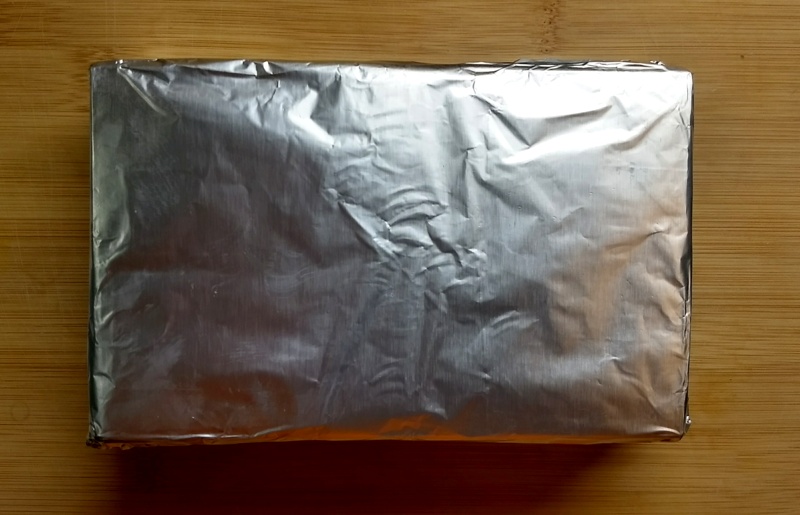
I wrapped this radio in three layers of foil, carefully sealing seams on each layer.
Galvanized Trash Can
As mentioned above, items can be placed in a galvanized trash can for protections.
Simply line the inside of the can with a dielectric material (cardboard, thick cloth, foam, or something similar) so the contents cannot touch the sides, bottom, or lid of the can.
It may be overkill, but I might also wrap my electronics in aluminum foil before placing it inside, again making absolutely certain your equipment in its foil wrap is NOT touching the metal of the can. This would simply serve as a secondary–redundant–layer of protection.
If you live in a humid area, you might put some sort of moisture protection inside as well.
More to come…
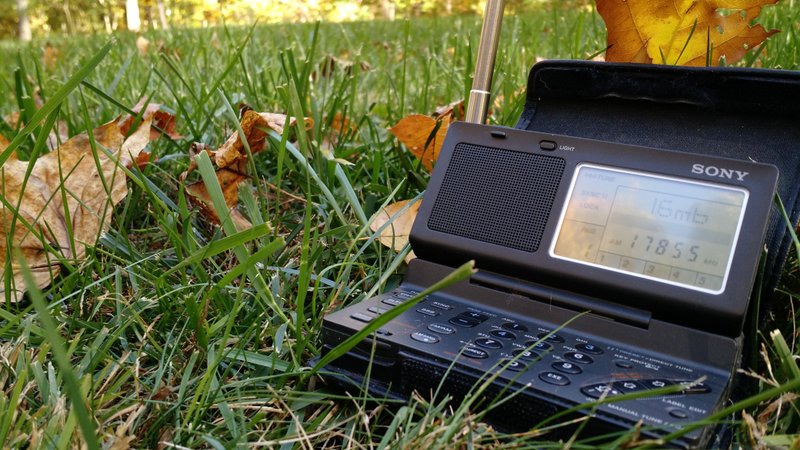 In the final part of our primer, we’ll take a look at what sort of radios you should consider packing away for emergency use, discussing selection criteria.
I’ll link to this article once it’s published, so stay tuned for more on this intriguing subject. Follow the tag: EMP

