Shortwave listening and everything radio including reviews, broadcasting, ham radio, field operation, DXing, maker kits, travel, emergency gear, events, and more
Many thanks to SWLing Post contributor, Dan Van Hoy (VR2HF), who writes:
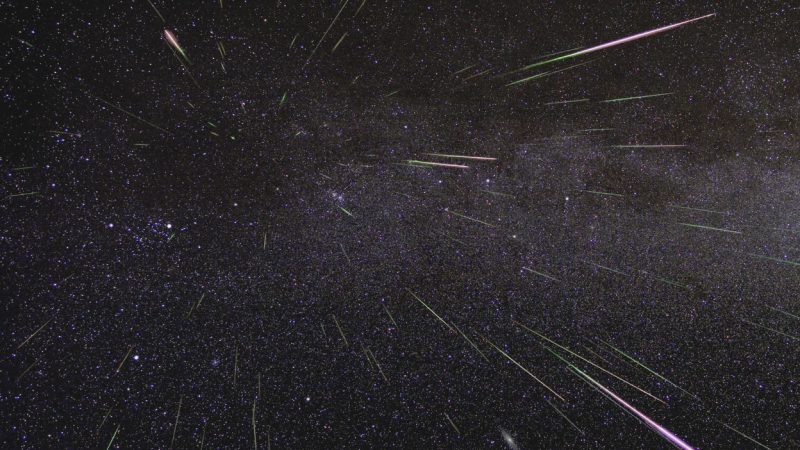
LISTEN TO THE MUSIC OF THE METEORS!
No matter what the skycover in the coming few days you can hear the Perseid Meteor Shower live via my receiver on 49.749 MHz USB. The hollow PINGS are brief bursts of signal from a TV station transmitter here in Asia enabled by meteors as they streak through the ionosphere. As with viewing the Perseids, patience pays rich rewards of hearing the amazing music of the meteors. Enjoy! Dan…VR2HF
Hello readers! As a broadcaster I am always interested in the reach of various transmissions – how far they propagate and how they can be received! Today I’m asking the following:
Can you hear this transmission?
Saturday 2200 UTC (6 PM Eastern / 5 PM Central) – 6115 kHz – WWCR 100 kW – North America
The show is 1 Hour in length and will feature a variety of music from the 1960s to Present, including listener requests! It’s a very diverse show where you are guaranteed to hear music of many genres and eras!
If you can receive this broadcast I encourage you to submit a reception report via email to [email protected] and it will be verified with a QSL.
Many thanks to SWLing Post contributor, TomL, who shares the following guest post:
Summer Daytime DXing 2019
by TomL
I took note of the mediocre band conditions this summer amongst amateur radio operators as they were making off the cuff comments about still being in a solar minimum. Some had gone out and bought upgraded transmitters to solve the problem (MOAR WATTS!). And more power thrown at a weak ionosphere does seem to help get a signal farther. I had not been out since the spring and decided to find out for myself. But instead of more watts, I wanted more height.
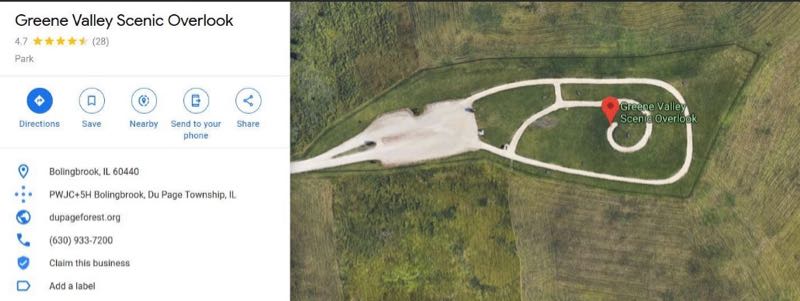
Greene Valley Scenic Overlook is open to the public from May through October on weekends only (and only from 11am-6pm). It was the largest land fill (aka, garbage dump) in Illinois, now covered over and producing captured methane gas. On August 3 & 4, I ventured over there to see if its 190 feet above the surroundings might help my radio reception.
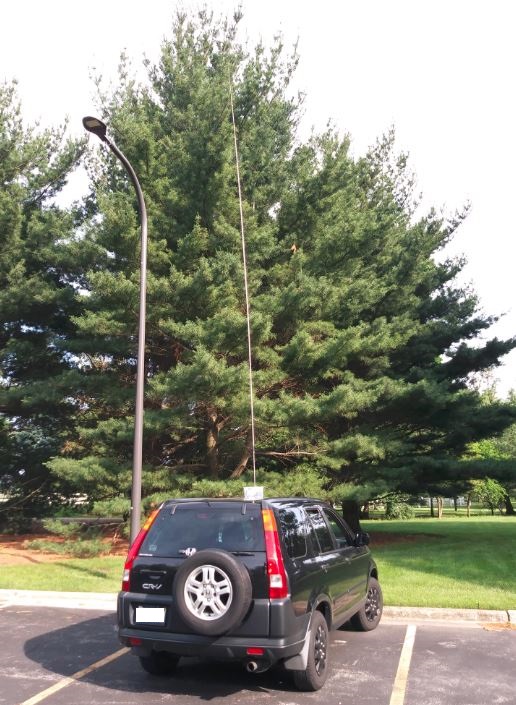
After trying my luck with a 12 foot vertical antenna on a tripod (and numerous children running around it chasing butterflies or looking at the view of Chicago), I went out the next day and parked away from anyone and put up my 19 foot vertical on the roof of the car. This setup is still amazing to me and works much better than the tripod mounted antenna, probably because it has a proper ground plane as well as being 7 foot taller.
So, yes, the conditions were so-so, not too bad and not too good. Lots of weak signals and some empty frequencies that I had expected to hear some South American stations around the 5 – 10 kw range. Weak stations from Asia were more scratchy sounding than usual even with the extra 190 feet of height. Here are 5 broadcast recordings as a sample (times in UTC):
Running out of things to listen to, I wandered over to the 20 meter amateur radio band and found a different situation. Propagation was decent between the Western hemisphere and Europe. Lots of “pile ups” going on with people trying to make contact with their trans-Atlantic counterparts. Some said they were running 500 watts or more, so more power does seem to help! Here are 5 recordings to show how active it was:
This outing was quite educational and I find it curious that people running 1000 watts or less are able to be heard well between continents but the large broadcasters were difficult to hear. Antennas pointed in the right direction, at the right time of day and frequency, can certainly do amazing things, plucking those weak signals out of the air so easily. And I do think the extra height had something to do with hearing this magic, too!
Happy Listening,
TomL
NOTES:
An easy way to lookup amateur radio operator “call signs” is to go to web site QRZCQ.com which does not need a login. Some records may be out of date, but most of it is accurate.
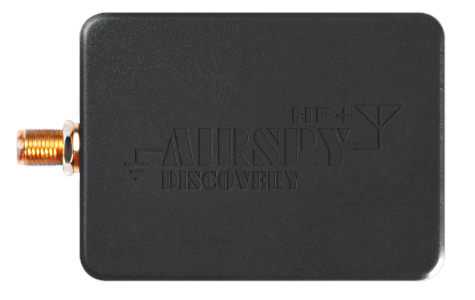
Setup used was a cheap Dell laptop, Windows 10, SDR Console 3.03, connected to the AirSpy HF+, a Palstar amplified preselector, and an old Kiwa BCB filter, then going up to the car roof magnetic balun (a Palomar MLB2) which is then connected to the 4 magnet base and the MFJ 19 foot stainless steel antenna. You can read about it here:
Brilliant report, Tom! It’s true: the bands are fickle, but like you I always find interesting things to hear on HF. I think your setup using your vehicle as the ground plane for the antenna is a fantastic idea. Plus, set up is easy, self-supporting, and you’ll never have to worry about a park ranger, for example, complaining because you have a wire suspended from a tree. And when there are no trees? You’re still golden.
Thanks for sharing your experience and DX! Amazing that even with mediocre conditions, you still snagged some distant signals.
Many thanks to SWLing Post contributor, Eric McFadden (WD8RIF), who shares the following announcement from Ken (WA4MNT) via the QRP-L forum:
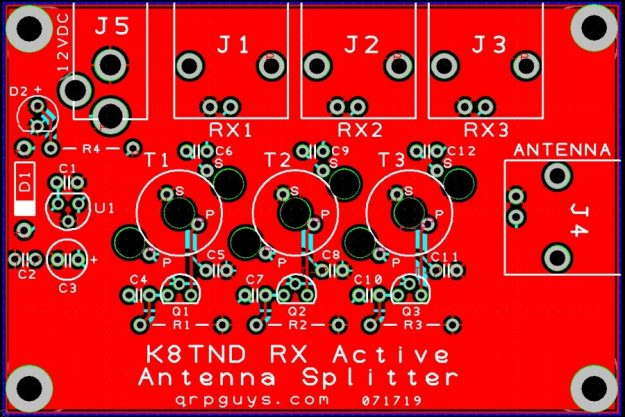
QRPGuys is open for orders after this year’s Summer shutdown. We have added a product that may be of special interest to SWL listeners and some hams. It is an active antenna splitter that will enable connection to three receivers from a single antenna.
Product Deescription:
The KN8TND Active RX Antenna Splitter will allow you to use one antenna with mulitple HF receivers simultaneously. Many hams and SWLers like to monitor several bands and/or frequencies, i.e. 14.300, international nautical emergency freq, 14.100, world HF beacons, etc, etc. Having two or three HF receiving antennas is a luxury some Hams and SWLers can’t afford. With the active receiver antenna splitter you can use one antenna and three receivers at the same time. Keep abreast of what’s going on on the bands, put some of those dust collecting receivers back in action. On a difficulty scale of 1 to 5, this kit is a 2. Build time is about 2 hours, depending on your experience, with the normal kit tools. Bear in mind, this is for receiving only. For HF transceivers you would need a T/R switch to your tuned transmitting antenna.
QRPGuys makes amazing QRP kits. Immediately after receiving Eric’s email, I purchased the active antenna splitter kit. Total cost with shipping was $25 US. A true bargain! Although I already have an ELAD Active antenna splitter, this one would be nice to take to the field as it’s much smaller and lighter weight.
Fernando Duarte of Fenu-Radio has just posted his review of the AirSpy HF+ Discovery SDR prototype. I trust Fenu’s reviews because they’re always thorough and based on actual listening sessions.
In short, he’s quite impressed with the prototype. In many instances the Discovery outperformed his benchmark Winradio G33DDC Excalibur Pro. Quite an accomplishment for a $169 SDR!
I will evaluate a first production run AirSpy HF+ Discovery. Since it’s incredibly lightweight and compact, I believe I’ll try to even build a small portable SDR station around it. Stay tuned.
Over the past months, NASA’s Parker Solar Probe flew closer to the sun than any other spacecraft before it — not once, but twice on two flybys. The probe obviously collected as much data as it could so that we can understand the sun better. Now its mission team at Johns Hopkins Applied Physics Laboratory in Maryland has just received the final transmission for the 22 gigabytes of science data collected during those two encounters. That’s 50 percent more than it expected to receive by now, all thanks to the spacecraft’s telecommunications system performing better than expected.
Parker’s ground team found out soon after launch that the probe is capable of a higher downlink rate. In fact, they’re taking advantage of that ability by instructing the probe to send back even more data from the second encounter in April. During that event, the spacecraft’s four suites of science instruments kept busy collecting information. That’s why the mission team is expecting to receive an additional 25GB of science data between July 24th and August 15th.
The mission team will release the data from the first two encounters to the public later this year. Before that happens, the spacecraft will conduct its third flyby, which will start on August 27th and reach closest approach on September 1st. Researchers are hoping that over the net few years the mission can gather the information we need to unravel some of the sun’s biggest mysteries, including why the sun’s corona (its aura of plasma) is far hotter than its visible surface.
Many thanks to SWLing Post contributor, Marty, who shares the following article by John Schneider in Radio World:
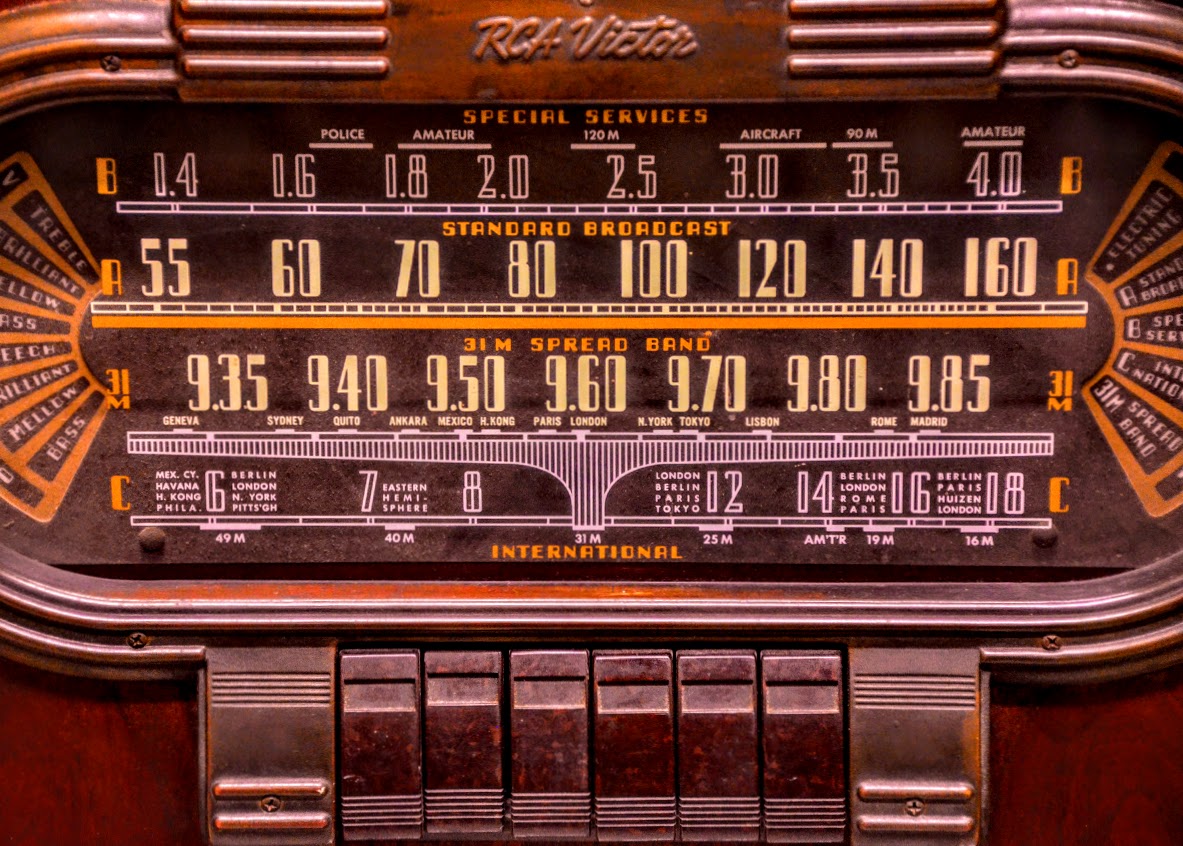
In the early years of AM radio broadcasting, all stations utilized non-directional antennas. Most all of these were wire antennas suspended between towers or buildings. Interference, especially at night, was severe. An interfering signal of 5% or less in signal strength was enough to disrupt reception of the desired station, and if the frequencies of the two stations were slightly separated, there would be a heterodyne beat note. As a result, only a few widely-spaced stations could operate on each of the AM broadcast channels in the entire country at night. This limited the number of stations that could coexist to about 500 nationwide, with many of them sharing time on a single frequency.
As antenna technologies were developed and improved in the early 1930s, a few progressive stations began experimenting with multi-element directional arrays. This approach offered two attractive benefits: 1) It could reduce radiation towards other stations on the same or adjacent frequencies, permitting more stations to share a frequency; and 2) a broadcaster could direct more signal towards the desired coverage area, and away from wasted areas such as open water in the case of coastal stations.
WFLA-WSUN
The first known use of a directional antenna was by a pair of stations in Tampa/St. Petersburg, Fla. In 1927, the Clearwater Chamber of Commerce acquired station WGHB and changed the call sign to WFLA. A companion station, WSUN, was operated by the St. Petersburg Chamber of Commerce. The two stations shared the frequency of 900 kHz, broadcasting on alternate evenings to promote tourism and business opportunities in their respective communities. In reality, they operated with two station licenses, but there was only one transmitter and one antenna.[…]