Two weeks ago, I posted a virtual challenge for SWLing Post readers: I asked you to imagine you were placed on a one-year research assignment on one of the world’s most remote inhabited islands, namely, Tristan Da Cunha, in the South Atlantic.
Your goal was to assemble the best shortwave listening set-up possible for your virtual budget of $200 US. You were tasked to track down a radio kit that would keep you in touch with the world, and potentially afford you some very unique DX. [If you haven’t read the full virtual radio challenge, including all of the limitations you might face, I encourage you to check out this post before continuing.]
Your Reader Responses
And, wow, what great responses–! First, I want to thank all who participated in this challenge. No two responses were identical. Some truly surprised me…I must say, I sincerely hope you enjoyed this exercise as much as I enjoyed reading what you’ve sent to the SWLing Post!
Below you will find ten responses from readers, representing remarkable diversity in radio set-ups. Note that my comments follow; they are italicized and in bold.
Now, with no further ado…I welcome you to radio DX on Tristan de Cunha!
from Frank Holden
 First up, Frank Holden, who submitted his entry at 3:00 AM–prior to leaving on a 6:40 AM flight. Obviously, travel was on this Post reader’s mind.
Frank writes:
Based on both my own experience and recent swling.com research I would choose a:

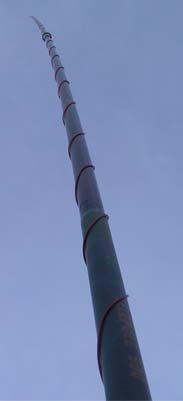
Squidpole Antenna (Photo courtesy of http://www.perite.com/)
Total is $210 Australian, so you will get change out of $200 US.
Some notes:
- Feed antenna up inside the Squidpole and tape at the top…. The rubber ‘bobble’ is removeable.
- Maybe run a short length of coax from radio to base of Squidpole.
- Make sure the Squidpole is well stayed. My experience in VP8land and Tierra del Fuego is that the constant flexing in high winds will lead to squid pole failure. Mine were secured to the taffrail on my boat… i.e. at the base and 50cm up from base…. Failed at the 50 cm point. I have also had a 5 metre high quality (marine grade) alloy whip fail in the same manner.
- Utilise rest of baggage allowance with warm clothes, rum (power outages… for use during), etc.
Thanks, Frank! I love the idea of the Squidpole as it can give you a little height when trees are absent. I have used a similar telescoping pole for Ham Radio QRP operations: a Jackite pole . I’ve broken the tip section twice already due to my own clumsiness–fortunately, the tip can be purchased separately. As you suggest, I bet the winds on Tristan Da Cunha would give the Squidpole a run for its money!
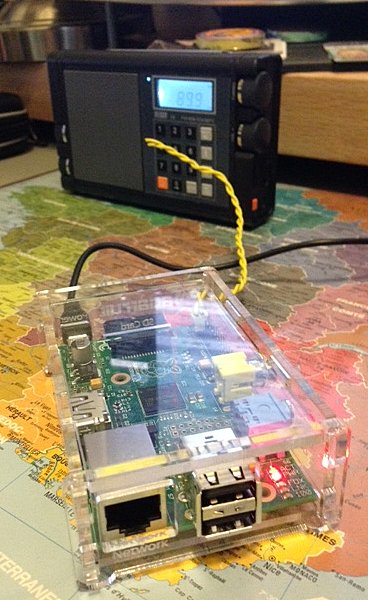
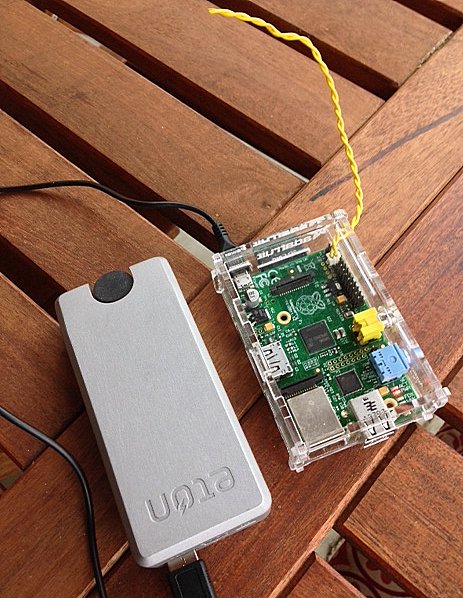
from AB3RU
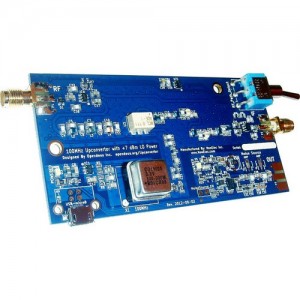
The Ham It Up v1.2 – NooElec RF Upconverter converts your RTL-SDR dongle into an HF receiver.
AB3RU writes:
I propose using my current setup, since a laptop is a freebie here. I use the following in my setup:
1) RTL-SDR dongle for the laptop ($15)
2) Ham it up upconverter ($40)
3) AlphaDelta SWL sloper, MFJ 1020B (eBay, got ‘em for $102)
That’s $157. That leaves $43 for a 25? length of coax and two MCX adapters. Coax run is $15 (at $0.39/ft for RG-8X.) I forgot how much the adapters were, but less than the $28 left over after buying the coax run.
Downside? I have no pole to support this, and houses on the island are only one story structures. I’ll have to attach the high end of the sloper to the peak of the home where I’m staying, and I’m sure that height is less than the 25? recommended by AlphaDelta. In addition, I’ll have to plant a stake at the lower end of the sloper to keep that end the recommended 8? above ground. I also made no provision for extra power if a power outage exceeded the amount of juice in my laptop battery.
If push came to shove, I would drop the MFJ 1020B for an extra $50 to buy supports or an extra battery.
Thanks, AB3RU! I’m willing to bet that you might find something on the island to support one end of your sloping antenna. It might be a challenge to meet the 25′ recommended height, as you stated. Still, this is an innovative and quite portable option!
from Tudor
 “Tudor” comments:
Here are my choices:
- A 50-100m wire to be used as an antenna for SW and MW. I imagine I’ll be able to catch a few MW stations from South America or Africa. As for choosing a radio…
- I’ll need a good radio which allows using an external antenna not only for SW (all of them do) but also for MW (few of them do). I think there is only one radio which fits this requirement within the budget: the Sony ICF-SW7600GR, available on Amazon.com at prices around $140. My other choice would be a Sangean ATS-909X which works very well with external antennas, but it’s more expensive.
- I’ll also need two packs of 4 AA rechargeable batteries and a charger.
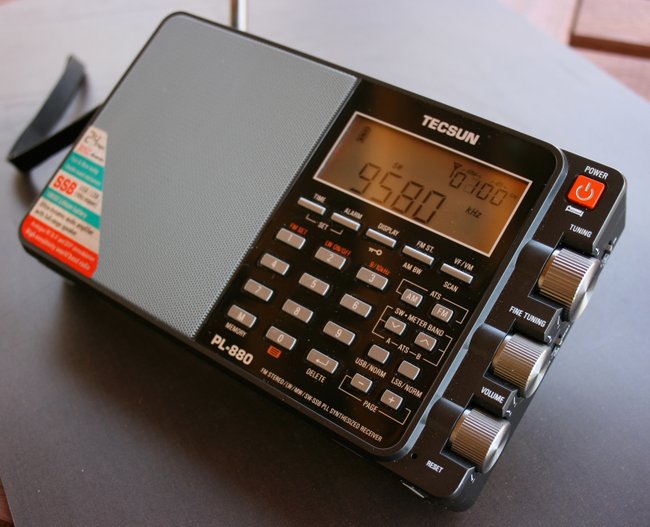
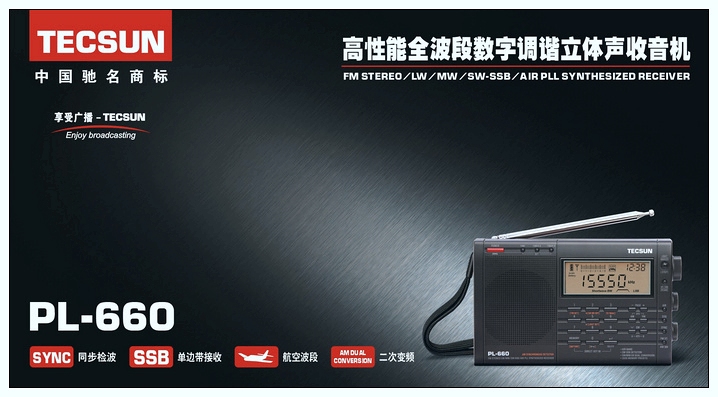
Thanks, Tudor! I believe your choice of the Sony ICF-SW7600GR is a very good one, as the Sony is a solid performer. It would be a challenge to find a new Sangean ATS-909X within your $200 budget–you would need to track down a used one, most likely. With the PL-660 in tow, you would then have a full $60 to purchase batteries, charger, and your antenna wire. Very workable!
from KK6AYC
KK6AYC suggests using the MFJ Model MFJ-8100:
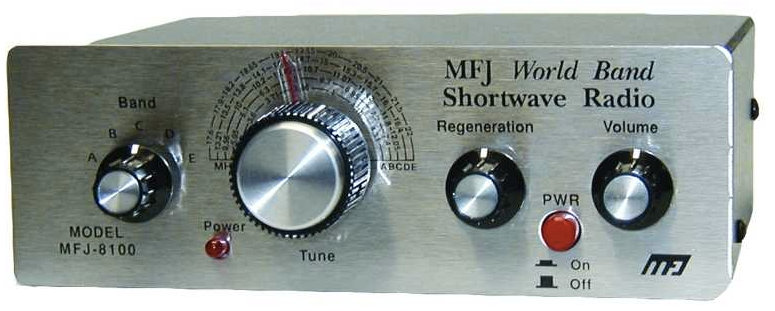
http://www.mfjenterprises.com/Product.php?productid=MFJ-8100W
It is through hole soldered so replacing parts is easy. Bring a bag of spare parts and a couple batteries. Get two headphones so that you and a friend can listen at the same time.
Thanks, KK6AYC! At $110 US, you would certainly have enough budget for spare parts, batteries, and antenna wire. While a regen receiver may not be for everyone, these do provide excellent sensitivity once you pass this rig’s learning curve for tuning. If the winds blow your external antenna around, you might have to ride that regen control! Great alternative to the typical portable–!
from John Treager
Next, John Treager, who writes:
Neat thought experiment! I’ve recently got back into SW listening after years away. I’ve been hitting your sites for two or three months and your weak station comparison really grabbed my attention but this one has lit the fire again.
[…]I’m a contract engineer who lives away from my primary residence most of the time so this challenge kind of strikes a chord. And, as I’m getting back into SWL, you’ve given me a reason to research (something engineers love to do!).
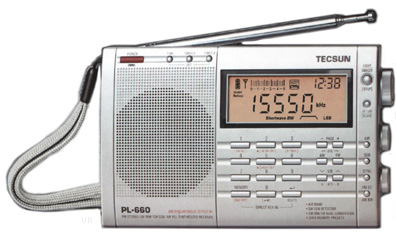
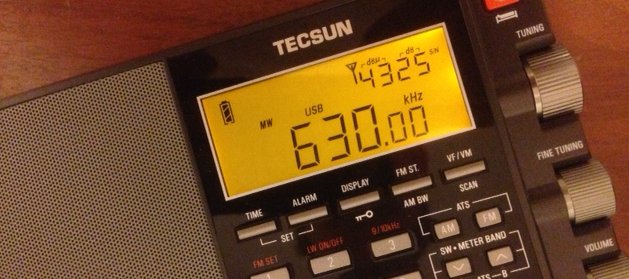
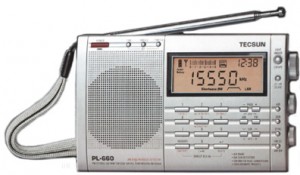 Based on the weak station article and discussion, I like what I’ve seen in the Tecsun PL-660 (although I don’t own it yet). […]Found in silver on eBay for $100.99 from kaito-electronics-inc
 . Seriously, what’s the fascination with black? Black is $20 more…
If I’m renting a room with a family on the island, headphones are a must. I’m cheap and traveling light so let’s go with Sony MDRZX100 headphones. I’ve used them for quite a while and like them. I find them comfortable for at least a couple of hours. Currently $15.09 on Amazon.
I enjoy the challenge of simplicity so, as far as an antenna goes, I would choose a simple long wire. Either a reel or one I build, $10-15. I get as much enjoyment from fussing with antennas as I do from turning knobs and dials. If my simple wire antenna doesn’t work when I get on location, then investigating and tinkering with antenna design and construction will fill the hours!
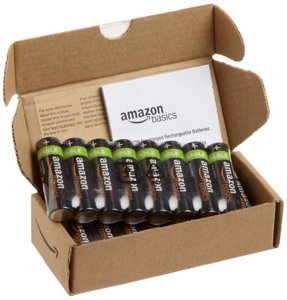
 By the rules of the challenge, power is available but somewhat unreliable it sounds like. To meet that, I’m going with rechargeable batteries and enough to last for a while. AmazonBasics AA NiMH Rechargeable batteries (16 pack, 2000 mAh). Not the newest version, but should suffice for one year and 16 batteries should be enough for extended periods of no power. And, this may be a bit of a cheat, but I use AA batteries for everything, so I already have a charger!
Next, some sort of reference. I usually use either my laptop or a phone/tablet for frequencies/times from various sources, but given that there is no internet access in the residence and power may be occasionally spotty, let’s go with the World Radio/TV Handbook as a backup (I do miss Passport to World Band Radio!). I found WRTH on eBay (new, 2014 edition) for $27.24 .
.
I assume I will have notebooks and pens for other reasons, so not included in the total.
So, all told…
Total: $182.67
With the remaining difference, I may get a Kaito KA321, which I have found to be a great deal of fun. […]Being a budget DXer, and given the performance of this little radio, I would almost have to have one along. I would love to see what it did in the South Atlantic!
Thanks, John! That should be enough AA batteries to keep you going well over a week with no power. Packing a WRTH makes a lot of sense. Via the island’s library Internet–however variable–you could download WRTH updates, as well.
from London Shortwave
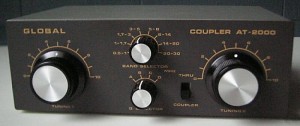
The Global AT-2000 (Photo: RadioPics.com)
London Shortwave sent his suggestion in by tweet–a simple, proven combo:
Thanks, London Shortwave! While the Global AT-2000 is a little difficult to find these days, London Shortwave has had excellent success with this antenna coupler. There should be enough room in his budget for rechargeable batteries, as well.
from Princehifi
“Princehifi” comments:
If a laptop was coming along, I would have to use an SDR.
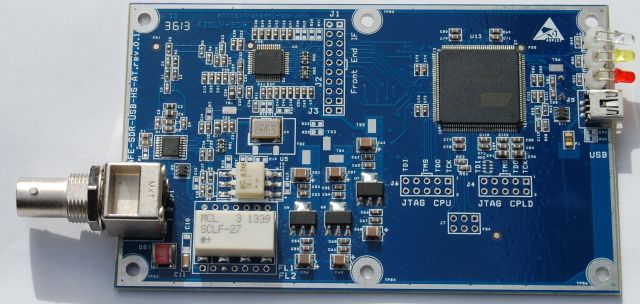
I would get the Afedri SDR USB-only model [see AFEDRI SDR-USB-HS above] for $159 (board only, I’d have to mount it in a sardine can). I would then use the remaining $41 for a cheap used antenna tuner and a random wire for an antenna. I think this kit would make for an excellent listening post.
Backup power would be a concern with the outages, so I am contemplating a 6-volt battery backup power system to power my Phillips 4-port USB hub (6 volt DC in requirement). From there the USB-hub will power/charge a Dell Venue 8 Pro tablet (the laptop), the Afedri SDR and maybe a USB-powered speaker? Would have to test out this backup power scheme before boarding the boat!
I think I could do all of the above for $250 including the backup power system. Although it would likely push $300 when wires, cables etc are all in (does not include the tablet/laptop).
Thanks, Princehifi! So you’re a little over the $200 budget with all of the accessories, but if you already have a laptop and tablet, I think you could tweak your set-up to meet the budget goal. I did not realize that there was a USB only version of the Afedri SDR–I might have to get one of those myself!
from Rob
Rob comments:
Here’s my list. Where can’t get it locally and I don’t have a firm shipping cost, I’ve estimated it as an additional 20%. Stuff I can get locally (Radio Shack, etc.) I haven’t added any shipping or sales tax.
- Tecsun PL660 (eBay/Anon Co): $85 + $16 shipping = $101
- 100′ roll of 22 gauge stranded copper wire (Amazon): $9.41 + 20% = $11 (good long random wire)
- 25′ RG58 (Universal Radio price $0.25/ft): $6 + 20% = $7 (use the coax to get wire antenna out and away from the house; wrap it on an old jar (free!) to make an ugly balun to keep household noise from creeping up the outside of the shield)
- 1/8″ phono plugs for antenna port (Radio Shack): $3.50
- Koss Earbuds (Radio Shack): $5 (these really cut down on battery drain and make for a better house guest)
- Eneloop charger & 4xAA batt combo (Battery Junction): $16 + 20% = $19.20 (the 660 comes with one set of AA’s, this gives another and an away-from-radio charger to cut down on noise)
 OK, that totals to $147 for the basics. Now I want to add two more things:
(That’s right, a spare radio. Because middle of nowhere.)
Grand total: $192
Now if I’m allowed to scrounge in the parts bin for stuff like 22 gauge antenna wire, RG58, and earbuds, there might be enough left over for a SECOND spare radio and 4 more Eneloops!
Thanks, Rob–you have a plan, indeed! Well thought through! I, too, would be very curious what sort of medium wave DX I could hear in the South Atlantic, especially since you know there would be no local blow-torch stations around. I have the Grundig version of the Tecsun AN200 and find it an essential antenna for portable MW DXing.
from Michael C. Fortner
 Michael C. Fortner’s list includes:
Radio: Tecsun PL-600 (I have one and am comfortable with it’s operation) – $43.35
Antenna: 500′ spool red 18 gauge wire (you can’t have too much wire in case of wind damage, animals, people, etc.) – $29.07
2 two packs of 1/8 mono phone jacks (again, backups are good) – $4.49 x 2 = $8.98
 Batteries: 16 AA NiMH batteries – $25.86
Charger: Solar battery charger (backup to mains power that charges batteries in radio): $19.99
Headphones: Koss KSC-75 headphones x2 (good dynamic range for the price and I have two pair that I use): $14.82 x 2 = $29.64
Grand total: $156.89 (all qualify for free shipping)
I’d guess I would save the rest for repair costs in case the radio acts up. Of course, I’d take the one I already have as a spare. When in remote locations, backups are essential so I probably bought more than most people think I need. And as far as the battery charger, rapid chargers are bad for most NiMH batteries so I went with a slower charger. And don’t forget that the Tecsun can charge the batteries in the radio when not in use.
Thanks, Michael! You are erring on the side of having extra batteries and more than enough wire for antennas; there’s no way you’ll run out in your one-year stay. On Tristan, I know that locals often trade supplies: those extra batteries may turn into an antenna support!
from Kenny B
 Kenny B writes:
I love your site, I’m there everyday and almost forgot to enter so here it is:
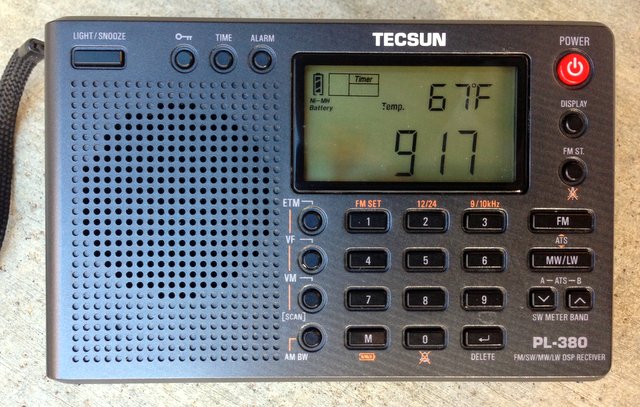
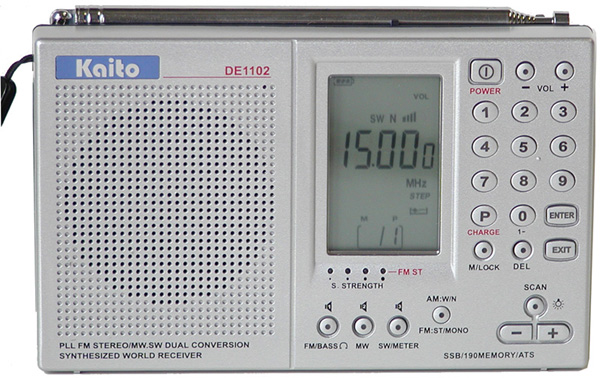
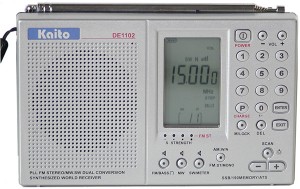
1. Kaito 1102, I have had good luck with it and it has ssb, second choice would be a Tecsun PL-380, I really love this radio and it’s a great little dxing machine but no ssb.
The Kaito is 64.95 on Amazon, free shipping.
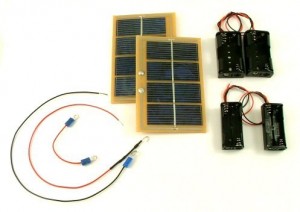
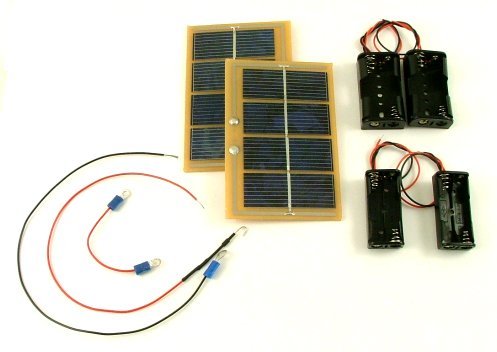
The Sundance Solar DIY battery charger
2. A Sundance Solar- build it yourself battery charger for AA and AAAs: $40.00 plus 9.99 shipping
3. Scotts Electronics 384pf air variable capacitor, $13.95 plus $4.95 shipping, this if for my shortwave magnetic loop I will build, I’m pretty sure I can procure the wood for crossbeams or something to make a loop can be had on the island.
4. 6ft RG-58, Wal-Mart, $4.95
5. 50ft speaker wire, Home Depot, split it gives me 100ft, can also be used to make a dipole or longwire, $9.99
6. Sanyo Eneloop rechargeable batteriess, AA, 3rd generation, 2000mah, 8 pack $26.40, Amazon, free shipping
7. Travelproducts.com, 1600 watt voltage converter, 19.99, free shipping
8. Radio Shack 1/8th inch miniplug for end of coax, $4.00
Wow! Thanks, Kenny B! Other than the KA1102, your complete kit is DIY–I like it! You could build the battery charger and antenna prior to leaving.
from Anil
Anil writes:
1. Receiver: Wandel & Goltermann FE-8 Spy Radio Receiver (US$ 120 at a Hamfest)
Wandel & Goltermann FE-8 Spy Radio Receiver from the cold war (mine was manufactured in 1963. I bought it at a Hamfest in Sweden a month ago for the equivalent of US$ 120.[…]
For ruggedness there is nothing else like it. It is completely sealed and constructed from a single piece of die-cast machined aluminium and stainless steel. Just the thing for wet and rainy Atlantic islands! Covers 2.5 – 24 MHz and only needs 6 Volts at 8mA. A pack of twelve AAs will fit in my pocket and last at least a year with about three hours of listening every day. No adapter, no charger. The razor sharp 3.1 kHz Collins Mechanical Filter is not ideal for music but hard to beat for general news and SSB utility listening. Like the famous Collins R390 it uses a mechanical “digital” dial accurate to 1 kHz which also glows in the dark. […]It is smaller that a Tecsun 660 though it weighs a lot more. More about this radio here http://www.cryptomuseum.com/spy/sp15/fe8.htm
2. Antenna & Earth (US$ 15 in any electrical store)
Random length PVC insulated wires with a banana plugs- total 50 meters. The radio has a hi-impedance input and is sensitive enough to do a great job with just 20 m of wire. The rest is spare.
3. Headphones (US$ 25 on eBay)
Lightweight Telex Aviation Headset with 1500 Ohms impedance can be worn for long periods with no fatigue. The audio response is tailored for voice.
4. The latest WRTH Handbook (US$ 30 online)
I’m all set for the trip now with $10 to spend on a supply of chewing gum. I know that this radio setup can easily deal with whatever is thrown at it… the question is if I can!
Thanks, Anil! Wow…I never saw that spy radio coming! It does look like an ideal radio for prolonged use and for pretty much any environmental conditions. I hope you realize that I will be bugging you (okay, pun intended!) to provide us with a few broadcast recordings from the FE-8. It’s certainly got my interest piqued!
Now, that was fun! Thank you all…
I know this sort of challenge may not appeal to everyone, but I really enjoy it. This sort of exercise forces you (though safely) outside the comfort-zone of a home radio set-up. Your responses are truly innovative. I only wish the Post could actually send our participants to Tristan de Cunha to try their set-ups out first-hand! I, for one, would love to come along…
Thanks, again, for your participation! If your response wasn’t included above, or I didn’t respond to you directly, please let me know: it’s possible I skipped over yours by mistake as there were quite a few responses to collate, and my email is managed by a rather discriminating SPAM filter.
Meanwhile, if you think of an alternative set-up–or would like to add your own to this post–please comment below!