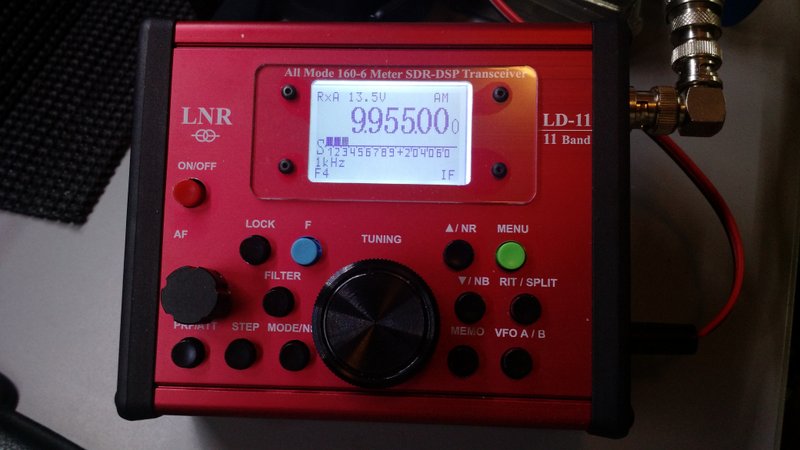
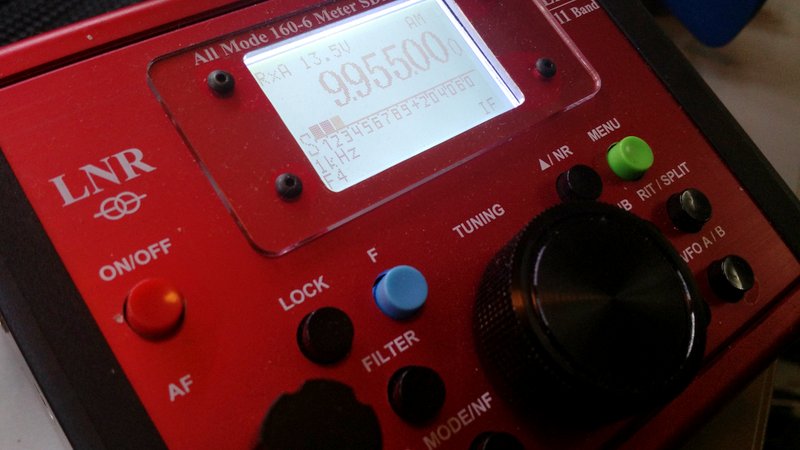
Many thanks to SWLing Post contributor, TomL, for the following guest post:
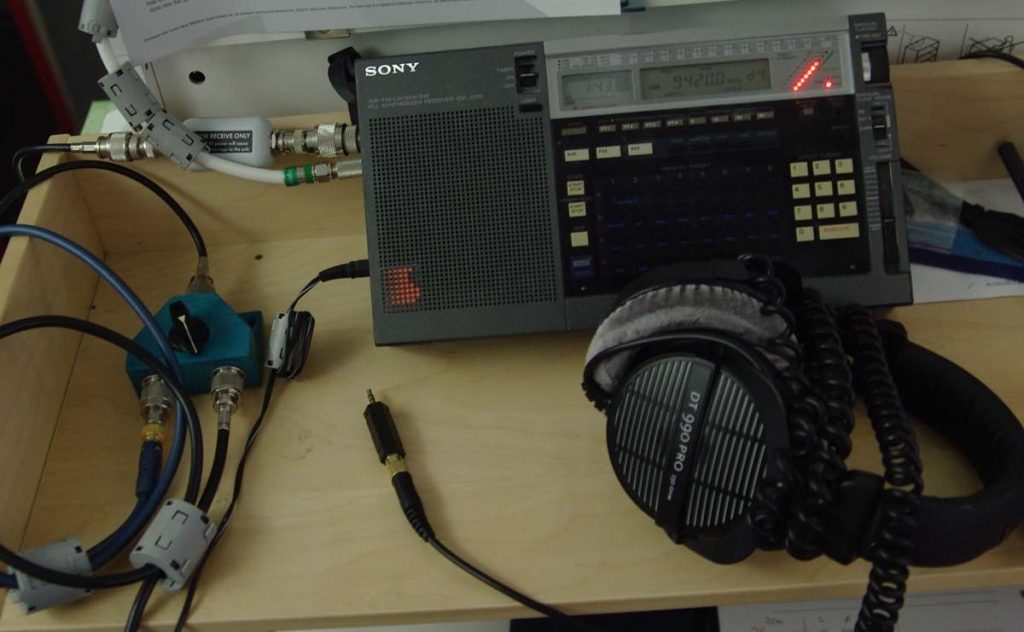
My Evolving, Morphing, SW Listening Station
by TomL, May 26, 2016
My interest in radio listening has been rekindled after a long hiatus in parallel to my dwindling interest in Mainstream Media. It is now about 8 years without cable TV and I seriously do not miss it, especially with the evolving nature of discovery with respect to other forms of media. SWL radio was important to me in my formative years during the Cold War; fascinating were the many ways governments used shortwave radio to influence populations, each with their own brand of propaganda! Young people today know nothing about the endless (and entertaining) tirades of East German editorial commentaries denouncing the evil, decadent West. Or, of the free, large-sized envelopes full of travel and promotional brochures, pennants, bumper stickers, and booklets sent from the government broadcasters such as Poland, Hungary (yes, communist countries!), Australia, Netherlands, etc. just for sending in one simple QSL report!!!
I quickly realized that those days are gone forever, consigned to a period of history where radio was THE main method of disseminating copious amounts of government propaganda to very large swaths of humanity. Now, the internet and cable TV fulfill that function in a much more CONTROLLED manner, both technically and socially (Big Brother like). So, I have diversified my interests and have an unusual listening station. It is multiple things in one small space. You see, I live in a very small condo in a noise-plagued environment with only a 2nd floor wooden deck (owned by the Condo Association!) in which to put up any outside antennas. Only a single “Dish” type antenna is allowed. So my shortwave antenna needs to be well hidden. Same for the TV antenna, since I also have a north-facing deck, I cannot have any line-of-sight to the Southern sky for a Dish.
The first wire antenna strung from the top and brought inside was a dismal failure receiving nothing but noise. I gave up for a couple of years. I built a loop TV antenna and mounted an FM antenna instead since those were less susceptible to noise issues. Also recently added to this station are two cheap 4G antennas with wires into a single Verizon USB aircard plugged into my computer and getting up to 14 mbps performance.
But, I still wanted to try shortwave radio again (and medium wave too) but the noise issues were very, very discouraging. S9 noise on some bands. Tried preselector, a noise “phaser”, different lengths. Nothing worked. However, I read something from an amateur radio operator in Northern California who had a space problem. He put up a helically-wound-vertical (HWV) antenna with radials for 160 meters (John Miller HWV antenna). I also read about various “broomstick” antennas. So, I tried my own version with an old RF Systems Magnetic Longwire Balun I still owned and NO radials. Put it together with a 2 foot long, 4 inch schedule 40 PVC pipe wrapped in 200 feet of 18 awg magnet wire. Well, still noisy but, at least now I had a portable antenna!
So, I went camping in March of this year! Holy Cow, was it cold out but the helical antenna performed well enough to hear All India Radio for my very first time, a small 1kw Mexican station in the 49 meter band, and various others from Asia that were elusive for me in the distant past. I was finally encouraged again to continue my research. I did this a few more times and finally got tired of going camping just to listen to a radio! NOISE at home was still the big bugaboo to kill (and it still is).
I read up on Common-mode noise travelling on ground and shield components of antenna systems. So I bought a bunch of toroid ferrites of different types to cover different frequencies (something about initial permeability….) to make my own homemade “Super RF Choke” to cover all frequencies made on a Home Depot Homer bucket lid, winding the coax 5 or 6 times through all the toroids, the full diameter of the lid.
Measurements by Jim Brown published on the web (RFI-Ham.pdf), pages 32-33) indicate good choke performance using coax with these larger-sized coils. I still hoped to salvage the use of the HWV antenna. So, added the choke and noticed some improvement across most bands (less noise). Medium wave broadcast was not effective and decided that I did not want to keep tuning an antenna that HAD to sit outside to get away from the noise inside my listening station.
I also shut off the power to my condo and found out which noise sources were mine vs. other noise that came from all the neighbors (very important step to do!!!). For instance, I did not know before that USB charging adapters are PURE RF-NOISE EVIL in an innocently small package?!?!?! I rearranged wiring to shut off certain devices and power strips when I want to listen to the radio!
So, I kept reading. Found out about another magnetic balun from Palomar. Tried it but not impressed – performance was too lossy compared to the good old RF Systems MLB (what a great product that was back then!). Kept reading and found out good things about the EF-SWL from PAR electronics (product is now made and sold by LNR). The ground connections on it (and the Palomar) intrigued me. So, I decided to go to Hamvention for the first time, even though I was skeptical of finding anything useful, I told myself, I could at least buy the EF-SWL on sale (which I did).
Installed EF-SWL to the HWV but no difference compared to the RF MLB. The antenna did perform better outside on the deck in the far corner, so there it still sits. Then, I hooked up the wire they gave me with the EF-SWL to the ground and it resulted in MORE noise. Then, took off the jumper (which connects the coax shield to the ground side of the balun) and connected only the middle post (balun ground) to the ground wire and a lot LESS noise resulted along with a small reduction in radio signal level!!! Finally some progress – the wire seems to be acting like an old-fashioned “counterpoise”, which is misunderstood these days. Apparently, back in the 1930’s-1950’s, people involved in radio knew the differences between an “earth ground”, a “radial system”, and a “counterpoise”. Technically, they are all different and their use is different as a result. Now, people moosh all these concepts together interchangeably which risks creating very ineffective antennas.
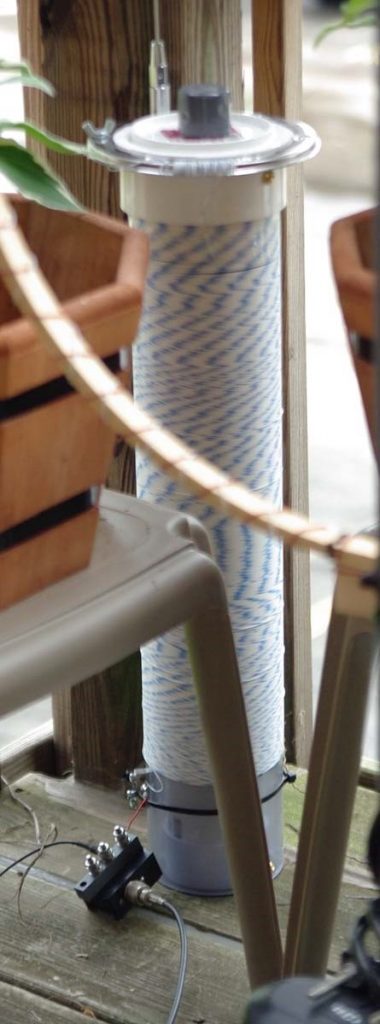
Photo of installed EF-SWL at the bottom of the HWV with coax at the output, the red magnet wire input on top, the middle post for the counterpoise wire, and the coax shield post is unused.
The HWV antenna now has 600 feet of 26 awg teflon wire on the outside PVC, an inside 3 inch PVC “sleeve” with 102 Russian ferrite rods, a 56 inch stainless steel whip at the top, and one inch hole through the center to accommodate the 7 foot PVC mount to my carbon fiber photo tripod when I take it camping again.
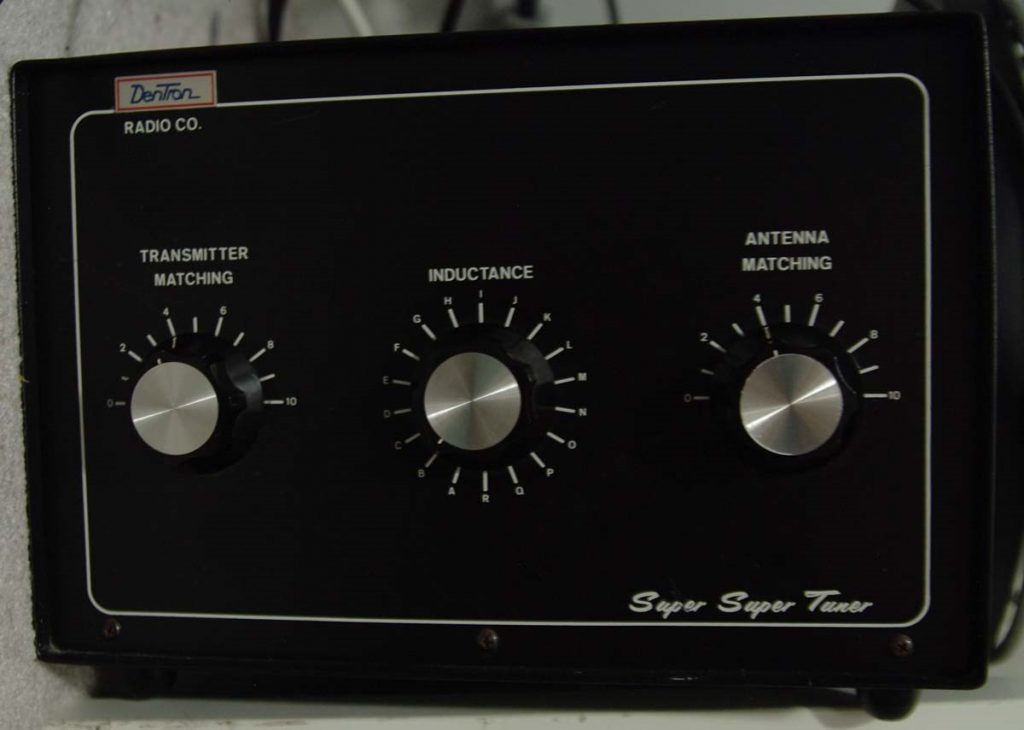
So, I am on a new quest to understand counterpoises, how to actually TUNE them and, hopefully, how to use them to increase the performance of shortened antennas like my HWV (something about reducing the dB loss incurred by shortening….). A second result I hope will be how to use the counterpoise to keep signal-to-noise ratio high at the same time (maybe with this used $100 Dentron Super Tuner bought at Hamvention?).
Also bought at Hamvention (thanks Thomas W. for the tip!!) and installed Bonito’s Galvanic Antenna Isolator GI300.
If input directly to the input of the radio, led to more reduction in noise and signal!! Too much actually, so I took off my Super RF Choke and now I had a better result compared to the EF-SWL with the RF Choke (slightly cleaner sound with less hissy noise). Apparently, the GI300 completely isolates the coax shield, better than my homemade choke! The requirement is to use coax from the feedpoint and not bare wire. I then placed a few clamp-on ferrites I bought from eBay to help with slightly higher frequency choking of the shield at various places on the feedline.

Photo of GI300 on radio with NO extra coax lead into the radio at right (Thanks to Dennis Walter of Bonito for that tip)
Before Hamvention, I wanted to try out AM broadcast. I wanted to know more about this “FSL” antenna a well-known eccentric from Ireland (Graham Maynard FSL) developed before he passed away a few years later. So read up and bought a whole bunch of ferrite rods and tried different configurations. Well, my particular design did not work all that well because I did not follow directions for winding wire into a balanced design. So, I added all those ferrite rods to the 2 foot HWV (inside a 3 inch thin-walled sewer PVC pipe). The antenna is louder down to about 3 MHz with a stronger signal (including noise) than without. I do not have measurements, and find it too time consuming to document. Maybe one day, I will compare and document by sliding the ferrites out on the 3 inch PVC and measure actual signal levels. The ferrite sleeve seemed to pick up MORE noise and radio signal than without it. So, if you need more signal strength in a small package below 7 MHz, then the idea seems to have merit. But since it increased noise as much as radio signals, it has limited usefulness to me. I do have another project where I will put ferrite bars onto a tuned medium wave loop antenna (Tecsun AN100) that is much more portable and directional. The bars and loop were both relatively inexpensive from eBay. The ferrites change the tuning lower, so I have to figure out how to make it tune higher again…….
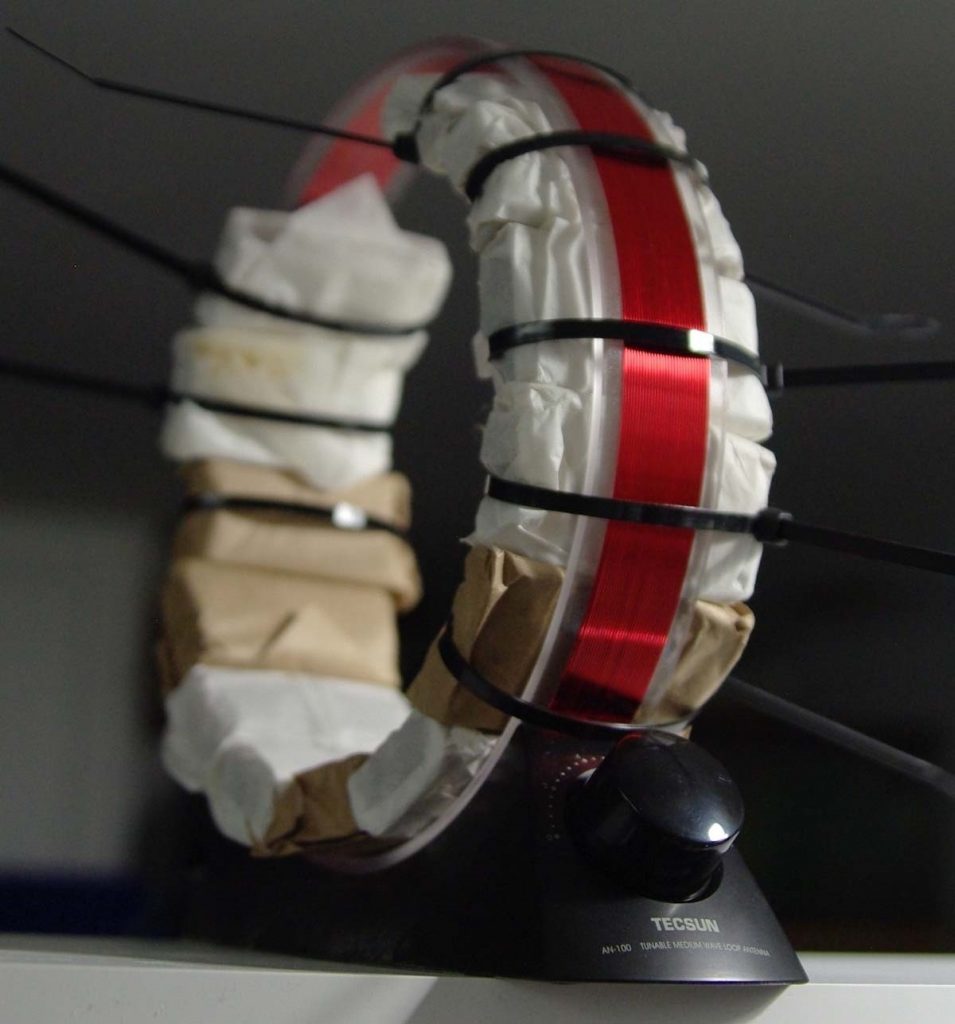
Photo of unfinished MW loop project.
Summary
Evolving understanding of dealing with major problems like overwhelming noise and limited space have led to unexpected additions to my SW Listening Station:
- A 2 foot long, 4 inch diameter helically-wound-vertical antenna (HWV) with way too much wire on it (and now inserted with 102 160mm Russian ferrite rods on a 3 inch diameter “sleeve”). Originally built because of its portability. Can now be mounted on a carbon fiber photo tripod with a 7 foot 3/4” PVC pipe through the center length
- A magnetic balun from LNR (designed by Parfitt) attached at the feedpoint of the antenna
- A proprietary galvanic isolator from Bonito attached right at the radio’s antenna terminal
- A “boat anchor” Dentron Super Tuner attached to the HWV feedline to help tune it
- An unfinished MW loop antenna with more ferrite bars
- An unused, homemade toroidal Super RF Choke
- Clamp-on ferrites everywhere in proximity on wires and power leads
- Re-arranged power strips and wires as needed for easier shutoff in functional groups
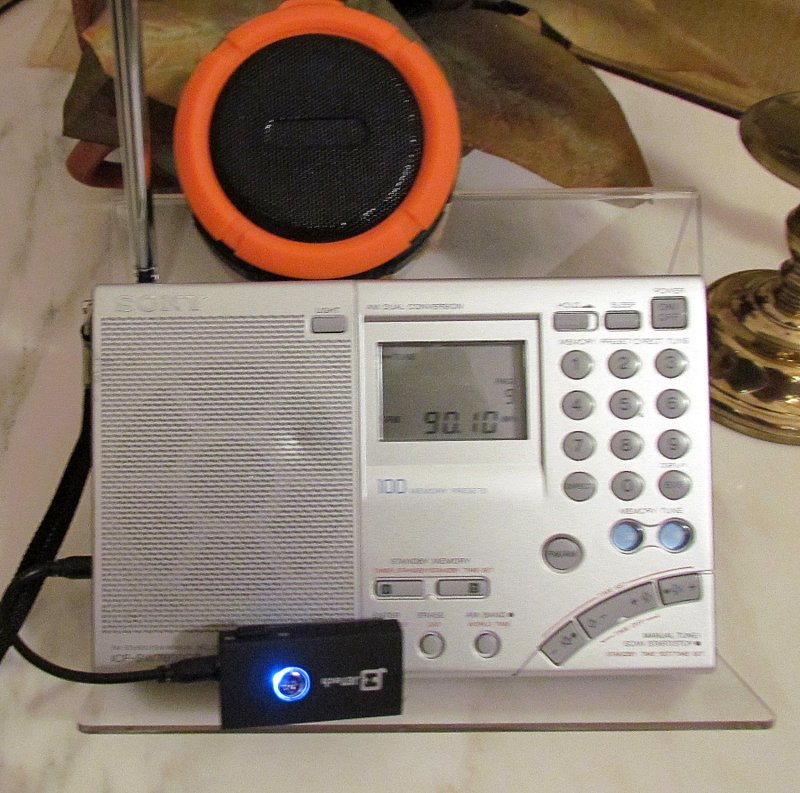
For shortwave, I still pick up mostly noise on many bands. With the uncalibrated S-meter on the ICF-2010 – 49 meters is around S1 (before about S3). 31 meters is MUCH improved and is now listenable to stronger stations (S2 instead of S7 noise!). Even 19 and 16 meters is improved from S6 to S7 down to about S3 now – noise still too annoyingly loud to understand any language being spoken however. And forget about DXing from this location! Will have to go camping again soon.
BUT, listening now to Voice of Greece, Radio Nacional Brasilia, or Radio Romania International is a much cleaner sounding experience than just a couple of months ago. They are there to re-discover and appreciate, even though many speak a foreign language and I do not understand a word they are saying! Also, there is the odd observation (like just this morning), that I can actually learn to enjoy listening to Country Music if it is the unique sounding Australian flavor!!
Do I miss cable TV?? Not a bit!!
Future investigations
- Employ the Dentron Super Tuner in various configurations to find any improvements (currently attached to the coax of main feedline from the EF-SWL, it is helping tune different SW bands (not sure why it helps, does not make sense, must be a mismatch between coax and balun)
- Obtain old book(s) on counterpoises
- Get a Linear DC power supply for use with all the EVIL RF-spewing devices that use 5 volts. Maybe this one: (Tekpower 3Amp Linear)
- Replace any cheap/old RG58 cables with LMR-240 or similar
- Finish the AM loop w/ferrites so I can take it places
- Perhaps an ultra low-noise outdoor amplifier for the HWV, depends on counterpoise experiments: (Wellbrook ALA100M-2) (I don’t want to spend that much money now)
- Somehow use a noise antenna with a better phaser: (DX Engineering NCC-1) (gulp, don’t want to spend THAT much money now also!!!)
- Get some relief from background noise using a really robust noise blanker. I don’t want to spend on the portable radio, would rather get something like the Bonito 1102S or an ELAD model both supposed to have excellent audio quality and excellent DSP noise blankers. But that means getting a cheap laptop to run it and replacing the Sony. MOAR big bucks…. but not right now
- Maybe a real loop antenna, BUT it has to be remotely tunable and remotely turnable and small enough to HIDE. MOAR big bucks, sigh….
TomL from noisy Illinois, USA
Many thanks for sharing your experiences, Tom! Also, it was great meeting you at the Hamvention this year.
I must say that there is something to be said for brute-force experimentation when it comes to mitigating radio interference. I hope you keep us posted as you continue to experiment and improve upon your unique listening system.
 I thought this little tidbit or two of information might be useful to those DX’ers seeking a QSL from DZRP Radyo Pilipinas.
